Close
0%
0%

Microcontroller based curve tracer

Electronic Curve tracer for measure and compare components on circuit boards

Similar projects worth following
This project was based on the Huntron Trackers. I could not afford to buy one, so I developed my own ones and built them.

What is it good for?

It is good for compare a working and a not working circuit board, without you have to apply any power to it. A curve tracer show Voltage - Current characteristic of any electric component, like diodes, capacitors, CMOS ICs and many more, which you want to look.

This equipment mostly used in repair purposes

I created three version of the tracker, called Version 1 , Version 2 and te most recent one is Version 3. SUF joined the development, and he is currently designing and testing a new version which will be the Version 4. Below this lets see how each version works.

Version 1

I started develop this version around 2017, when I saw a Huntron tracker at my work and I thought it is not too difficult electronic, but so overprice at the same time.

The Version 1 has just one voltage and one frequency range, so it is a very basic model. The basic idea behind a curve tracer a simple circuit, which input is a sine wave and has some resistor in it. We need a current limit resistor and a current sense resistor.

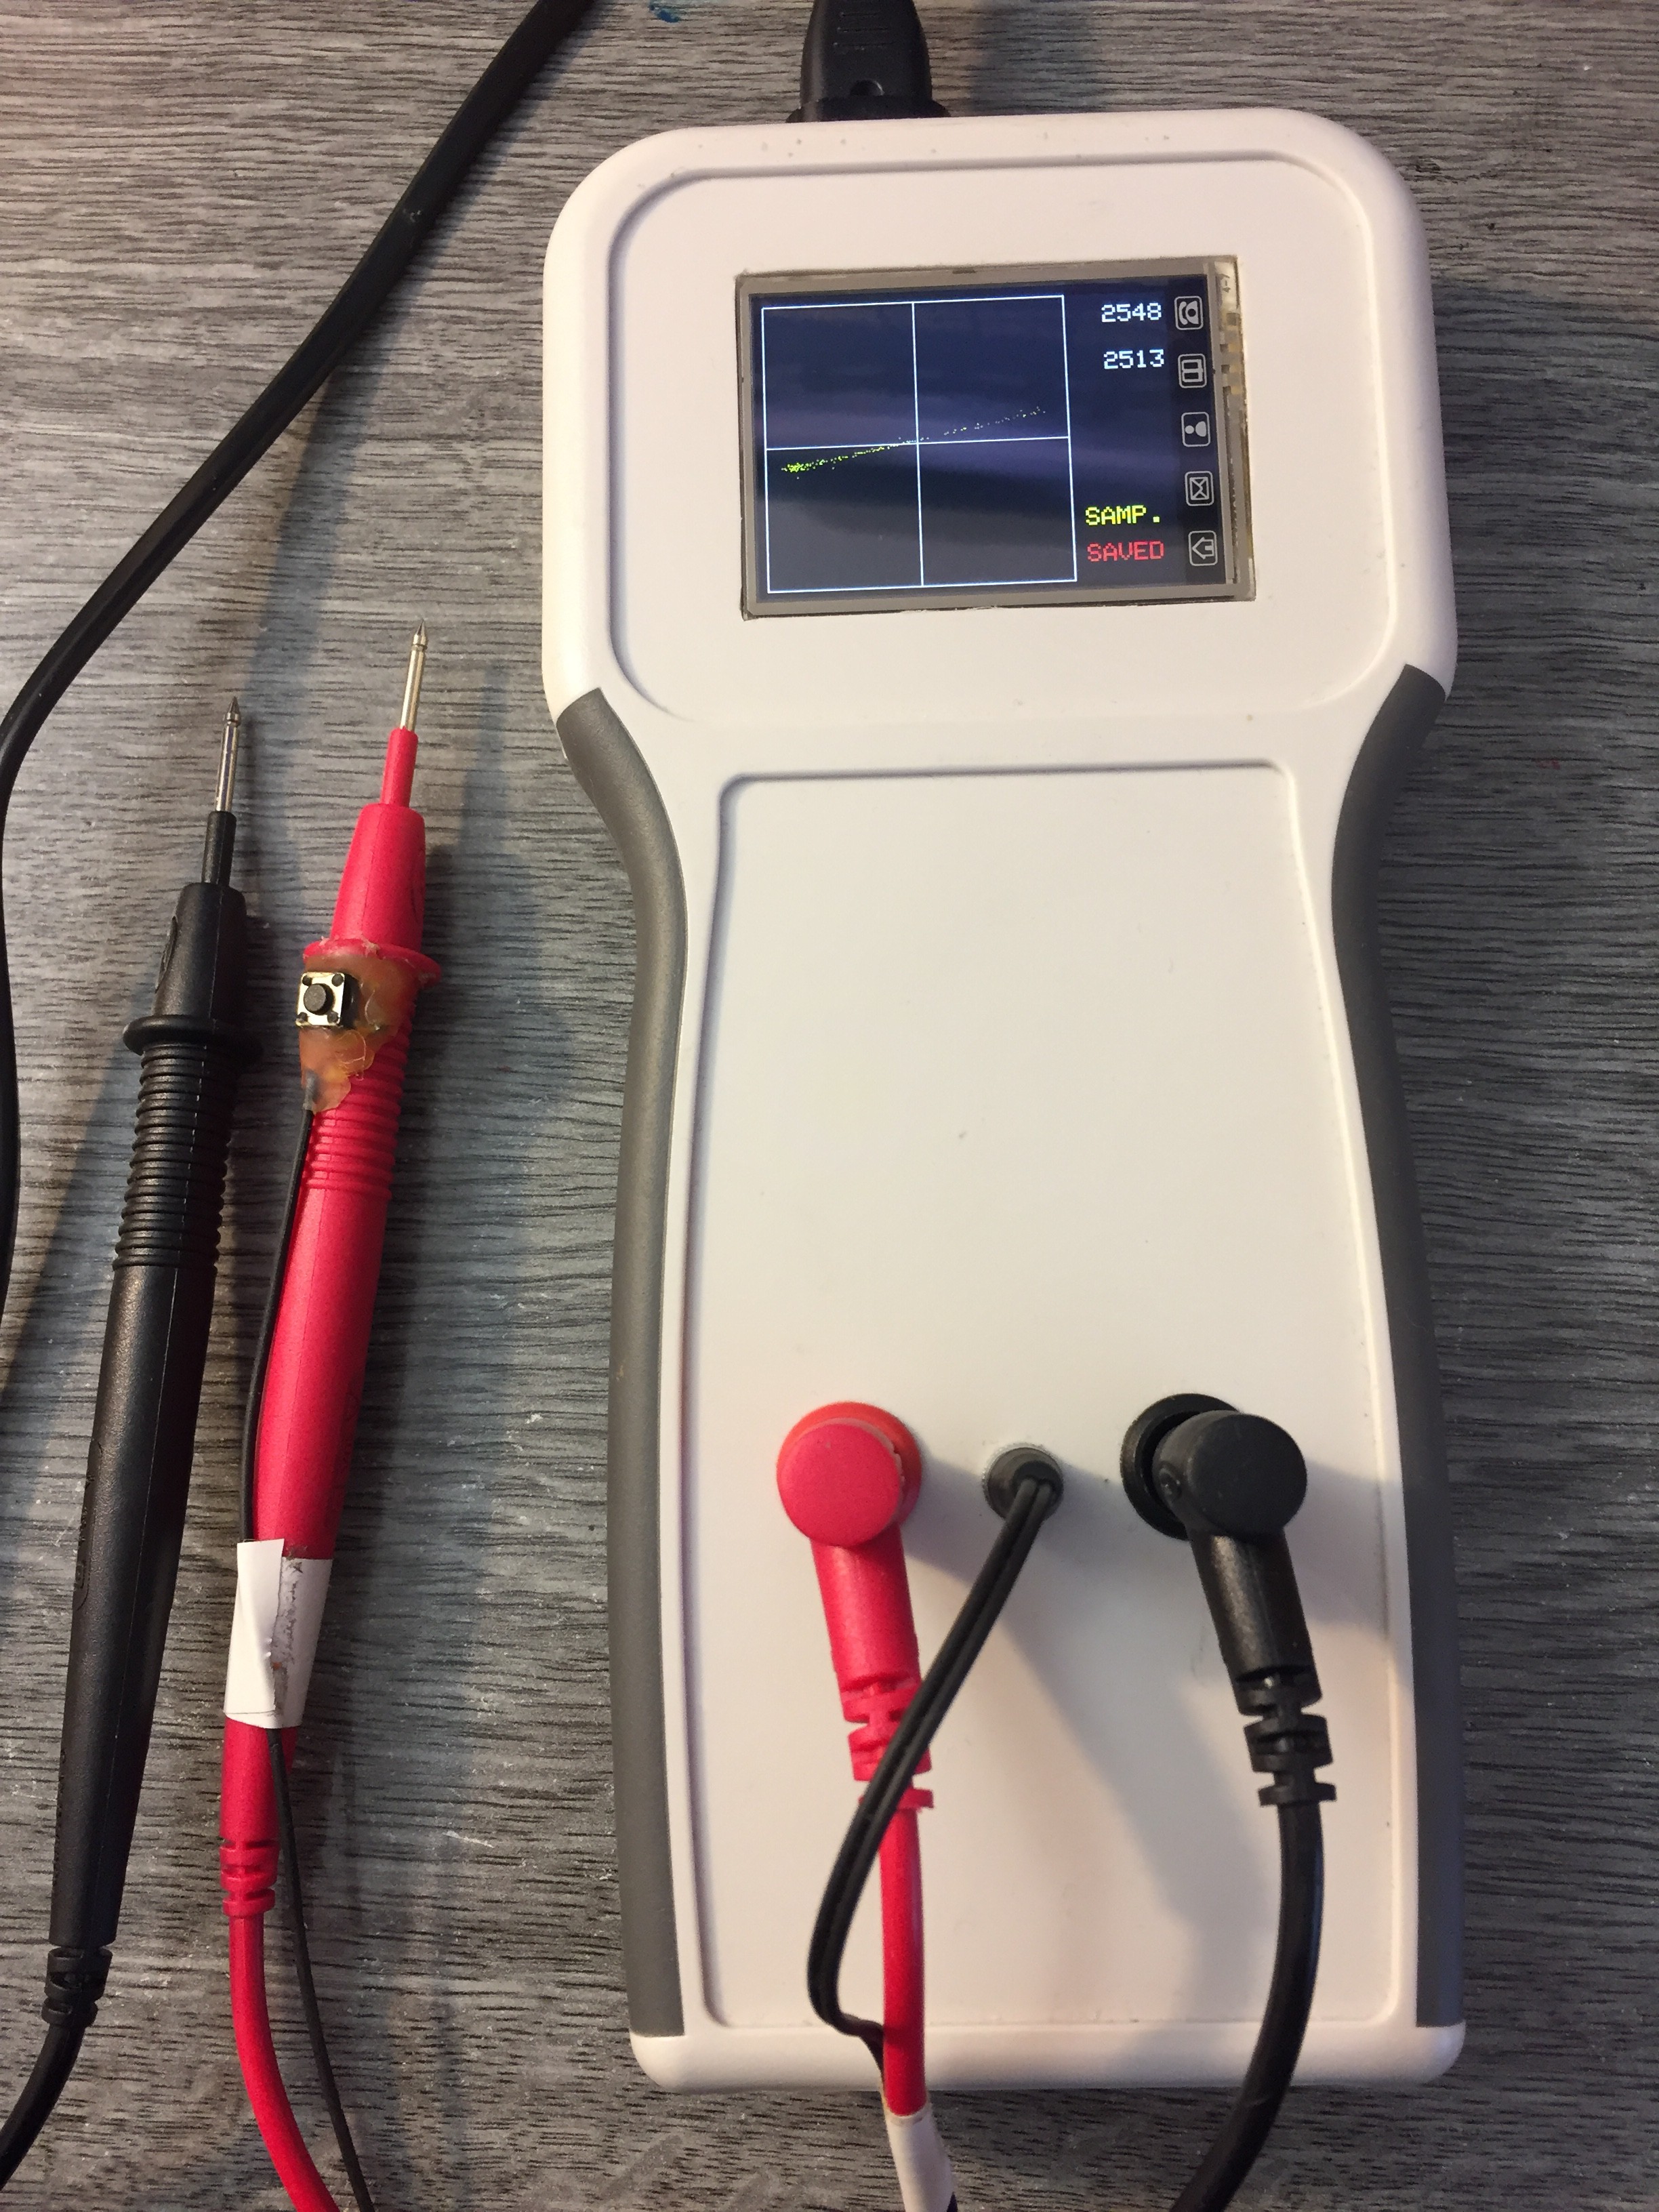
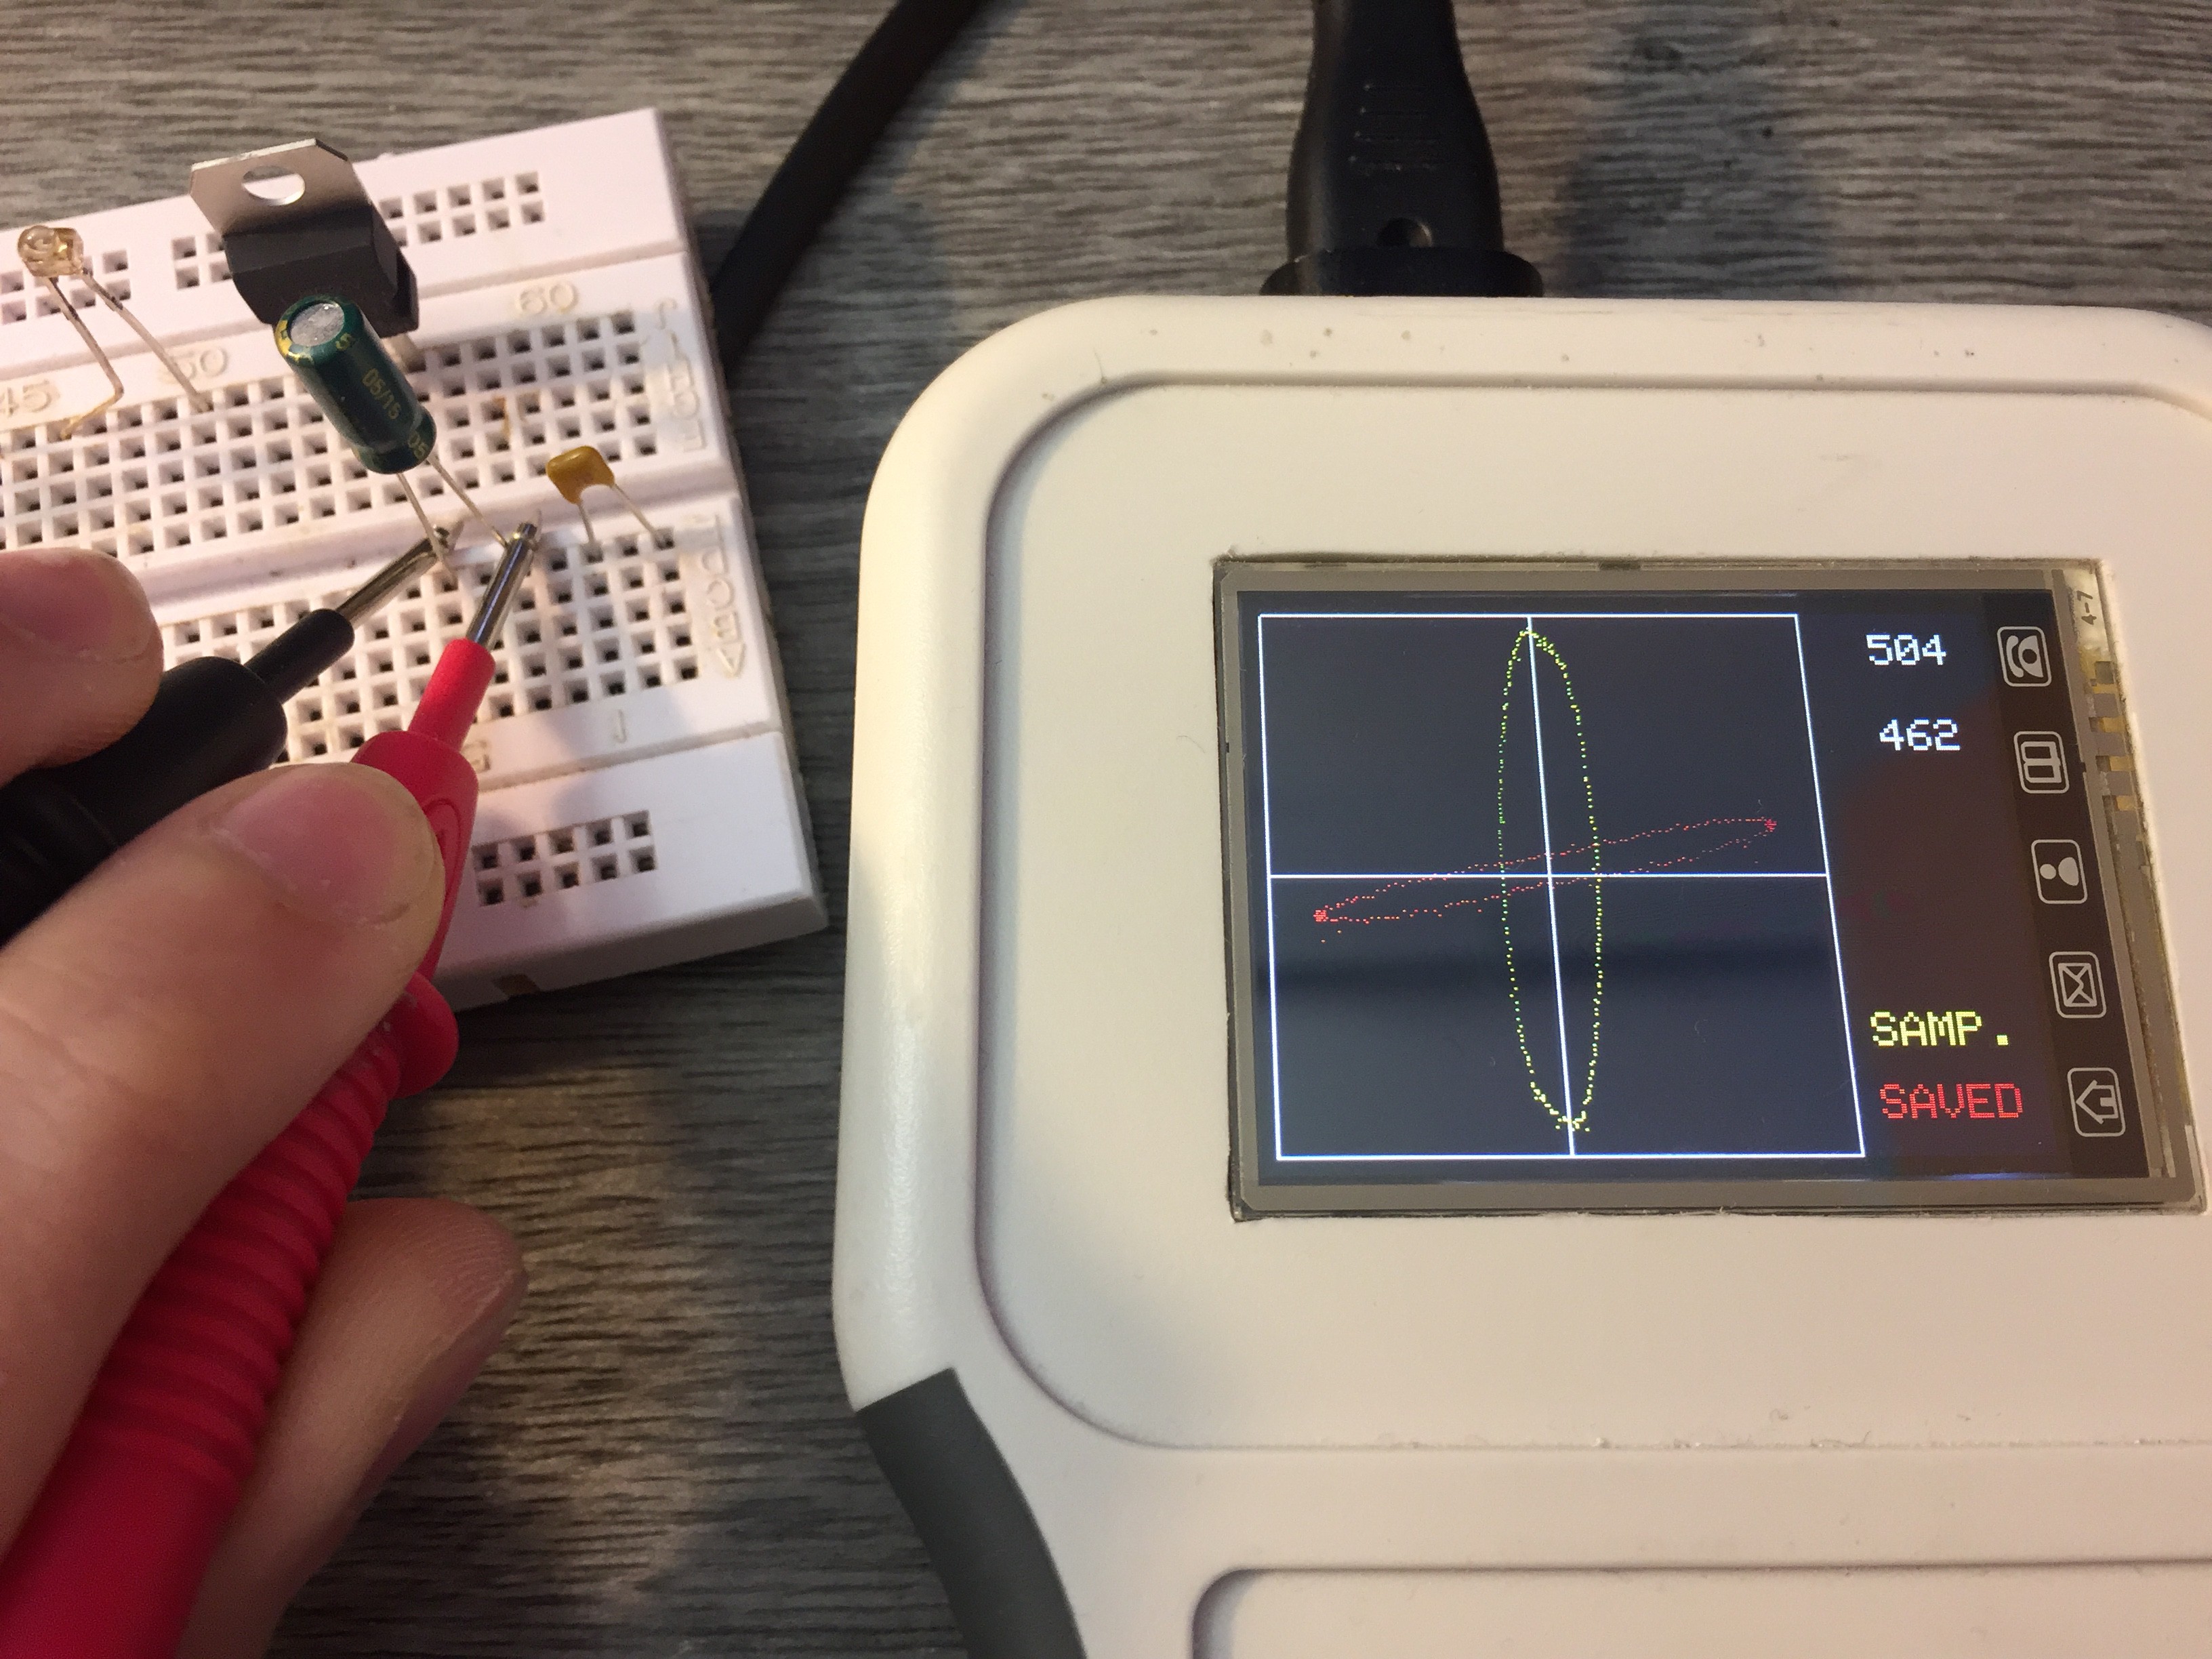
The other big part is a dual channel oscilloscope with X-Y mode, or like my version I used a cheap arduino pro mini and a display, it is more then enough for a basic operation. I added a function, with the tracker can save a curve on the display and can measure an other component at the same time, so with that you can compare a good component with a bad component.
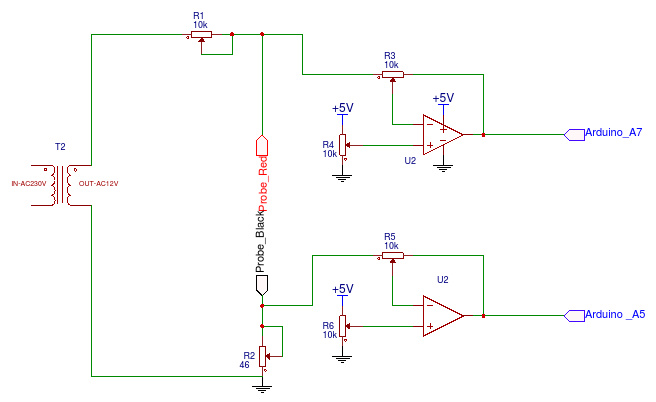
Tracker Version 1

The schematic is a updated version, with some compensation, and modification on it, I could reduce the short circuit difference, so the line is almost vertical on the screen, when the two probe is shorted.

The upper op-amp is the voltage sense (X axis on the screen), the lower op-amp is sensing the current, which is flowing through the measured component (Y axis on the screen).

Some picture about the Version 1

Tracker Version 1

Tracker Version 1

It is not too pretty, but it works well, for a beginner I recommend to start with this, because it is cheap, and after easier to improve. 

Version 2

The second version is basically a much closer producte what I really wanted to create, it is based on the Version 1, but I learned a lot from my mistakes. I wanted a multi range and pc compatible version with the stand alone usability without pc, so most of the time I can use it like a independent device, but if I have to I can save the curves to the pc as well. The development was long, it took me more than half a year, and a lot of money as well. I think it is worth all the time I puted in it.

Lets start show what I am talking about.
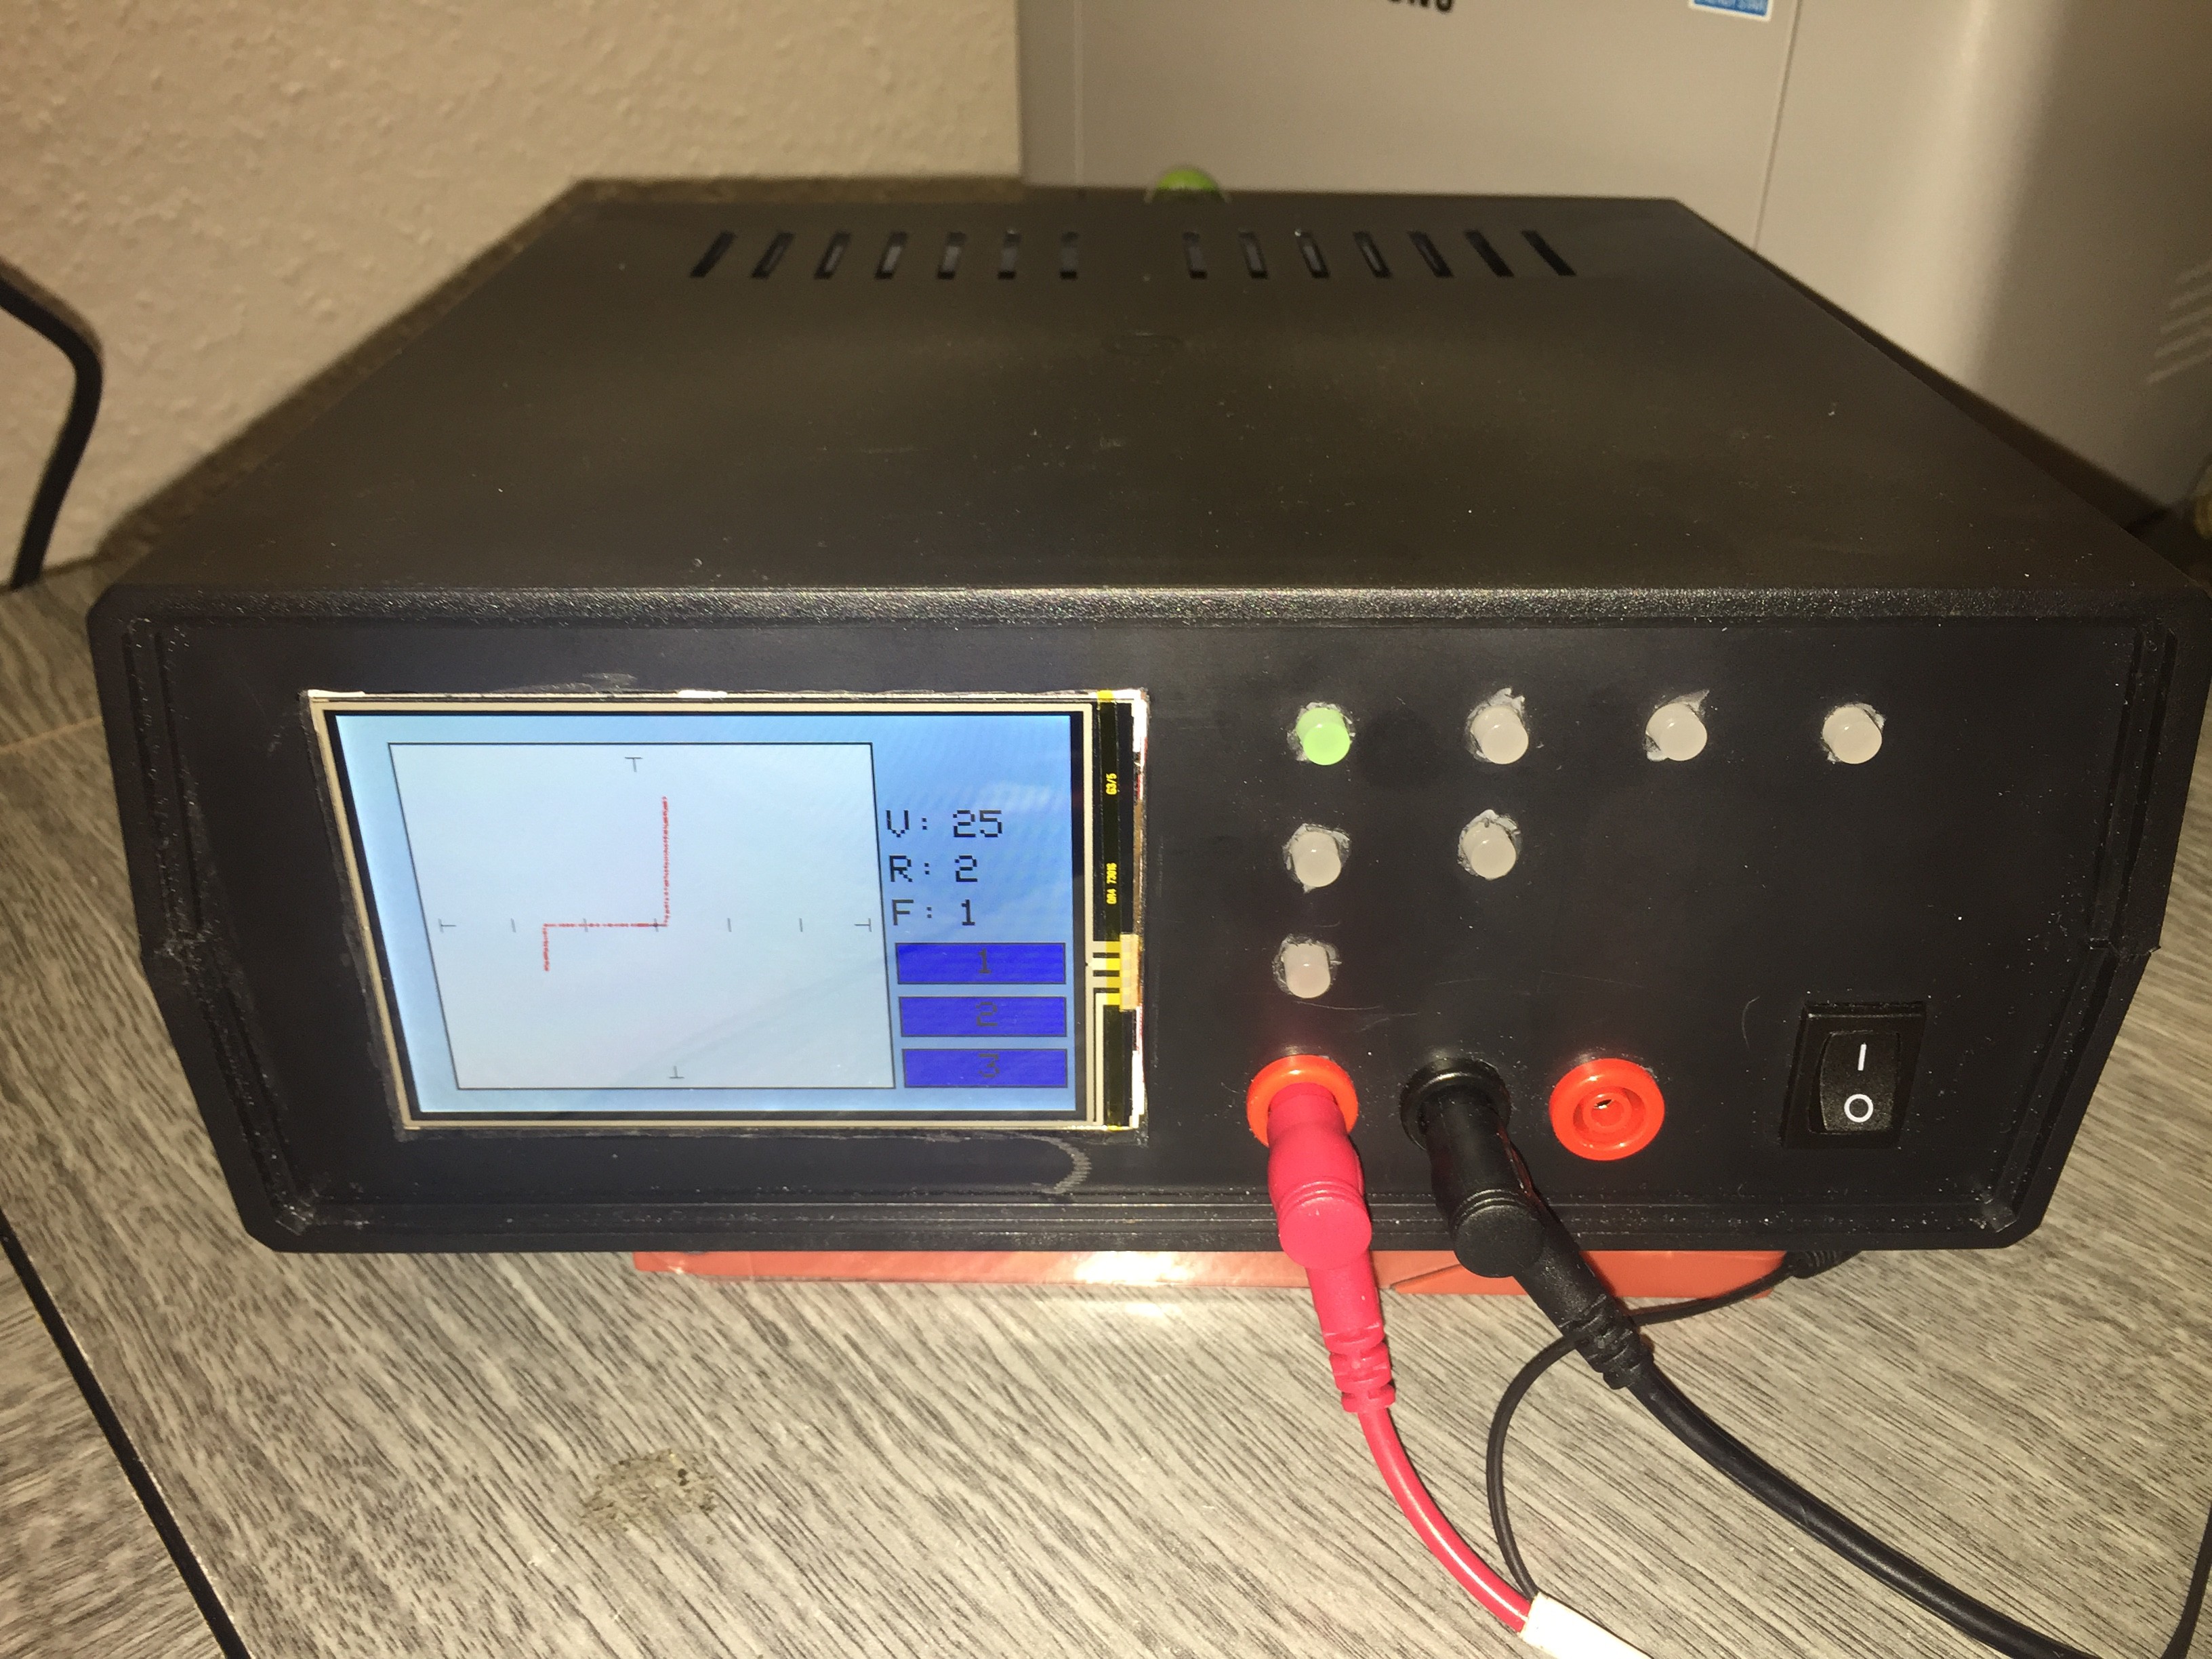
Tracker Version 2It has 25 voltage range, 5 resistance and 6 frequancy range. The screen is a 4" mcufriends tft touch screen, but in this operation I did not put any function on the touch screen. The Version 2 has two channel, it is more easier to compare curves at the same time.

The buttons light up when the actual function selected.

This device is much more complicated then the first version was, so I do not recommand a beginner to try to build this.

More info about this version you can find below at the log section.

Version 3

I started developing a new version after a couple months the Version 2 was finnished. This will be similar to the Tektronix TR210. It is basically the Version 2 without the screen and any pc connection option. For this version you need a dual channel oscilloscope, but I think it is not a problem for that who is looking these types of instruments. This version also open source, so everyone can modifie and develop it.

Version 3  have 6 voltage ranges, 6 resistance and 3 frequancy ranges, it also capable to measure two channel alternatly.
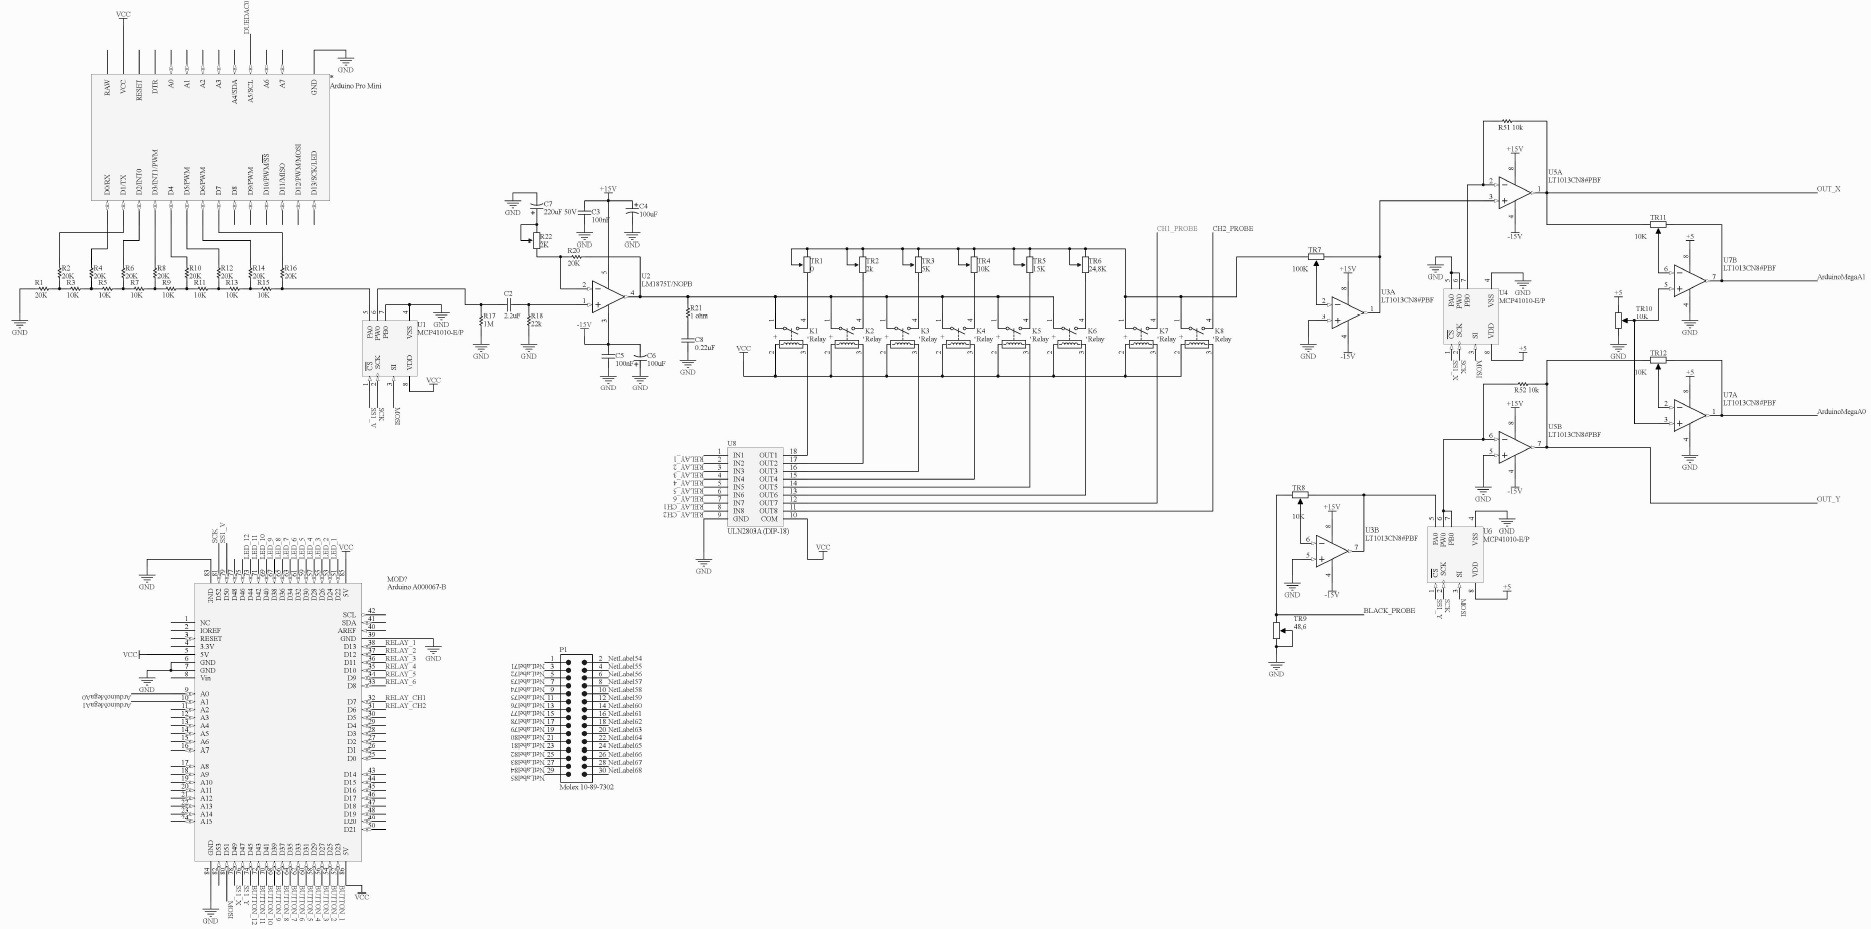
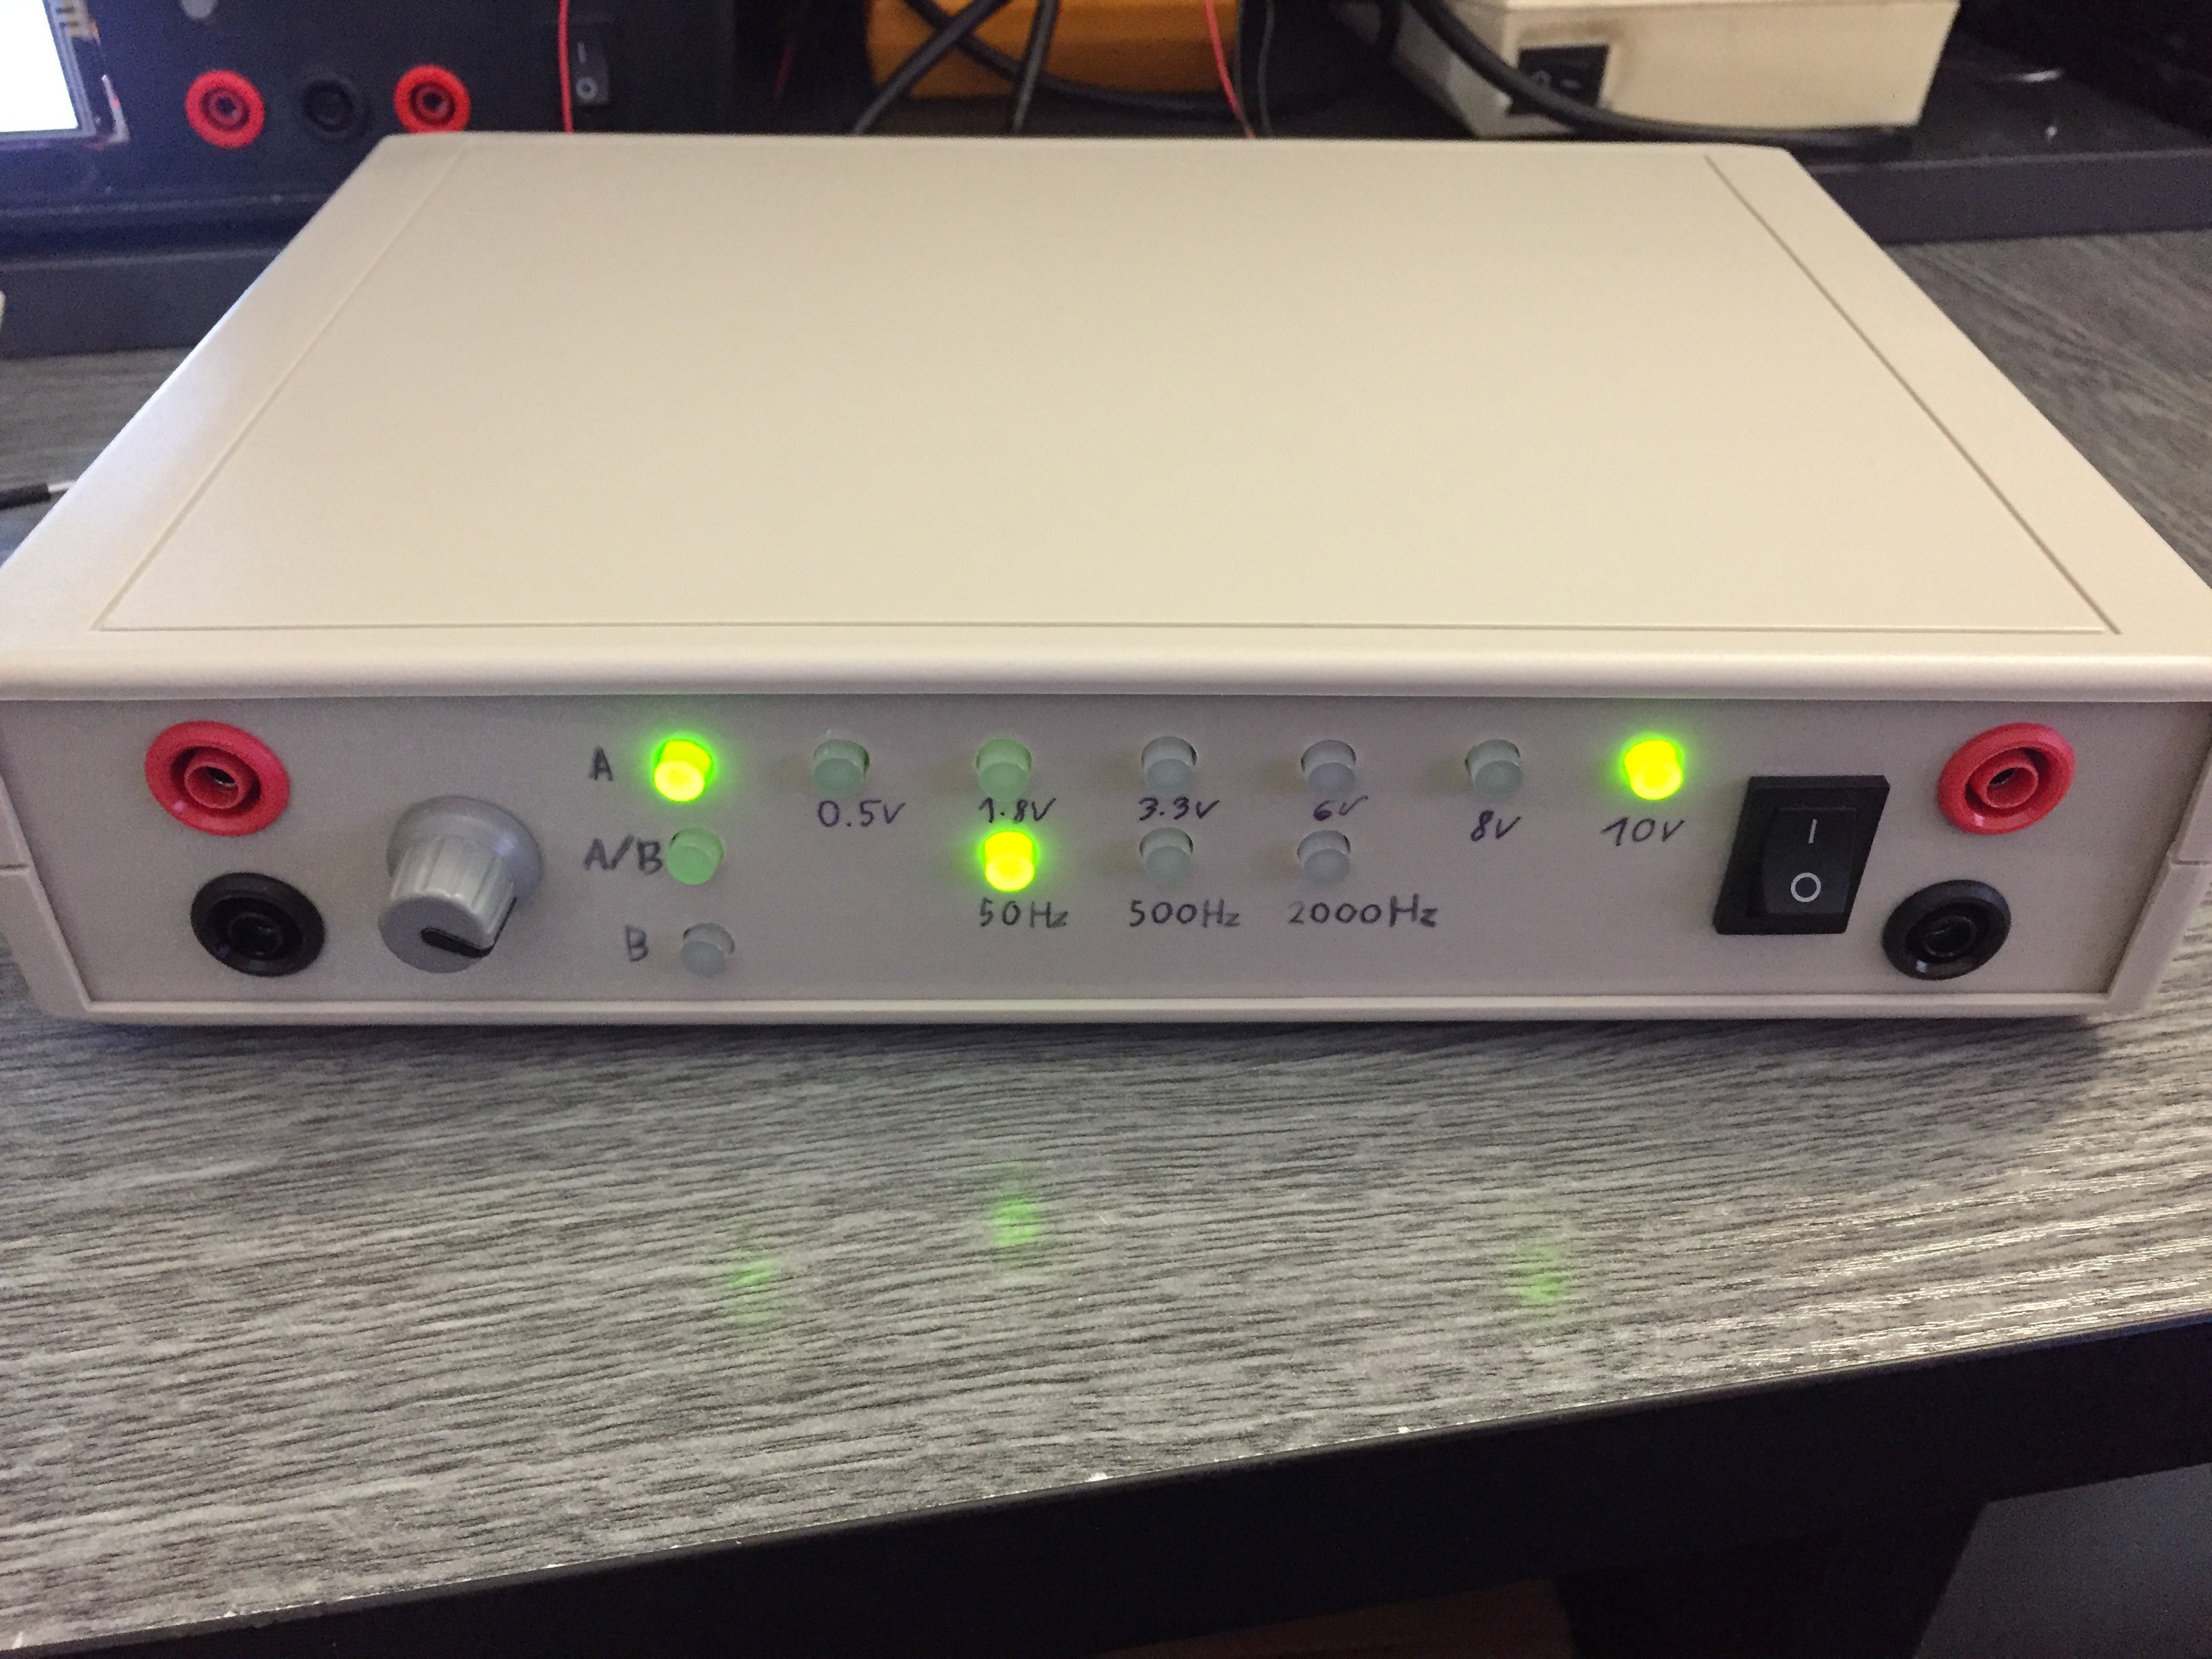
You can find the documentation at the download section.

A bit of explanation what the circuit will do. The arduino pro mini at the left acting as a Digital - Analog converter, so it is generating sine wave at variable frequency ranges. Next the signal is going to a digital potentiometer,...

Read more »
Schematic_Tracker_V3_2024-03-26.pdf

Adobe Portable Document Format - 213.77 kB - 03/26/2024 at 18:48

Preview

Curve Tracer V3.rar

RAR Archive - 45.34 MB - 08/04/2020 at 17:54

Download

Curve Tracer V2.rar

RAR Archive - 27.46 MB - 08/04/2020 at 17:54

Download

SCH-PSU R0004.pdf

Adobe Portable Document Format - 82.11 kB - 08/21/2018 at 20:52

Preview

SCH-PowerAmp R0004A.pdf

Adobe Portable Document Format - 76.06 kB - 08/21/2018 at 20:52

Preview

View all 12 files

  • The End

    Máté Tóth12/20/2022 at 13:54 0 comments

    This is the end of this project, what you find here is the only information I can give for you. I will not support this project anymore (I was inactive long time now so not a supprise).

    Please everyone handles the project informations with care, this is not an Instructable! You will not find step to step information about how to make these devices. Most probably you will need debugging and higher electrical skills to develop your own from this. Some of the libraries are updated since I have made my arduino code and the original code which is still posted here is may not work how it was intended to!

    Good luck for everyone!

  • Curve Tracer V5

    Máté Tóth06/15/2021 at 18:07 0 comments

    The time is here, although this is just an early prototype:

    A little while now I have started working on a new version of the original Curve Tracer series. Based on most of the feedbacks, everyone wanted to build the Curve Tracer V2, but because of the not so great documentation from my side it was not so easy.

    In the mean time I have managed to upgare my little home lab and right away started designing a better version of the original Version 2. 

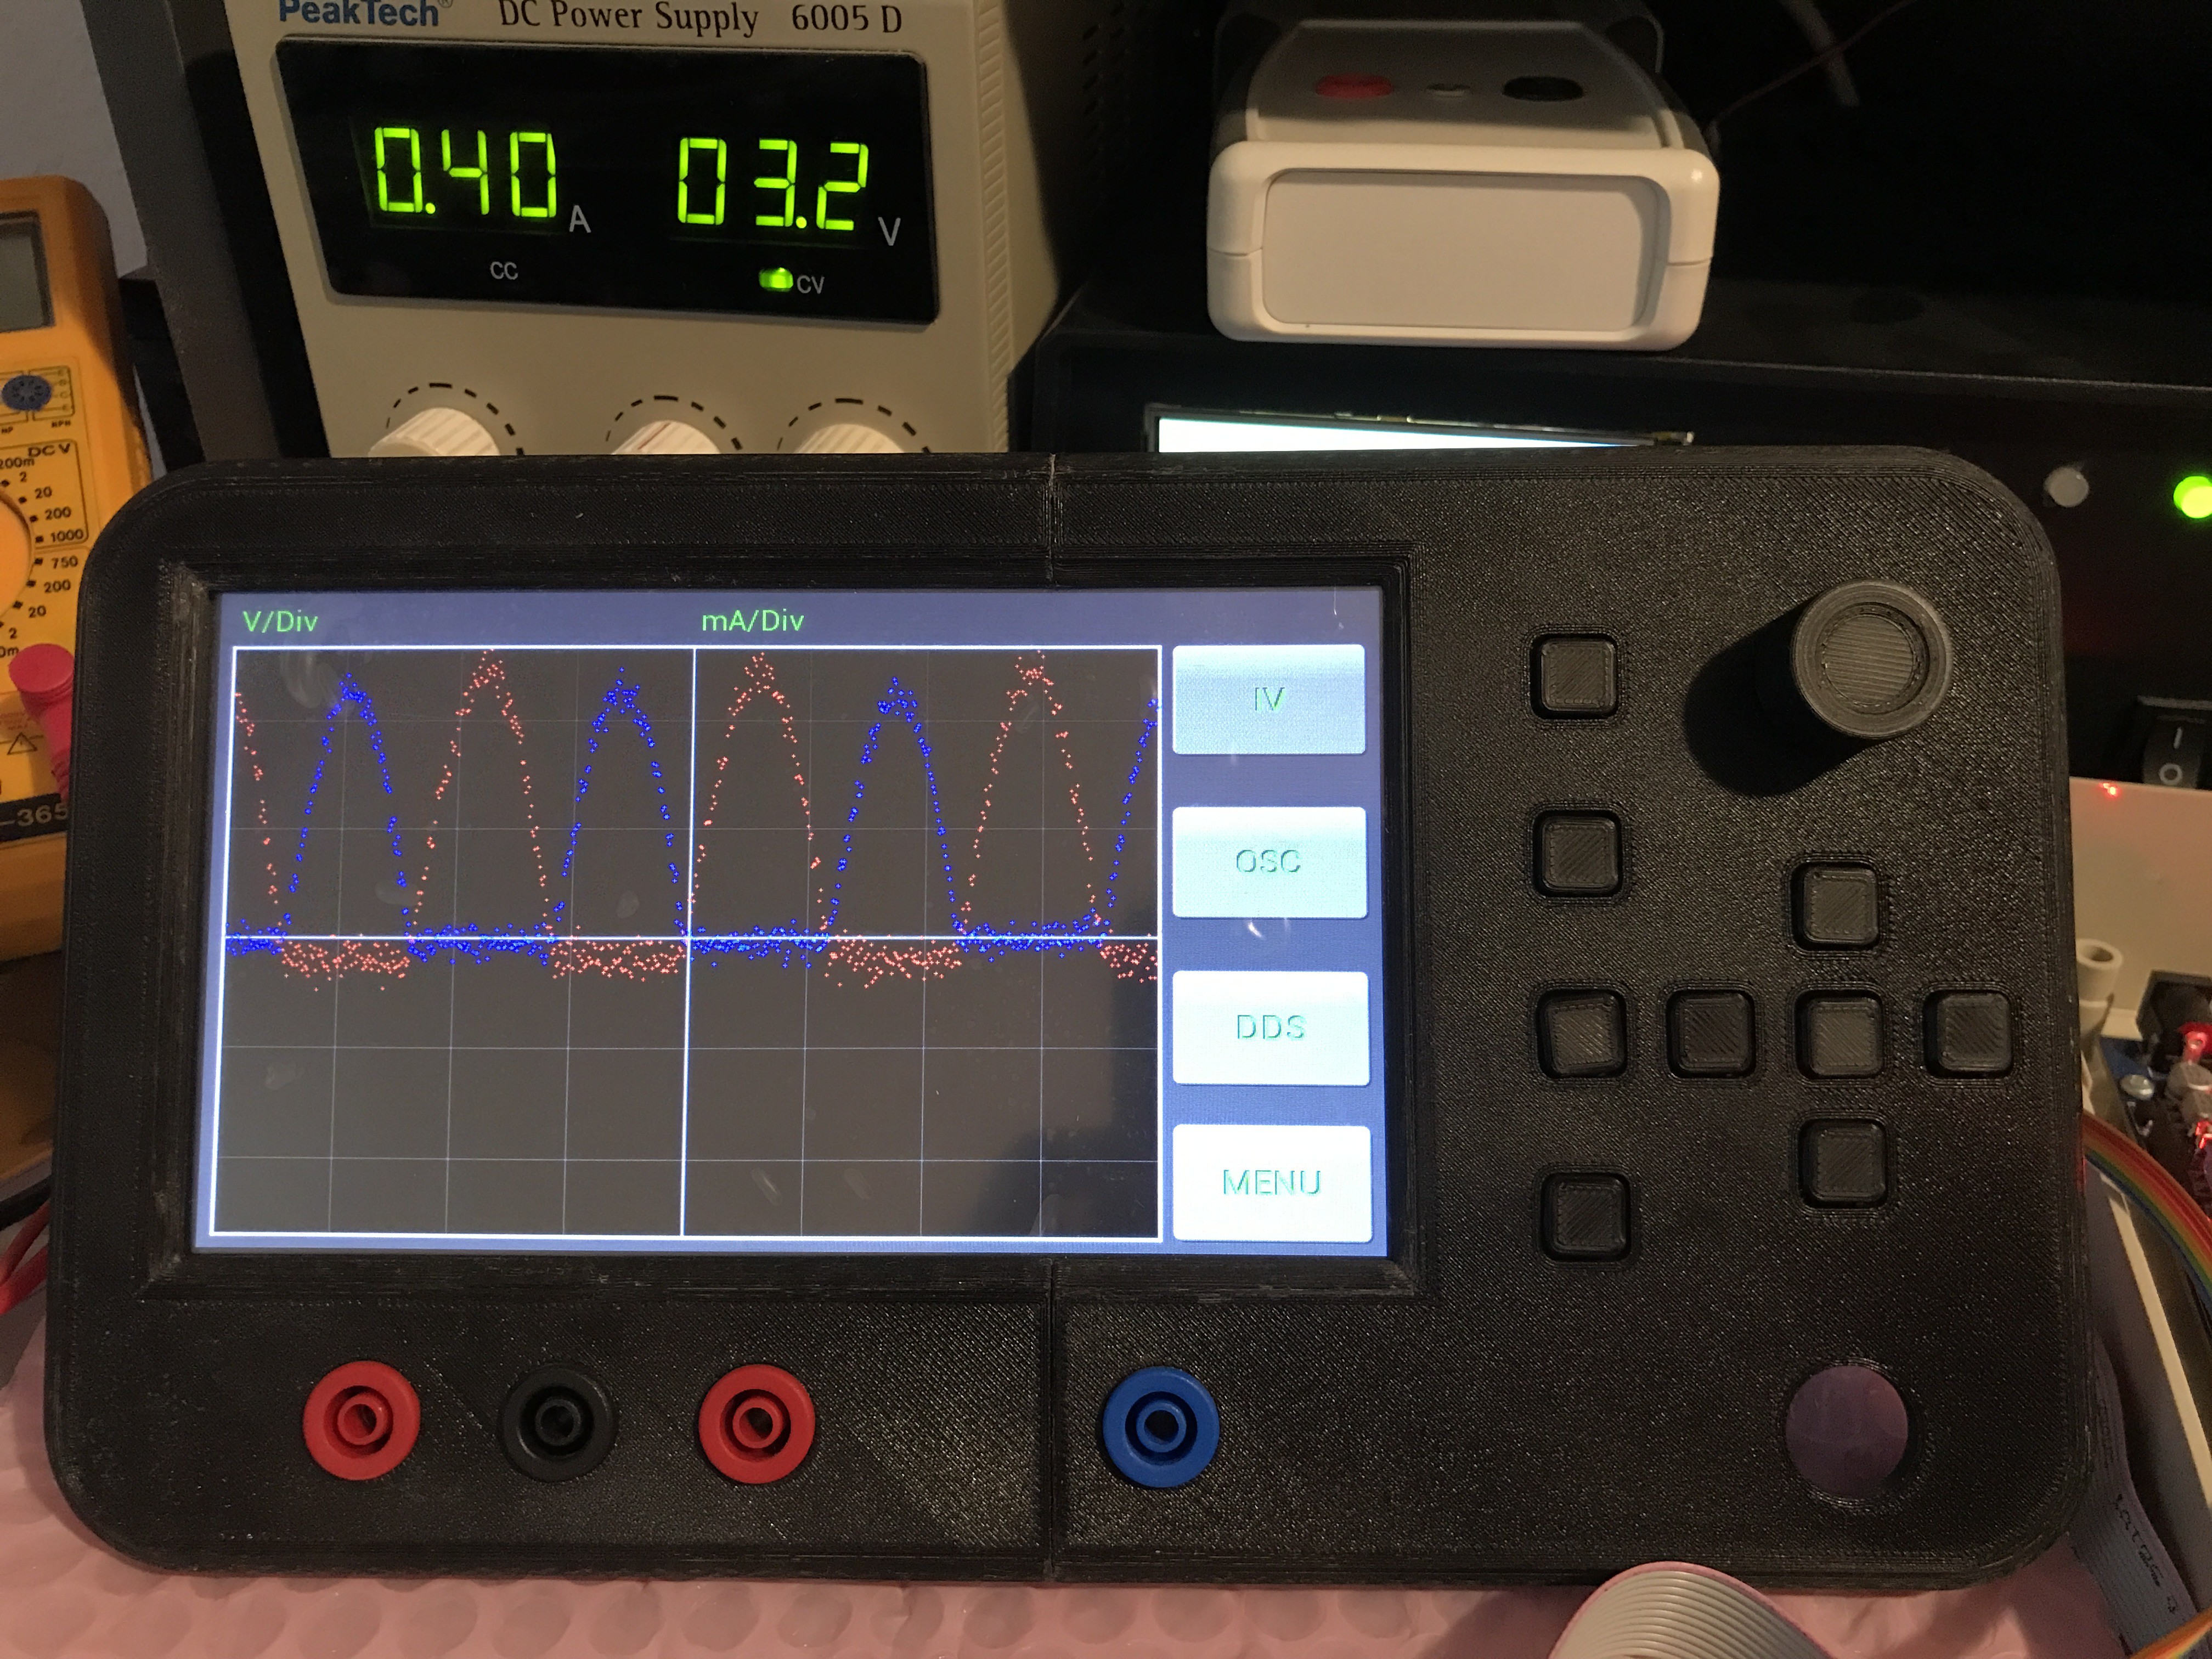
    My main goals was to improve the screen size with adding touch functions. Most of the mechanical designes are done as far as the front panel. The Version 5 has a 7" lcd with touch, which improves the look of the instrument.

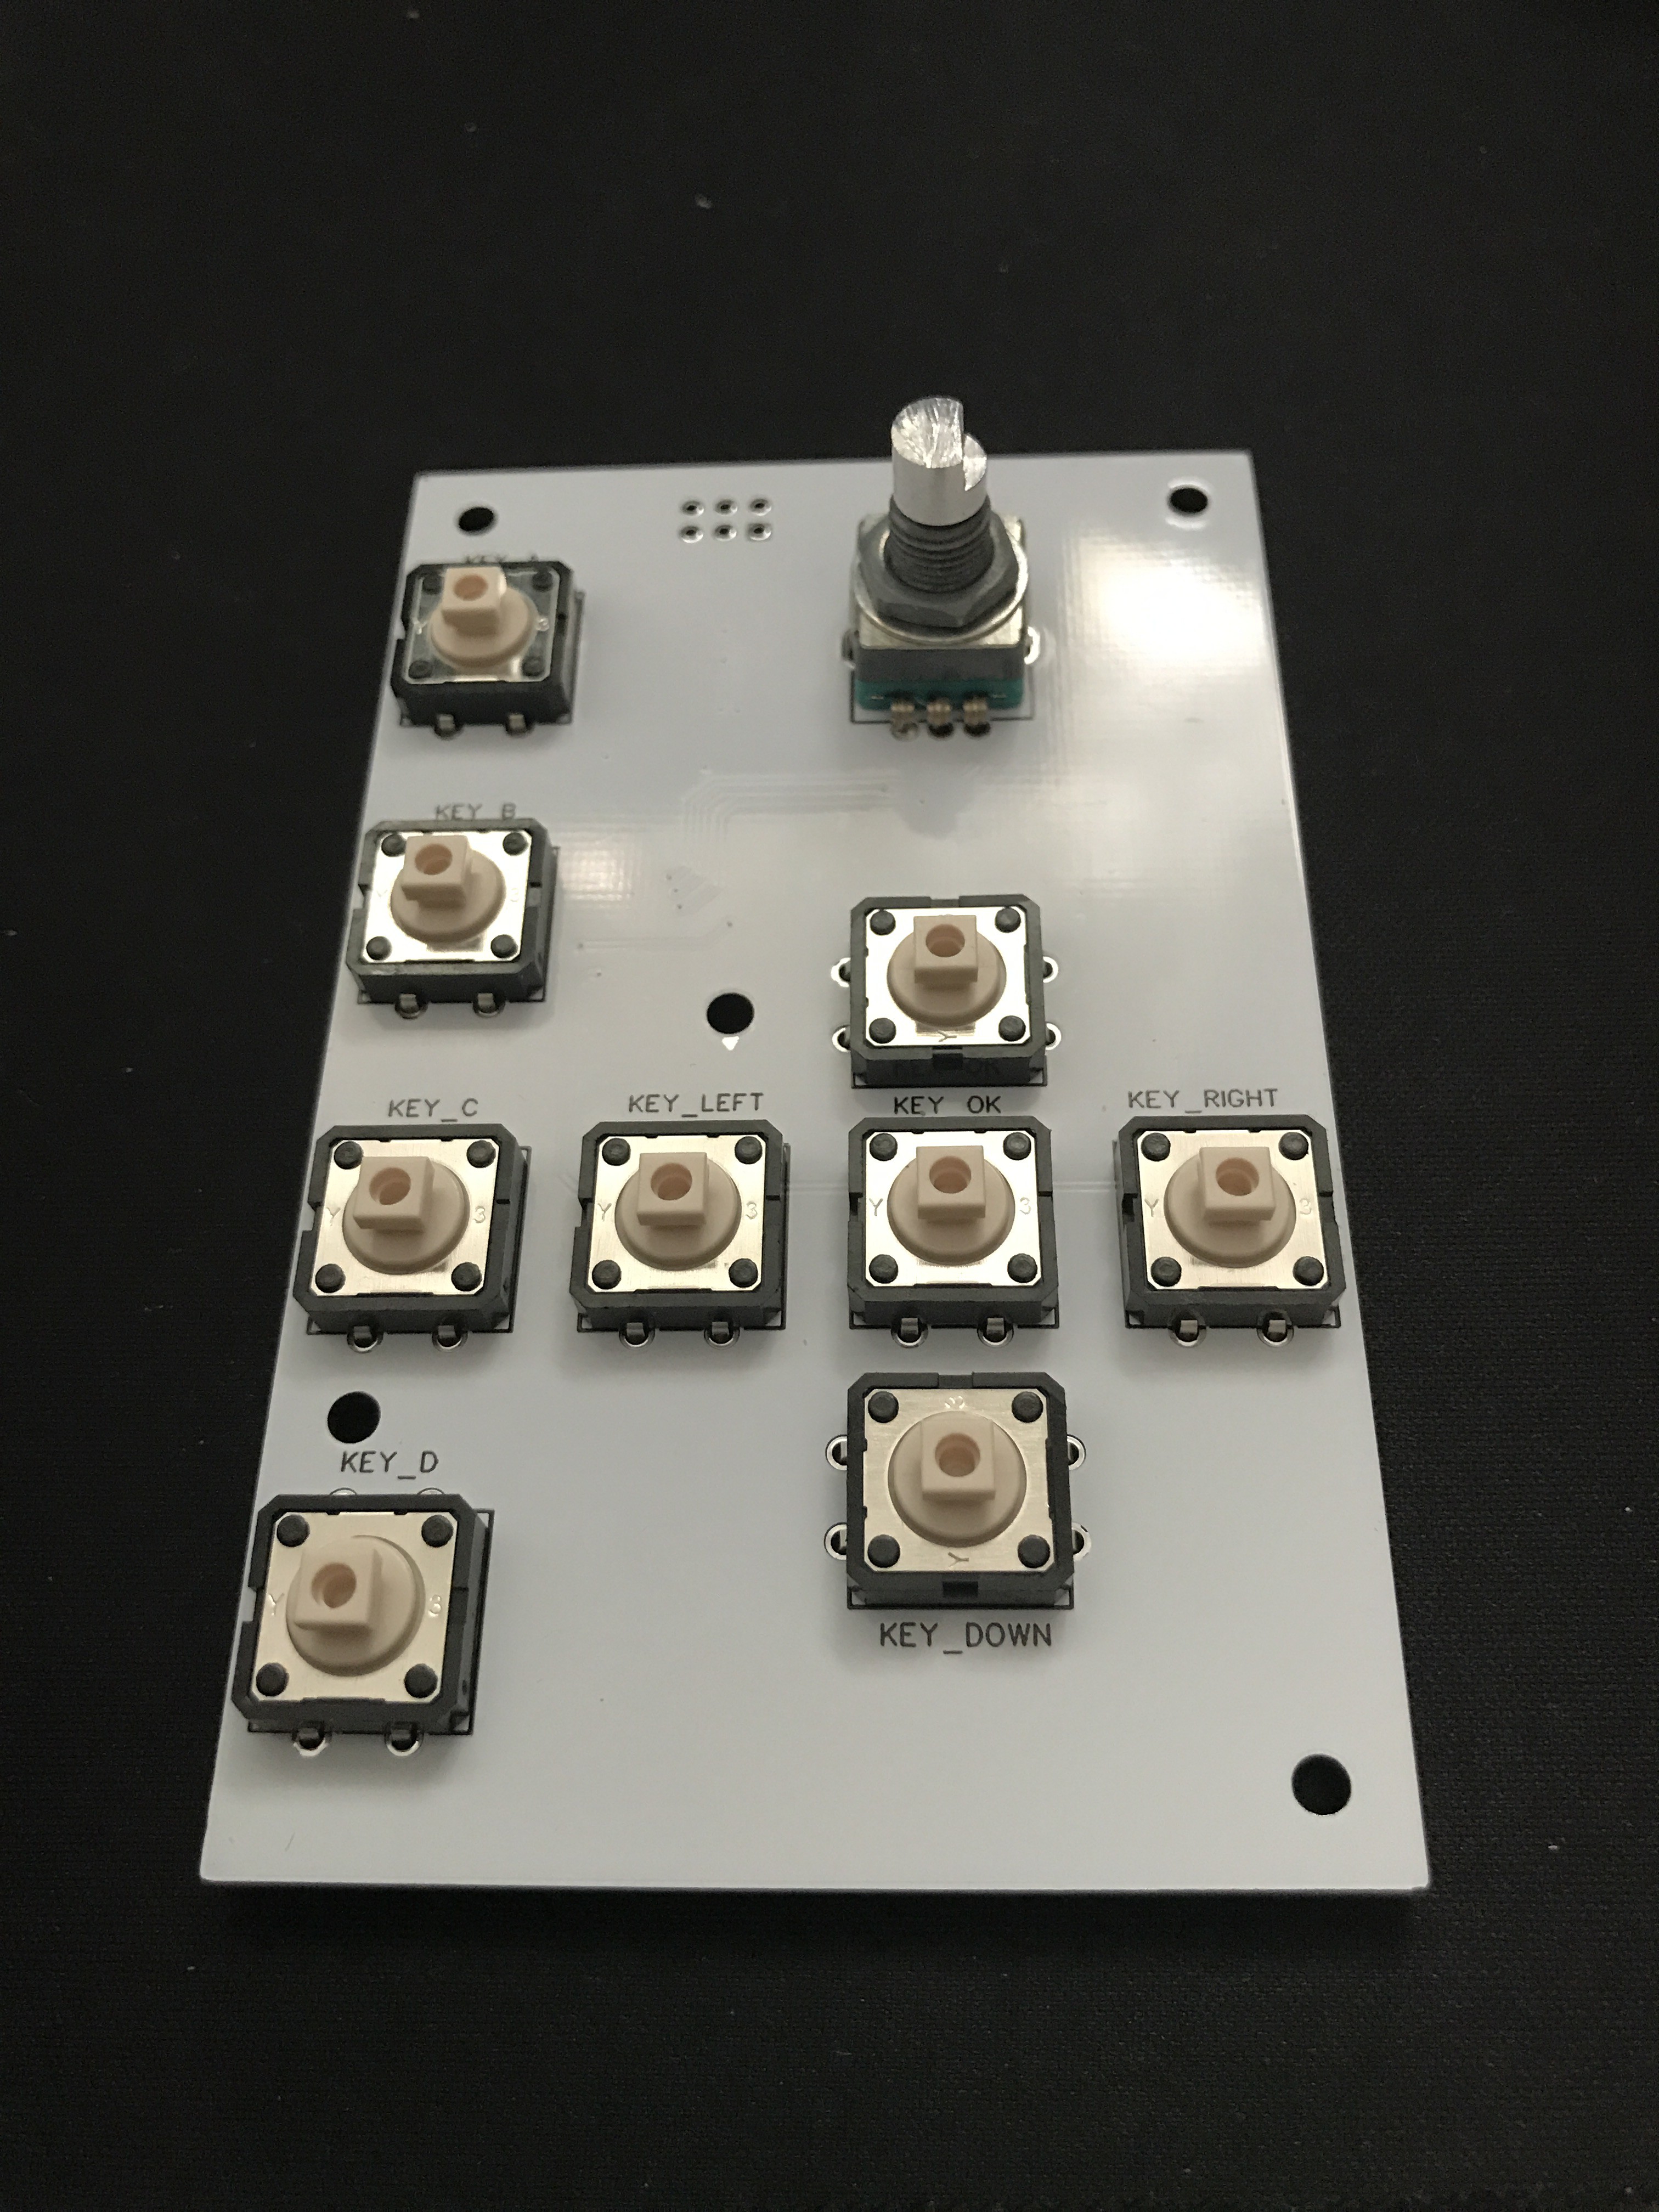
    I know not everyone likes touch functions, so I aslo added a keyboard woth an encoder wheel.

    This is my first PCB which I have ever finnished from designe to manufacturing. :D

    The analog part is still under development and in designe phase, but there will be not really new stuff in it since SUF and I managed to develop 4 previous versions of Curve Tracers.

    The software also in very early stage so please not expect to much from it on the below video.

    For the end please watch a little demo of the early demo of the Version 5 Curve Tracer:

  • Current state in pictures

    SUF10/02/2018 at 06:38 0 comments

    There are many things happened since my last real project log.

    In the V4 almost all of the controls are working with PC control: -frequency, amplitude, current control resistance, DUT switching and alternating.

    The only thing left until the equipment start to work as expected is the measure amplifier control. On the other side I've long road ahead.

    The planed roadmap (without dates):

    - Measure Amp (milesetone, the equipment works with external XY oscilloscope)

    - ADC control software

    - Measurement display on PC

    - Add SS1963 based 5" display

    - LAN board

    - USB Flash

    - SD card

    - Finalized MCU board

    - Front panel control test

    - Front panel board design

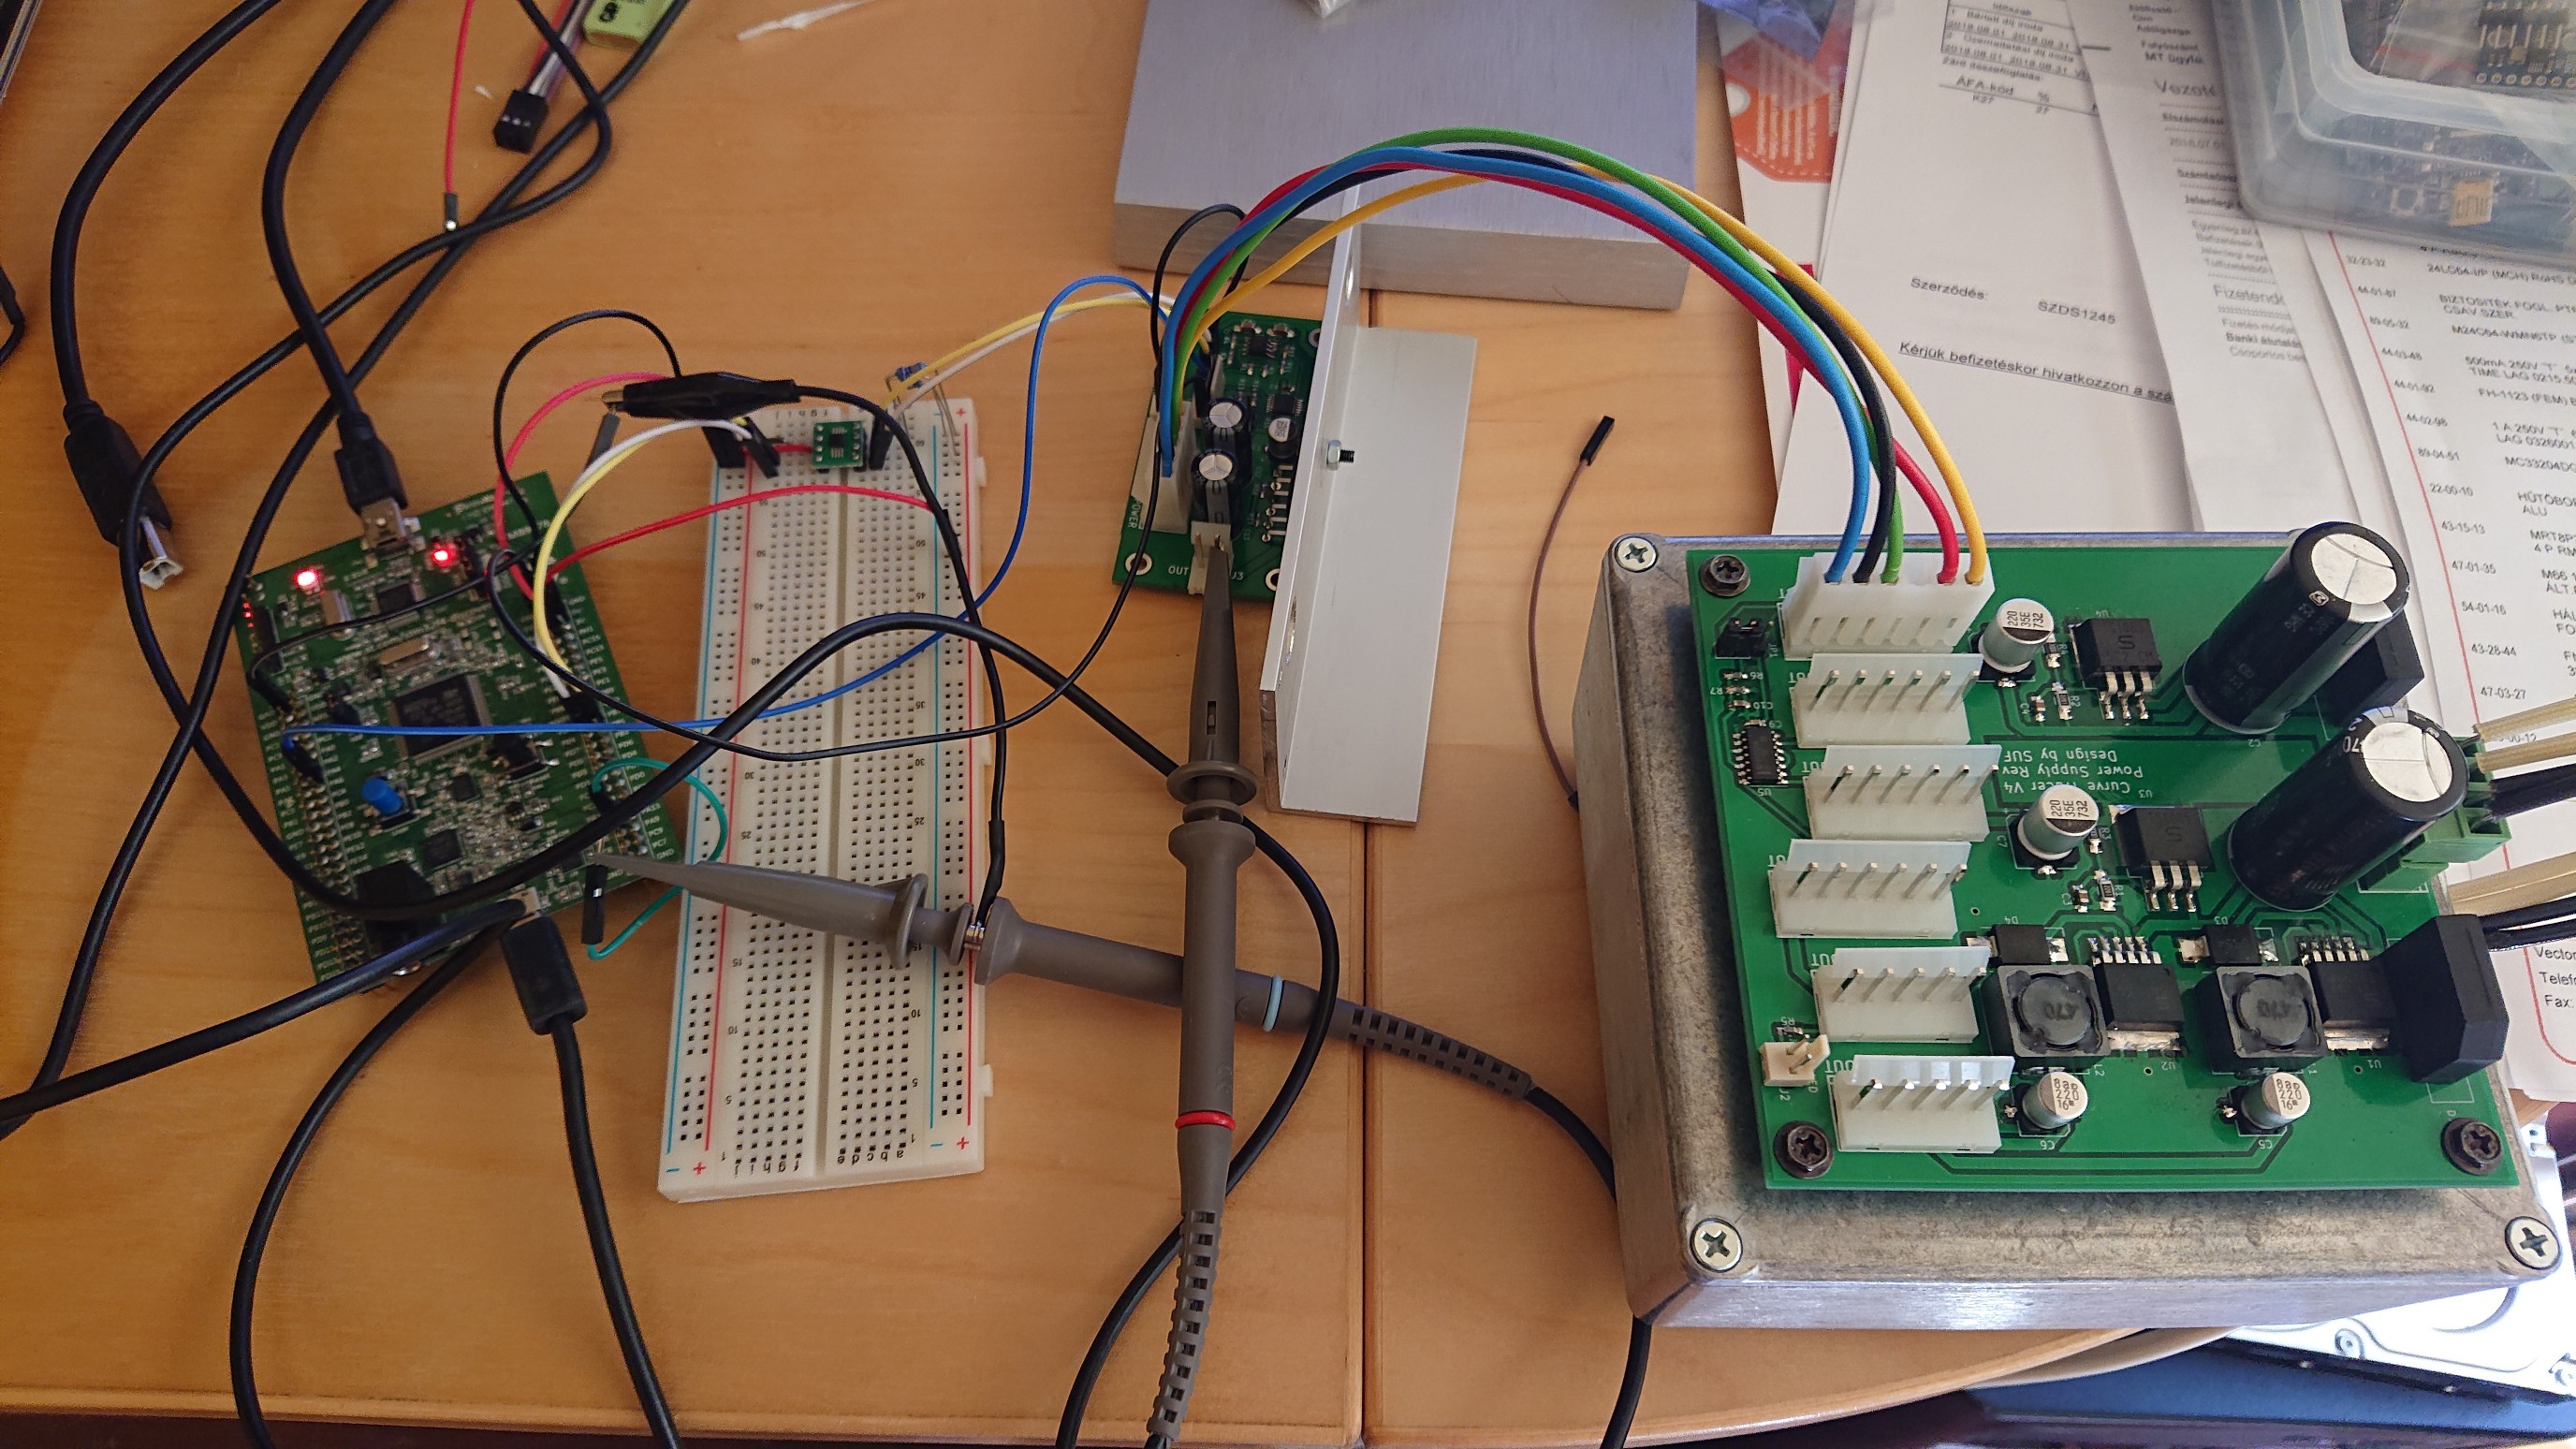
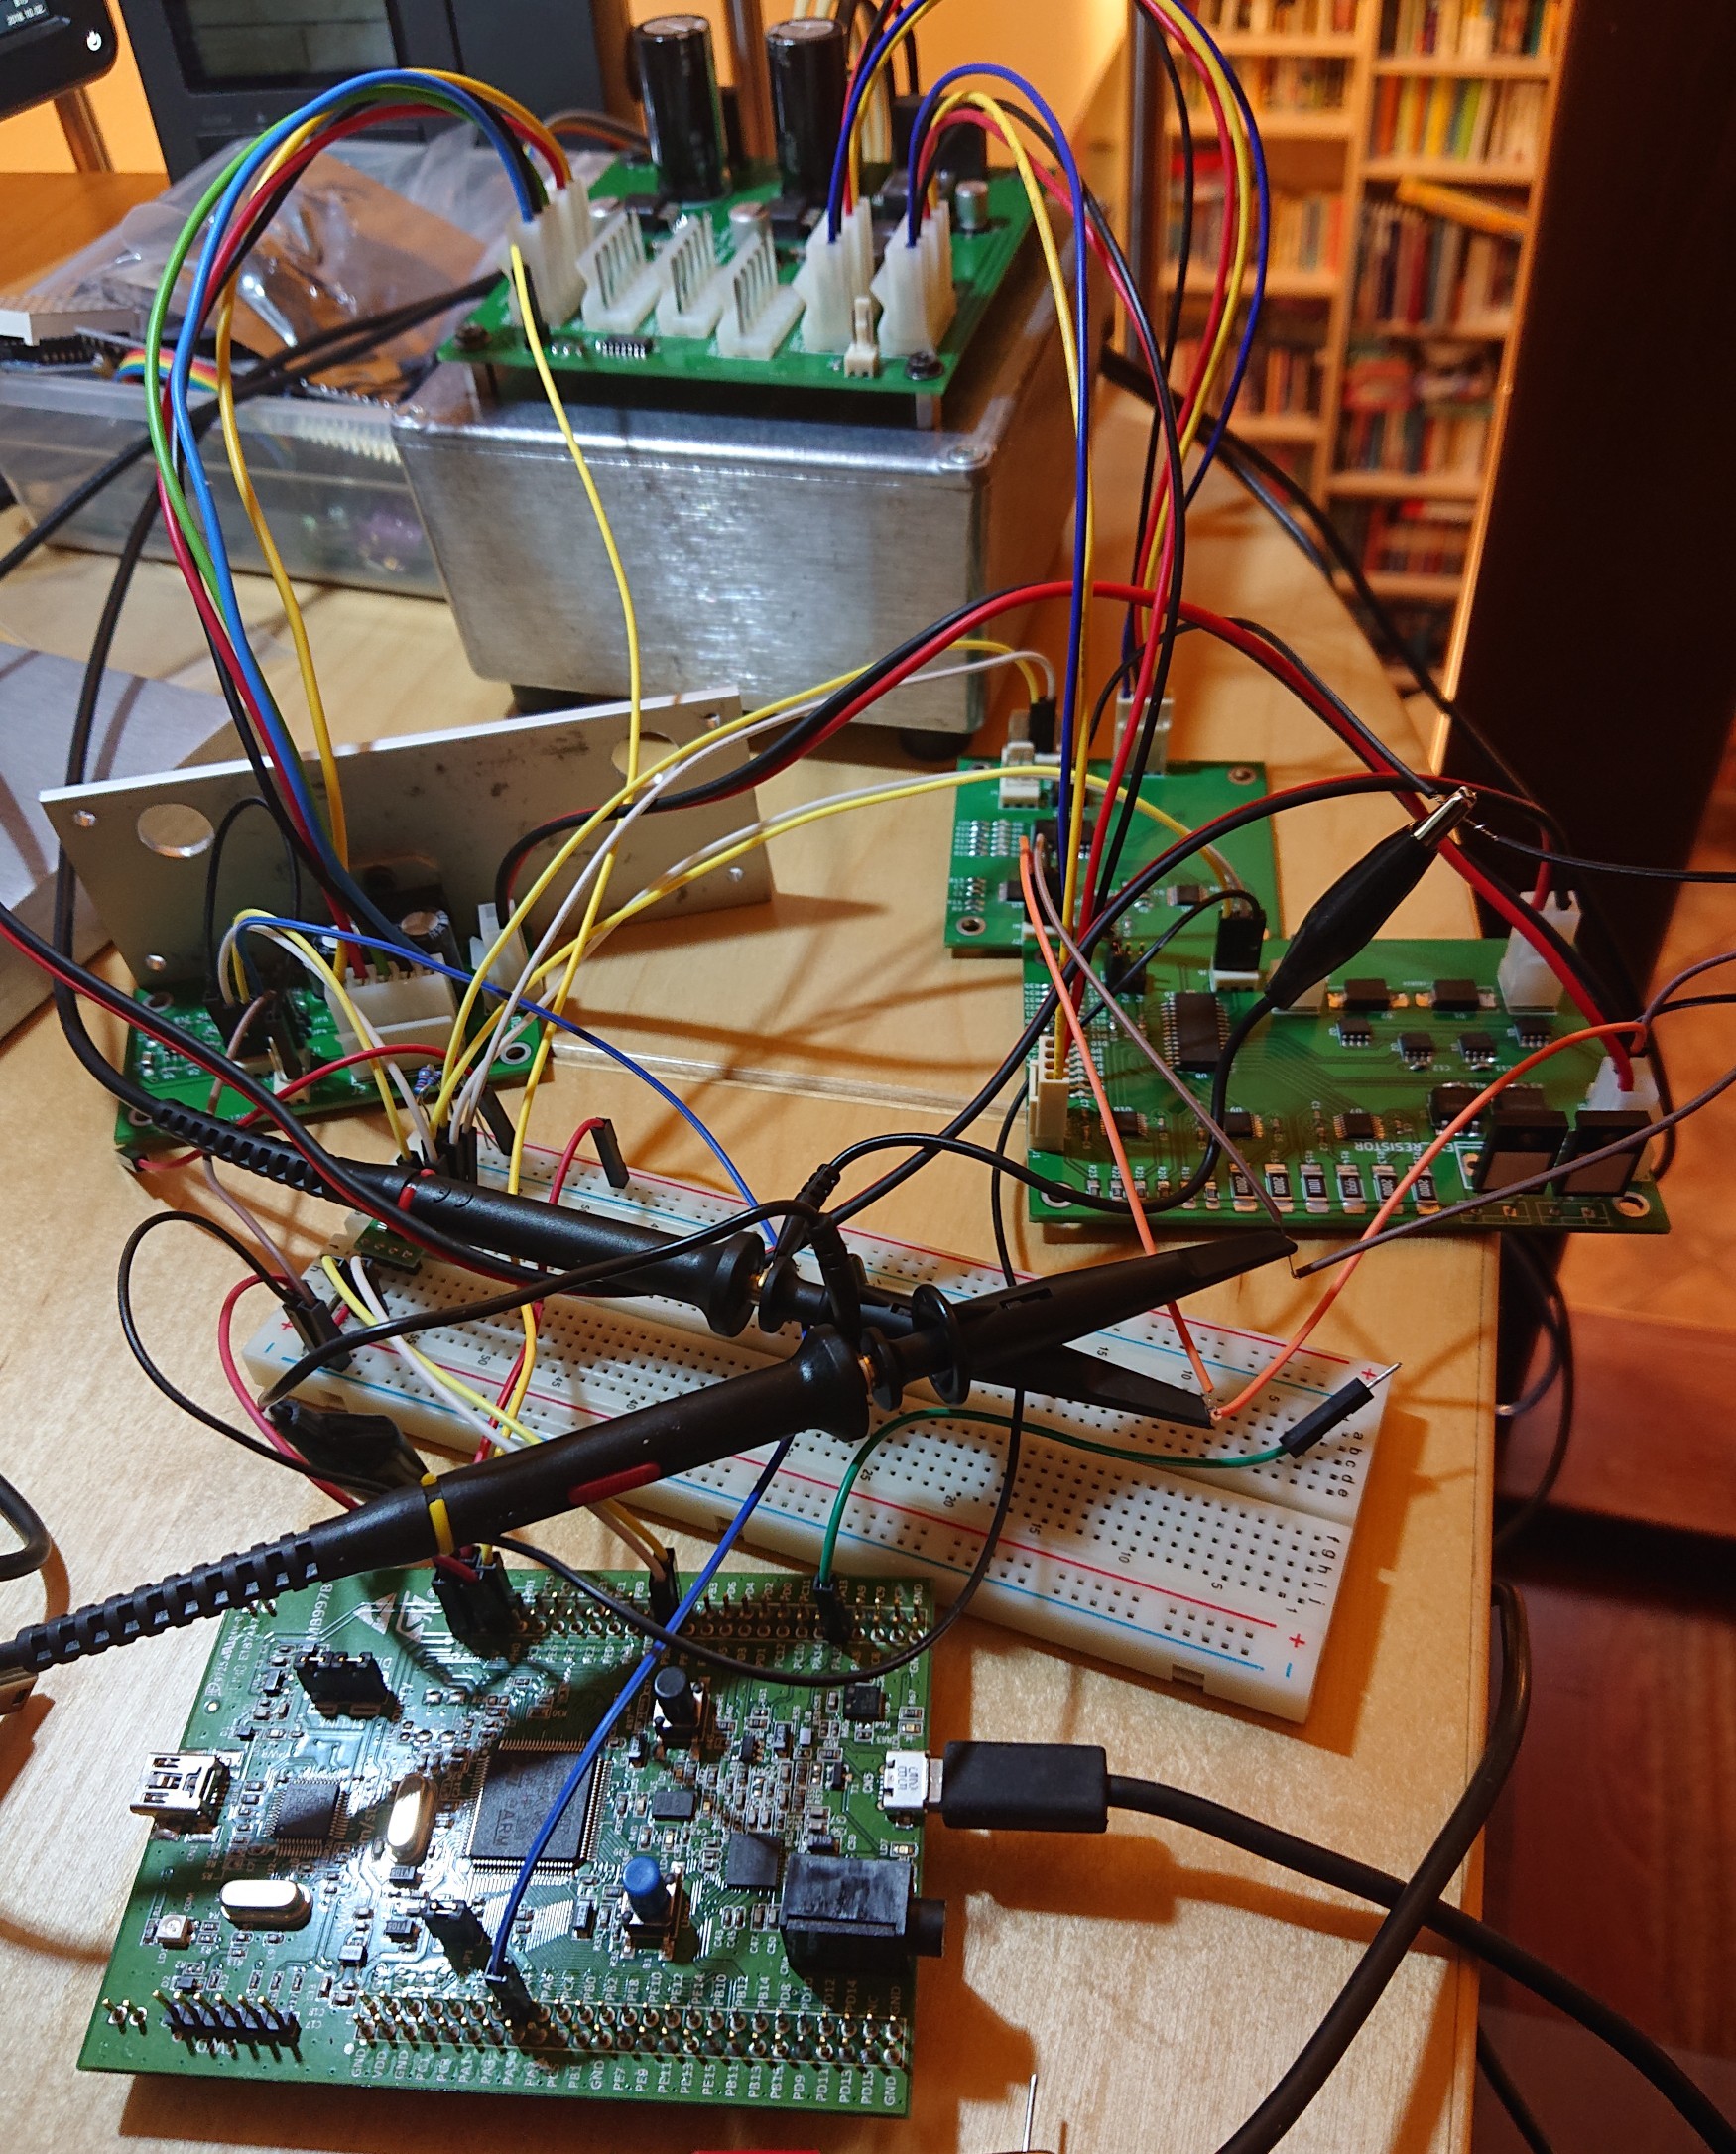
    Until those, here are few pics made during the development:

    Arrived boards:

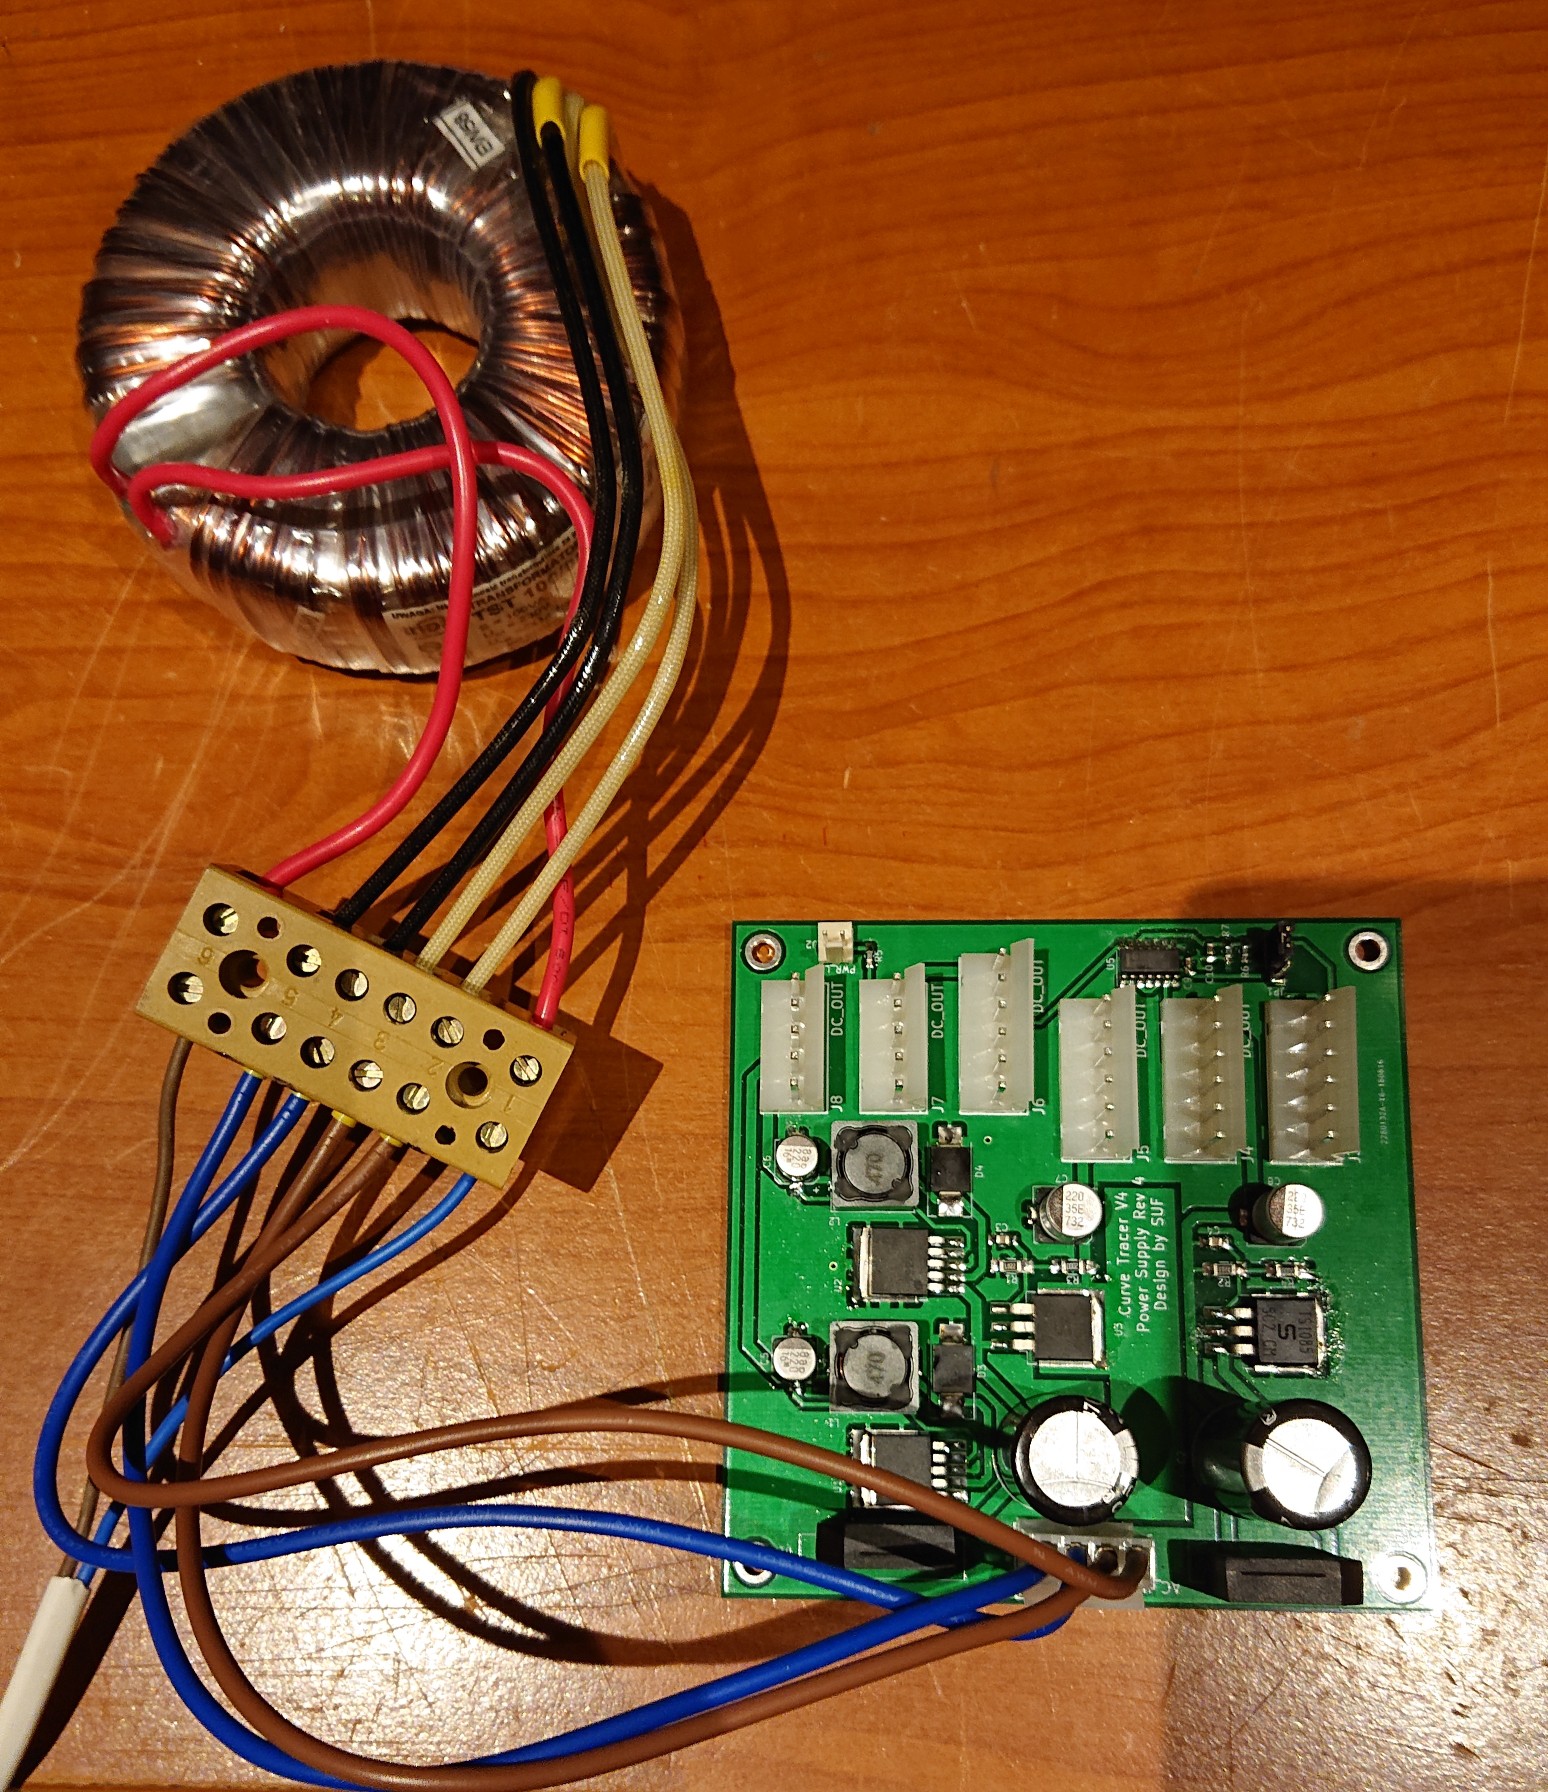
    Finished PSU:

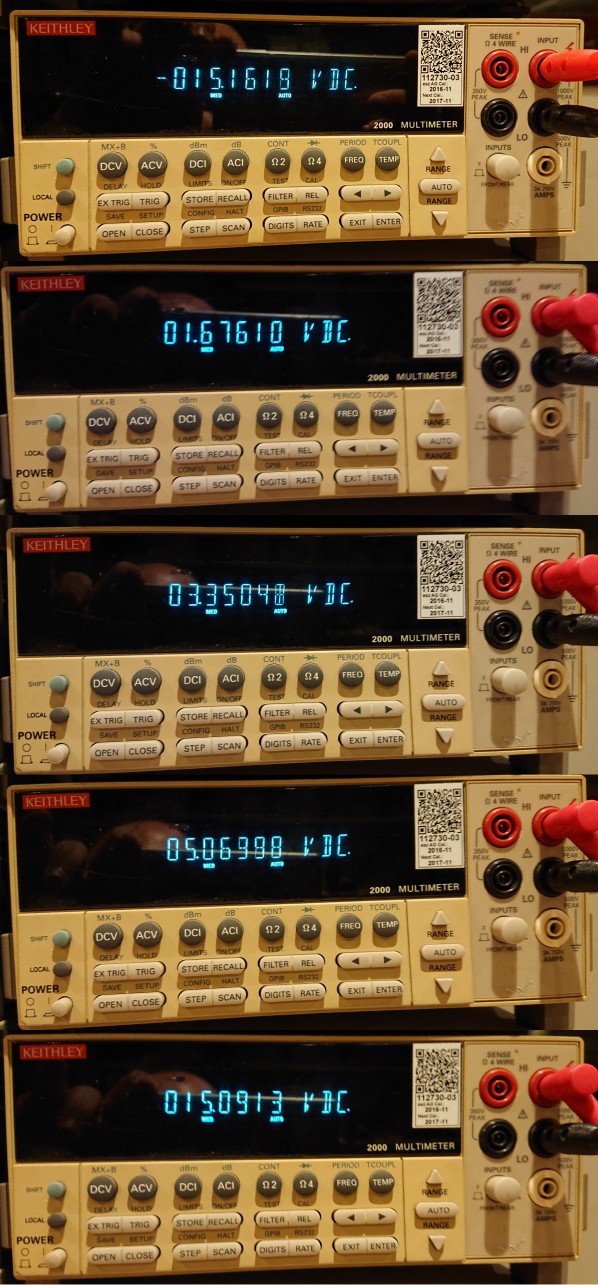
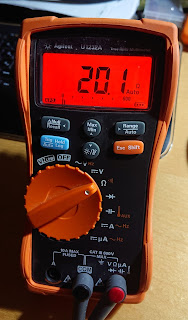
    The PSU measured output voltages:

    Power Amplifier built:

    Almost all of the analog electronics + the MCU dev board:

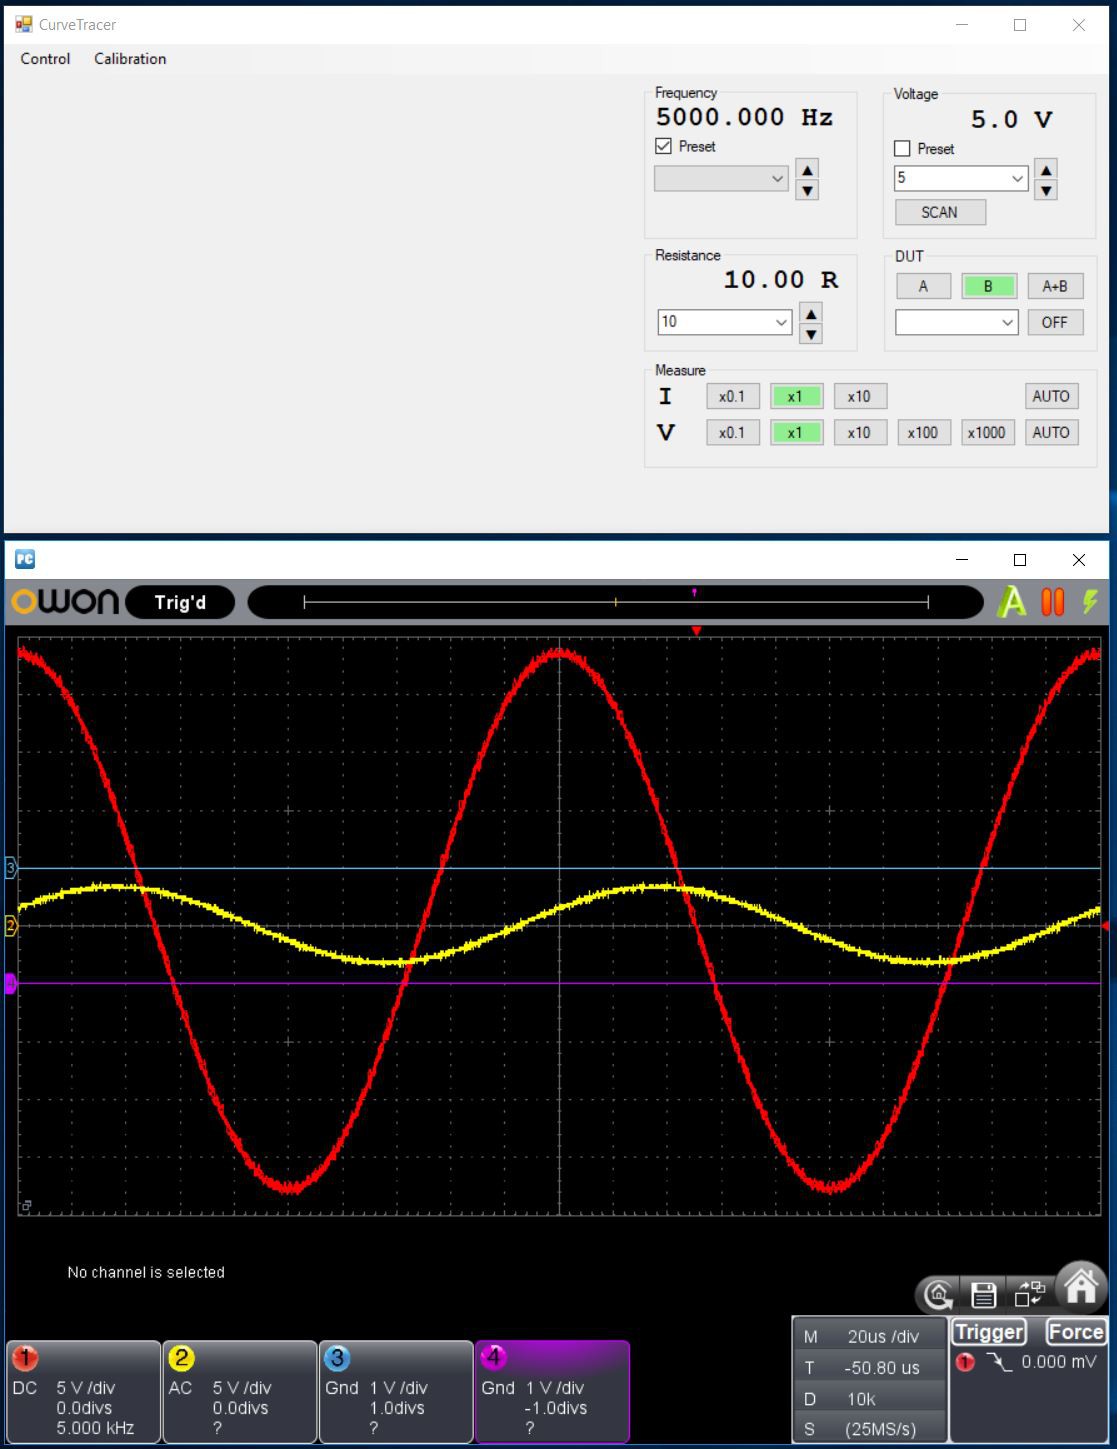
    Mesaure the phase shifting of a 22uF bipolar electrolytic capacitor:

  • Repository

    SUF09/26/2018 at 07:46 0 comments

    It is just a quick note. I made the source control repository publicly available. You can find it here:

    https://gitlab.com/suf/curvetracer/

    Please be aware. The hardware designs, firmware source, PC software source is under heavy development. Every commit goes to the master branch. No reason to switch to any kind of branching model (gitflow for example) yet.

    Please do not use the repo for building the instrument. It WILL NOT WORK!!!

    The repository is there for two purposes:

    1. Support our development effort.

    2. Give some outlook about what we want to achieve.

  • Fake in China

    SUF09/13/2018 at 20:23 0 comments

    I'm continuously working on this Curve Tracer in my spare time. I designed a Vishay VO14642 photovoltaic SSR into the circuit. It is quite a nice, but pricey device.

    I thought why not try to order it from Aliexpress. For control I also ordered a few from Mouser.

    Both devices on the same board:

    The original on the left

    The fake measured

    The original measured

    This device should have 0,25 Ohm maximum on resistance. 

  • Boards, MCU change

    SUF08/21/2018 at 21:25 0 comments

    This log is intend to be a small status update without deep explanation of circuit or software description.

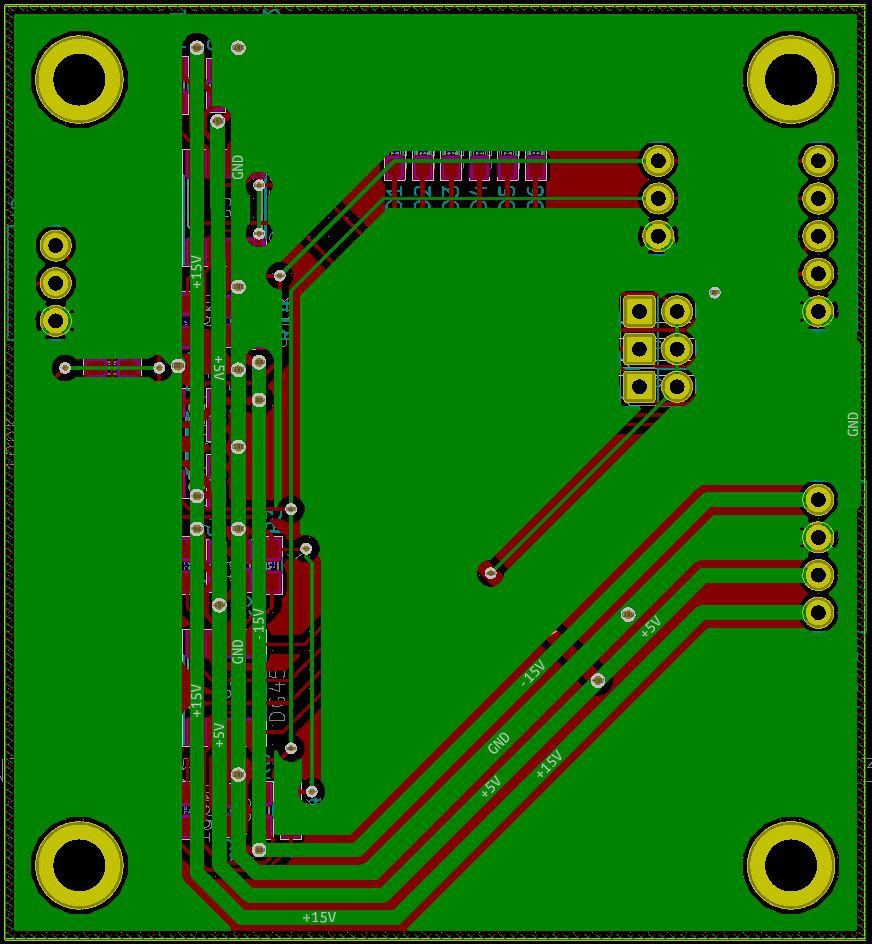
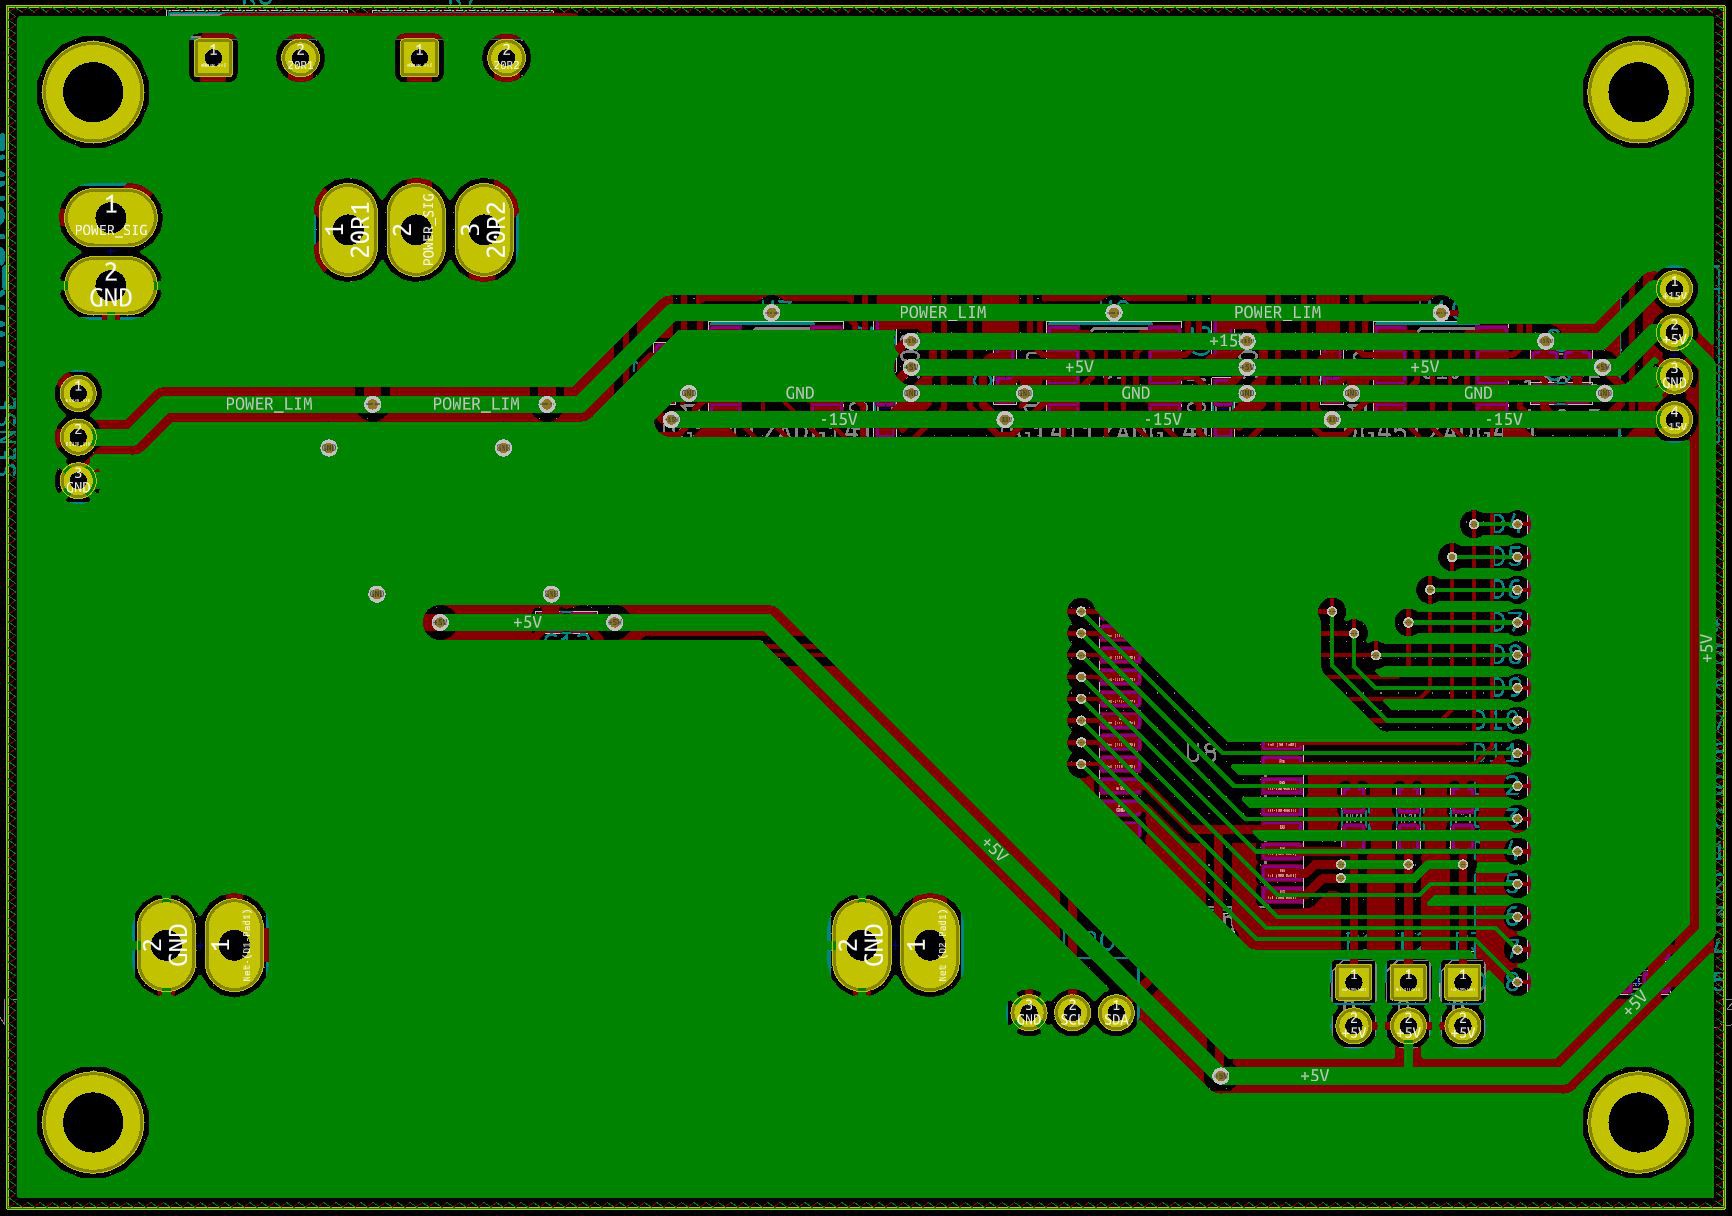
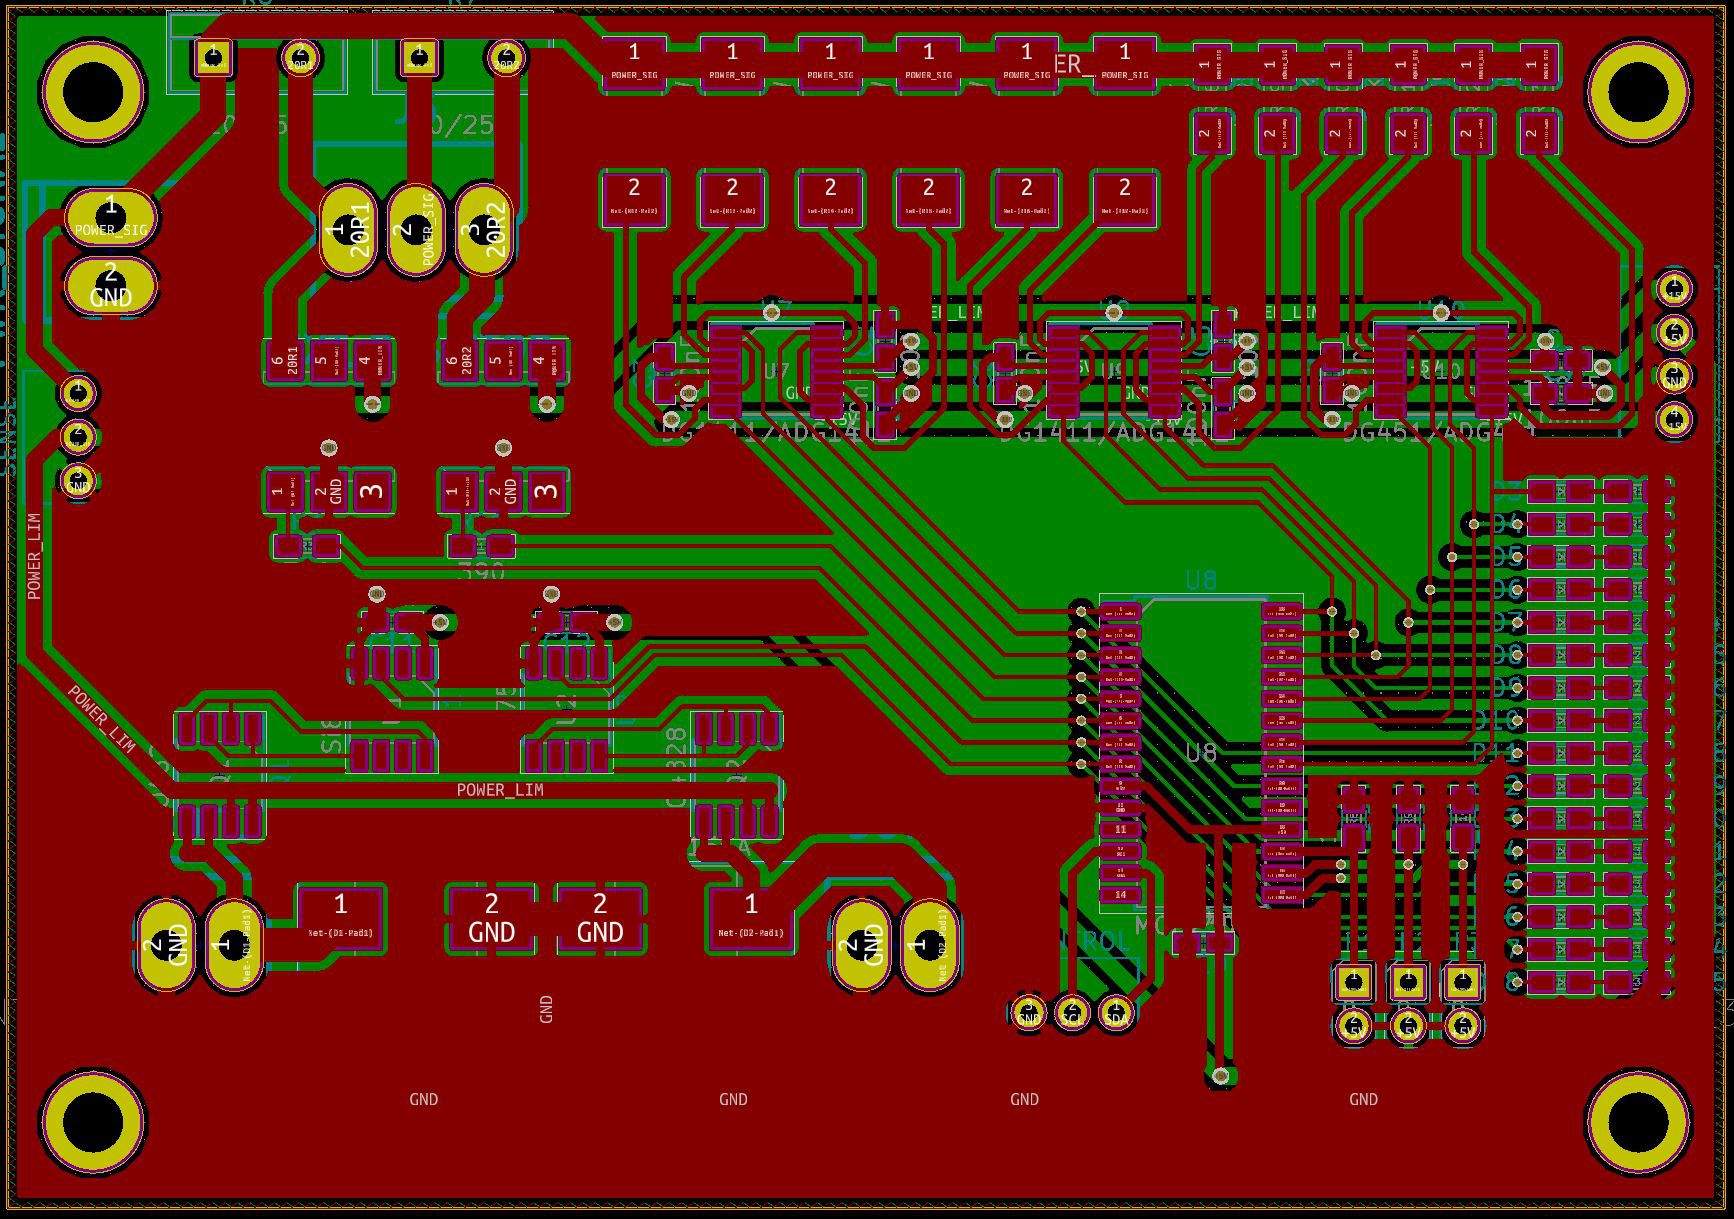
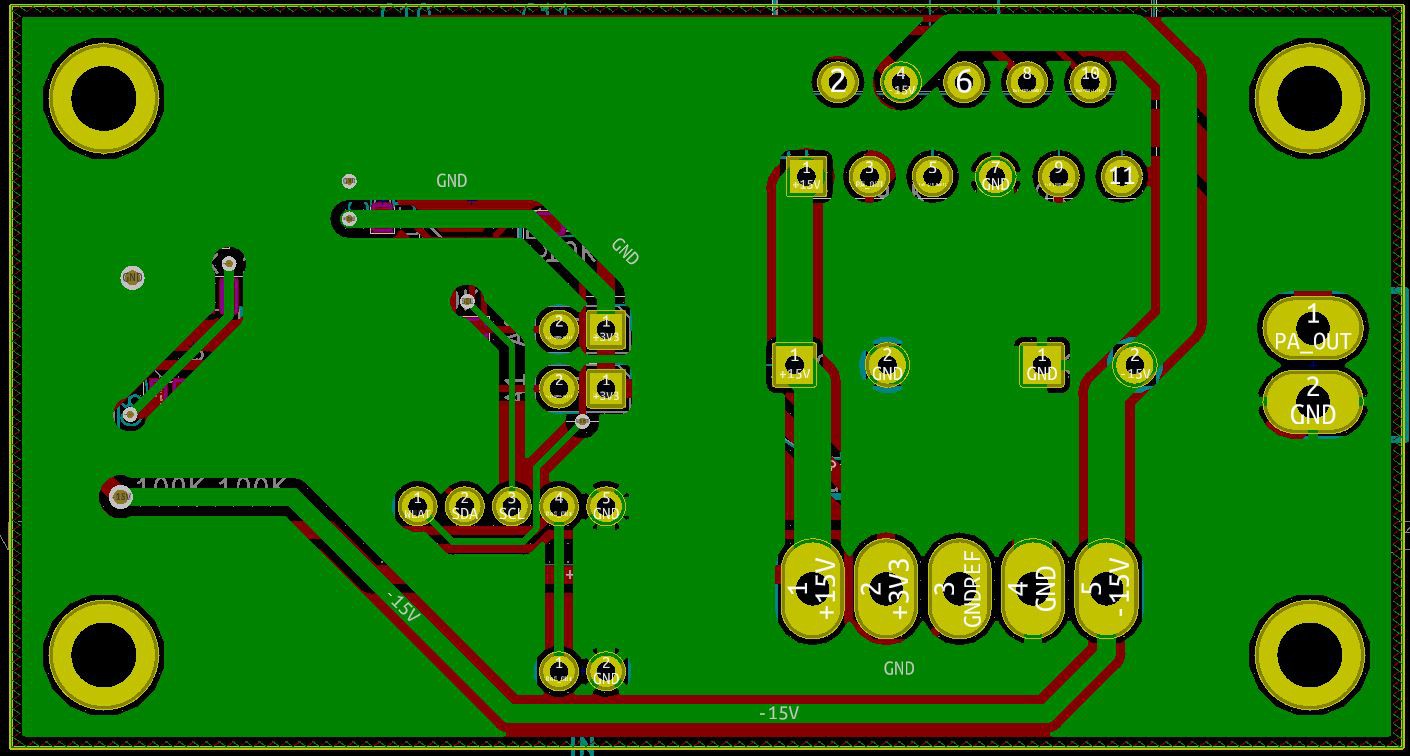
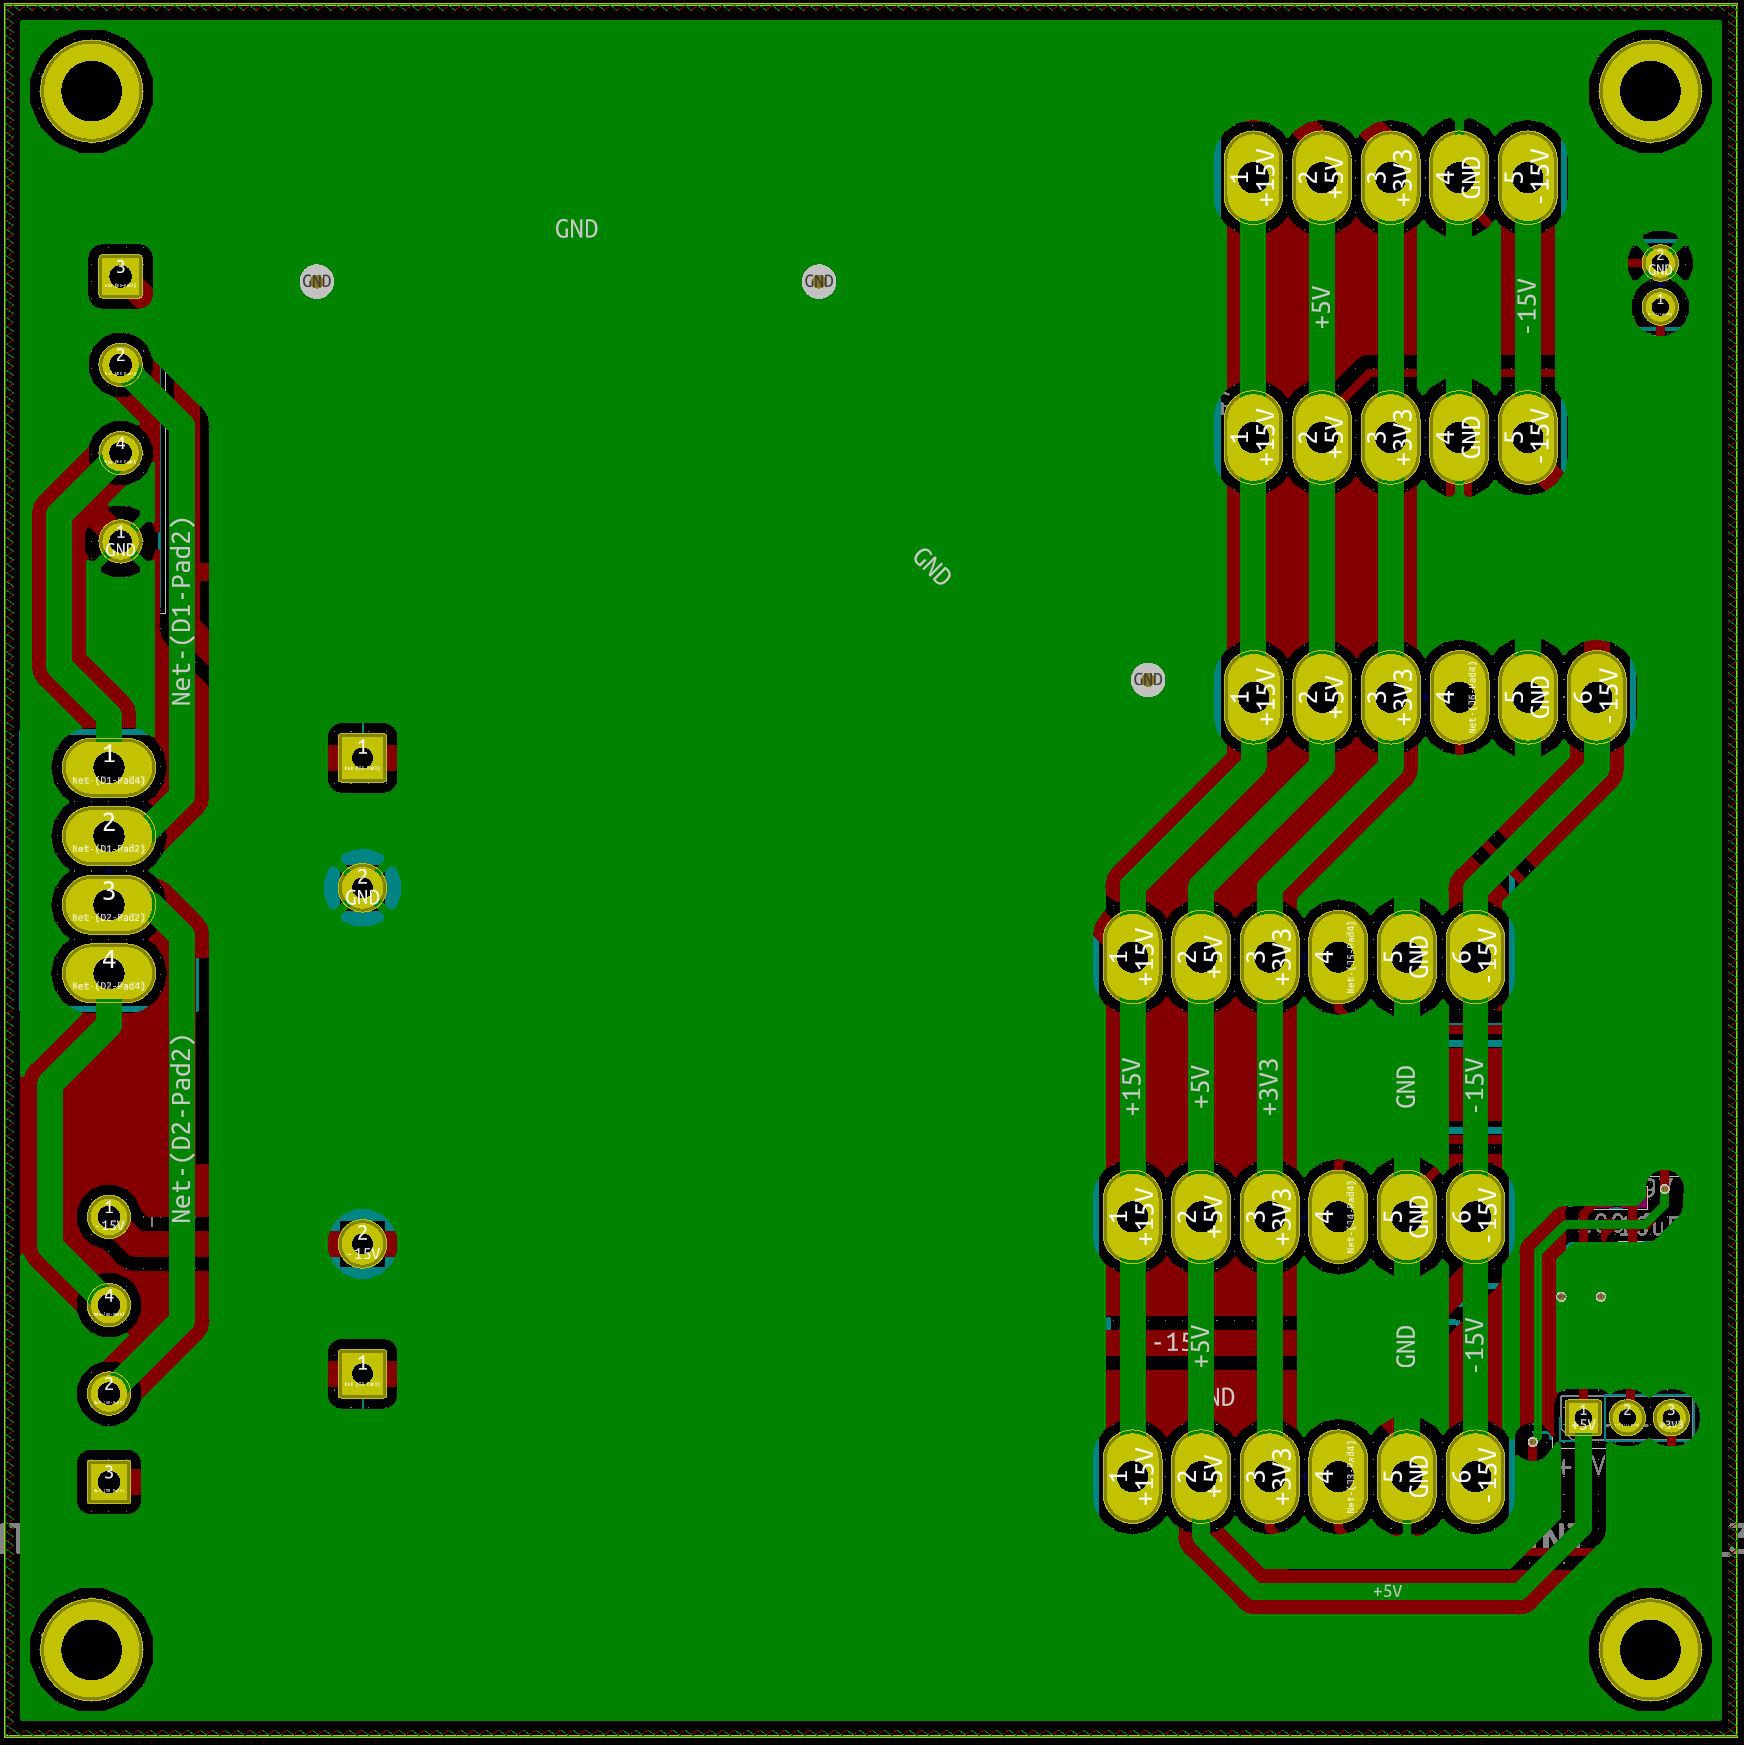
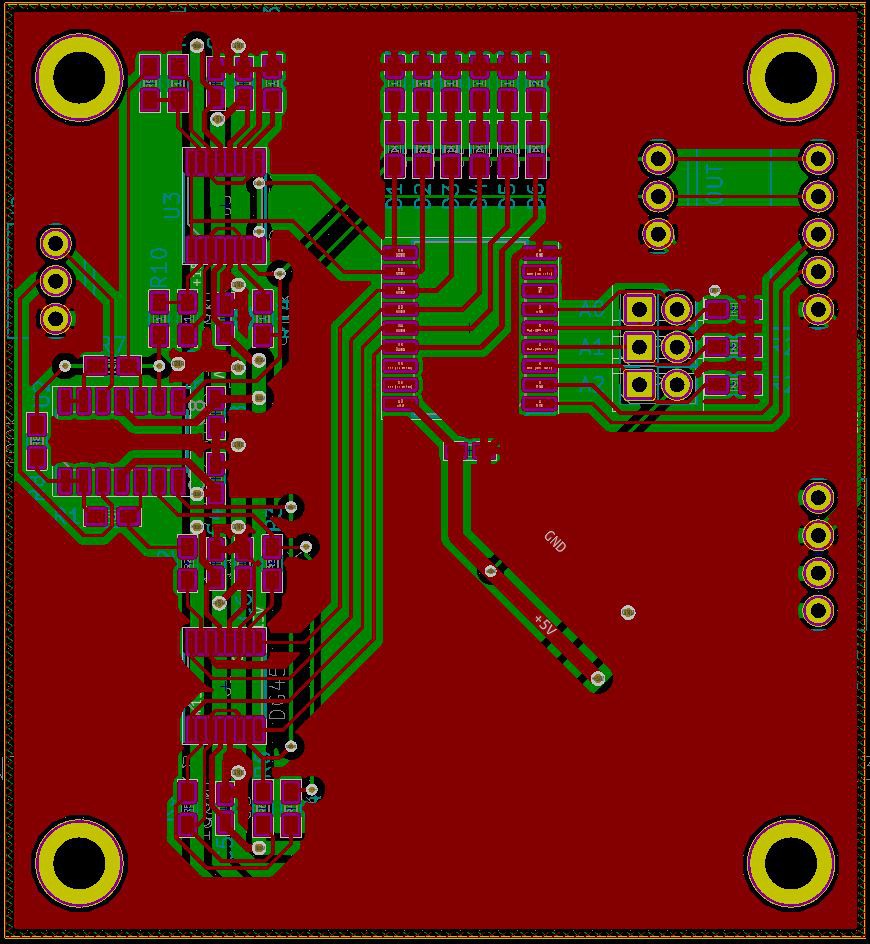
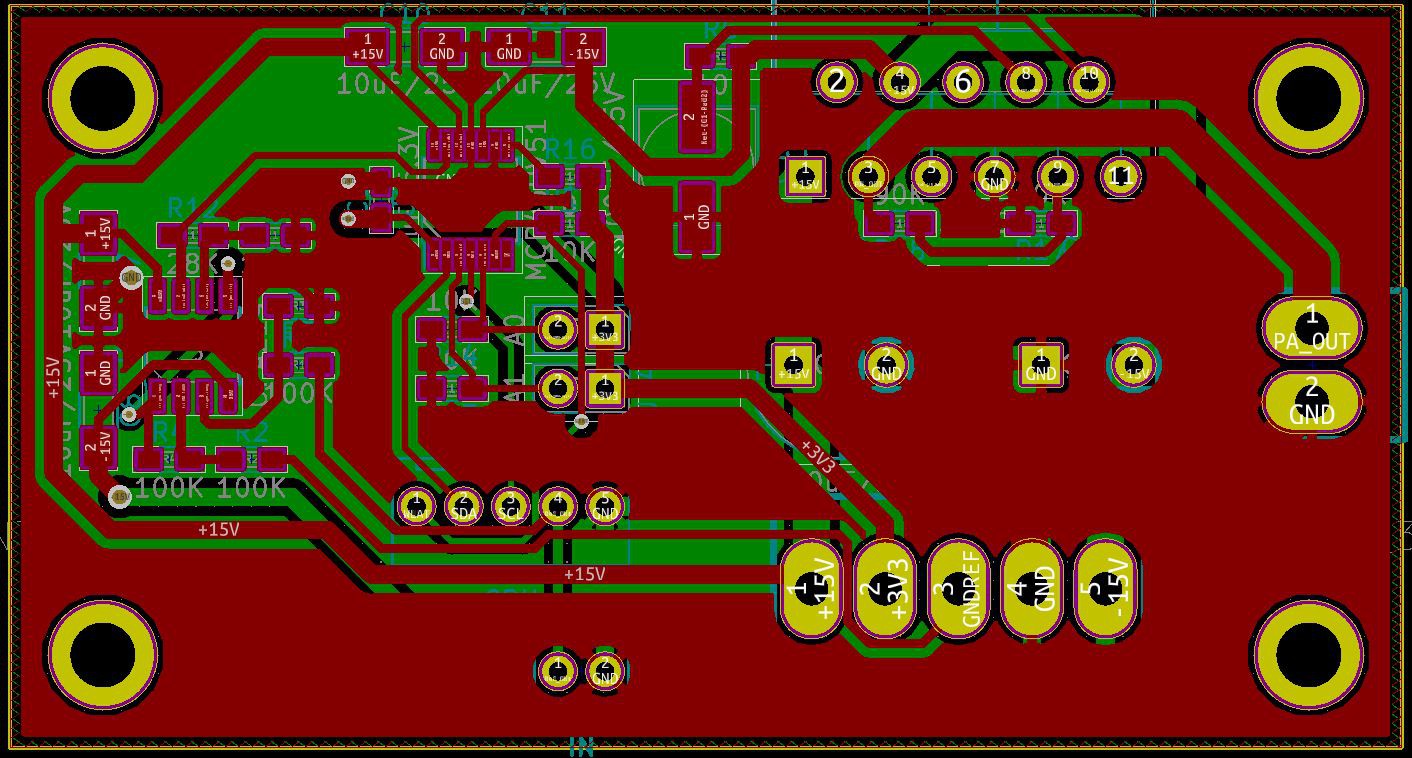
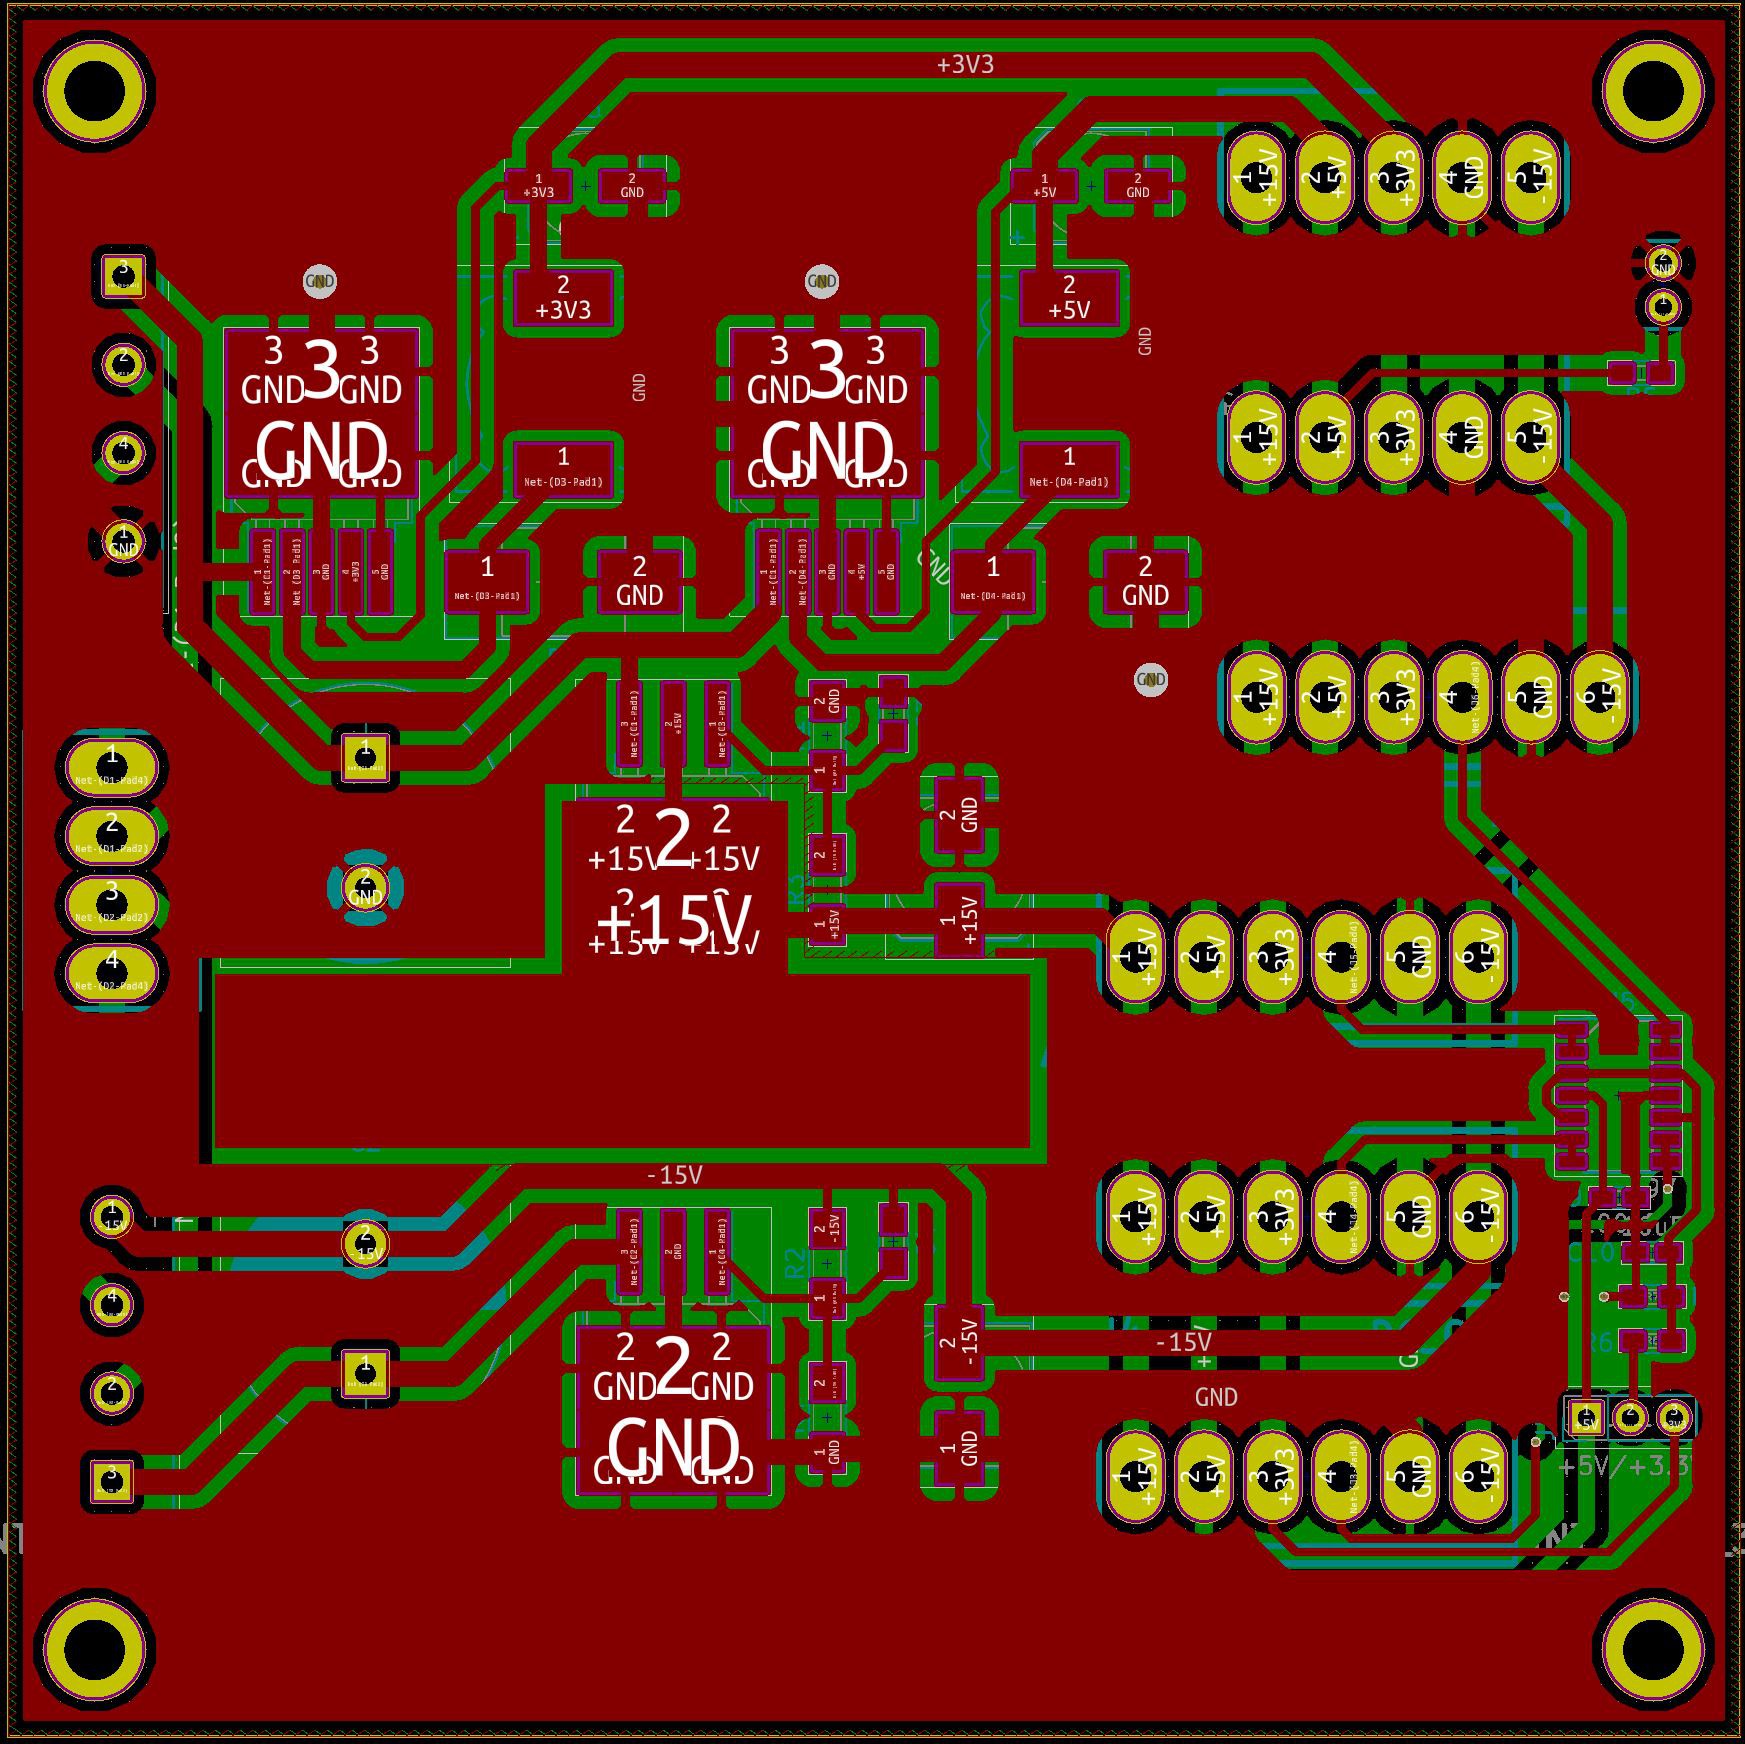
    1. I've finished the PCB design all of the three analog boards together with the PSU. Here are the pictures of the board designs:

     2. The schematics are changed a bit according to the board routing and some component availability. I uploaded the updated schematics to the files section (not too much changed)

    3. All of the boards ordered from JLCPCB. I'm expecting to get them until end of tomorrow.

    4. All of the components ordered from various sources: Lomex (local), HQElectronics (local), Mouser. Unfortunately I had some misunderstanding with Mouser about my companies status, therefore they canceled the order of the TI opamps. So I finally ordered the opamps directly from TI. Hopefully I'll get everything by beginning of the next week

    5. I had not too much lack with the selected MCU.

    First I tried to use Arduino for the programming. The STM32DUINO is almost unusable when you want to do something deeper hardware related. Running the Timer-DMA-DAC as a sine wave generator was unsuccessful. After a few days struggling, switched to CubeMX + Atollic TrueStudio. With this environment, it started to work almost instantly. After this I tried to put together the USB-CDC communication unsuccessfully. After many tries, also involving other development boards, it become clear, that the USB code generation of the CubeMX for F3 simply doesn't work (we will see if any suggestions come: https://community.st.com/s/feed/0D50X00009fCudGSAS).

    So I switched the project to F4, to be precise to STM32F407VG. Actually I'm using the STM32F4-Discovery board for the development, what I already have for years.

    The sine wave generator works, I've some USB communication, I've the command interface for the components (the commands still not work via USB, but it is on the way).

    The plan actually, to build the first iteration of the V4 device, completely controllable through the USB port and using a PC software for all of the functions and display. The integrated LCD and controls will come in the second iteration.

  • Analog circuits

    SUF08/10/2018 at 13:25 0 comments

    I'm heavily working on the next version of the curve tracer. Today I almost finished the schematics of analog modules of the device. All of drawings are uploaded into the files section. Actually everything reside in a private repo on the GitLab. This will be publicly opened when I order the first revision PCBs. Until this time the whole circuit is so shaky that I don't want anyone to build it, because the design will probably heavily changed and there are incompatibilities exists between the schematic an PCB designs.

    About the circuitts

    Power supply module:

    The power supply use a enclosure mounted toroid transformer with two 14V secondary windings (probably a 100VA model). The circuit itself provide +-15V from linear regulators mainly for the analog circuits and the power amplifier, a +5V and +3.3V from buck converters for the logic circuits (plus MCU, Display, etc.). And a four channel buffered rail splitter (virtual ground) used for the level conversion of the ADC and DAC (probably two will be used, but it is easy to build four from a 4 channel opamp)

    Power Amplifier module:

    It converts the 0.65V-2.65V swing sine wave from the MCUs DAC module to +-10V (20Vpp) gound referenced load capable signal.

    In the input I put a unity gain differential amplifier. This will convert the input to -+1V by substracting the 1.65V reference DC from the power supply.

    The next stage is a 1.28x gain non-inverting amplifier creating 2.56Vpp signal. This signal attenuated by a 256 step digipot. This give us 10mV step control of the power amplifier. The power amp has a 10x gain. So the result: we can control the output voltage of the amp 0-20V in 100mV steps.

    Attenuator module:

    This module control the current limiting resistors on the output of the Power Amplifier. As requirement we can't use conventional mechanical relays mostly because of the noise it makes. Therefore I choose three different kind of solutions to set the current limiting resistor value (we need AC capable devices):

    1. Low current version: ADG451 (or ADG441) and ADG1411 analog switches (capable around 100mA)

    2. Medium current version: Vishay VO14642 photovoltaic AC MOSFET SSR (capable 1A AC)

    3. Load switching: Si8751 isolated MOSFET drivers + dual MOSFETs (capable 4.5A AC)

    Also this circuit provide the TVS protected output for the DUT and the measurement point for the output current and voltage. The output current measured across the whole resistor network and not on an additional current sense resistor. This solution probably generate less noise, but on the other side more sensitive to the temperature drift of the resistor (we will see, how this works in practice)

    Measurement Amplifier:

    This is a two channel amplifier one for the current, and one for the voltage. The input signals are buffered with two unity gain amplifiers. The voltage signal is coming from the voltage across the DUT and amplified by a "PGA" capable of creating x0.1, x1, x10, x100 and x1000 gain respectively. The current signal is comming from the voltage across the current limiting resistor. As this is not ground referenced I used a differential amplifier configuration with x0.1, x1 and x10 gain.

    The outputs of this circuit can be directly connected to the oscilloscope X and Y inputs and will be also connected to the MCUs 12bit ADC through a level shifter (not implemented on this board) 

    This is all for now. More to come.

    If you have any question, suggestion on this design, please let me know in the comments

  • MCU Selection

    SUF07/31/2018 at 19:03 0 comments

    As I mentioned earlier I wanted to change the two AVR MCUs from the original design to a single 32bit one.

    Here are my selection criteria:

    • Two at least 12bit DAC channel - One channel is used for the sine wave generation, the second maybe used for the pulse generation (not designed, decided yet, but better if it is available)
    • Two at least 12bit ADC channel - For measuring current and voltage on the DUT. If parallel sampling and/or differential input available is good but not requirement
    • DMA for DAC operation
    • 32 bit core - ARM Cortex-Mx prefered
    • Arduino framework support, free, native C/C++ IDE support (I haven't decided between the two, so the support is necessary)
    • Low cost development board
    • Easily solderable (for me. Means: TQFP accepted, QFN, BGA not - I know this is my personal limitation, but I don't want to learn it right now)

    Based on the specs above my choice is an STM32F303RET6:

    https://www.st.com/content/st_com/en/products/microcontrollers/stm32-32-bit-arm-cortex-mcus/stm32-mainstream-mcus/stm32f3-series/stm32f303/stm32f303re.html

    And the development board for it:

    https://www.st.com/content/st_com/en/products/evaluation-tools/product-evaluation-tools/mcu-eval-tools/stm32-mcu-eval-tools/stm32-mcu-nucleo/nucleo-f303re.html

    I ordered the board from Farnell yesterday. Today arrived:

    Next: seting up the development environment

  • V4 Anouncement, new member

    SUF07/29/2018 at 15:34 0 comments

    Hi Everyone,

    My name is Zoltan Gomori (SUF). I recently joined the project to speed up the development.

    I started to develop the new V4 version of our curve tracer. Here is what you can expect:

    Now, I'd like to summarize a few design concept for the project.

    I started to work from the 3rd version. As I see now, It can be called as the 4th version because it will have so much differences.

    1. Modular design. I want to be able to use the design either with internal display or with an oscilloscope
    2. Use one 32 bit MCU instead of the current two 8 bit AVR (most probably an STM32)
    3. Internal power supply
    4. Based on the Huntron Tracker 3200S specification - except the 128bit scanning interface
    5. Complettely elliminate mechanical relays (even the reed ones)
    6. Get rid of the most of the digital potentiometers - not really fits for the needs, using resistors and analog MOSFET switches instead
    7. Get rid of the discrete R-2R DAC using an MCU integrated instead
    8. Utilize MCU integrated ADC/DAC/DMA as much as I can
    9. Get rid of the trimpots as I can (probably need to keep it for some offset setting functions)
    10. Keeping the error of the equipment around 1% every place (it is not a high precision equipment. If we want to decrease the error significantly, it cause significant rise in the costs)
    11. Adding the pulse generator as an optional module. It was missing from the 3rd version
    12. Adding the lower current limiting resistor ranges (down to 10 ohms)

    First of all, I made a block diagram of the equipment:

  • Files for Trackers

    Máté Tóth04/08/2018 at 19:08 0 comments

    Dear all,

    I uploaded all of the latest drawings and ino (arduino) files for all 3 version.

    You can find in the "File" section, and you can download those.

View all 25 project logs

Enjoy this project?

Share

Discussions

xt1541xt1541xd1541 wrote 02/02/2017 at 23:12 point

hope we see the new version soon it is very very nice 

thank you my freind it is a wonderfull tool

  Are you sure? yes | no

Máté Tóth wrote 02/03/2017 at 19:12 point

Thank you, I am working on it, it is going well, maybe a couple of day and I can test the basic functions on it, but I have to work a lot on it still

  Are you sure? yes | no

PROFESOR wrote 01/30/2017 at 22:57 point

Hi,Mate please explain save button function which pin.??

  Are you sure? yes | no

Máté Tóth wrote 01/31/2017 at 06:35 point

It is buttonPin = 12,

So digital PIN 12 is the input. Do not forget to add a 10k pulldown resistor to it

  Are you sure? yes | no

PROFESOR wrote 01/29/2017 at 19:06 point

Waiting version 2 Test video. Best regards. :)

  Are you sure? yes | no

Máté Tóth wrote 01/30/2017 at 09:13 point

Thank you PROFESOR, I am working on the analog section recently, hoppefully it will be done shortly.

  Are you sure? yes | no

mkpael wrote 01/26/2017 at 11:50 point

Do you have some equivalent for the TLC2721P?

  Are you sure? yes | no

Máté Tóth wrote 01/26/2017 at 18:24 point

You can use any precision op-amp, like TLC 272 CN, TLC 2272 IP, TLC 2272 CP (these are dual precision op-amps), or two OP07CP, which is a singe op amp, that why you have to use 2 of those. OP07CP is much cheaper, and maybe better, but I did not have those on hand.

  Are you sure? yes | no

mkpael wrote 01/27/2017 at 16:19 point

ok. thank you.

  Are you sure? yes | no

PROFESOR wrote 01/24/2017 at 17:31 point

Hi Mate, Very nice Project Please shared files.???

  Are you sure? yes | no

Máté Tóth wrote 01/26/2017 at 14:04 point

Hi, I uploaded all the files, look at the section "files" above. It has the Arduino code and the shematic for the analog section. If you have any question, feel free to ask me

  Are you sure? yes | no

mkpael wrote 01/18/2017 at 19:09 point

Does this ci have any equivalent that I can use?

  Are you sure? yes | no

Máté Tóth wrote 01/23/2017 at 17:31 point

I do not understand clearly, what do you mean any equivalent. If you have an Oscilloscope and a Function generator you can use those. Or you can buy one Curve tracer like the Huntron Trackers, on eBay

  Are you sure? yes | no

mkpael wrote 01/16/2017 at 17:04 point

How can i modify the arduino code to use the processing?

  Are you sure? yes | no

Máté Tóth wrote 01/16/2017 at 20:52 point

Sorry, but I had not used processing yet, so I can not help with that. But I guess you have to send out the two array (value[ ], and value2[ ]) because these are the arrays, which contains the X and the Y cordinates. If you do not need any display function on arduino you can delete everything below the display text in the code.

  Are you sure? yes | no

mkpael wrote 12/21/2016 at 20:26 point
Can you make the project available for me to do?

  Are you sure? yes | no

Máté Tóth wrote 12/27/2016 at 22:29 point

I will publis the schematic and the code soon, when I get home at the weekend.

  Are you sure? yes | no

Máté Tóth wrote 01/02/2017 at 20:00 point

I uploaded the files you asked for.

  Are you sure? yes | no

mkpael wrote 12/21/2016 at 20:24 point

good project.

  Are you sure? yes | no

Máté Tóth wrote 12/27/2016 at 22:25 point

Thank you.

  Are you sure? yes | no

Similar Projects

Does this project spark your interest?

Become a member to follow this project and never miss any updates