-
Sun Tracker 2 Revision 4 - Assembly
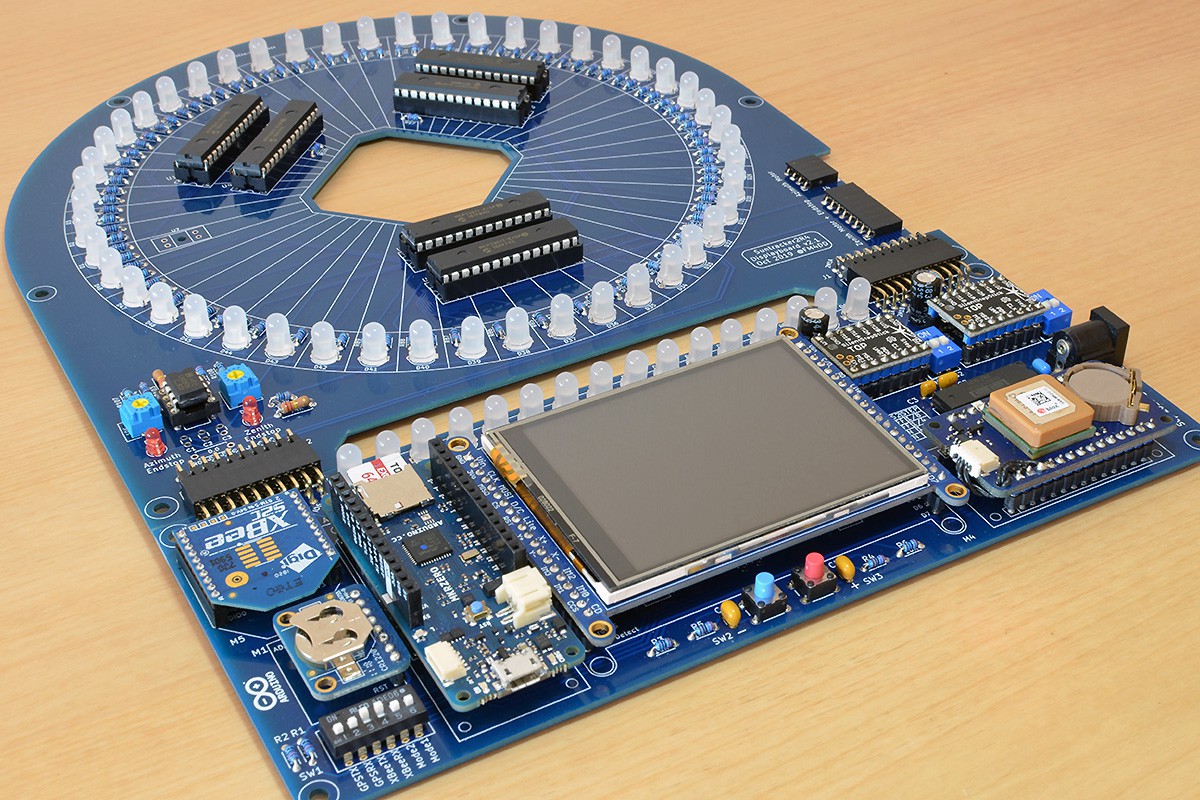
11/17/2019 at 12:31 • 0 commentsConnecting the displayboard with the mainboard:
![]()
Booting up and running the displayboard "init" sequence verified the hardware to be OK. No missing trace, and no LED inserted the wrong way around. Next, a check for the maximum power draw. With "all lights on", the system draws up to 320mA. This is quite a lot, but considering the amount of peripherals, it could be much worse than the measured 1 Watt. Normal operations uses about 140mA in this raw, unoptimized form.
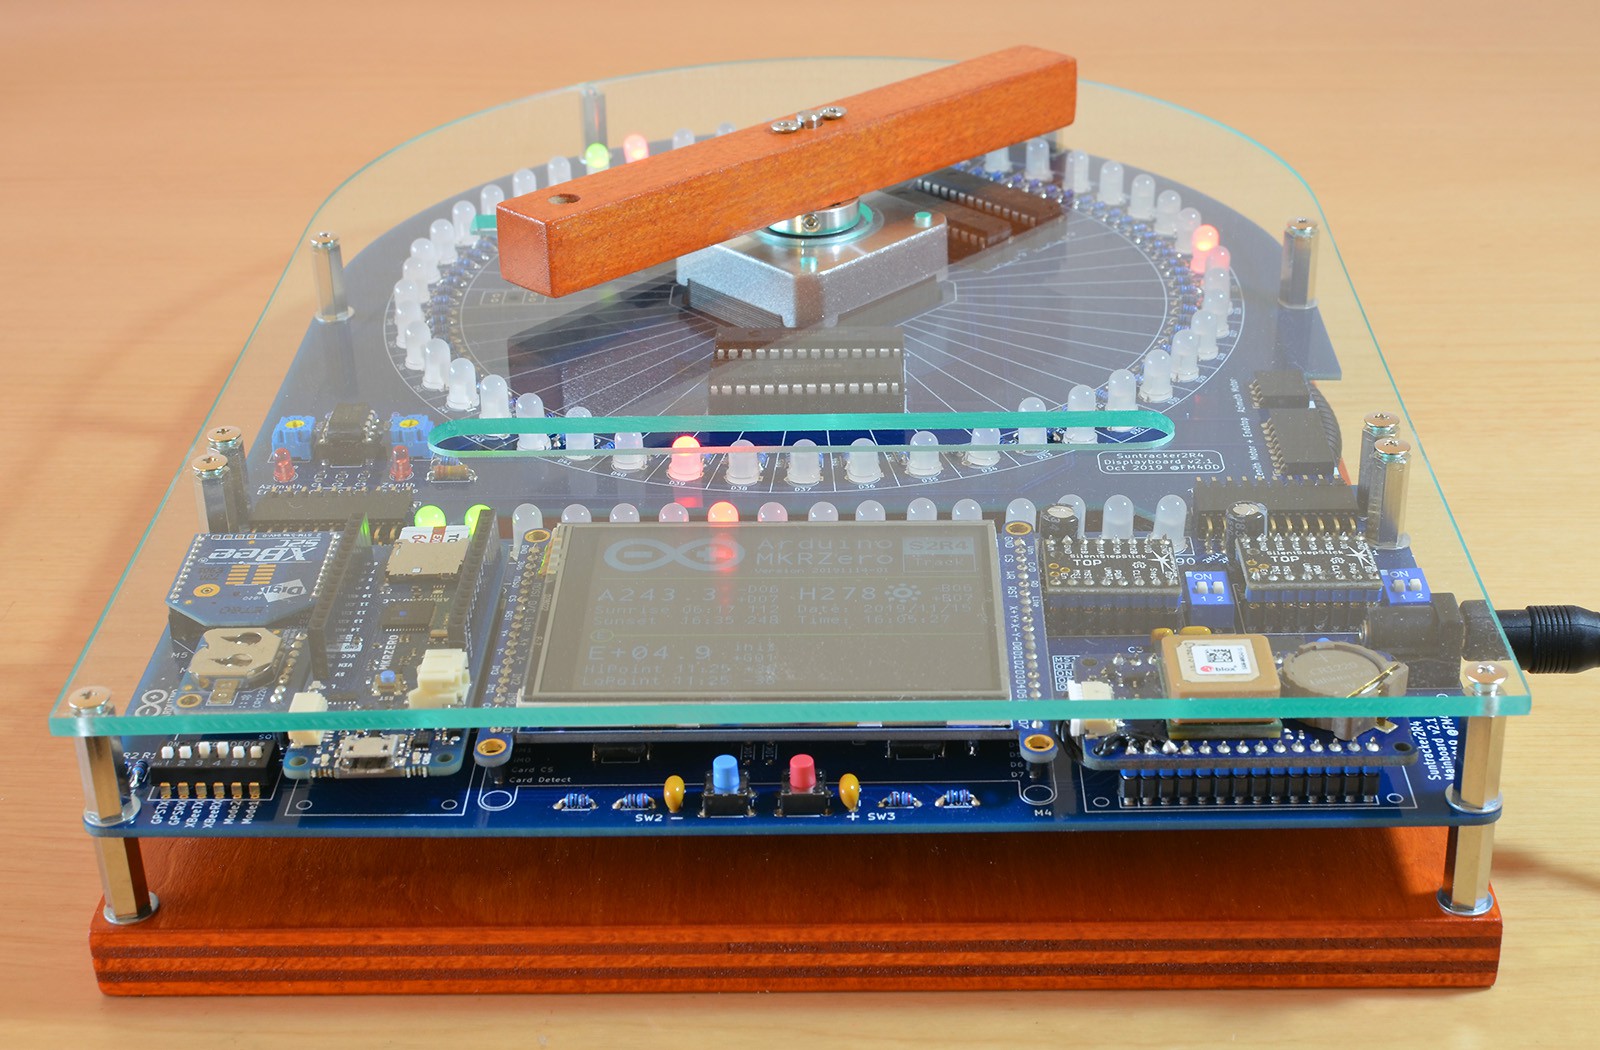
Building up a frame follows the proven design of revision 3, with the added design twist of the rounded top. Visible also the cable guide cutout for powering the second axis stepper motor, which will be responsible for Zenith angle alignment.
![]()
The total footprint is 200mmx280mm, and fits on a A4 sheet.
-
Sun Tracker 2 Revision 4 - Displayboard PCB
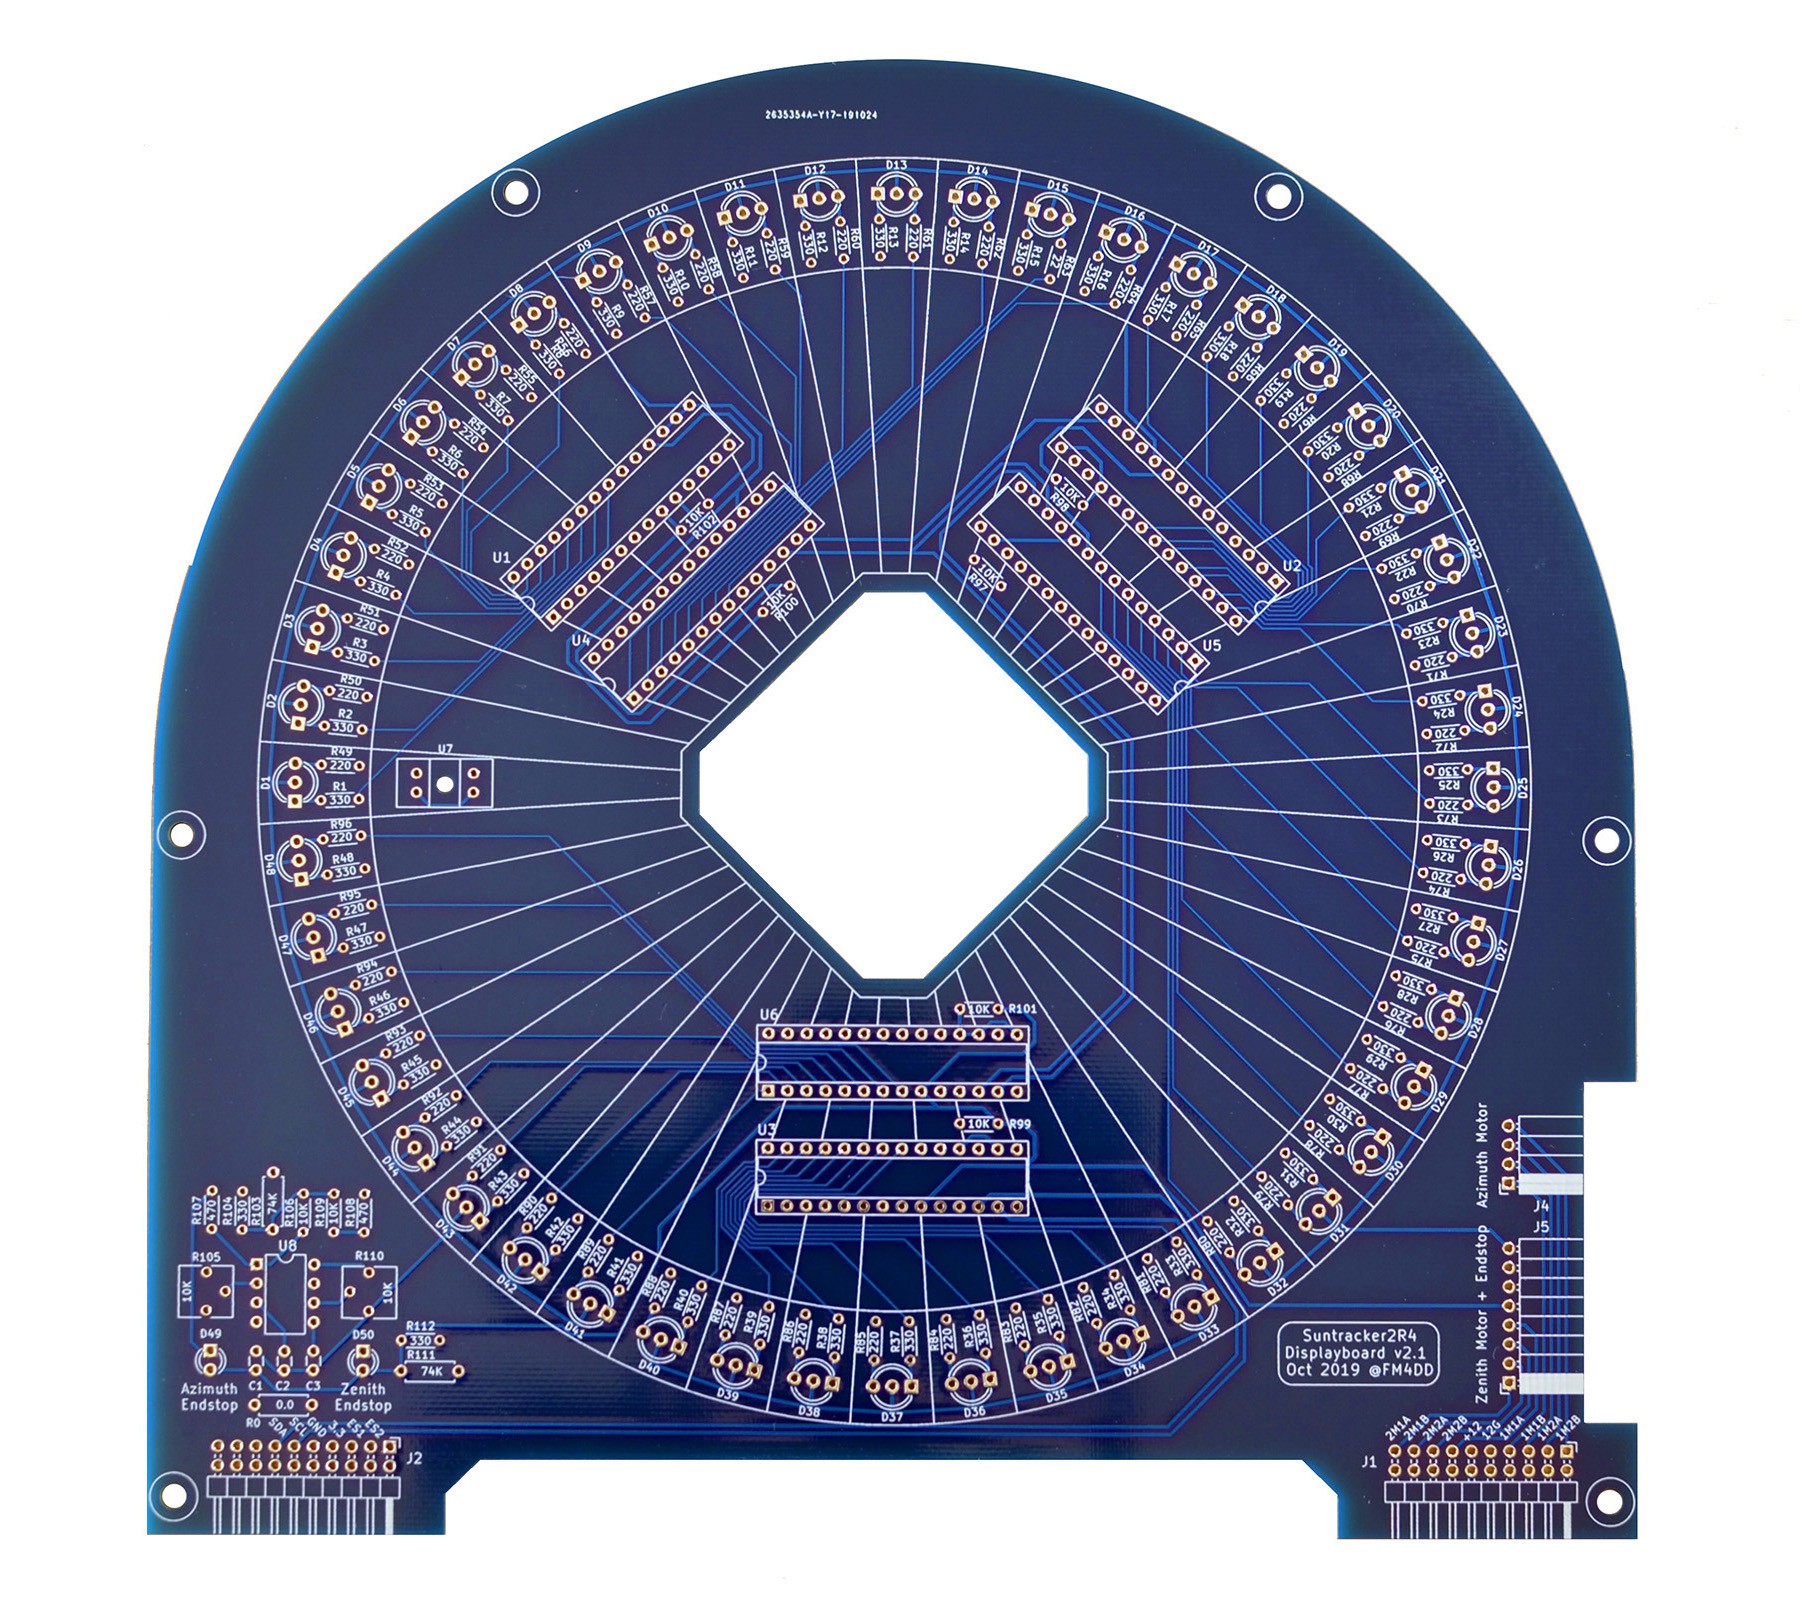
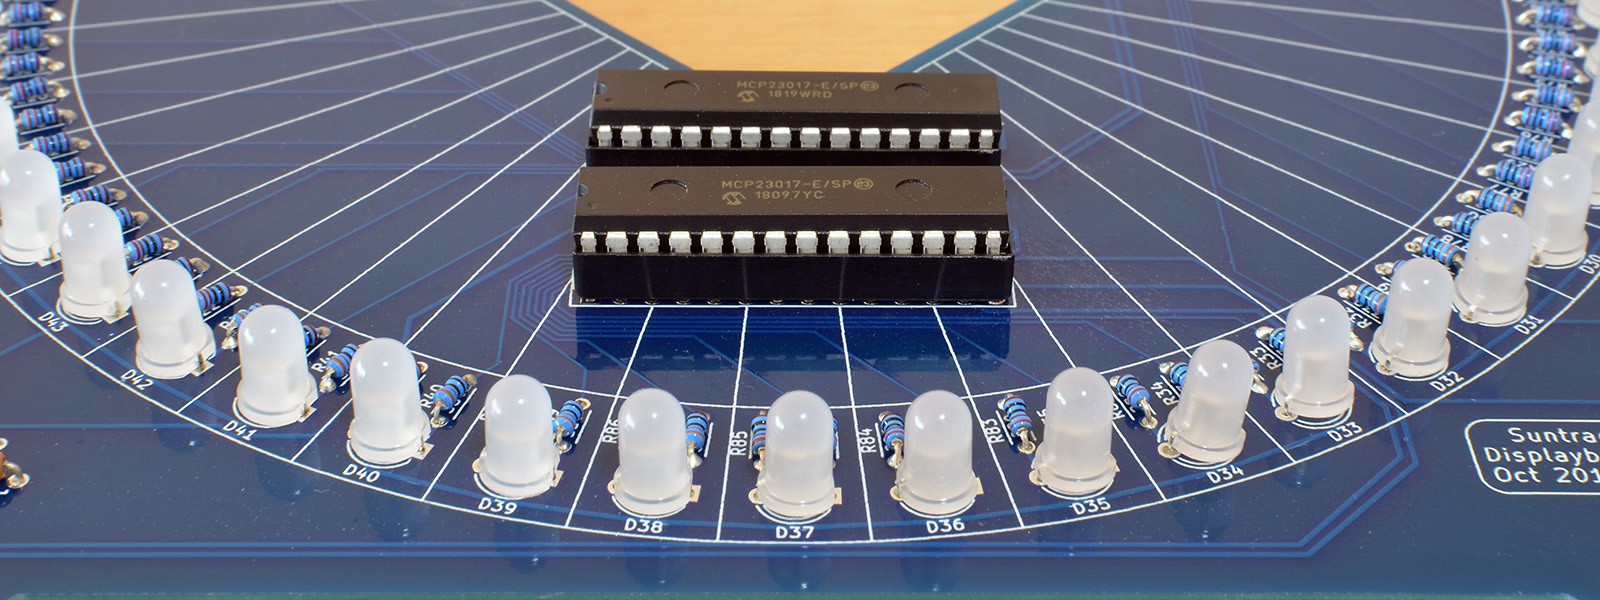
11/17/2019 at 11:14 • 0 commentsFor mounting the solar panel model, I needed to increase the displayboard size. I retained the Stepper mount at the center of the LED ring. The LED ring grew to 16cm diameter, bringing the LED count to 48. Together with the 16-LED Zenith row on the mainboard, the total of 64 dual-color LEDs require 128 IO pins. This is going to max out the number of DIP IO expander IC running on a single I2C bus.
![]()
Creating the PCB layout was a real challenge. KiCad currently only supports creating tracks with 90 and 45 degree angles, but the tight spacing in a circle demands angles in between. The workaround in KiCad is to create a track stub, and hand-edit the start/end values in the track parameters. A exercise in diligence completed the job. Component placement with uncommon angles is tricky as well, each LED/resistor pair has been hand-fitted. For the final touch I decided to round-off the dual-layer PCB.
![]()
Compared to the hard work in PCB layout, PCB assembly was no big deal. However with mainboard and displayboard designed and build separately one month apart, the question is: would they fit together?
-
Sun Tracker 2 Revision 4 - Mainboard
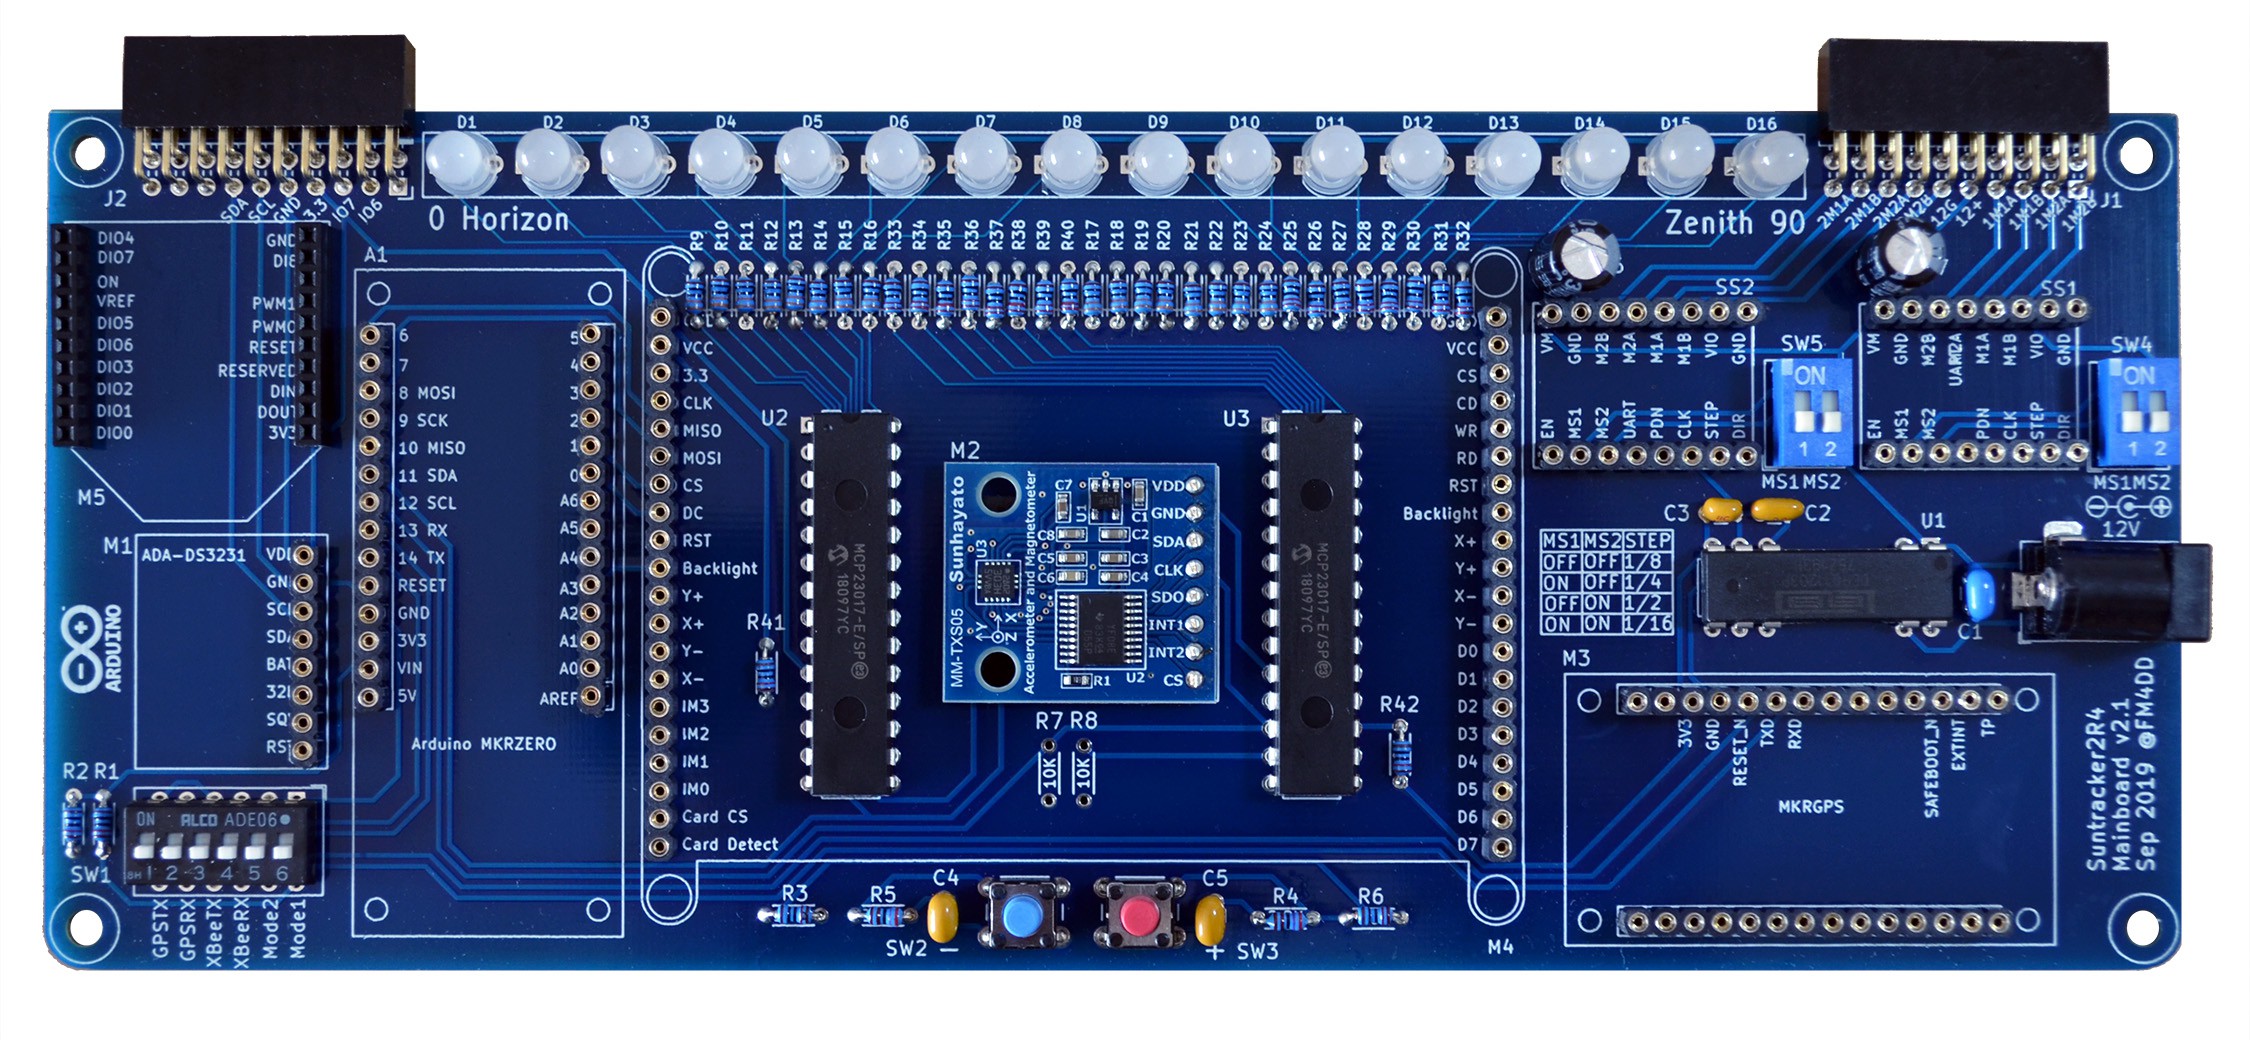
11/17/2019 at 10:17 • 0 commentsHere is the result of the stacked design, showing the placement of the magnetometer sensor and Zenith display LED IO expanders below the TFT screen. The biggest challenge was to fit the set of 32 current-limiting resistors into the TFT space. Other placement options didn't route as well. In the end it was tight but worked.
![]()
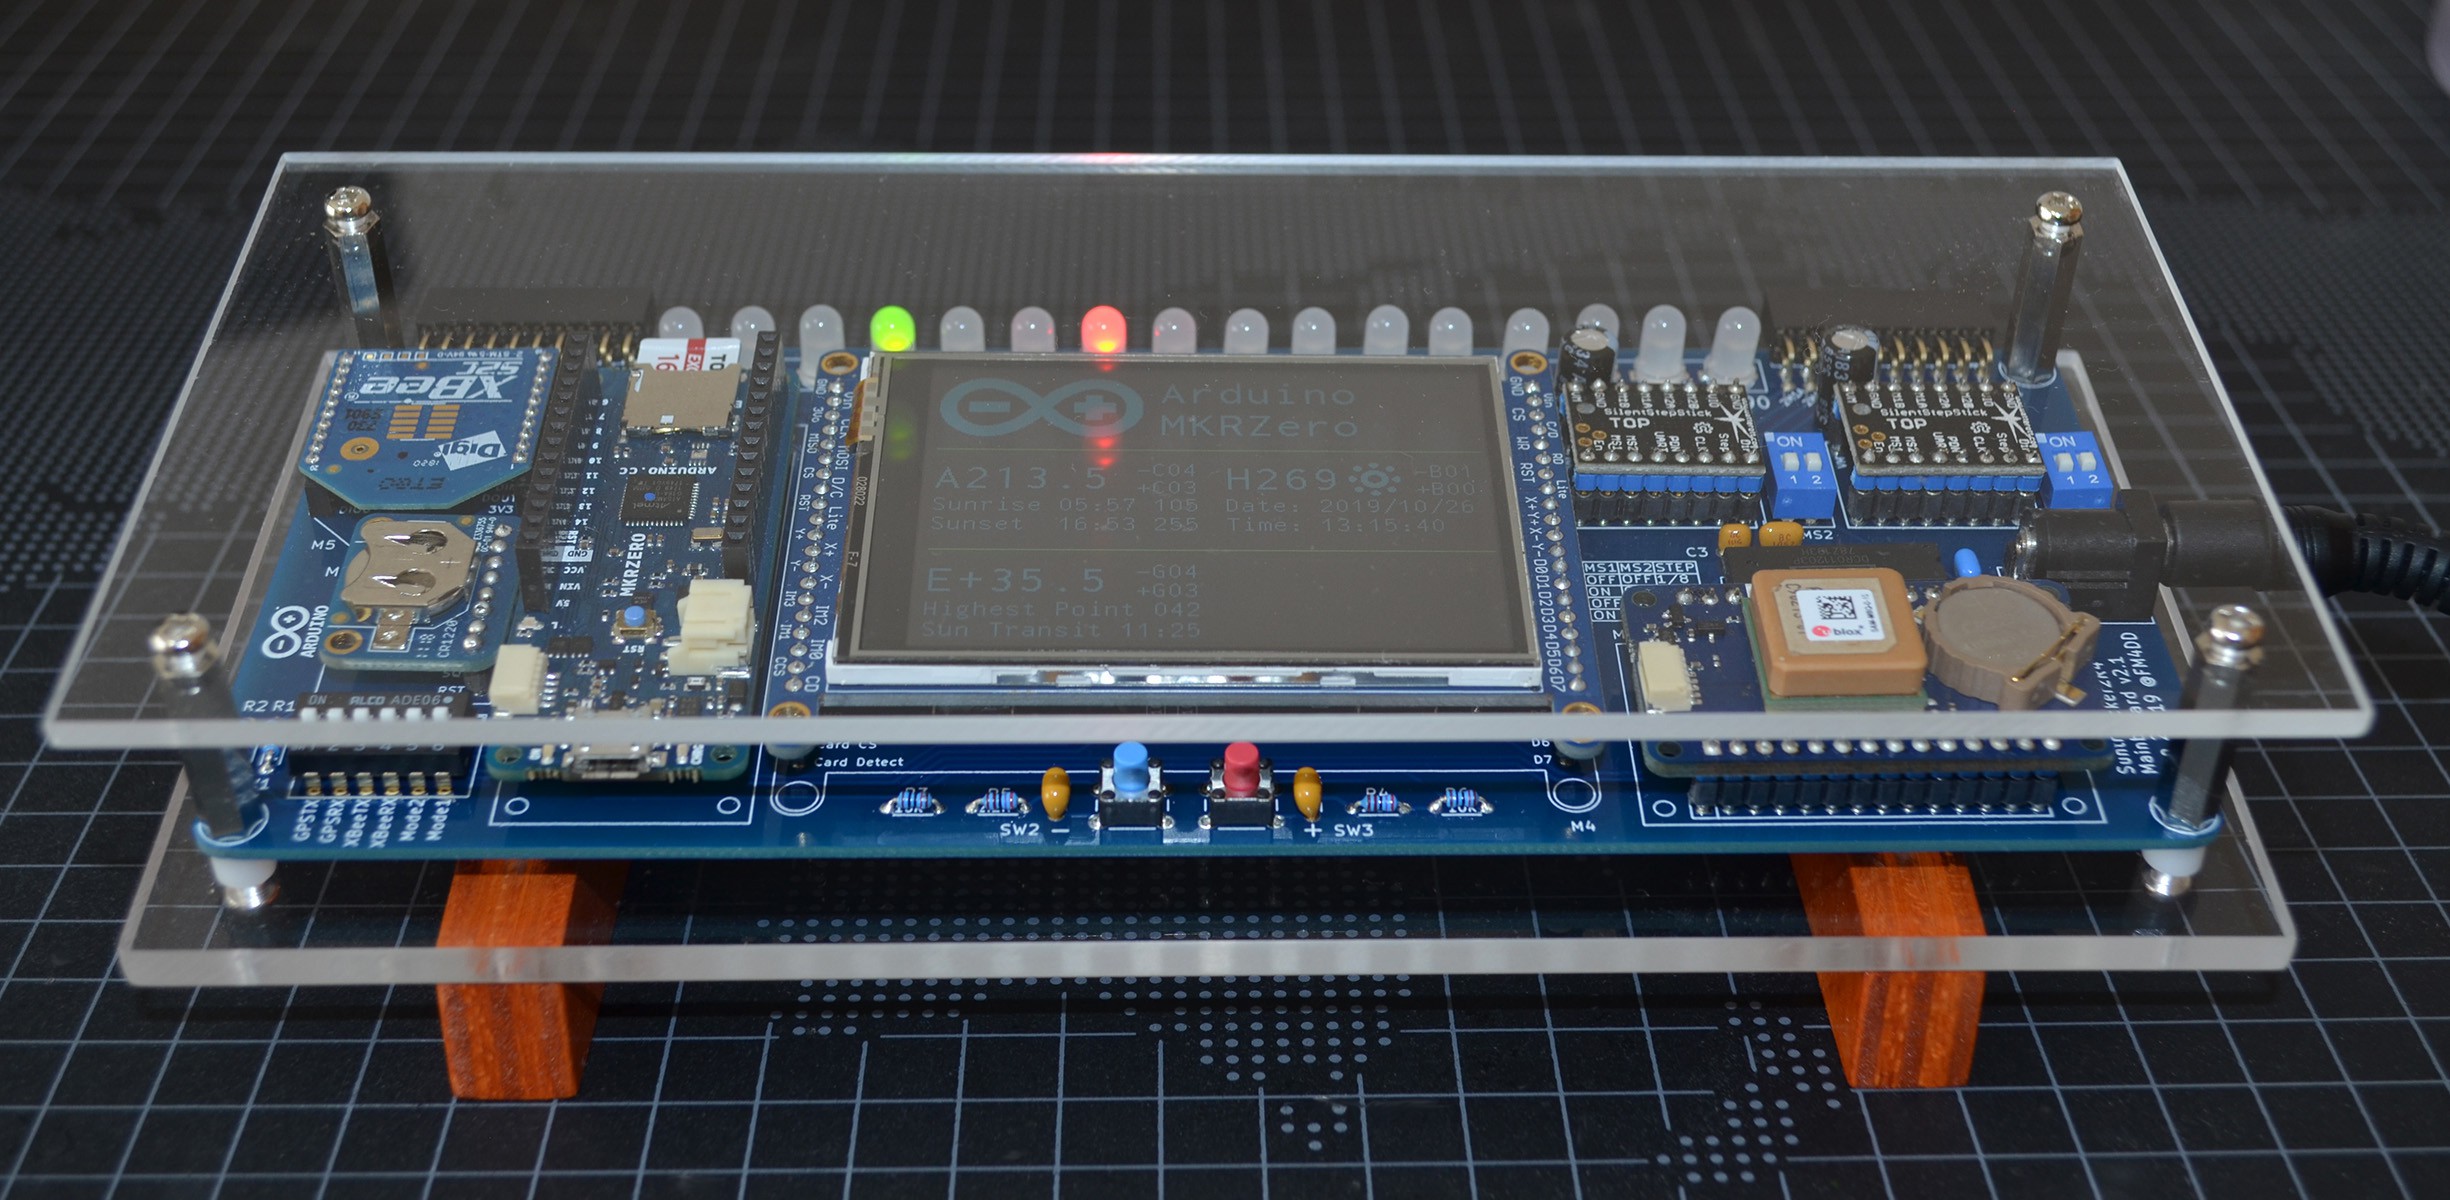
Below is the fully assembled mainboard. While the displayboard design is still sometime off, over the weeks I am going to work with the mainboard to write the code for the new modules. A simple frame as been fitted to protect the board during that time.
![]()
I was also relieved to see the new Texas Instruments power IC working. Since it was a new device I never used before, I missed one trace to the "enable" pin on the PCB. One small wire bridge later, the board powered up just fine.
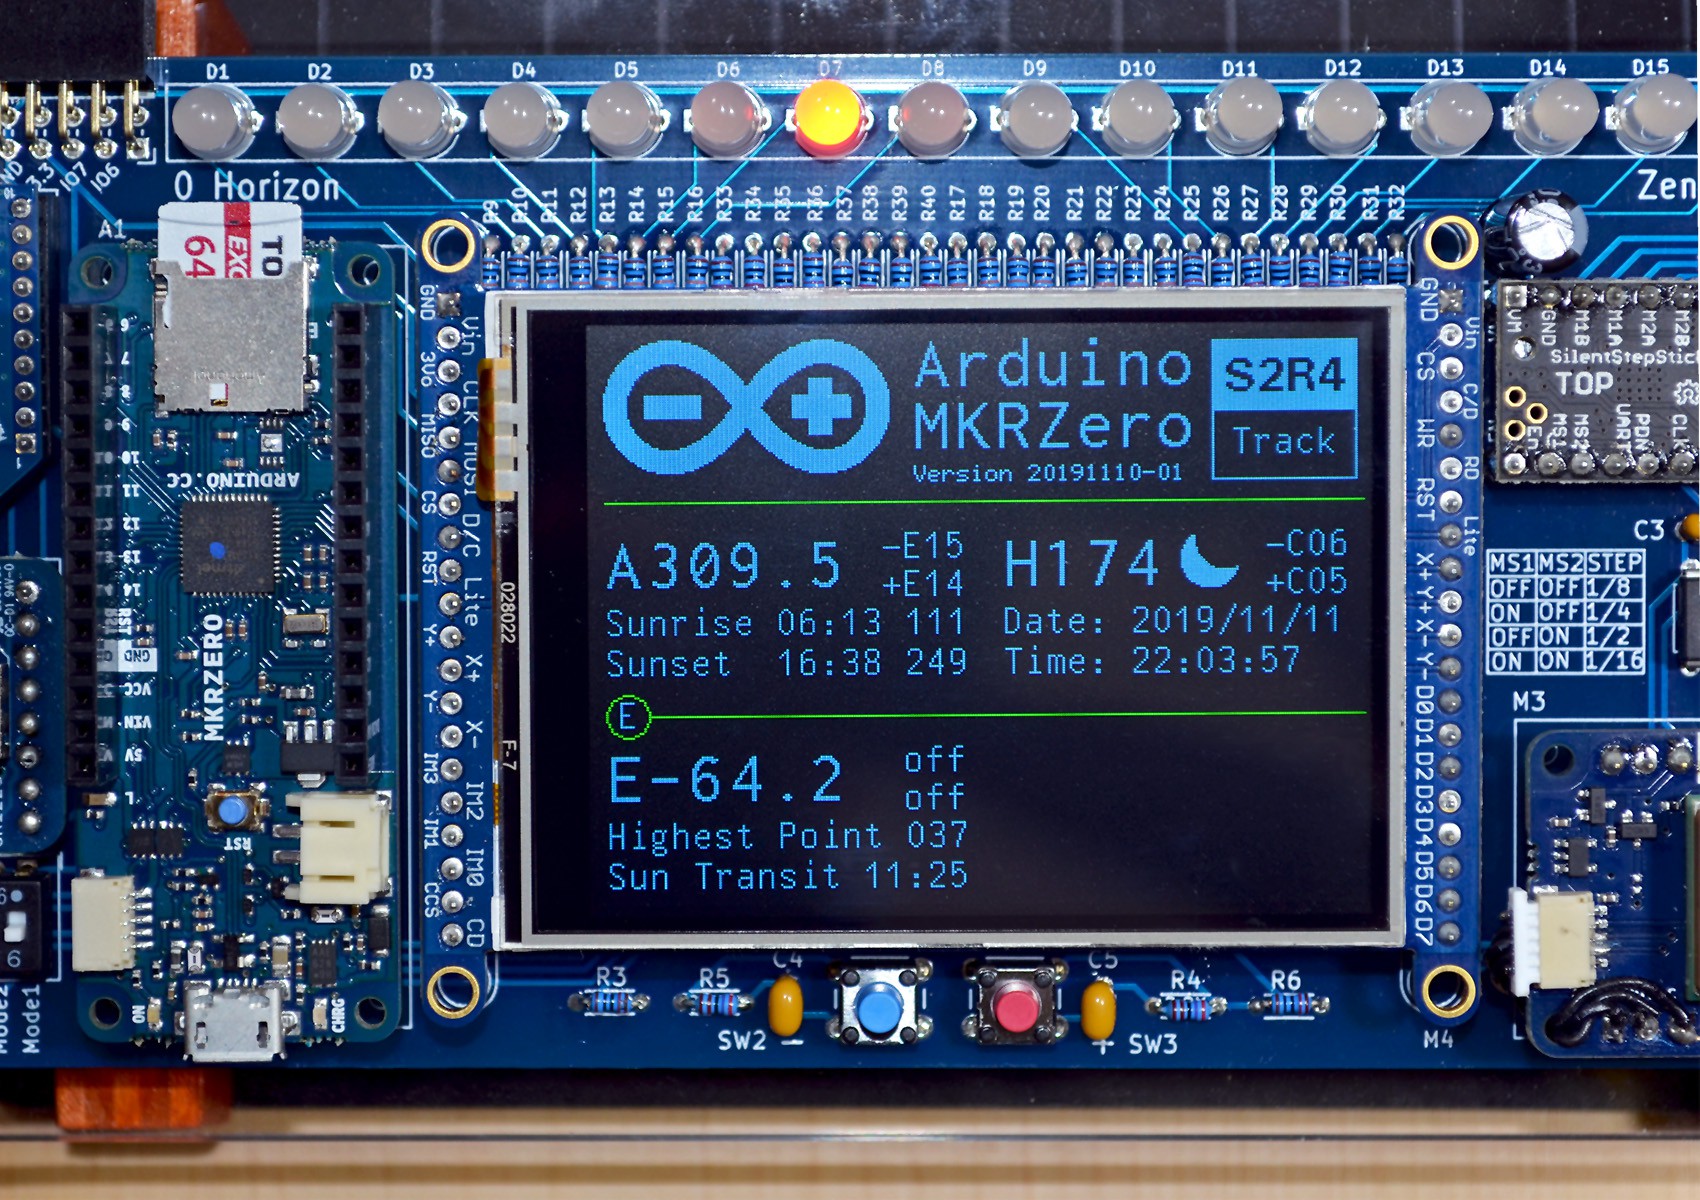
For more detail, this is the 2.8 inch TFT in its glory, increasing screen space more than 8 times over the previous oled. Since I was already short on MCU IO pins, I used SPI and quickly learned that screen refresh is slow. It requires careful updates to specific data only. The more pixel need to refresh, the slower it gets.
![]()
-
Sun Tracker 2 Revision 4 - Mainboard PCB
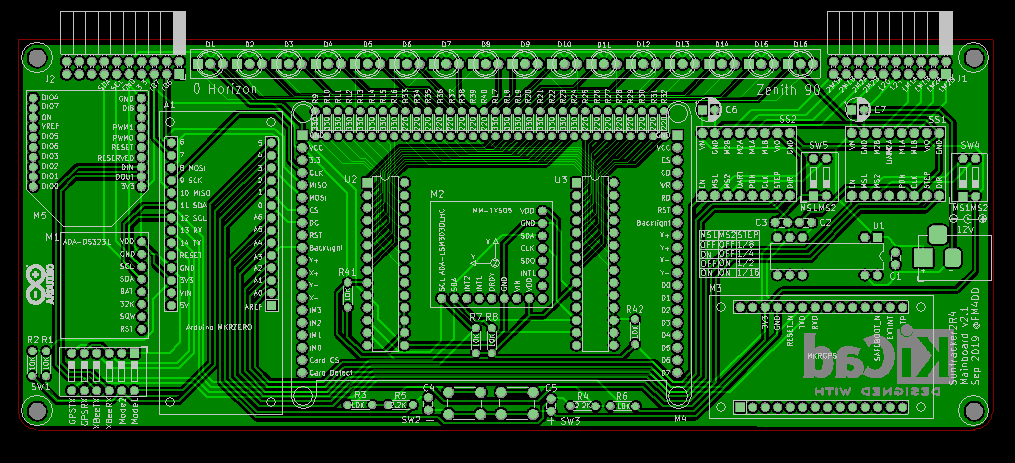
11/17/2019 at 09:41 • 0 commentsThe design goals for revision 4 was to achieve dual-axis control. A second motor controller was added together with a 16 dual-color LED row for Zenith angle display and positioning. A TFT display should improve data feedback, and onboard solar position calculation called for a means to aquire location information, adding a GPS receiver.
Routing the components is going to max out all available pins of the Arduino MKRZero. 4 pins were freed up by moving the StepStick speed control to external DIP switches. So far the default speed was sufficient and I had no need to control it from the MCU.
It was also a challenge to maintain the intended mainboard space. For manufacturing cost, the PCB should be dual-layer only. The solution was to stack components, and use the space below the TFT to place the magnetometer and zenith row IO expander IC without a socket. They are sufficiently cheap to make this trade-off here. Finally, I had to move the displayboard connectors further out, I think I can compensate on the displayboard for the extra connector offset.
For space and simplicity, I planned to route the I2C bus to the displaybard, and handle the port expansion there. This saved the biggest space and reduced the connector size.
![]()
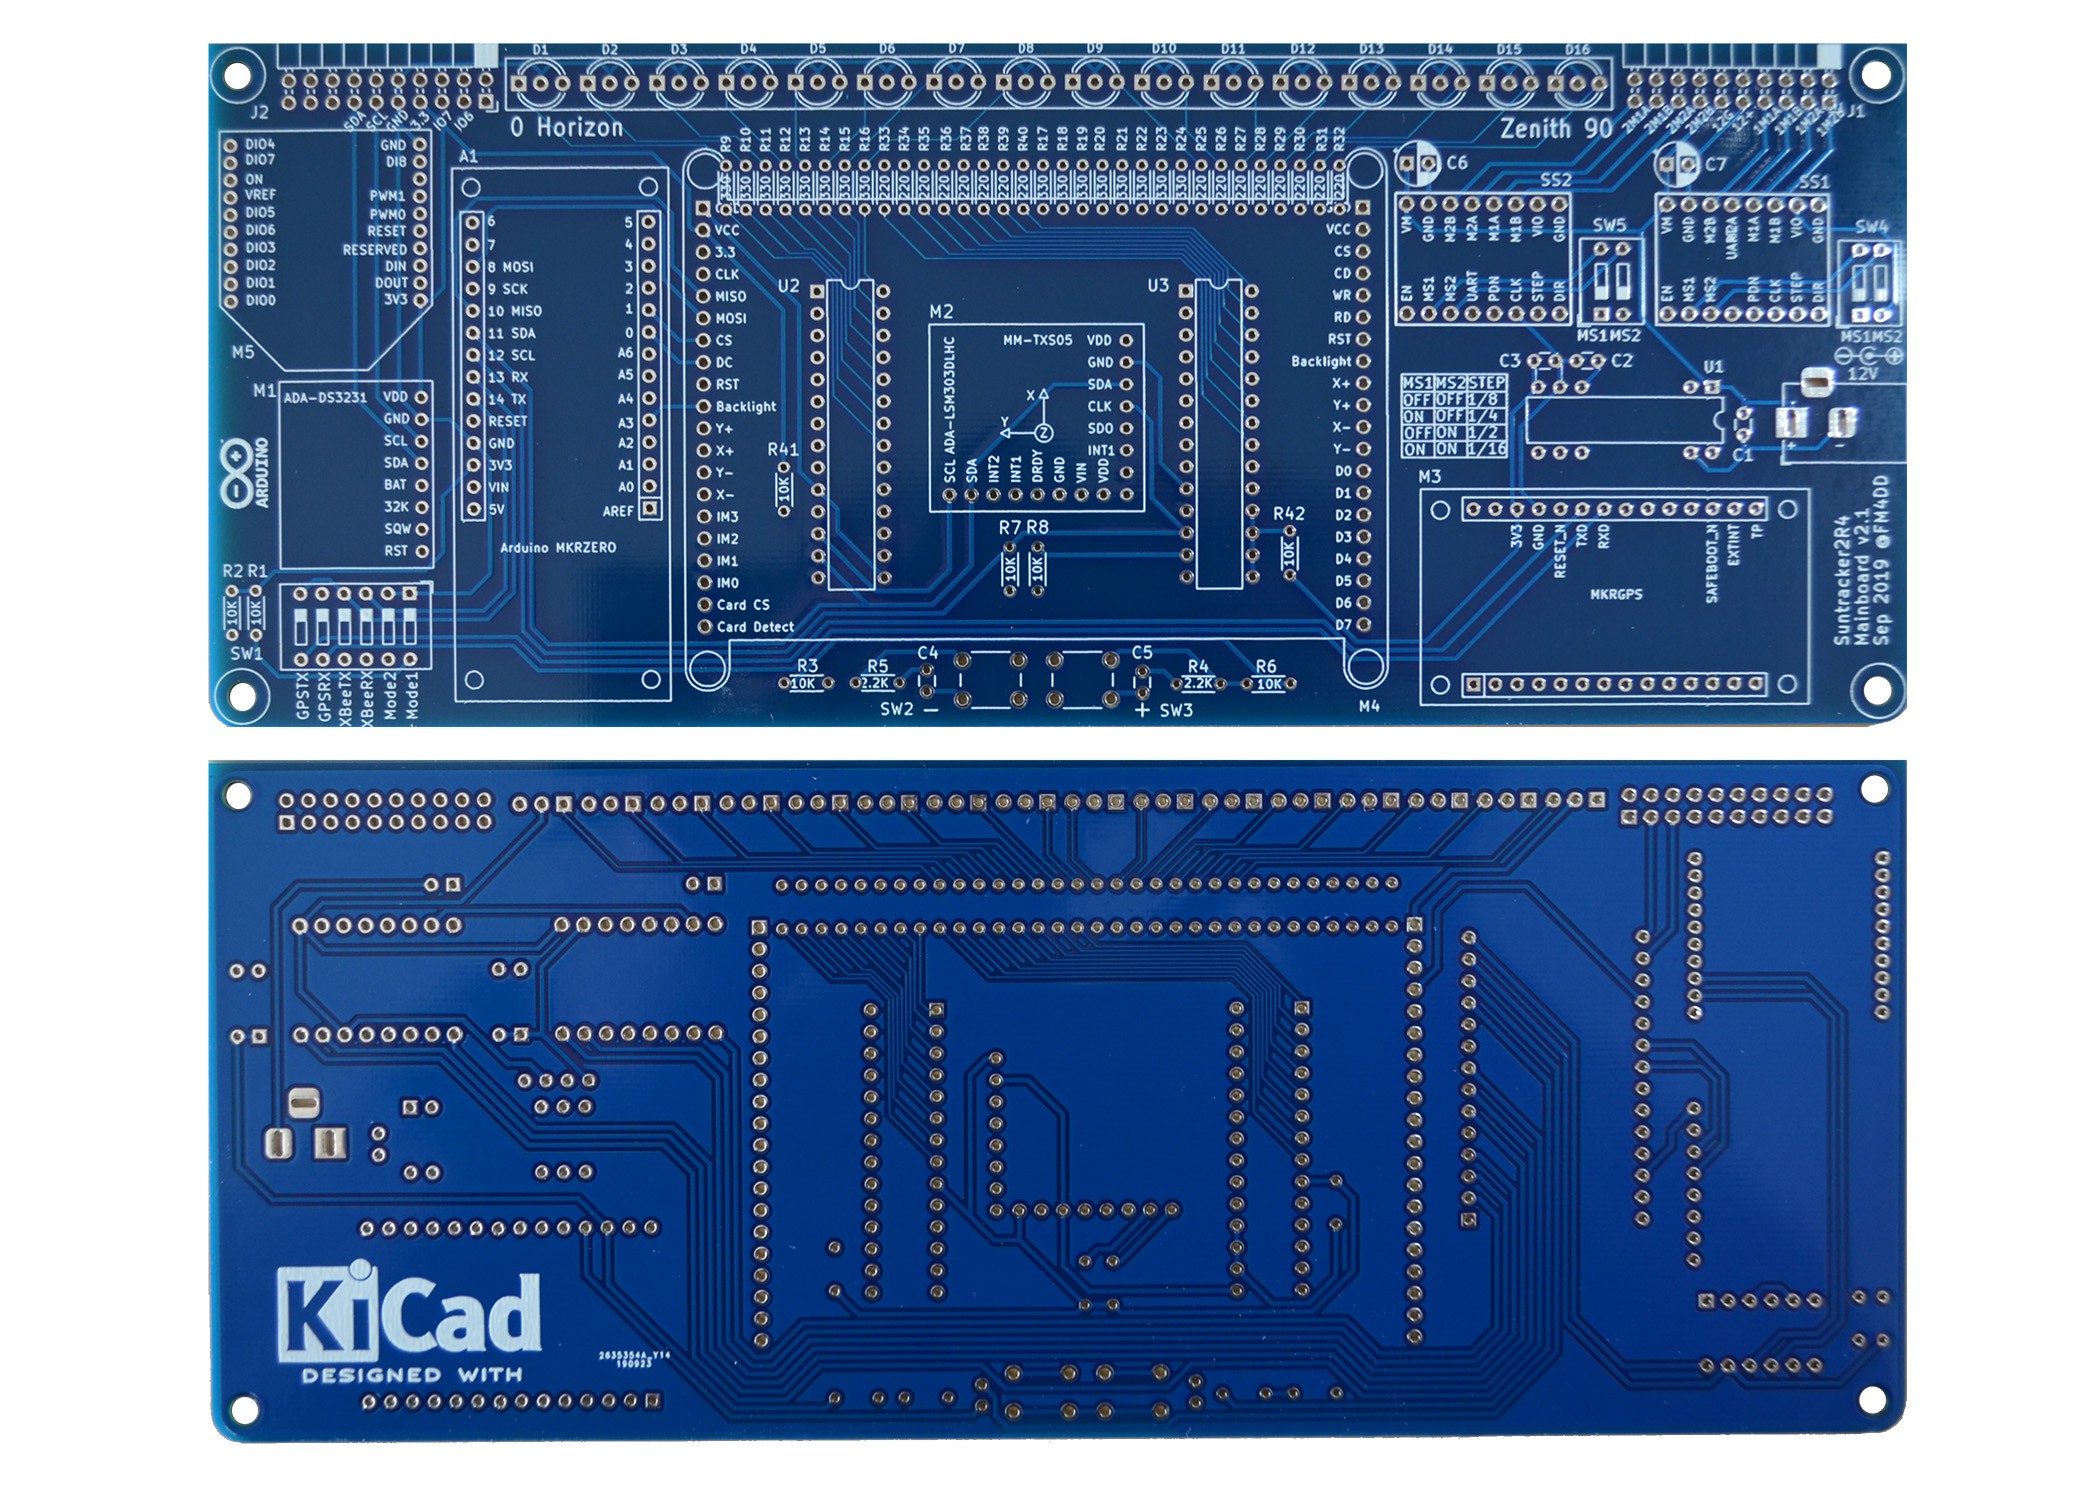
For PCB manufacturing I wanted to try the blue color instead of standard green, and the result looks neat.
![]()
Another first for me is to drop pre-fabricated power converter modules, and make use of the Texas Instruments DC/DC converter chip DCR01 for the first time. Its a risky move since I haven't even tested them yet. The specs look great, and the packaging in a DIP IC format is just perfect.
SunTracker 2 Revision 4
A self-orienting dual-axis, scheduled, Arduino-based solar tracker model prototype
 Frank
Frank