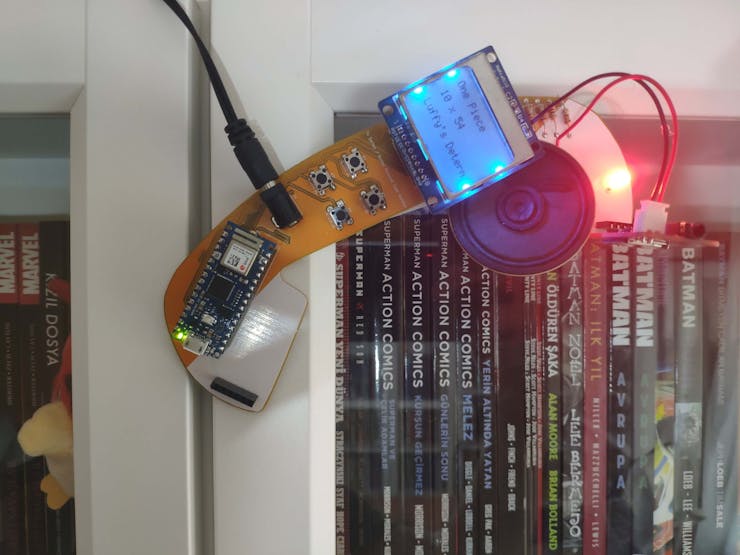
After fulfilling transferring information with the web application, if there is a new episode on release, I decided to use an Arduino Nano 33 IoT as the development board to collate data generated by the application. You can find more information below on how I sorted out the response transferred by the application by using a delimiter. And, to manage features and modes I implemented on the Nano 33 IoT, I designed a user interface (menu) with a Nokia 5110 Screen and pushbuttons.
Lastly, to get informed when a new episode of a show in my list on release with its opening song, I used a Serial MP3 Player Module (OPEN-SMART) due to its simple-to-use UART command list. Furthermore, it let me add the MP3 Player mode to play all opening songs, which turned the device into an intriguing accessory for my room :)
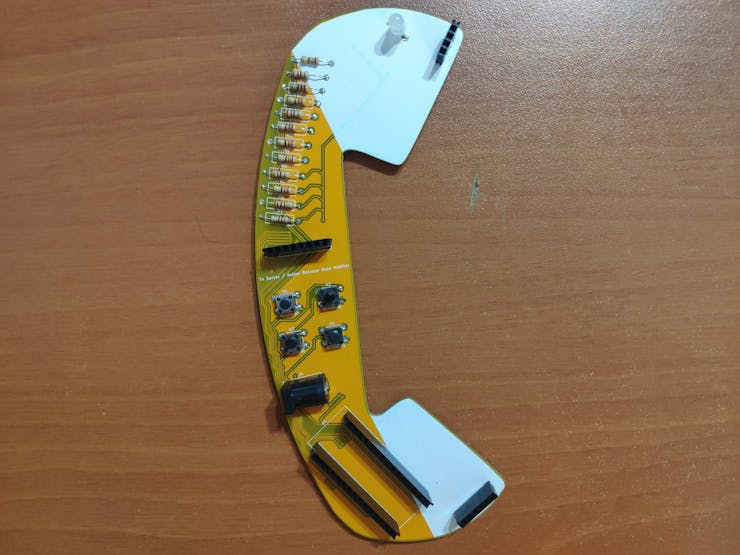
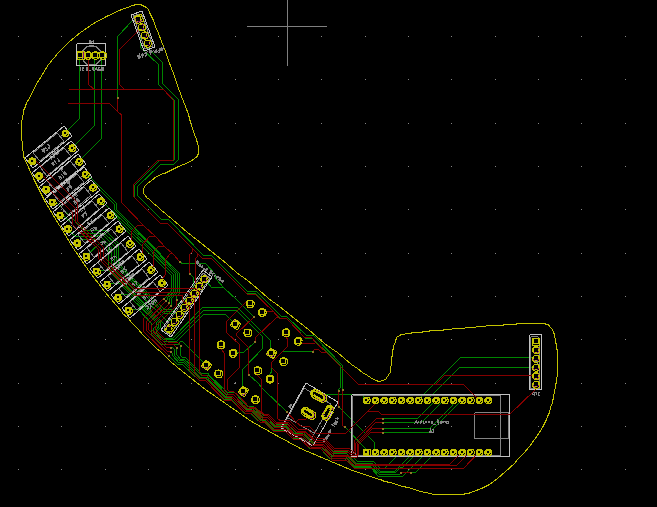
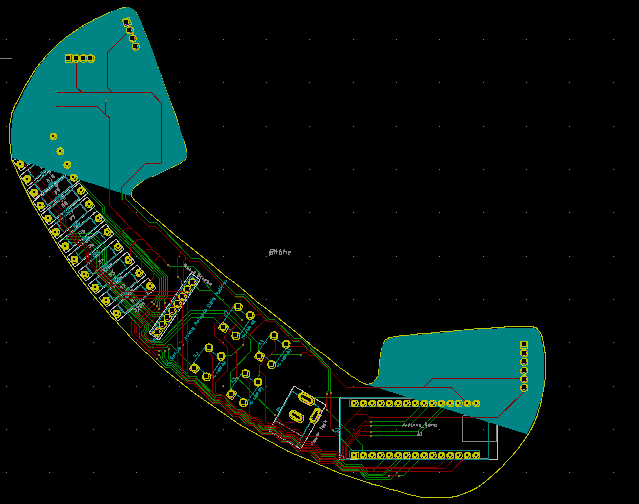
After completing my design on a breadboard and testing the code, I designed a PCB (TV Series / Anime Release Date Notifier) with a unique retro telephone shape to create a brand-new looking and easy-to-use device.
Huge thanks to JLCPCB for sponsoring this project.
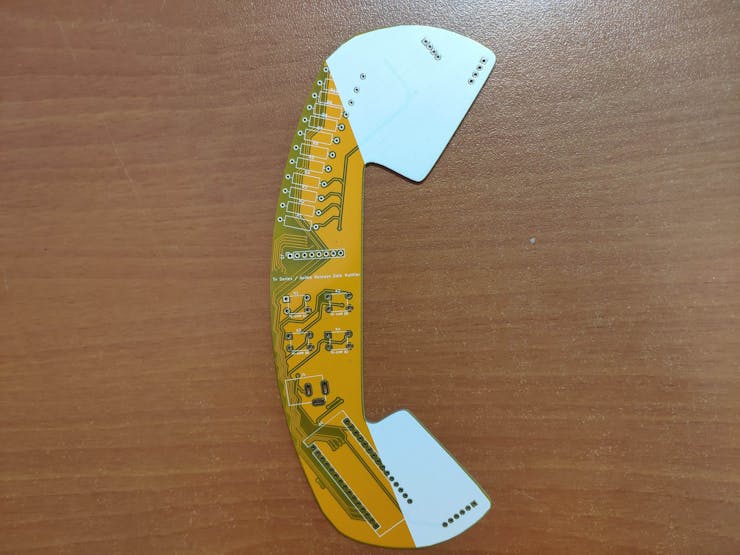
Step 1: Designing and Soldering the TV Series / Anime Release Date Notifier PCB
I designed the TV Series / Anime Release Date Notifier PCB by using KiCad. I attached the Gerber file of the PCB below, so if you want, you can order this PCB from JLCPCB to replicate this project to get notified when there are new episodes of your favorite shows on release :)
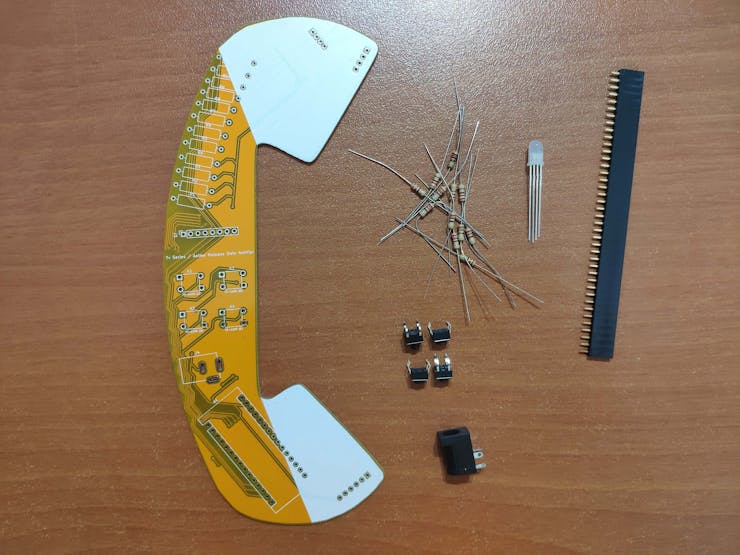
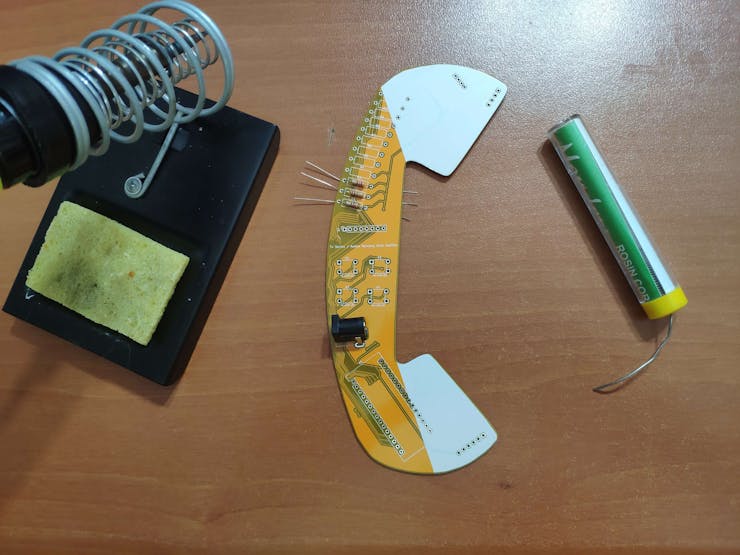
First of all, by using a soldering iron, I attached headers, pushbuttons, 220Ω resistors, the power jack, 5mm Anode RGB LED.
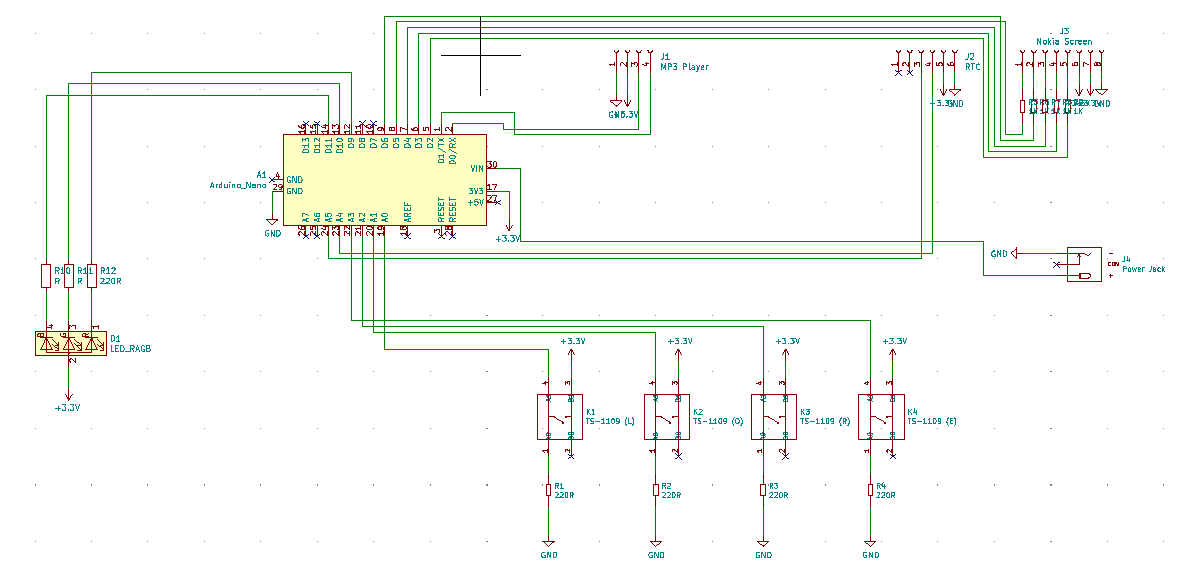
Component list on the PCB:
A1 (Headers for Arduino Nano 33 IoT)
J1 (Headers for Serial MP3 Player)
J2 (Headers for DS3231 - Not Required)
J3 (Headers for Nokia 5110 Screen)
J4 (Power Jack)
D1 (5mm Anode RGB LED)
K1, K2, K3, K4 (Pushbuttons)
R1, R2, R3, R4, R5, R6, R7, R8, R9, R10, R11, R12 (220Ω resistors)
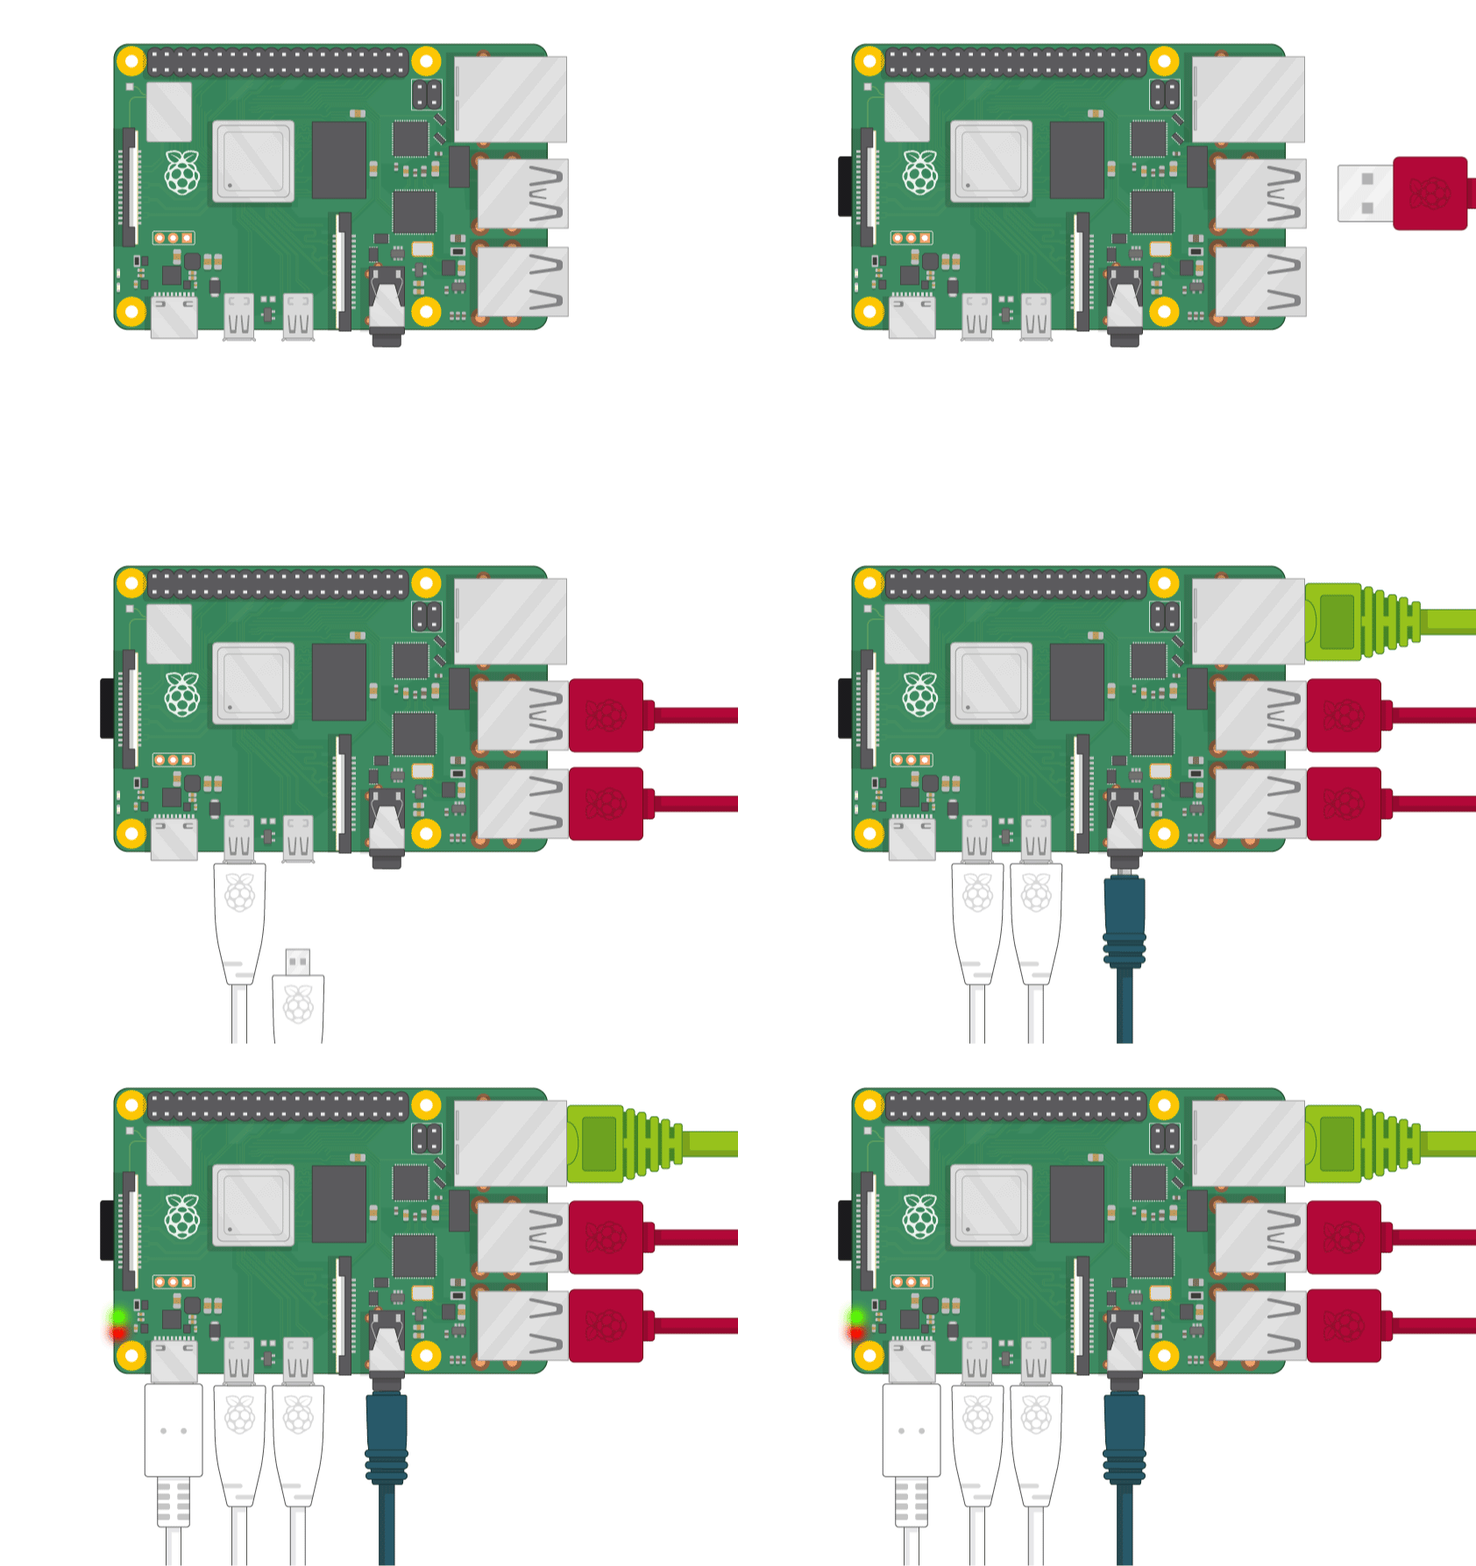
Step 2: Setting up a LAMP web server with MariaDB on Raspberry Pi
If you are a novice in programming with Raspberry Pi, you can inspect well-explained instructions and tutorials on the official Raspberry Pi website.
To go to the official Raspberry Pi setting up tutorial, click here.
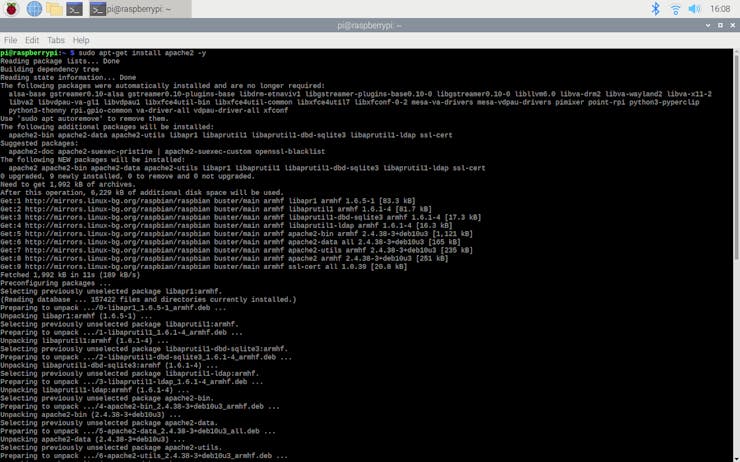
- Open a terminal window by selecting Accessories > Terminal from the menu.
- Install the apache2 package by typing the following command into the terminal and pressing Enter:
sudo apt-get install apache2 -y
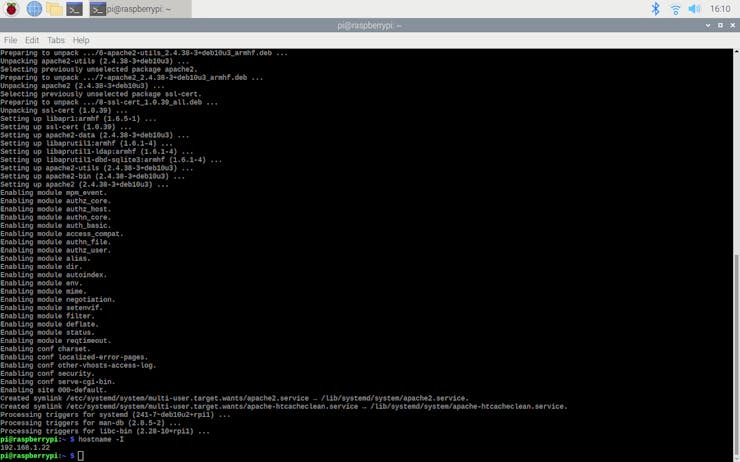
- To test the server, open Chromium by selecting Internet > Chromium Web Browser from the menu and enter http://localhost.
- If you want, you can use the IP address of your Raspberry Pi as well.
hostname -I
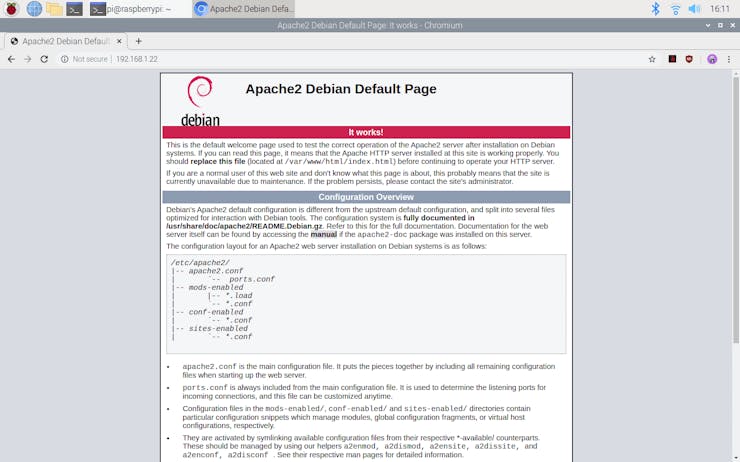
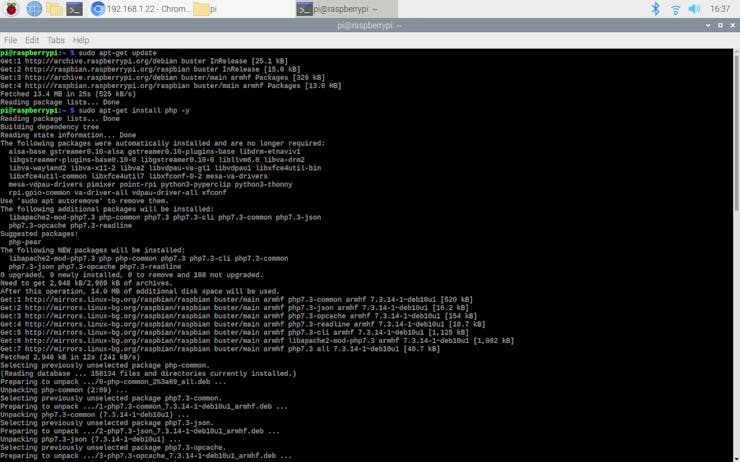
- Install the PHP package with the following command:
- Do not forget to update the Pi.
sudo apt-get update
sudo apt-get install php -y
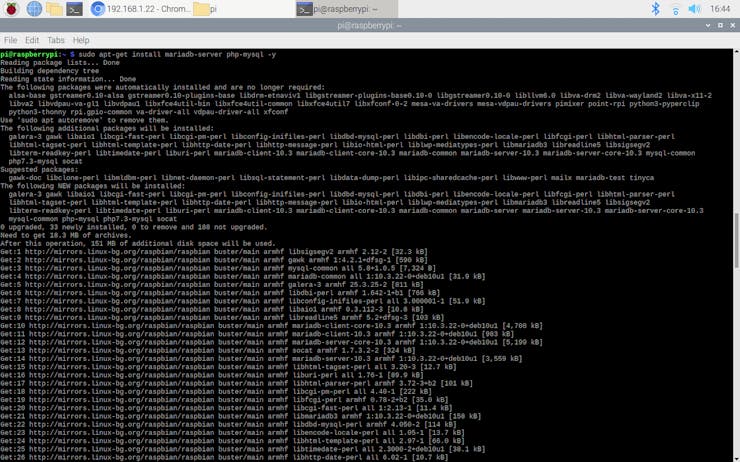
- Install the MySQL Server (MariaDB) and PHP-MySQL packages by entering the following command into the terminal window:
sudo apt-get install mariadb-server php-mysql -y
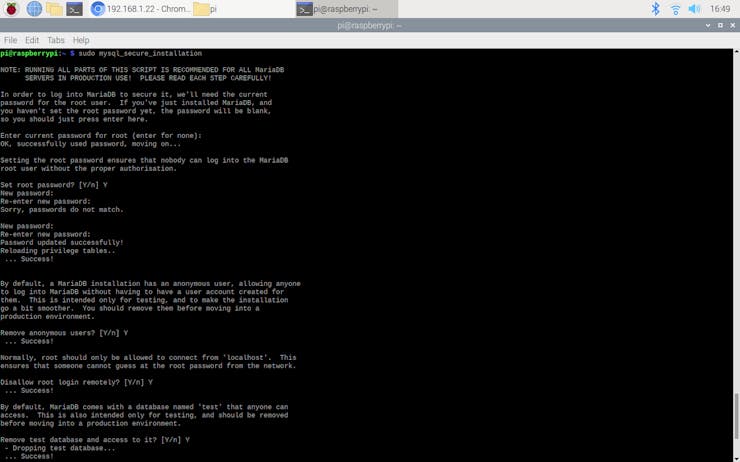
- To create a new user, run the MySQL secure installation command in the terminal window.
sudo mysql_secure_installation
- You will be asked Enter current password for root (enter for none): — press Enter.
- Type in Y and press Enter to Set root password.
- Type in bot at the New password: prompt, and press Enter.
- Type in Y to Remove anonymous users.
- Type in Y to Disallow root login remotely.
- Type in Y to Remove test database and access to it.
- Type in Y to Reload privilege tables now.
- When completed, you will see this message - All done! and Thanks for using MariaDB!
- To create a database (tvseries) to save variables generated by TVMAZE REST API, run this MySQL command in the terminal window:
sudo mysql -uroot -p
- Enter the root password - bot
- You will be greeted by the message Welcome to the MariaDB monitor.
- Follow the lines below after the MariaDB [(none)]>: prompt to create the tvseries database in MariaDB:
create database tvseries;...
Read more » kutluhan_aktar

 Rémi Sarrailh

 Juan M. Casillas
Thanks for your comment and suggestion :)