 Nikola Secerovski
The build
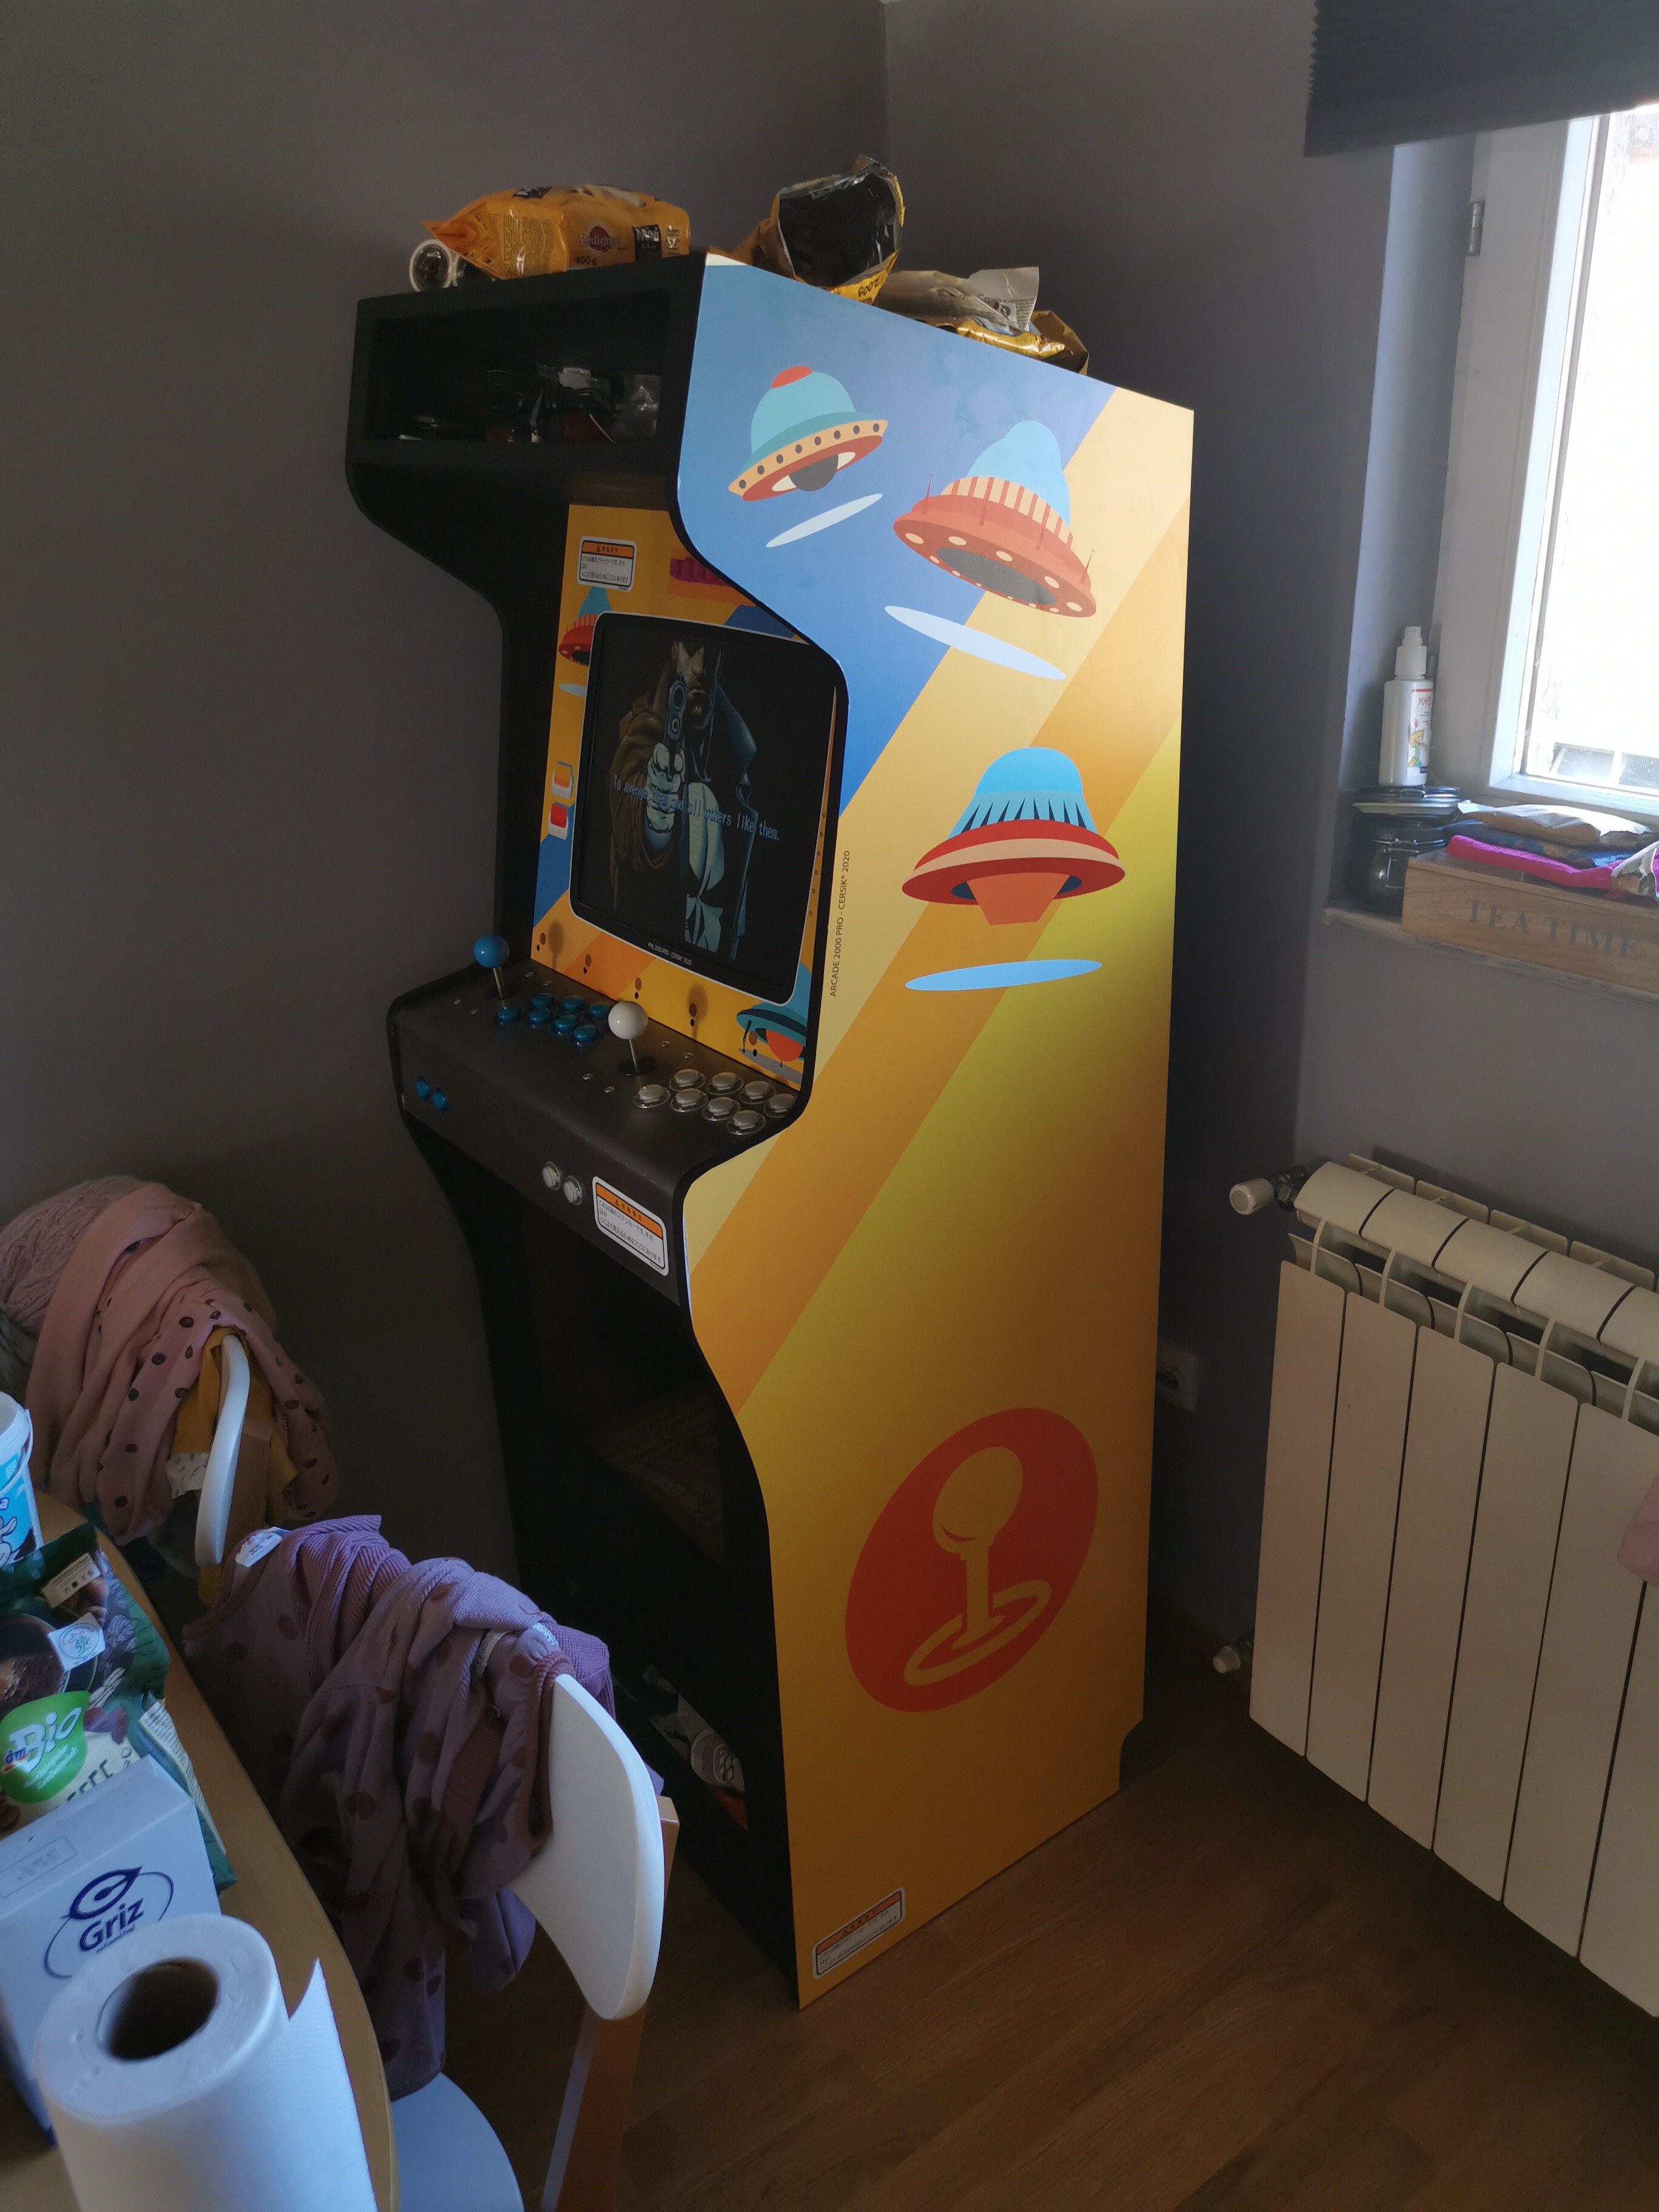
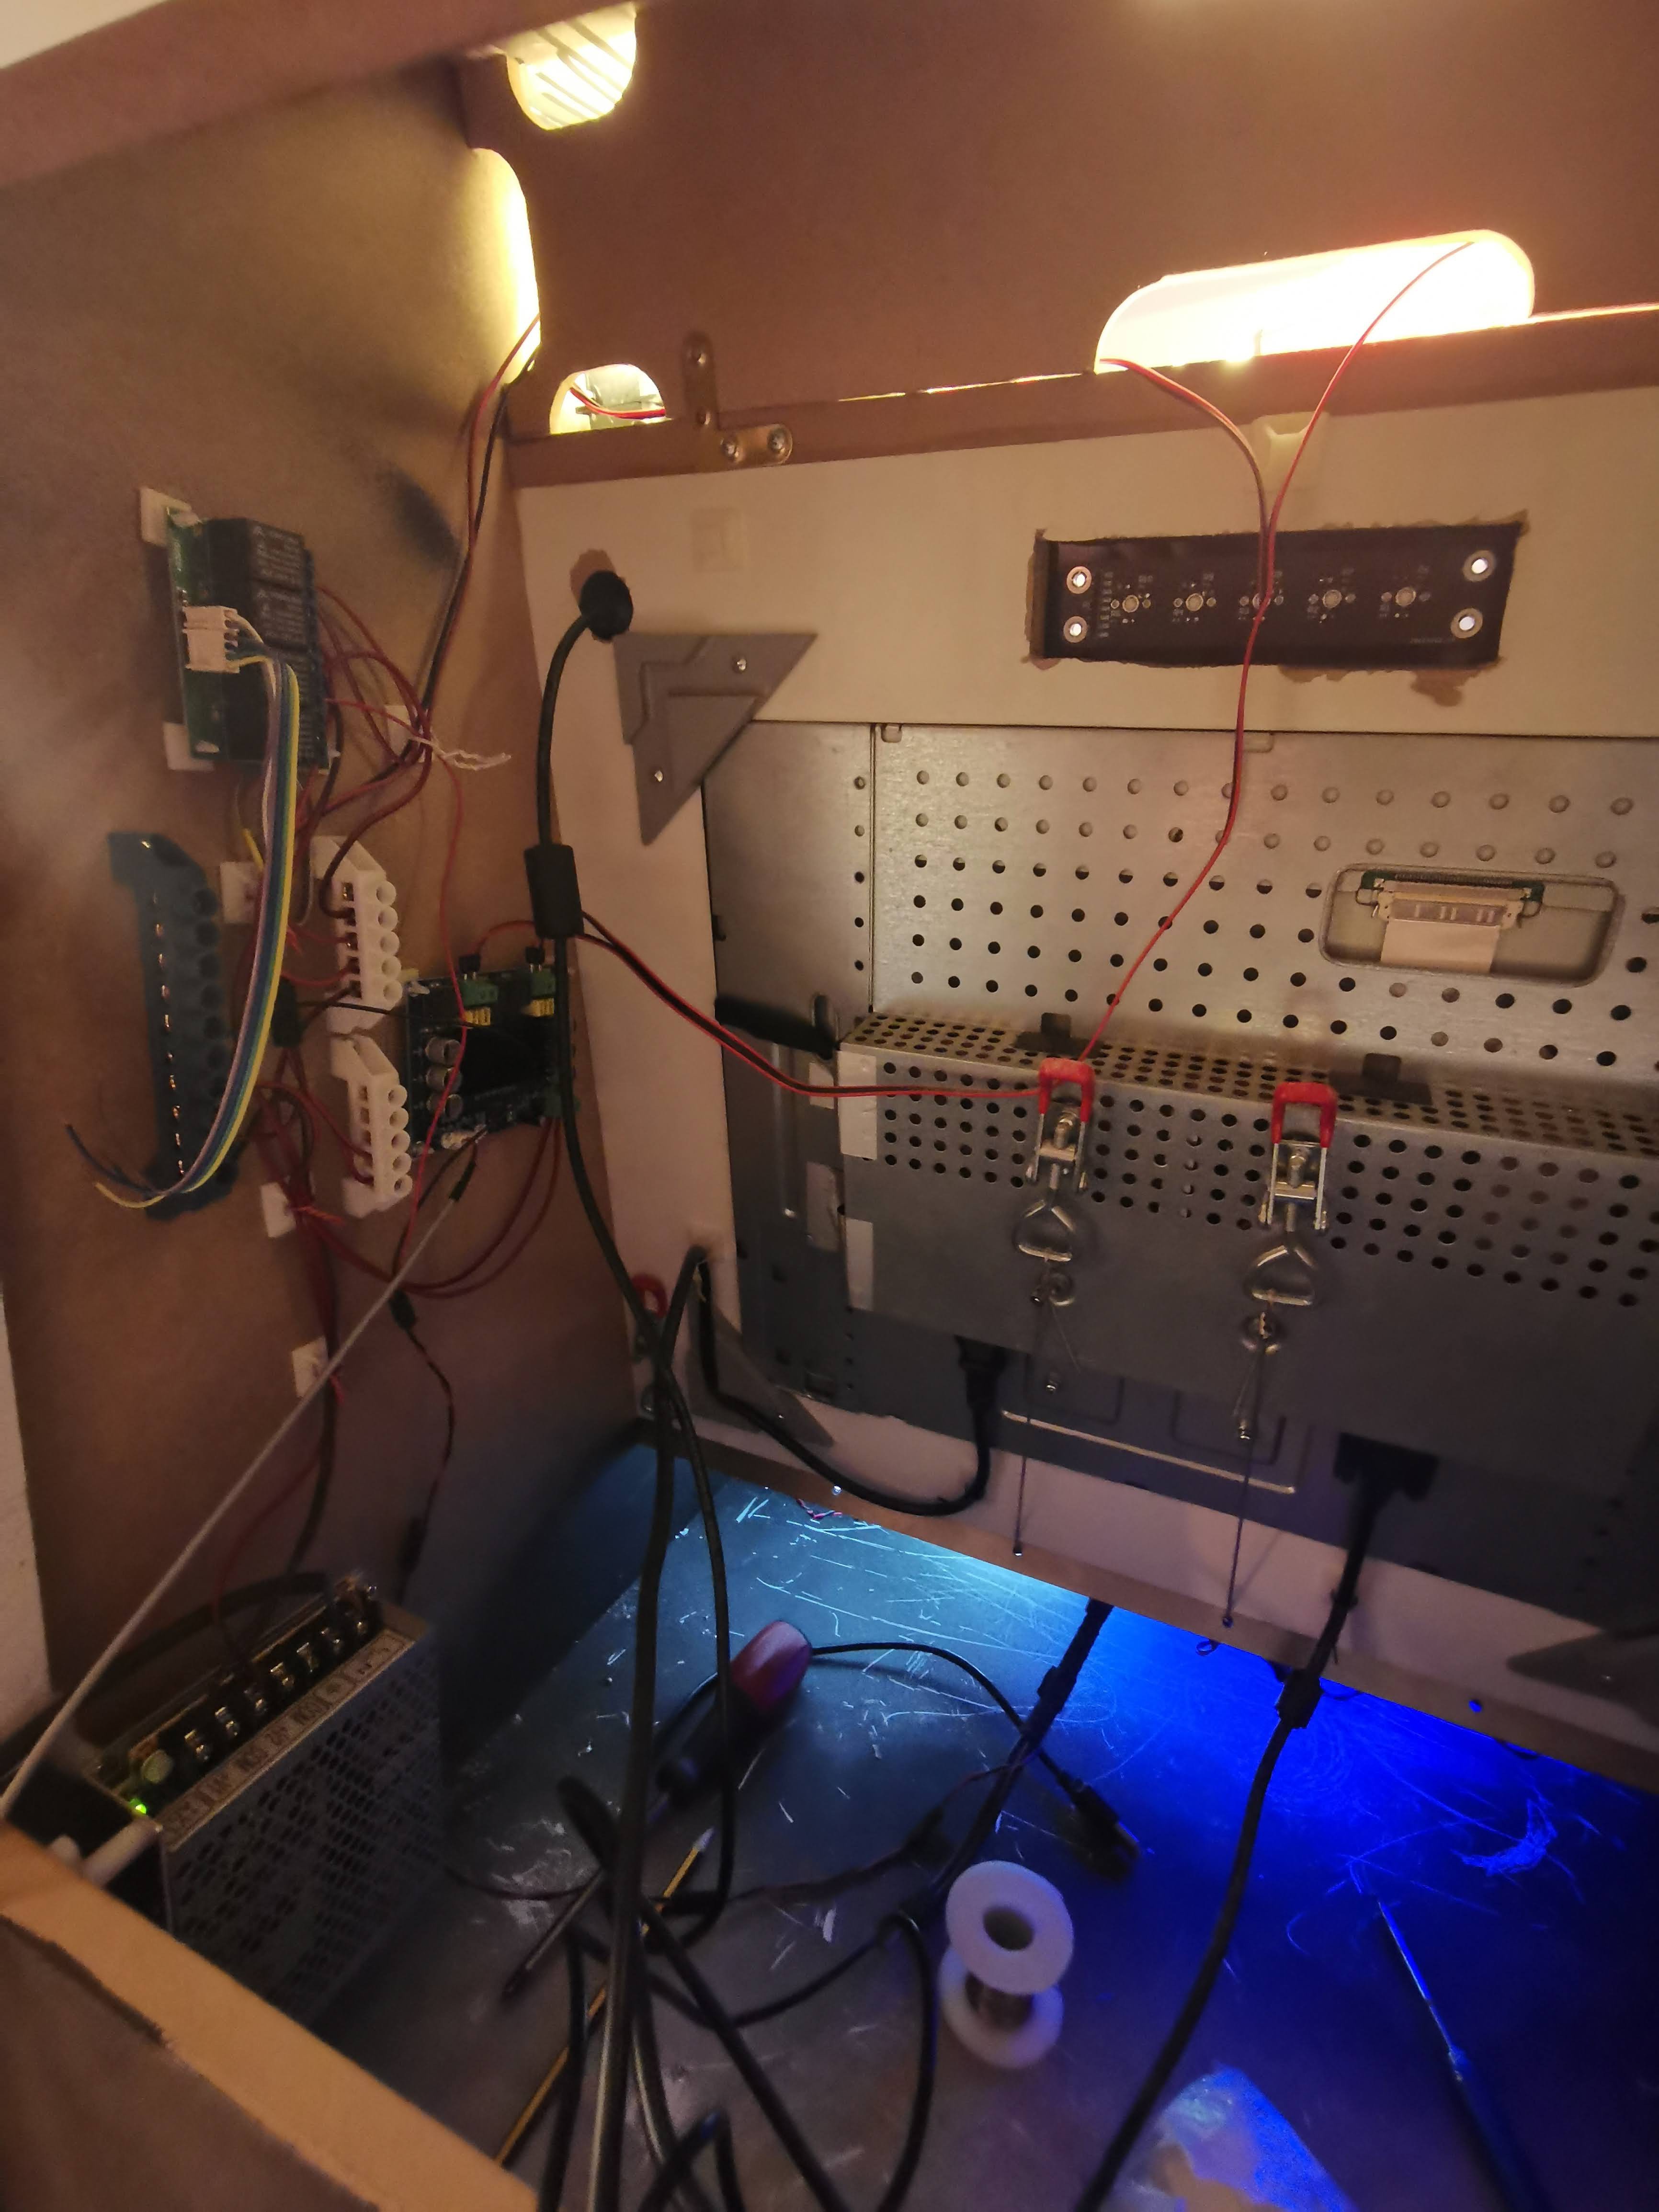
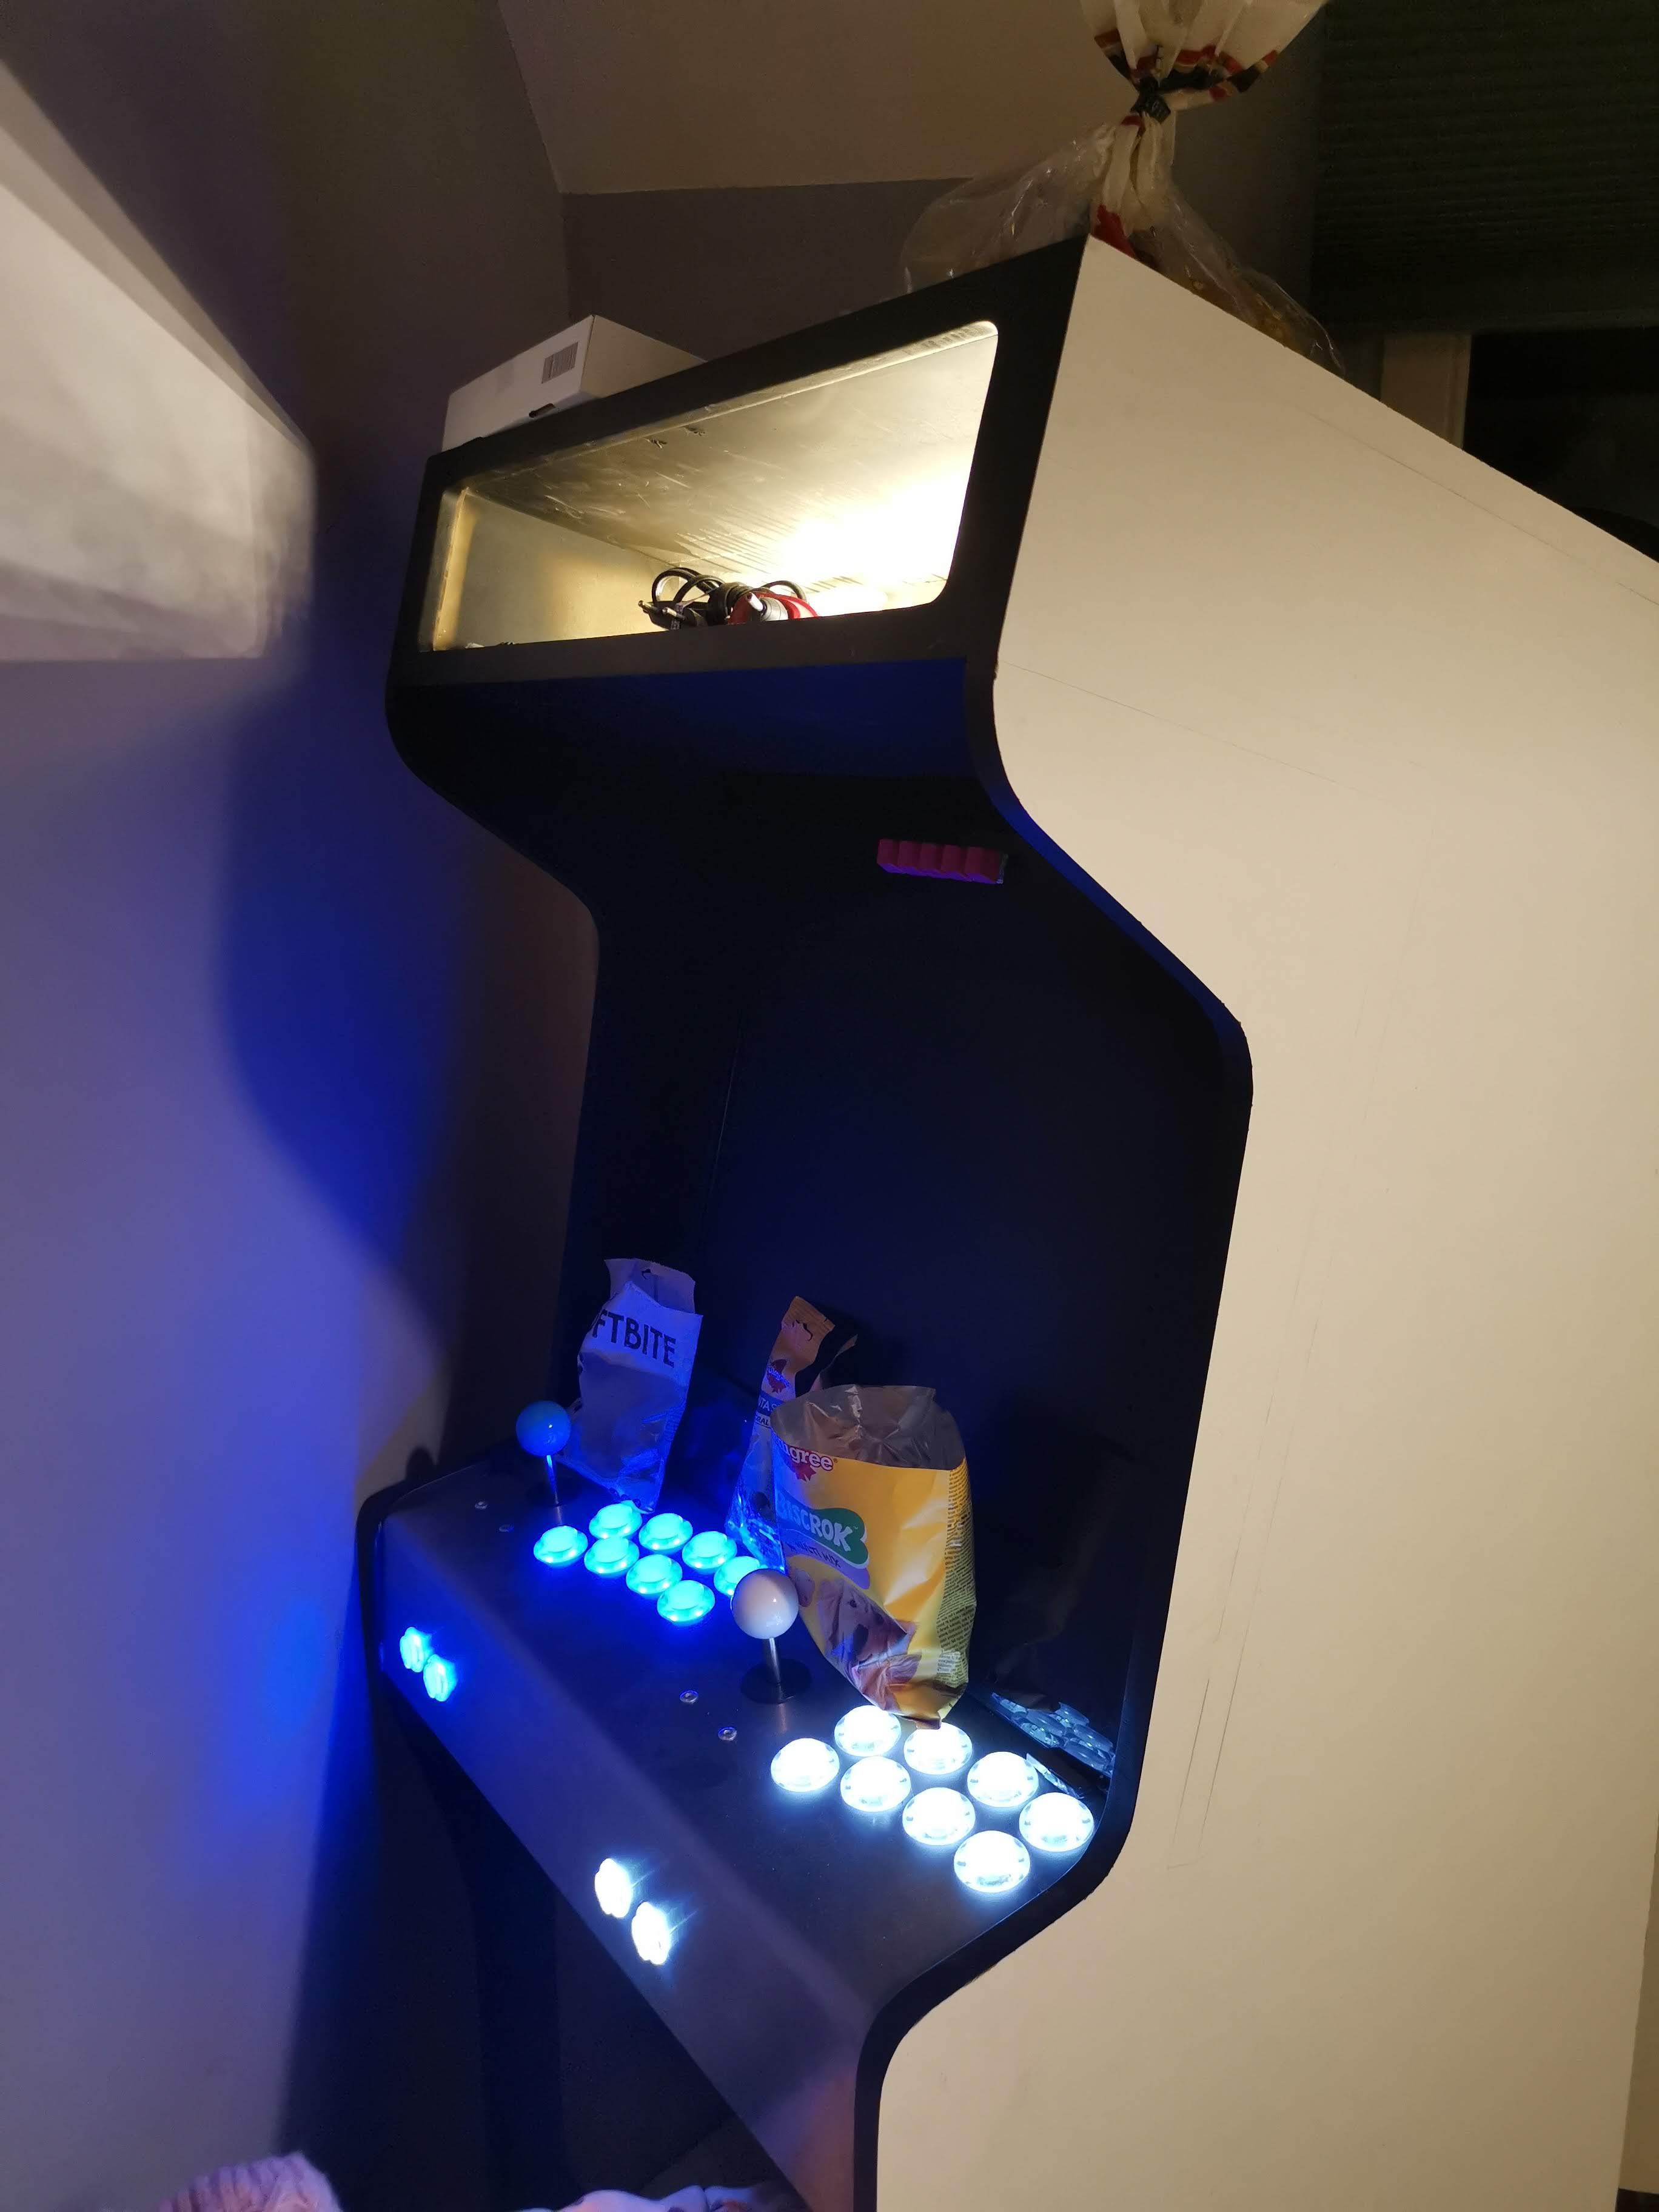
The first step of the build was to obtain all the materials, components, parts, etc. Some of the components, like the monitor and PSU are not new, i used my old SyncMaster 720n and dual output power supply left over from another project. Prepare yourself to wait for the parts, especially during this COVID19 pandemic, some of the components arrived after two + months. The biggest challenge of this build was to source all the parts. What to do until the parts arrive? Well, I built arcade cabinet. Whole cabinet is made from 16mm MDF, cut using a CNC router. I also included A4 printable templates, that can be used to cut the parts by hand, it can be fun, but i guess the you will need some kind of workshop, maker space or something similar. I had access to my father's workshop, so all the dirty work was done there, gluing, clamping, nailing, sanding. After finishing sanding, I painted the front and top of the cabinet mate black, and also decided not to use T-molding on the sides, even though it was initially designed in that way. During the build I have made some changes, that are not included in the original design, one of which was to add two peaces of the hardwood at the bottom of the cabinet, so I could mount it on a caster wheels.
Assembly
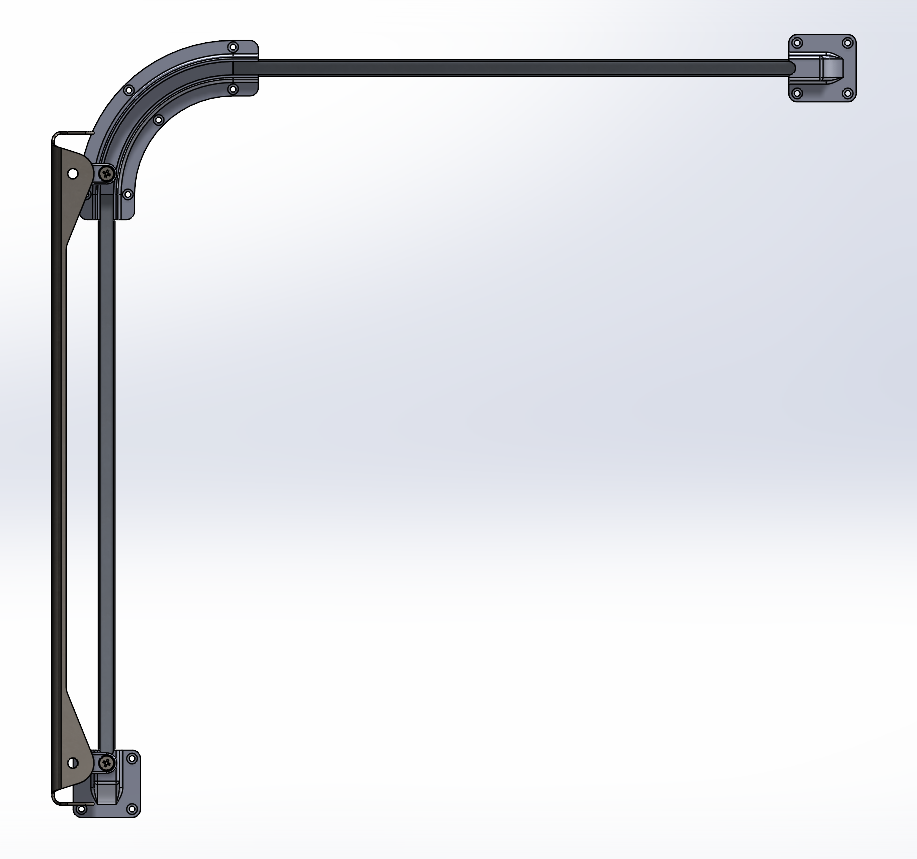
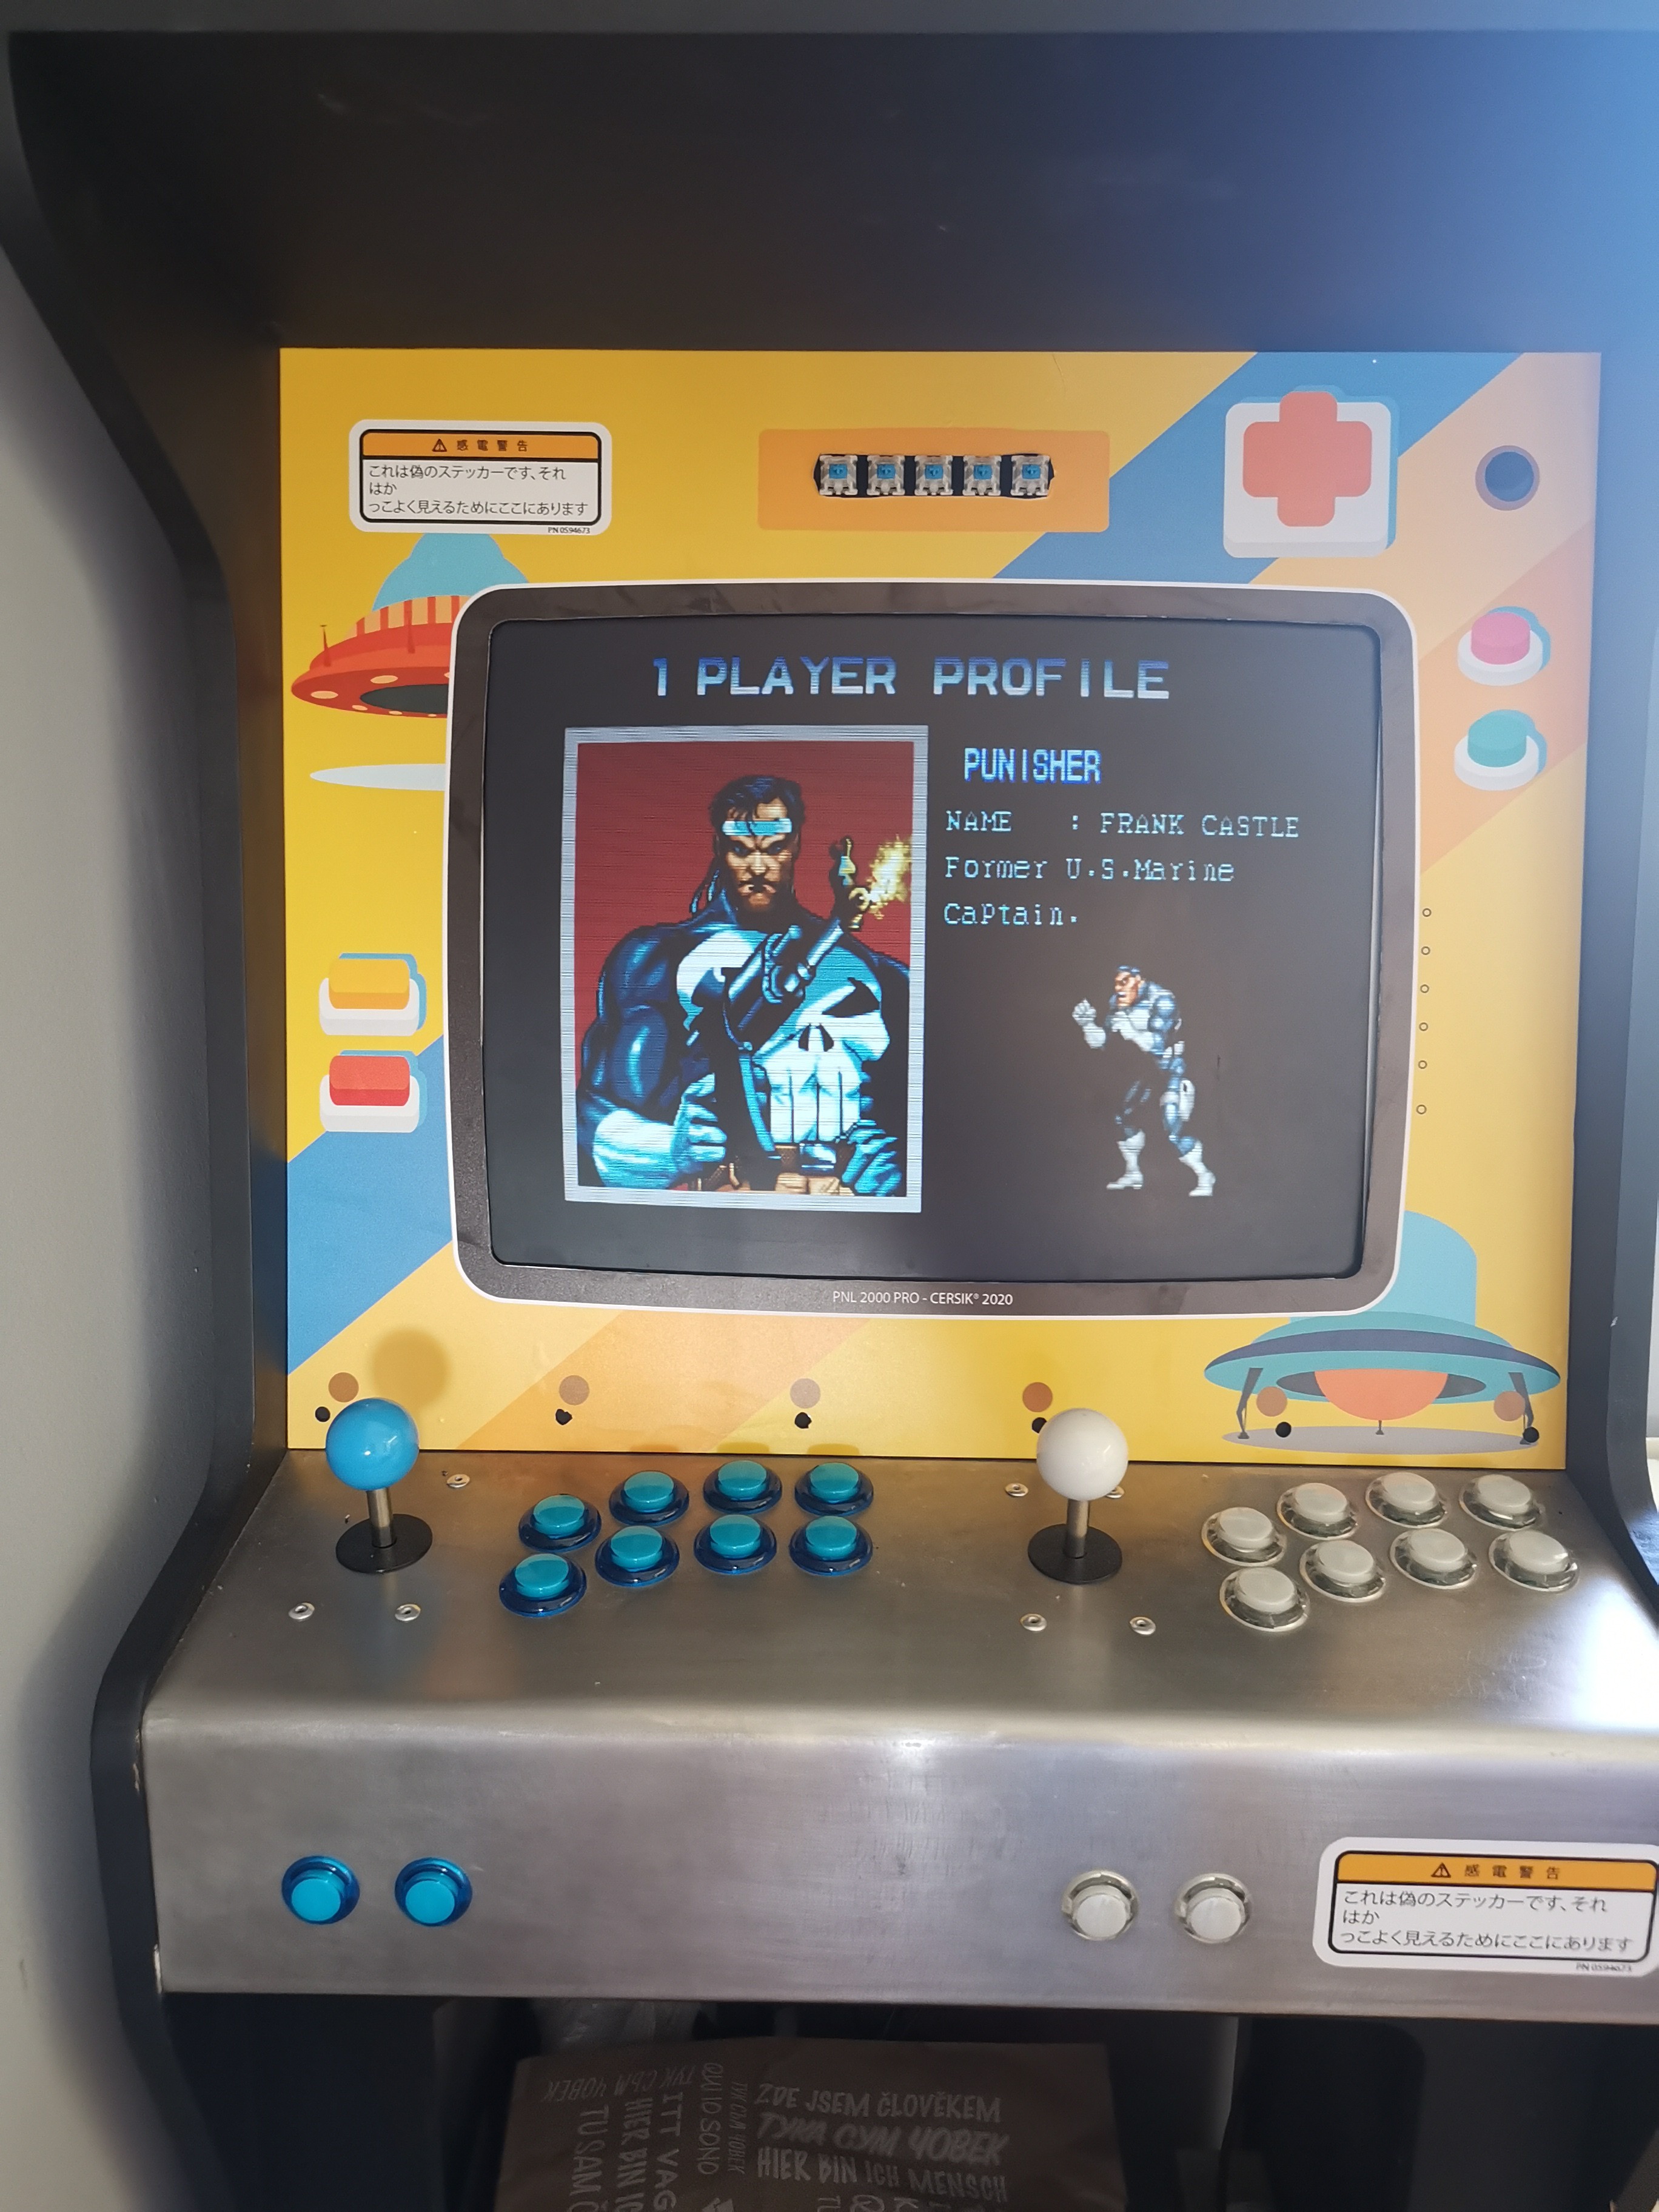
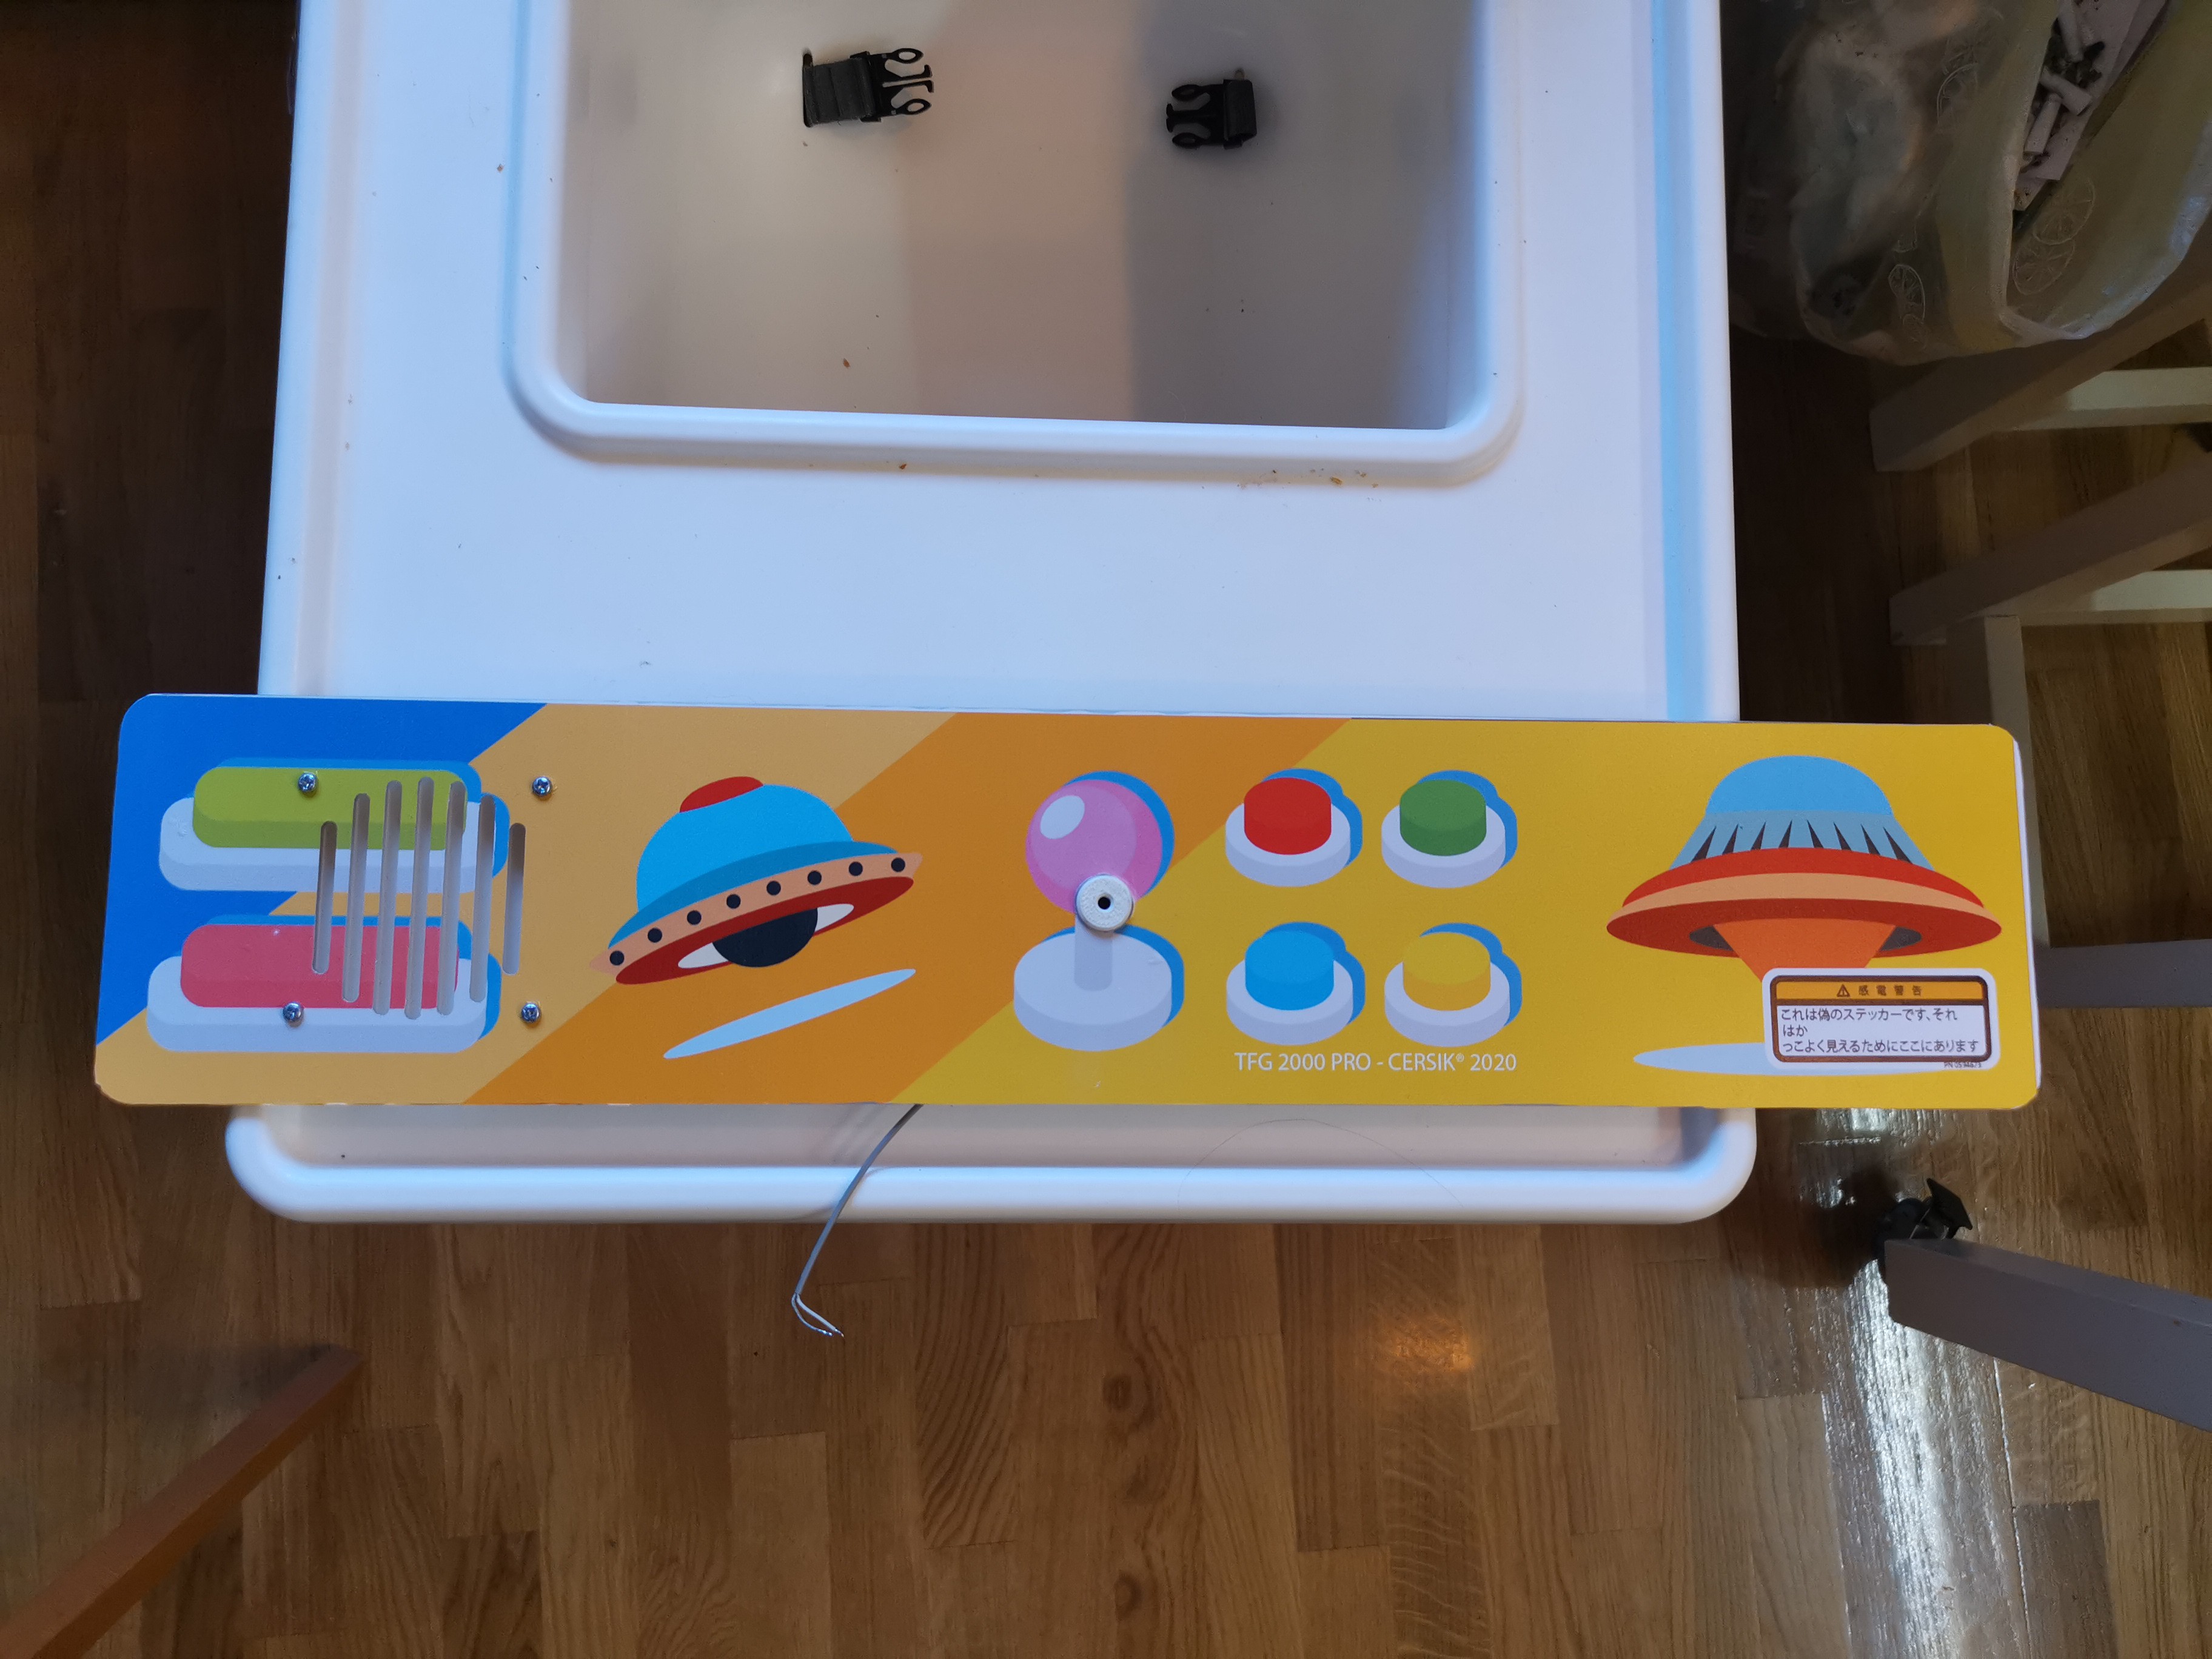
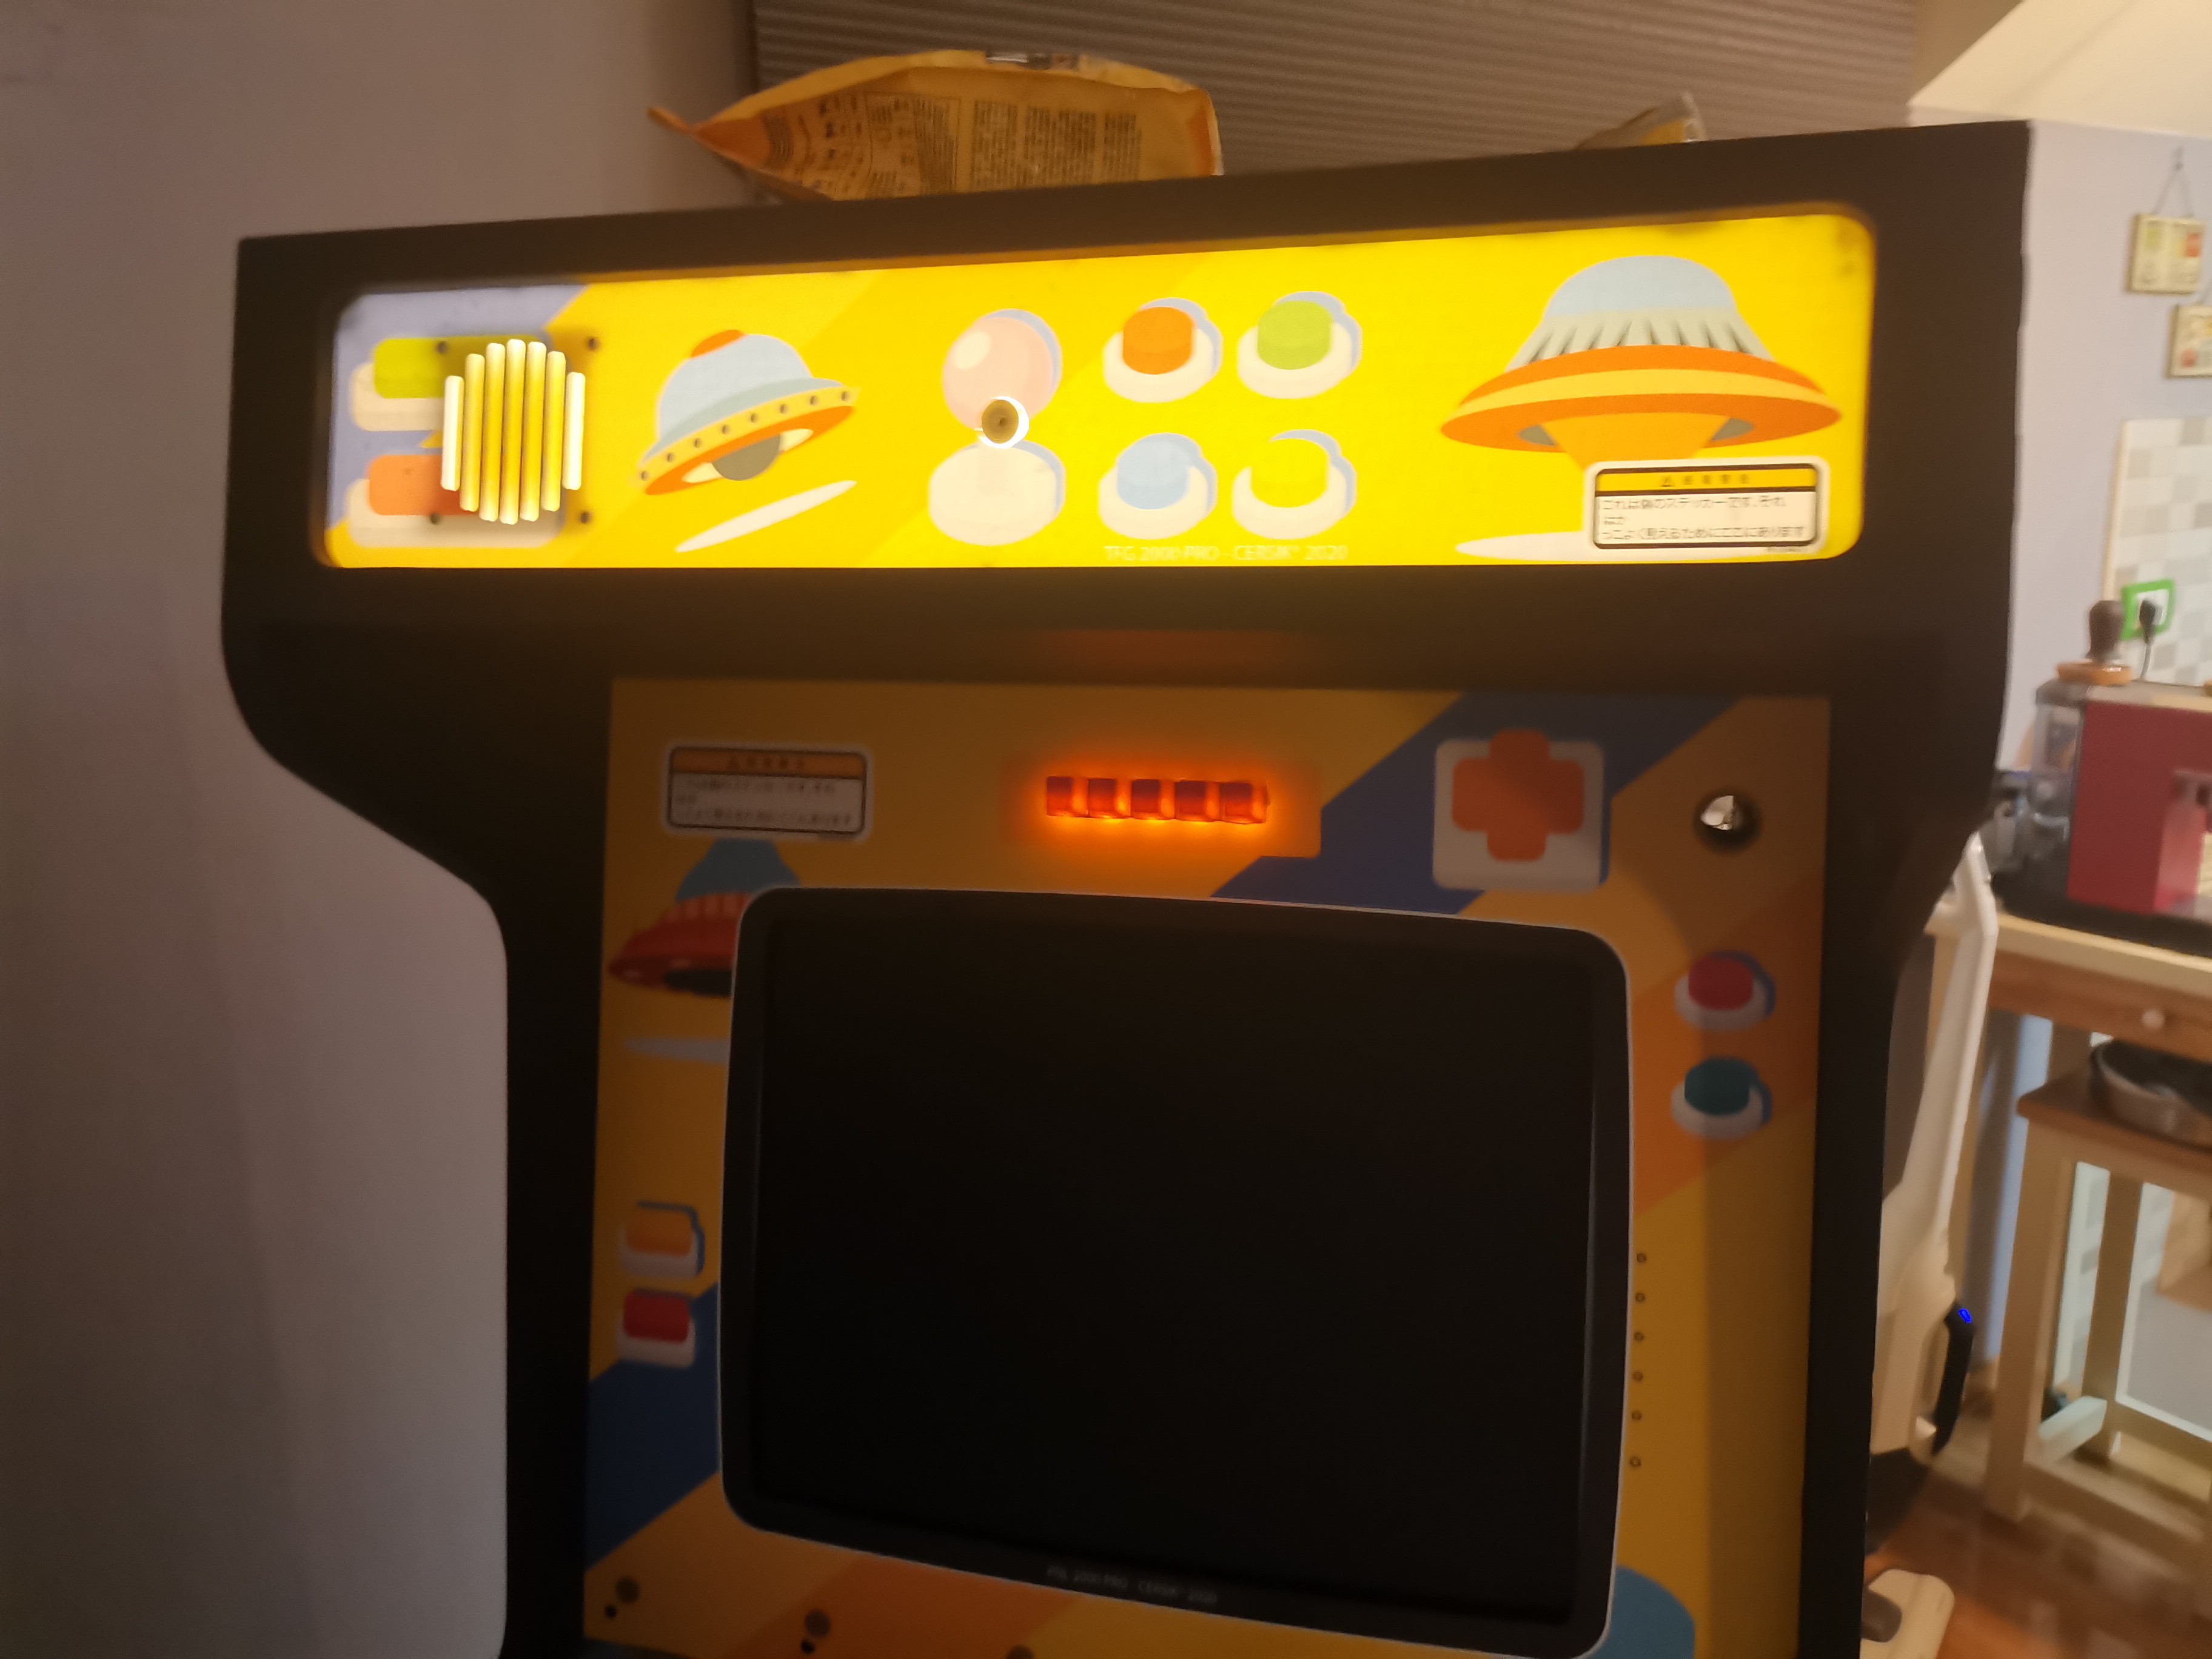
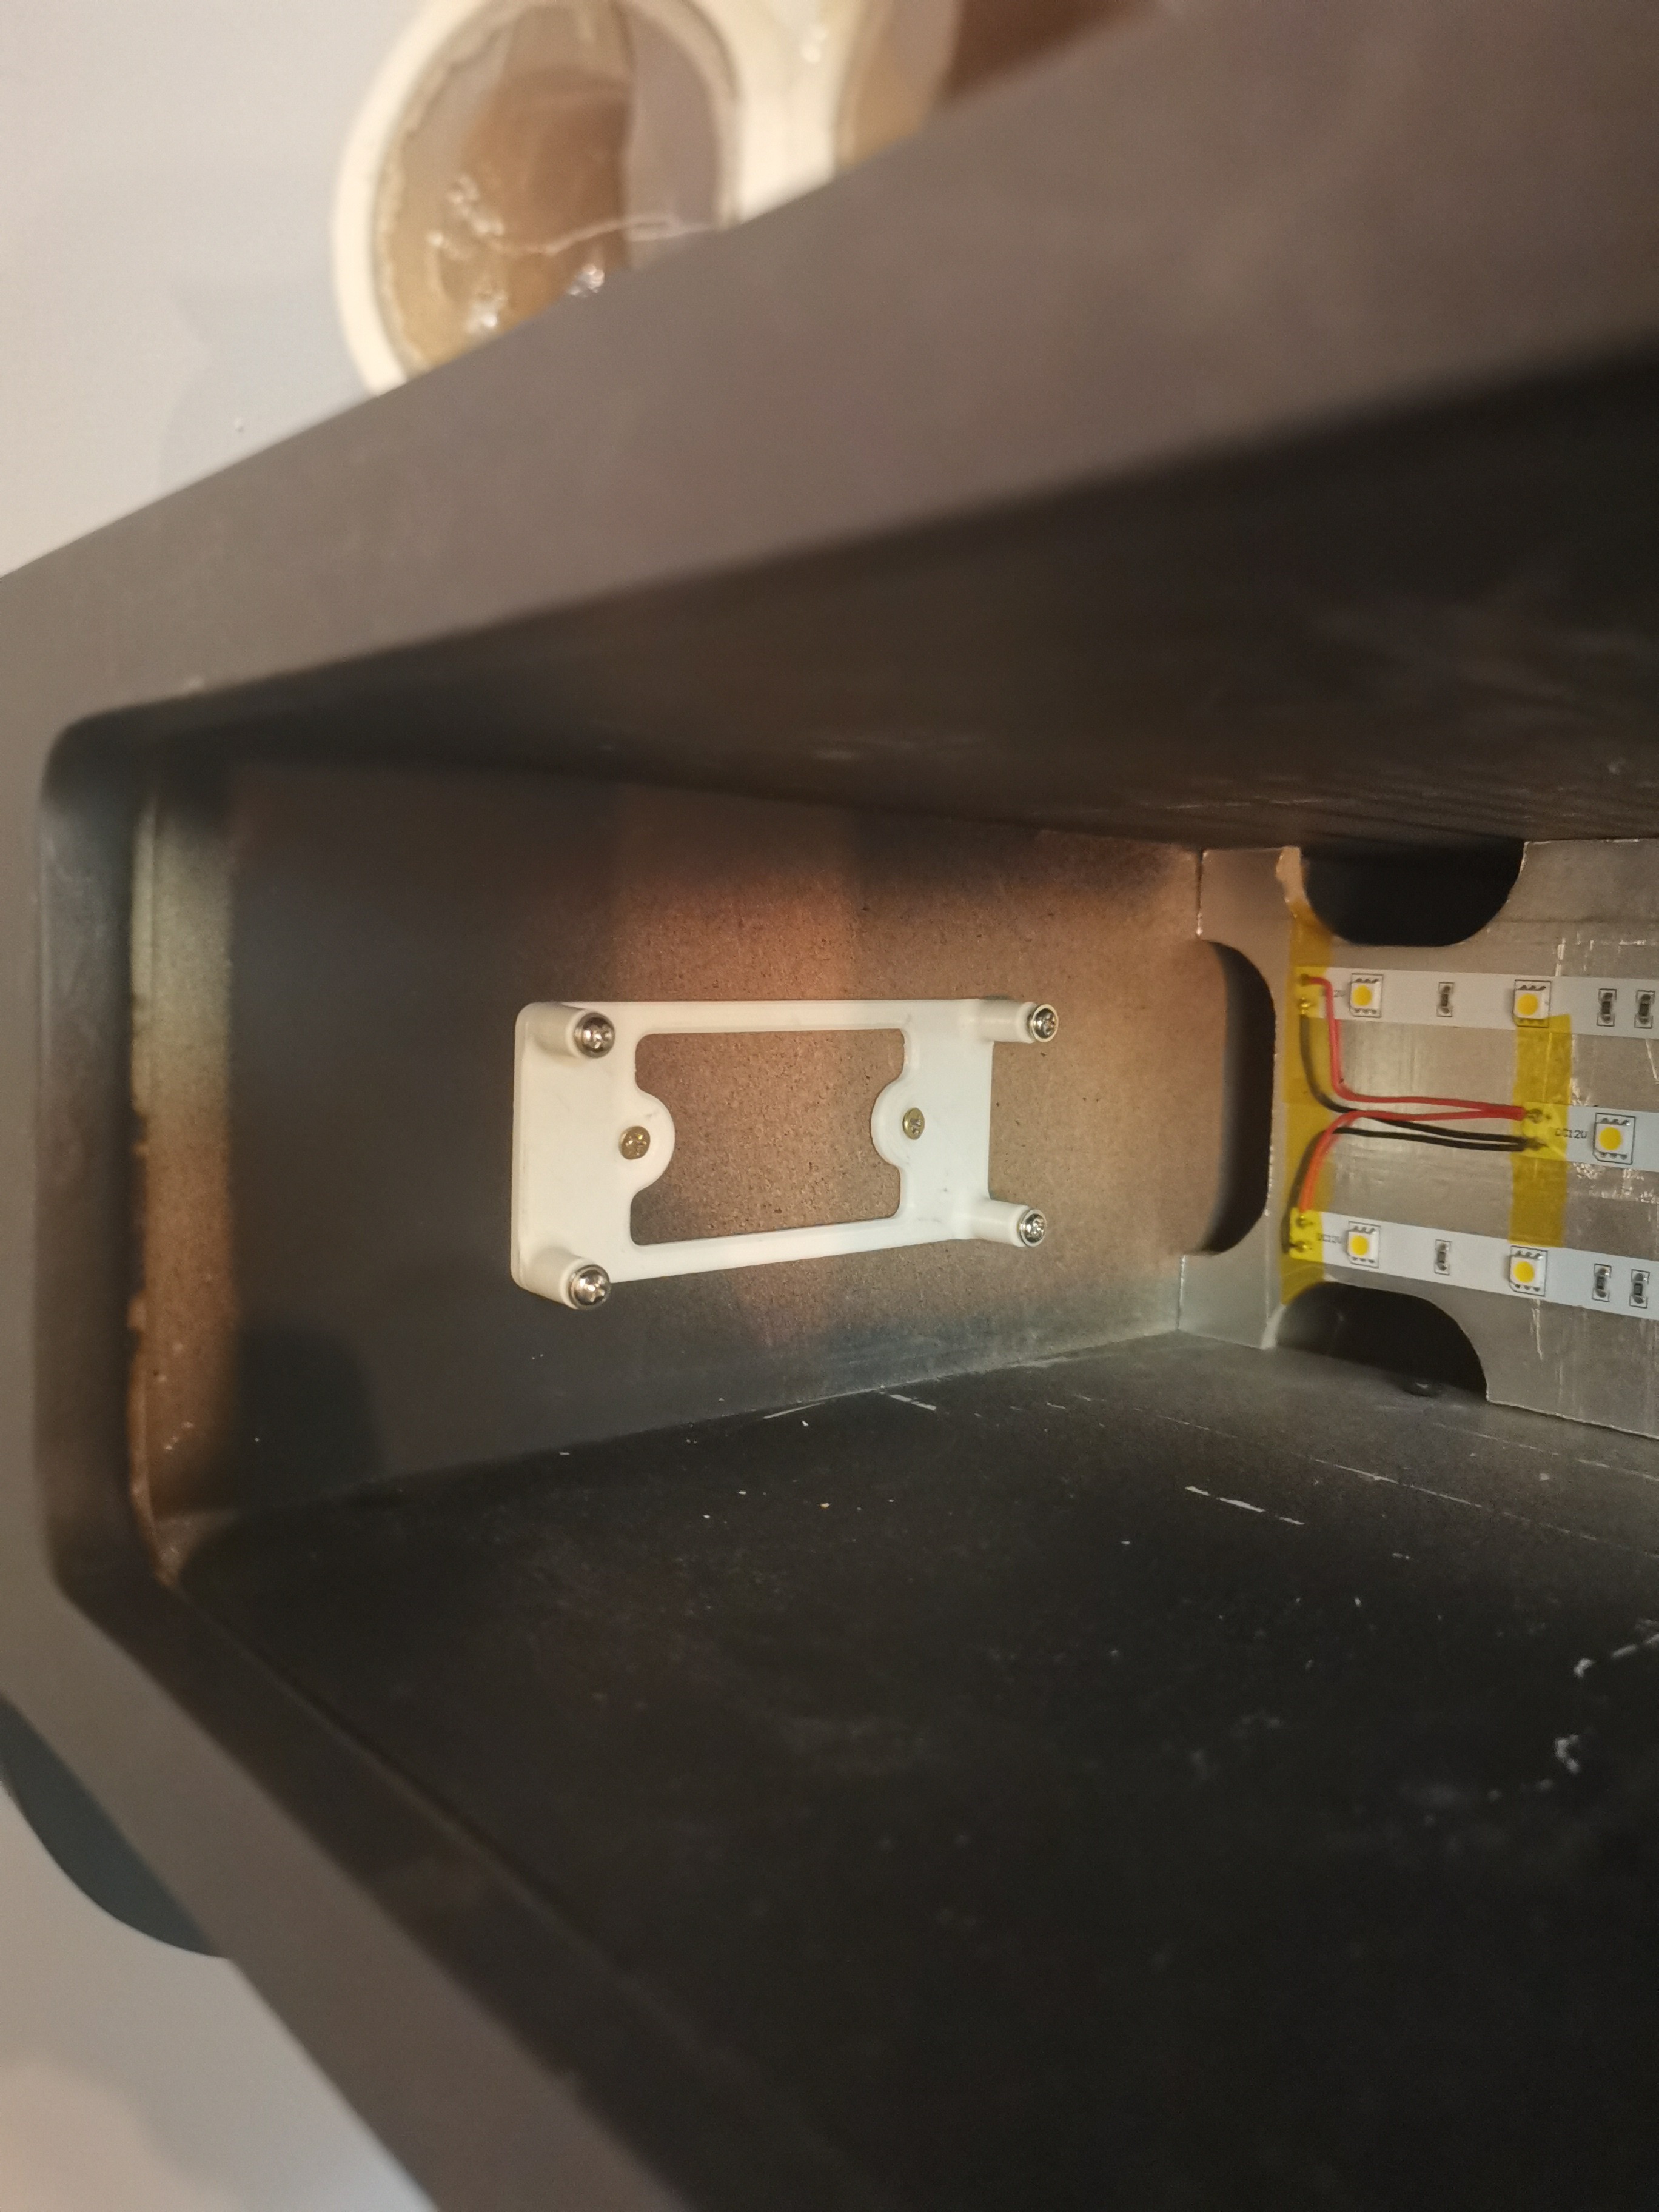
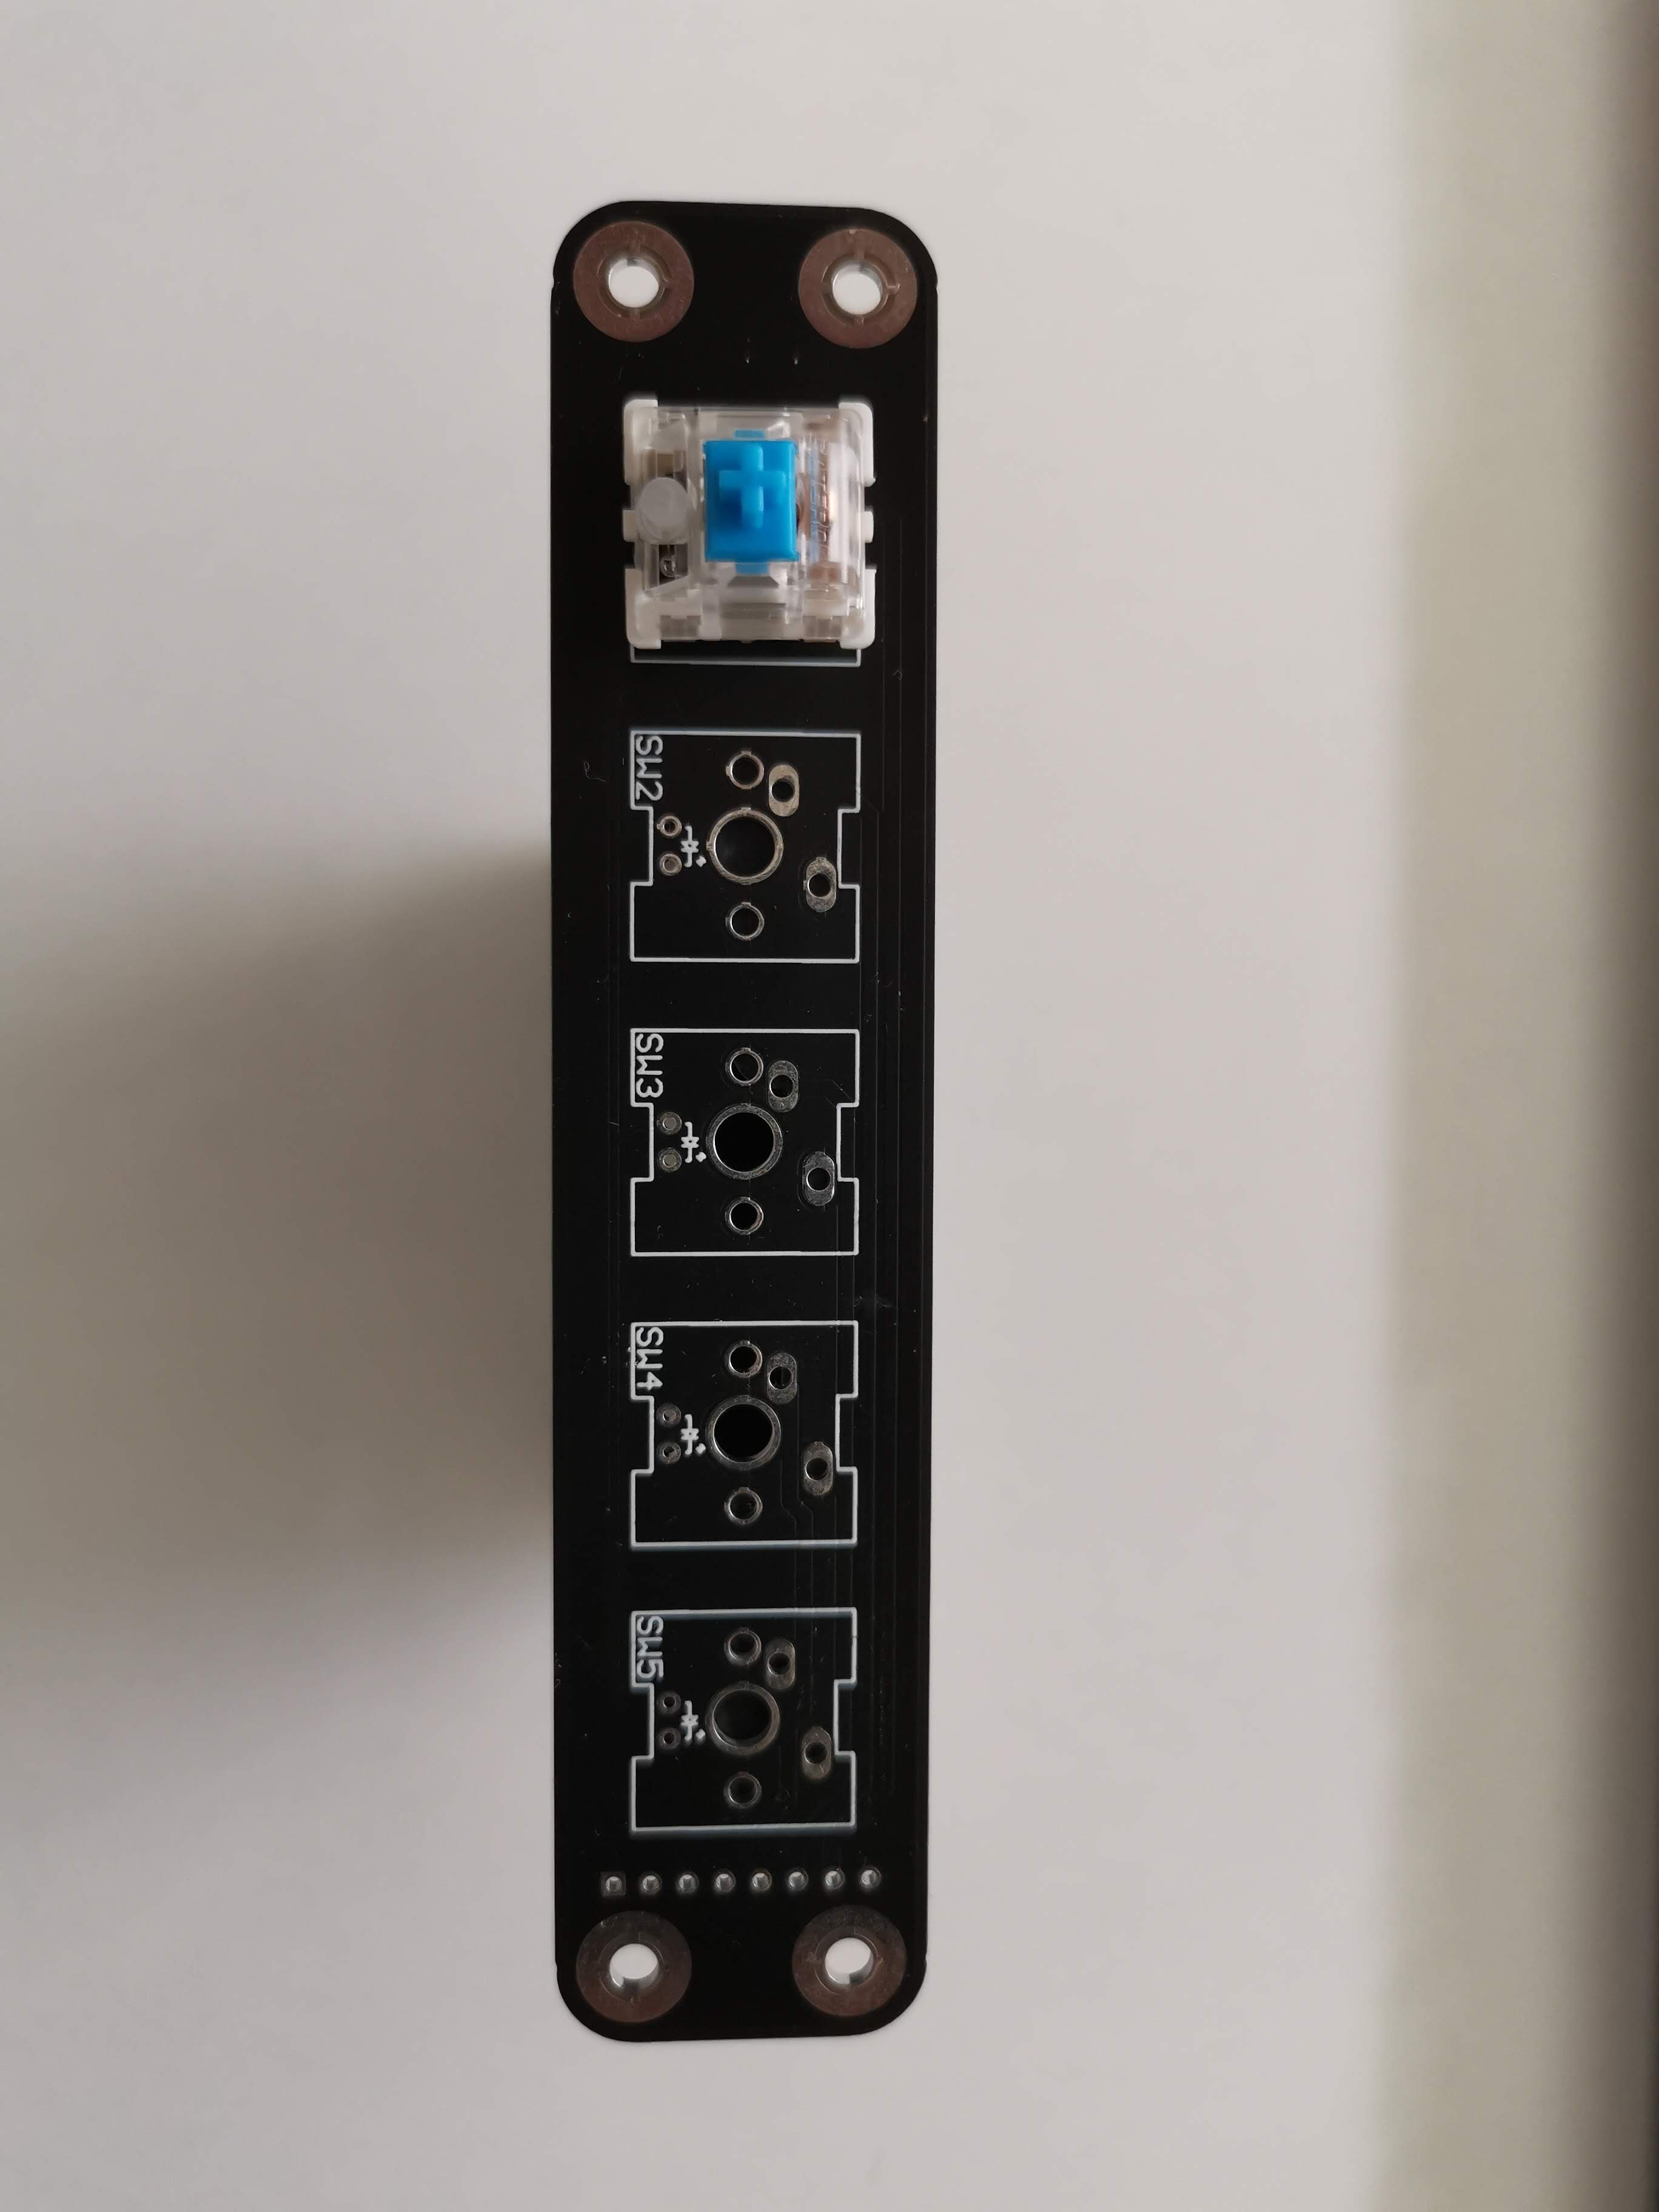
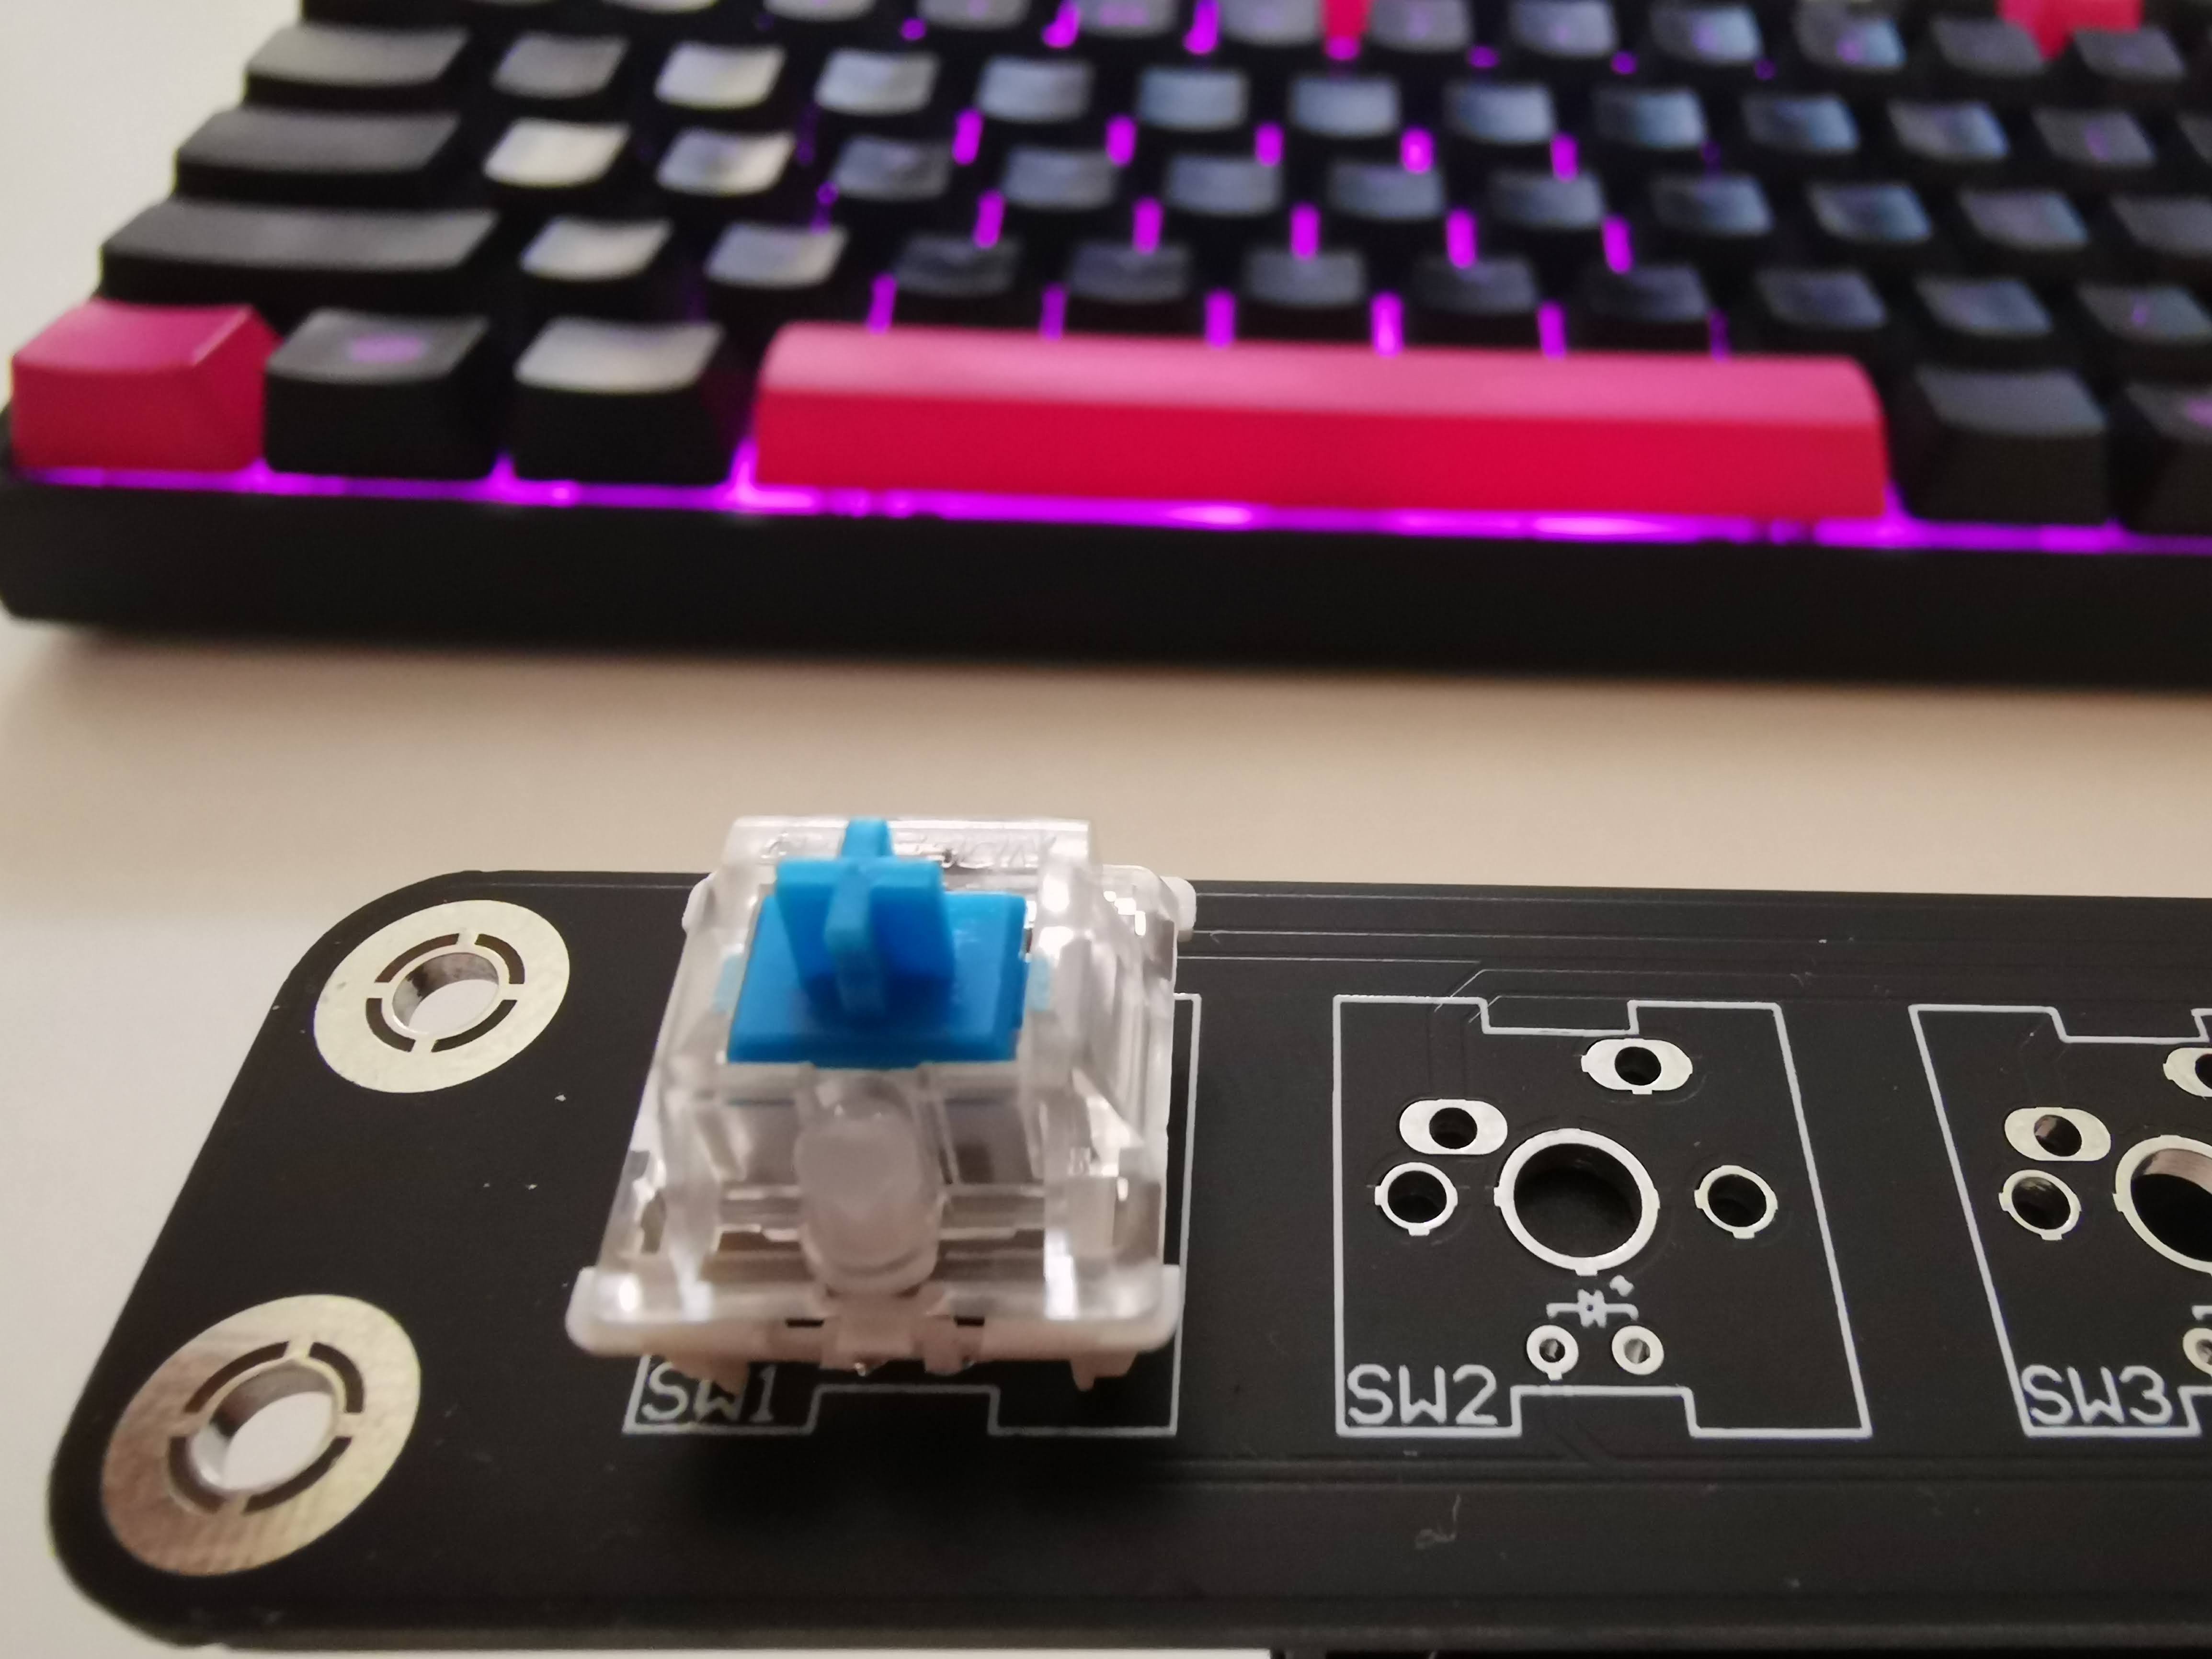
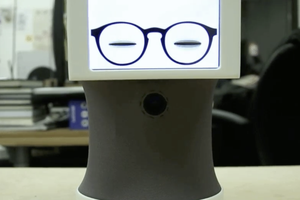
After completing the cabinet build, I ordered the rest of the non electronic parts, laser cut acrylic for the screen and marquee, stainless steel base for the controllers, also laser cut and bent, and some small 3D printed parts. At some point during the build, I had an idea about using my new arcade machine as a Google assistant device, it had all the stuff already, decent speakers and a Raspberry PI, only thing missing was the microphone, so i added it to a marquee front plate, using a small 3D printed holder, this is still work in progress, so i don't have any useful information about daily usage and user experience, but I hope it will come out good. Besides microphone holder, I also printed some speaker brackets and speaker grill for the marquee. After screwing it all together, all that is left is some wiring. Front plate, just above the screen, received custom PCB with 5 Gateron MX blue switches, some pink key caps i had lying around, and some amber LEDs, this little mechanical keyboard module is wired to control the 4ch latching relay board, that in the end turns on and off marquee backlight, controllers backlight and audio amplifier.
The final step
The final step of the build is to download a fresh copy of RetroPie, flash it to the SD card, plug in your Raspberry PI, connect the USB controllers and play some Cadillacs and Dinosaur :) I haven't used any type of coin acceptor, instead I mapped it to the button on the control panel. As I said earlier, this is still an ongoing project, so some new features will be added, first of all, Raspberry PI is now supported by RetroPie, so you can easily add some Wi-Fi and Bluetooth support to your arcade machine, second thing will be some kind of doors or drawers or tambour door (powered by an electric motor) in the bottom half of the cabinet, because it is empty right now, and it can be used as a storage. So, that's about it, you can find all the files on the GitHub, enjoy building.


 Abhishek
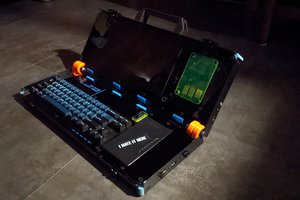
 Conceptual Hardware
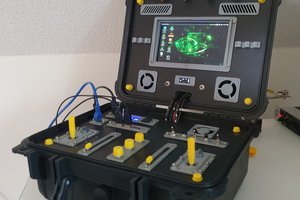
 Maximiliano Palay
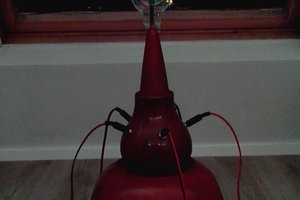
 RodolpheH
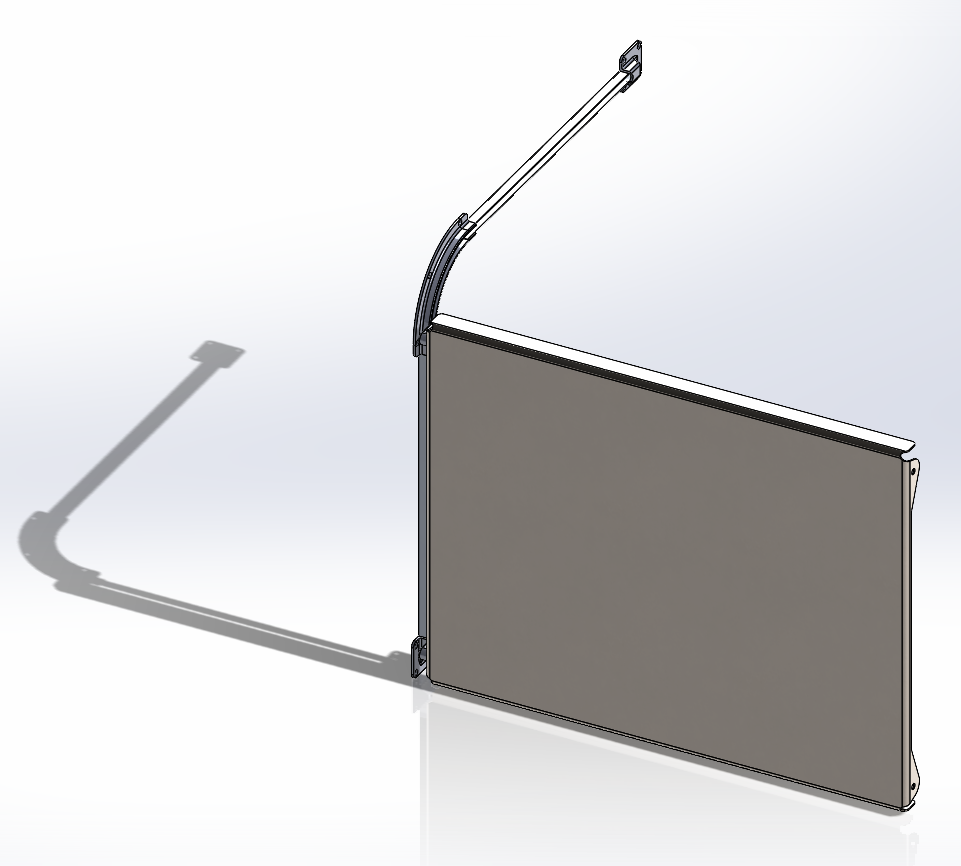
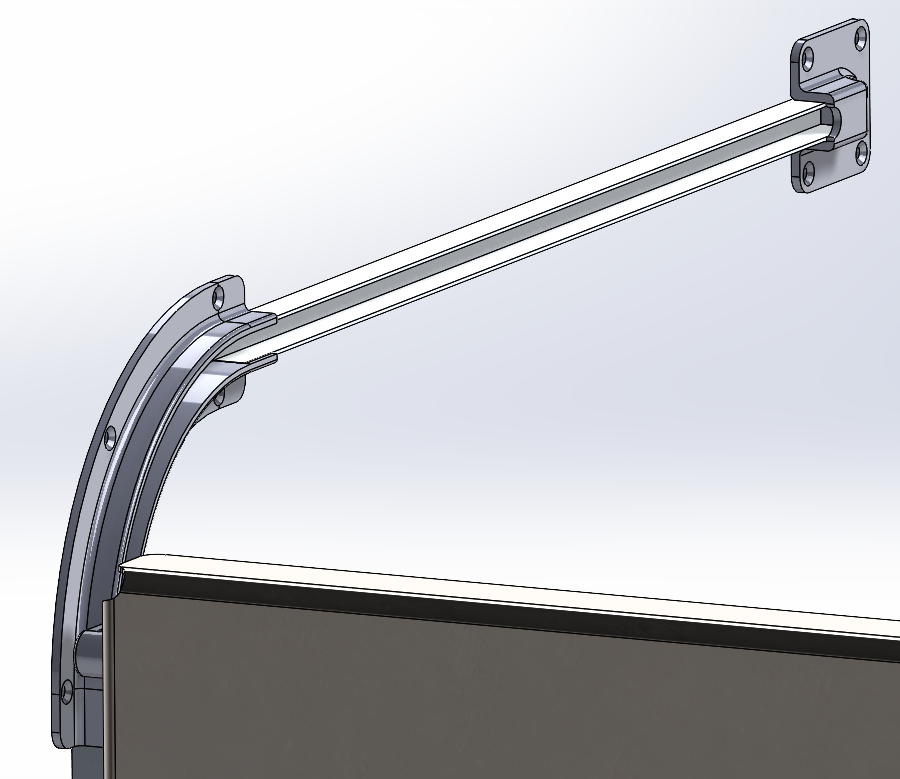
Ahhhhh, the famous scissors counterweight! I wanted to take a picture, but the front plate kept falling down, so I balanced it like that.