Close
0%
0%

How to win at 3D printing

Survival stories with an Ender 3. Sadly hackaday has no organization features.

Similar projects worth following
Despite being 1 of the 1st affordable printers, the Ender 3 actually a kind of anachronism. Most of the internet uses much more expensive prusa printers. The lion kingdom got an Ender 3 anyway because it was cheap. Here are the travails of surviving with it. Lions also use Cura for slicing while most of the internet uses prusaslicer.

11 years after the expiration of the FDM patent, 3D printing is still kind of like Linux in 1996, purely considered a hobby with no economic value. Like Linux, it could end up being a requirement to have any kind of job. The lion kingdom's day job buys a lot of FDM printed enclosures from China. Lions have previously taken posession of commercial FDM printed prototypes.


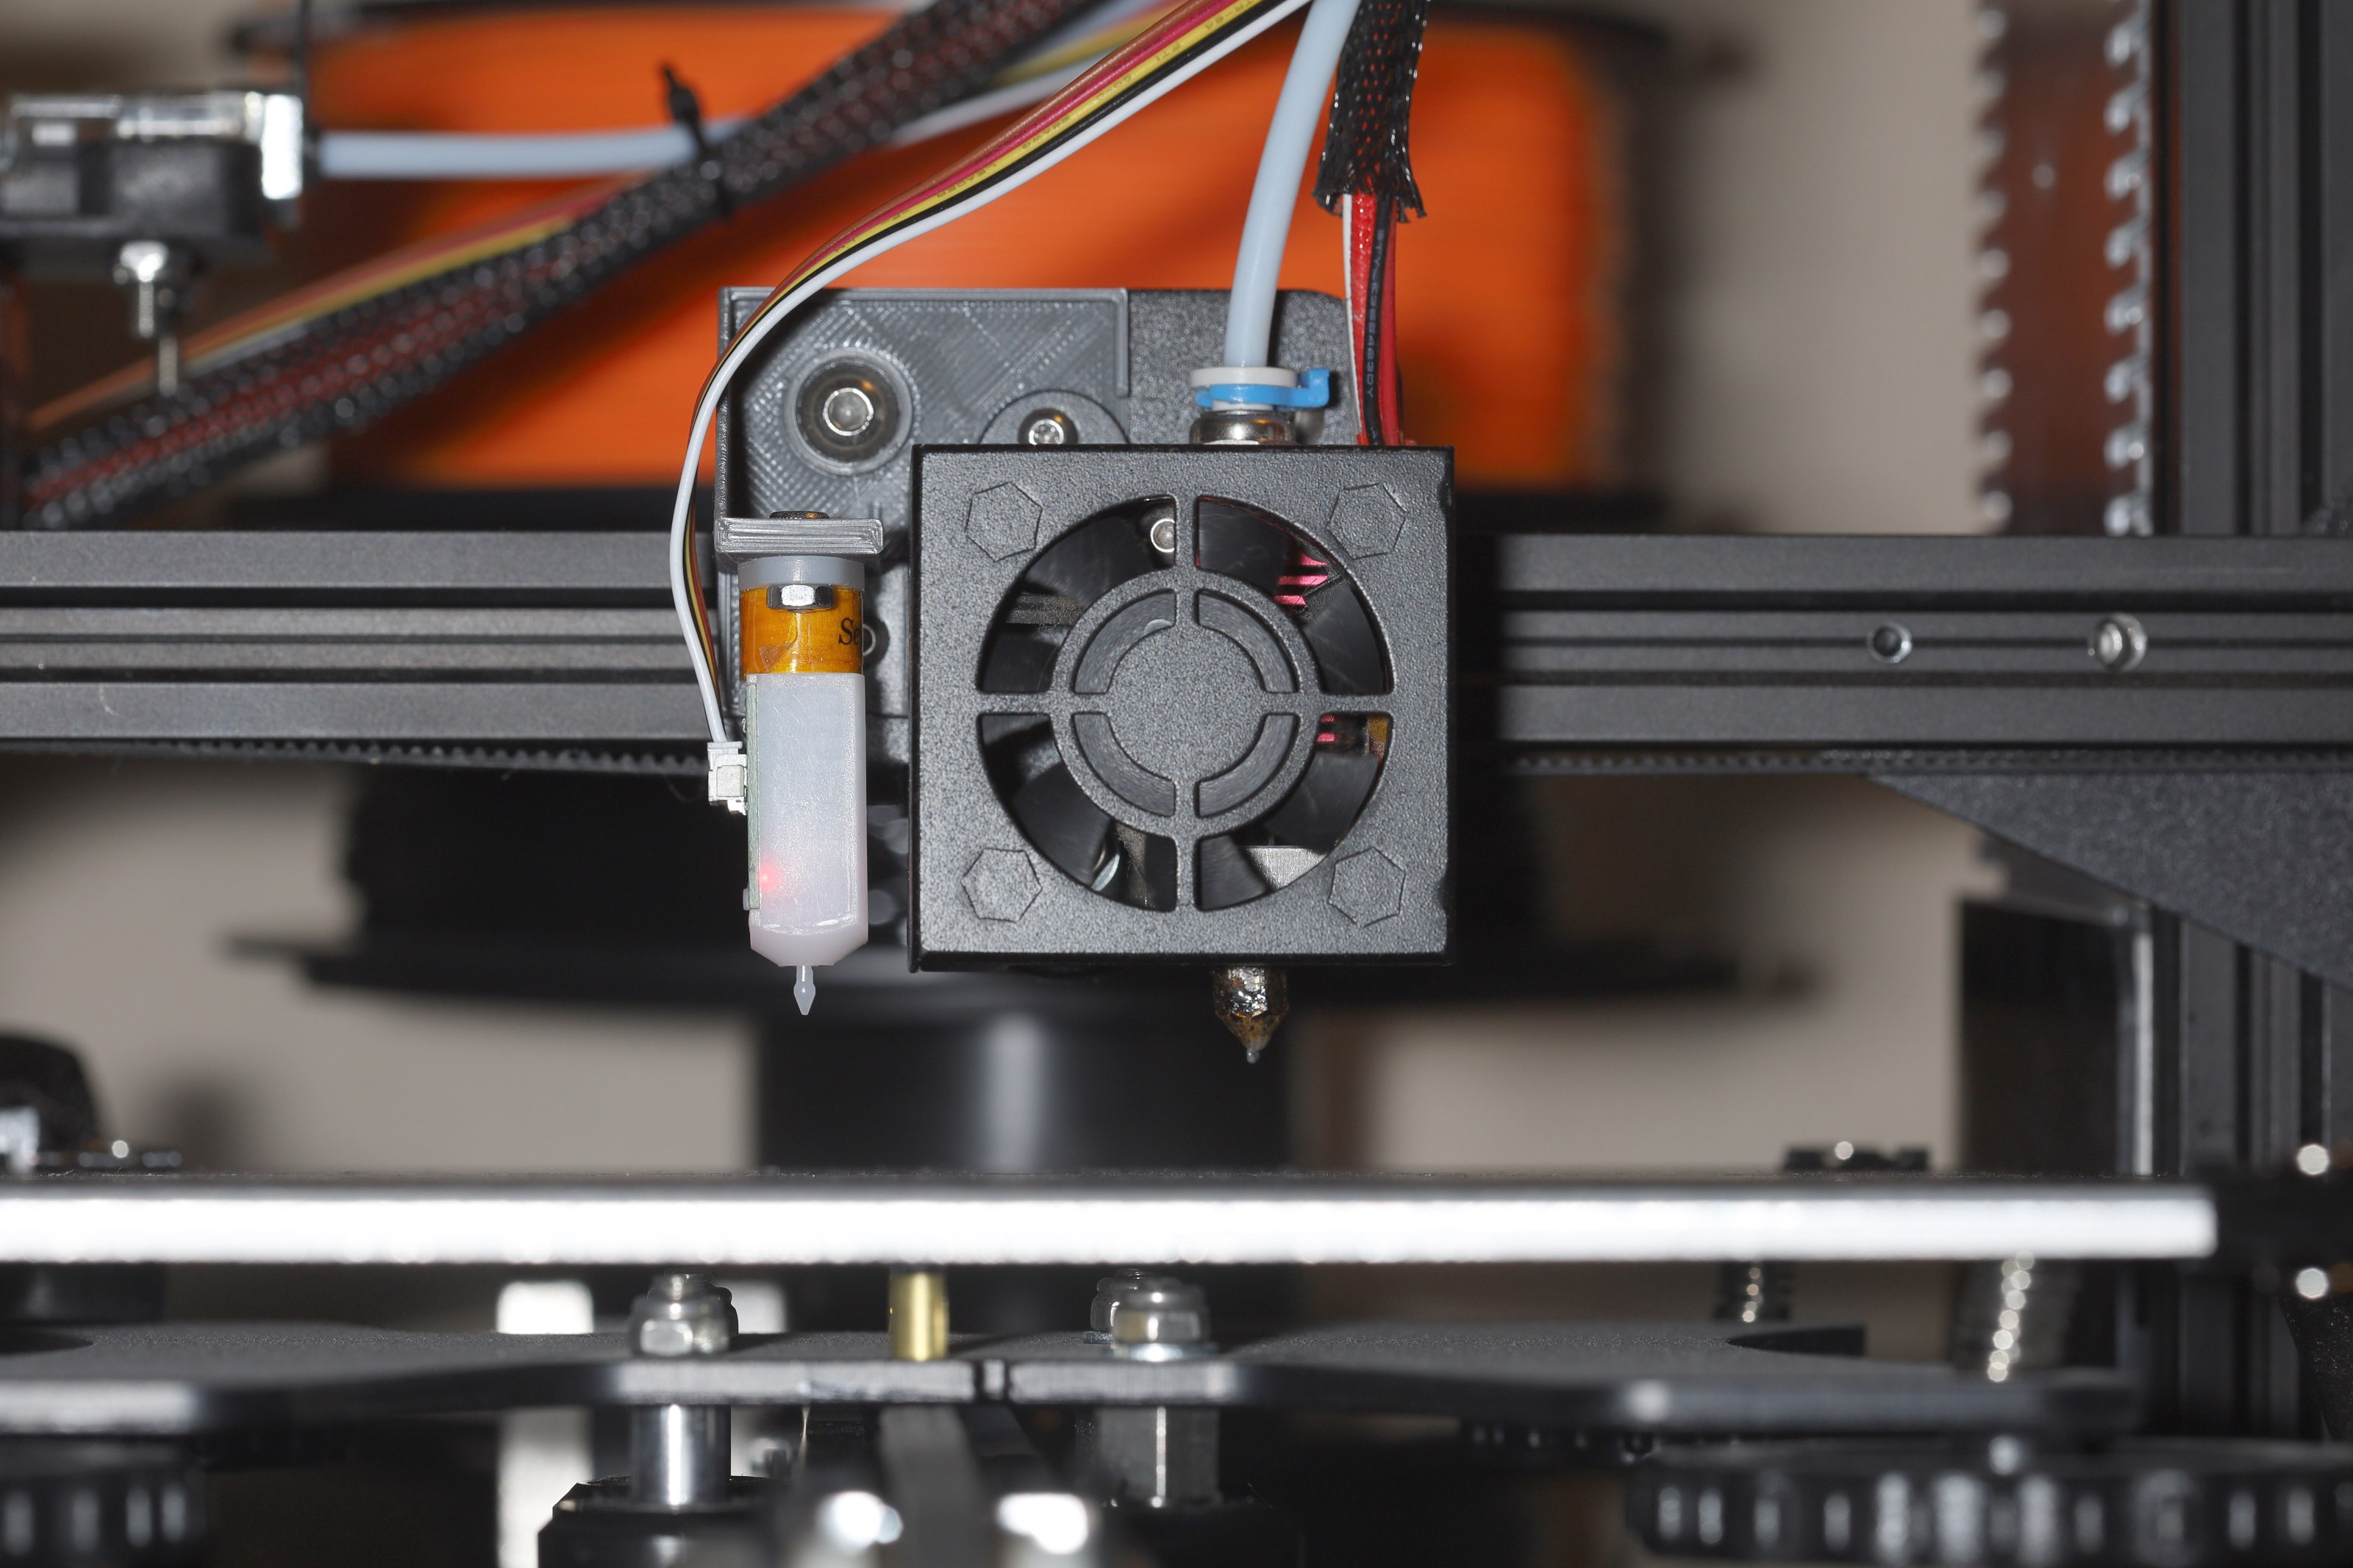
THE BASIC .4MM NOZZLE PLA SETTINGS:

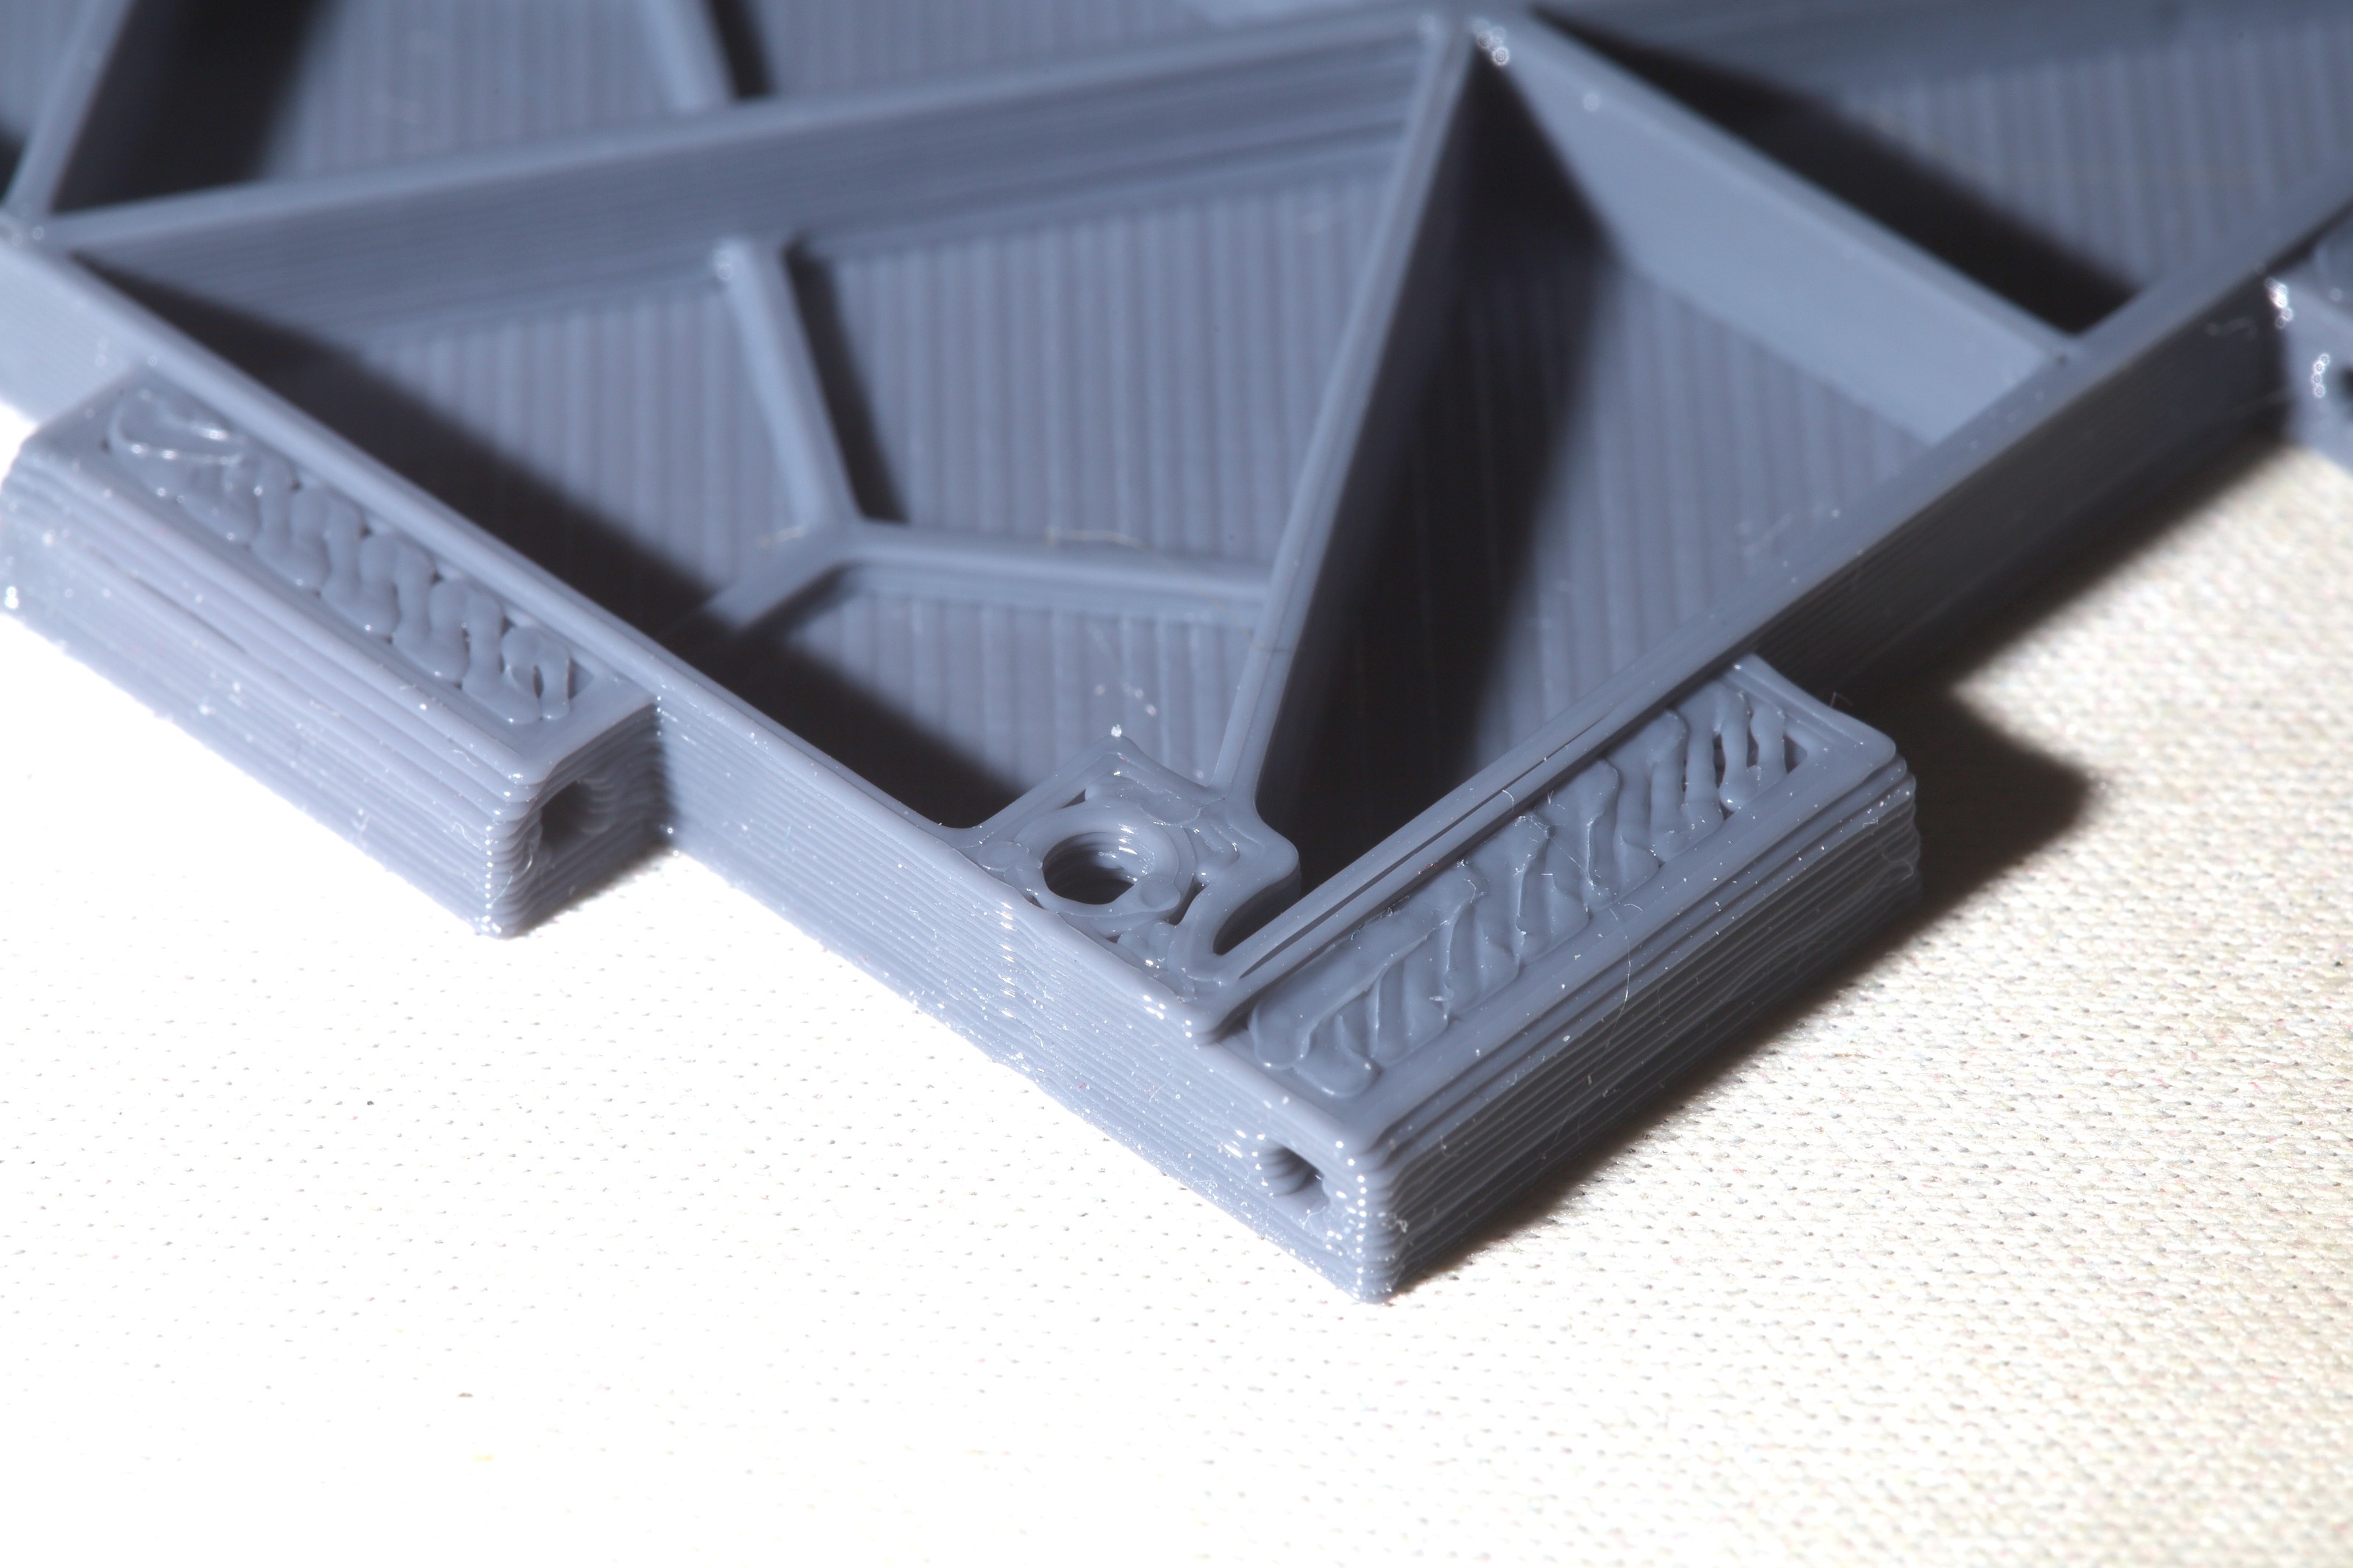
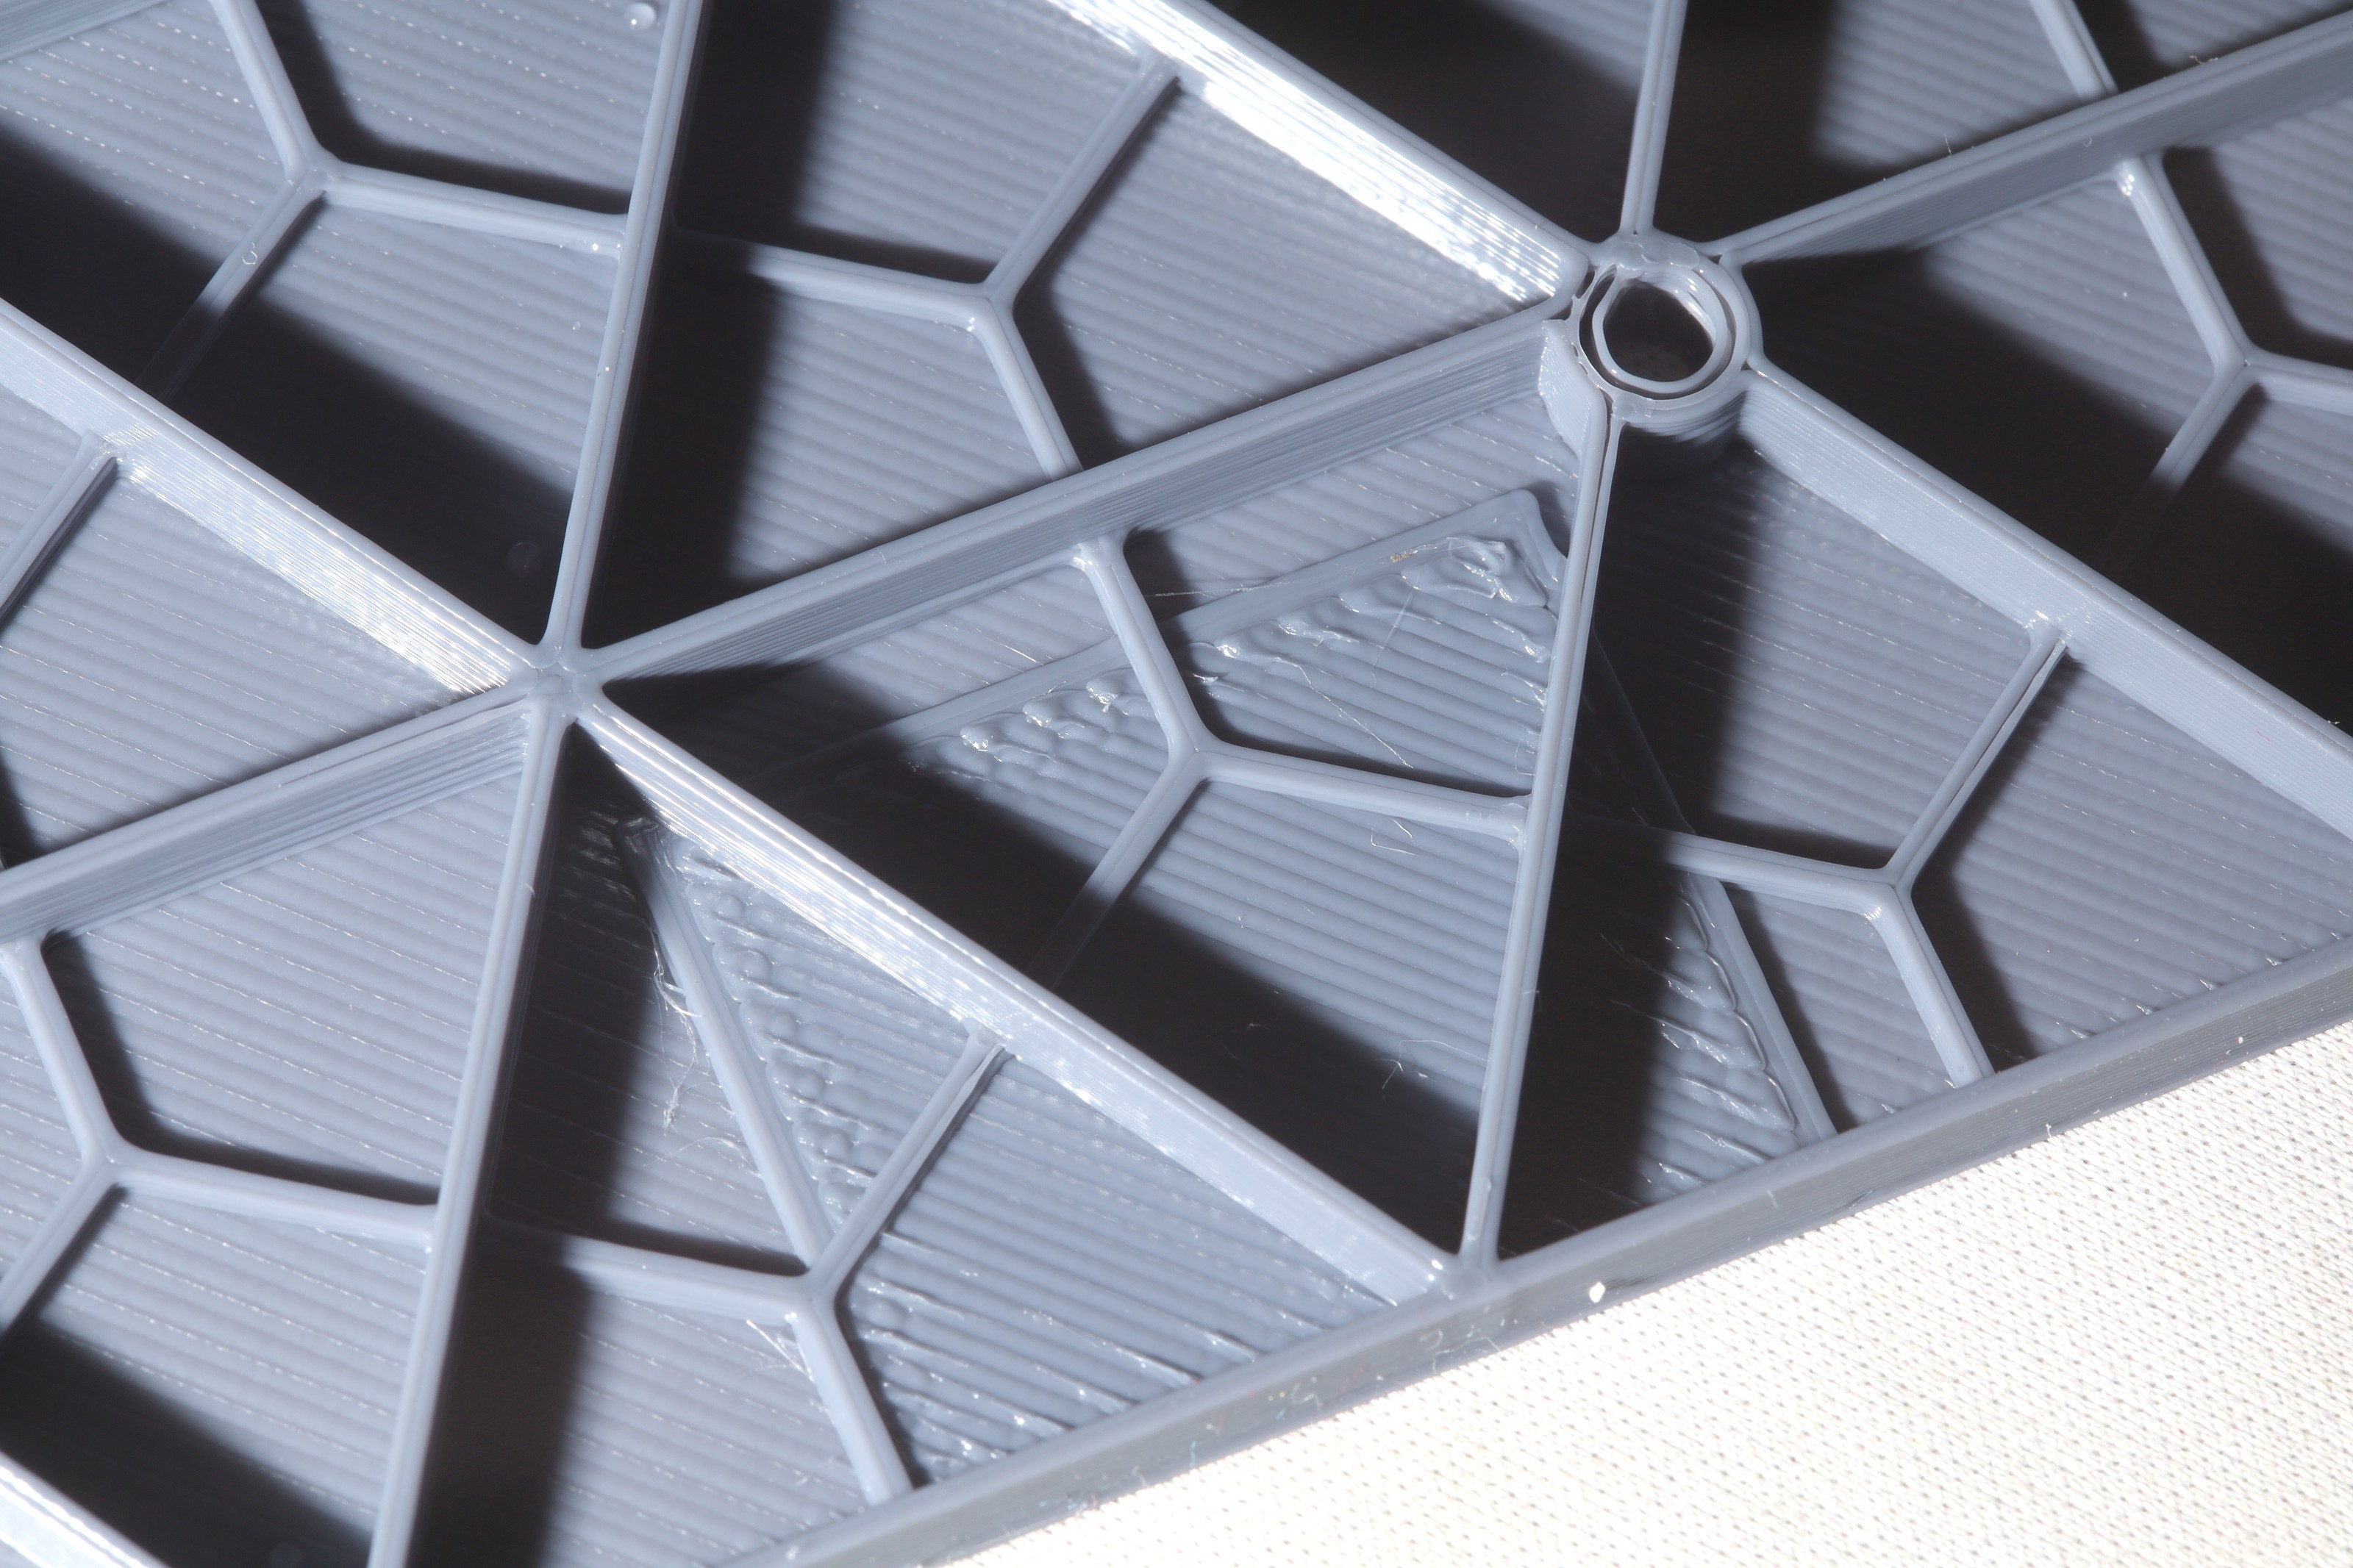
This makes very high quality parts, but takes forever.

nozzle: .4mm 

 layer height: .2mm 

 line width: .4mm 

 wall thickness: 1.2mm 

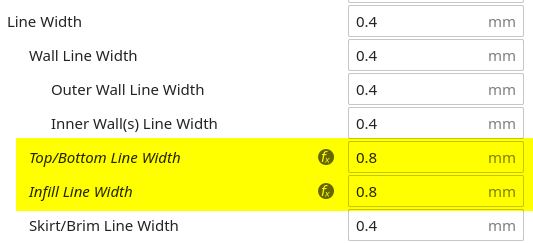
 top/bottom thickness: .8mm 

 ironing: off 

 infill: 25% 

 nozzle temperature: 230C  Best layer adhesion is 230C

 bed temperature: 60C on a buildtak FR4 bed.  50C  on a buildtak magnetic bed.

 speed: 50mm/s 

 wall speed: 25mm/s 

 top/bottom speed: 25mm/s 

 travel speed: 75mm/s   Prevent crashing into lumps

 initial layer speed: 20mm/s 

 retraction: 5mm 

 print cooling: OFF Better layer adhesion

 support: touching buildplate

support overhang angle: 80deg 

 adhesion: skirt

Layer height must be a multiple of .04mm.  Thicker layers print faster but make rougher diagonals.  Layers over .32mm can't make diagonal overhangs at all .

Design parts with multiples of the layer height.

Design 45 degree angles instead of using support whenever possible.

Avoid brims & rafts at all costs.  The bottom layer needs to press onto the bed to be flat.

Place parts in the center of the bed because this area tends to have more stable height.

Lions have never had any use for print cooling.  It might be useful for artwork but it weakens layer adhesion & the fan has to be cleaned.


BED ADHESION:

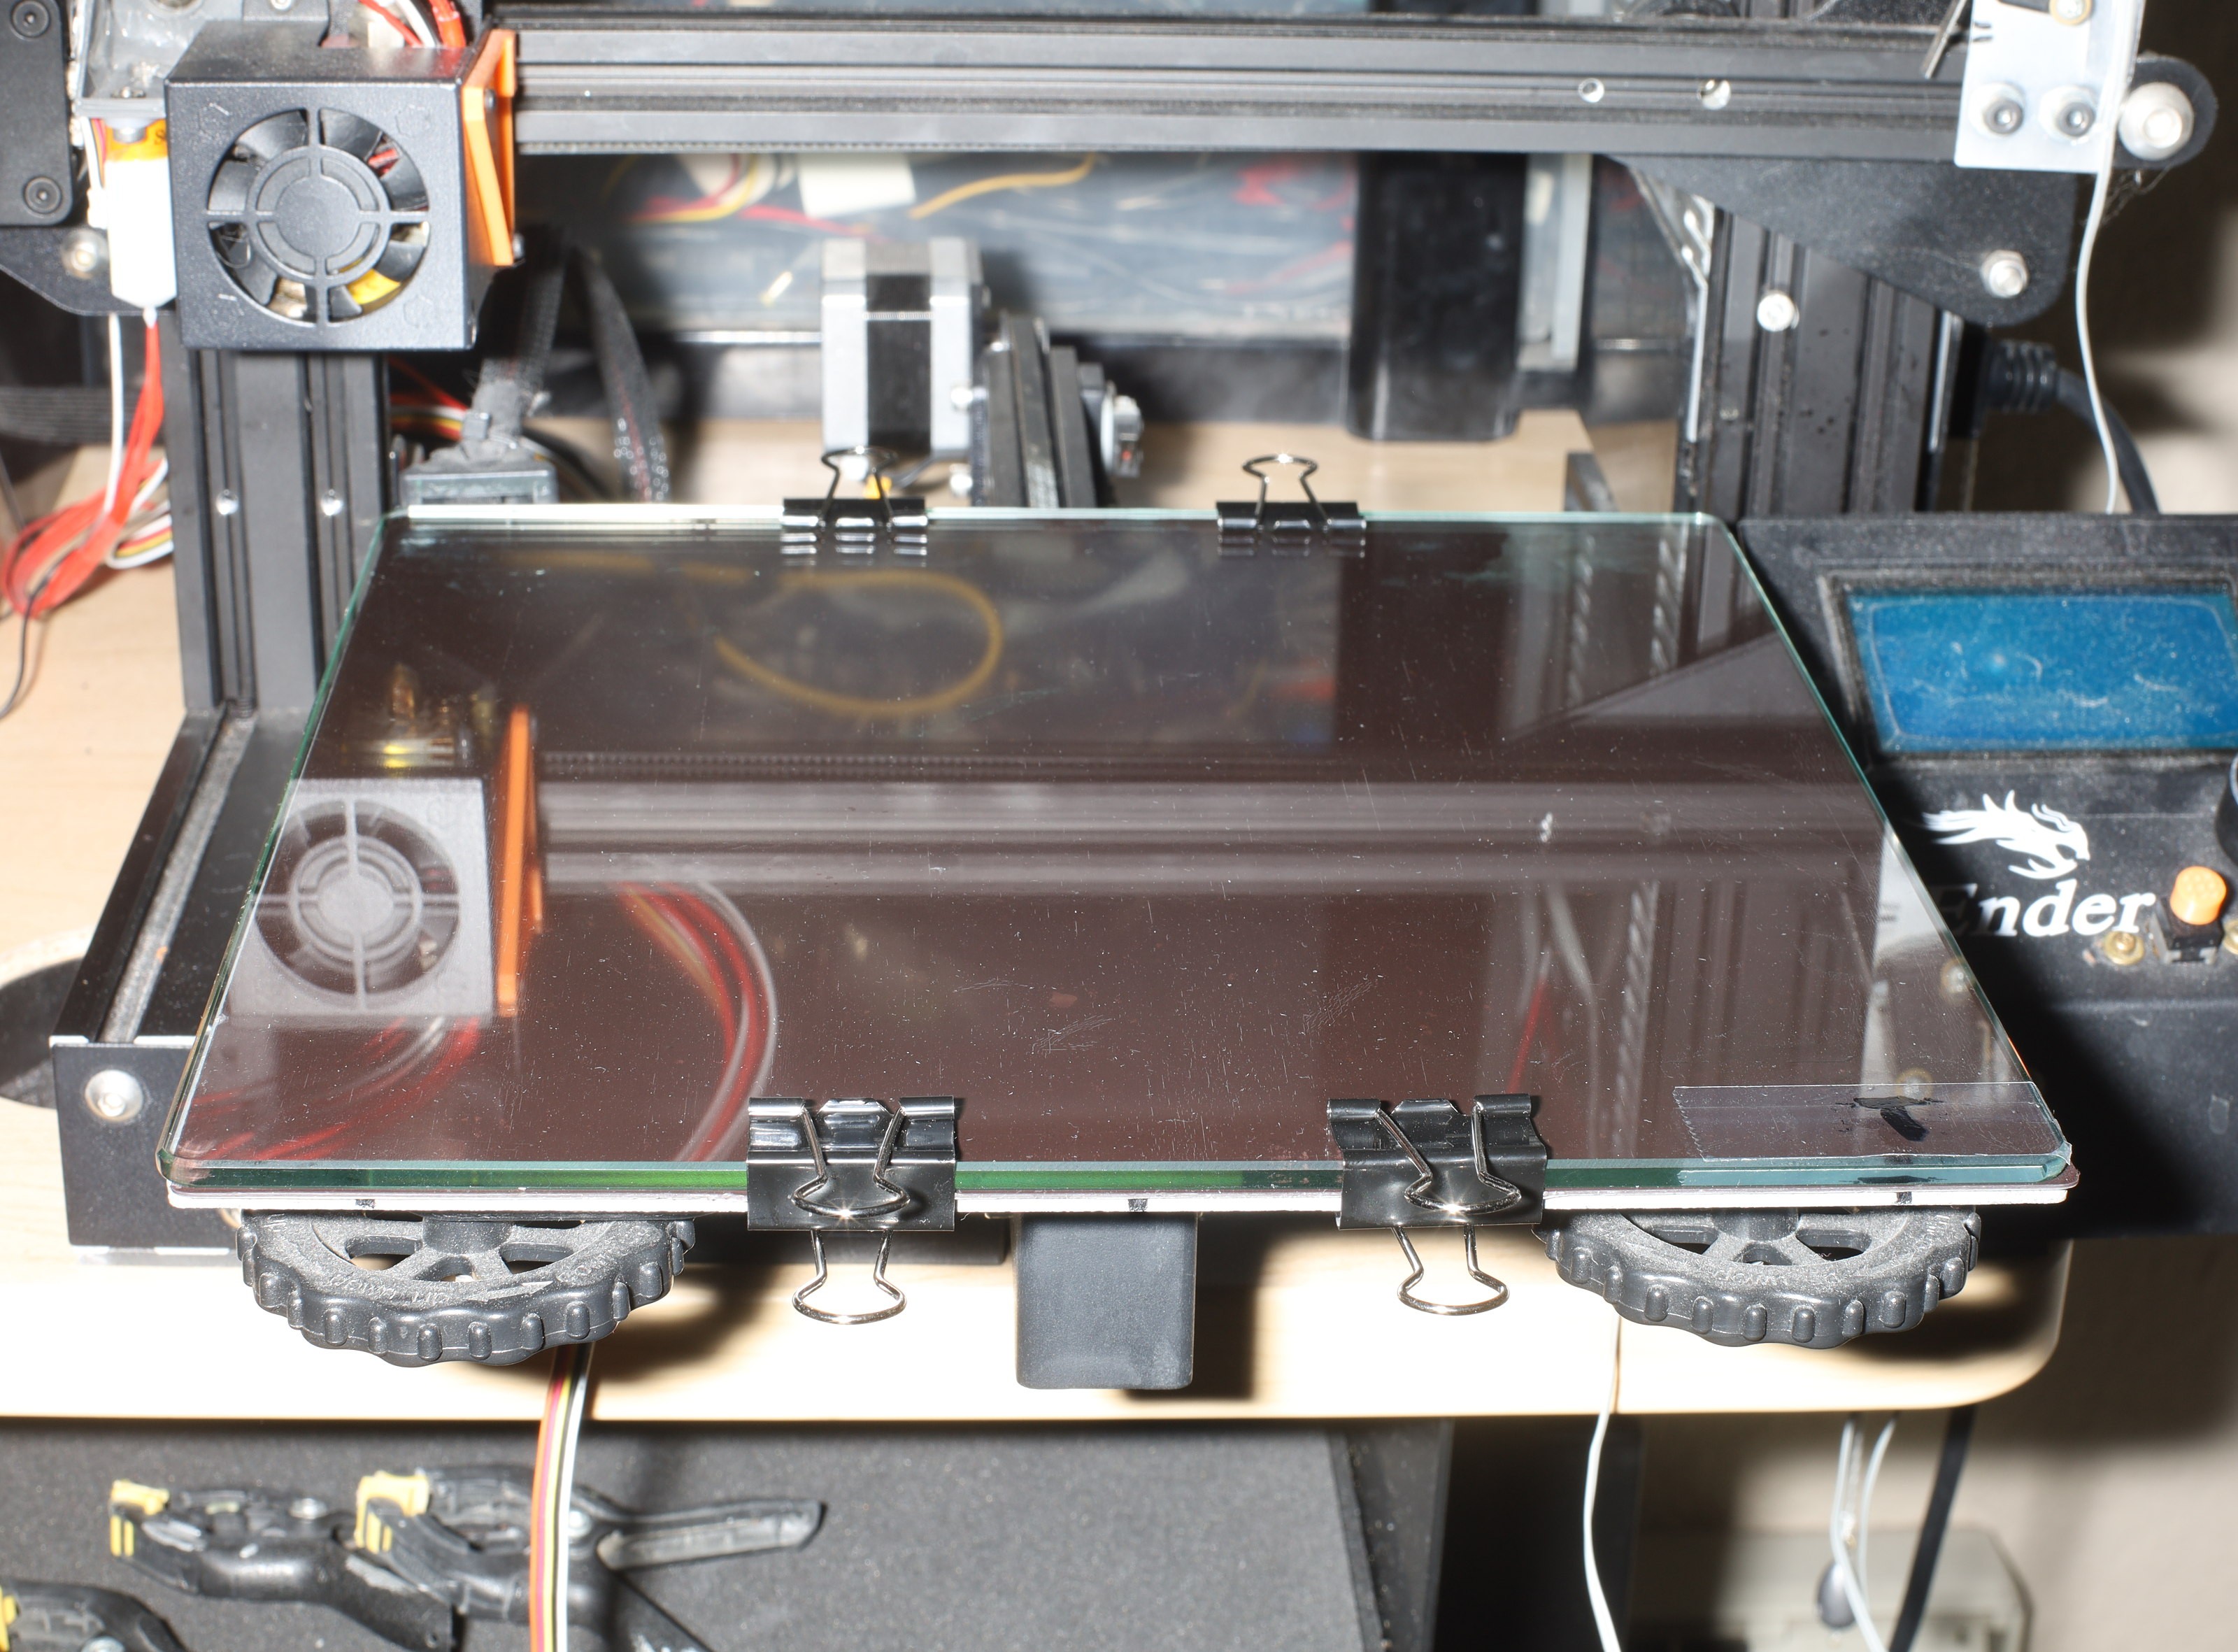
The stock Ender 3 bed is a buildtak bed.  It works at 60C.  Increase temperature to increase adhesion.  Decrease temperature to decrease adhesion. 

For most models, the lion kingdom only heats the bed for the 1st layer.  It retains most of its adhesion after cooling.  Only difficult models with little contact with the bed need full time bed heating.

Lower the nozzle to press the filament down & increase adhesion.  Raise the nozzle to decrease adhesion.

Any print bed, whether glass or plastic, must be kept free of skin oil.  Washing it off with dishwashing soap greatly enhances adhesion.  If the bed is clean, the nozzle can achieve adhesion with very little downward pressure.

Remove the bed, let it cool down, & bend it to remove the part.  Use an xacto knife to remove the skirt & extra bits.

Ordinary glass provided no significant adhesion or improvement in leveling, but required a lot more heat.  The trick with glass is it makes a smooth surface.  There are specially treated glasses which might give better adhesion, for a price.


BED LEVELING:


Lions started out by using this file to coarsely level the bed:

https://cdn.hackaday.io/files/1764067547354304/CHEP_M0_bed_level.gcode

It's a modified version of https://www.thingiverse.com/thing:3235018

Clean excess filament from the nozzle before leveling.  Heat the bed to the printing temperature before leveling by going to control->temperature->bed.

After much experience, lions switched to just going to prepare->auto home, then prepare->disable steppers, then manually sliding the nozzle around.  Instead of sliding paper under the nozzle, lions just eyeballed the nozzle height. The nozzle height after auto home should be right on the bed.  It doesn't raise it a layer height.

Bed leveling is manely affected by changing nozzles, slippage of the springs & X arm.  The center of the bed is higher than the sides because it rocks around the center.  Turn the eccentric nuts under the bed to reduce the rocking, but it can never be completely eliminated.

Once coarsely leveled, it only needs to be fine tuned while printing the skirt.  Lions print 4 skirt lines.  There's no need to print a test pattern.

AUTOMATED BED LEVELING  

https://hackaday.io/project/176406/log/197418-auto-bed-leveling-with-the-3dtouch

Automated bed leveling is cheap enough to be considered essential...

Read more »

CHEP_M0_bed_level.gcode

Modified https://www.thingiverse.com/thing:3235018

gcode - 4.86 kB - 12/18/2020 at 21:16

Download

  • Filament drying

    lion mclionhead7 days ago 0 comments

    After many experiments with solar filament driers, the best solution has been an enclosed thing on the bed.  The filament goes on the bottom.  A tub of calcium chloride goes on top.  There's a piece of cardboard to keep the desiccant from getting hot.  It's creating a distillation column.  The filament gets hot & the water condenses in the desiccant.  It seems to require a bed temperature of 100C for 1 hour with degraded levels of effectiveness as the temperature goes down to 70C.  

    Others have tried circulating fresh air in an open container, but it's too humid.  An improvement might be a fan in the enclosed container.

    It's believed the solar filament drier wasn't effective because it didn't get hot enough.  Below 100C, TPU doesn't release any water.  PLA & PETG did better in the solar drier.  They might do better at 70C in the bed drier.

    An improvement on this would be gcode to turn it off after 1 hour.

    The trick with this is in hot weather, you don't want to run the bed heater at all & a solar drier becomes a better proposition.

  • Hot end fan switch

    lion mclionhead02/21/2026 at 09:36 0 comments

    A way of killing the hot end fan was a long time coming.  For some reason, the MOSFET fan got a software controlled GPIO while the hot end fan was permanently powered.  The MOSFET fan could be controlled by a thermister & comparator but the hot end fan needs the gcode.  Helas, there probably wasn't enough memory in the 8 bit micro for fan firmware.

    The key need was a way to use the bed as a space heater & filament drier without sucking dust into the hot end.   Other benefits were speeding up the heating, preventing hot starts. 

  • Hotter nozzles

    lion mclionhead02/18/2026 at 08:53 0 comments

    To get better layer adhesion, lions print hard TPU, HT-PLA, PETG with the nozzle at 260C.  To further improve layer adhesion, there's no print cooling.  Basic PLA seems to max out at 220C before it clogs.  The trick with 260C is the Ender 3 can't reach it unless the airflow is blocked below the heat sink with a piece of cardboard.  


    Then to manetain the heat break, you have to blow colder air at the unblocked part of the heat sink.  Lions do this with a cardboard air scoop to pull air from away from the bed heater.  

    Even then, the nozzle clogs if the ambient temperature is over 90F.

    The thermocouple also tends to glitch during the start of the print.  Wiggling the wires & restarting the print usually stabilizes the thermocouple.  For expensive filament, it's better to start the print without filament, let it print air for a while, then restart with filament.

    The thermocouple glitches are believed to be caused by bad contact with the aluminum.  Removing & reinstalling the thermocouple sometimes improves it.  Some heating problems are caused by the ceramic element not fully contacting the aluminum.  Its set screw has to be tightened.

  • Hard TPU

    lion mclionhead02/18/2026 at 08:43 0 comments

    There are hard TPU's & soft TPE's.  The soft TPE's are expensive but grippy.  The hard TPU's are the same as PLA but don't grip.  TPE's are good for tires.  TPU's are good for bumpers, phone holders, outer covers.

    Lions print hard TPU with a 260C nozzle, 0C buildtak bed, 20mm/s speed all around.   It doesn't stick to a glass bed, but can get away with it if the print is very wide compared to its height.  The mane problem with glass is the TPU warping as it gets taller.

    Hard TPU absorbs water while TPE doesn't.  It must be stored with a desiccant & frequently dehydrated at higher temperature.  It has to be unrolled & rerolled before drying.  If it pops & has lot of voids, it's wet.

    Clear TPU is a waste.  It turns opaque brown over time.  Because it's not impregnated with pigment, it seems harder to dry.  

  • Polymaker HT PLA

    lion mclionhead06/12/2025 at 08:07 0 comments

    Polymaker High temperature PLA has been the long sought after win for lion applications, manely backflow incense burners.  They're particularly difficult because of the heat generated by cones.

    Been using 260C nozzle, 55C build tak, no print cooling, 25mm/s speed all around, .4mm nozzle, .32 layers.  It has similar layer adhesion difficulties as PETG but has a much higher melting point than even 250C rated vintage PETG.  It should be a better match for most every PETG application because it bonds to CA glue.

    It has the consistency of clay.  It might be infused with clay to increase the melting point.

    The 1kg roll is shorter than normal PLA because it's denser.  1kg is twice the price of the cheapest PLA so definitely not a general replacement for normal PLA.

  • Variable layer heights & line widths in Prusa

    lion mclionhead10/31/2023 at 03:57 0 comments

    Most lion designs are panels which need a wide line width for just the 1st few layers but also need a taller layer height for the upper layers.  All the mane slicers started advertising support for adaptive layer heights & line widths in 2022, but lions focused on discovering the manual options hoping to get more optimizations.

    The mane problem with Cura is it requires the very latest version of Ubunt so lions have moved to Prusa except for .8 nozzles.  Prusa doesn't have any presets for .8 nozzles.  Manually setting individual layer heights is enabled in a buried context menu item called the "height range modifier".

    Then the best way to get a variable line width is to set all the infill to .8mm

    Leaving the perimeters at .4 gives good accuracy while gaining the advantage of a faster infill.

    Prusa still doesn't allow overriding the 1st layer line width.  It requires the perimeters to match the infill on the 1st layer.  The only way around the 1st layer line width is to create a raft, make raft contact Z distance 0 & make a script to drop the 1st layer in gcode.  Set speed of 1st layer over raft the same as first layer speed.  Set the skirt to 2 layers so it still prints a skirt. Finally, Prusa adds the skirt distance to the raft expansion so the raft expansion has to be 0.

    The lion kingdom made a script to drop a raft layer & stretch the 1st layers of prusa's output to compensate for the ender's Z compression.

    https://github.com/heroineworshiper/utils/blob/master/fixusa.py

    The estimated printing time is counting the raft, but you can see how much estimated time was for the raft in the legend.

    The mane problem with Prusa is on a top layer partially under another layer,  it can't print contiguous lines. The contiguous line problem happens even without the height range modifier.

    Only structural testing will tell if not having contiguous lines is a problem.   With variable layer height & line width, panels take 50% as long.

    The mane problems are the standard problems with .32mm layers.  The .8mm infill blends with the .4mm walls.

    --------------------------------------------------------------------------------------------------

    After a few weeks of Prusa, the lion kingdom went back to its obsolete copy of Cura. The mane problems were of course prusa's bug filled interface, the need to manage 3 files instead of 1 for each profile, under extrusion problems with the custom .8mm settings.  The plater trapping button presses over the side panel is a bug we all stopped making at age 21.

    Variable line width in Cura is accessible in 2 settings.  That's all lions need for what they're printing.

    Another problem with prusa was a bug where it tried to print a skirt with .42mm layers while printing the model with .32 layers.  Instead of lowering from .42 to .32 when changing objects, it exported just .42 for all objects.

    There are still no manual layer height ranges in even the latest Cura.  The best theory is now to make a script that drops .2mm layers & stretches them all to .32.  It's hard to imagine the slicer doing anything more magical than dropping layers.  It's not going to blend 2 .2mm layers to end up with a significantly different horizontal pattern.

    Variable layer height is still only used for the truck container.  It could still use prusa but prusa made ugly holes.

  • Use your old TPE prints to reduce vibration

    lion mclionhead10/31/2023 at 01:27 0 comments

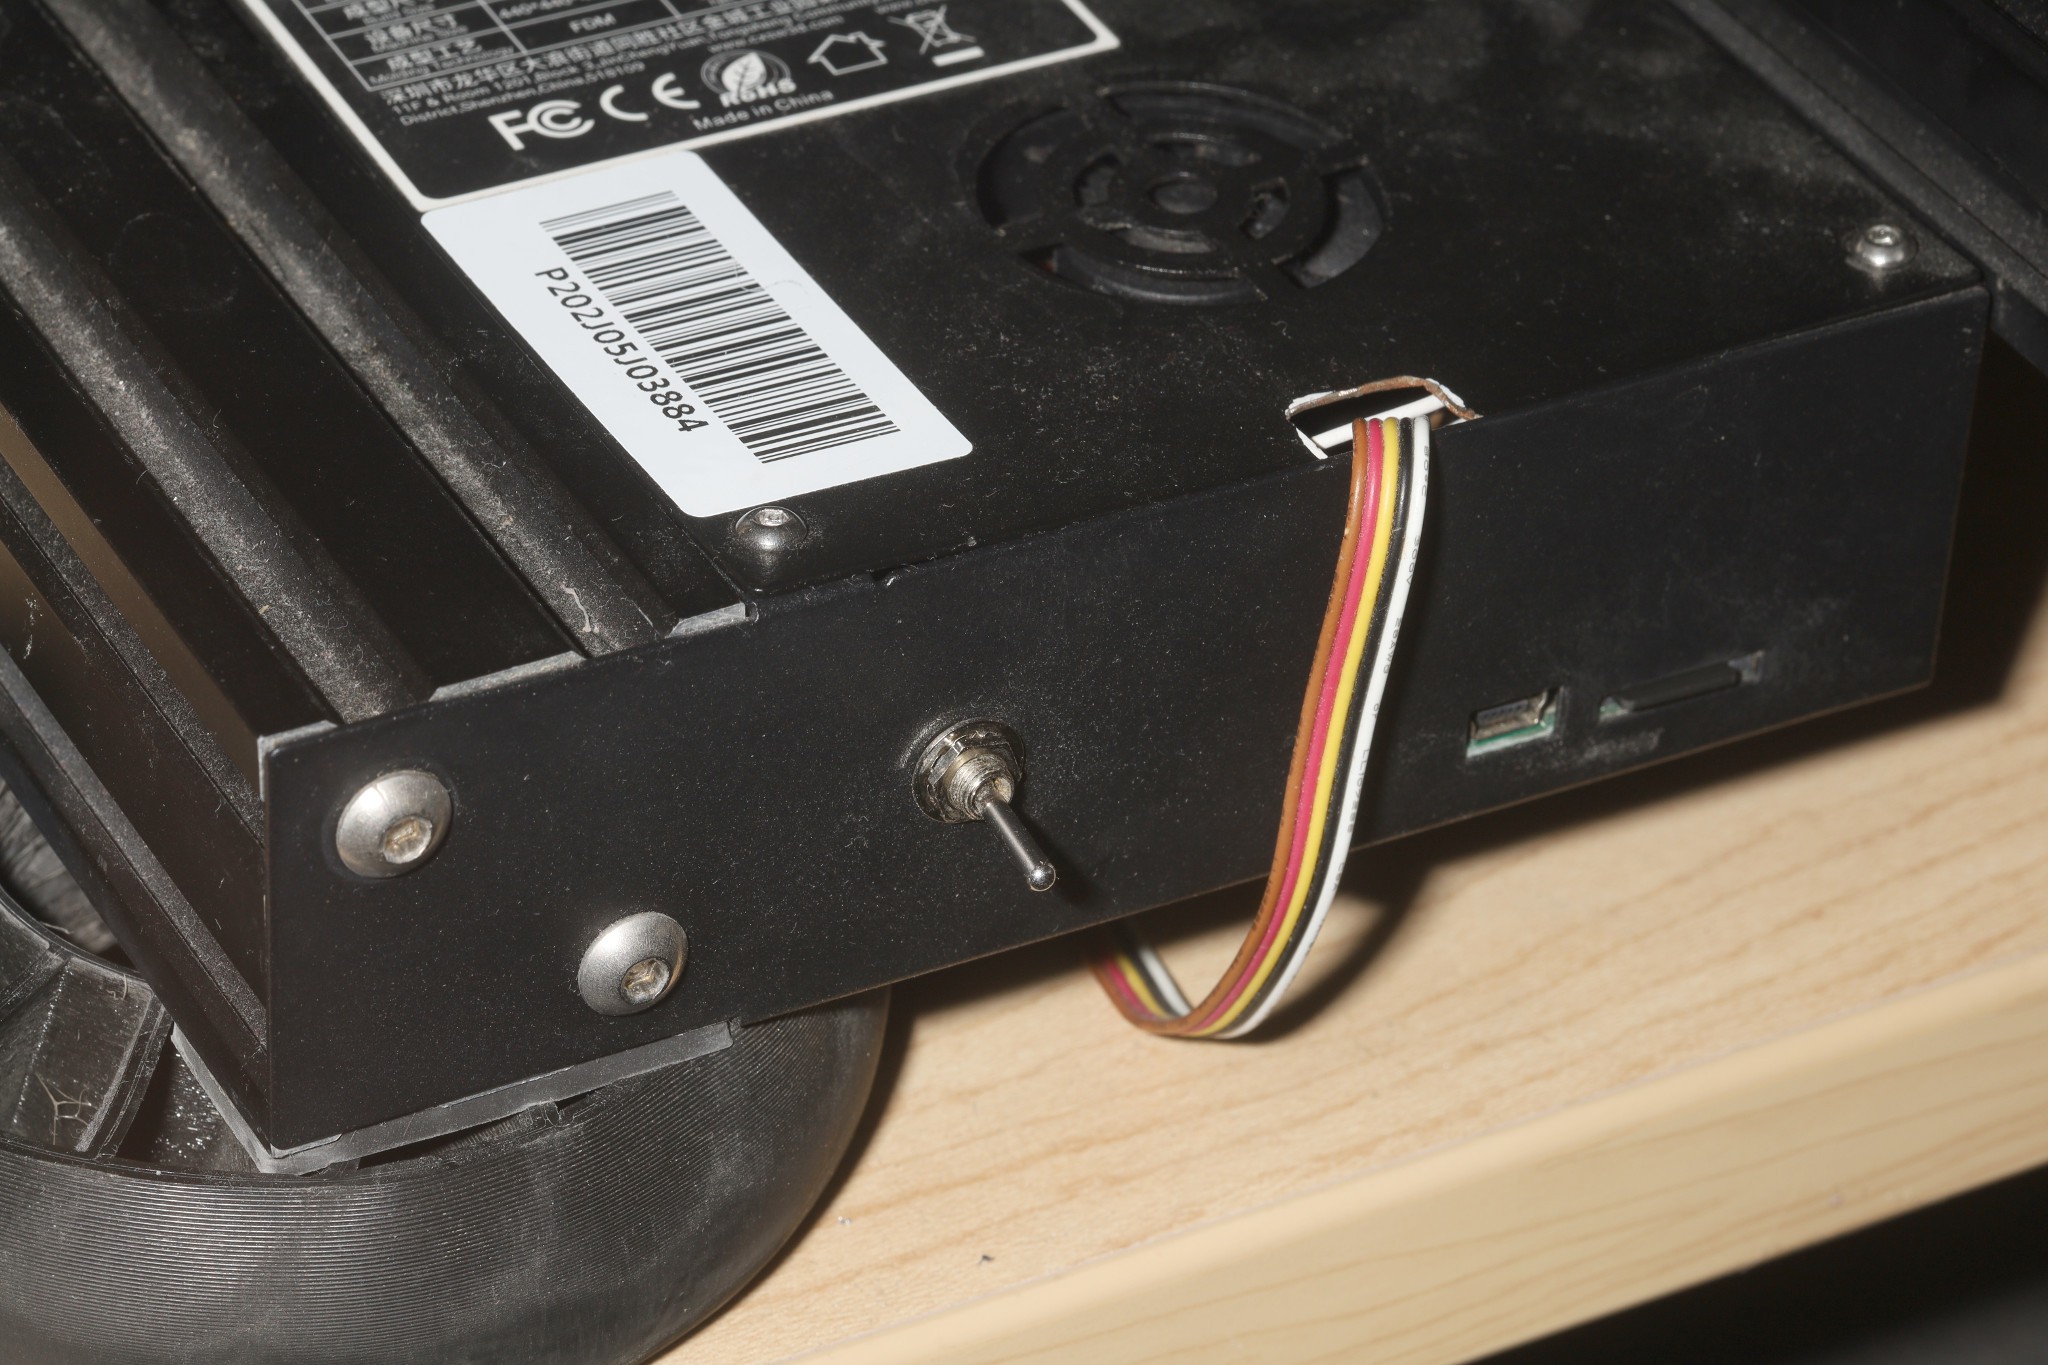
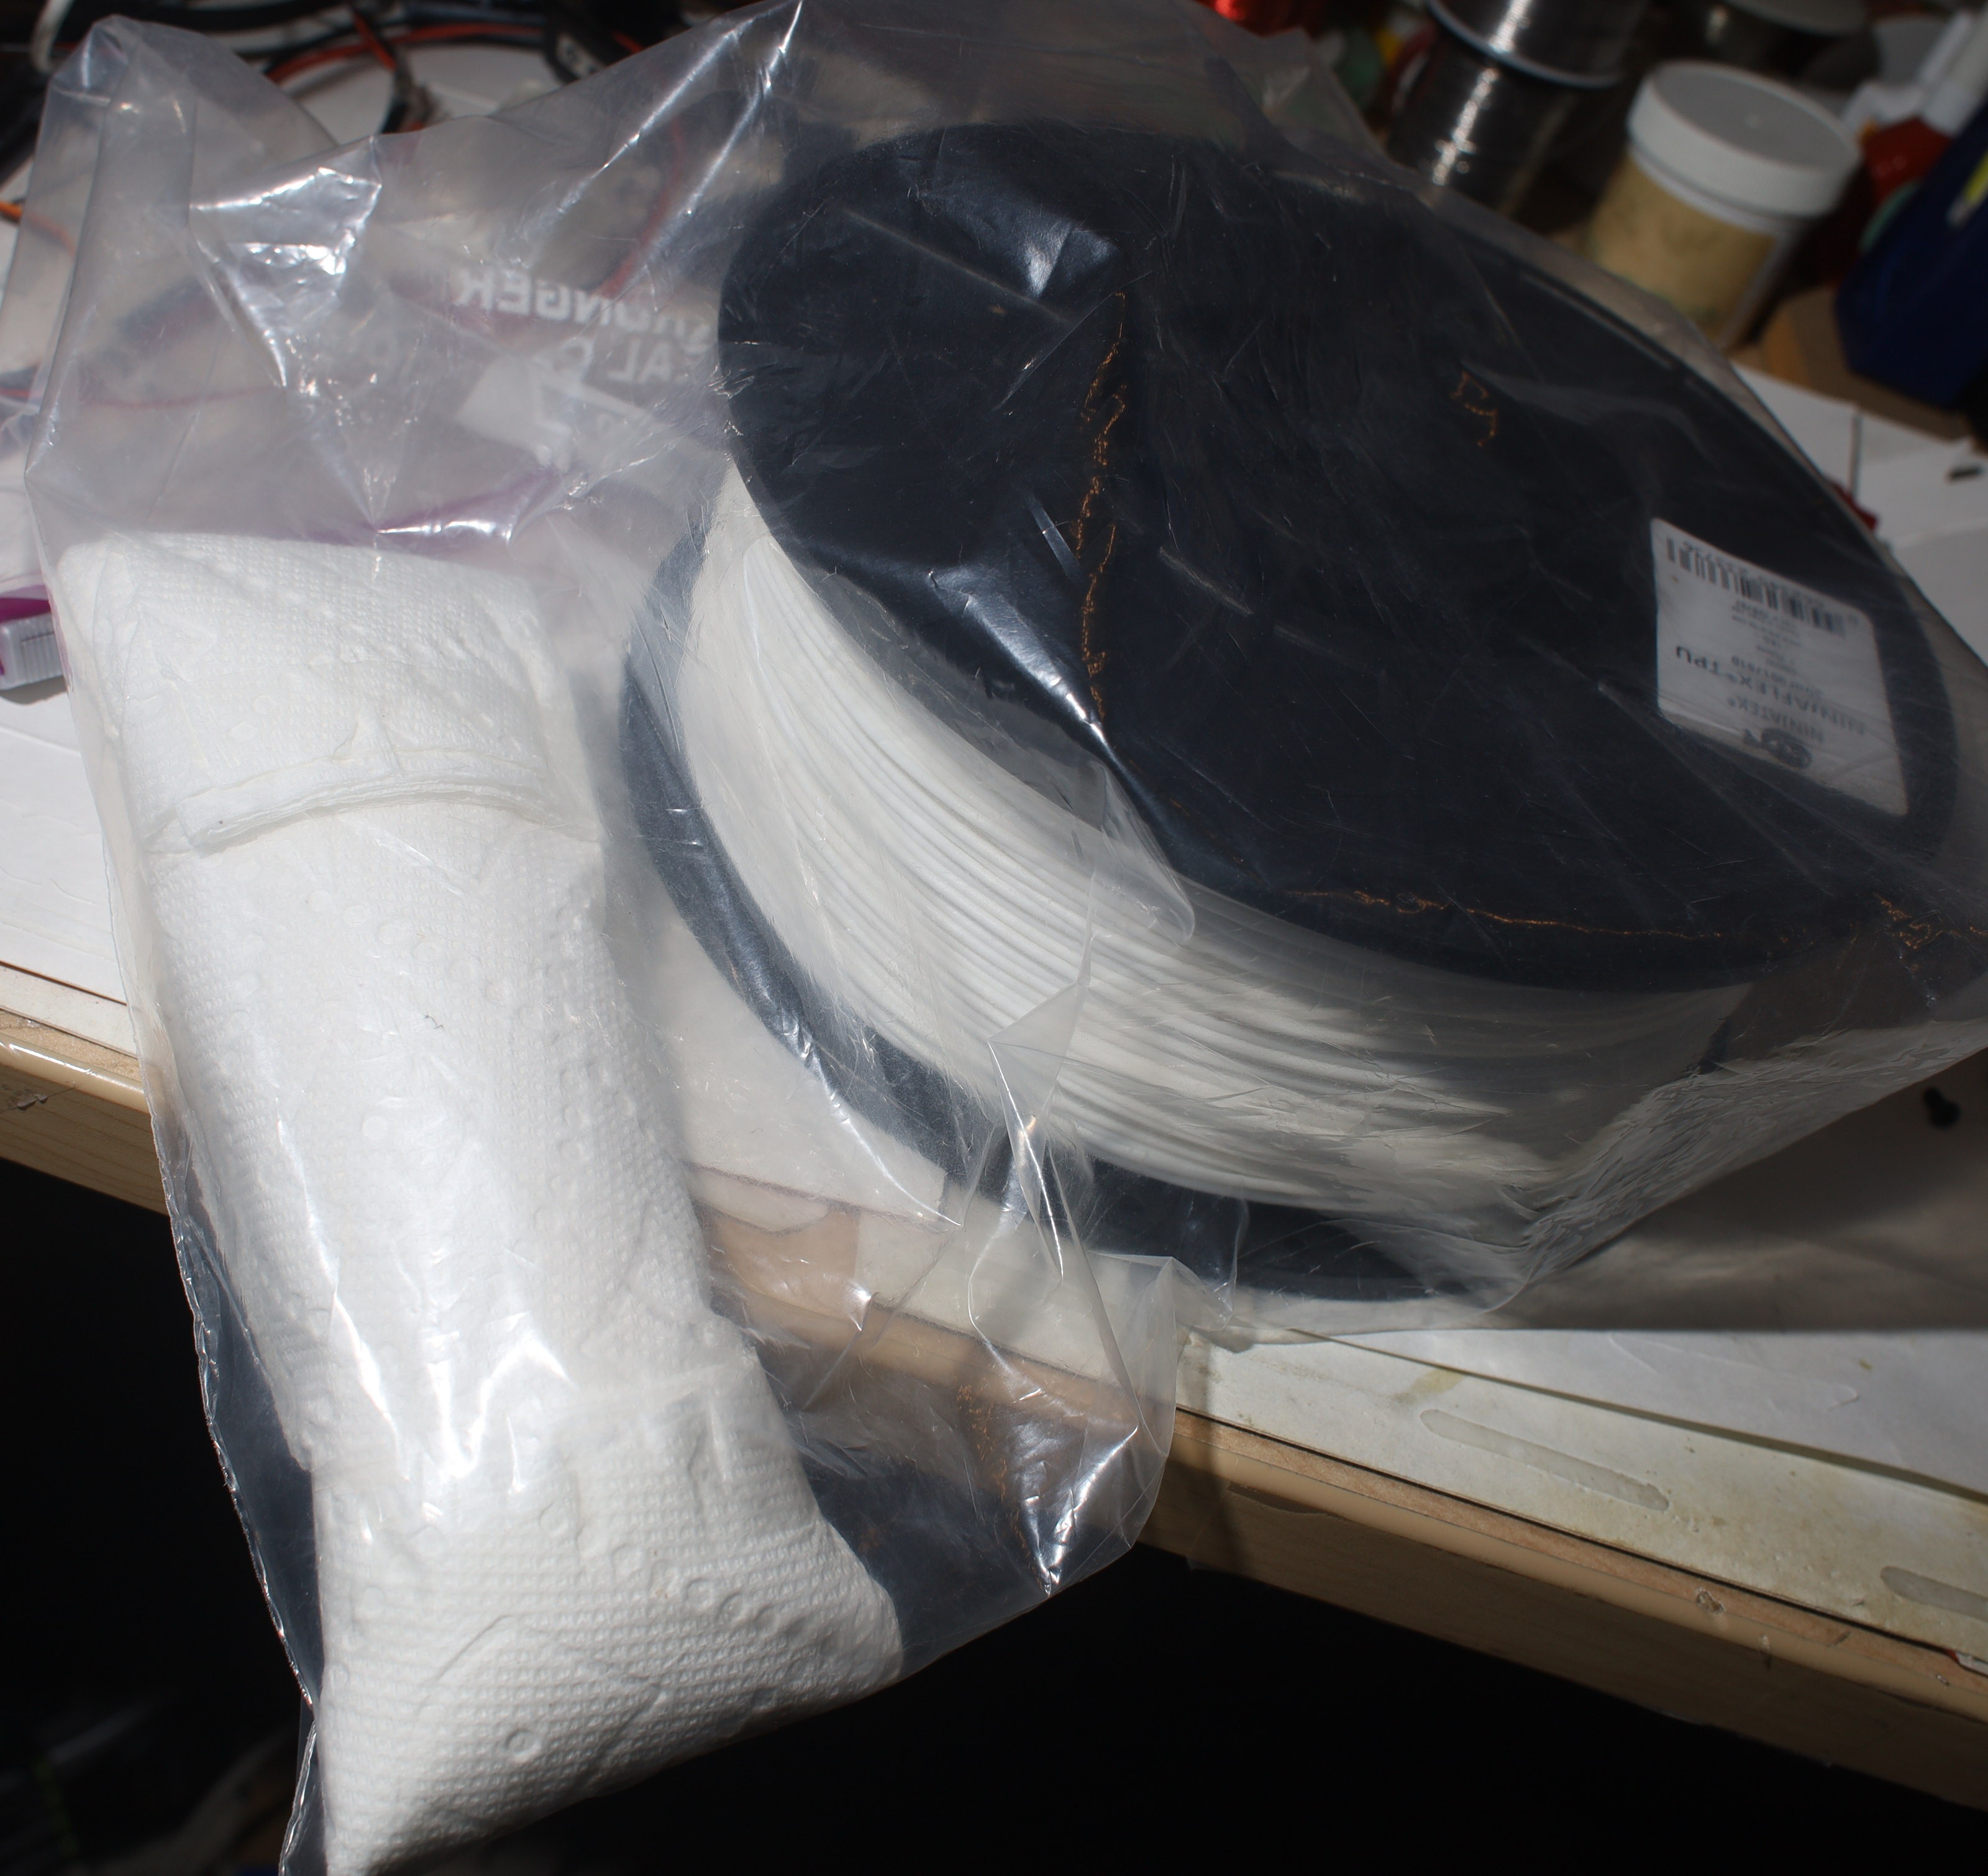
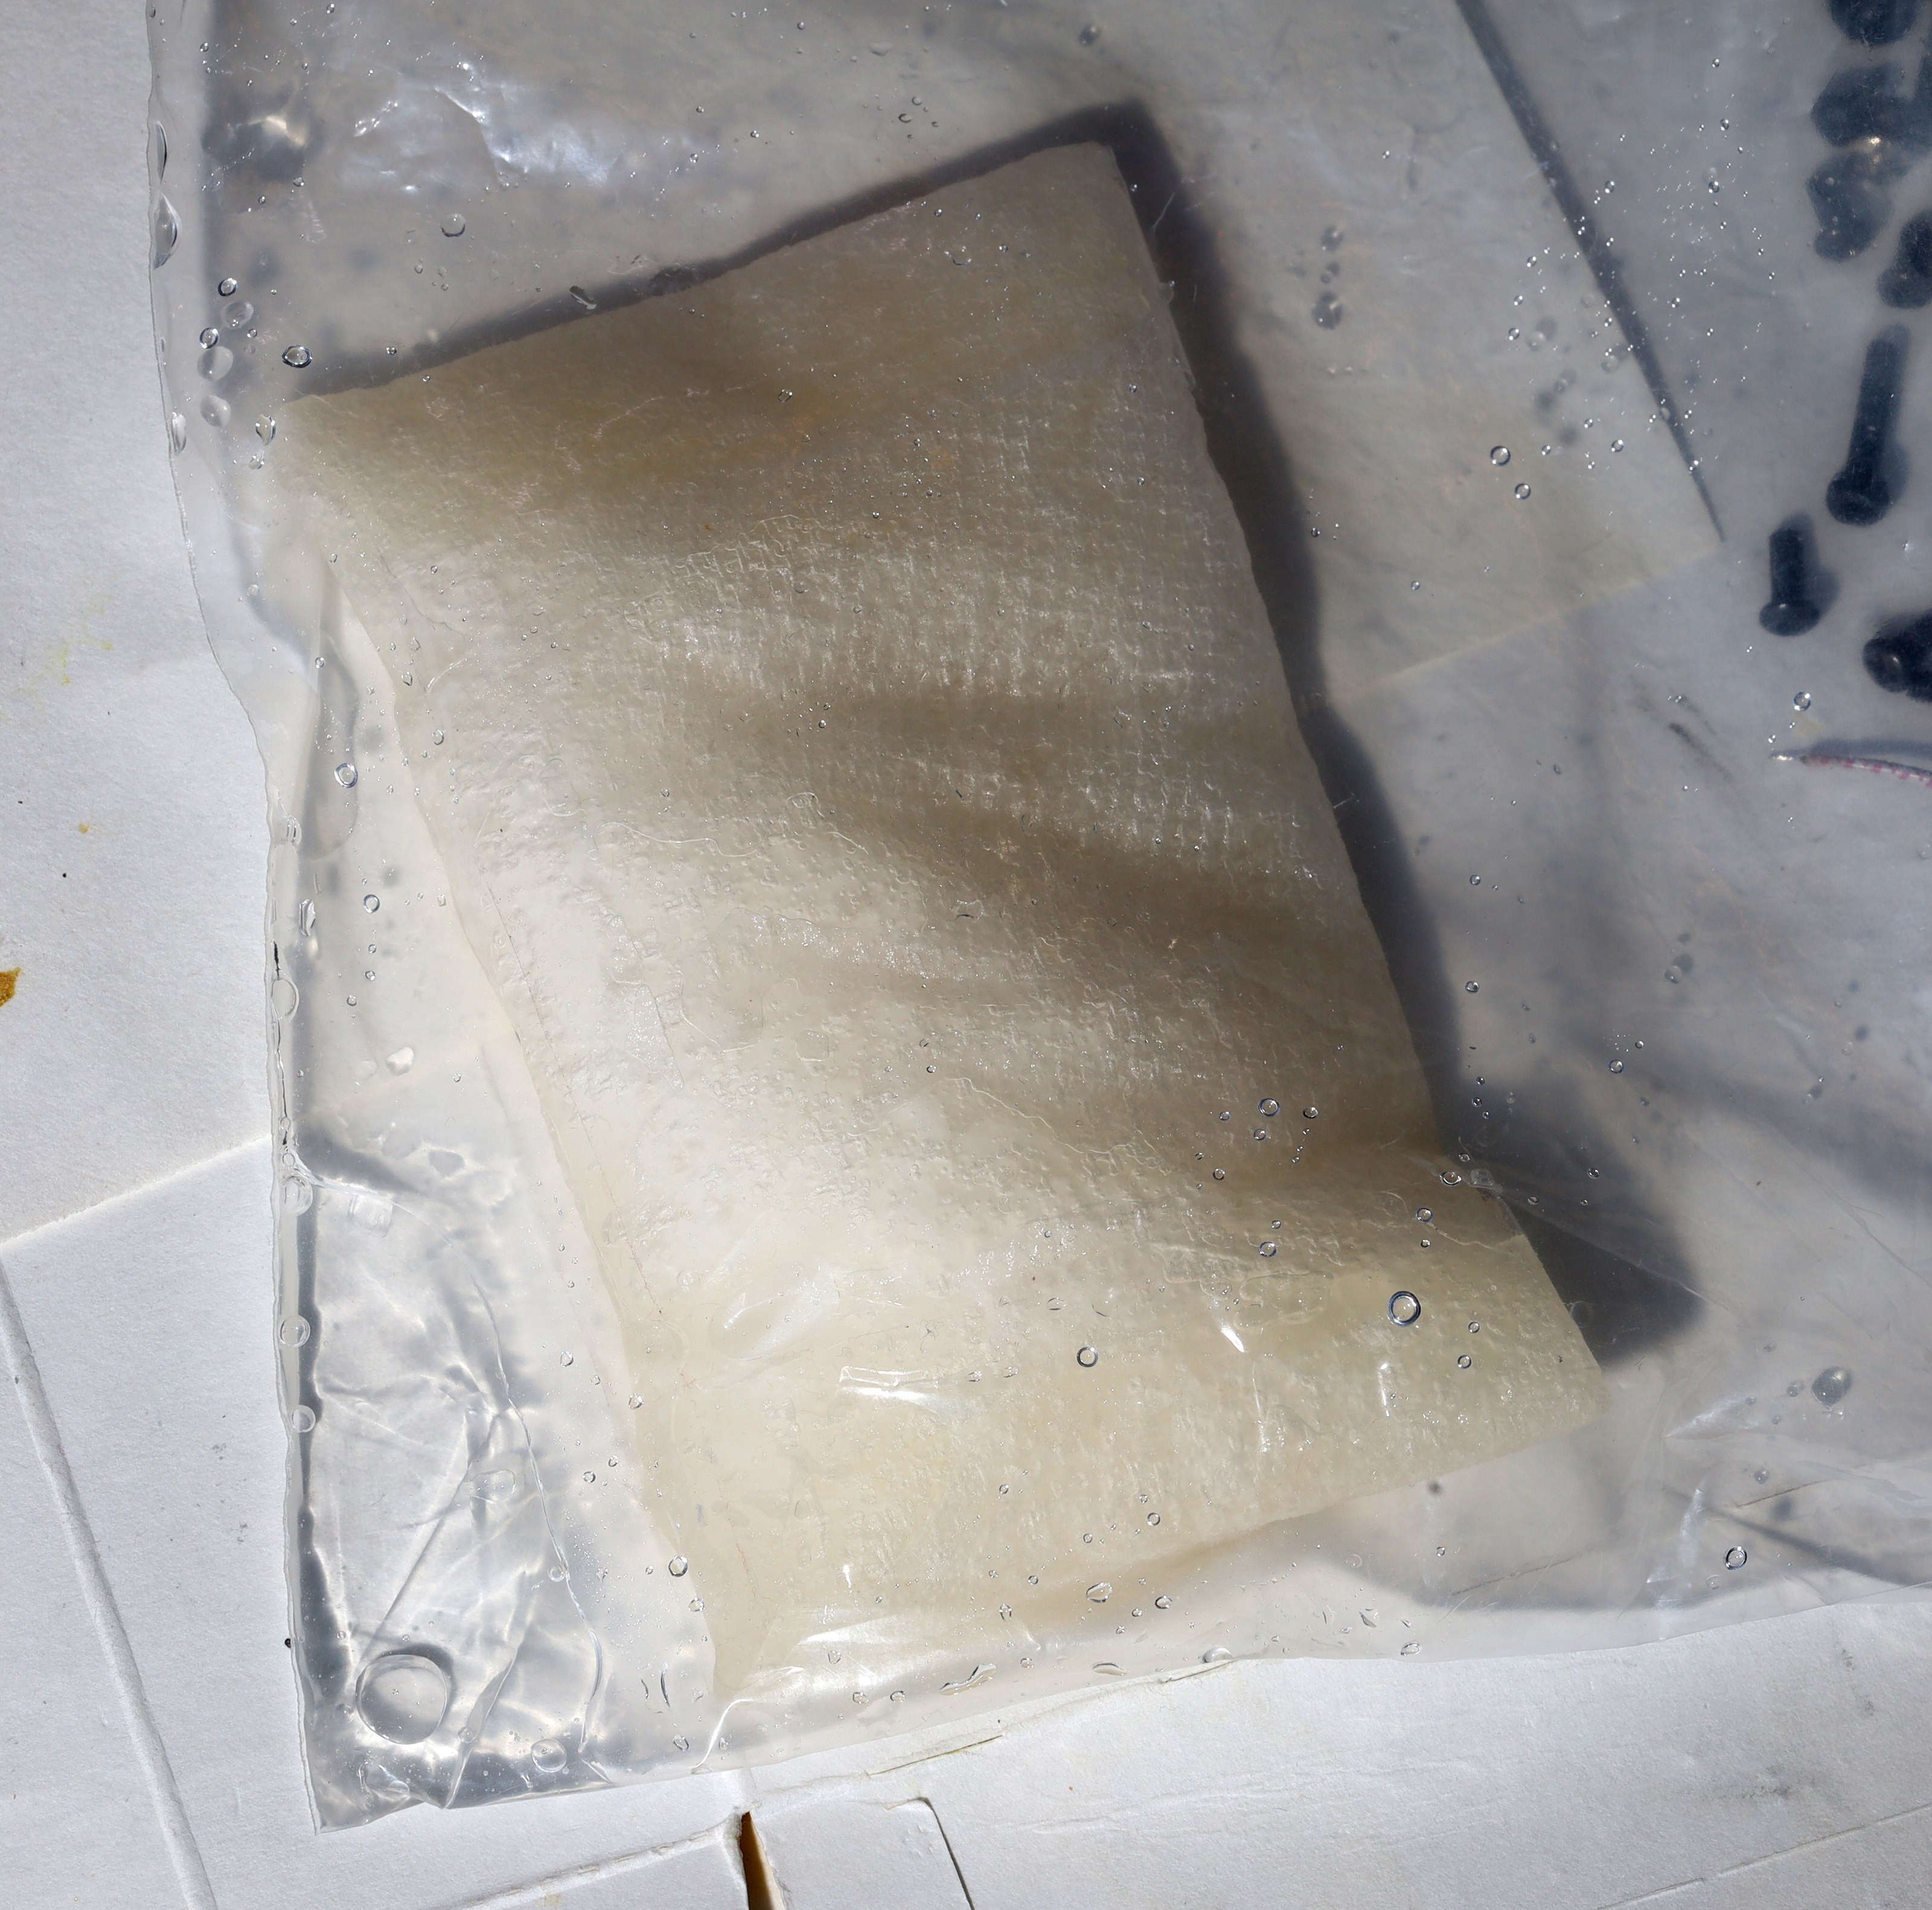
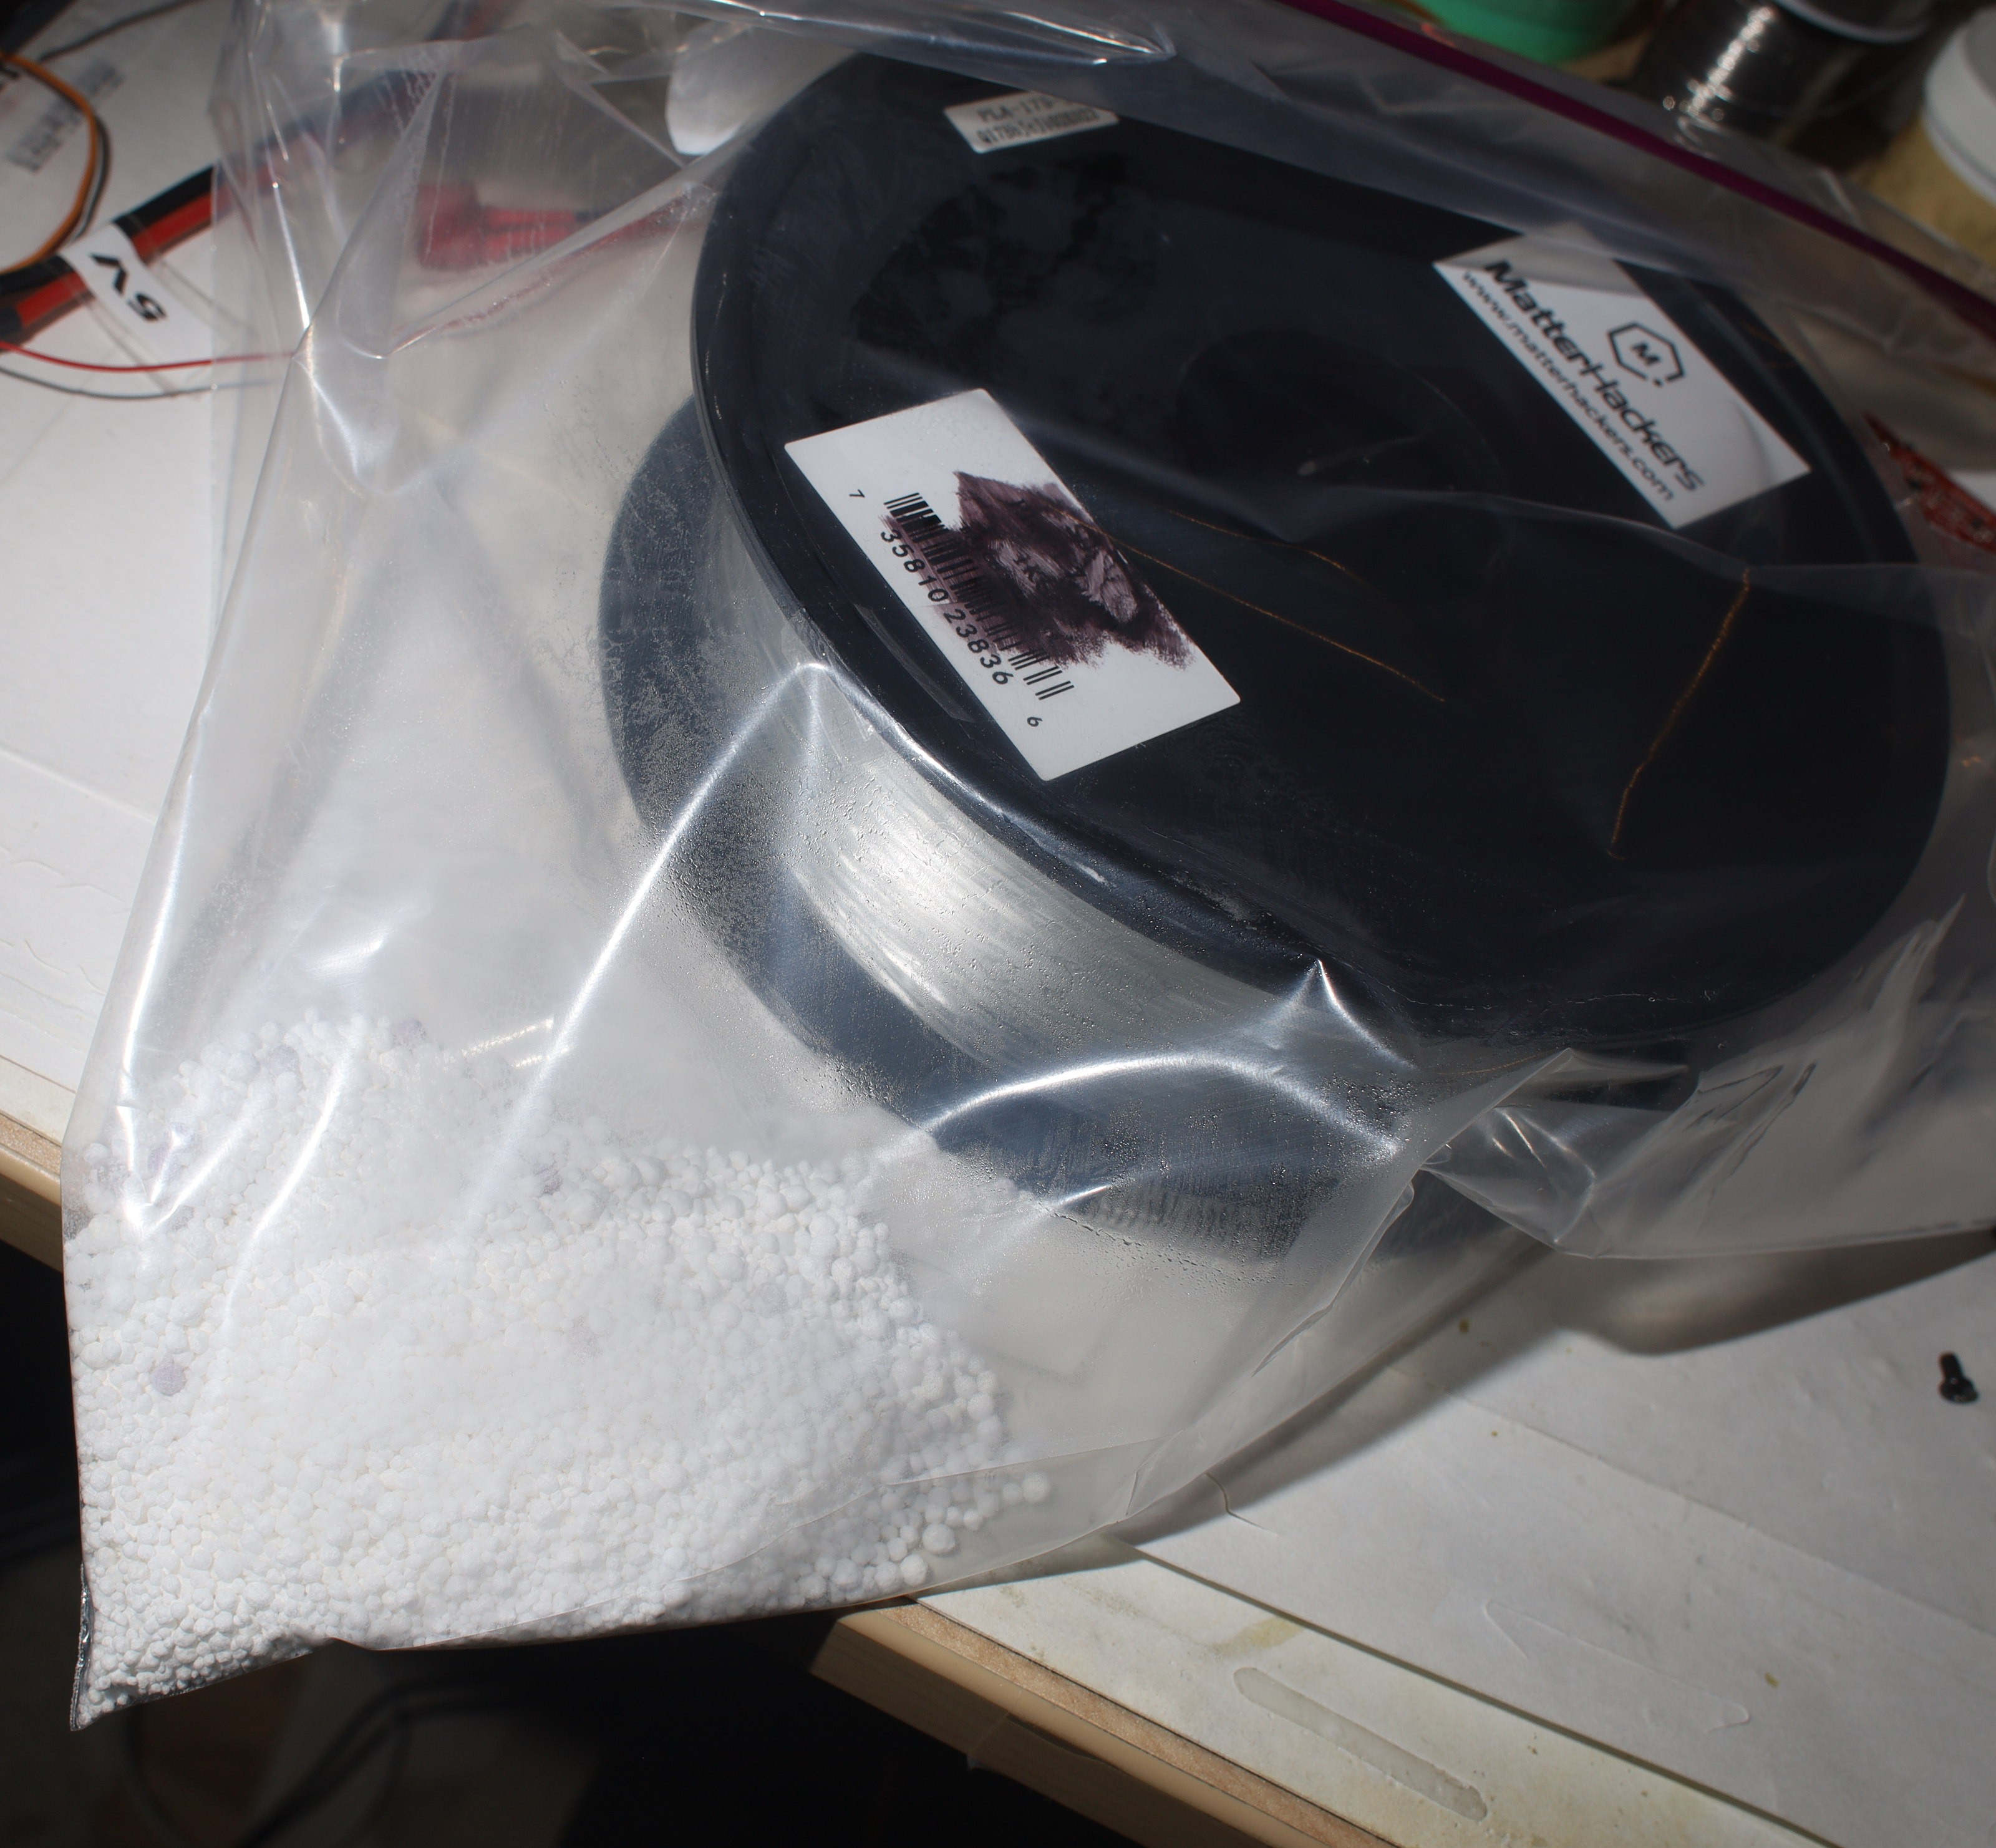
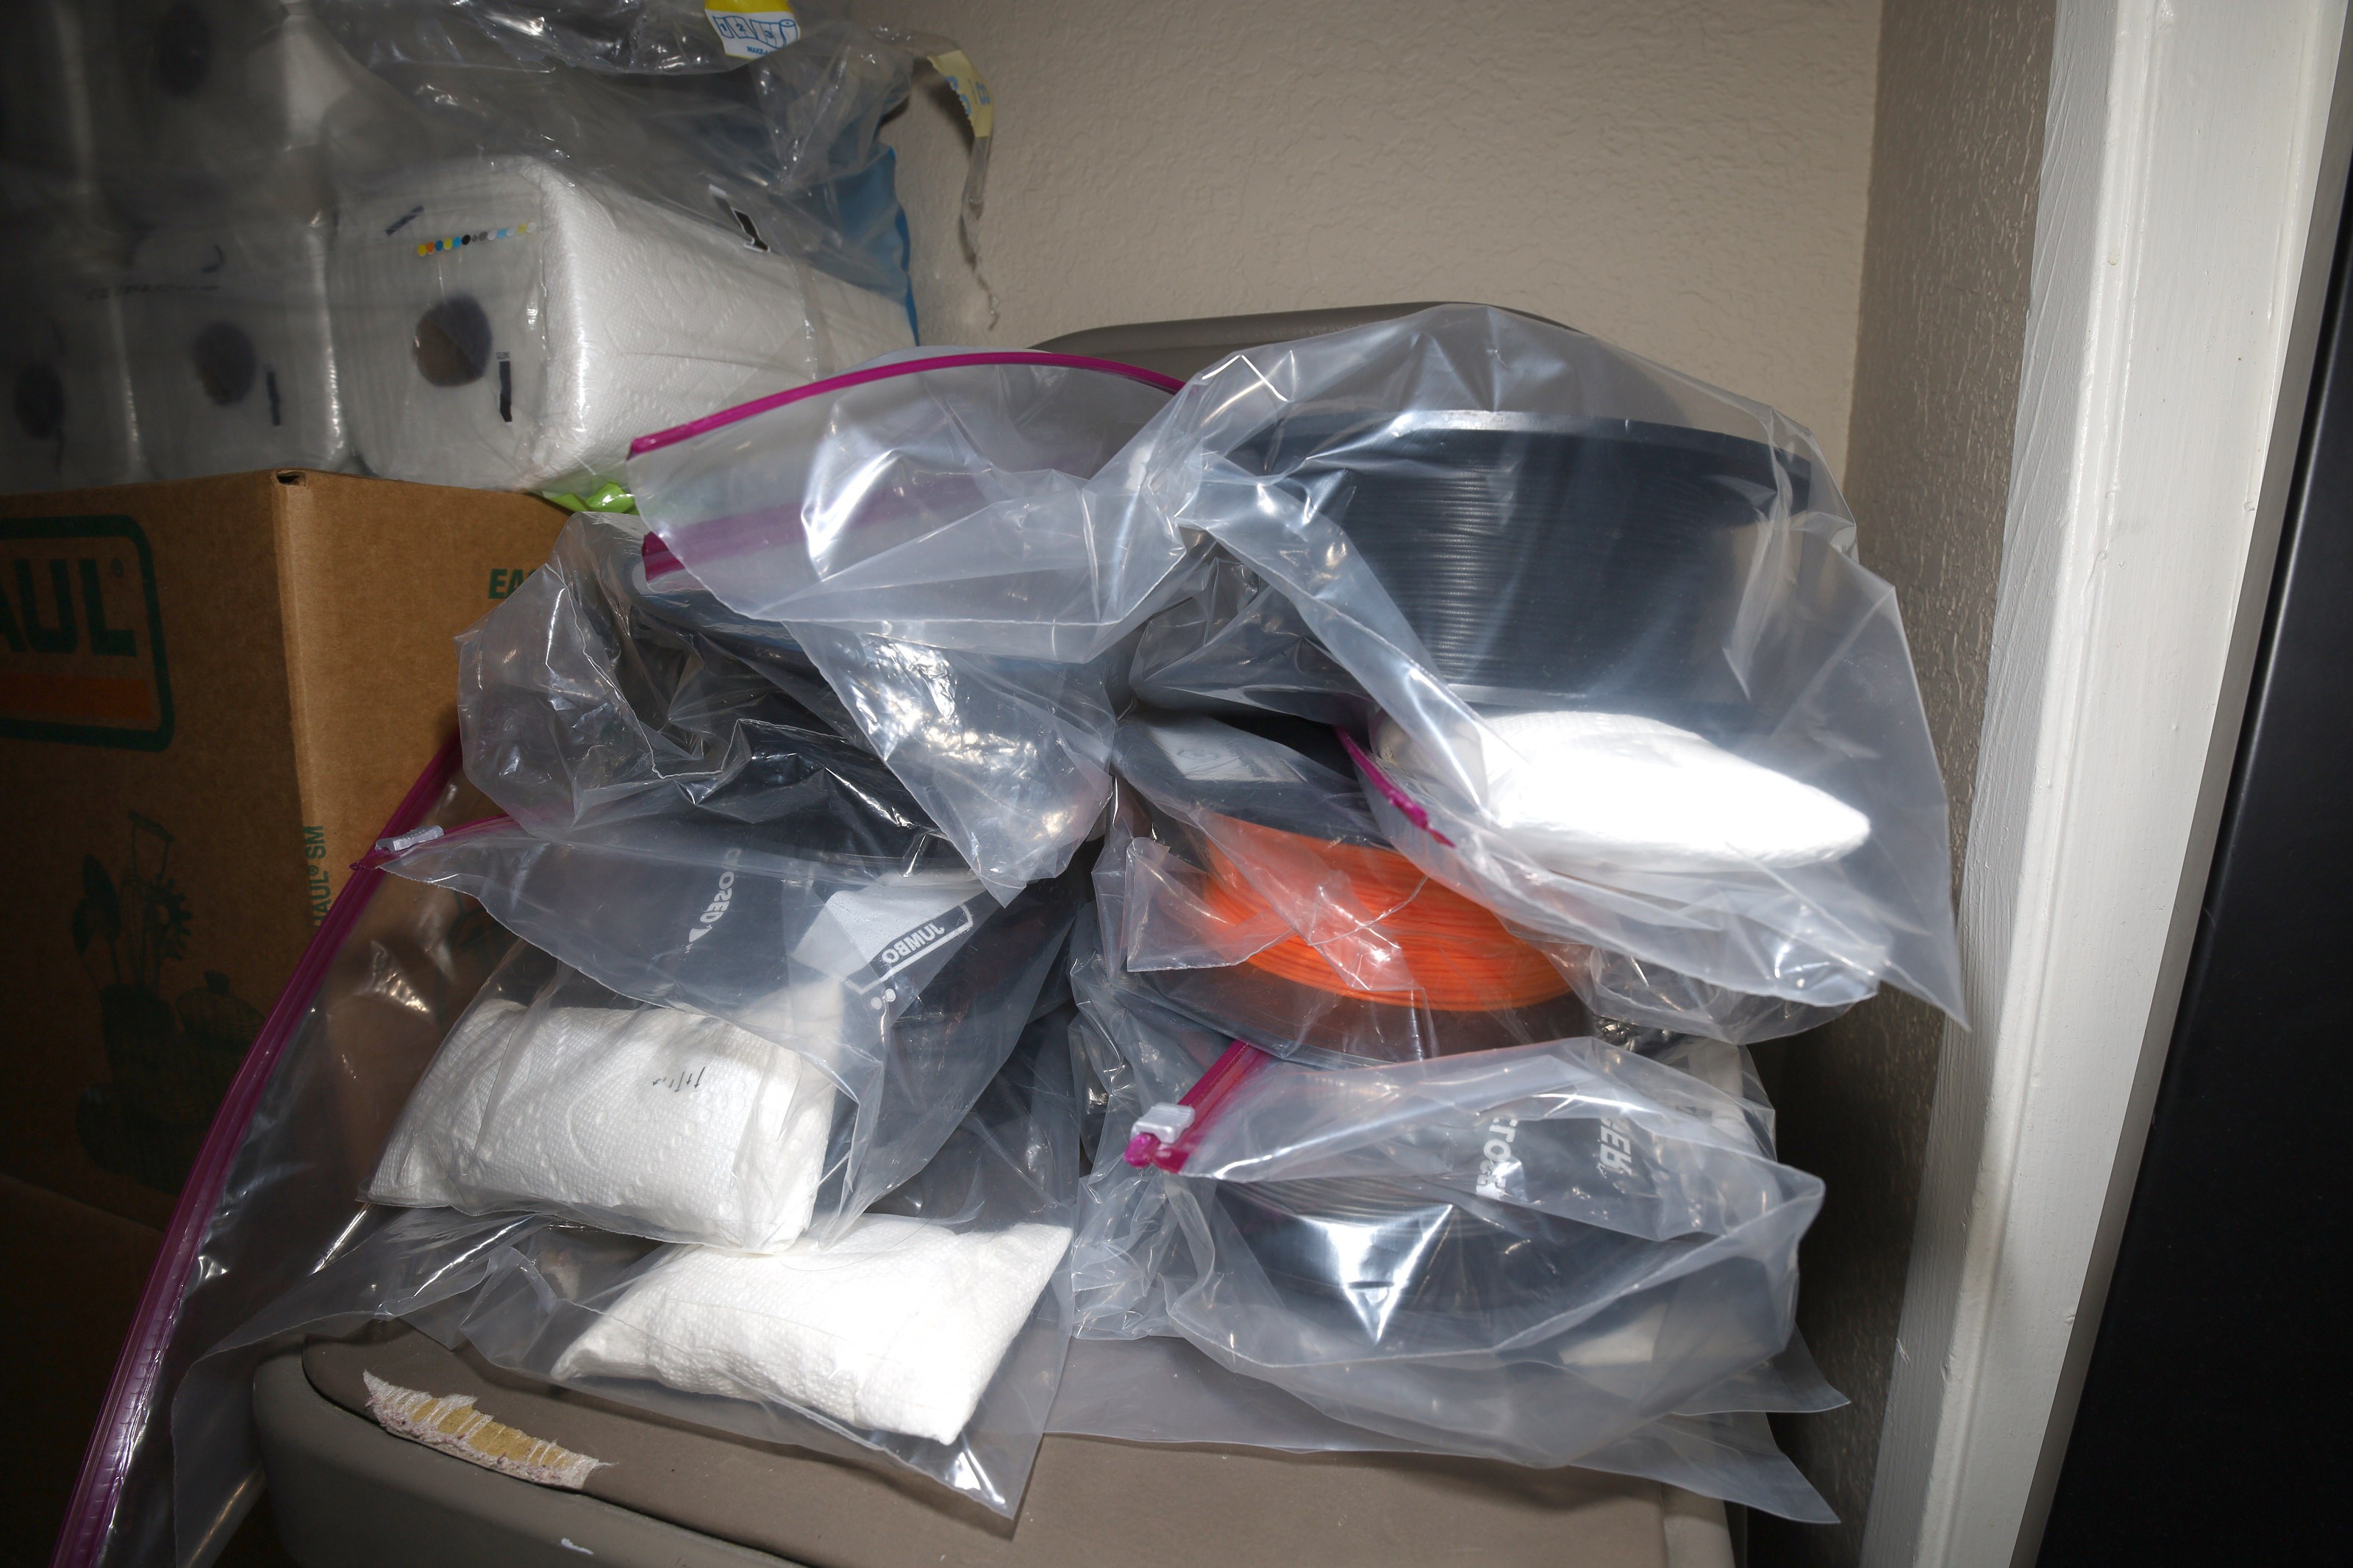
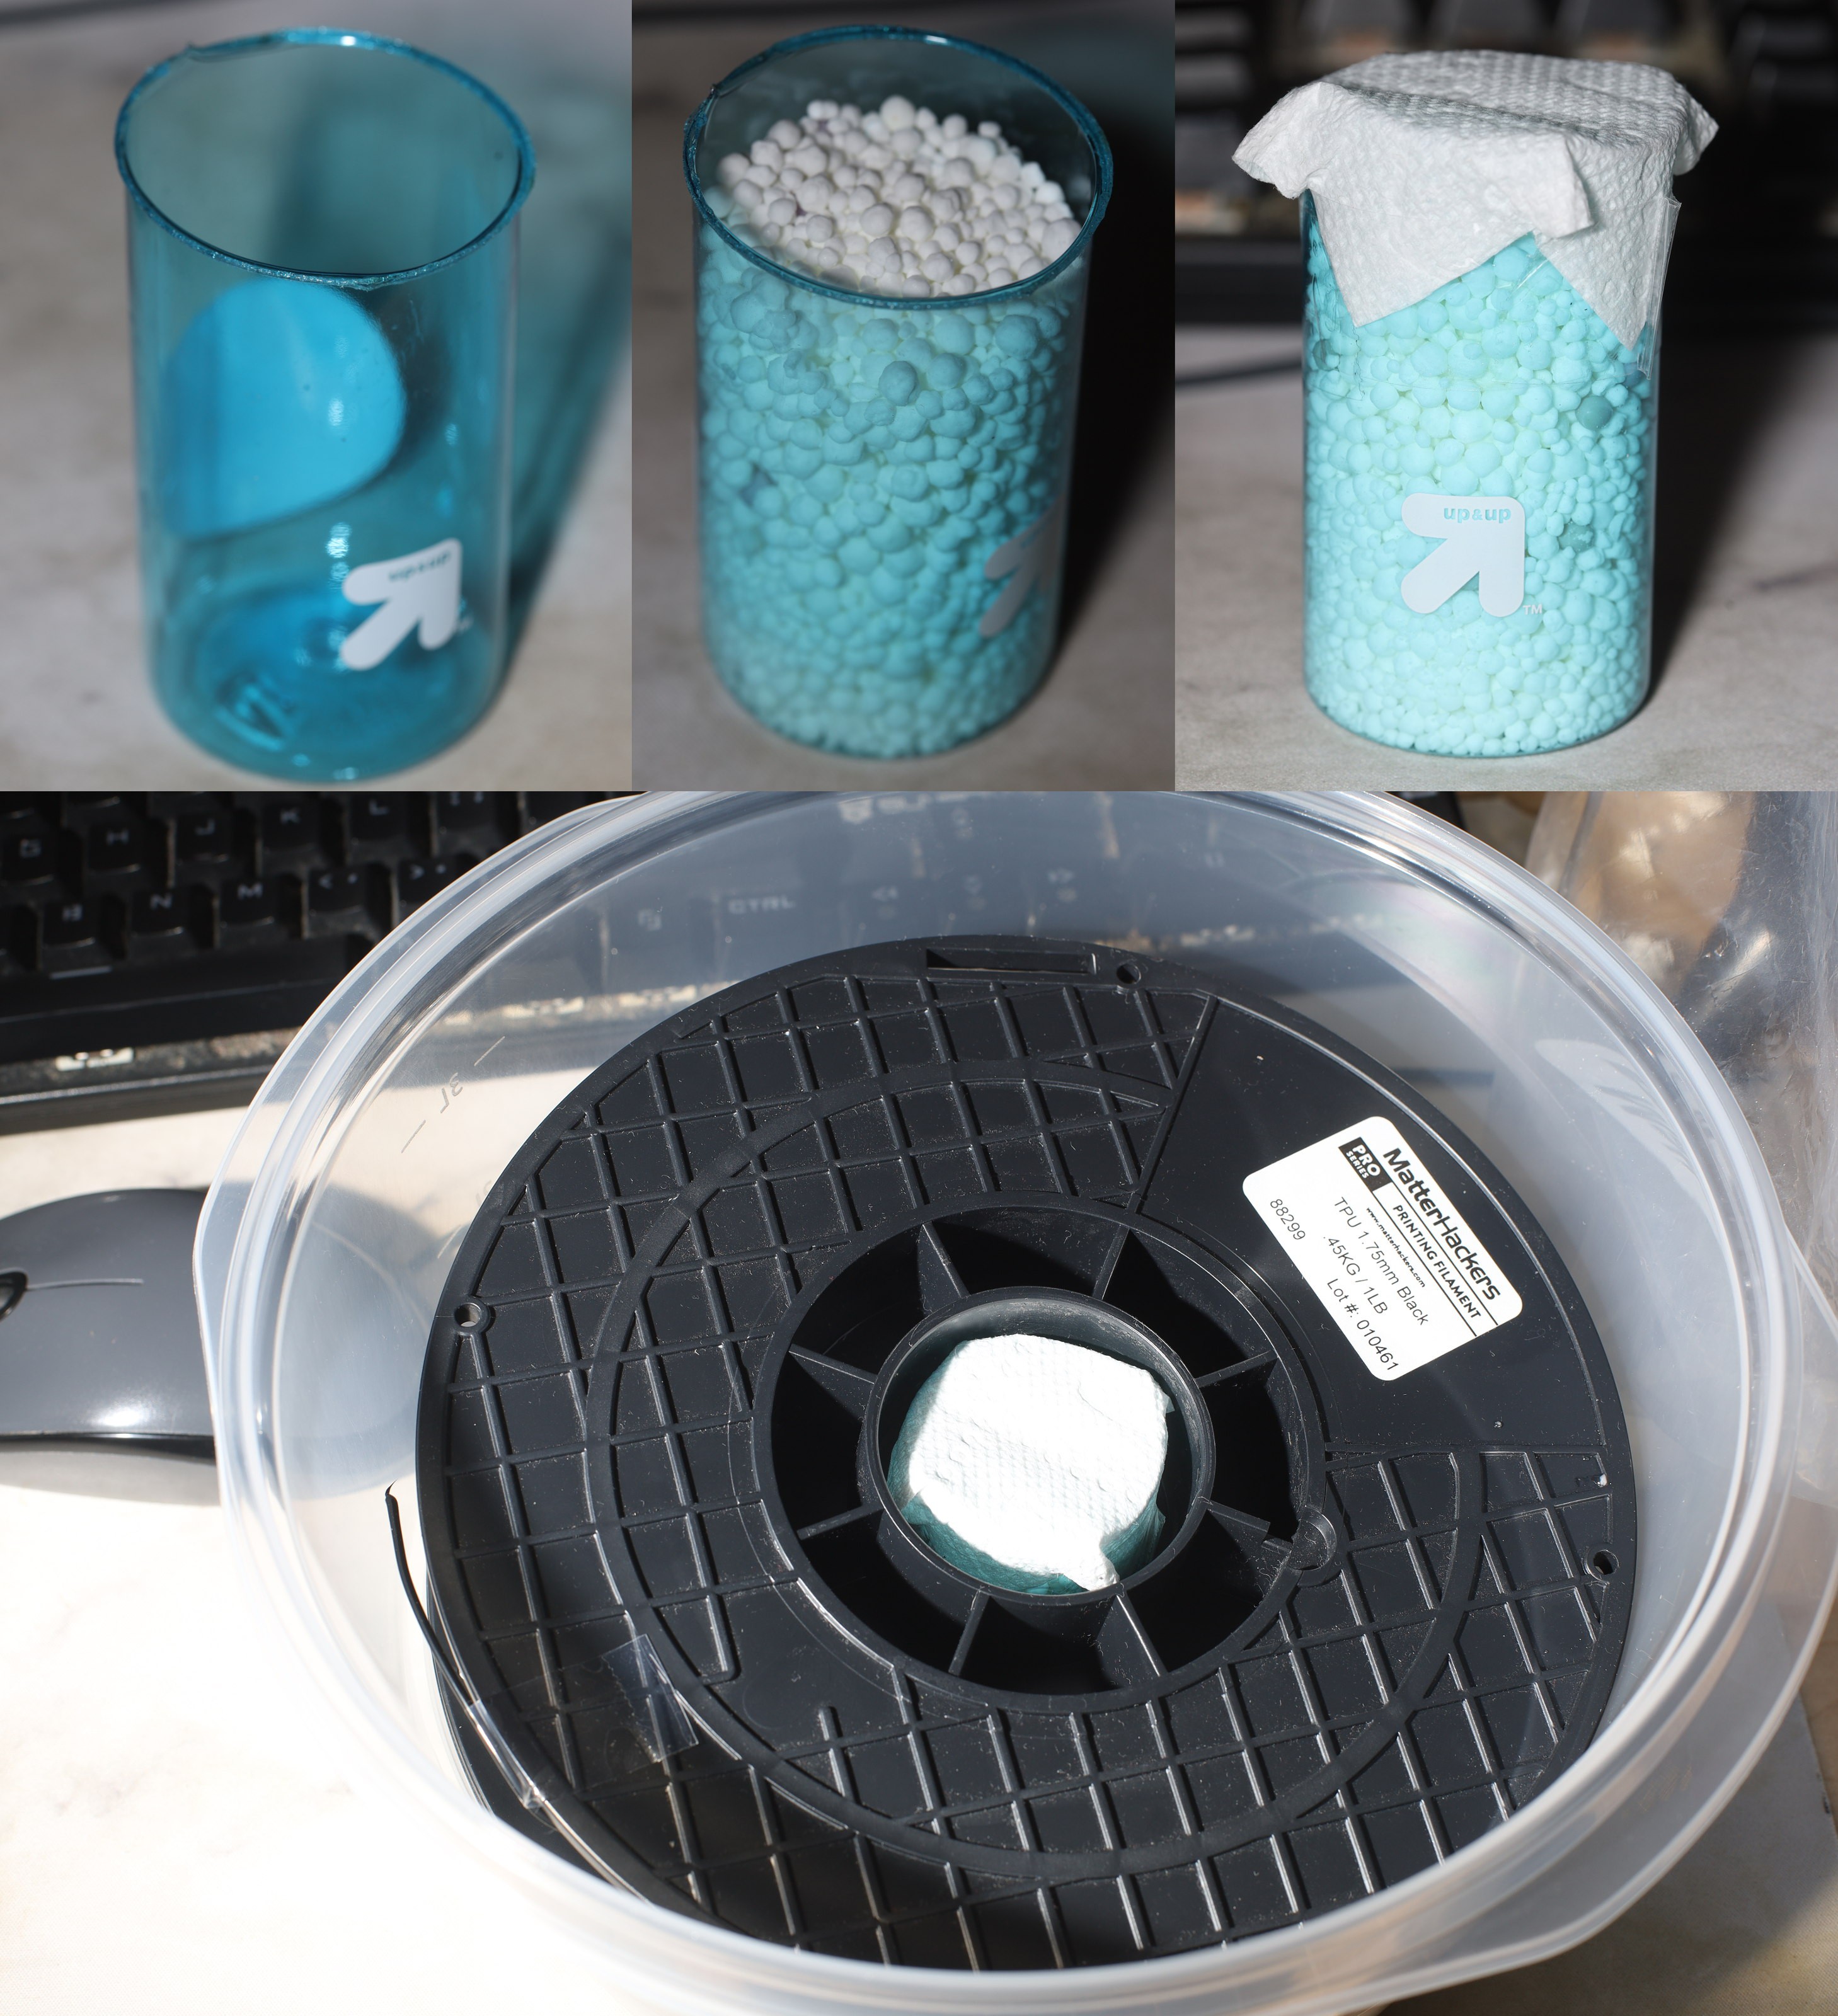
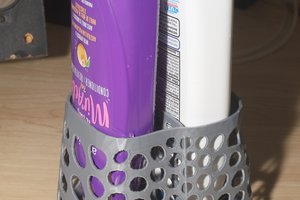
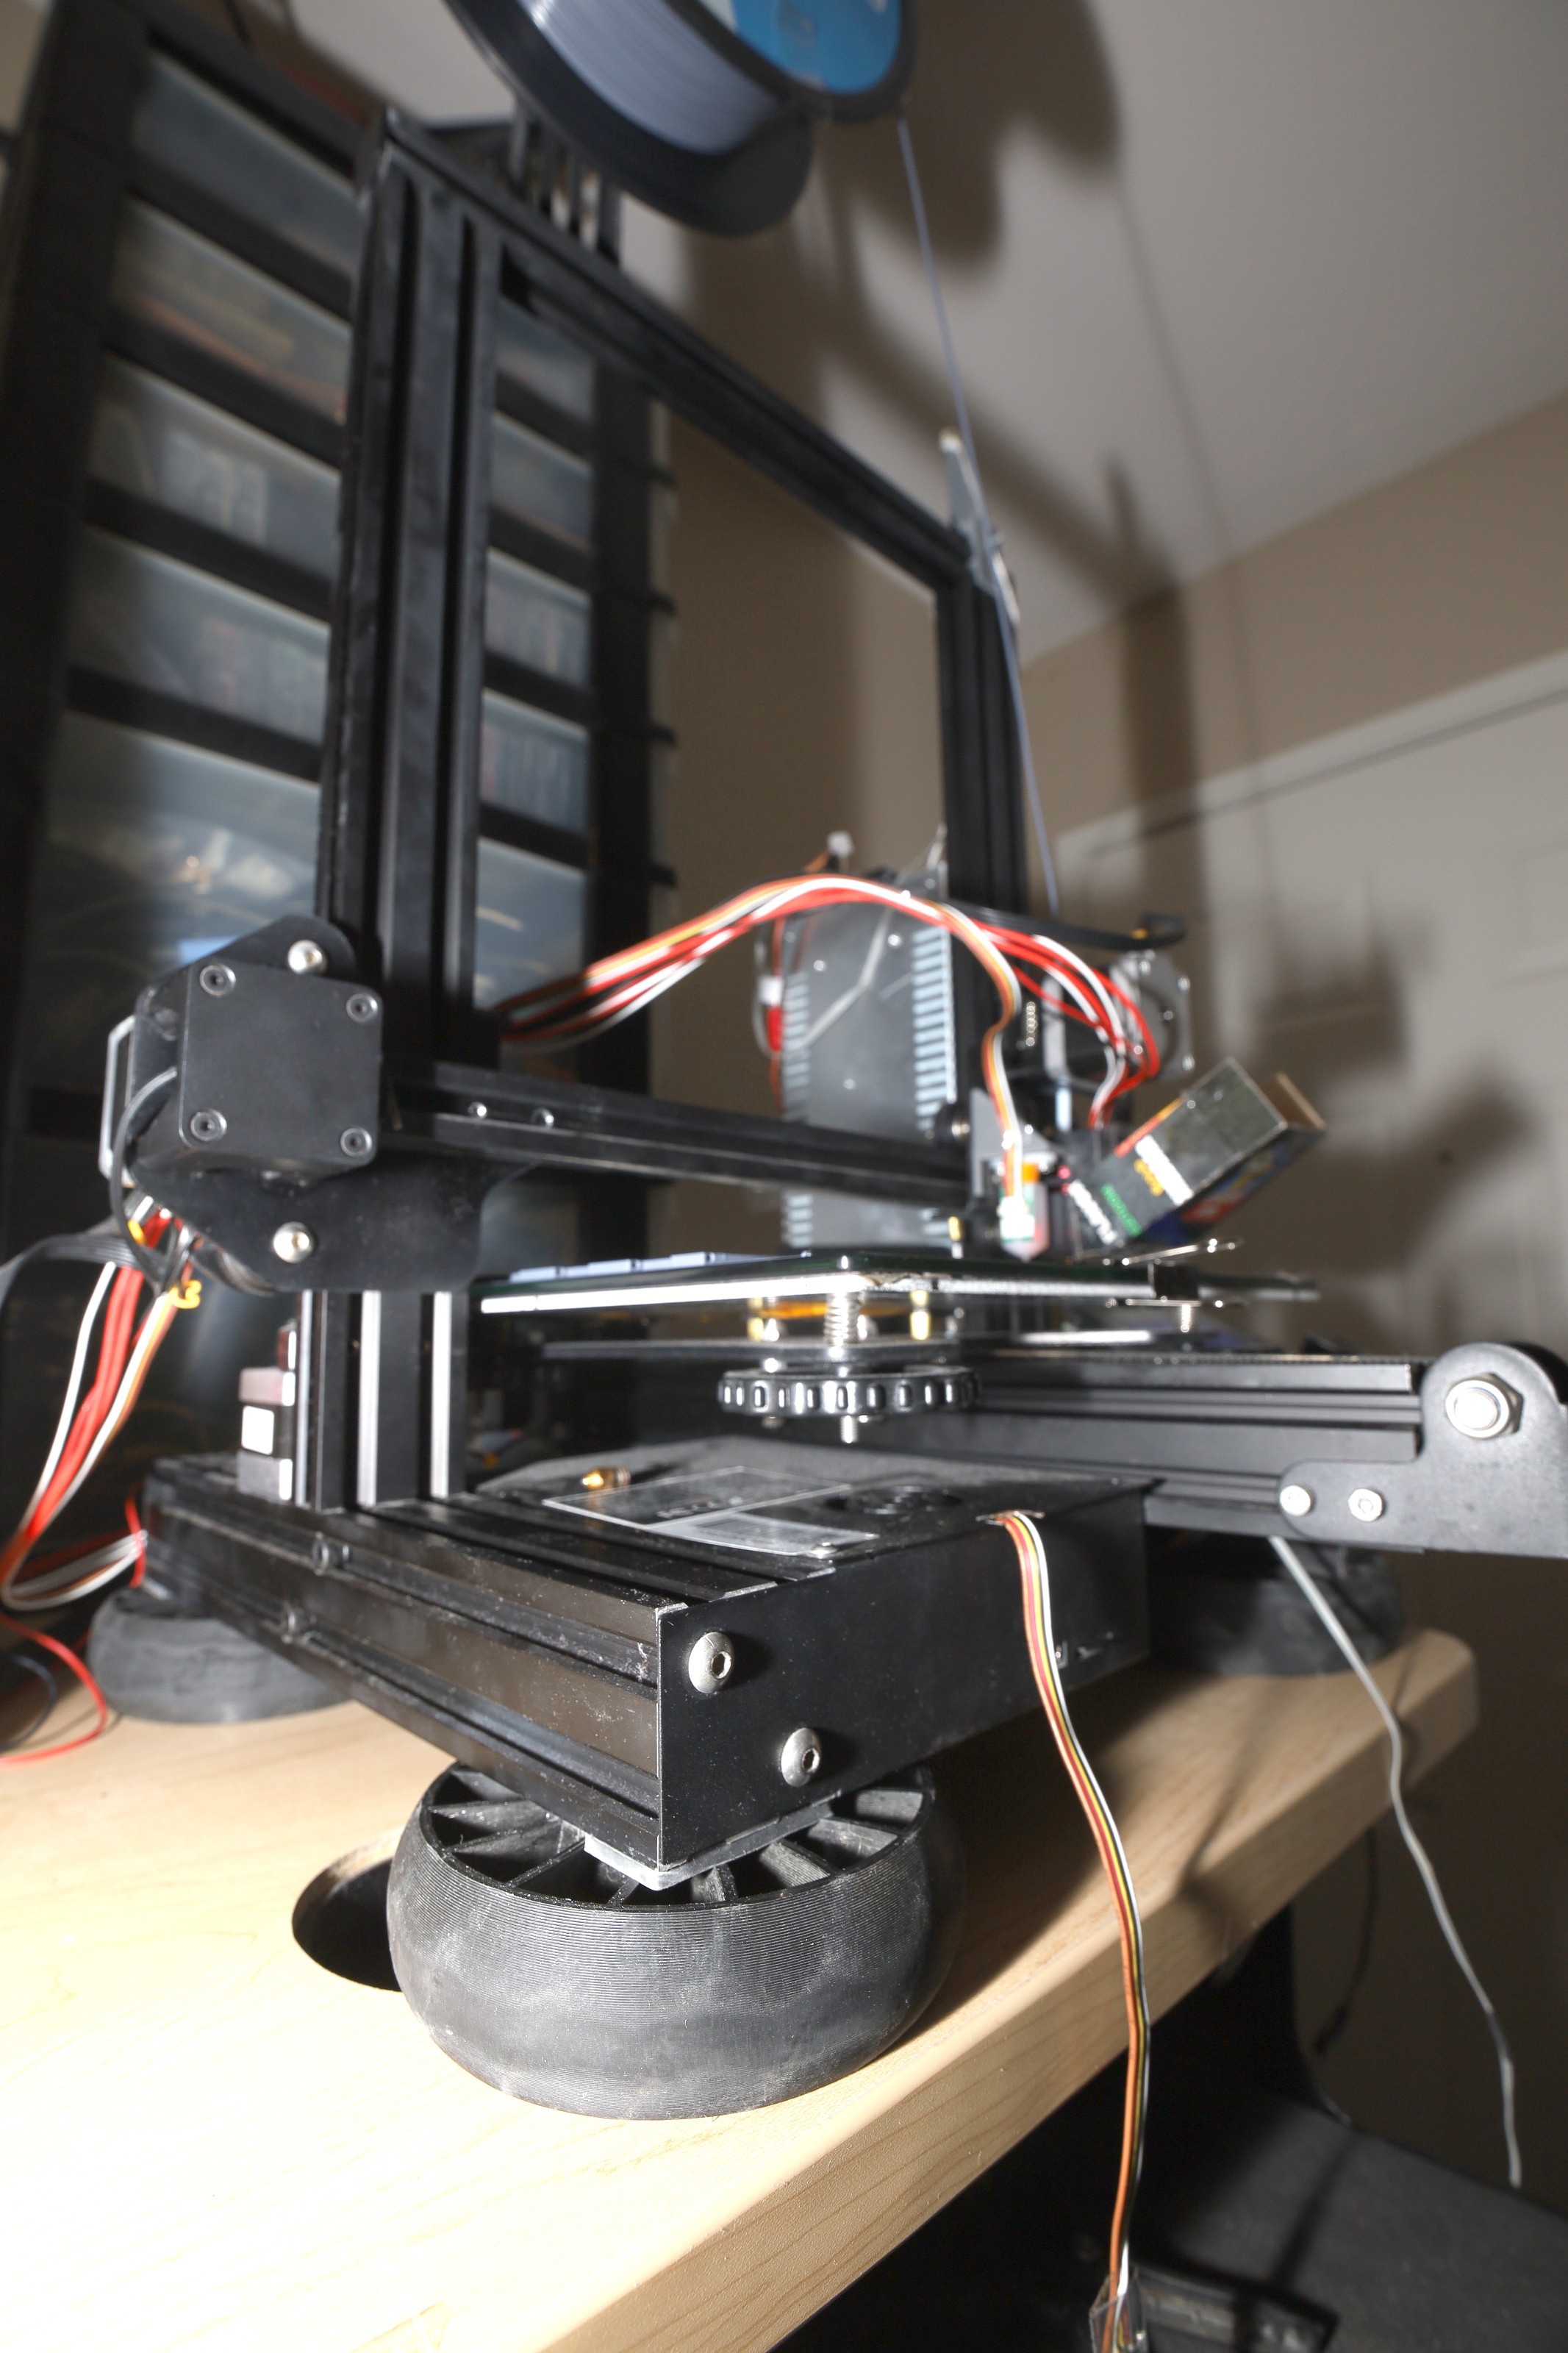
    This was the 1st vibration measure that worked.  Bubble wrap just compressed.  Cardboard didn't isolate anything.  TPE tires were the best.


  • Storing filament

    lion mclionhead07/18/2023 at 03:50 0 comments

    is a difficult problem in a $3000 apartment. The lack of space & erratic temperatures make it hard.

    Rich gootubers can do whatever they want, but storing filament in the ambient air is not an option for us plebeians. It all becomes hydrated & useless.

    The lion kingdom started out by creating custom desiccant bags out of calcium chloride & paper towels, stuffing filament in 2 gallon ziplocs with desiccant bags.  Reusable desiccants & silica beads weren't good enough.  If the filament is too wet to be useful, there is a solar drier with circulating fan to heat & move air through the desiccant & filament.

    The desiccant had 3 phases.  When it was partially used up, the desiccant bags got hard but could still be broken up.  After a year, during a summer heatwave, it suddenly liquefied & released a goo onto the filament.  Definitely no use in a bowden tube.  It seems when the ambient temperature gets hot enough, the filament dumps its water & kills the desiccant.

    As the filament collection grew, this became unmanageable, so lions just poured desiccant in the ziploc bags.  The hope is a partial saturation would get detected before it turned into goo.  There's definitely a long term need for a way to store the desiccant & filament together without the 2 mixing.

    The well healed have standard air tight 25"x16" containers which open from the top.  The lion kingdom's $3000/month slice of inflation targeting heaven has only an 18"x18" area.  Sadly, there are no air tight containers in exactly that size.

    The growing filament collection makes it impractical to have a separate container for every roll or to have the rolls unstacked.  The best option would be a a side loading container with shelves.  There are no side loading air tight containers with shelves. 

    There are $120 mini fridges with most of the space taken by insulation.

    There could be a shelf with multiple removable containers or ziplocs.

    A better desiccant container is needed which allows it to liquefy without making a mess.  It may just end up being a transparent cup & a matter of the operator keeping the container vertical.  It always took some care to keep the filament & desiccant separate in the ziplocs.  Accessing a roll always required taking off every roll above it, restacking them.  The cup could be sealed on 1 end with a paper towel, just in case.

    The cup could be fixed to the filament, making it a matter of keeping 1 assembly level.  Big tupperware containers storing 2 rolls might be easier to keep level.  The desiccant could be stored in a removable, clear container which is fixed to the tupperware. 

    This container seems to be the standard one for filament aficionados.

    The only other container was this 2.5 gallon one.  It seems to take more space.

    Desiccant went into a $1 bottle.  The opening had to be cut off.  The paper towel is just in case it falls over.

    The case could be made for pouring desiccant directly in the container & having a spacer separate the filament from it.  The problem is if solar drying hardware goes in, it could rust.  There's enough room to stand up the bottle when the container is sideways.  The lion kingdom wants a modular solar drying package that goes into any container.  The transparent bottles are just laborious to fill & might not be as effective. 

    There's not enough room for all 8 filament rolls in a $3000 apartment.  The tupperware might be applicable to solar drying, but ziplocs with the desiccant bottles might be the only way.  The best solution is turning to a custom cardboard roll, exactly sized for stock tupperware.  It might be wider & narrower than standard rolls.  It might be best just to keep pouring desiccant straight into ziplocs & stack filament so the desiccant hangs down 1 side of the stack. 

    ... Read more »

  • Printing on glass

    lion mclionhead05/31/2023 at 03:37 0 comments

    The rest of the world moved on to steel, but the lion kingdom recently had good results with old fashioned glass.  The trick with glass is to wash 1 side with dishwashing soap & dry it with paper towels so no oil or wax is present. 

    This one has a marker to indicate which side has been cleaned.

    Clip it in the middle & it stays more level than the machine bed.   It has been level enough to not need auto leveling.  Heat it to 55C for PLA.  TPU doesn't benefit from heating but does require a glue stick.   The finish isn't as shiny with the glue stick.  TPU can be printed without the glue stick but it warps.

    It adheres PLA better than TPU.  PLA parts can only be removed by dunking in cold water.  It's not known if cold water can shatter the glass.  The results are very shiny printouts. 

    To avoid the hassle of dishwashing soap & drying, buildtak still has a role where shine isn't required.  The shine doesn't last, since PLA is very soft.  It's most long lived on cosmetic surfaces.

    To apply hot glue, the opposite side must be on glass or it'll conform to whatever surface it's on.

  • Arc overhangs

    lion mclionhead03/21/2023 at 01:39 0 comments

    Game changer for a lot of problems.

    Rails traditionally had to be triangles.

    Rotating dials have edge overhangs.  The linear slicer can only print part of these.

    Countersunk corners.

View all 26 project logs

Enjoy this project?

Share

Discussions

tediouszzzz wrote 12/14/2021 at 13:43 point

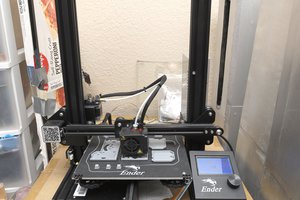
Someday maybe you'll win. For now, this is a somewhat convoluted mess of printing...   Get a cricut and step away from the 3D printing.

  Are you sure? yes | no

benkster wrote 08/26/2021 at 20:29 point

Pretty extensive explanation - Nice!
Can you buys yourself a artillery sidewinder and do the same for it ;-)
Just kidding of course - well done

  Are you sure? yes | no

Similar Projects

Does this project spark your interest?

Become a member to follow this project and never miss any updates