-
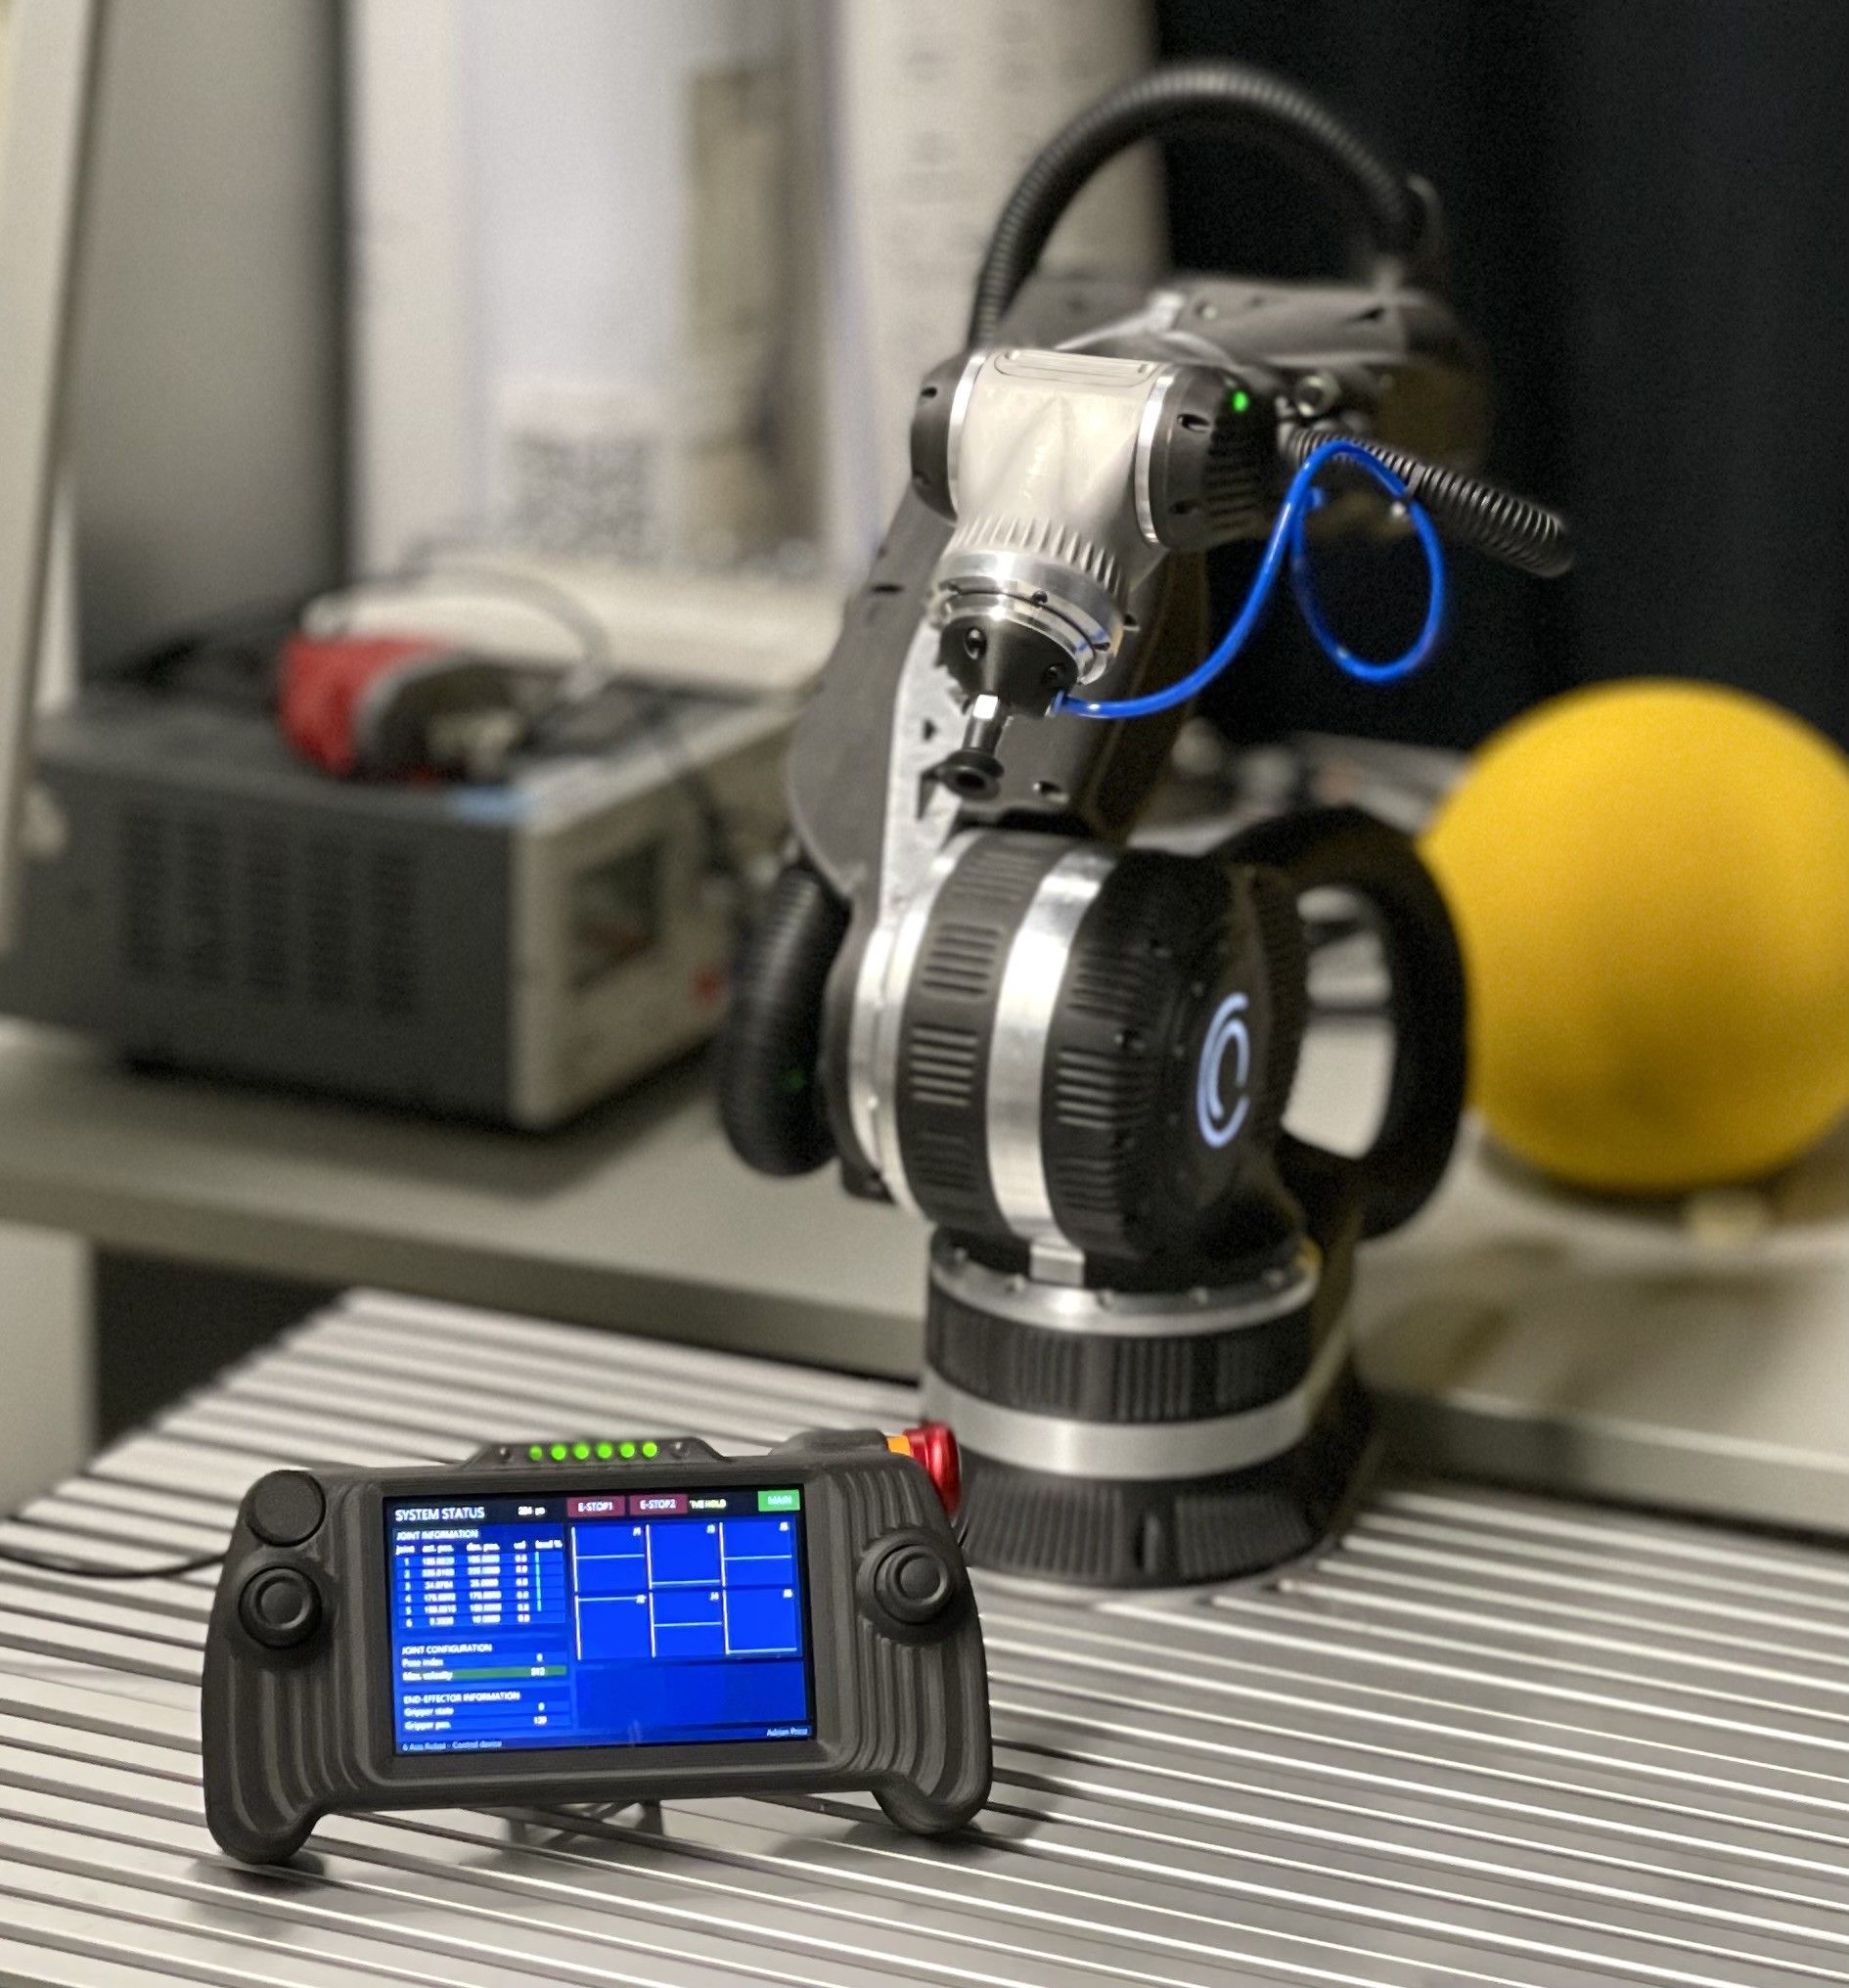
16# Overall Robot Setup
08/15/2023 at 14:31 • 0 comments![]()
-
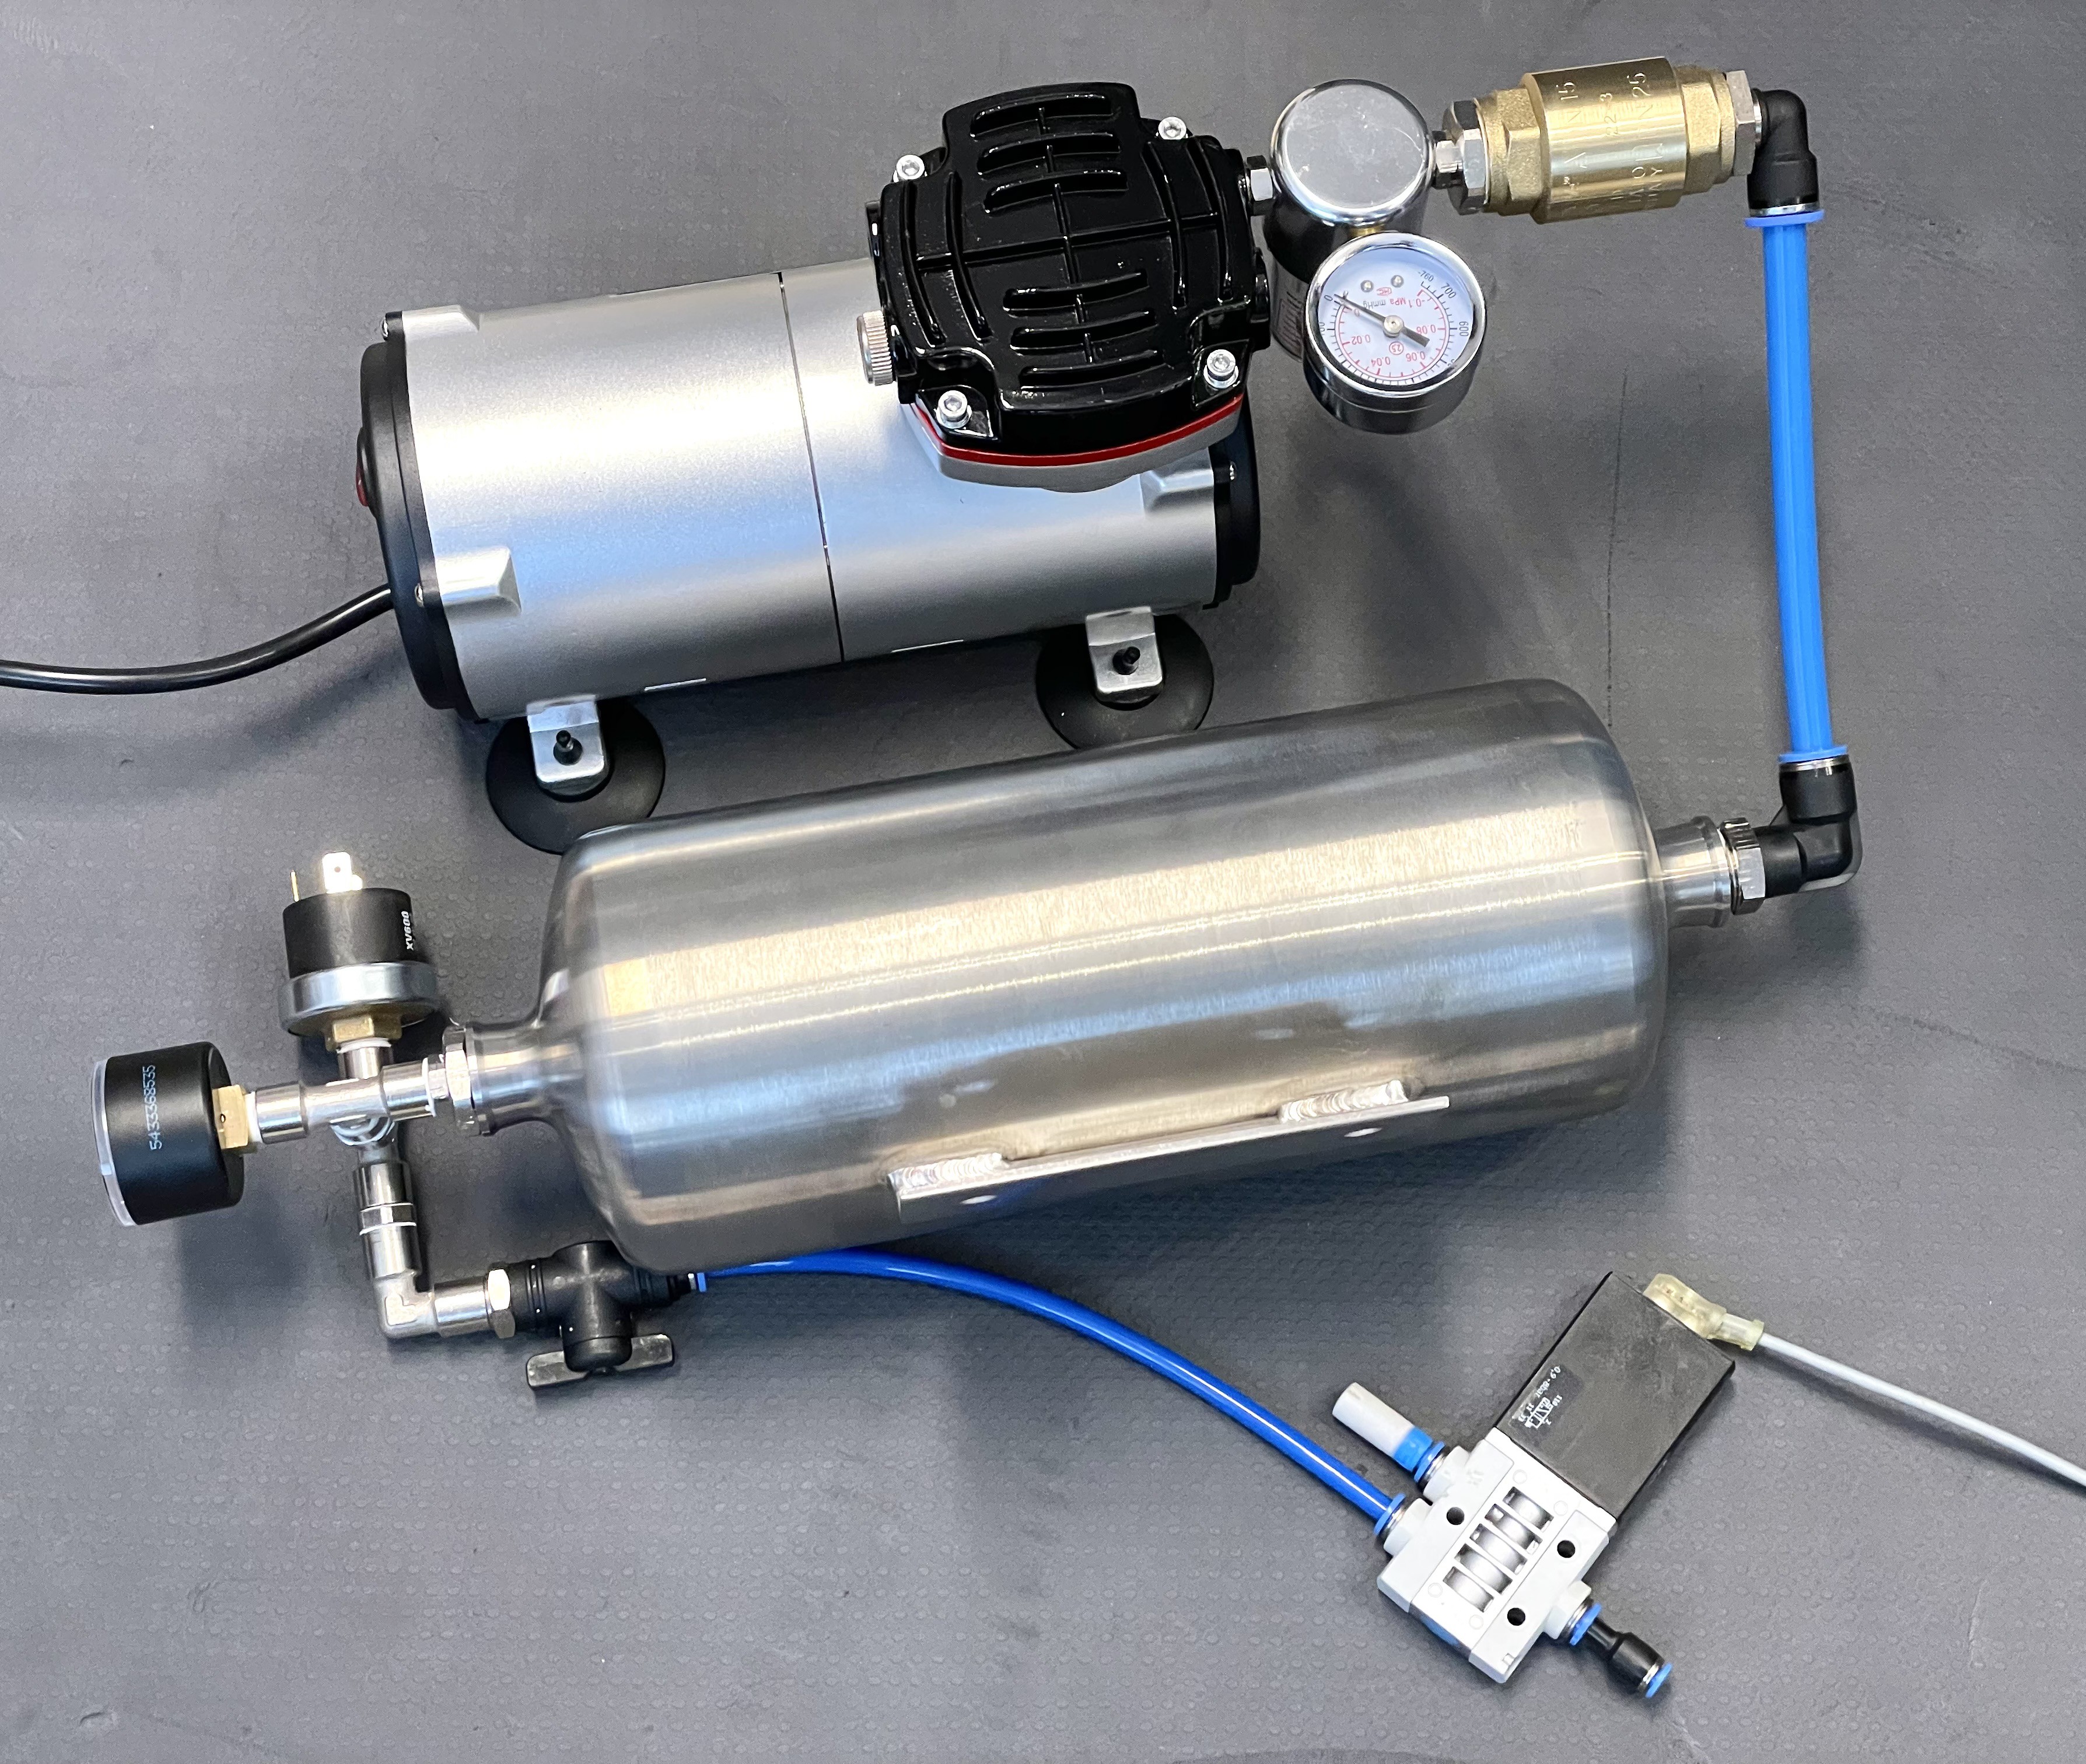
15# Pneumatic Gripper System
08/15/2023 at 14:30 • 0 commentsFor simple but fast gripping tasks I additionally designed a pneumatic gripper system:
![]()
-
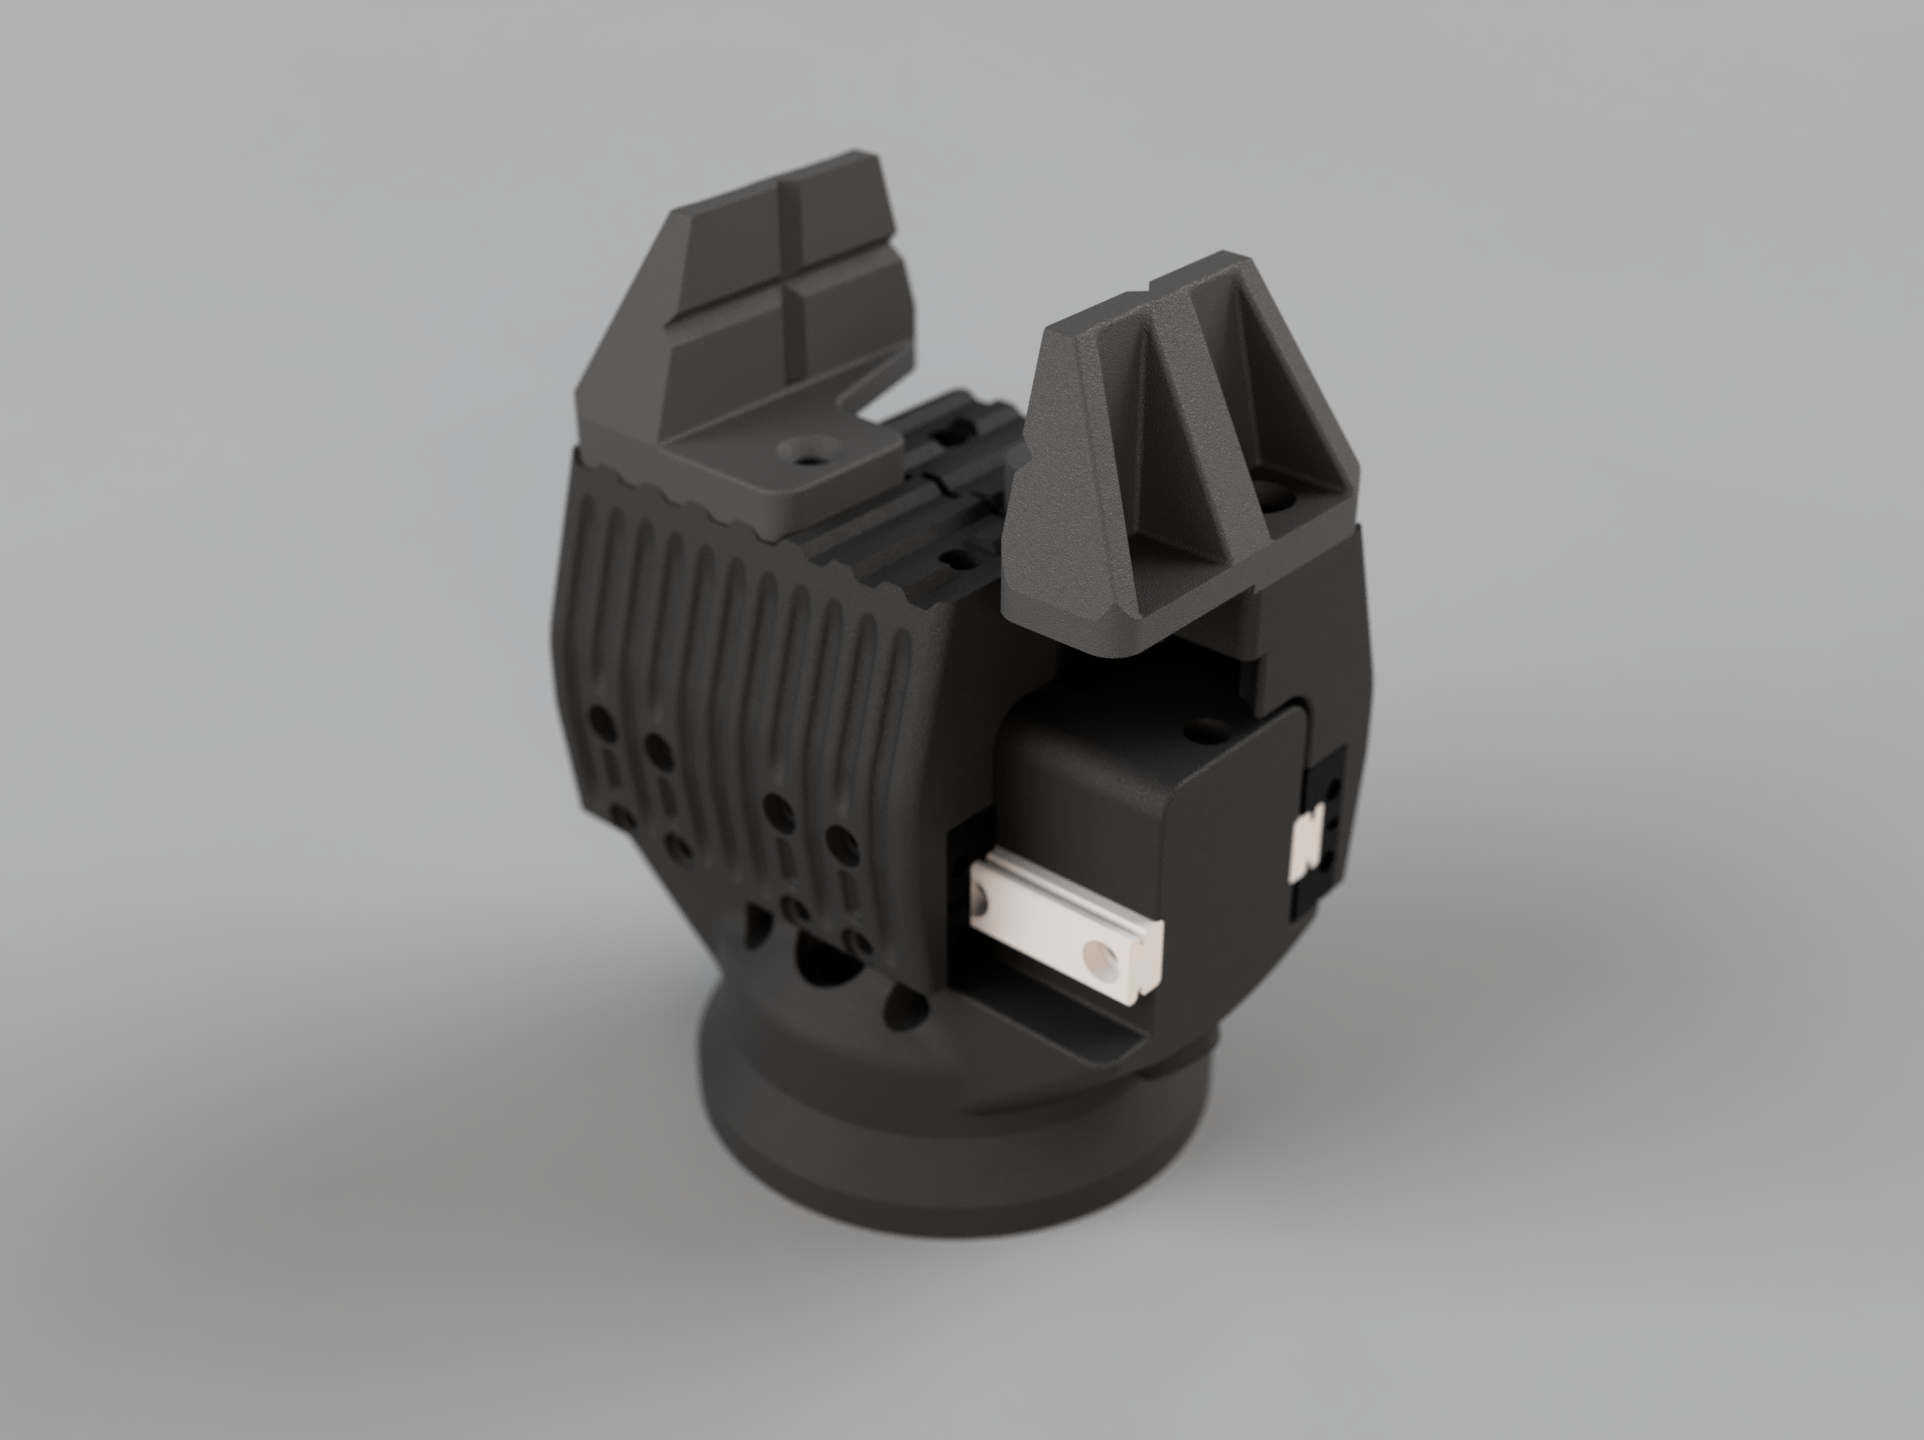
14# Robot-Gripper
08/15/2023 at 14:21 • 0 commentsI designed a mechnical parallel gripper to be mounted to the mechanical interface of the 6th axis
![]()
-
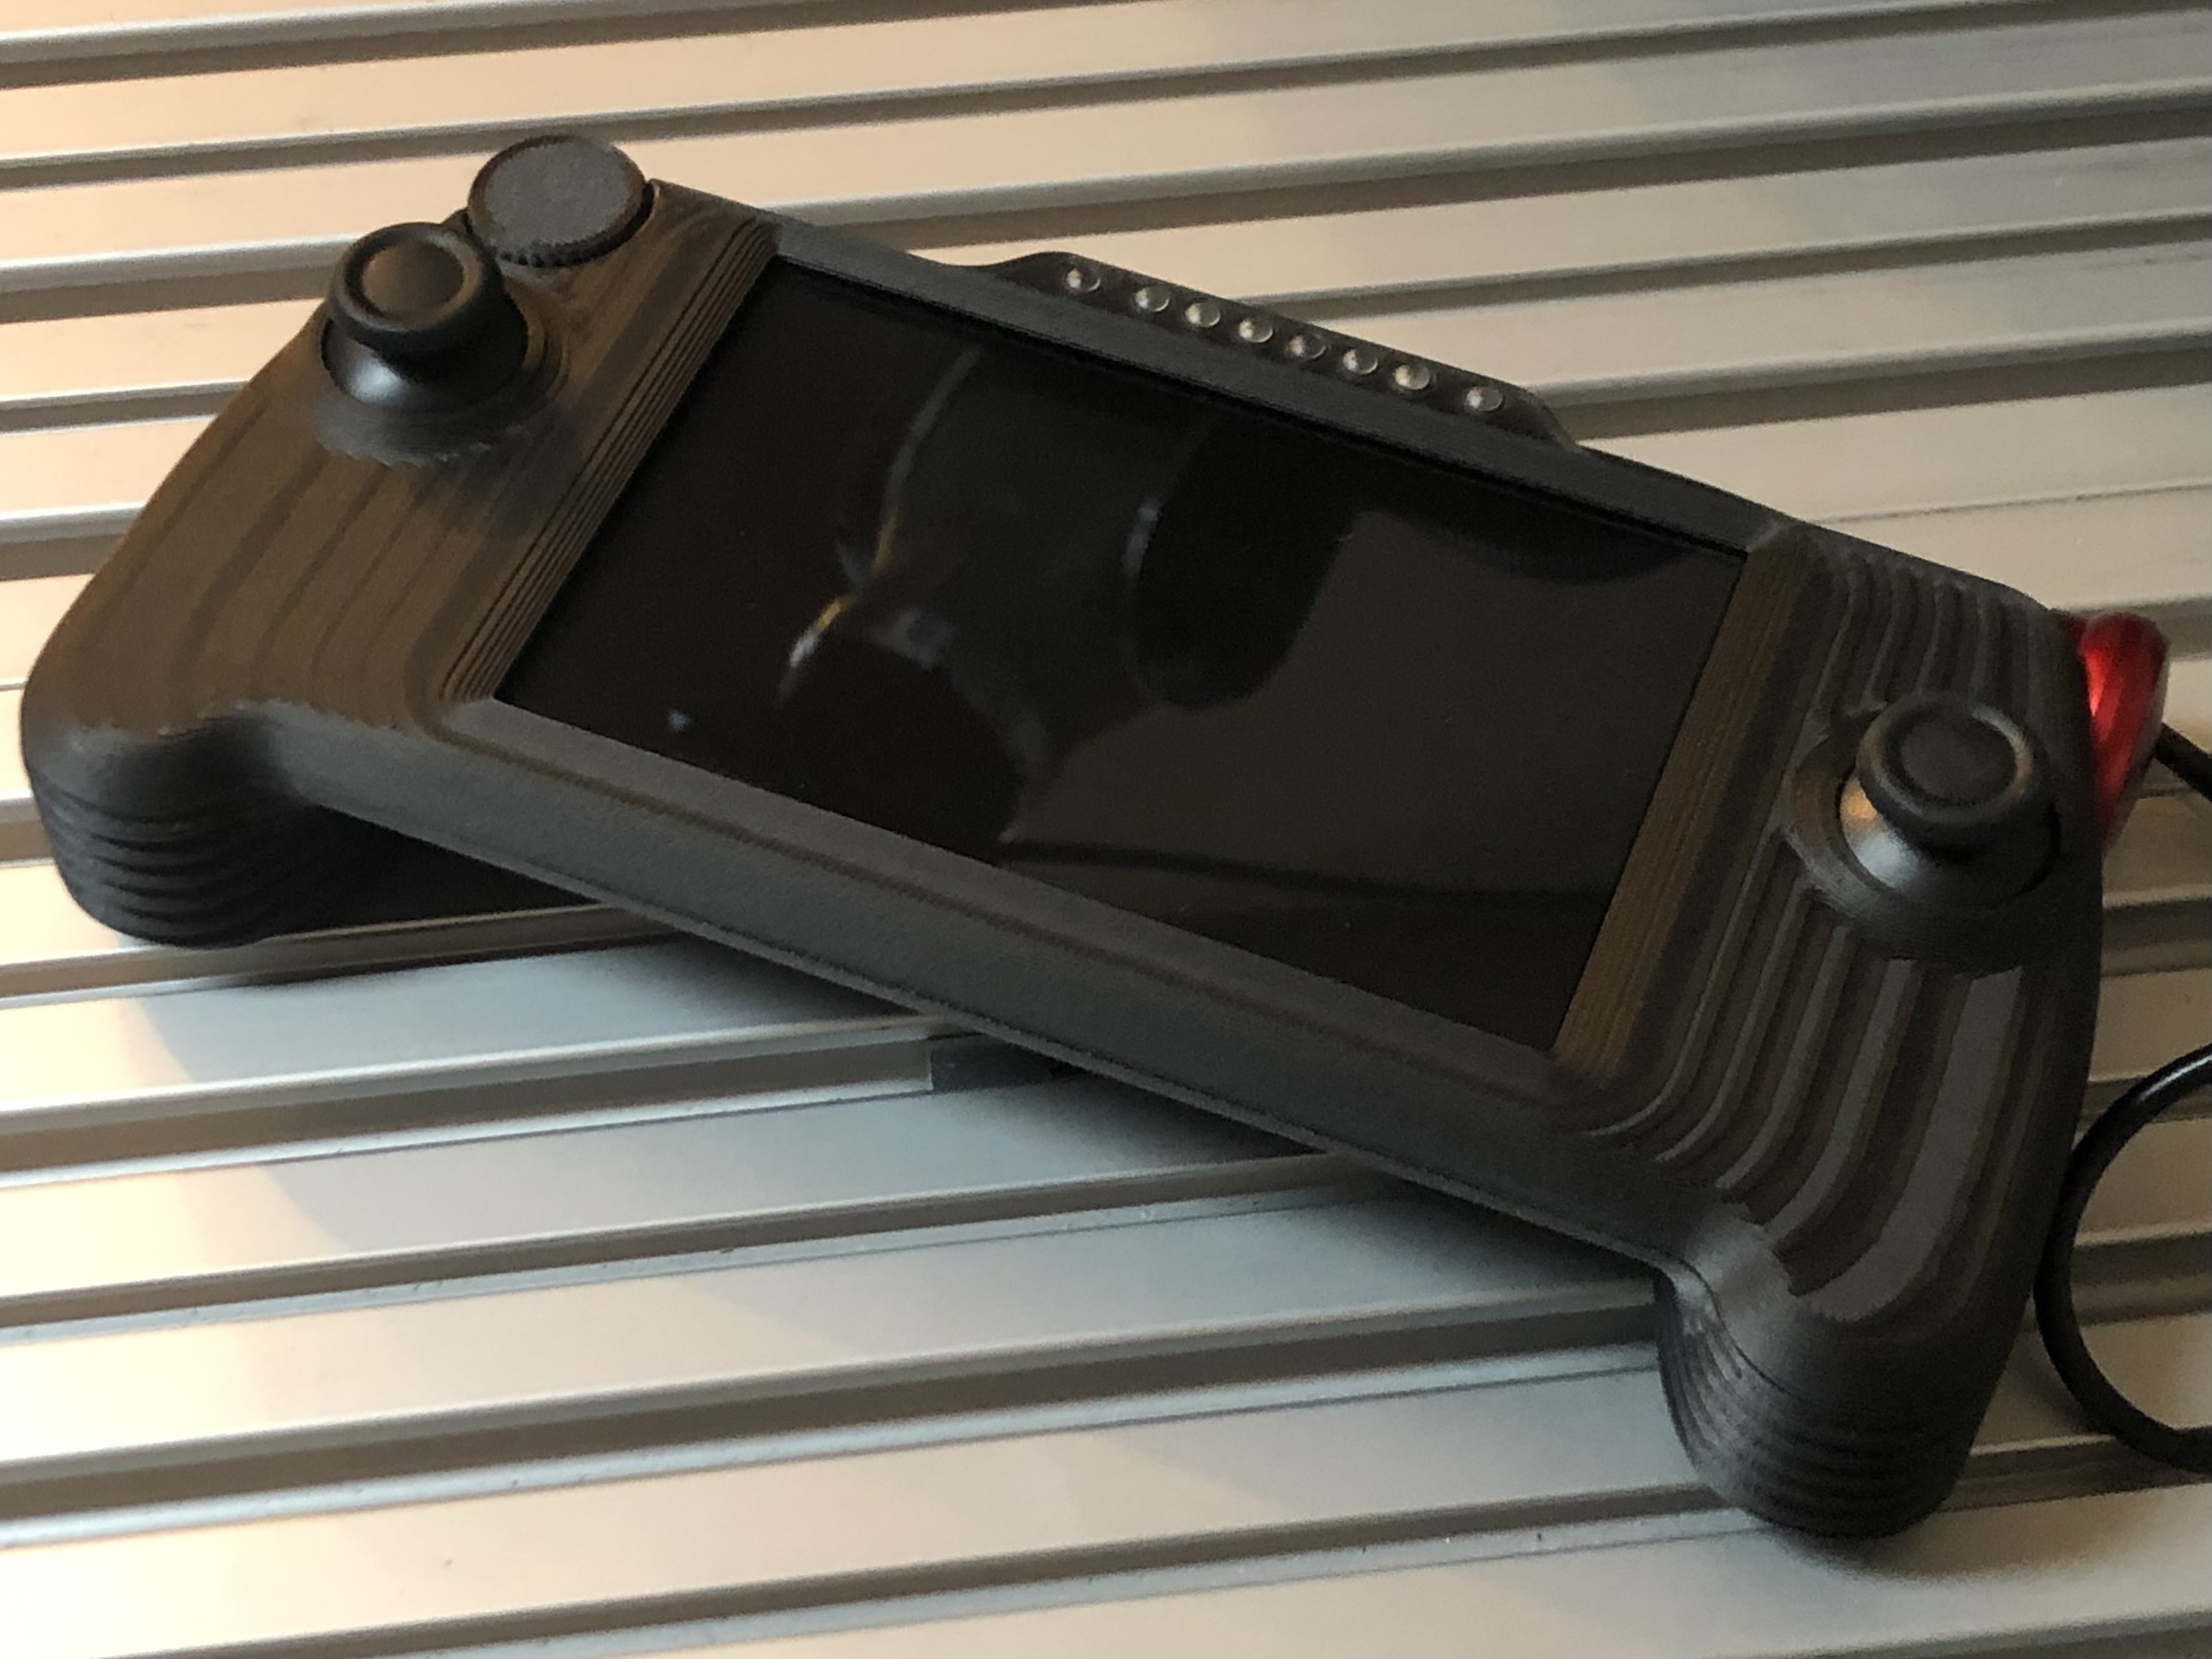
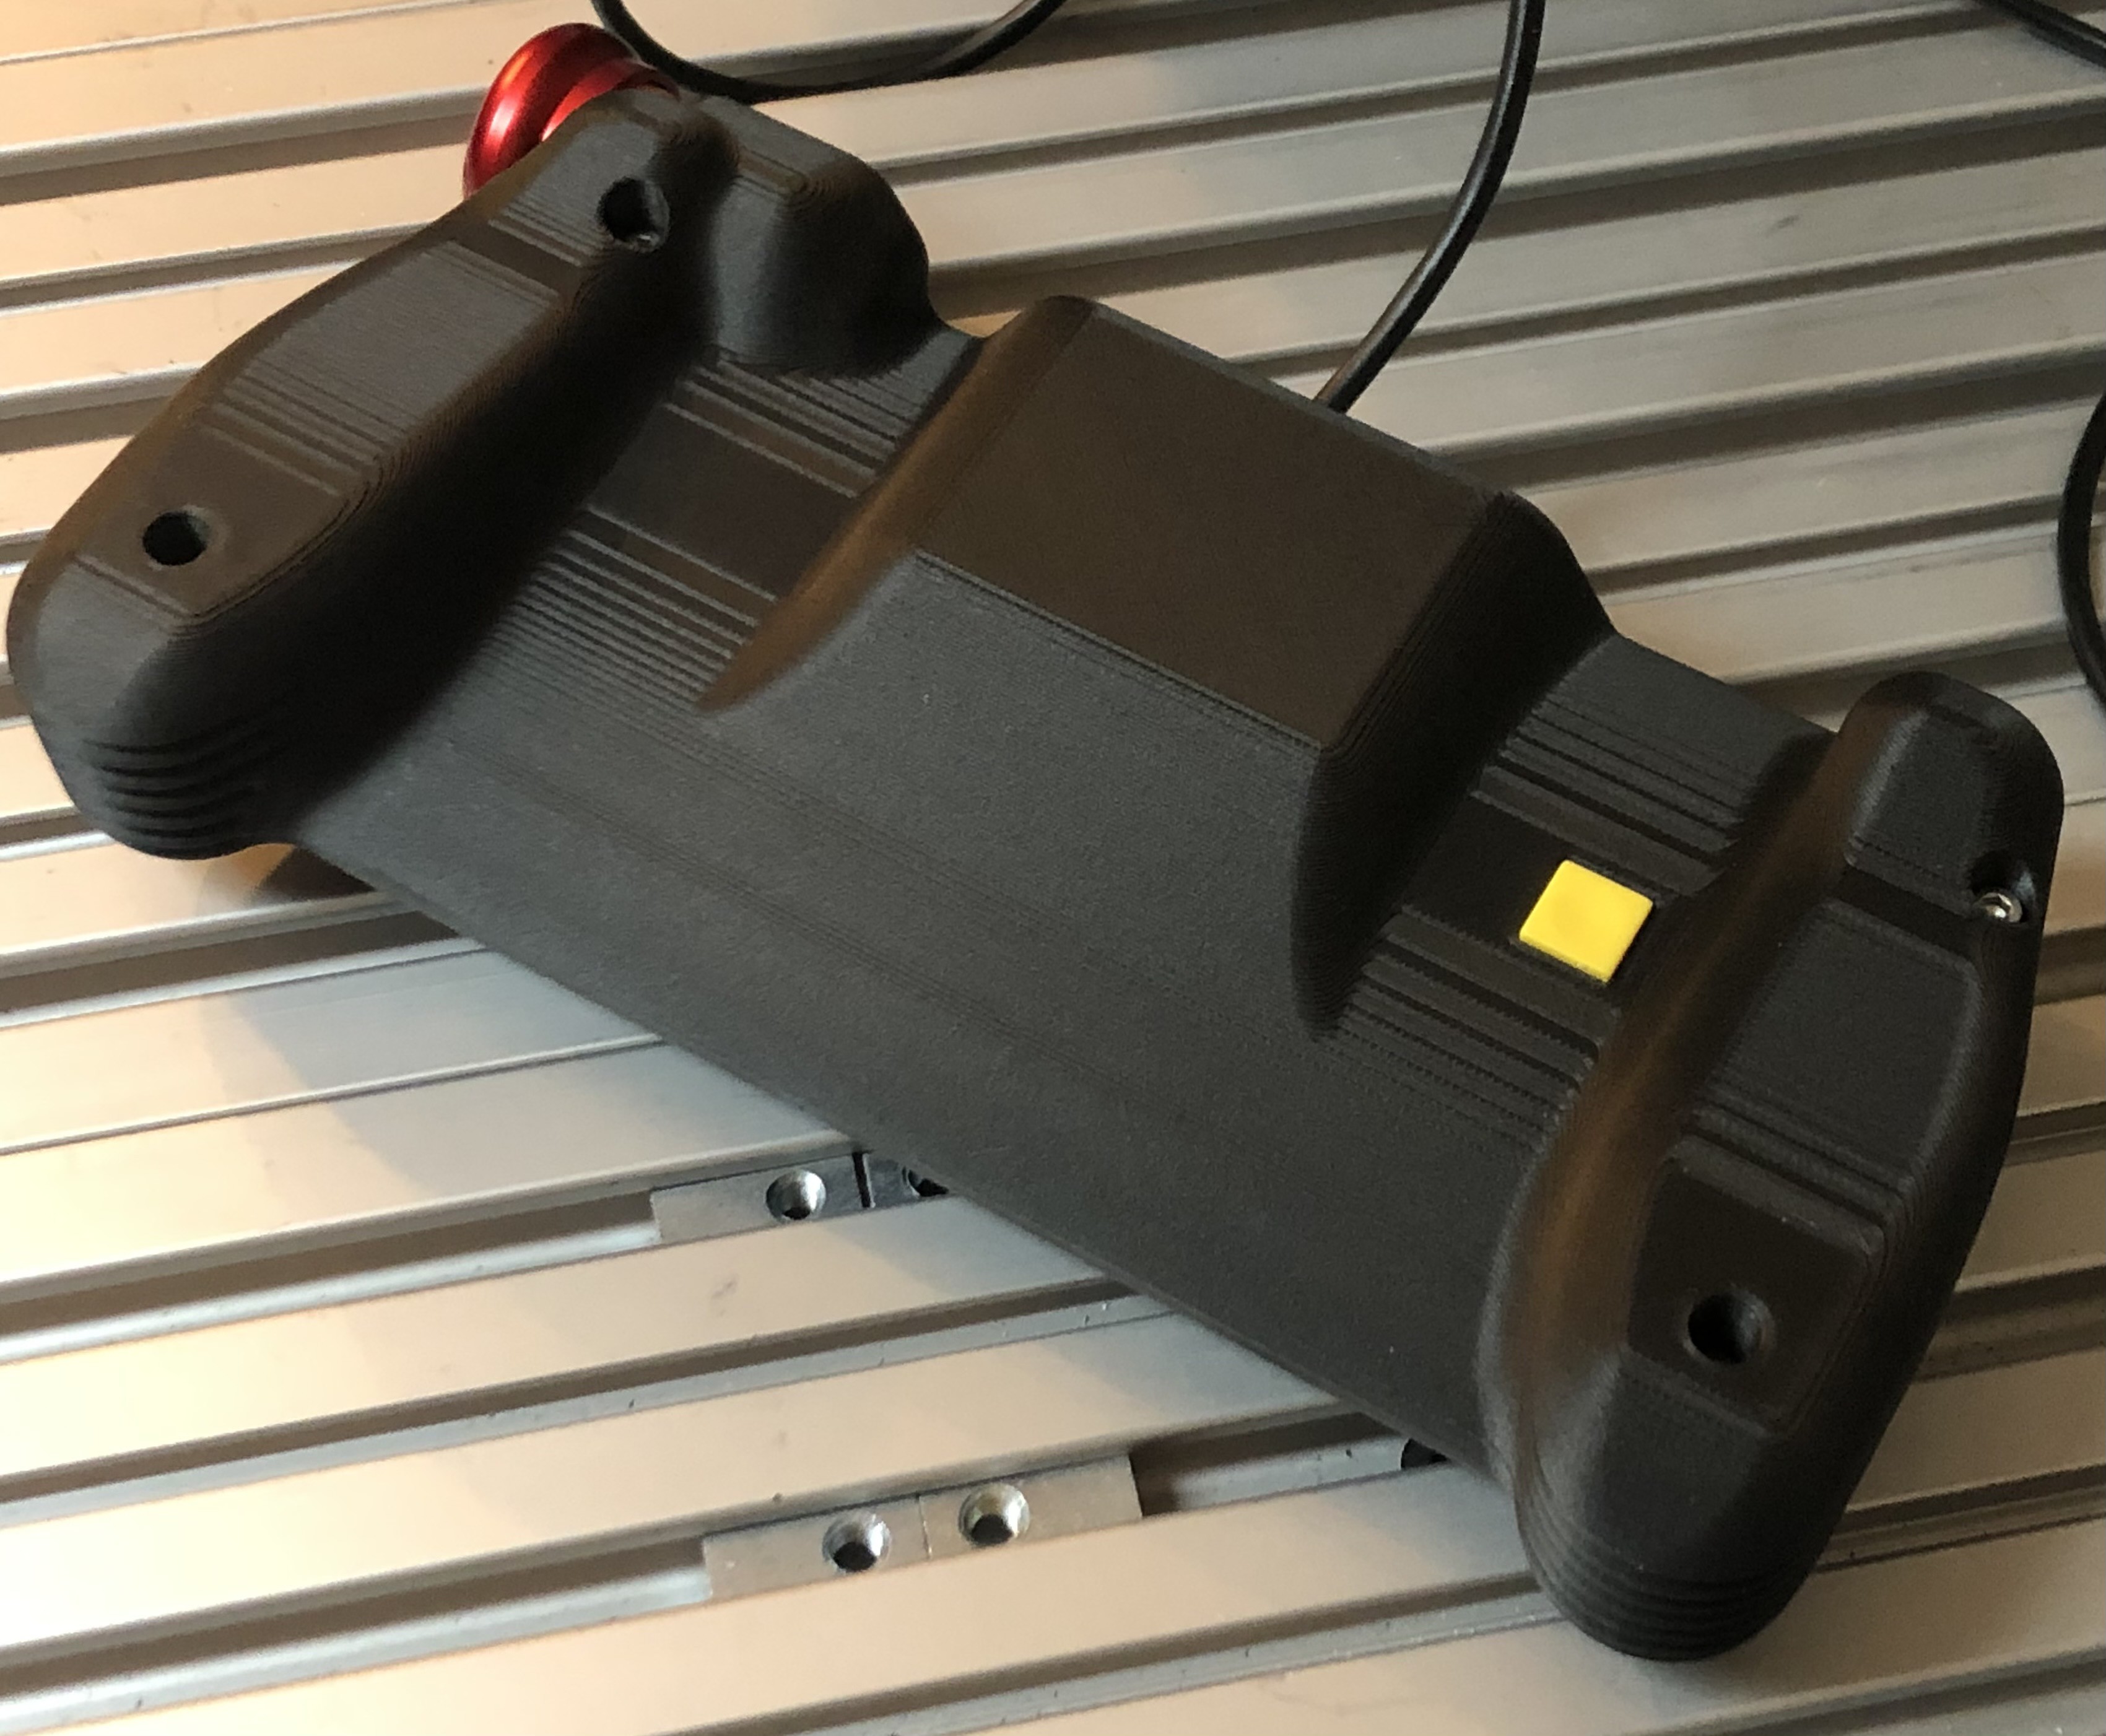
13# Control Device
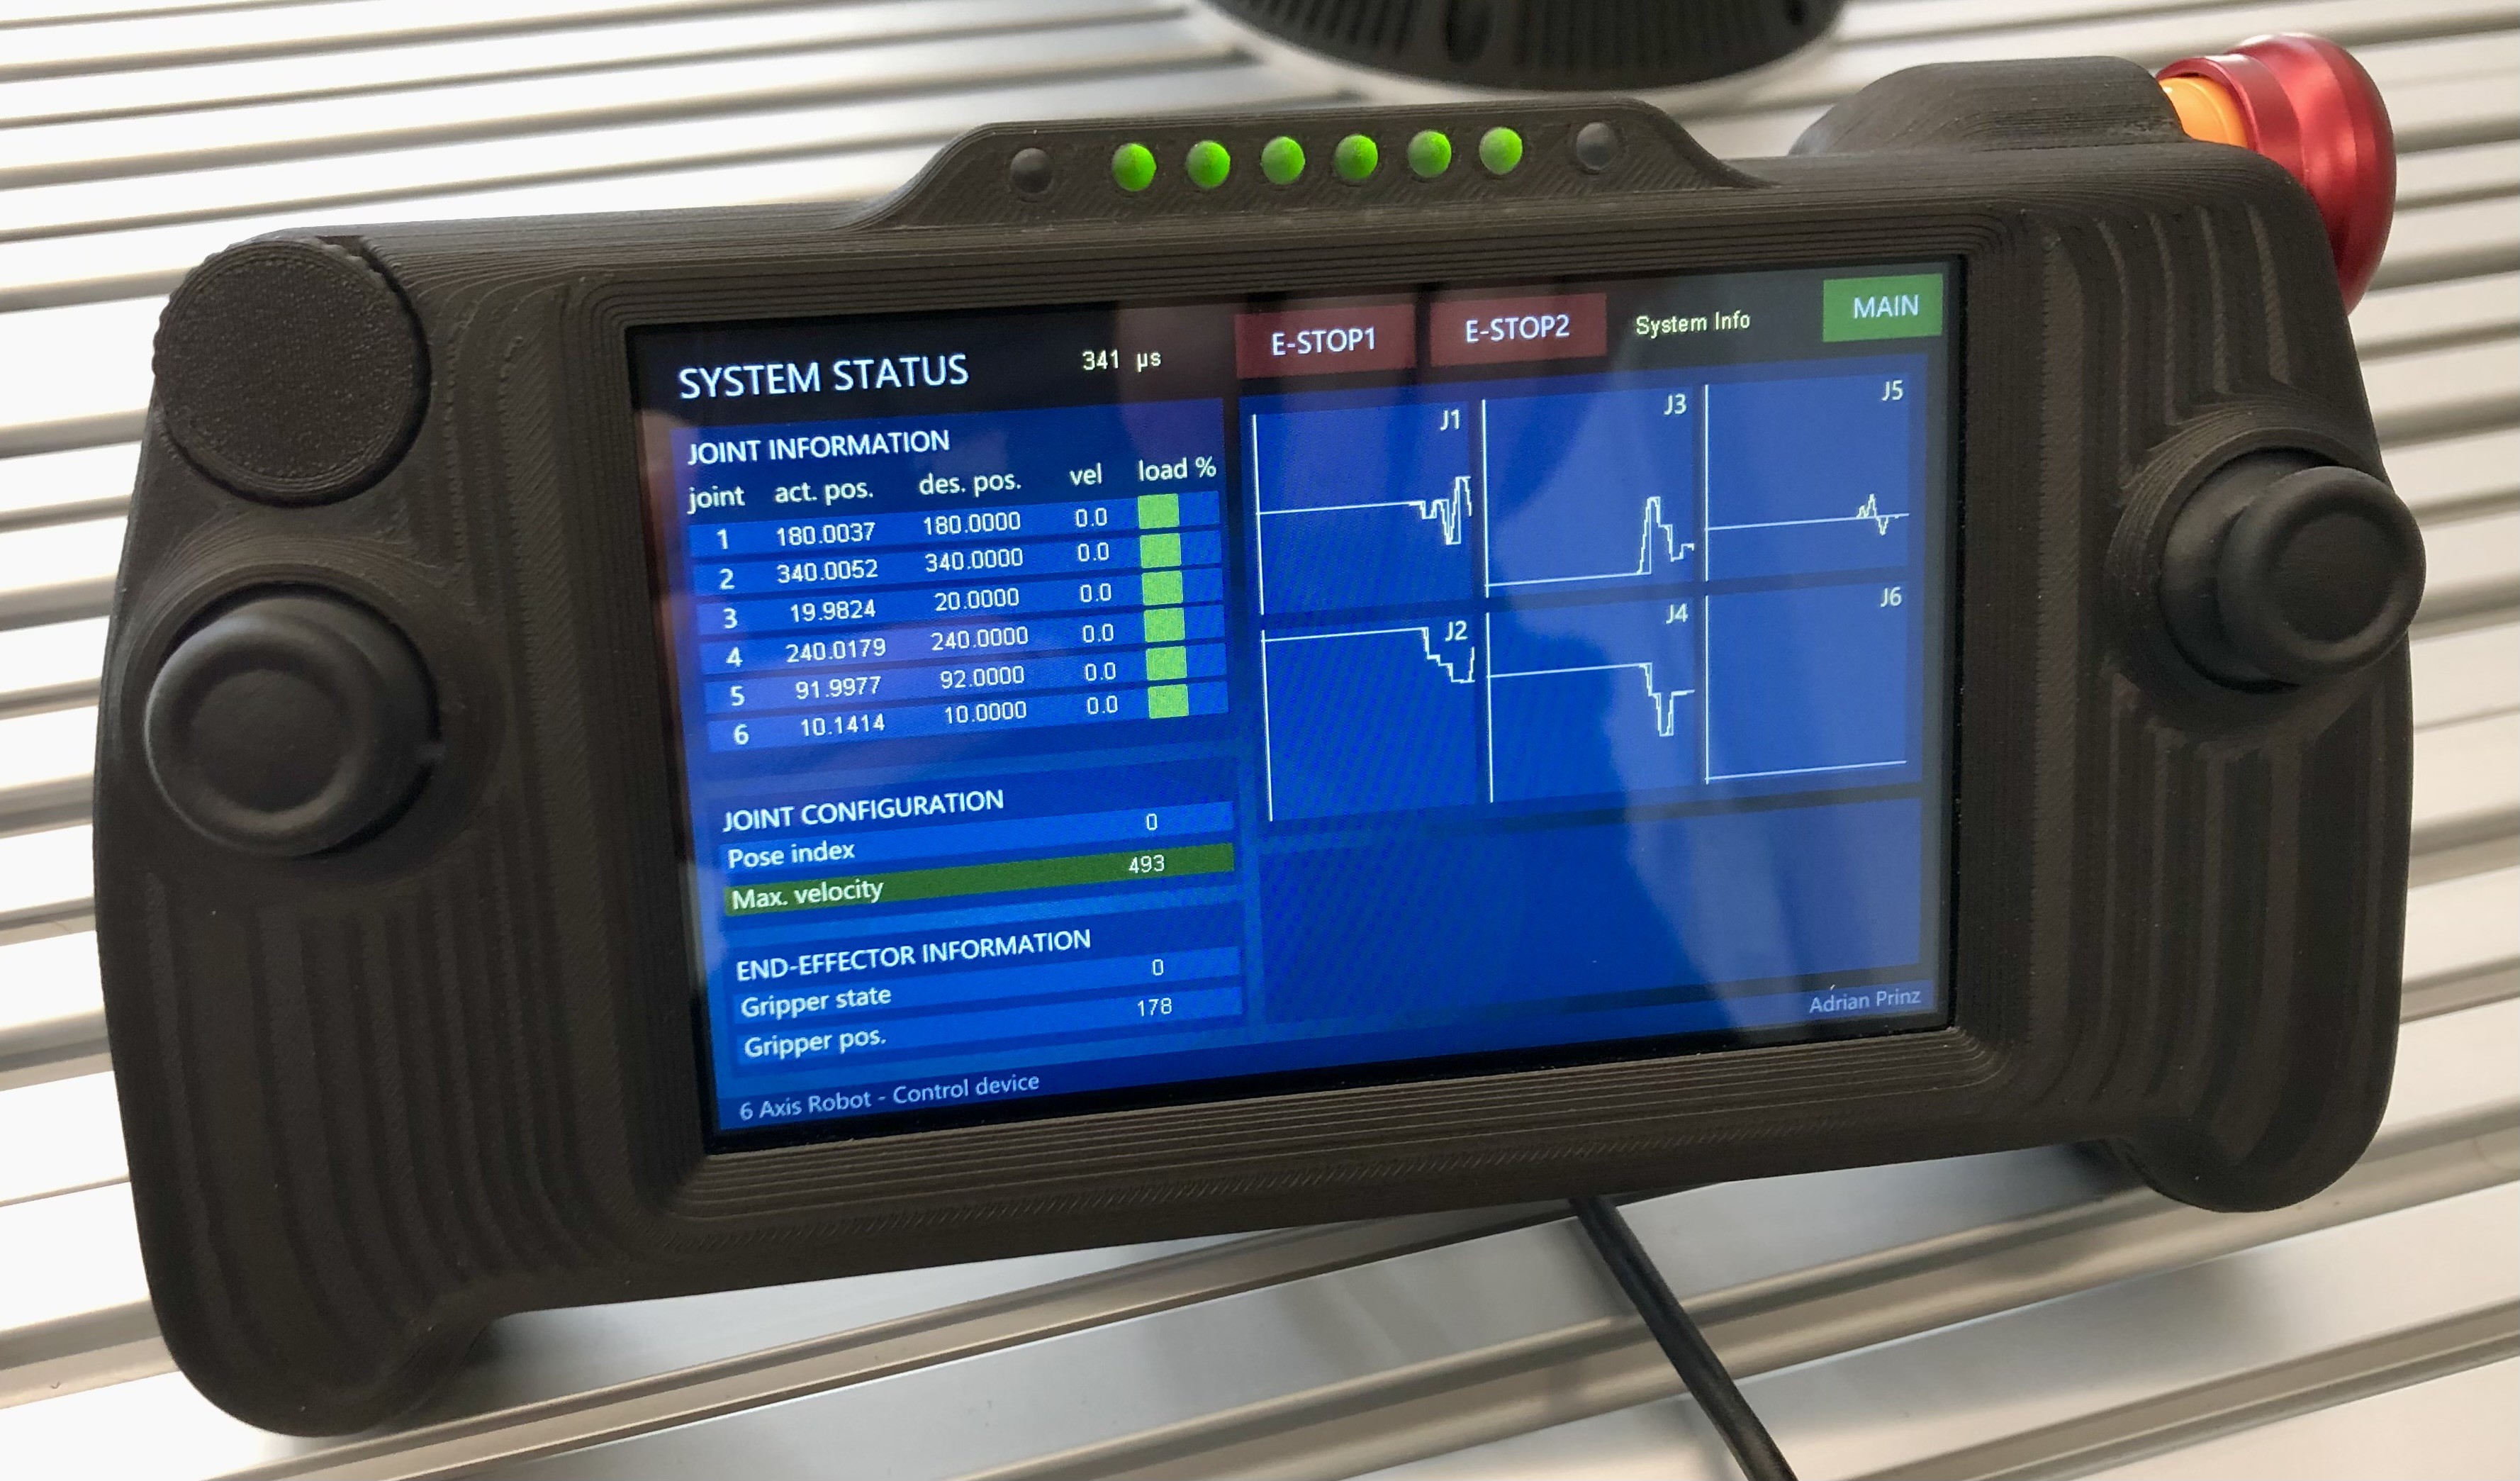
08/15/2023 at 14:18 • 0 commentsTo control the robot savely and reliably I designed and built a control device.
The Control Device includes:- E-Stop
- 2x buttons
- 2x joy sticks
- 5 inch touch display
The HMI is connected to the electronics enclosure via a cable. Communication is done via multiple IOs and a CAN-FD bus.
Control Device with custom user interface:
![]()
Control Device:
![]()
![]()
-
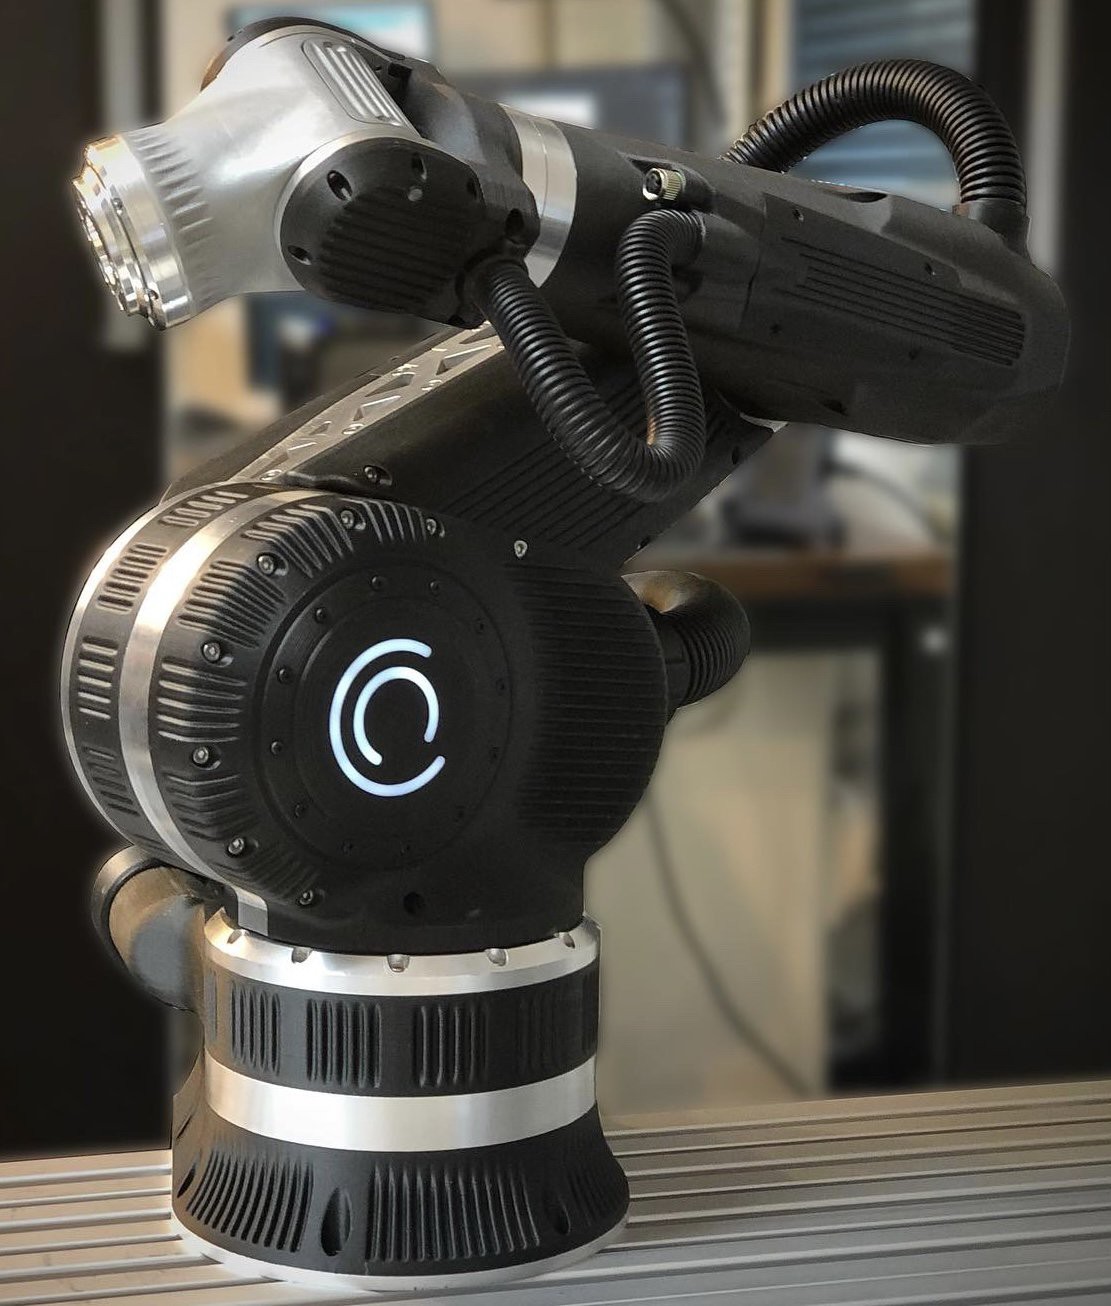
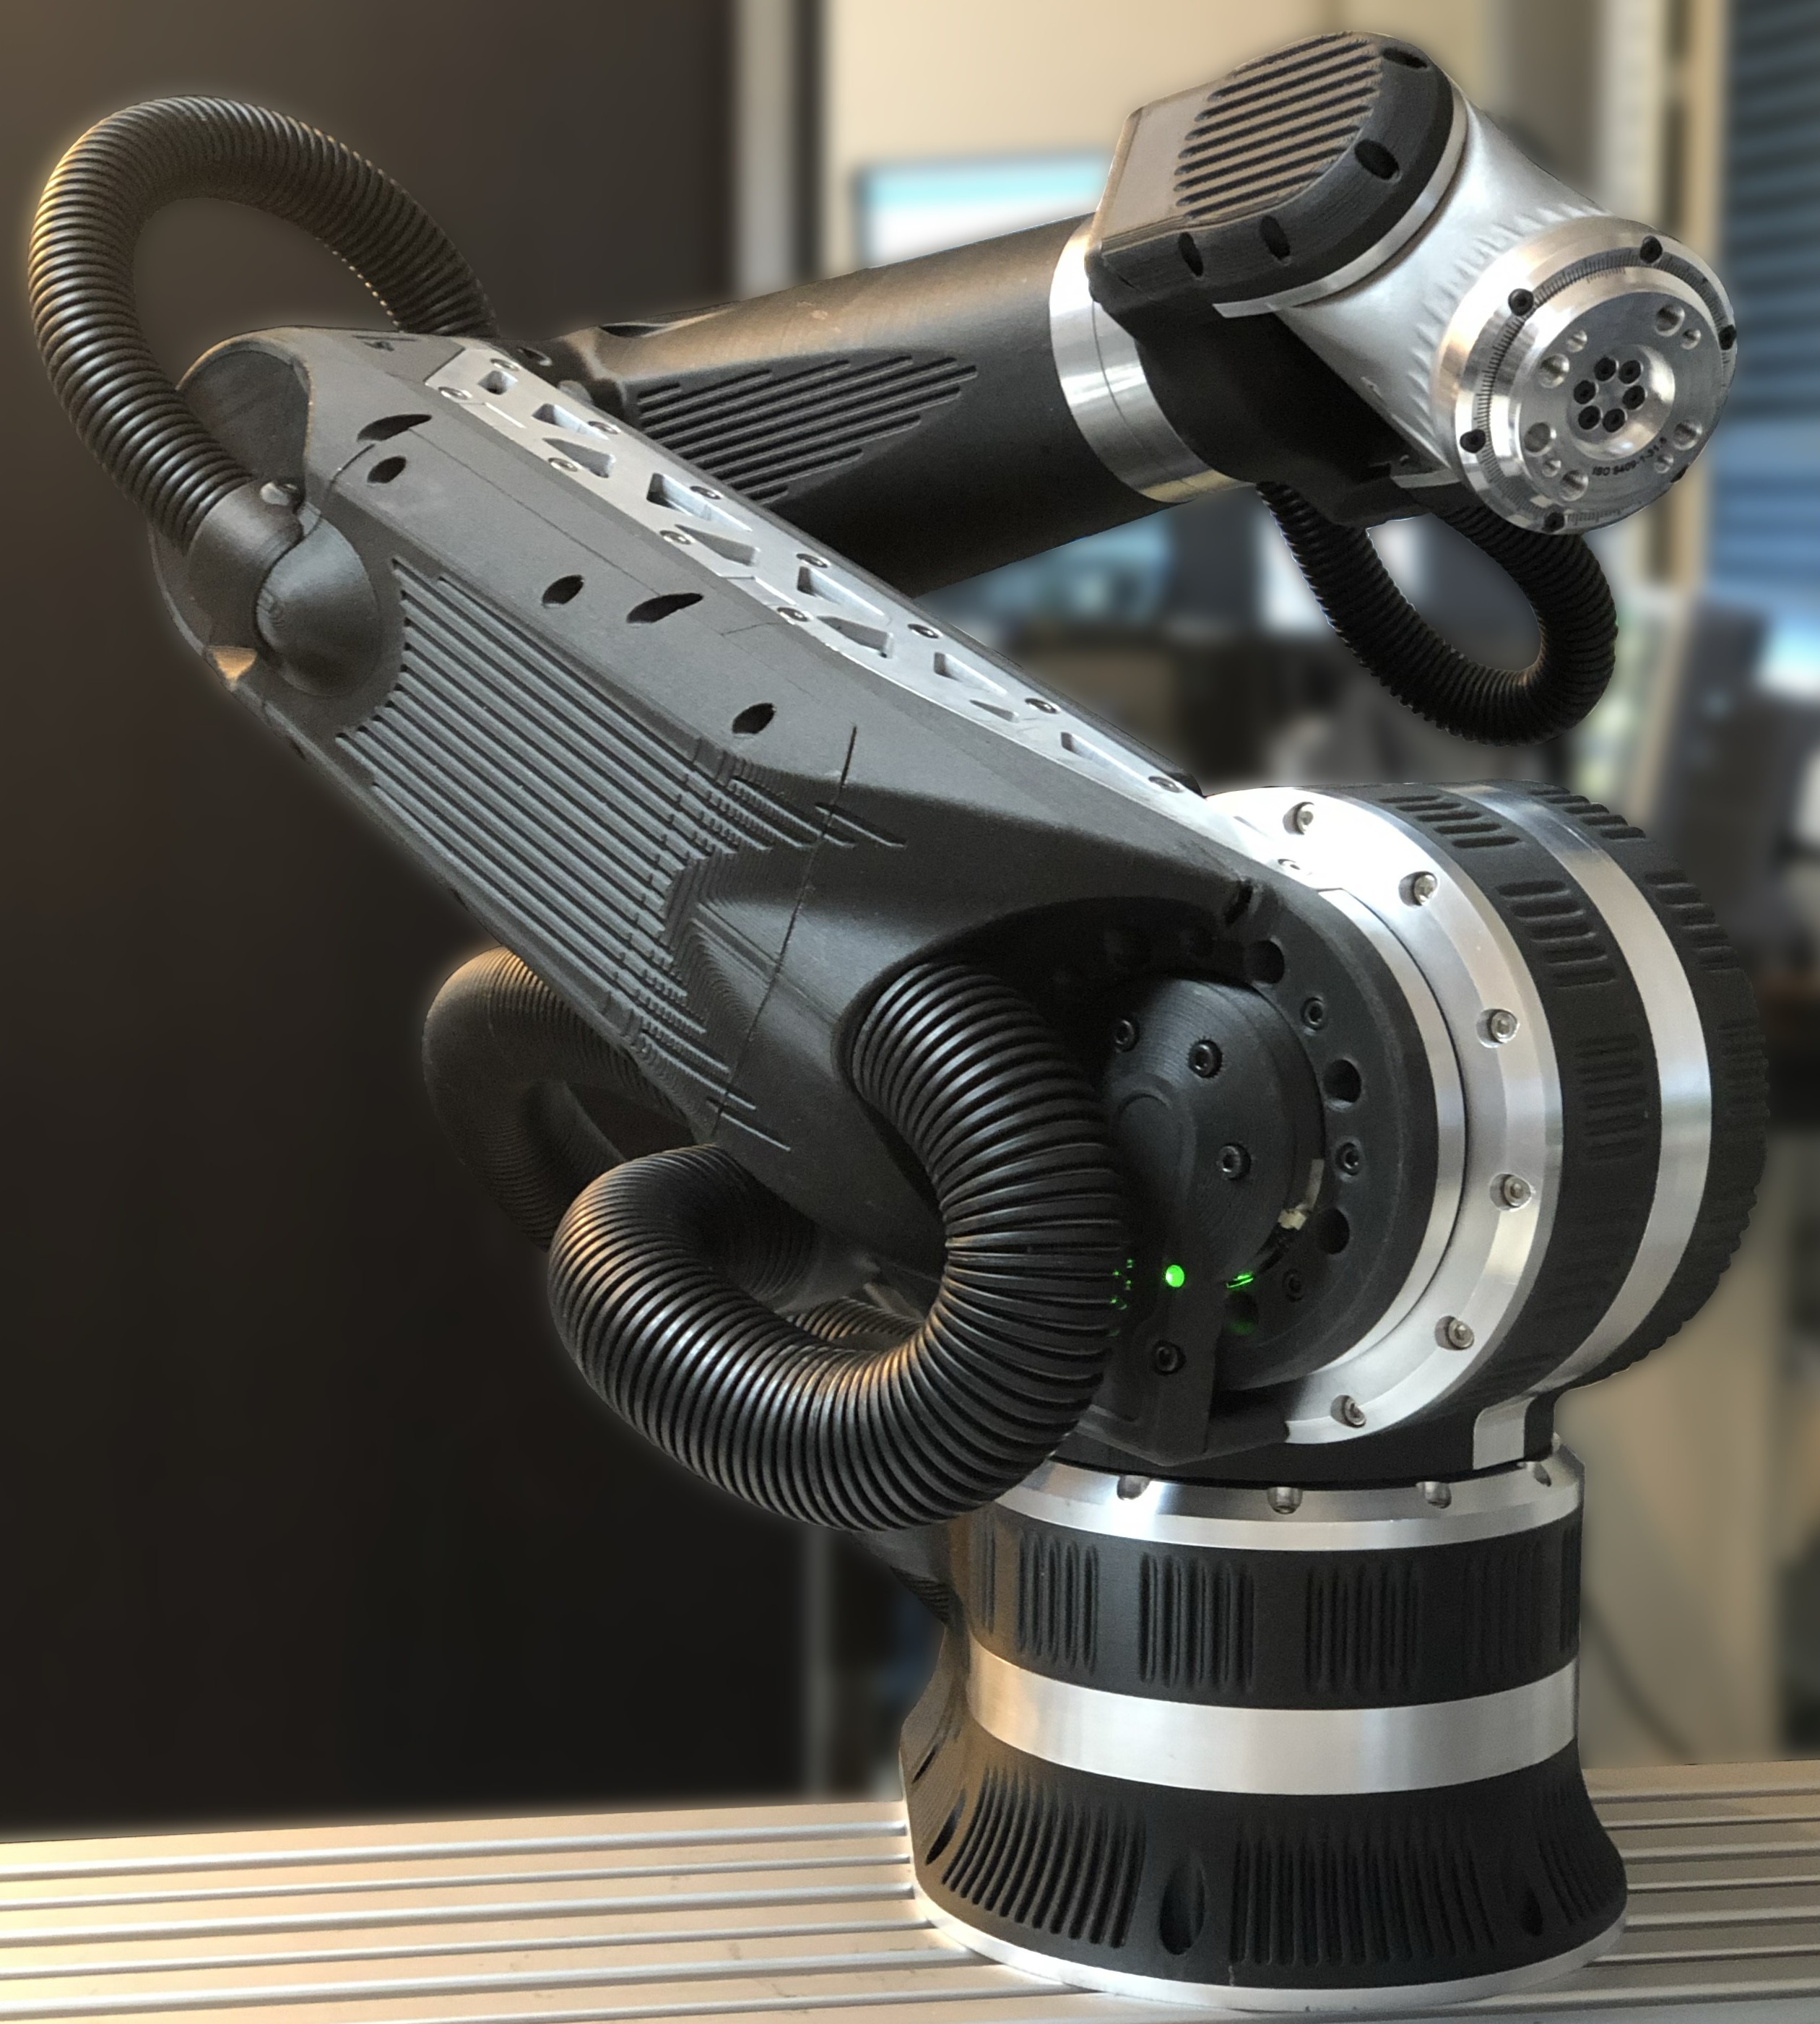
12# The fully assembled 6-Axis-Robot
08/15/2023 at 14:13 • 0 comments![]()
![]()
-
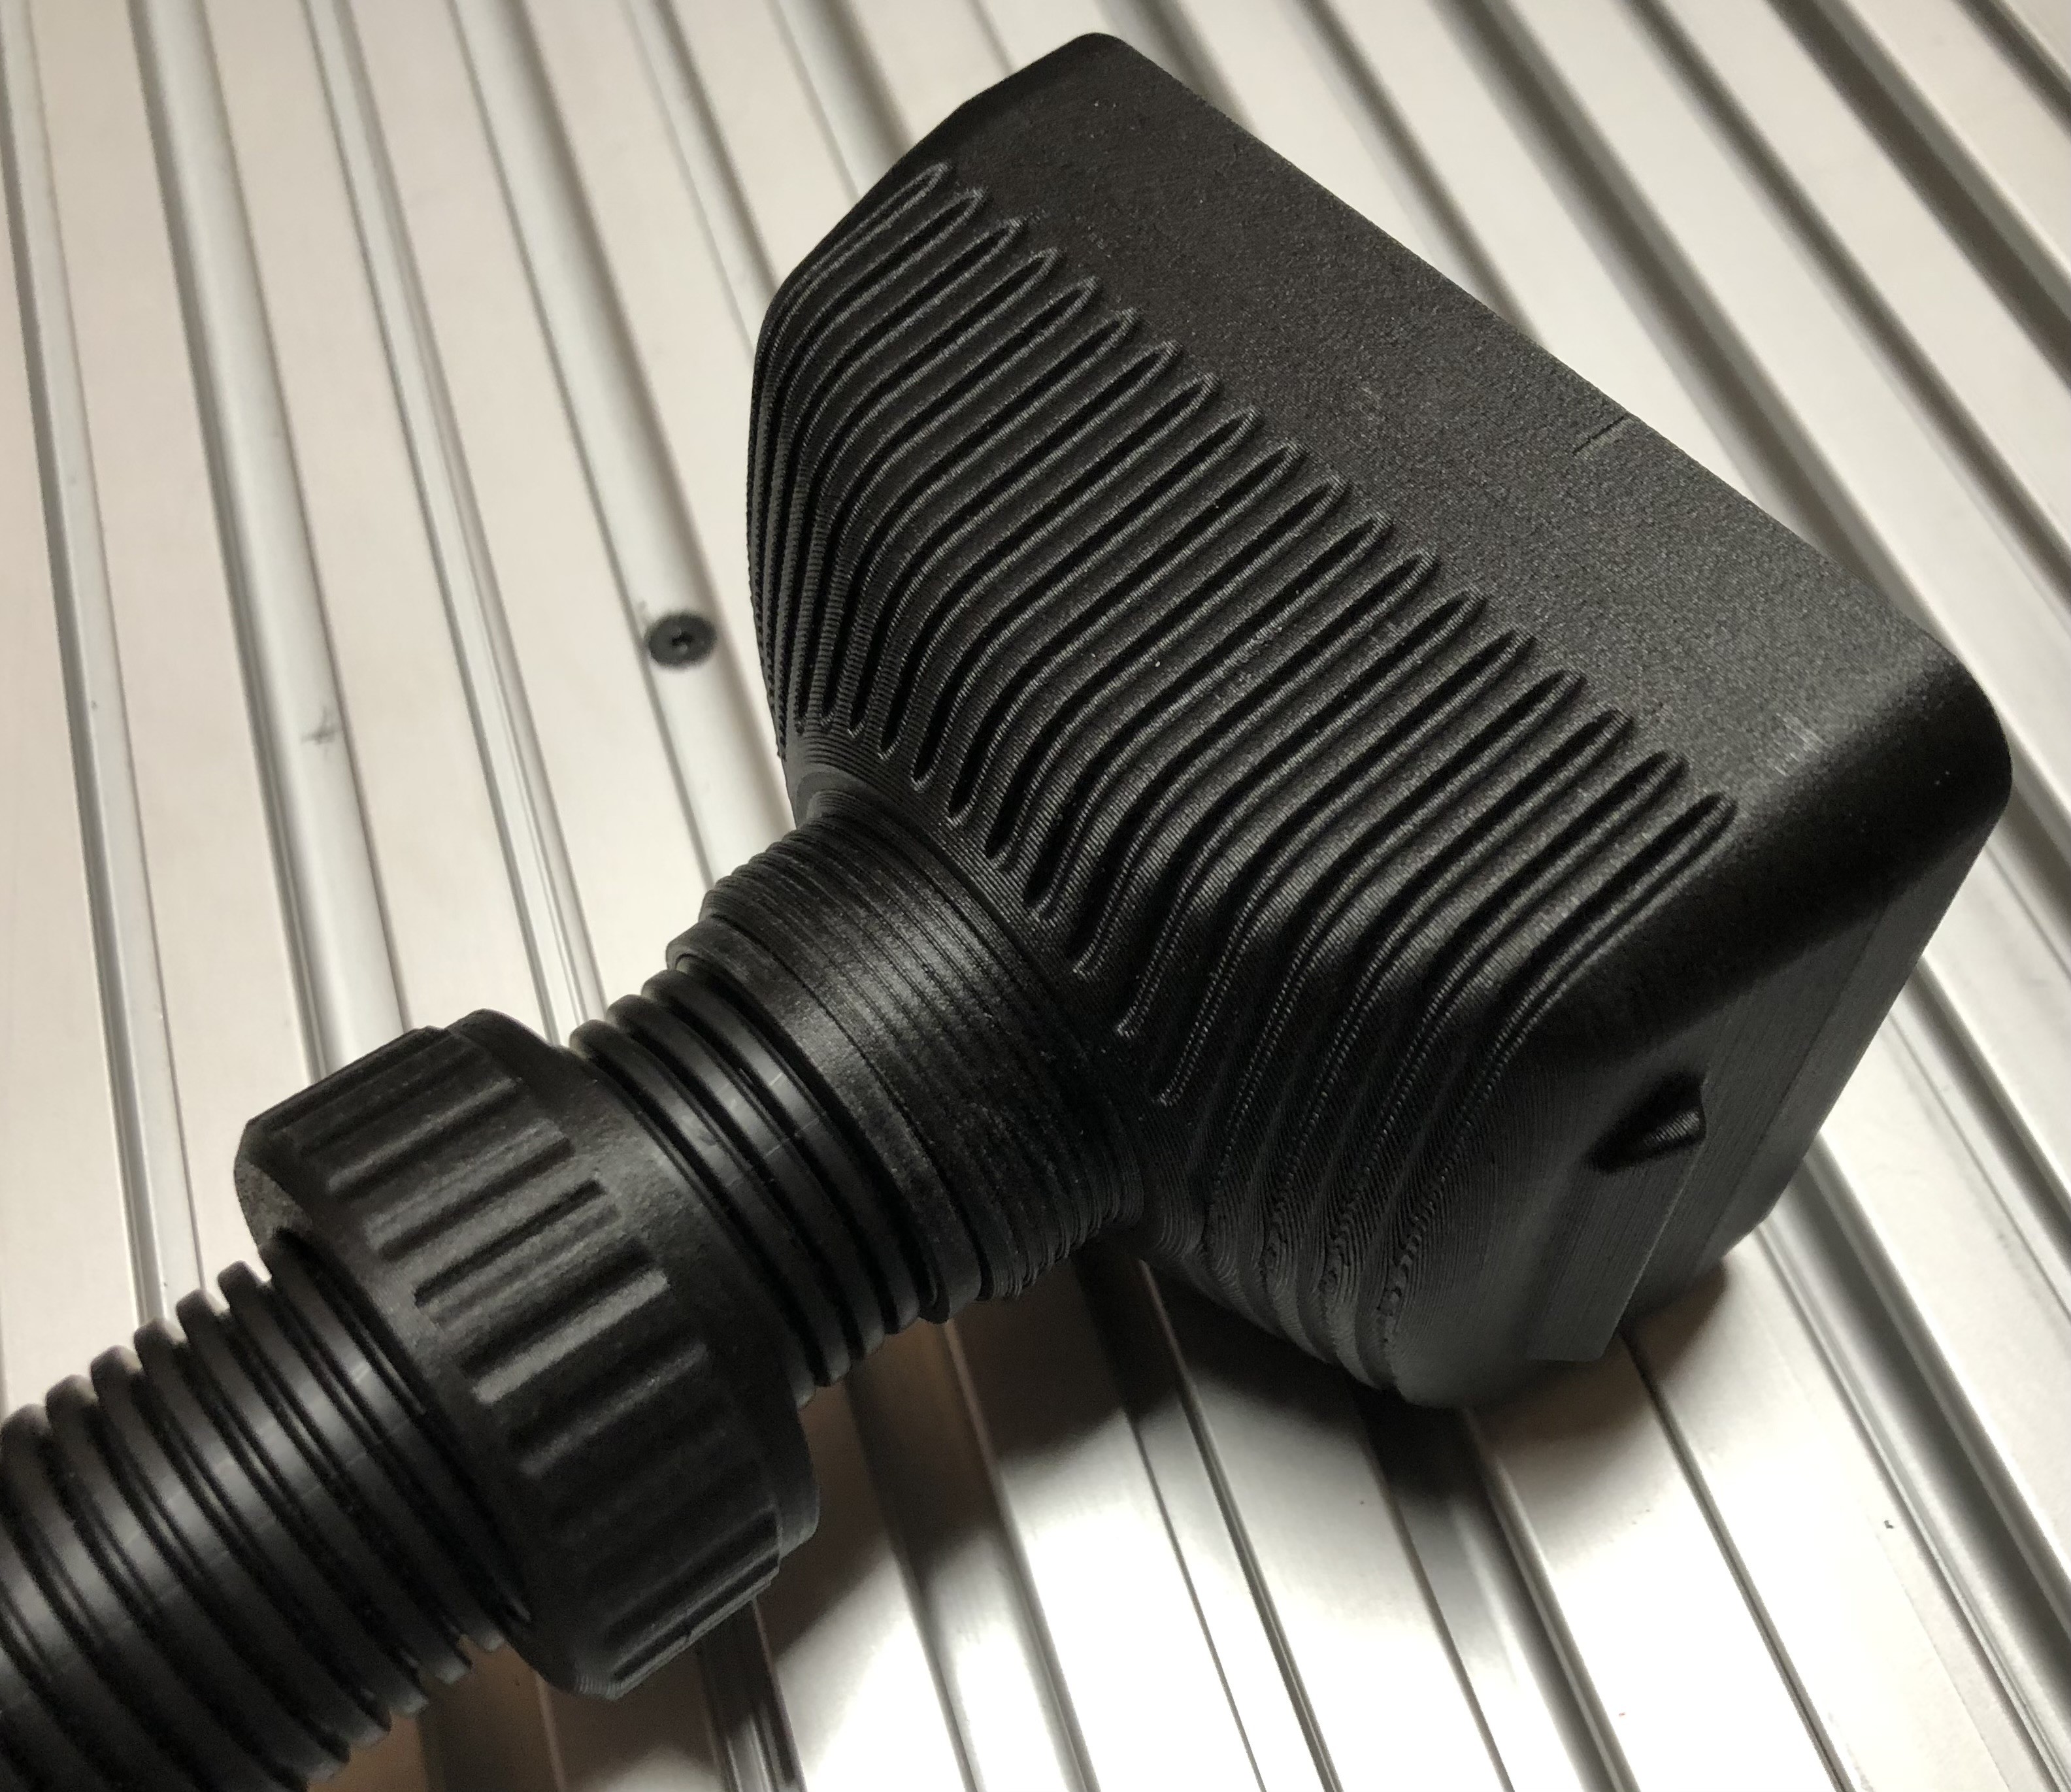
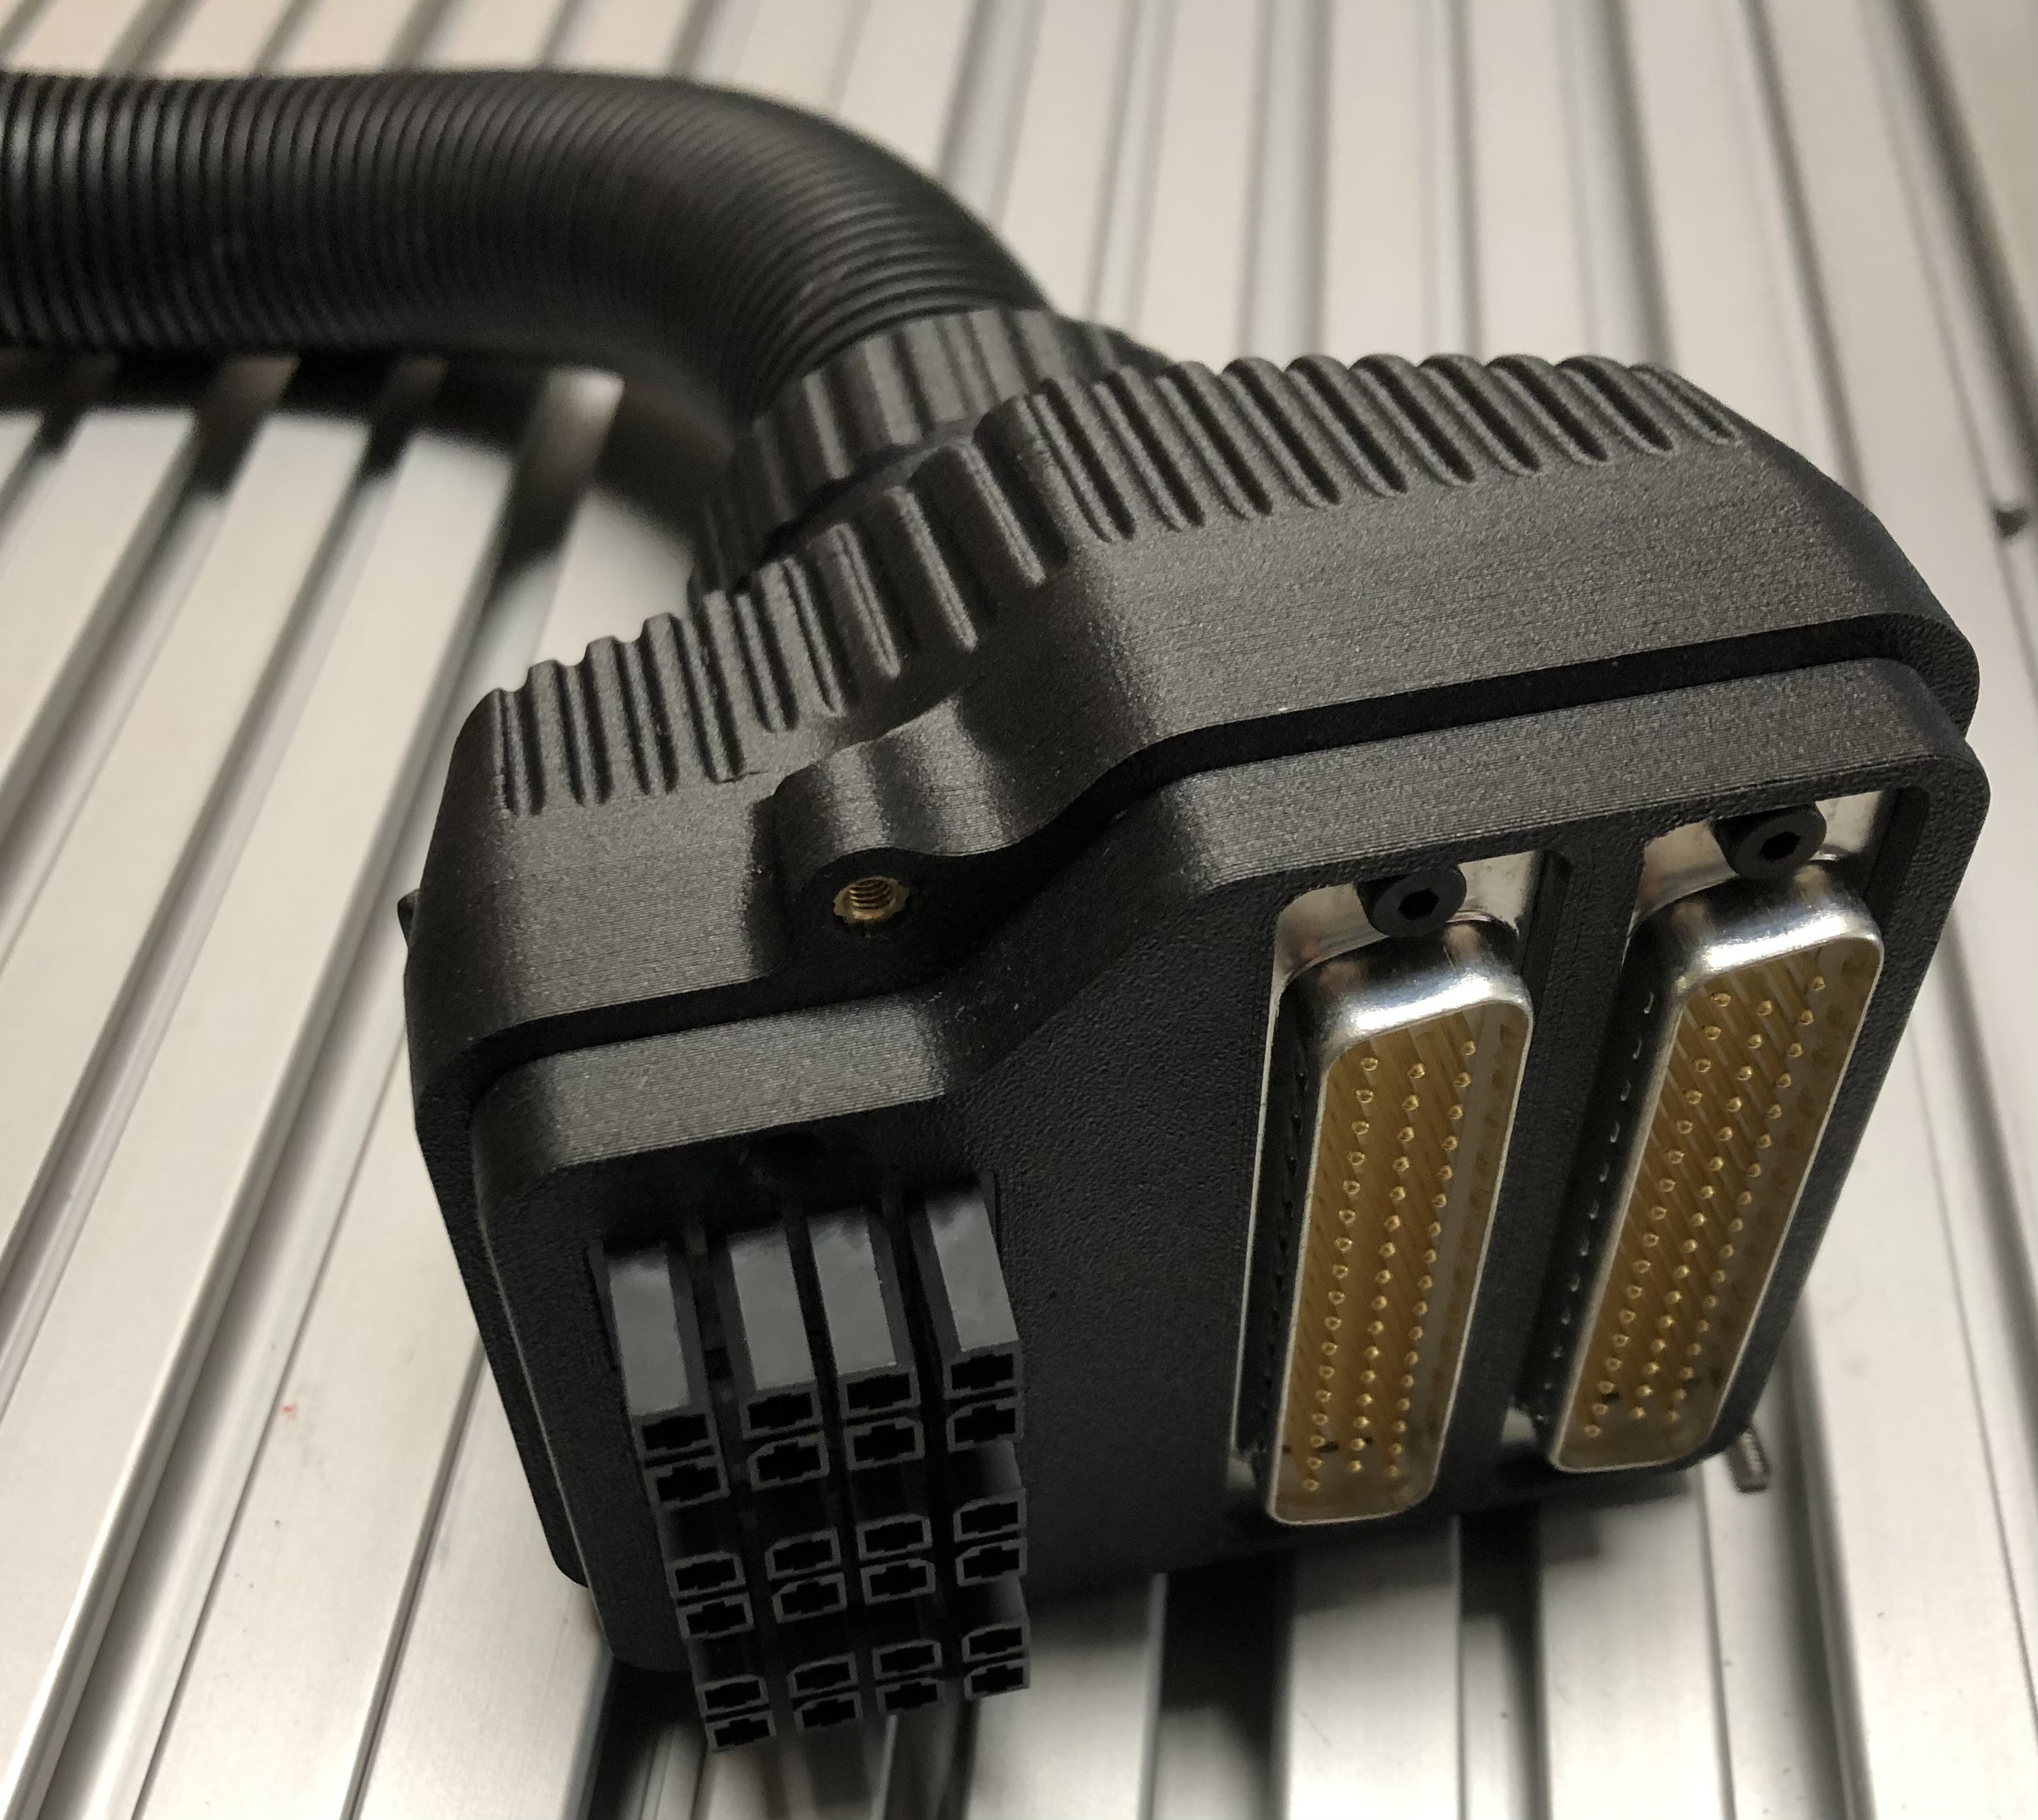
11# Assembly of the robot main connector
08/15/2023 at 14:12 • 0 commentsThe robot main connector seperated in 2x 50 pin D-Sub for IO and sensors as well as a 18 pin power connectors
![]()
![]()
-
10# Sub-Assembly of the 3rd to 6th axis
08/15/2023 at 14:10 • 0 commentsSub-assembly of the 3rd to 6th axis with cover:
![]()
-
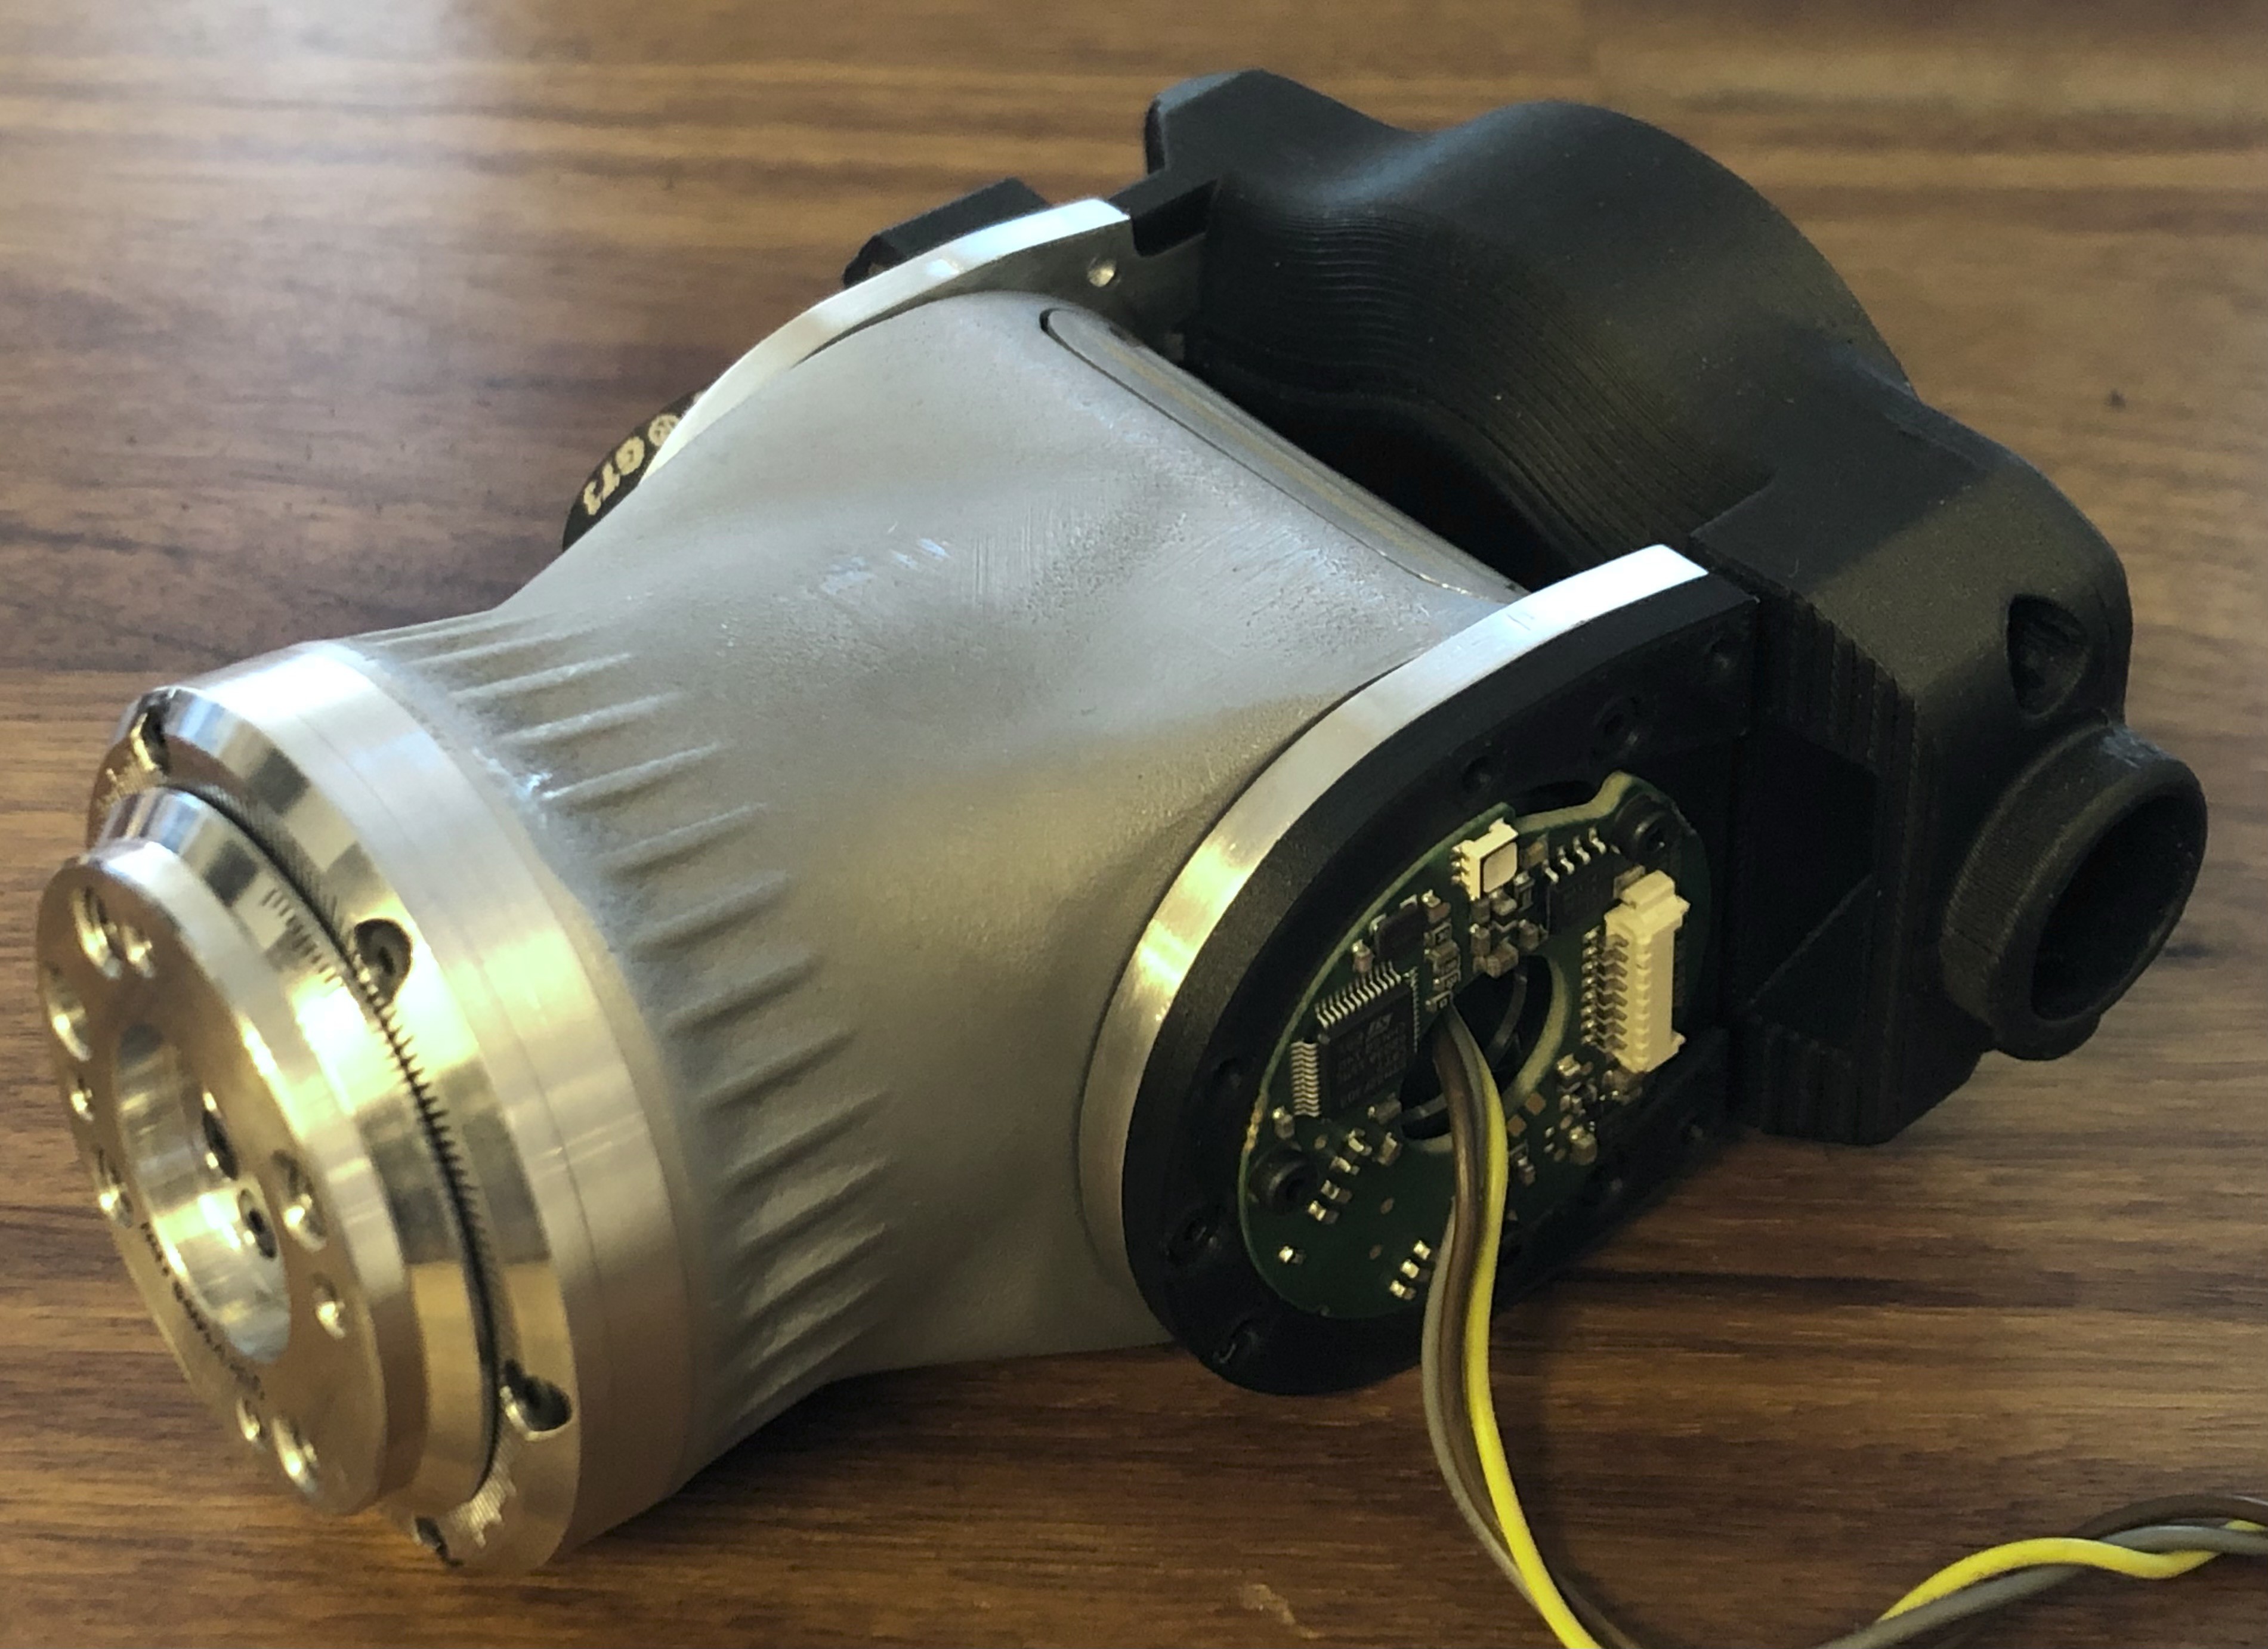
9# Manufacturing of the 5th and 6th axis
08/15/2023 at 14:07 • 0 commentsThe 6th axis is the most integrated and thus most complex axis of the robot. In a small form factor it includes:
- 12bit incremental motor encoder
- BLDC motor
- wave gear
- 18 bit absolut magnetic encoder
- bearing arrangement
- peripheral connector for sensors and actuators
- output mechanical interface
all housed in a 3D printed aluminium enclosure, which allows high stiffness and hear dissipation
The completed 5th and 6th axis hand assembly:
![]()
-
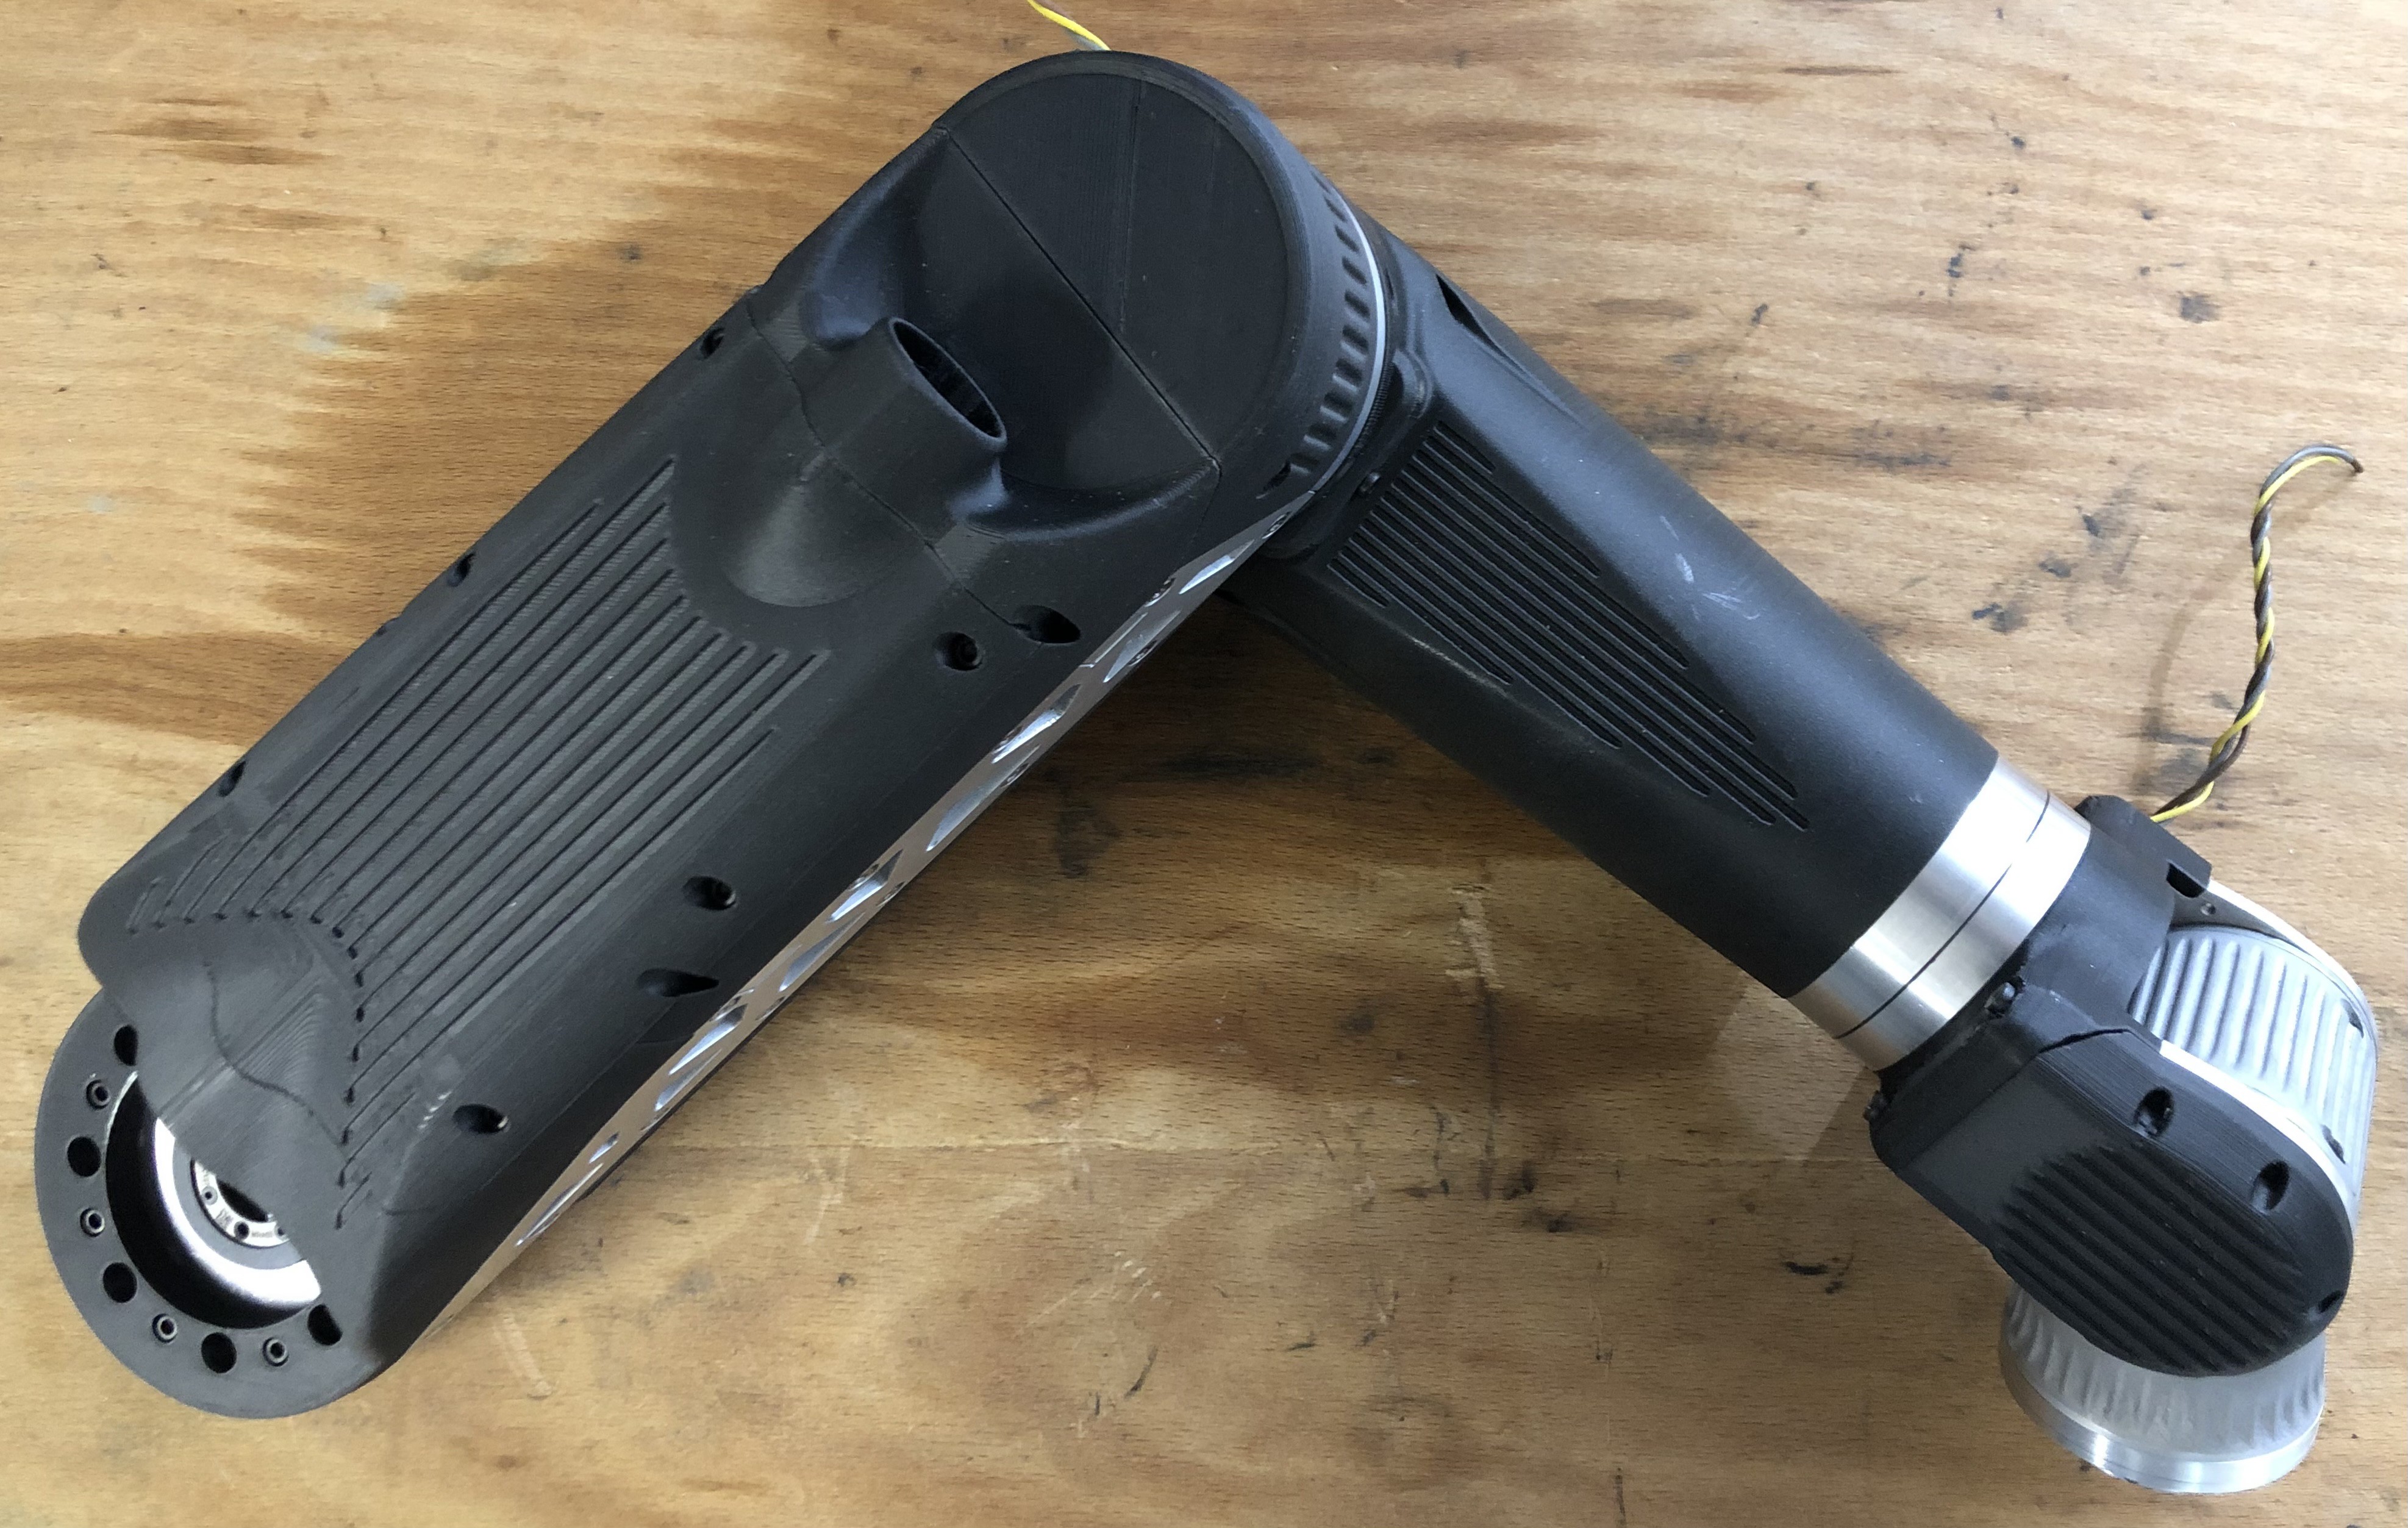
8# Manufacturing of the 4th to 5th axis
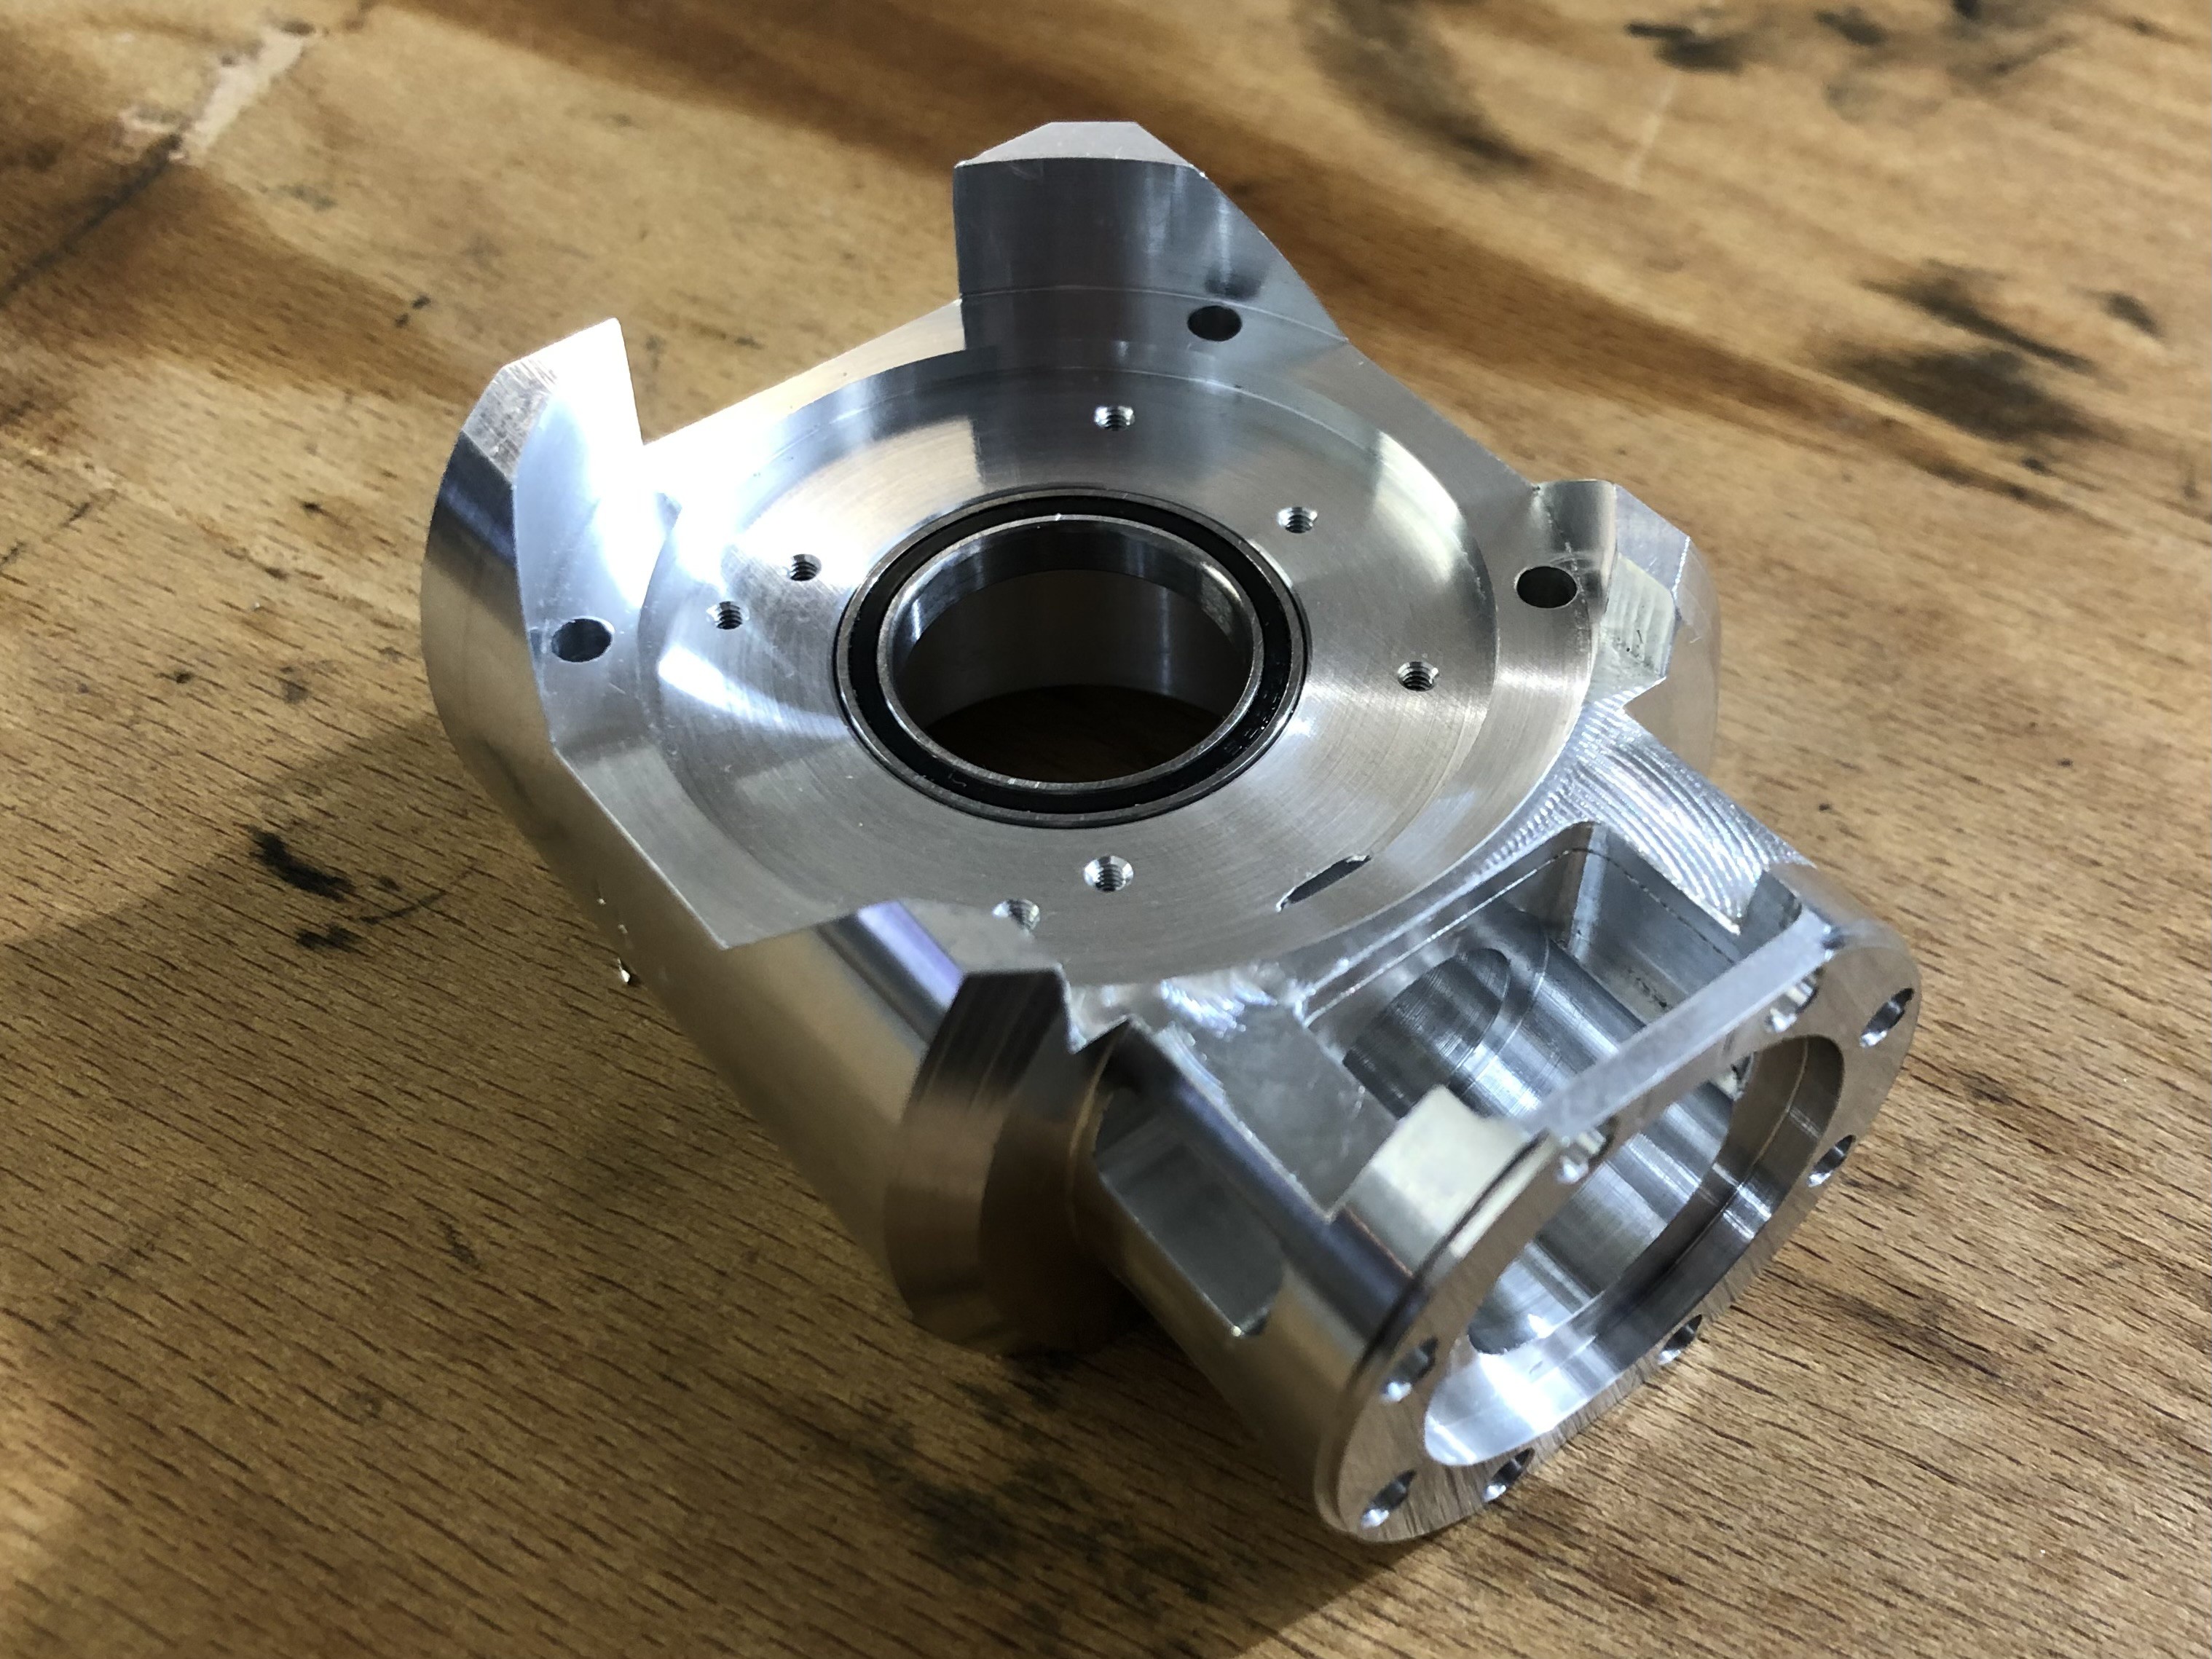
08/15/2023 at 13:56 • 0 commentsRight angle connector of the first to second arm:
![]()
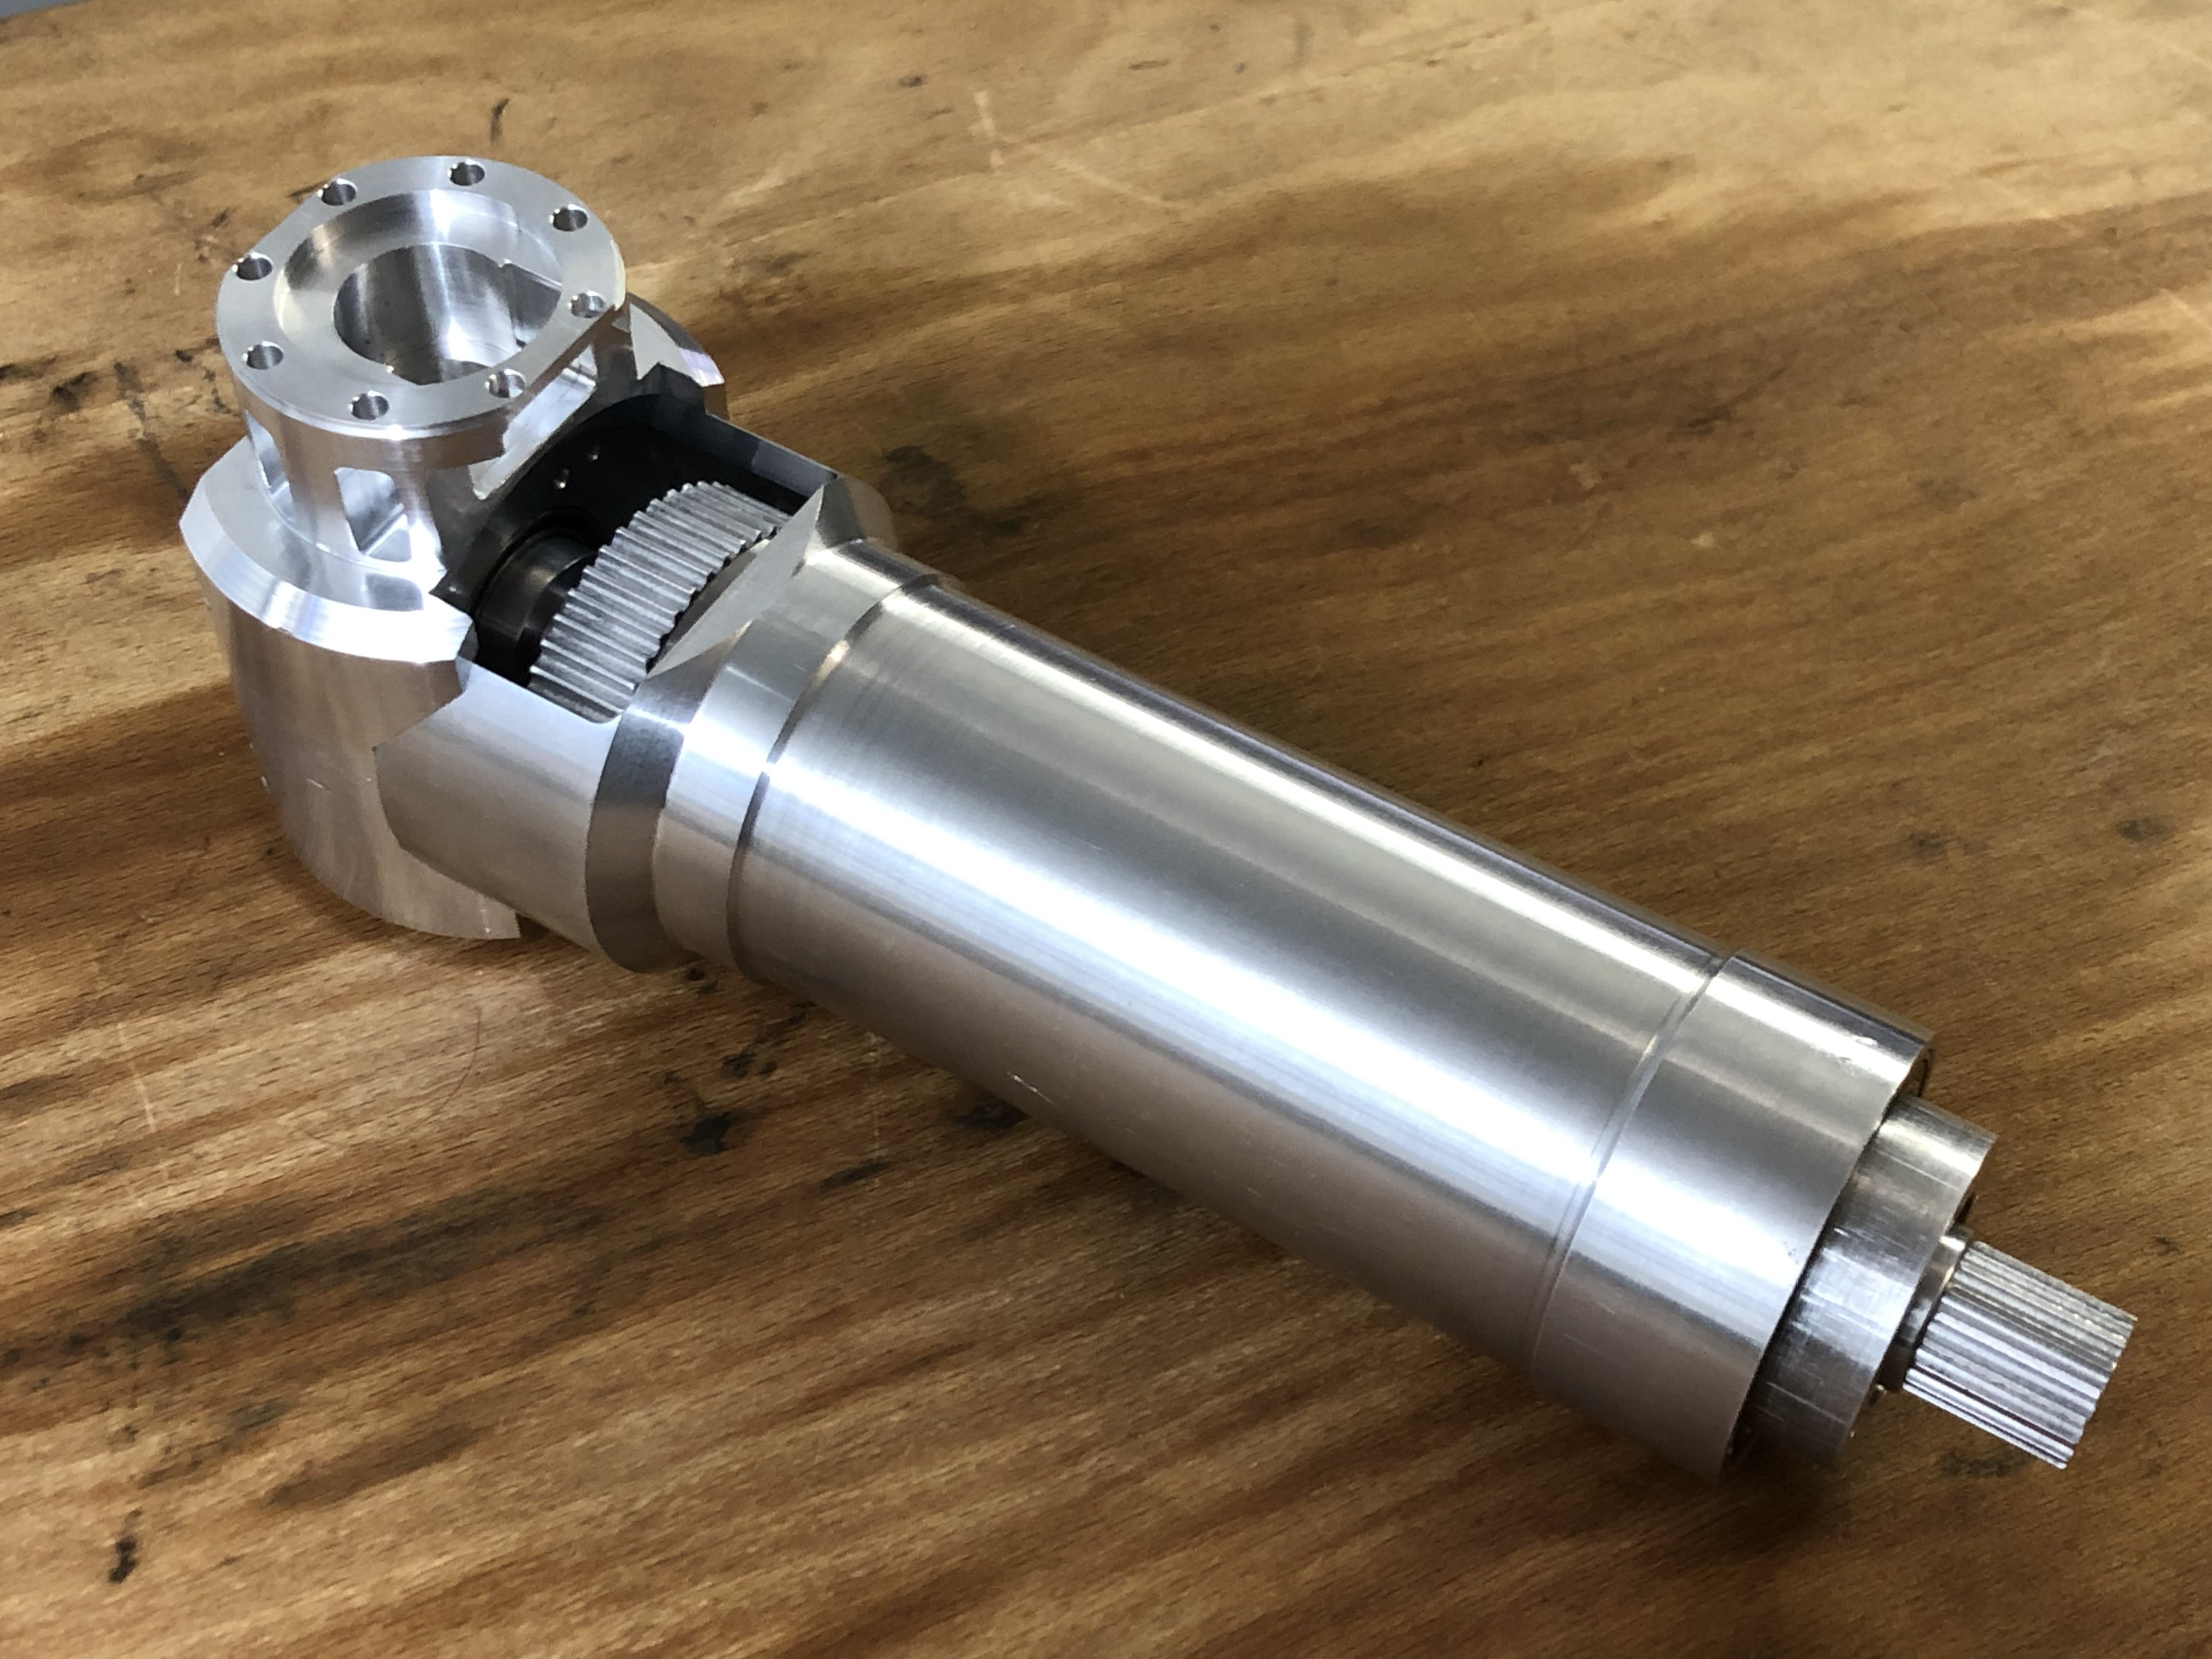
Right angle connector and second arm main body:
![]()
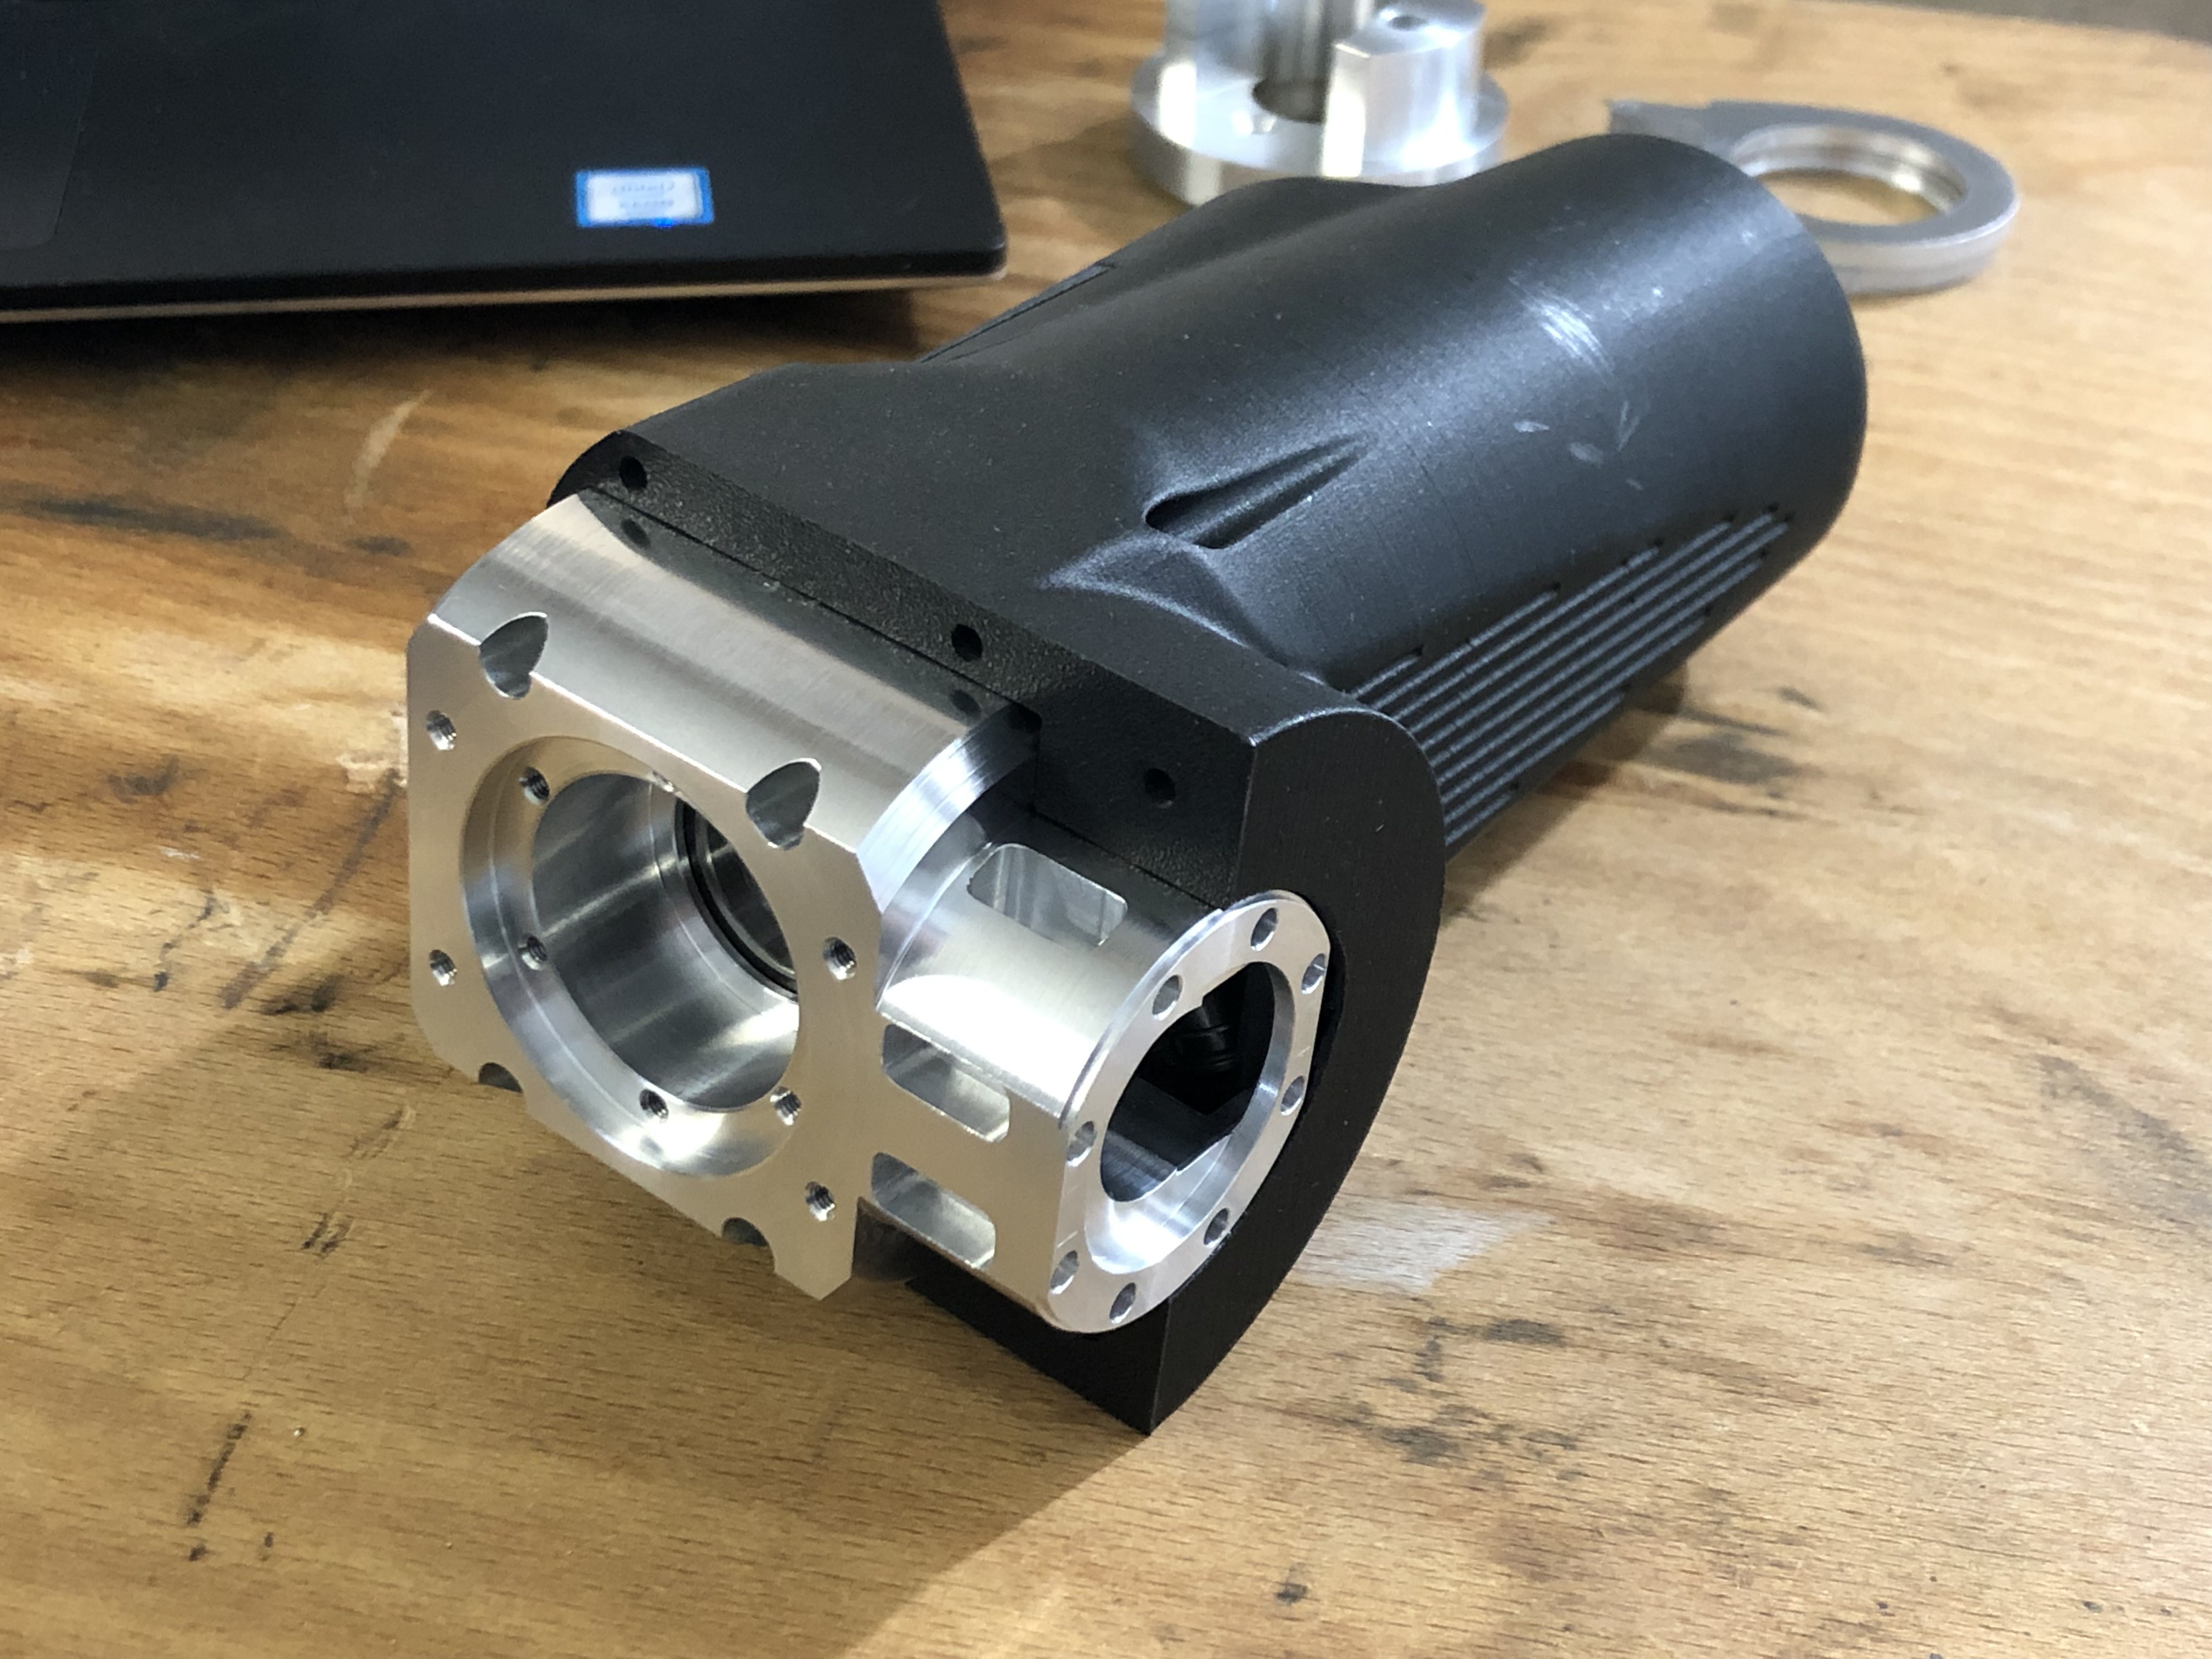
Right angle connector and second arm main body in 3D printed cover:
![]()
-
7# External Electronics Enclosure build
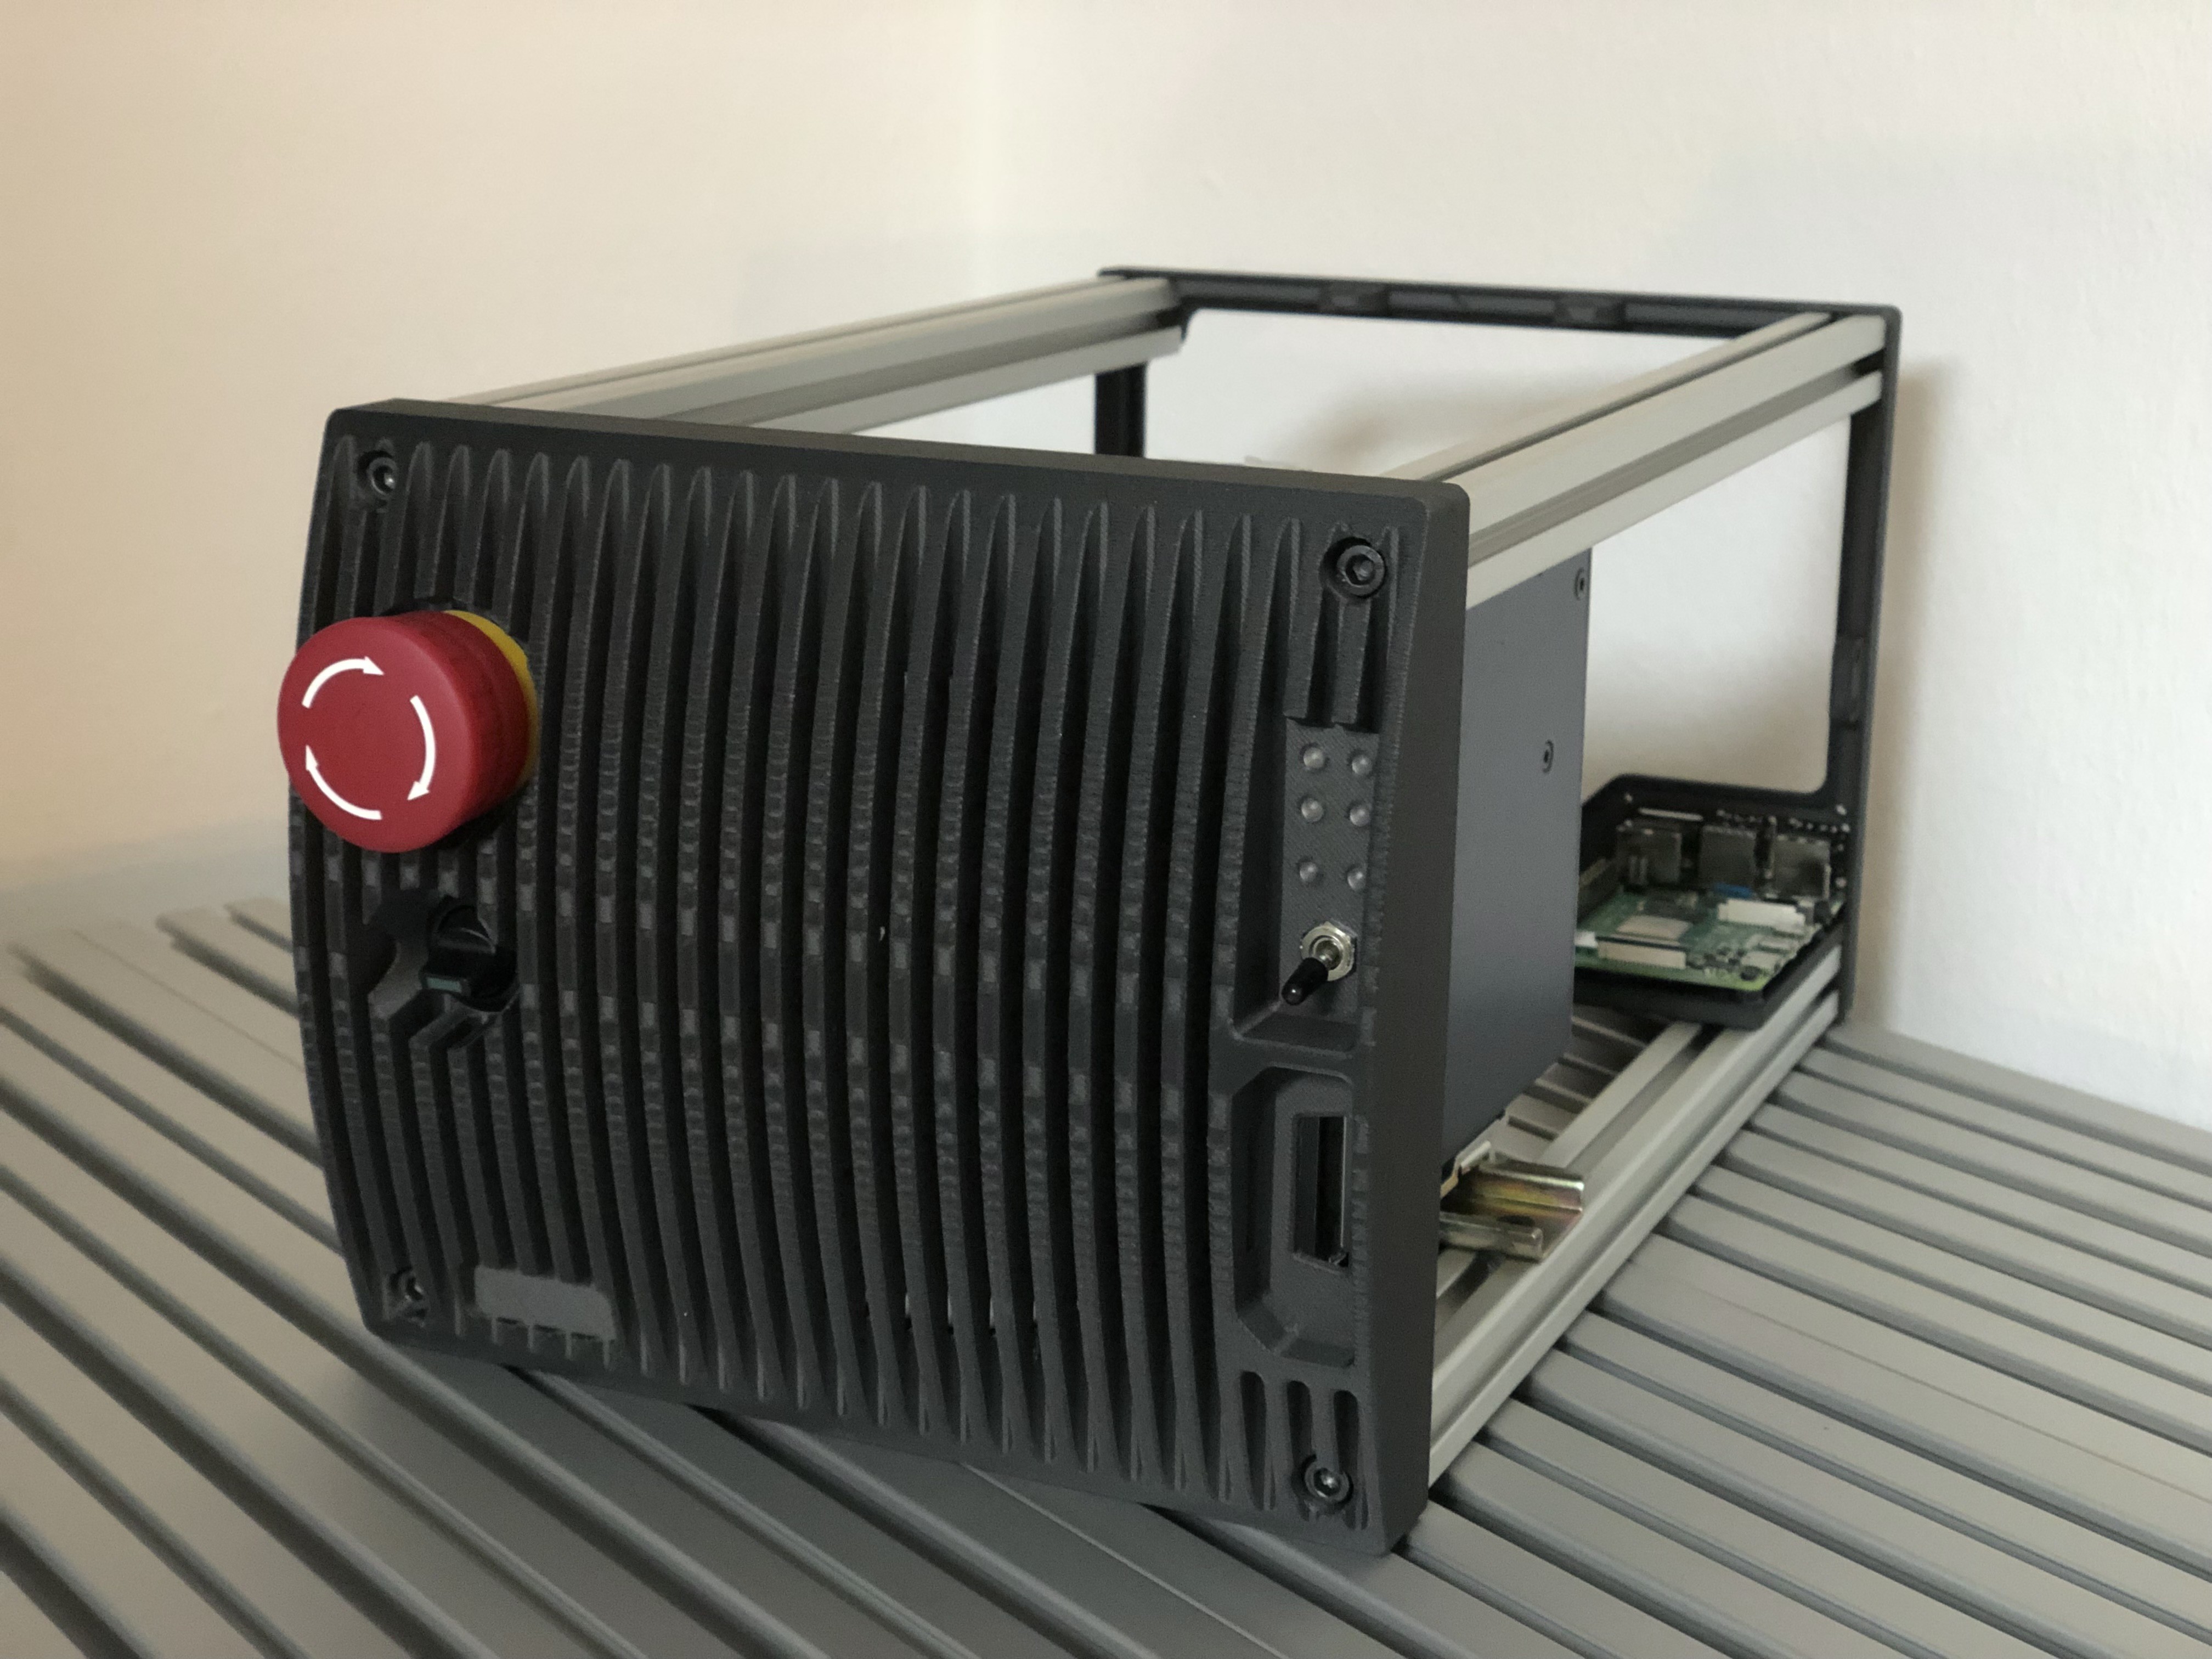
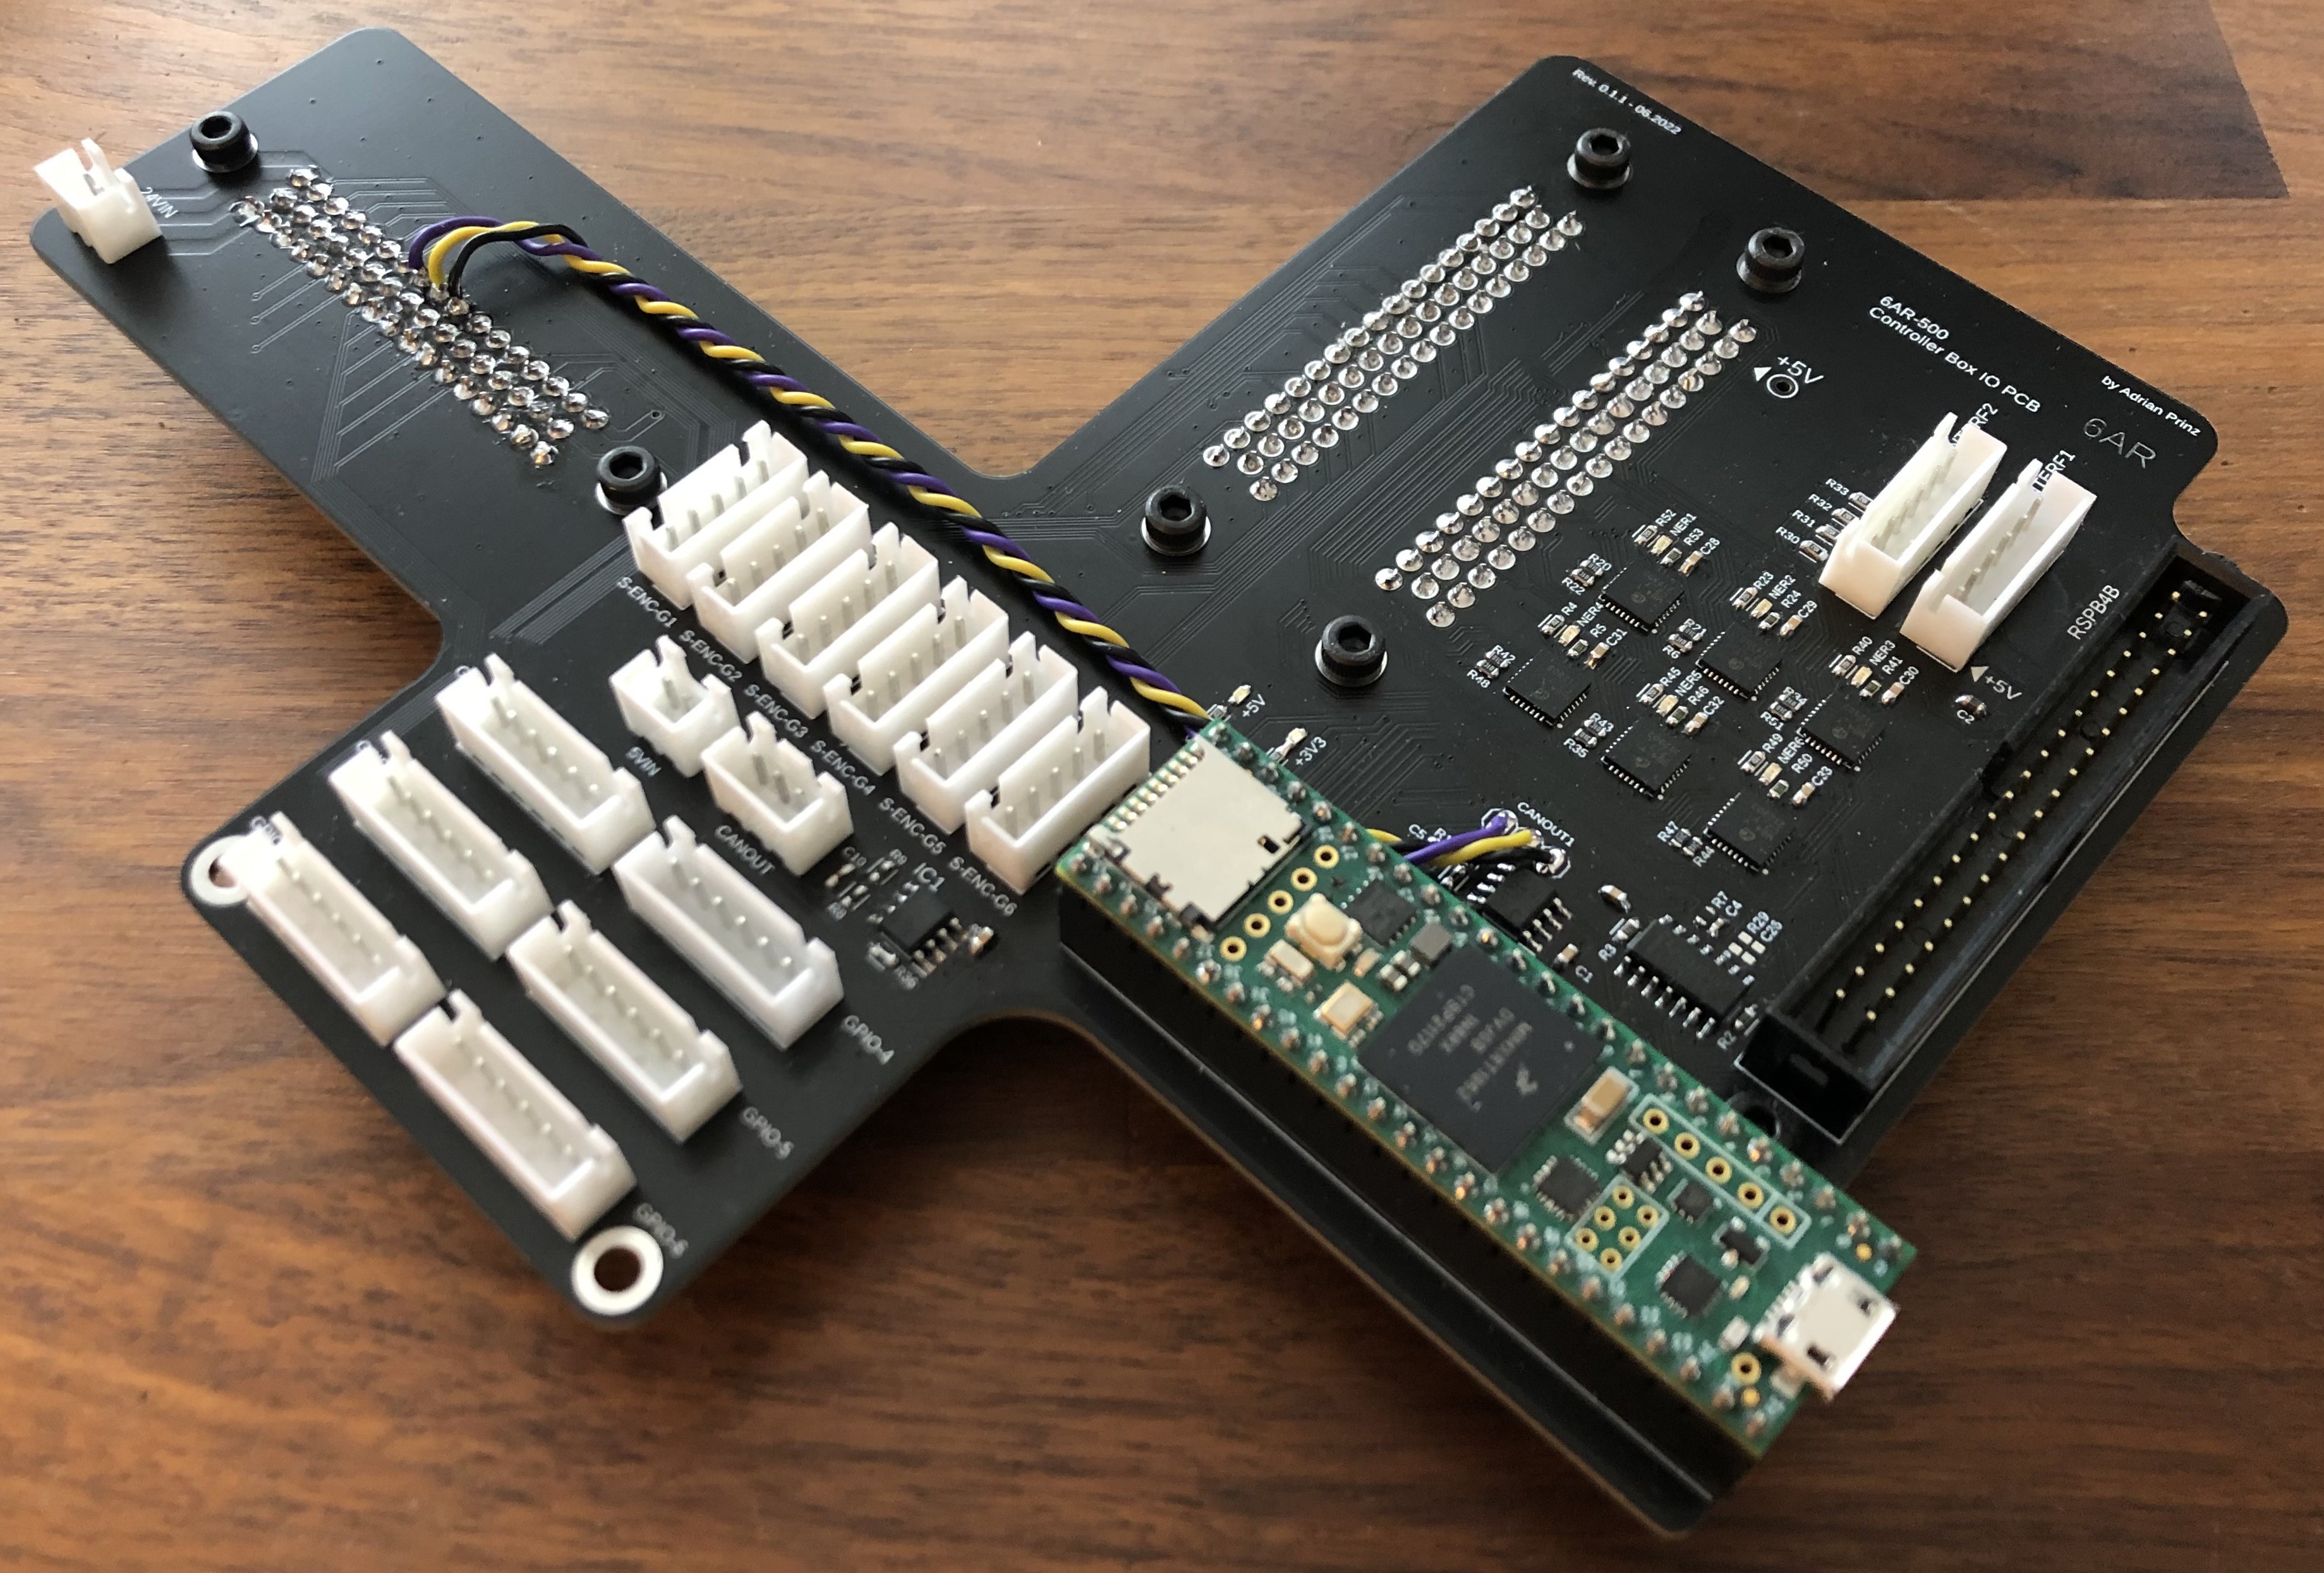
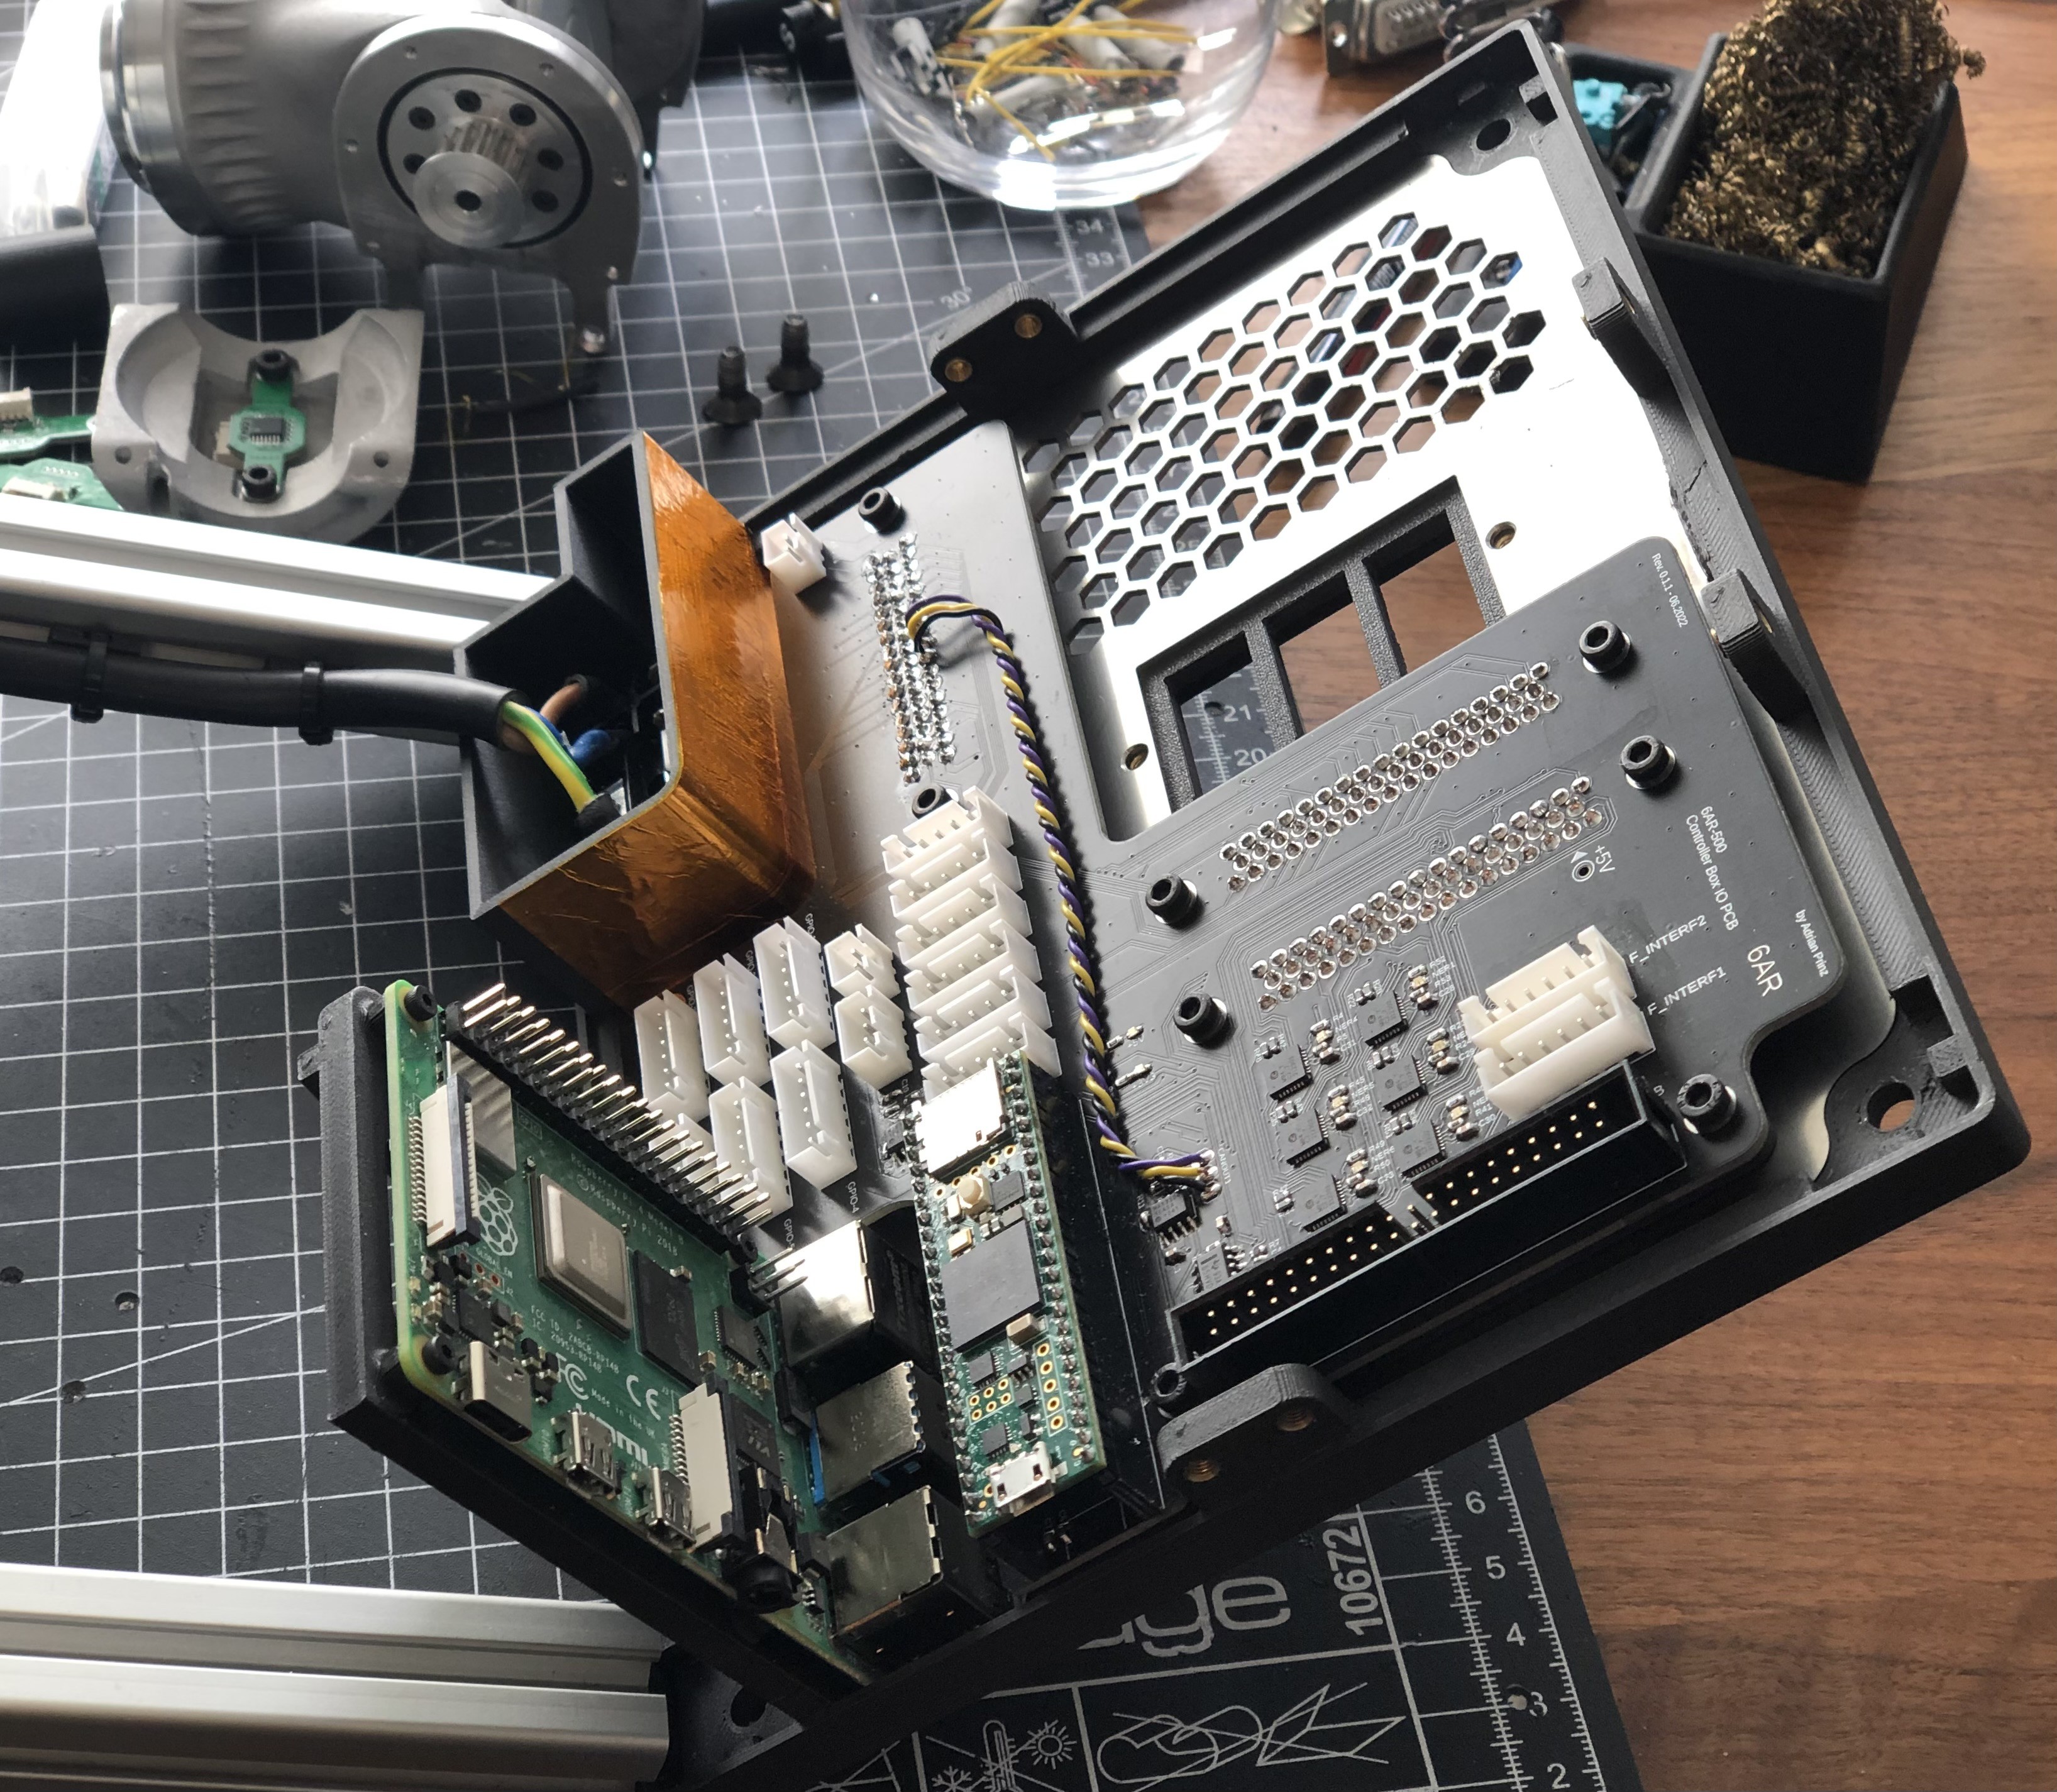
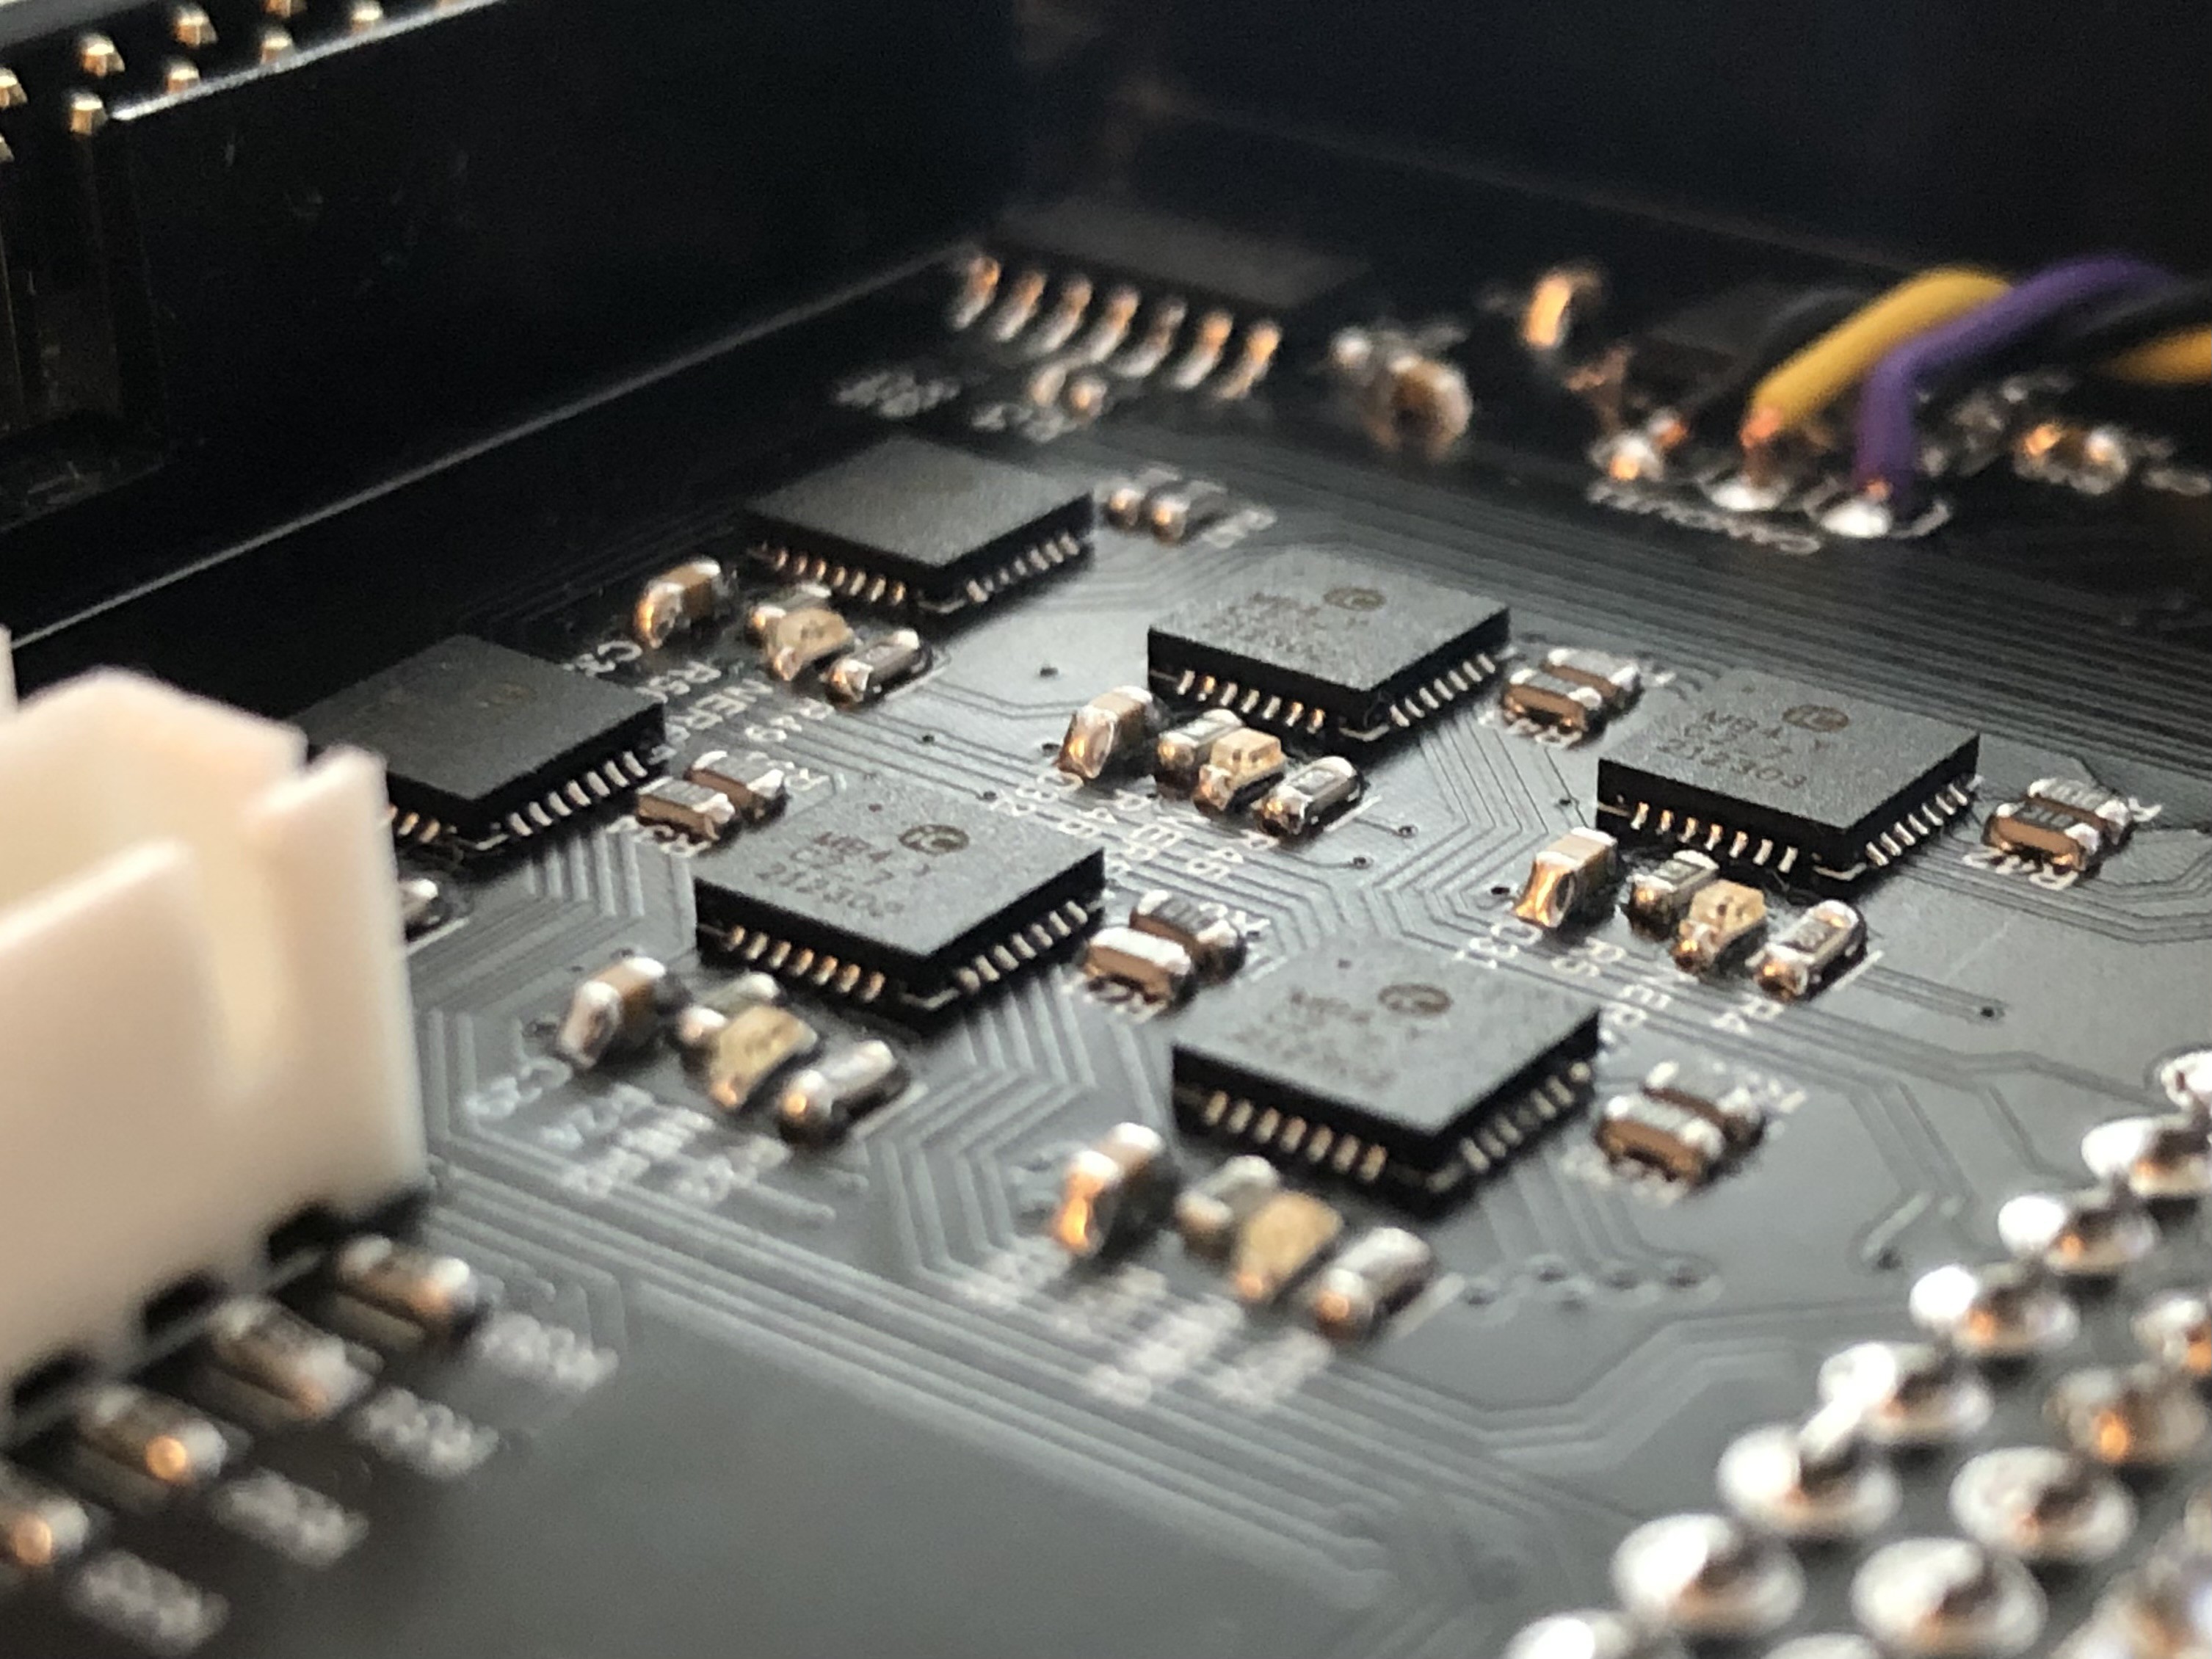
08/15/2023 at 13:38 • 0 commentsFinished electronics enclosure:
![]()
![]()
![]()
![]()
Dynamic 6-Axis Robot from scratch
I developed a 6 axis robot with half a meter reach and 3kg payload. It is servo driven and features absolut encoders on all axis.
 Adrian Prinz