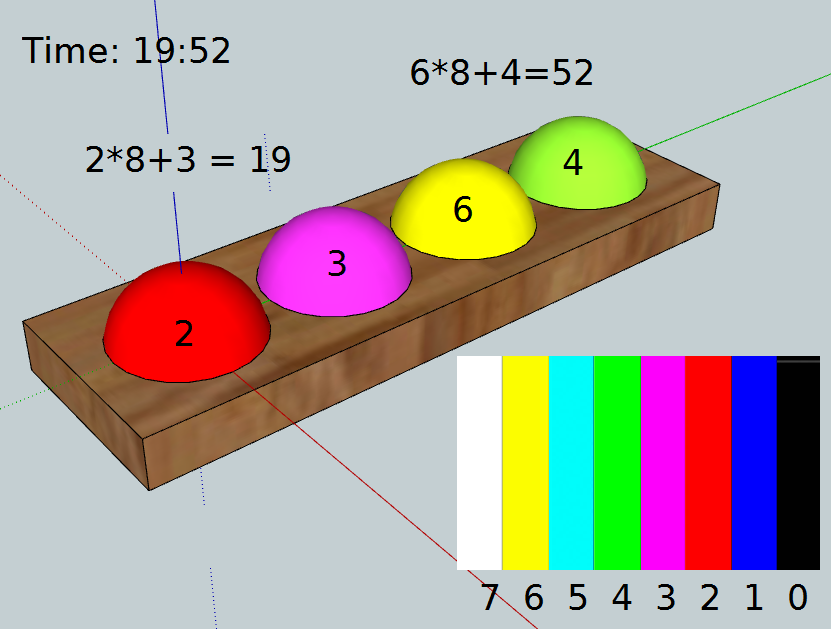
-
Bug fixes on RTC variant
05/26/2023 at 03:15 • 0 commentsBug fixes:
1) Handling of 12/24 hour bit :
Hour indication was wrong when AM/PM bit was set to 12 hour (for instance when the RTC module came from factory. The following code was inserted to convert the AM/PM time to 24 hour.
// Compute minutes
minutes = rtc.datetime.minutes.tens * 10 + rtc.datetime.minutes.units;

// Compute hours, taking 12/24 hour into account
hours   = ( rtc.datetime.hours.tens & 1) * 10 + rtc.datetime.hours.units; // base time
if  (rtc.datetime.hours.op12_24) {  // 12 hour mode?
	if (rtc.datetime.hours.tens >>1 ) { // PM
		if ( hours !=12) hours = hours + 12;  // 1:00 PM to 11:59 PM ->  13:00 to 23:59
	} else {
		if ( hours ==12) hours = hours - 12;  // 12:00 AM to 12:59 AM ->  00:00 to 00:59
	}
} else { // 24 hour mode
	hours   = rtc.datetime.hours.tens   * 10 + rtc.datetime.hours.units;
}
A second provision was to set the 12/24 hour bit whenever the hour or the minute is advanced right before write the changed time to RTC
...
rtc.datetime.hours.op12_24 = 0; // force 24 hour mode
writeRtc();
}
2) Hour changing every power up:
This was harder to track and to make a long story short, I have used a workaround and called it a day.
The RA3/MCLR line behaves like it was receiving ghost presses after power up, causing the clock to advance 1 or 2 hours every time Such pulses did not appear if the button connected to this line was held down during power up.
I have initially suspected from the de-bounce capacitor on the pin, and even tried to delay the startup during up one second without any change on the behavior. Nevertheless this problem does not occur on the RA1 button.At the end I have found that inverting the logic of the pin, making "un-pressed" as true and "pressed" as false caused the "ghost pulses" do disappear with the only side effect being the time advancing when the button is pressed (instead of when it was pressed then released).
// Button Stuff #define BUTTON1 RA3 // !RA3 #define BUTTON2 RA1 // !RA1 -
PCB design
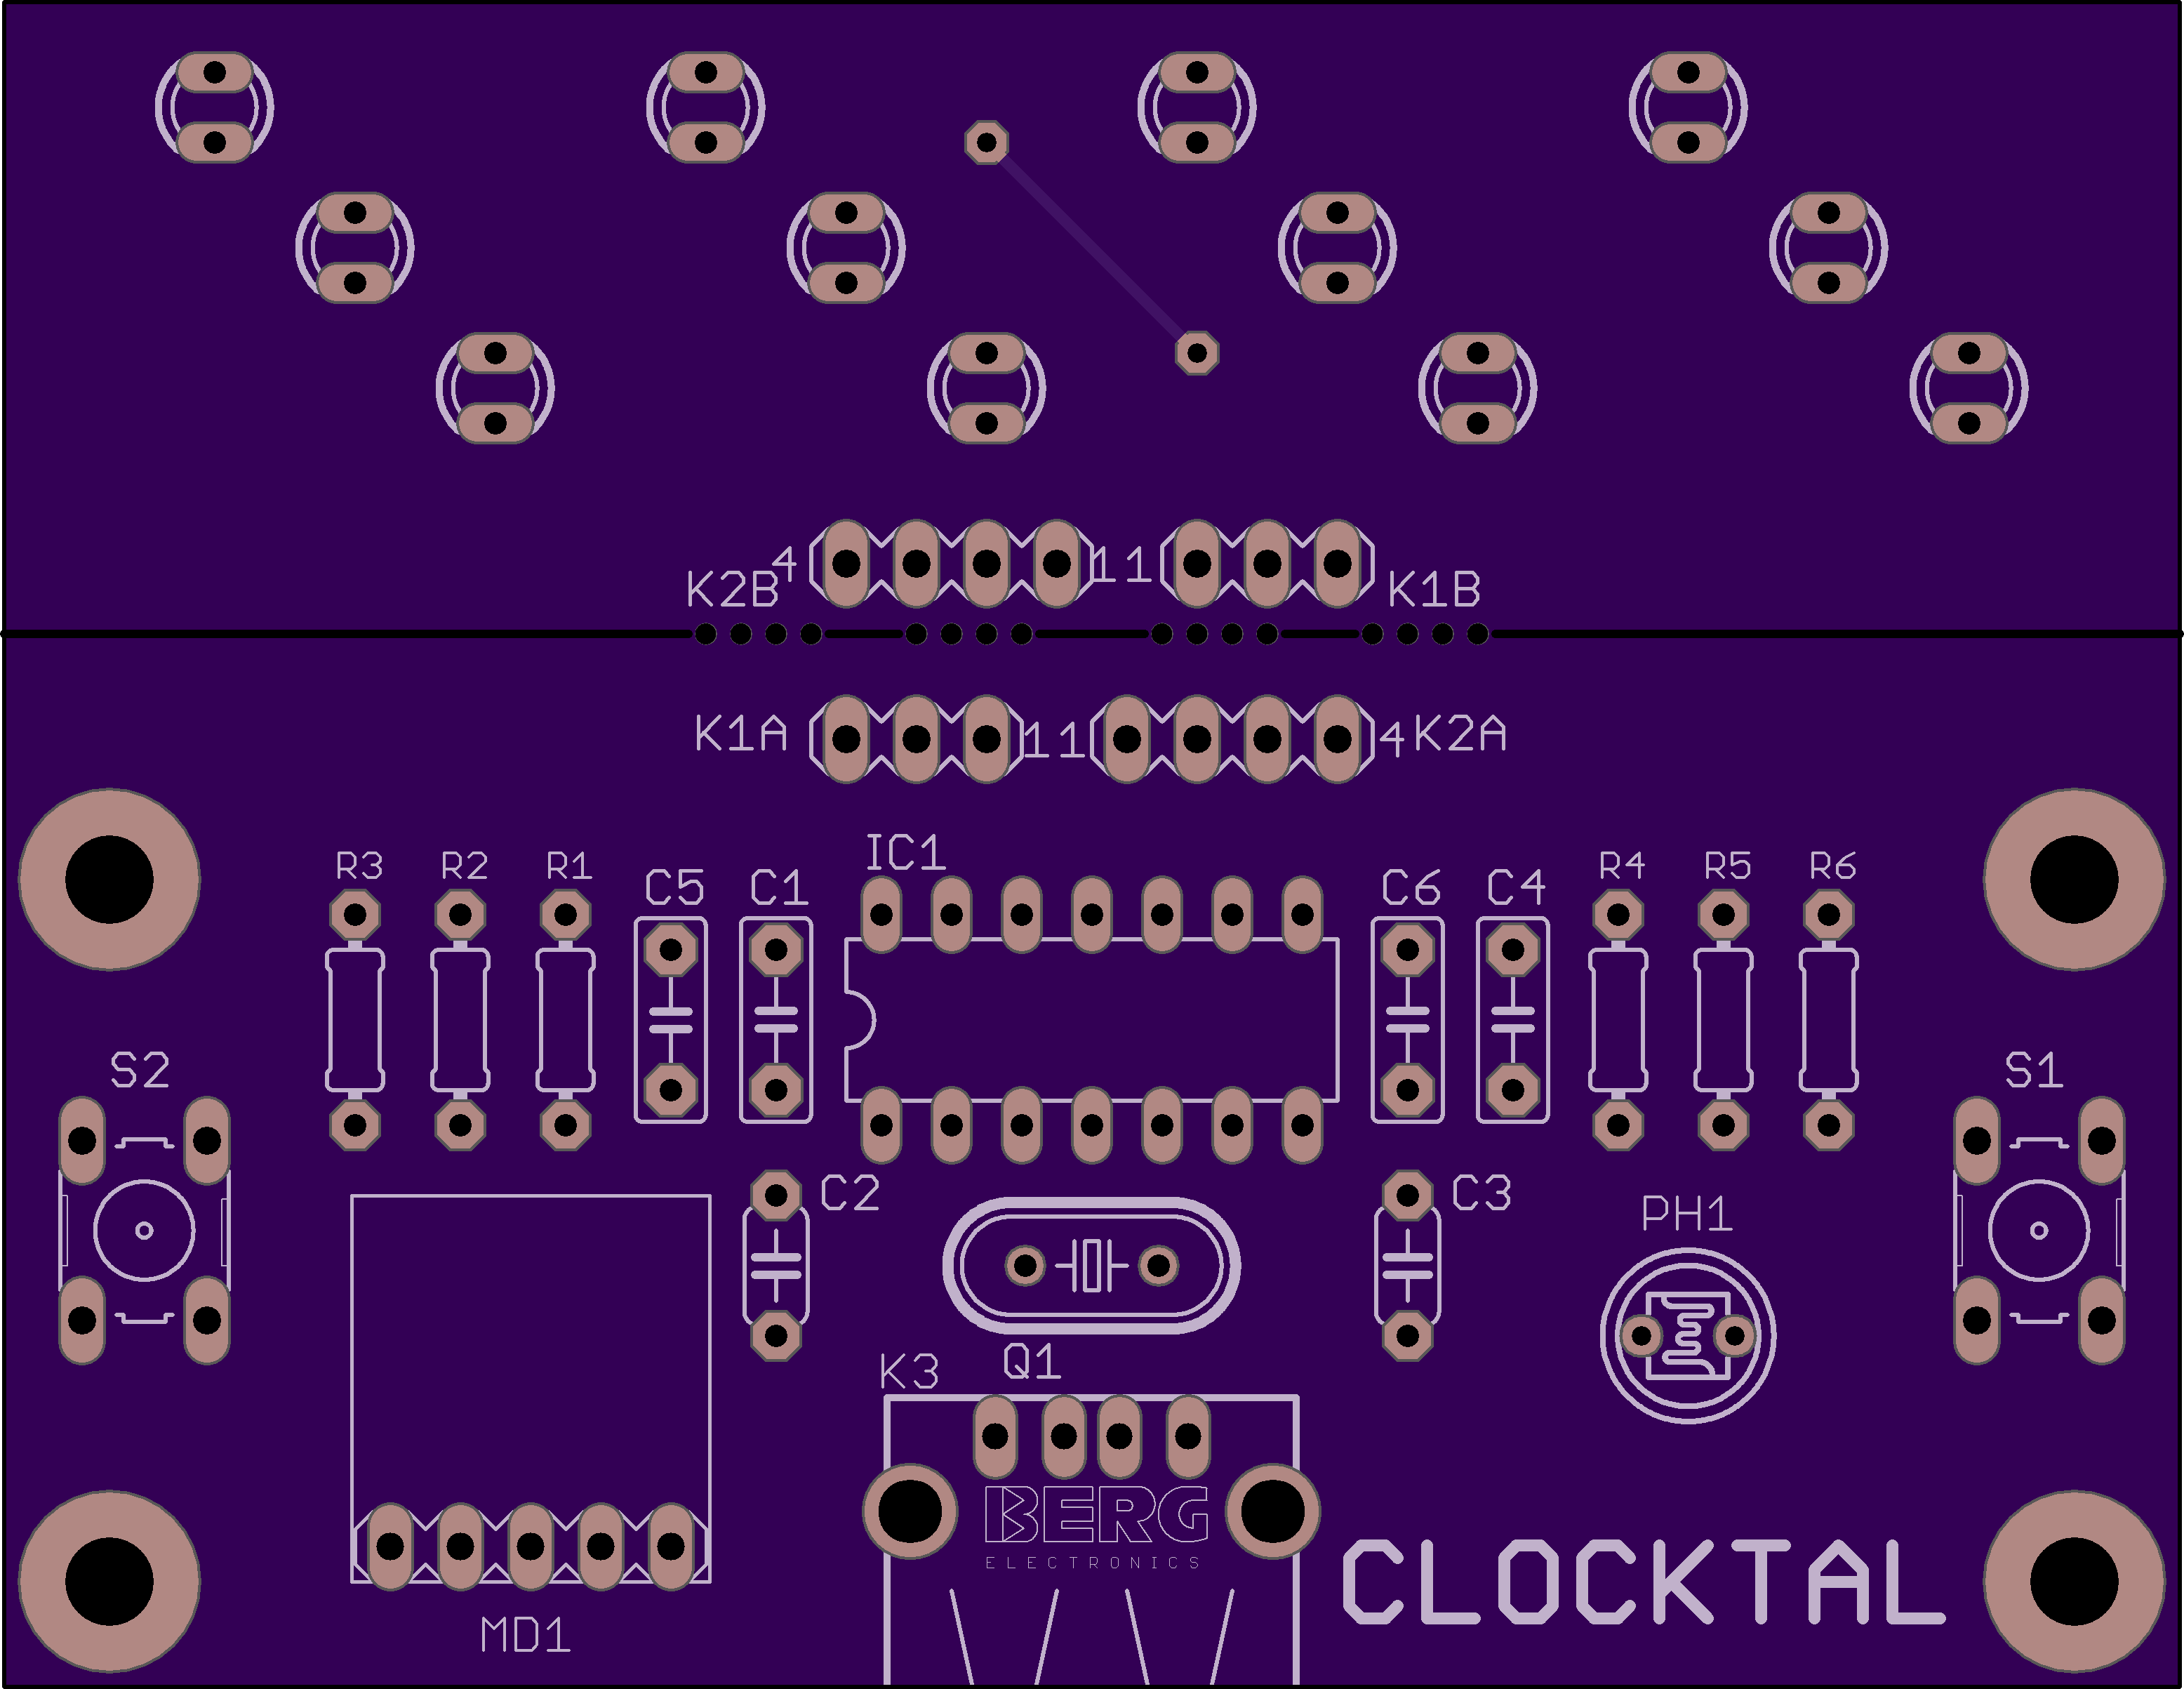
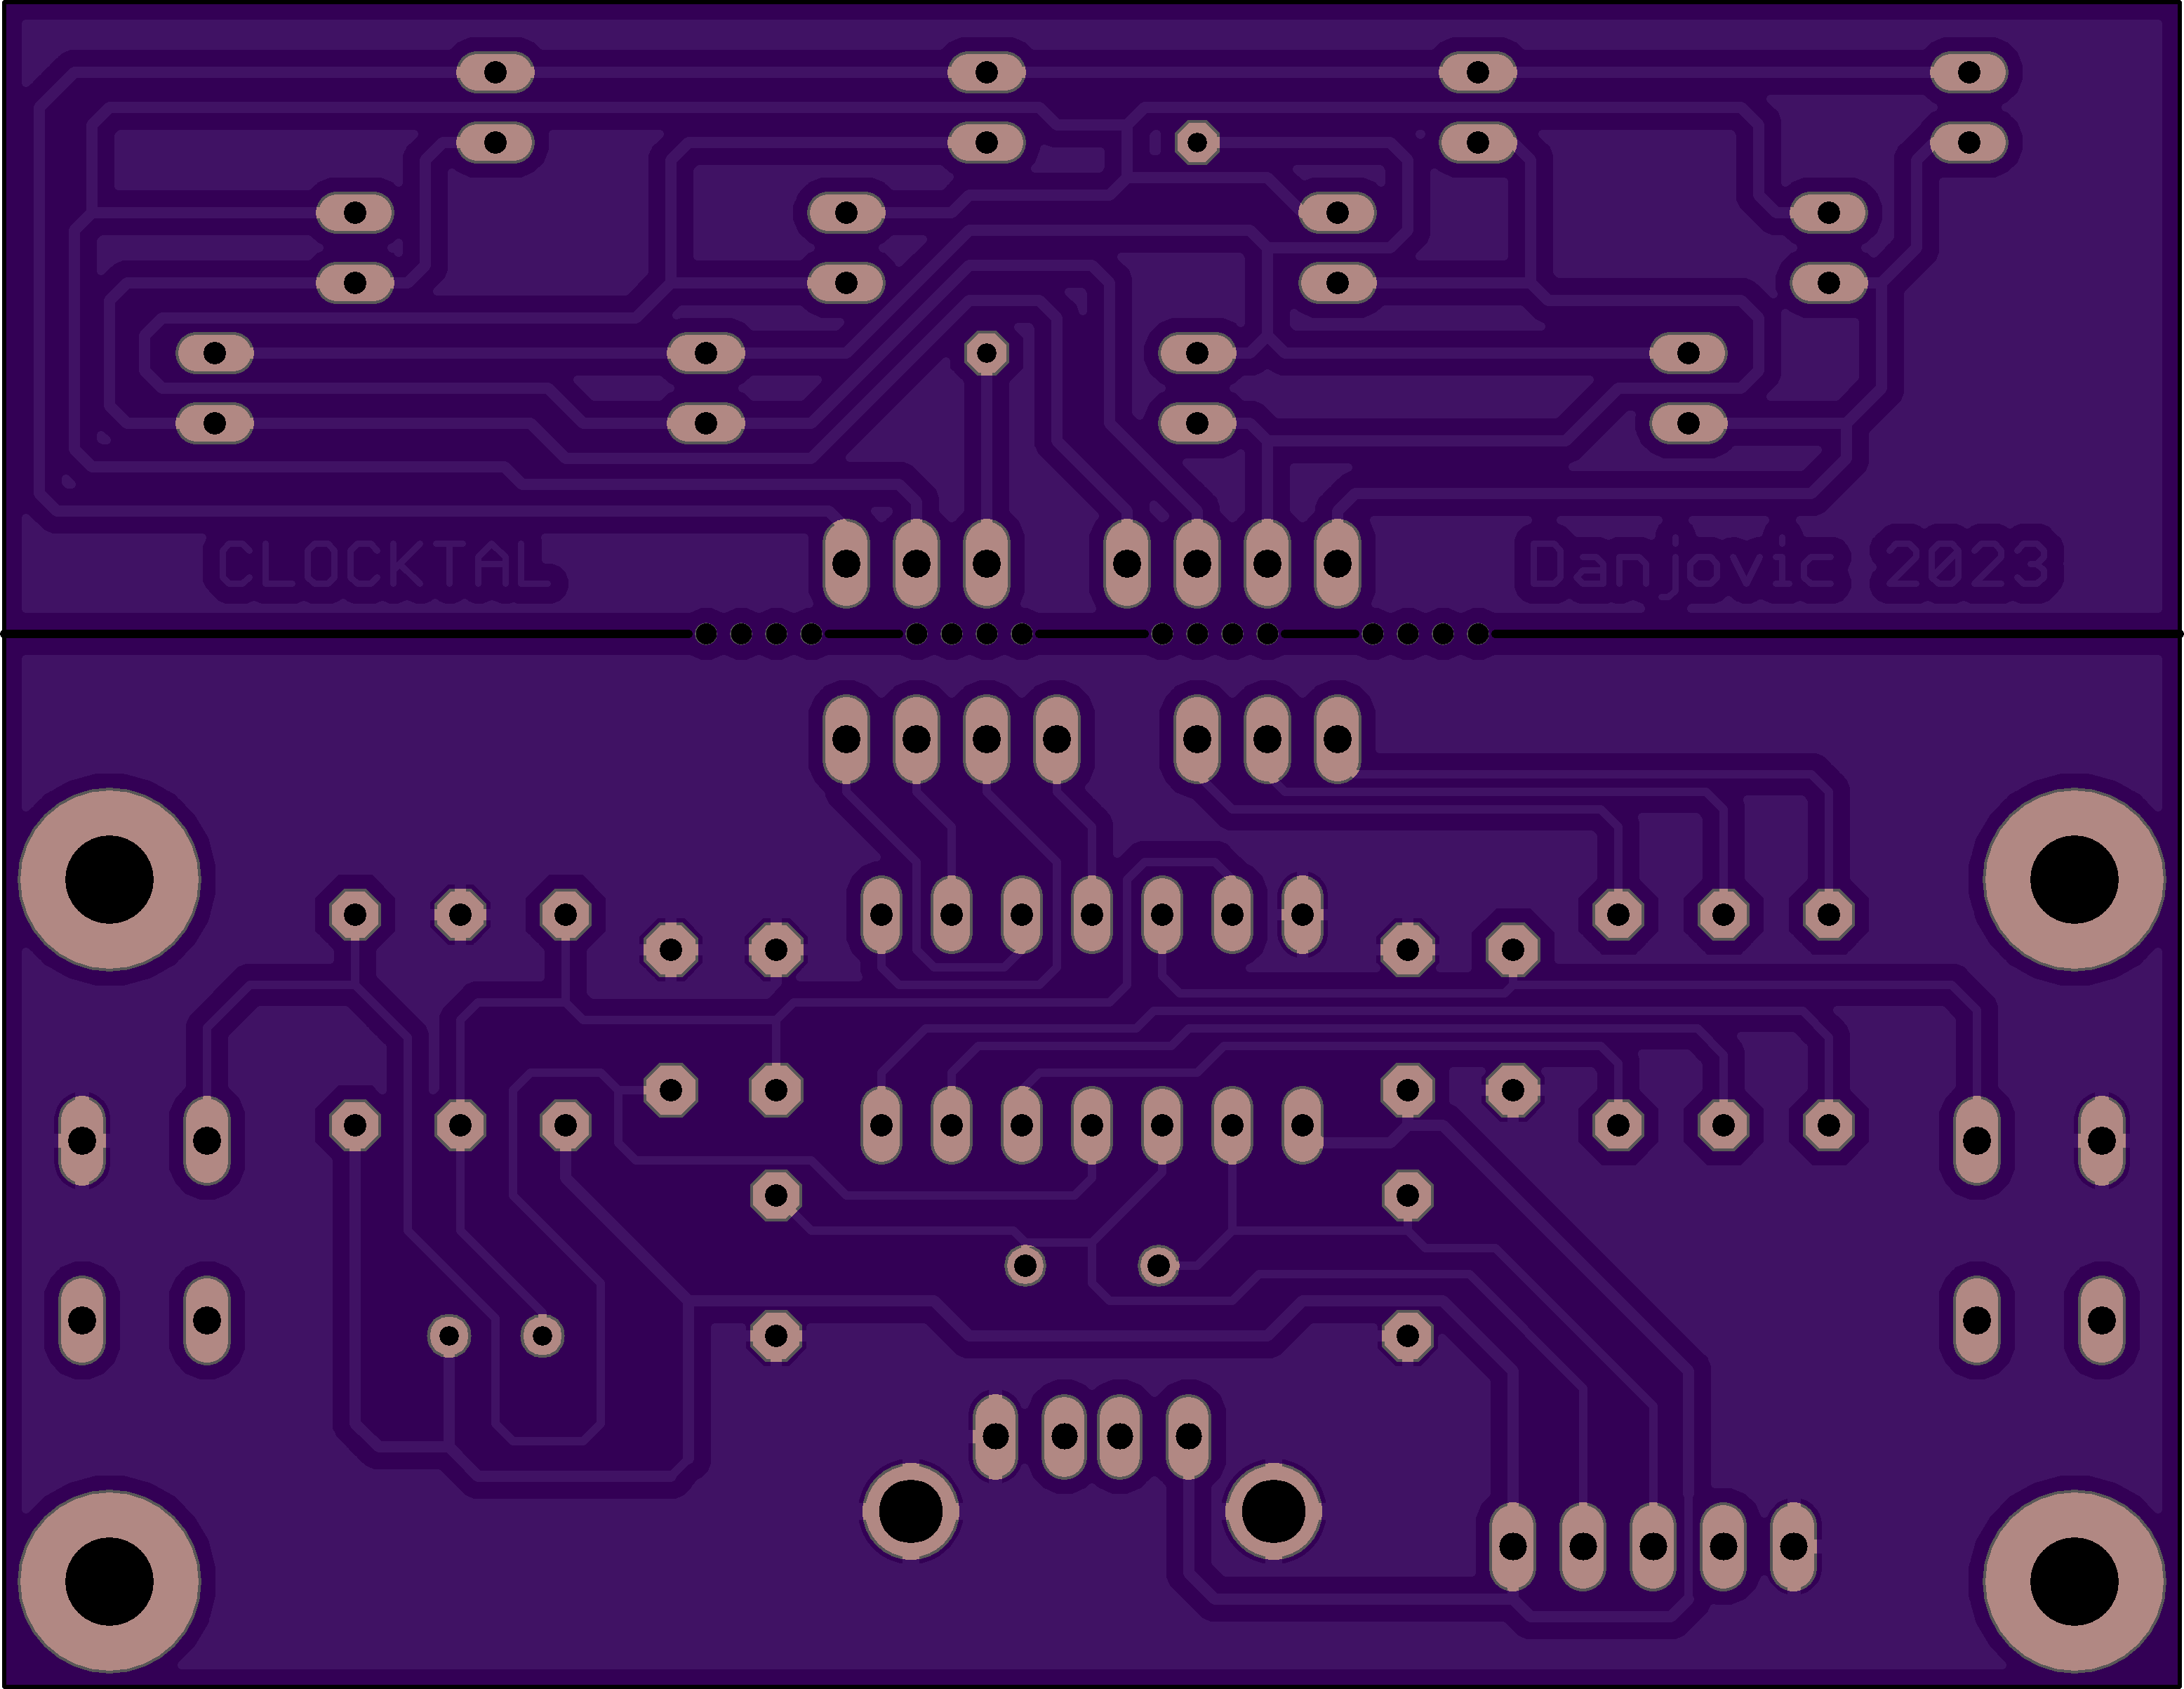
05/17/2023 at 05:51 • 0 commentsI have just updated the schematic on github repository and added a hand routed, single sided PCB design. The pads of the components have been enlarged to ease the homemade process.
![]()
![]()
-
RTC Chip Support
05/16/2023 at 21:15 • 0 commentsThe original firmware is precise enough to keep the time, but it lacks one feature: keep the time when the clock is powered off.
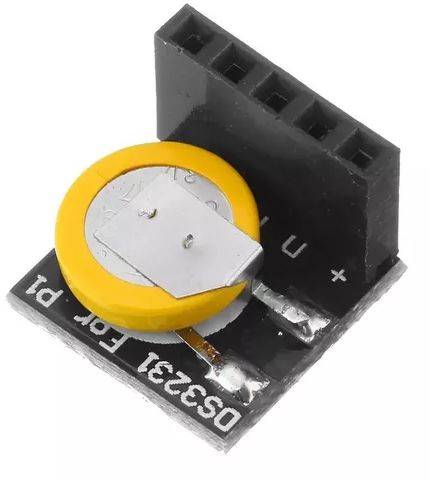
The present firmware allows the use of a DS3231 RTC module (aka Raspberry Pi RTC).![]()
The XTAL was removed and a 5 pin header was soldered on the board. The fuses were reconfigured to use the internal RC clock that was set to 8MHz. The I2C communication is bit-banged on the former Xtal pins (RA4 and RA5).
![]()
After installation:
![]()
Note: One of the tactile switches was not working and I have replaced both.
When the RTC does not respond to I2C the clock shows an animation pattern.
-
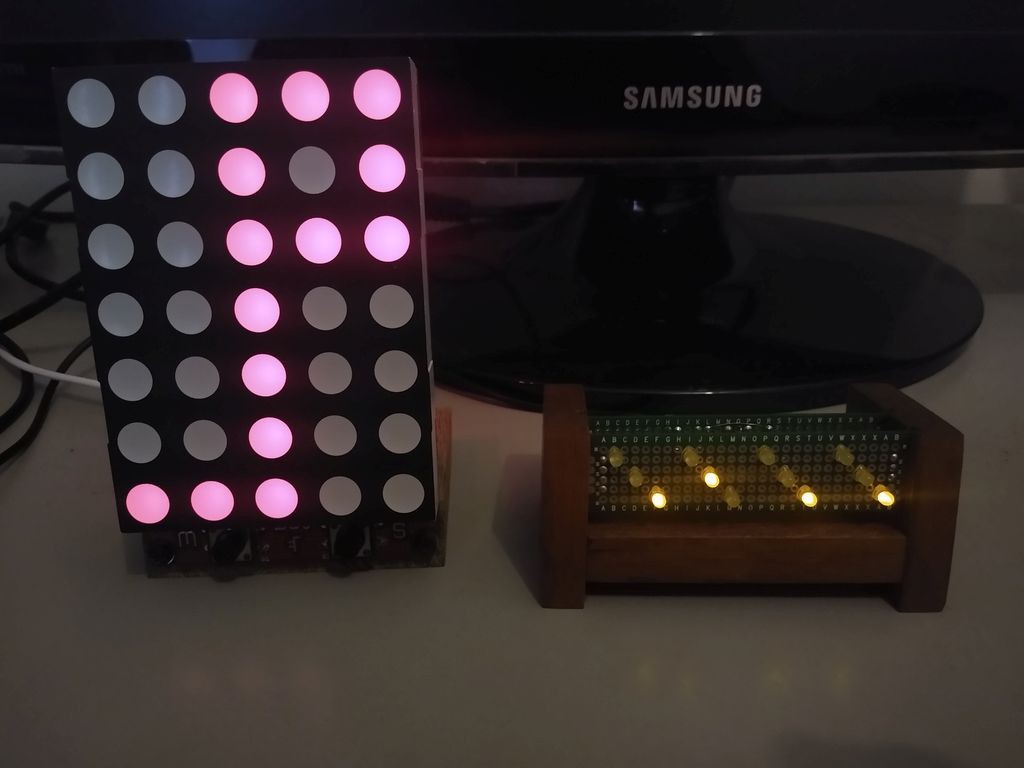
Side by Side at 10:09
09/11/2021 at 14:15 • 0 comments -
Adding USB connector adapter
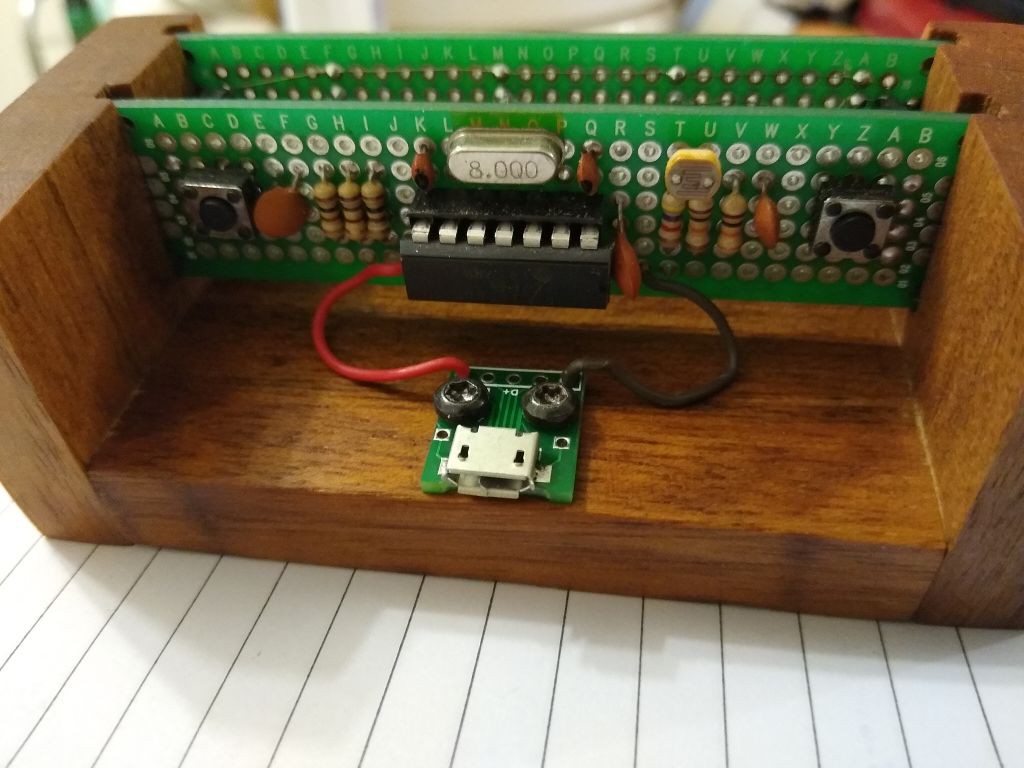
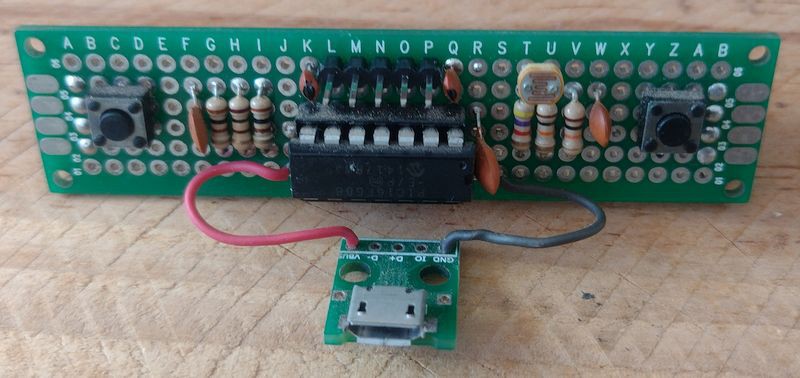
09/10/2021 at 22:22 • 0 commentsI've just added a micro-USB breakout to power the clock. Such board is hold in place using a couple of Torx head screws I had in my surplus bin.
![]() Rear view, after trimming and soldering the wires.
Rear view, after trimming and soldering the wires. ![]()
-
Wooden "case"
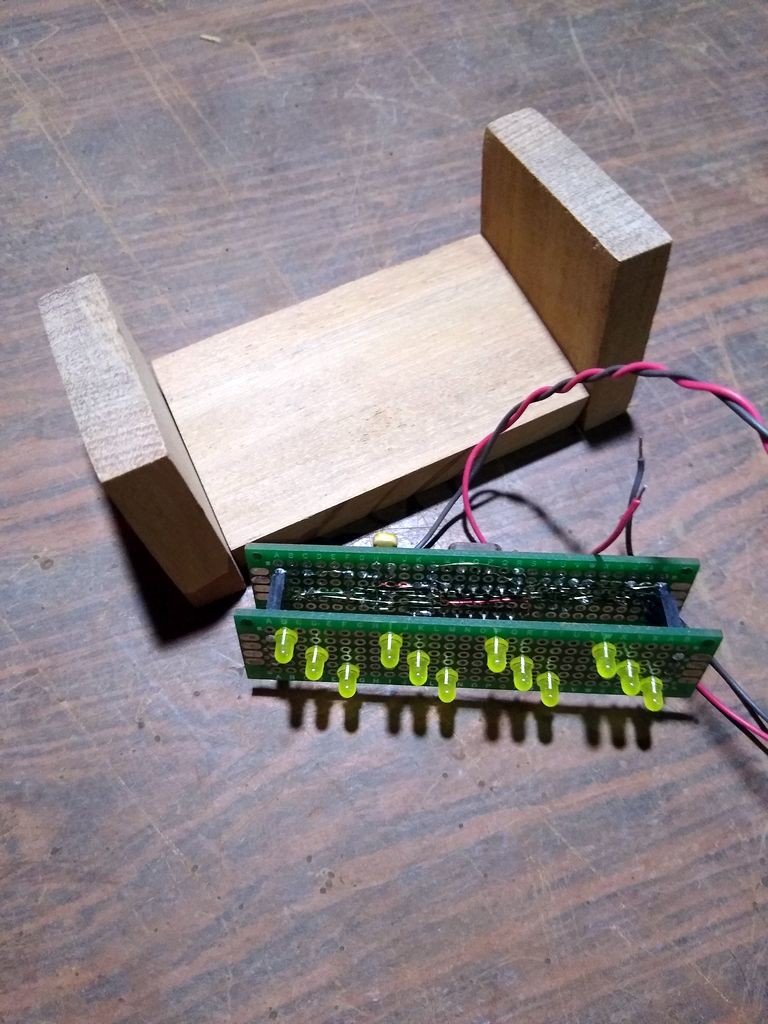
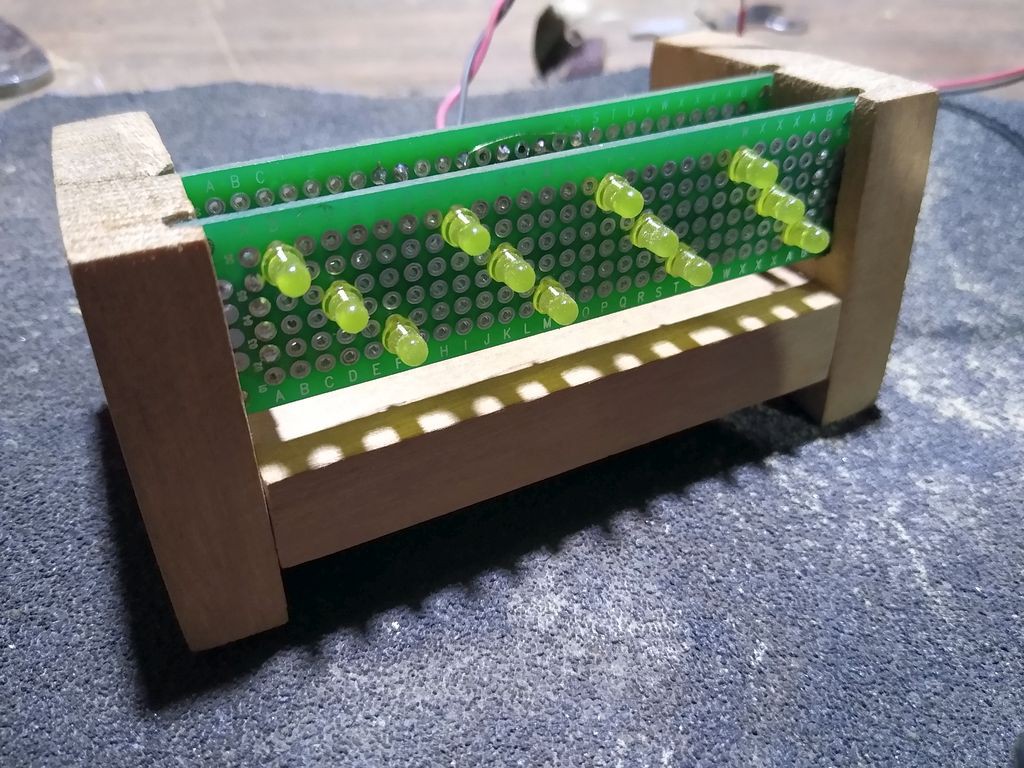
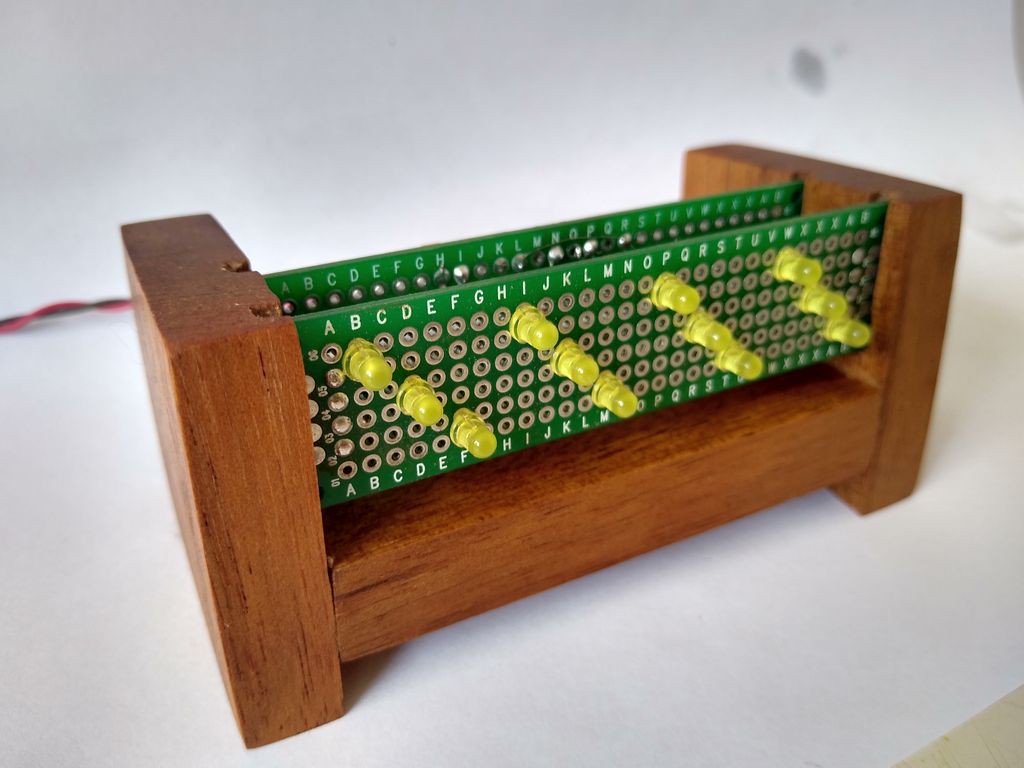
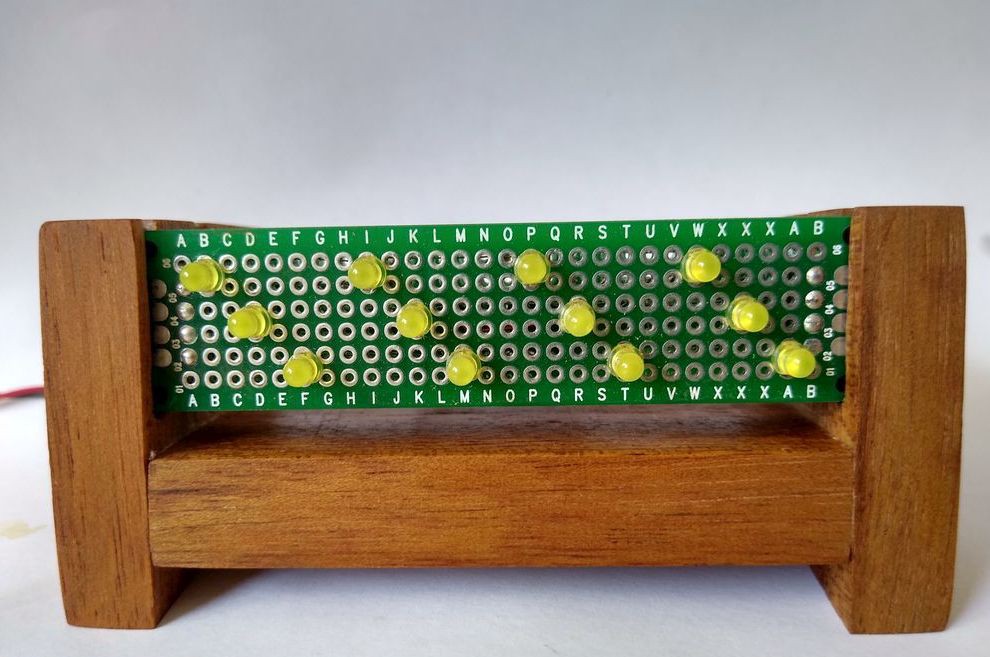
09/07/2021 at 05:04 • 0 commentsWooden case for the clock, made out of scrap wood
![]()
![]()
![]()
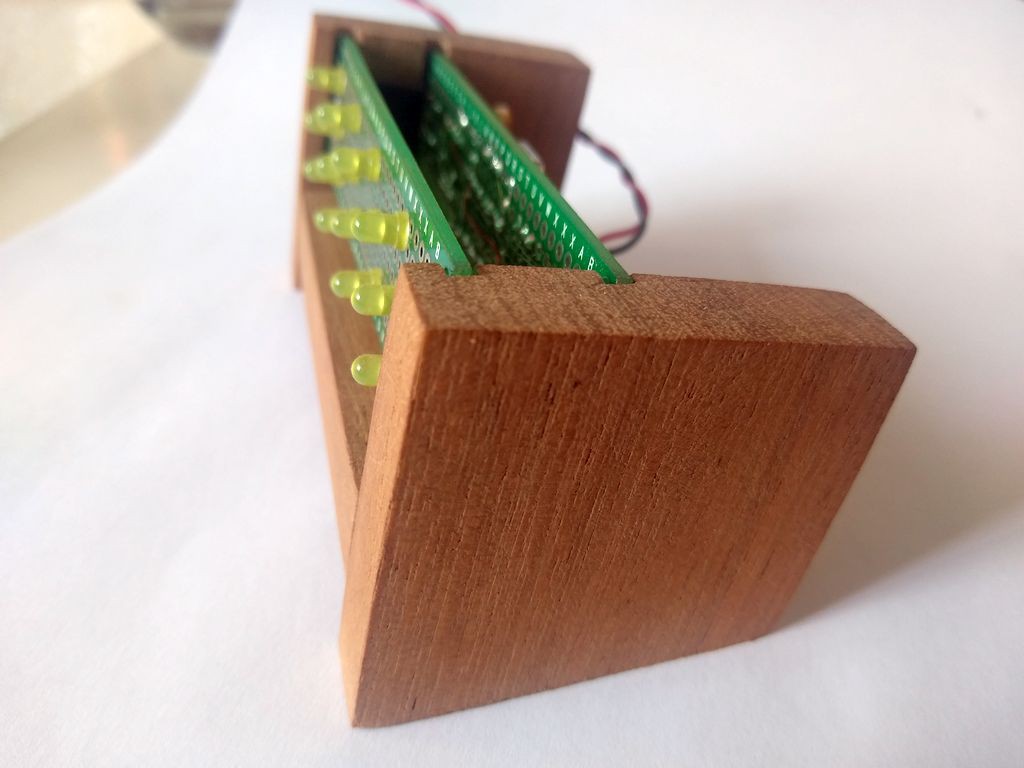
After cutting and sanding, I have applied olive oil to protect the wood and to accentuate the wood grain, thus getting a better appearence.![]()
And the result was satisfactory!
![]()
![]()
![]()
![]()
-
Assembled unit, testing light sensor
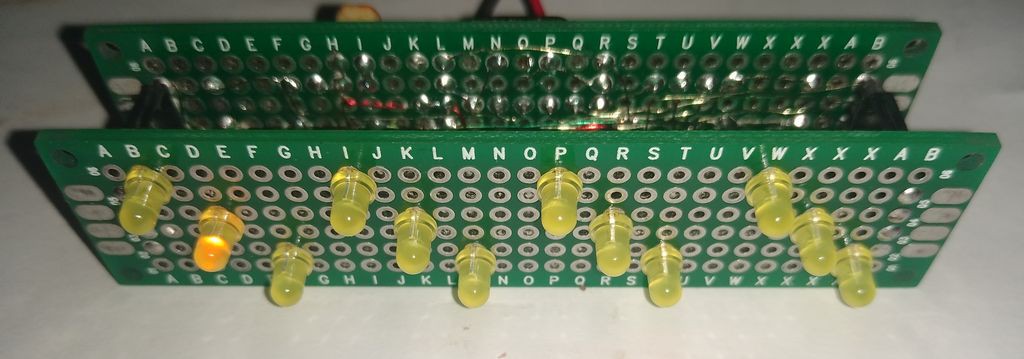
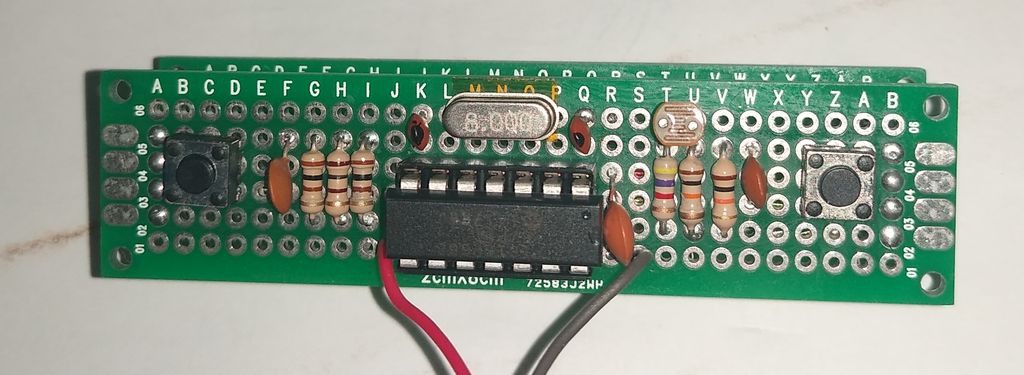
09/02/2021 at 02:10 • 0 commentsFinished assembling the clock on a couple of 2x8cm perf-boards. Wiring is done using enamelled wire.
![]()
![]()
And here is the video of the clock working. I ran some tests with the buttons and the light sensor.
-
GRB variant
08/29/2021 at 05:06 • 0 commentsA variant of the octal clock can be built with WS2812 LEDs using GRB to represent the octal digits.
![]()
 danjovic

 Rear view, after trimming and soldering the wires.