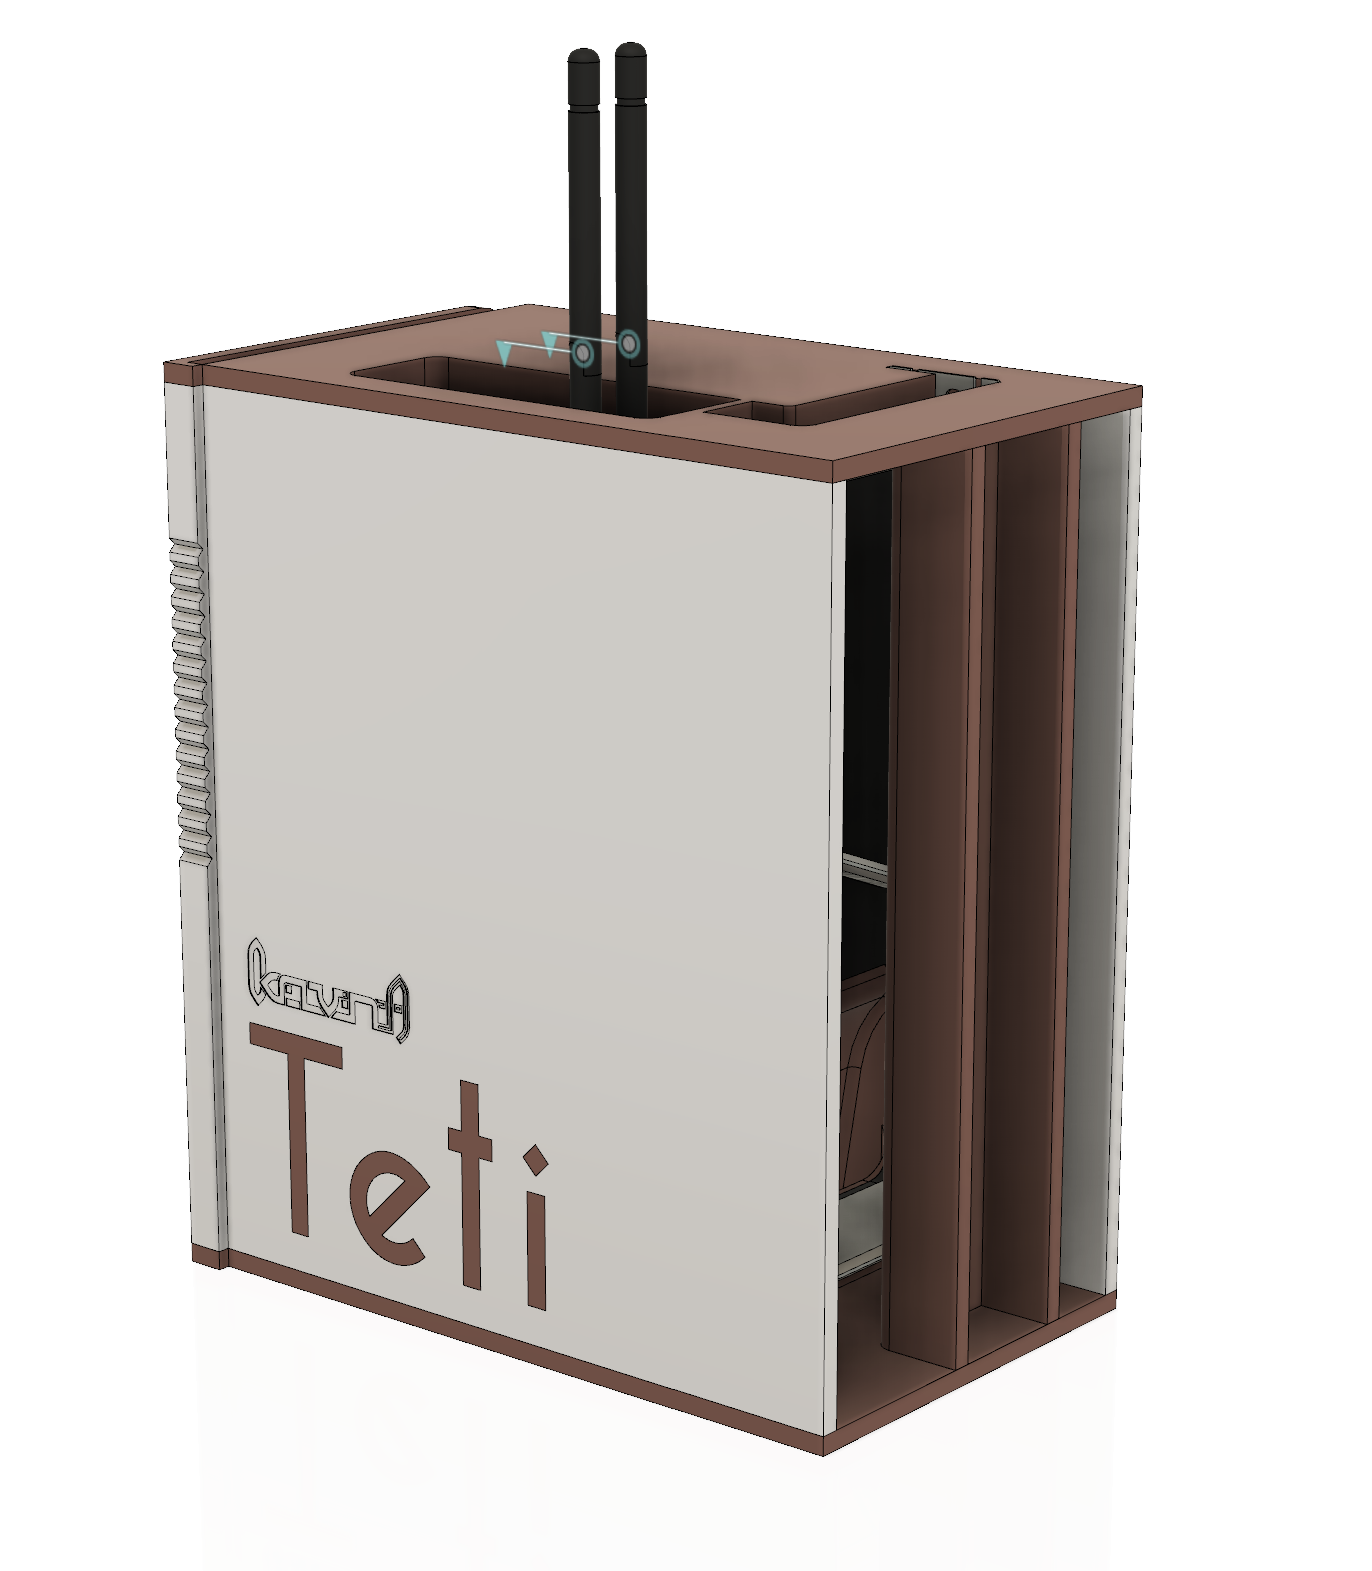
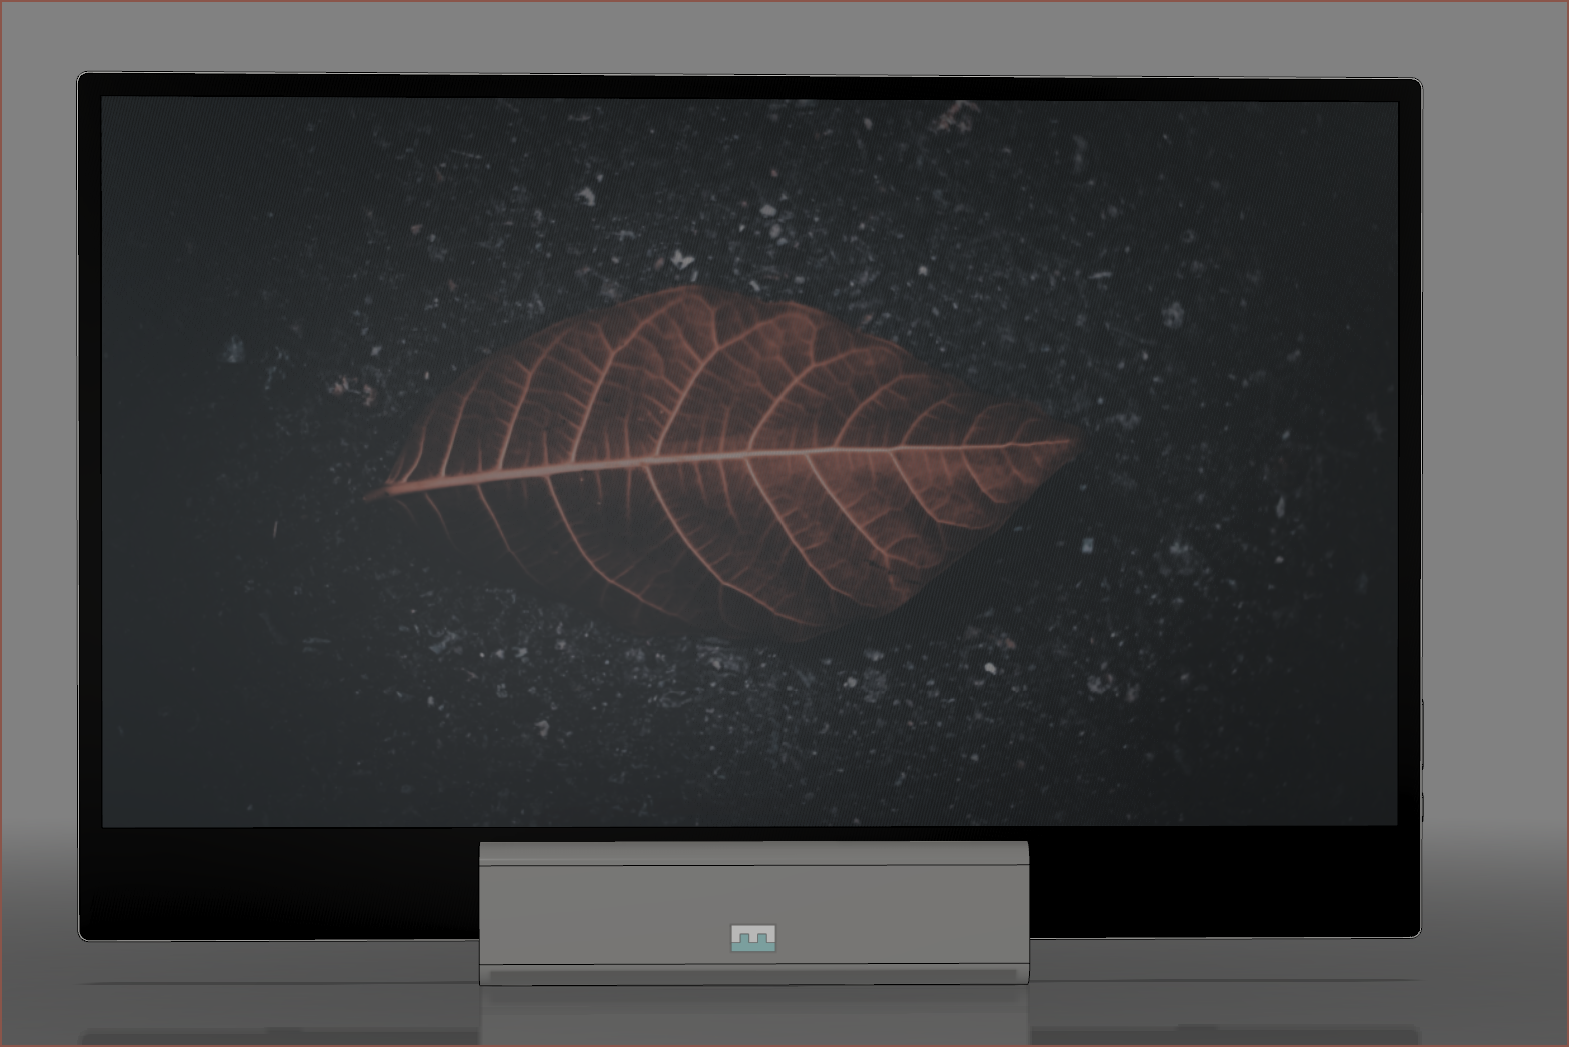
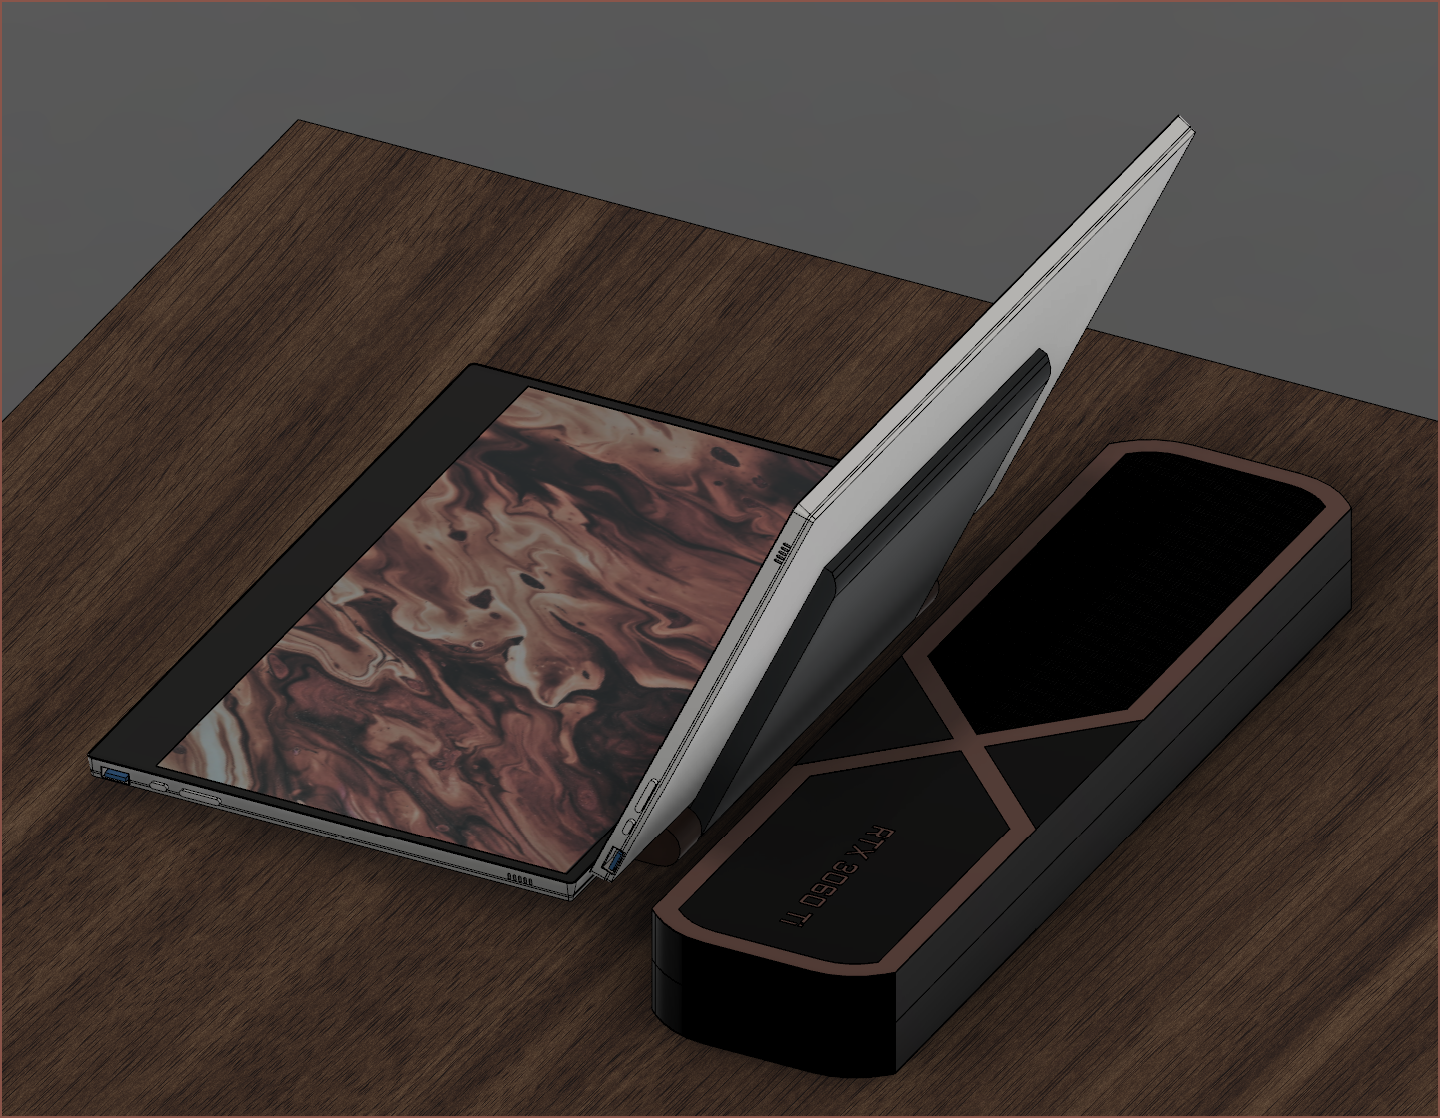
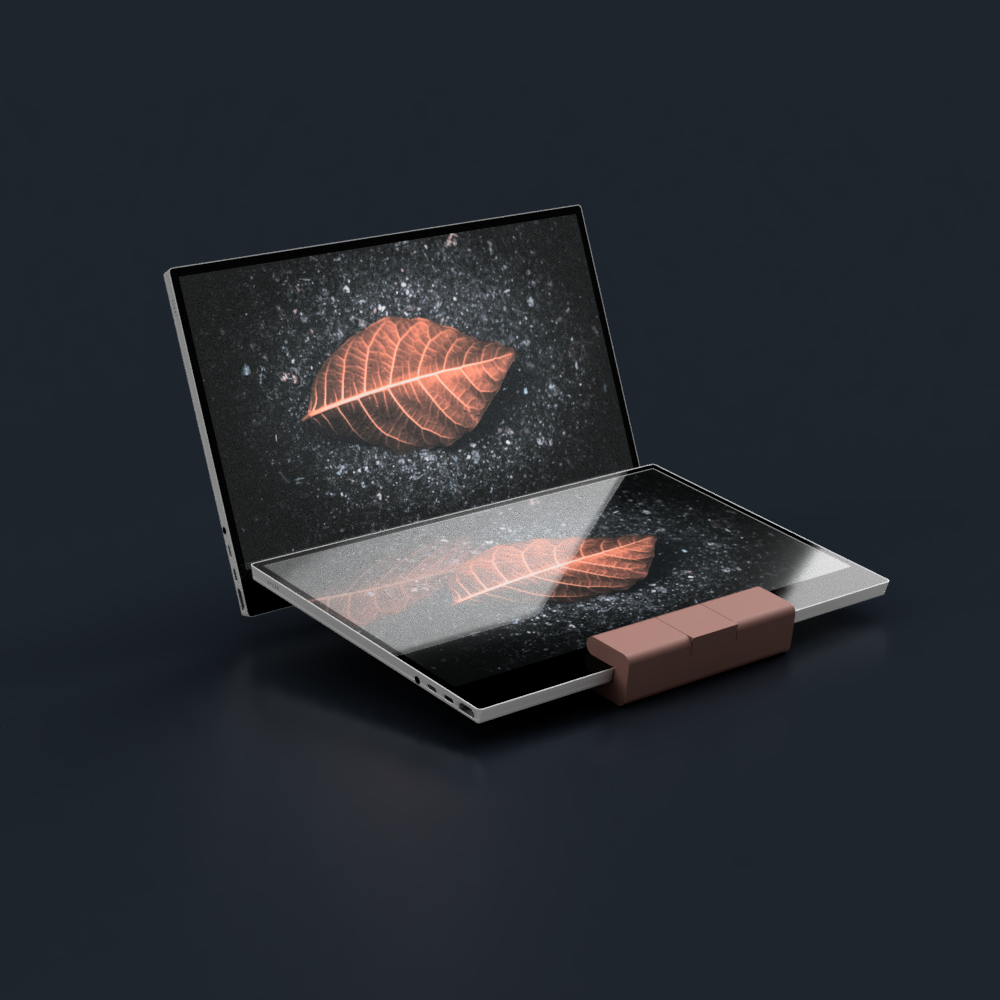
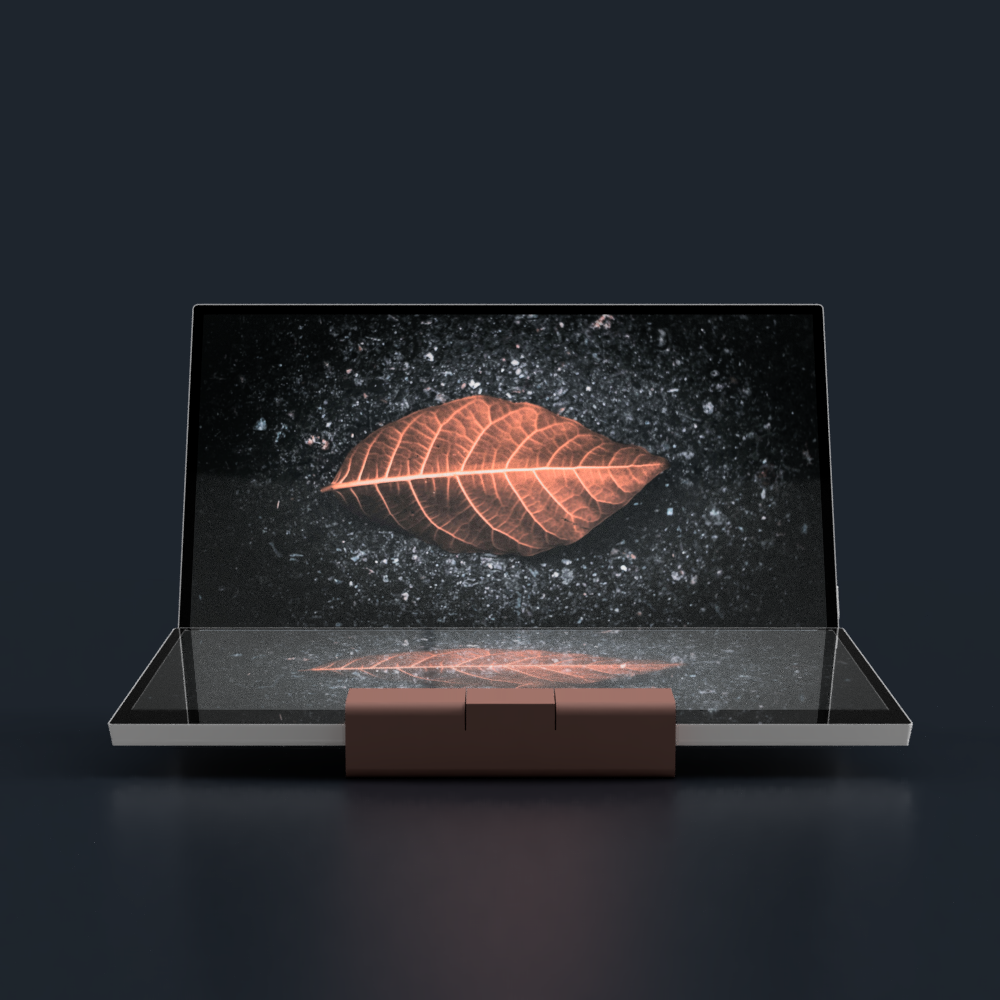
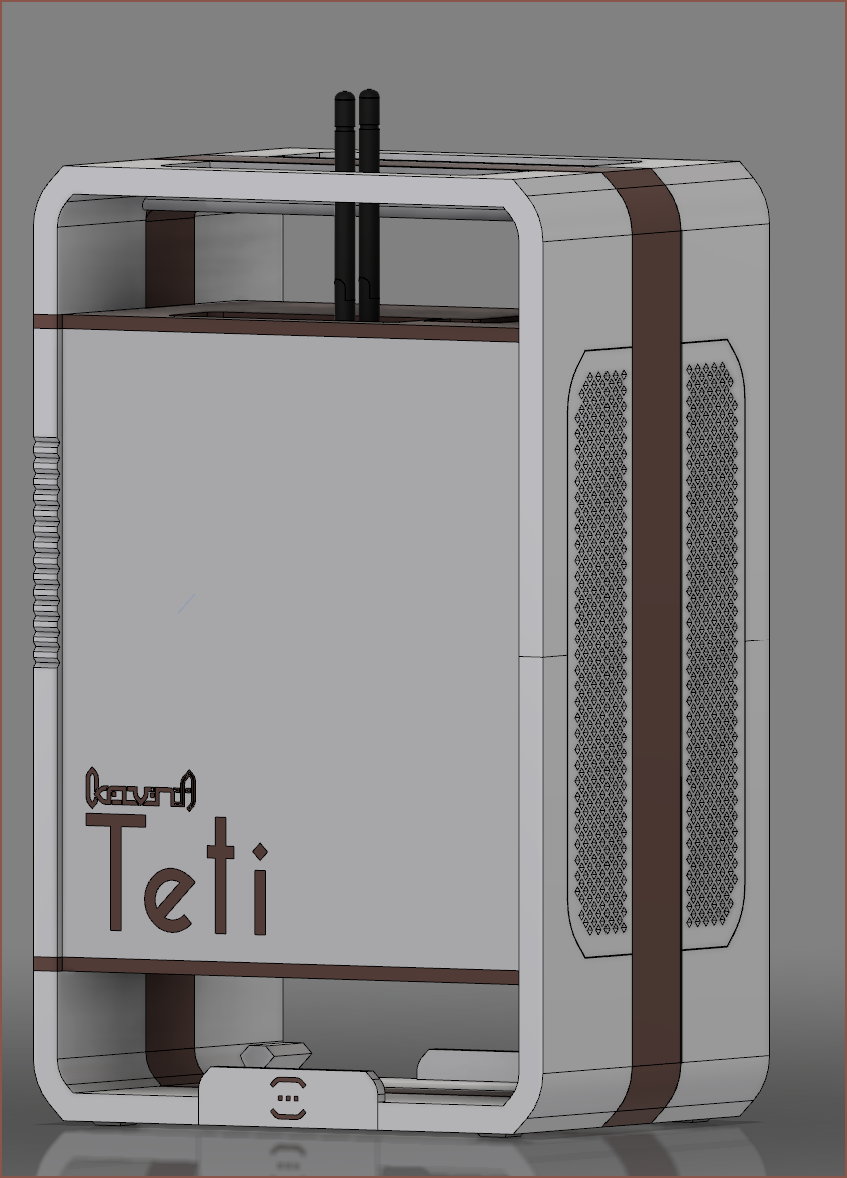
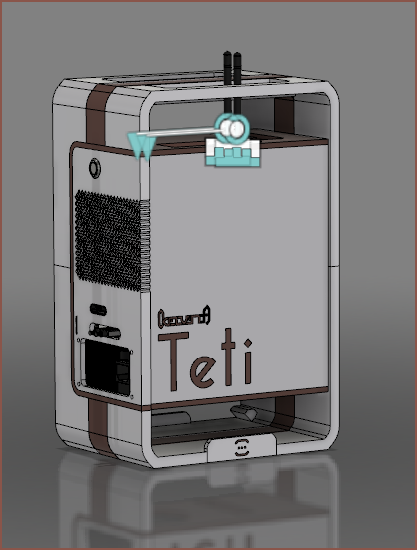
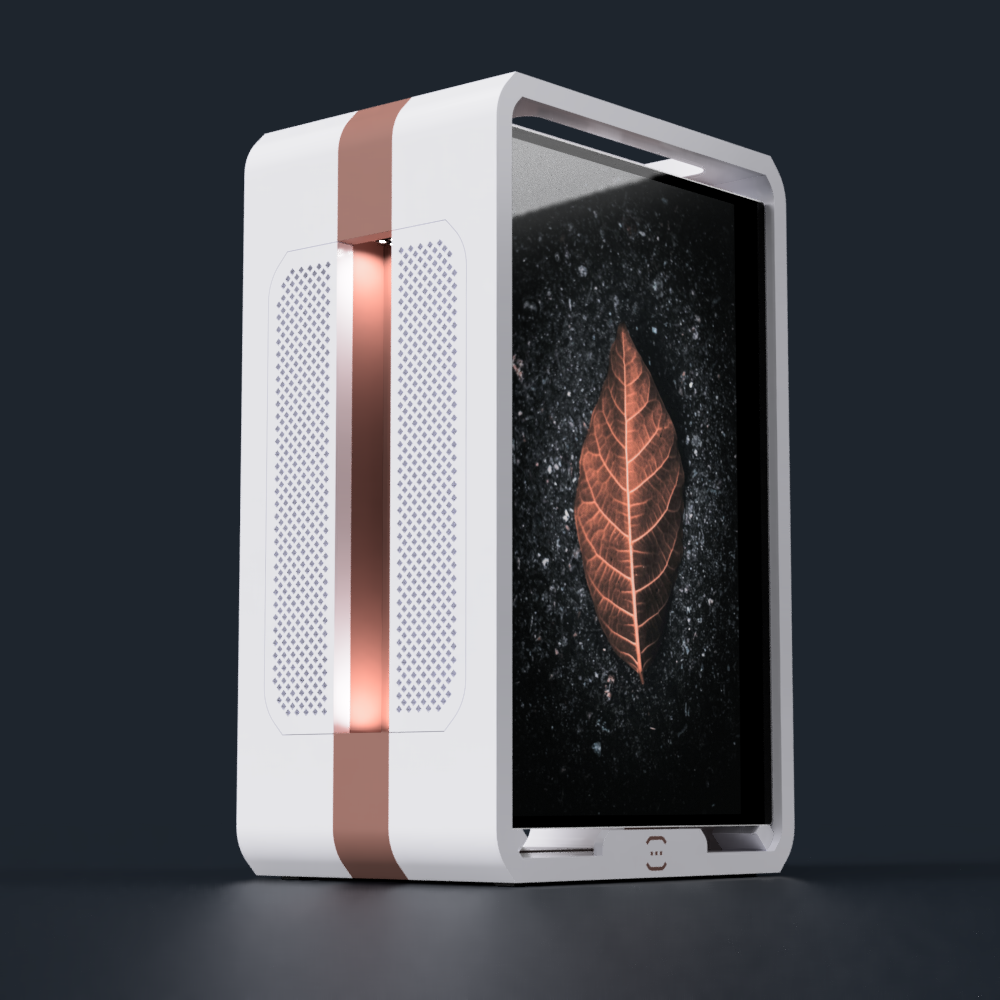
Wow it looks like it's all coming together. I've composited the render similar to how it's been done for the PS5 below:
Just like the inspirations.
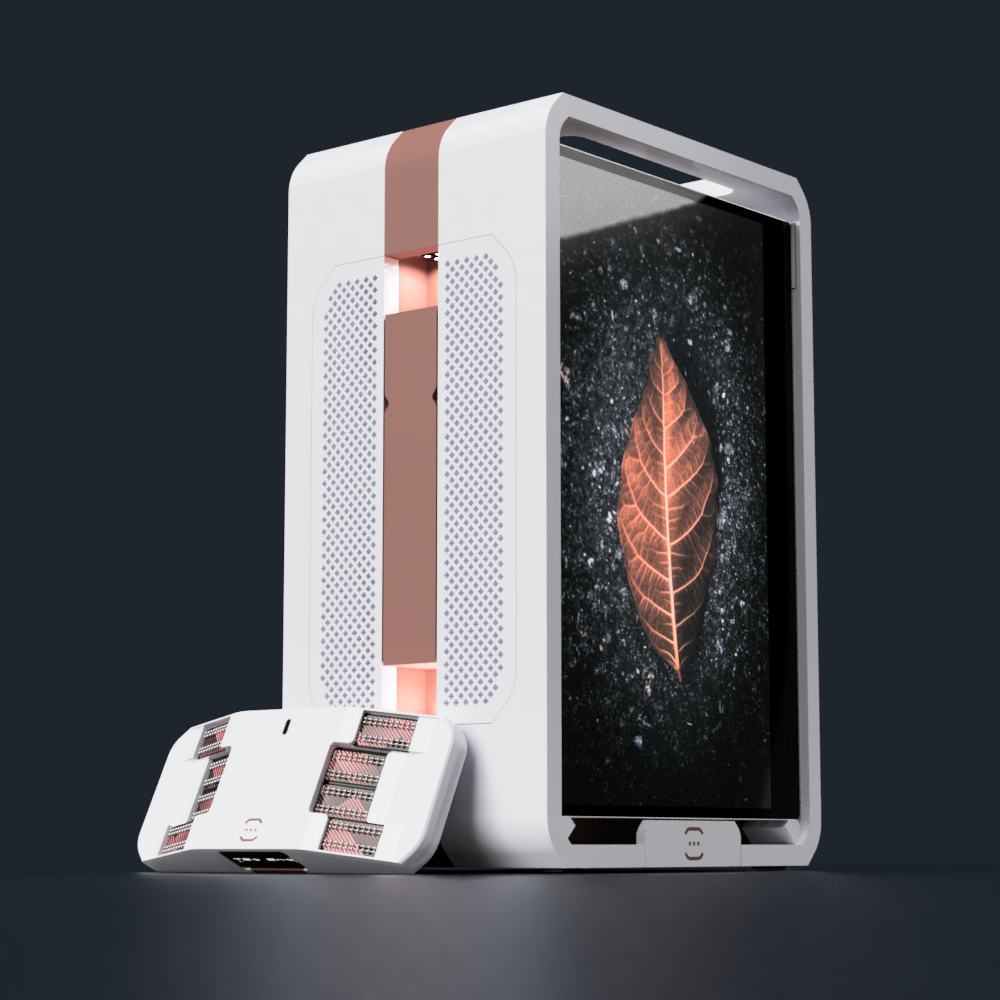
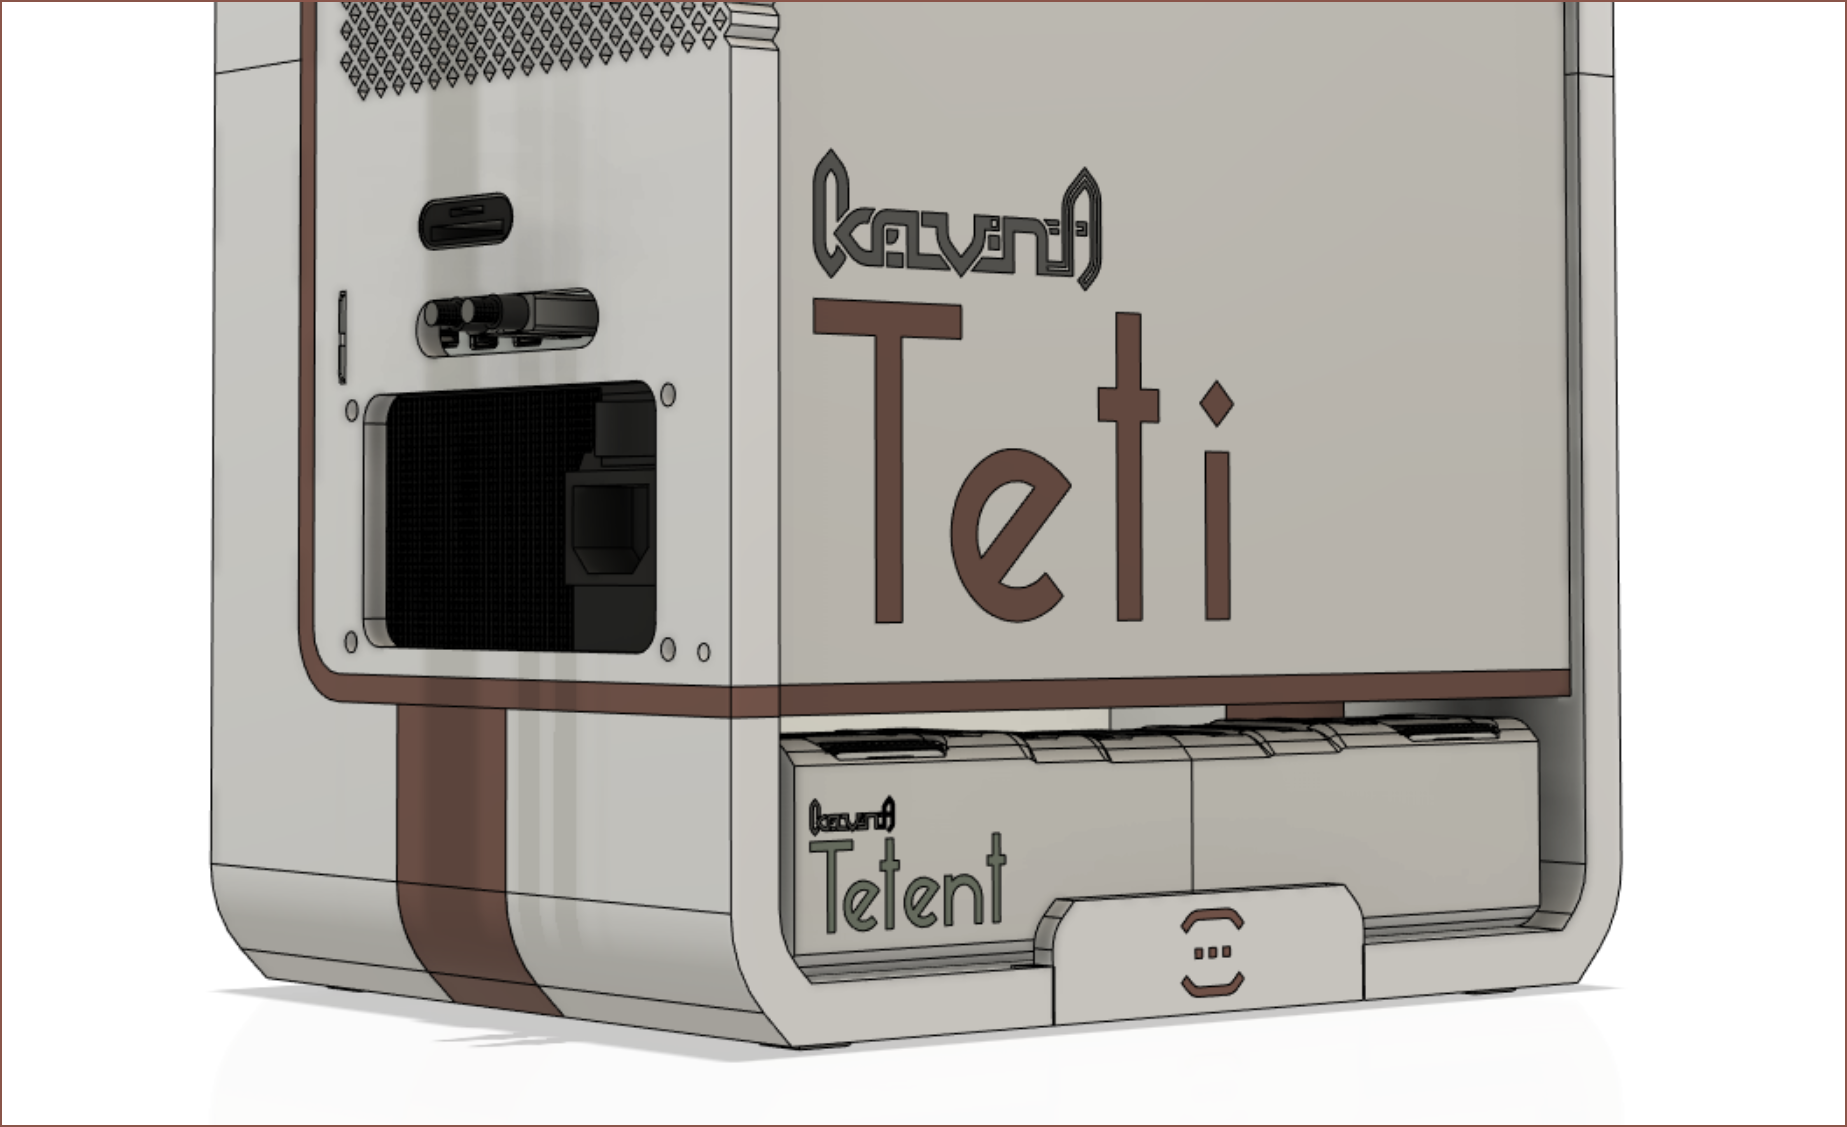
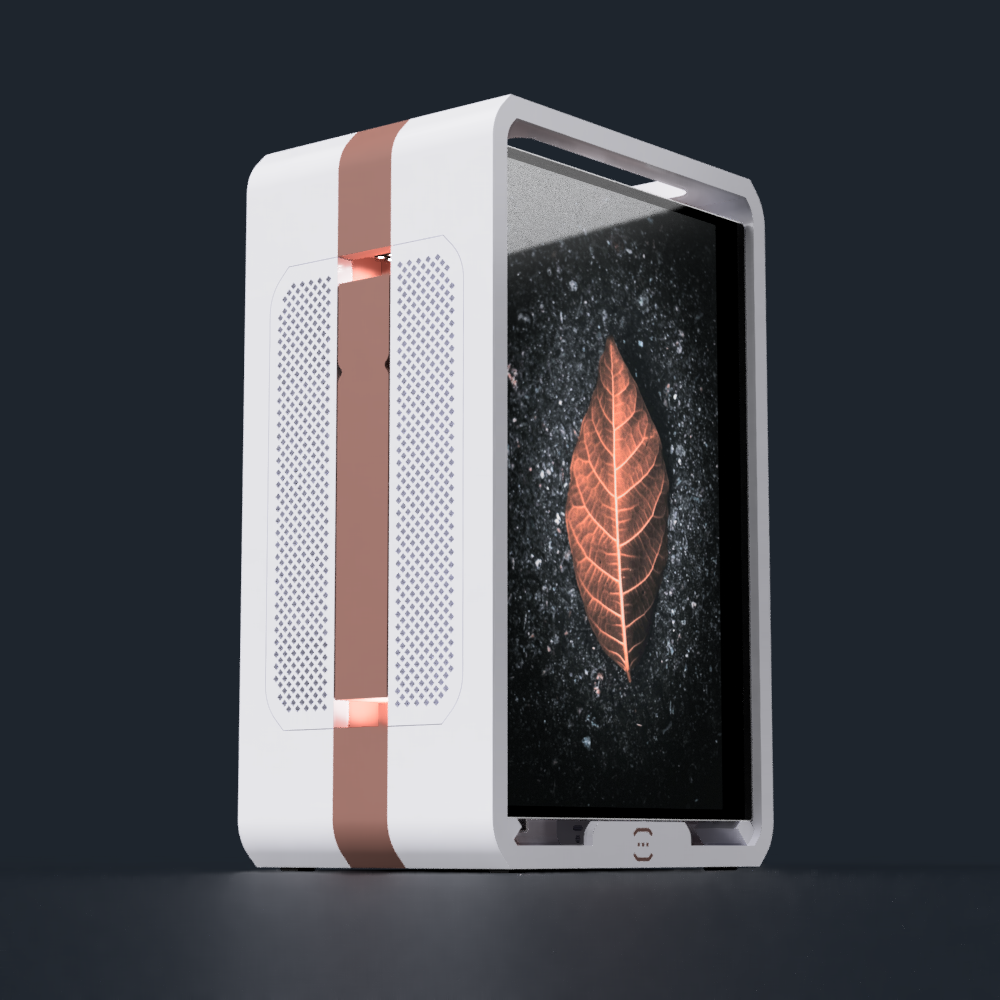
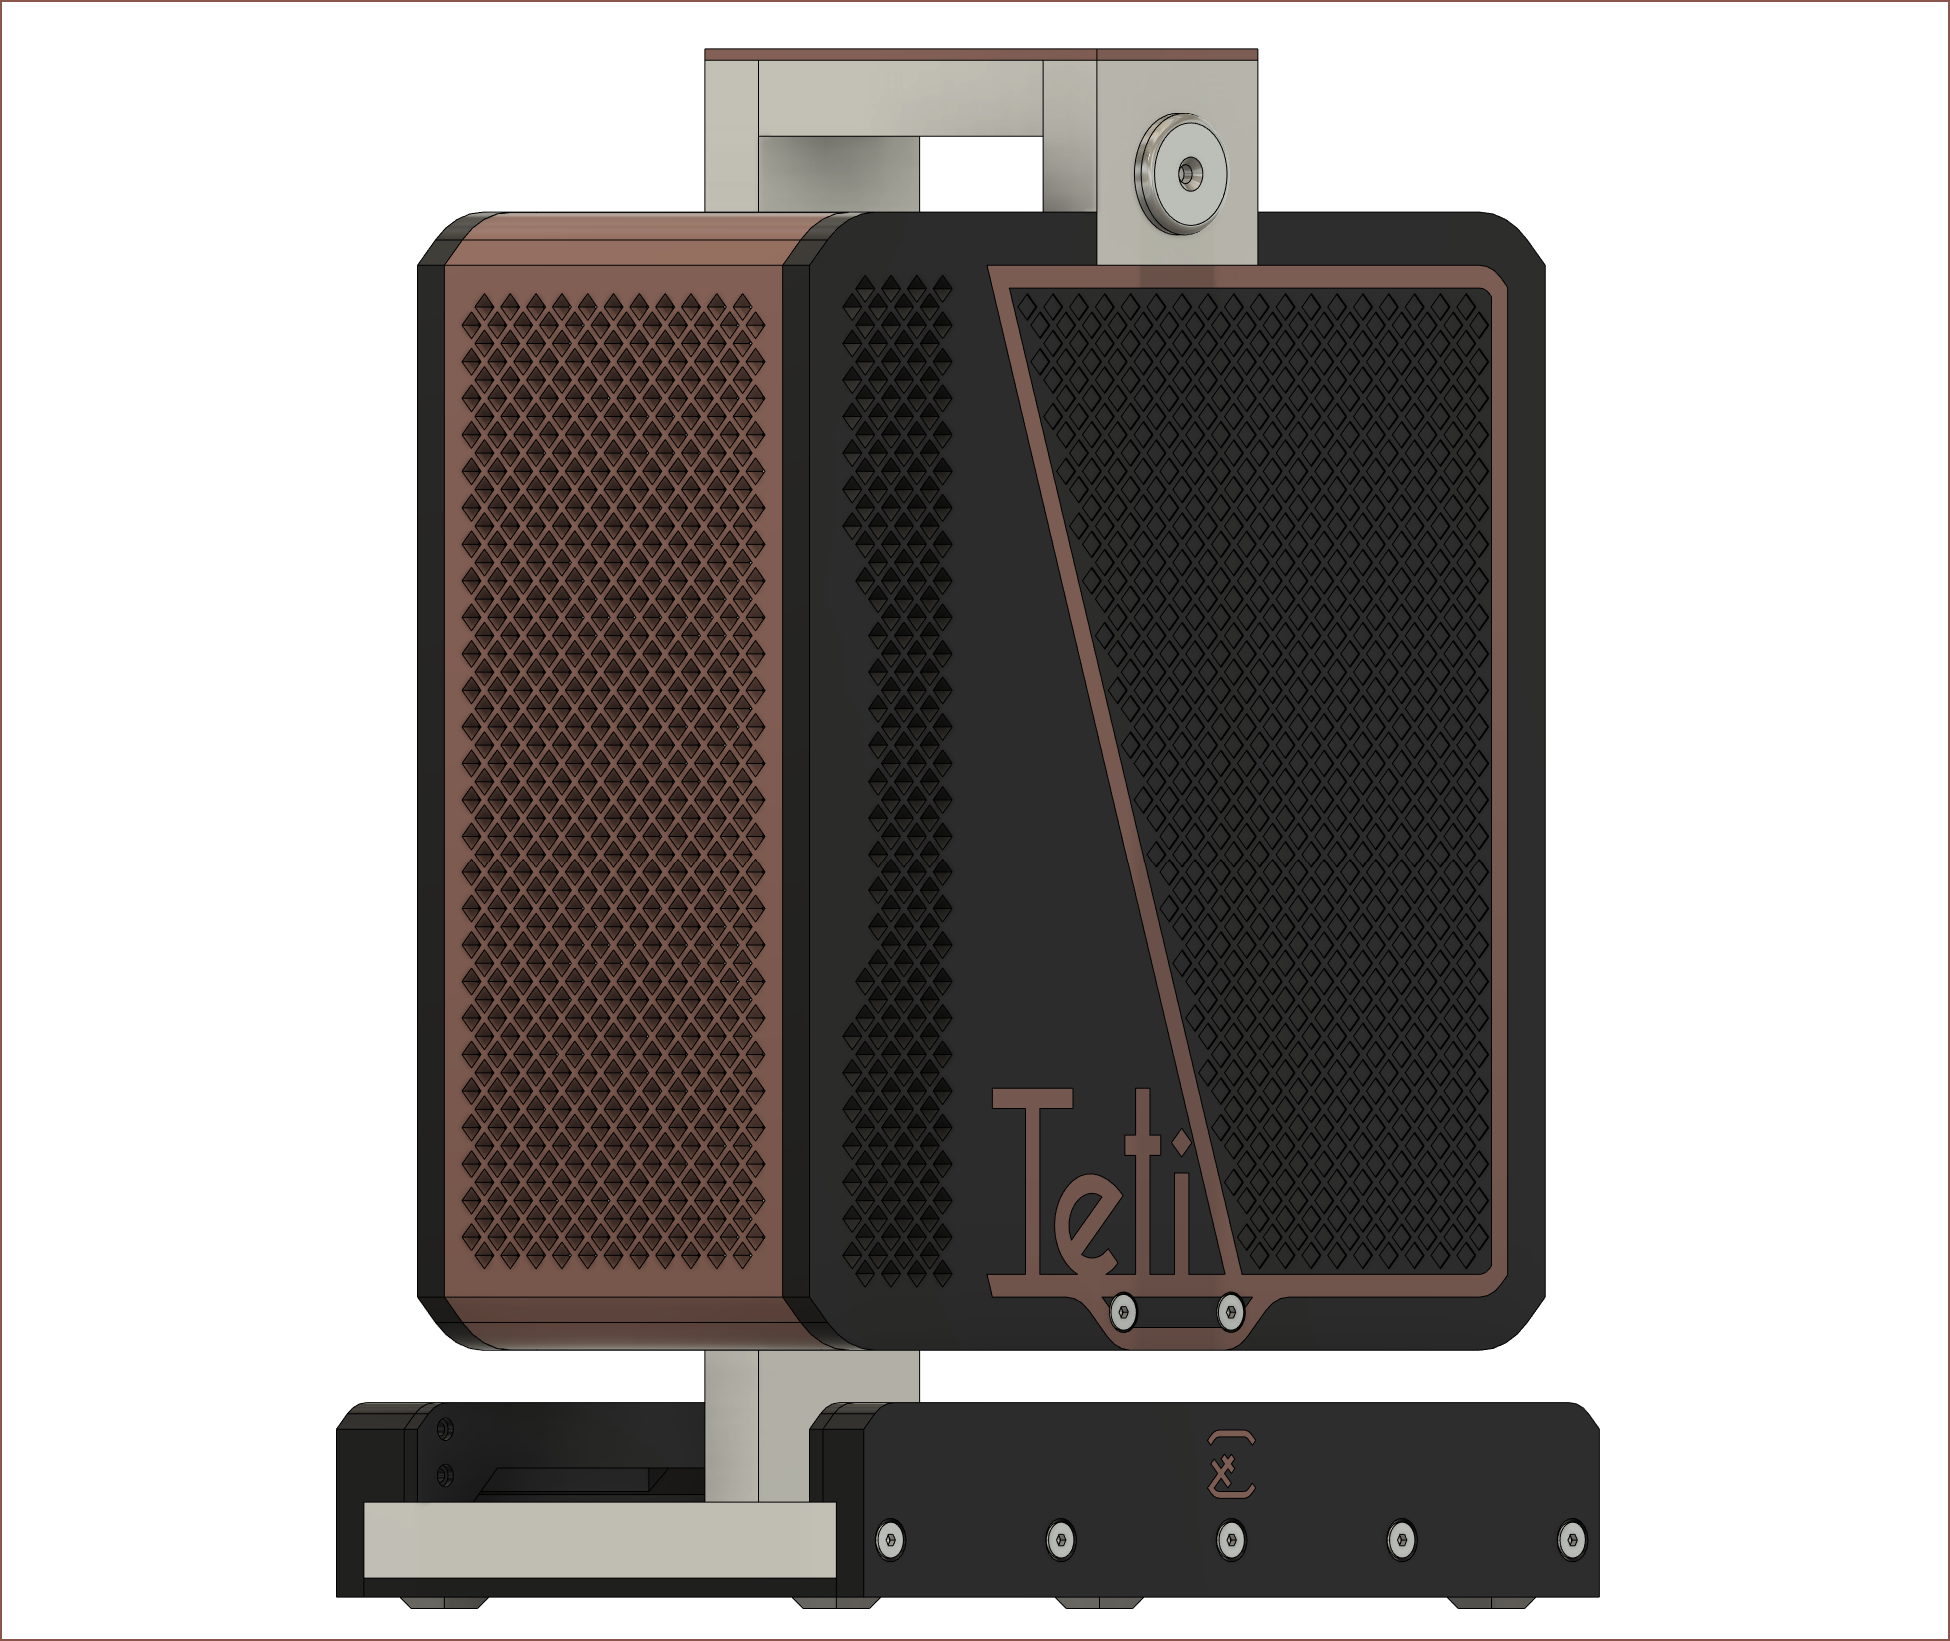
I will write a more detailed log in the #Tetent [gd0090] project, but I was seeing if adding a copper line would tie the look together with Teti and I think it does and I had to write about it ASAP.
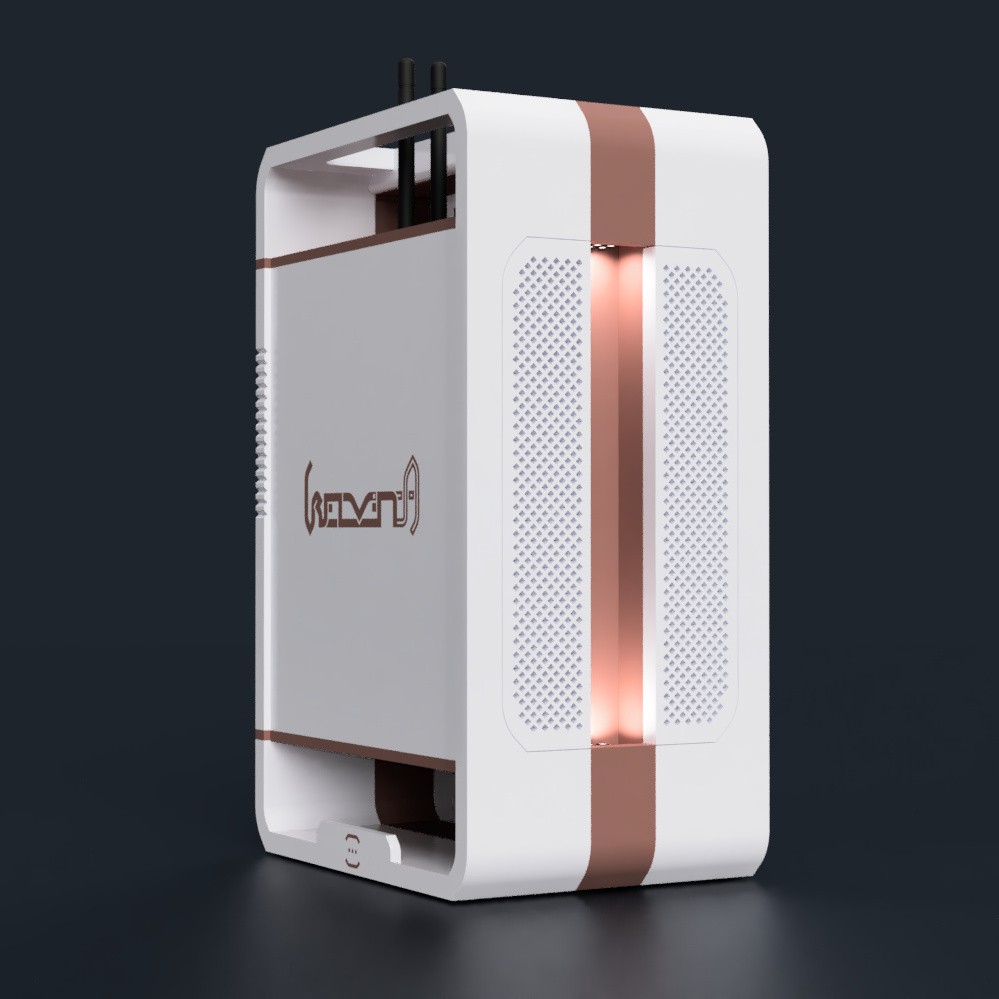
The stripe doesn't go all the way around the back (similar to Teti) and I think that preserves the pure white look from the 3rd person perspective:
I also like the larger diamond squares as it looks more modern than if I had a speaker grille with squares the same size as Teti. It also looks like a brand image decision and not a generic grille. I also think that, from the first person perspective, there's enough copper to break up the otherwise bland looking white shape.
Lastly, I've added the same reflective LCDs on the bottom. The BOM of this "controller" is over £200, so I don't think it's too bad to add 10% for the satisfying convinience of not having to worry about device orientation, especially when Tetent is in a pocket. Just grab, calibrate and type.
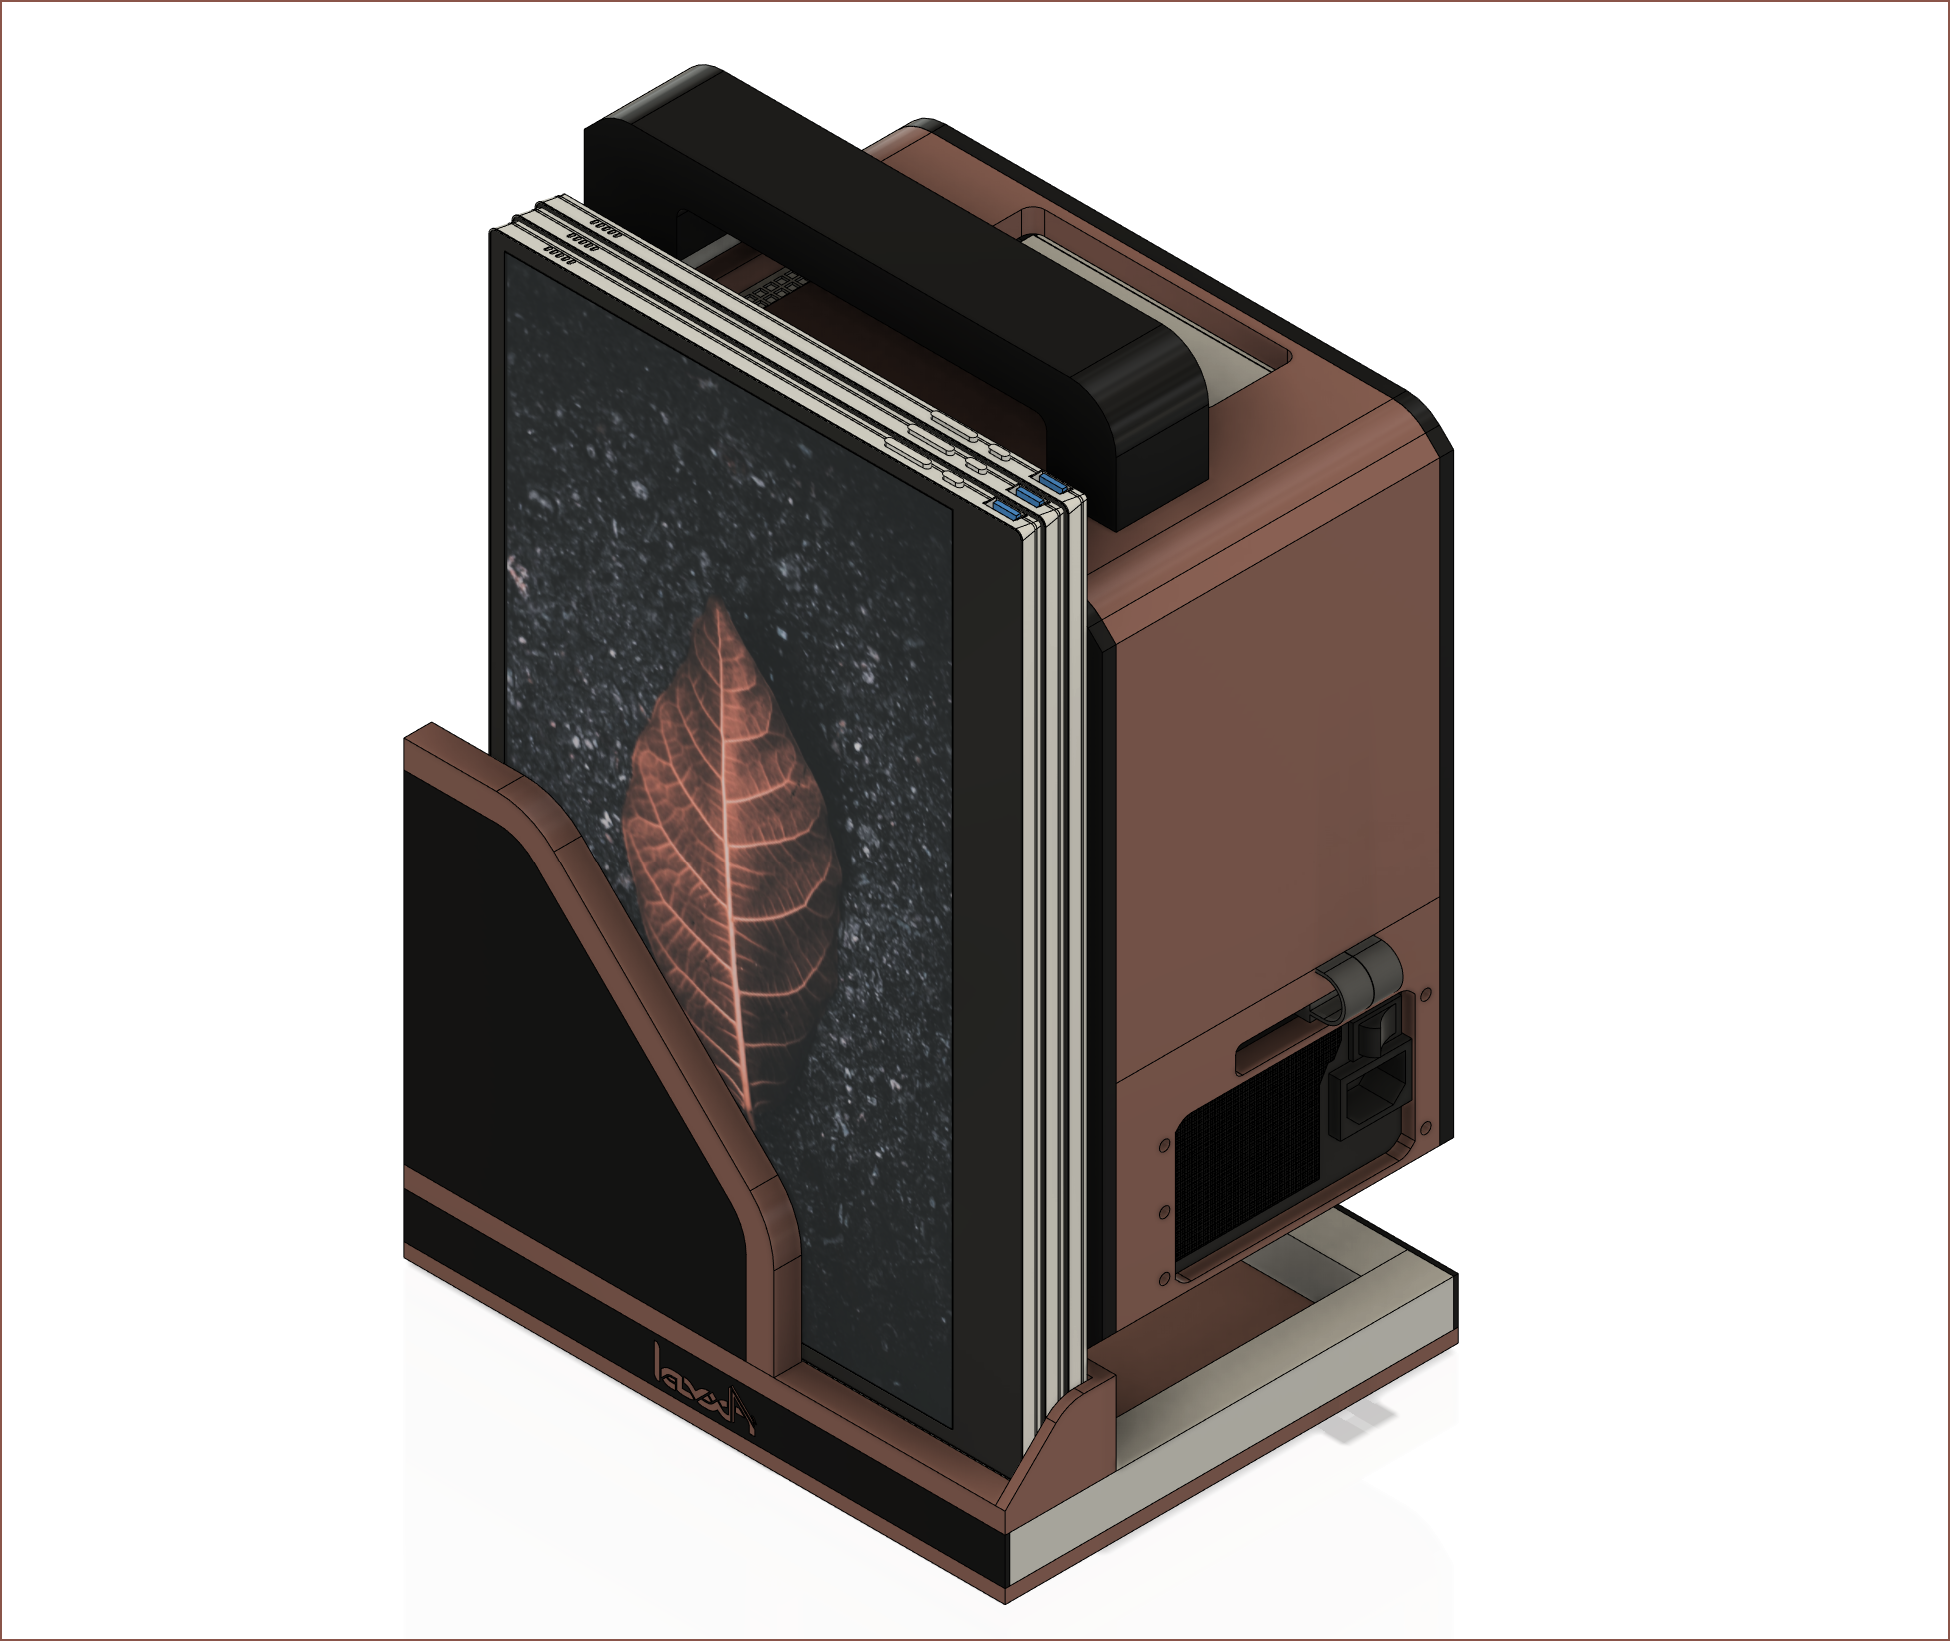
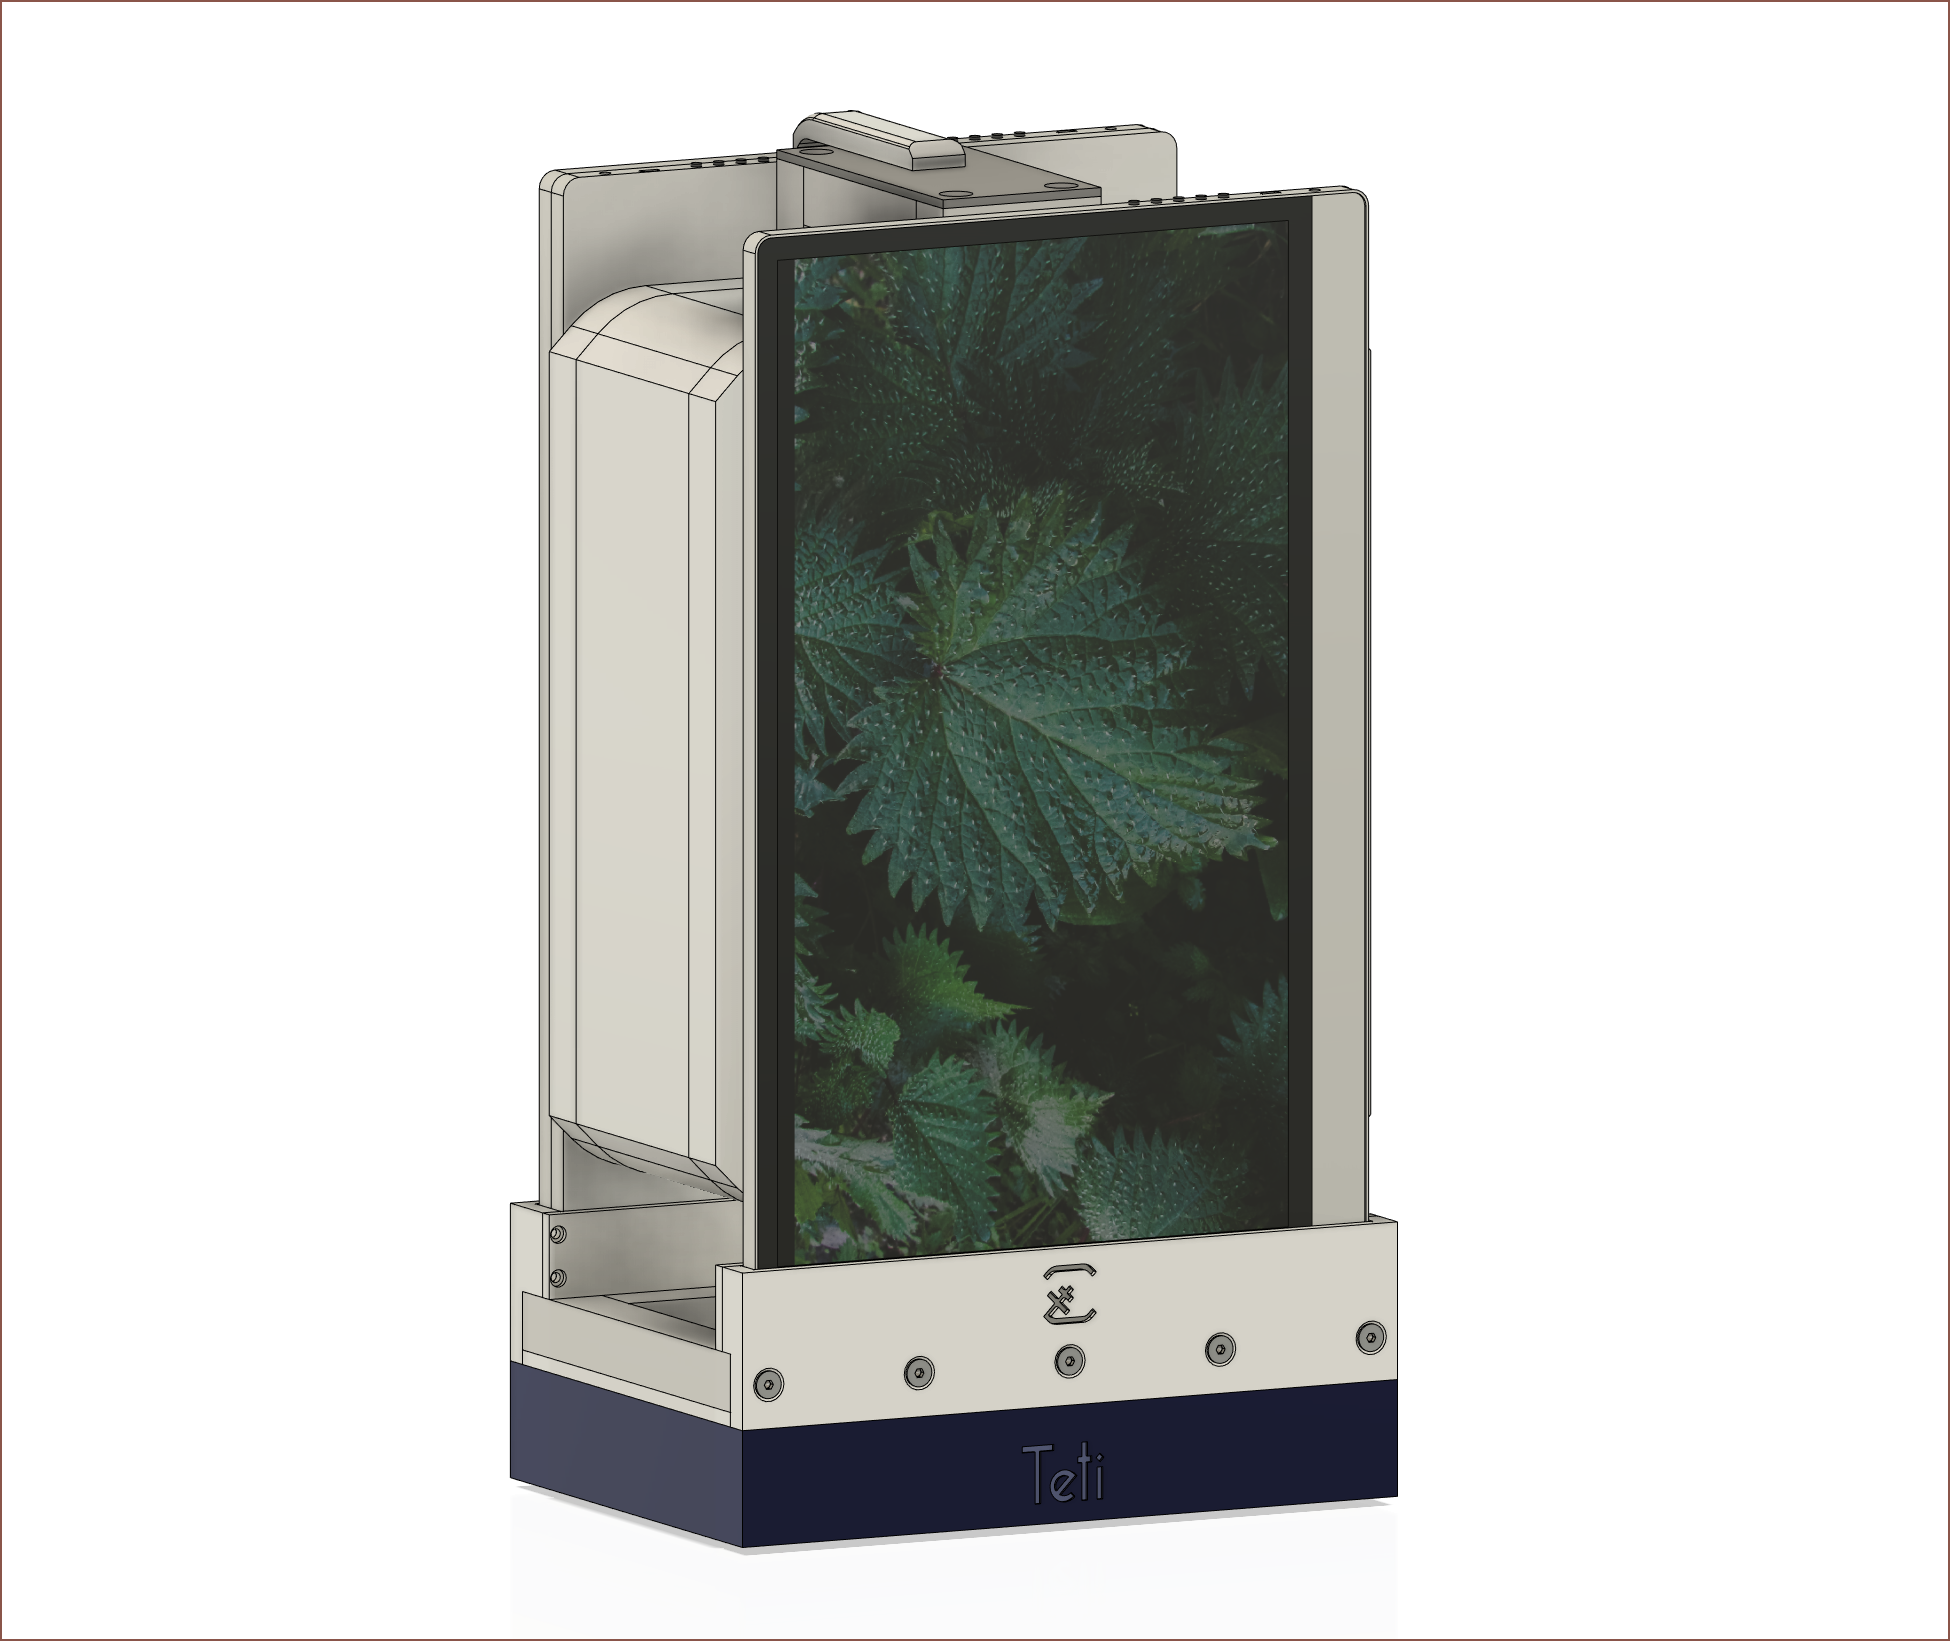
The screen holders have been increased to the same length as the two Tetent's, which is currently 214mm. The print thickness has decreased slightly from 12 to 11mm so that they'd fit. This decreases the pressure exerted on the screens, and should make the tablet stand and laptop mode more stable.
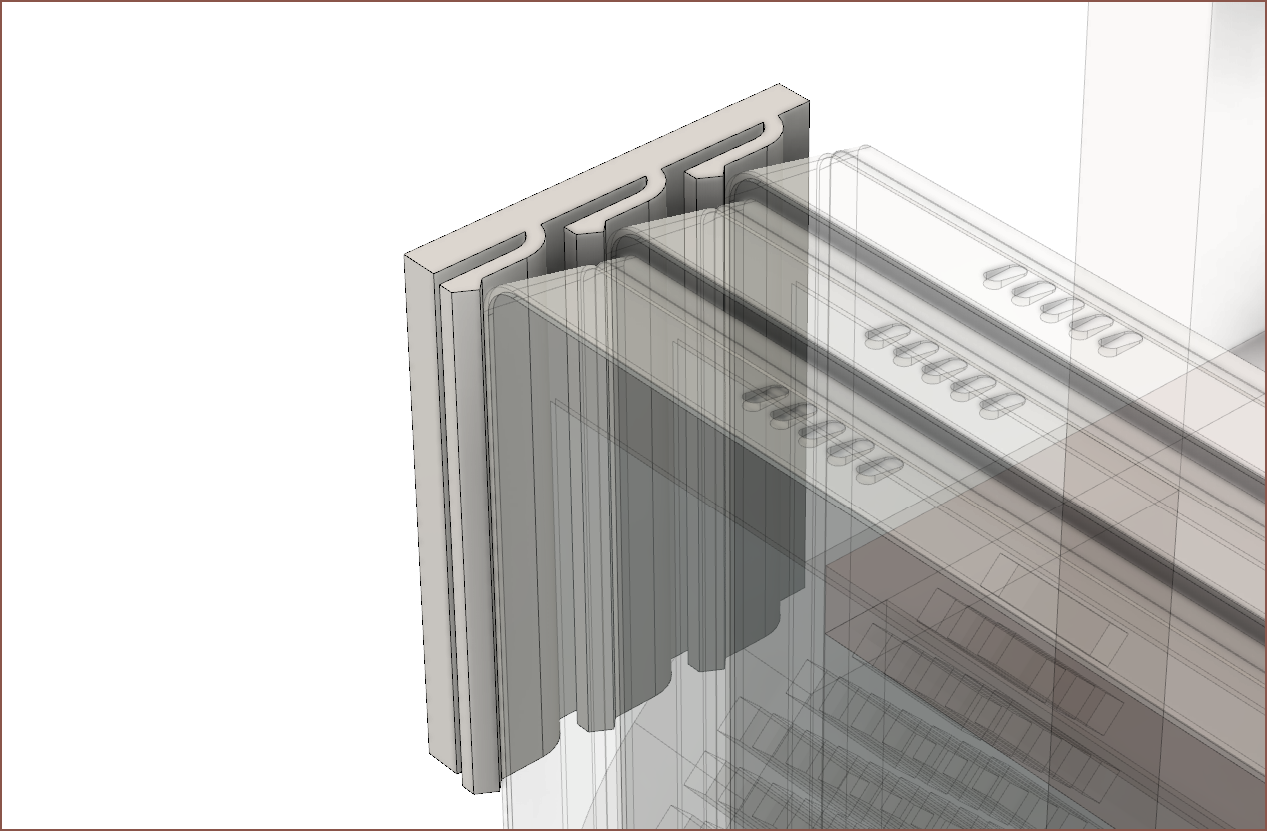
First was adding some faces to the mini logos so that they can be lifted up and slotted back in. This is to allow storage of the Tetents.Then I modelled the clips that will hopefully keep the screens in place.
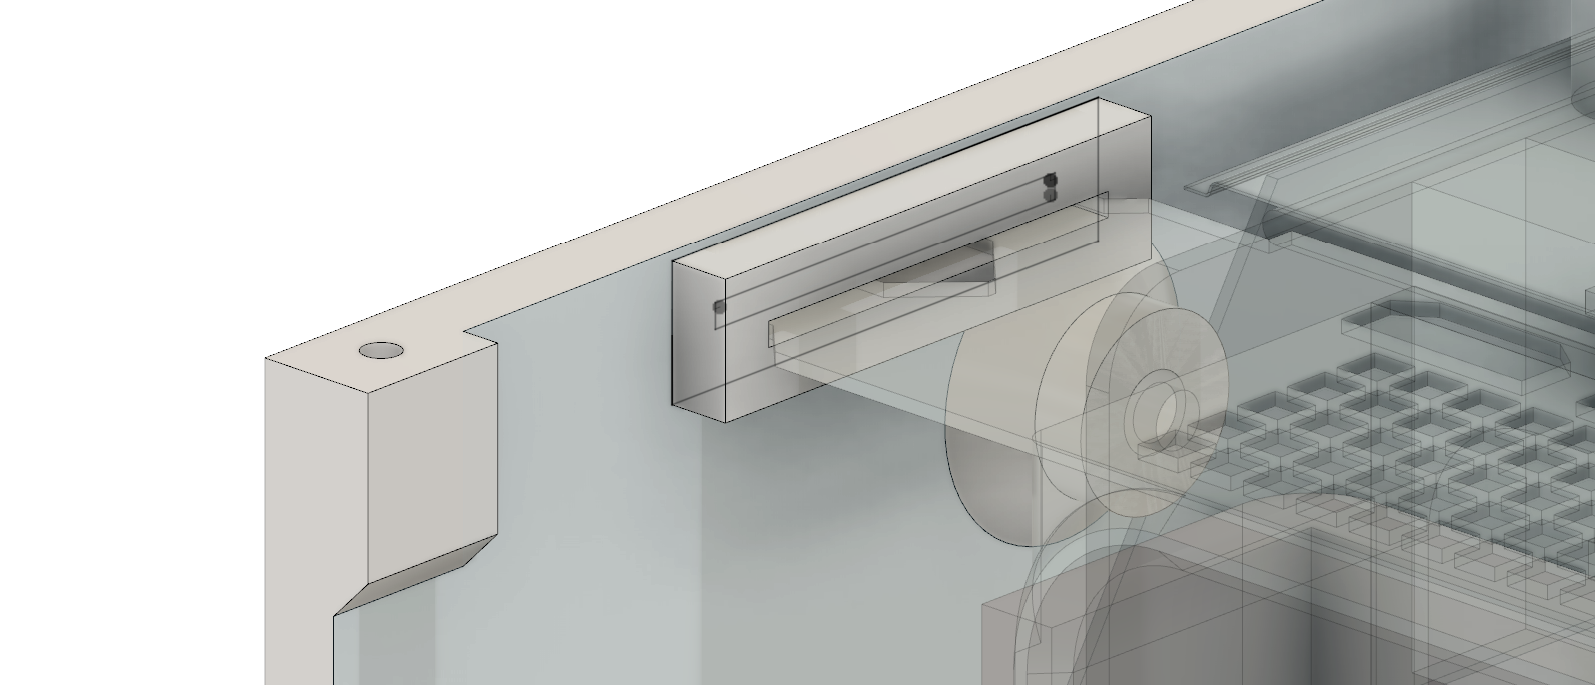
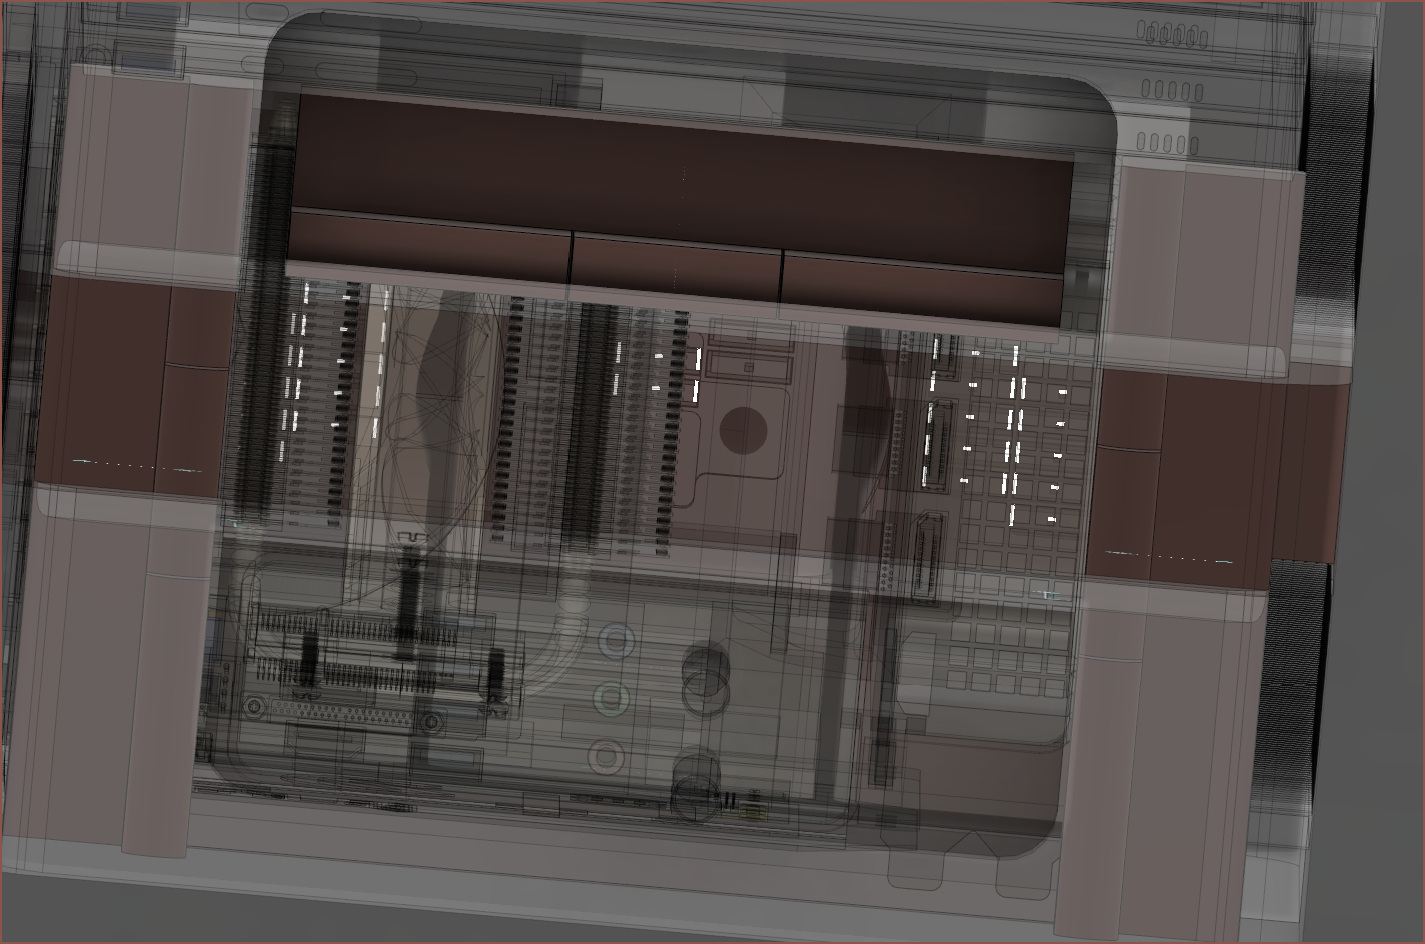
Currently, I'm adding mounting holes and slots everywhere, in hopes of being able to print a minimum viable box.
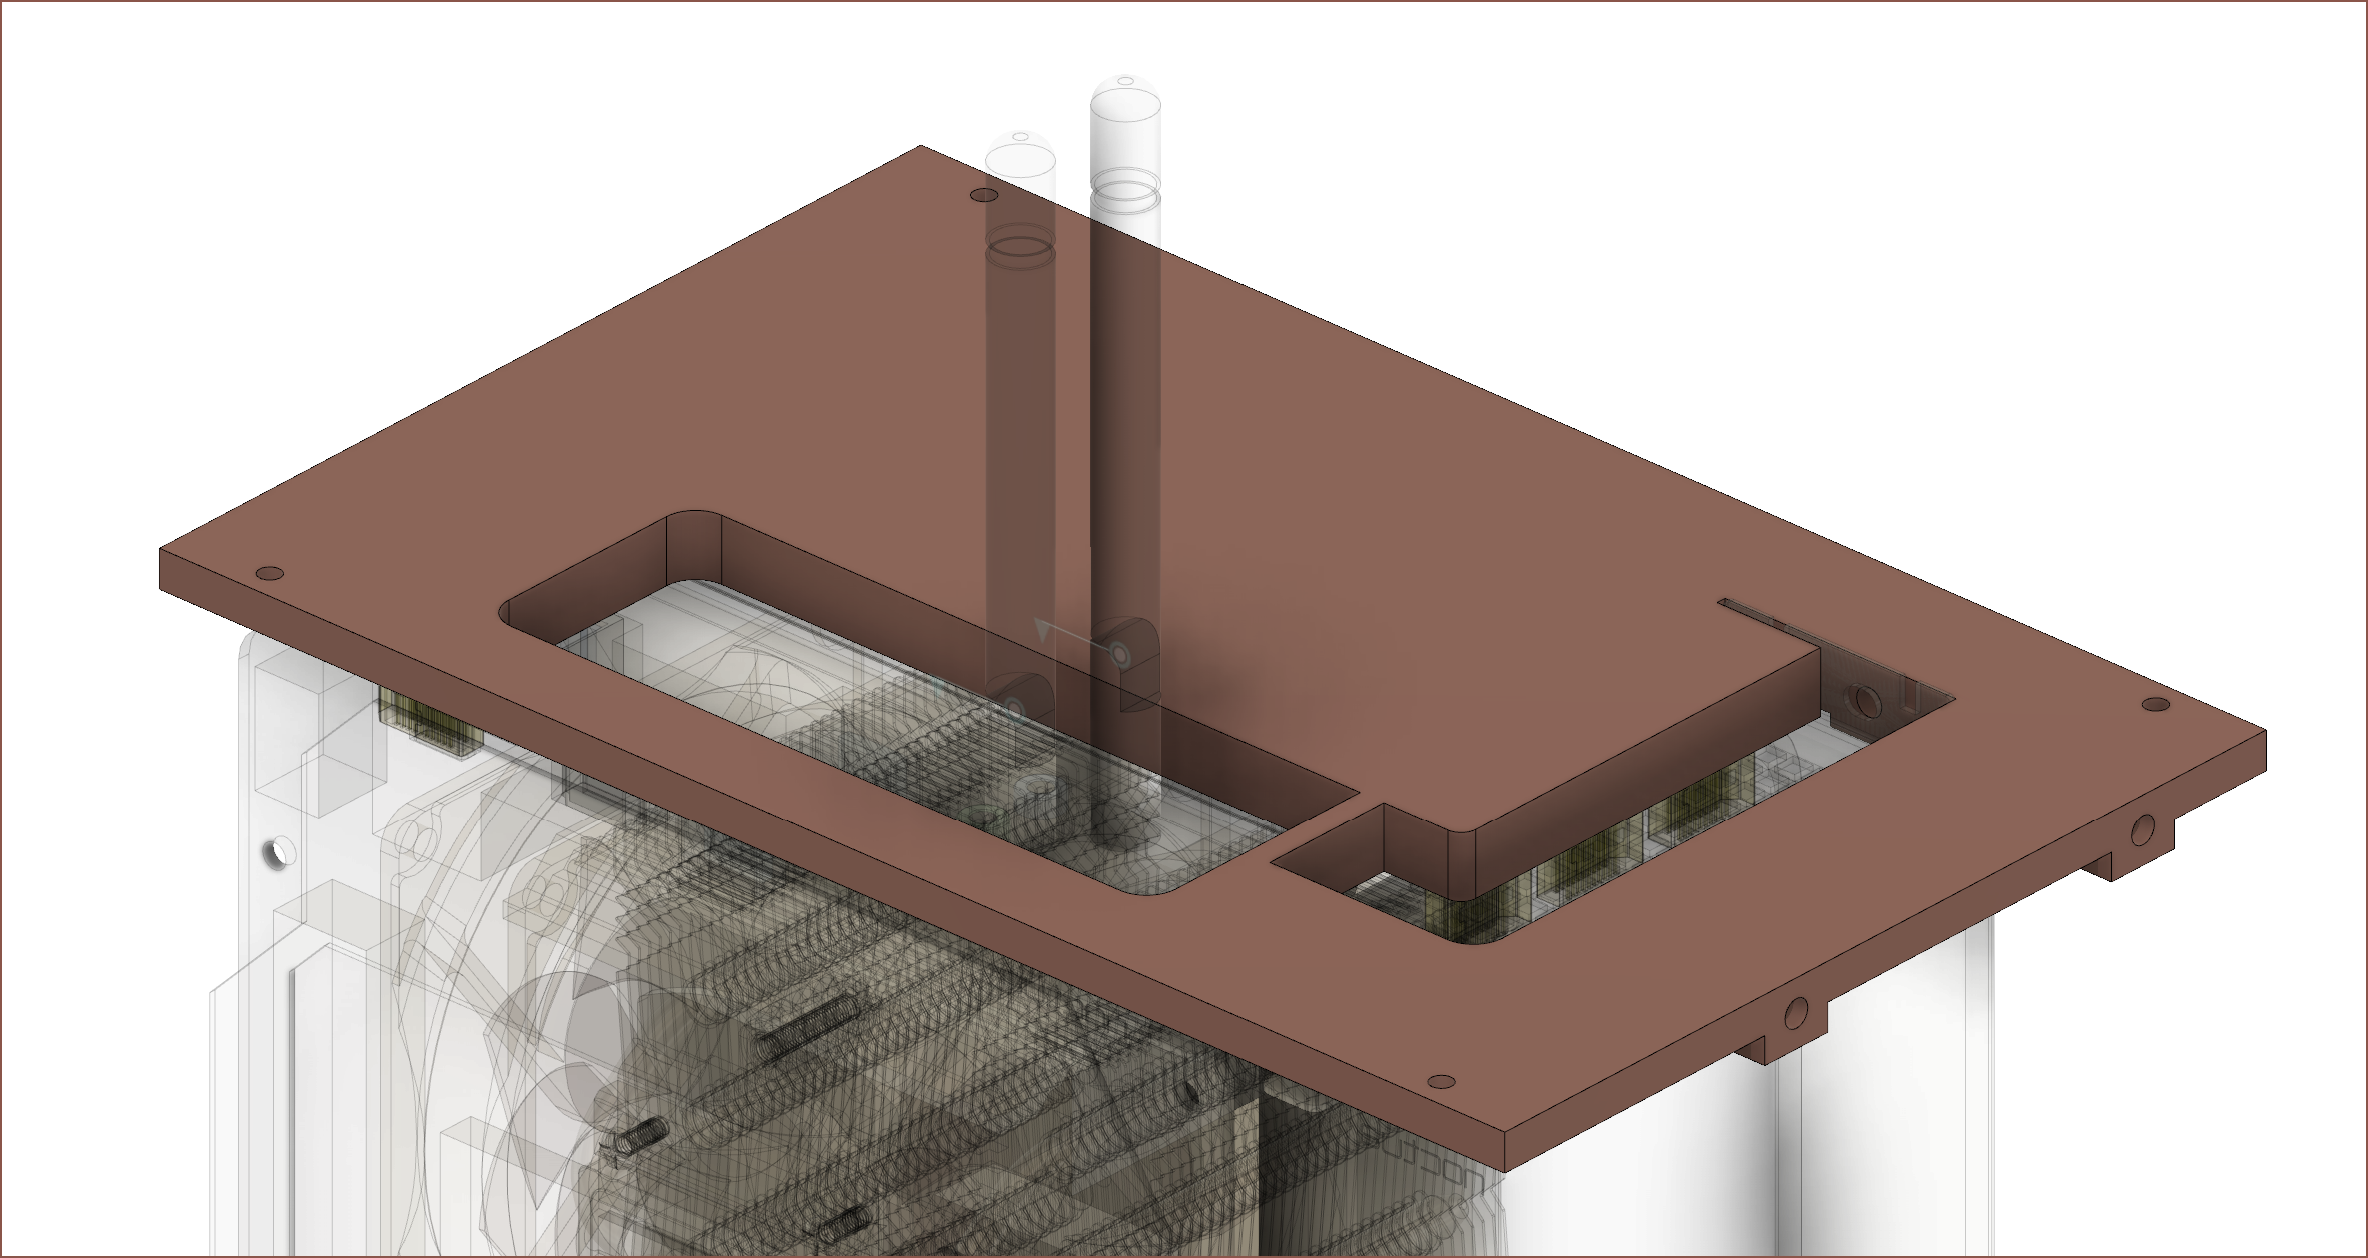
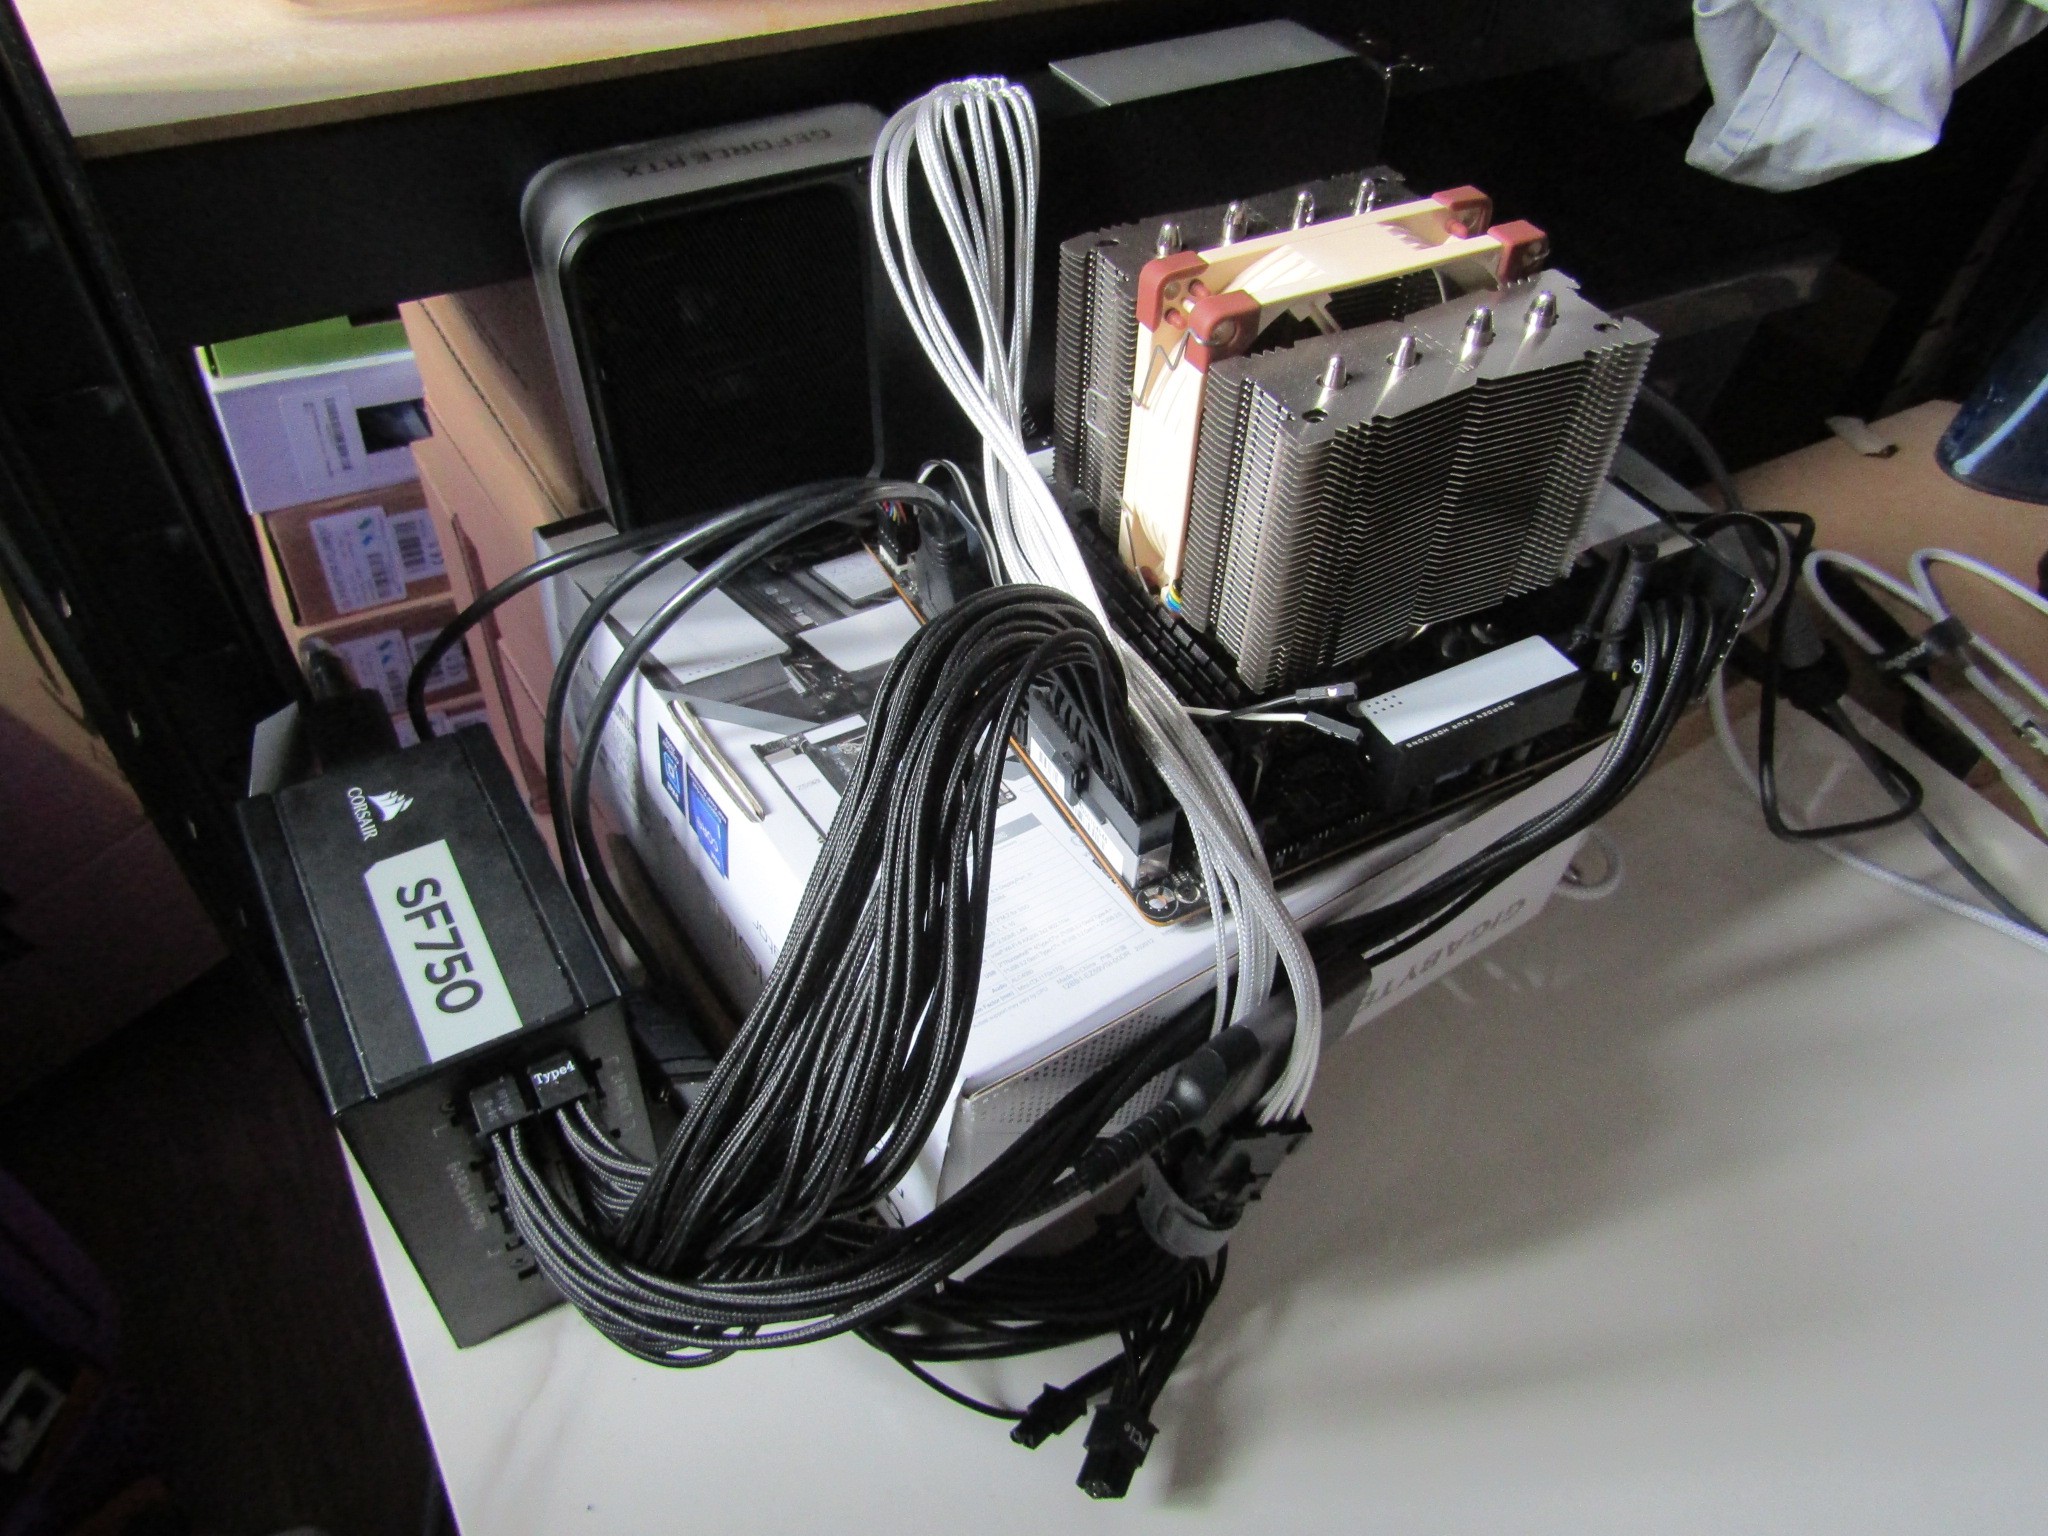
I don't know why I didn't think about it until I woke up today, but I could've designed and printed these sections of the case and have my PC in some resemblance to a box instead of living ontop of the motherboard's packaging box.
It also allows me to make sure all the wires fit in here before I start printing the rest of the case.
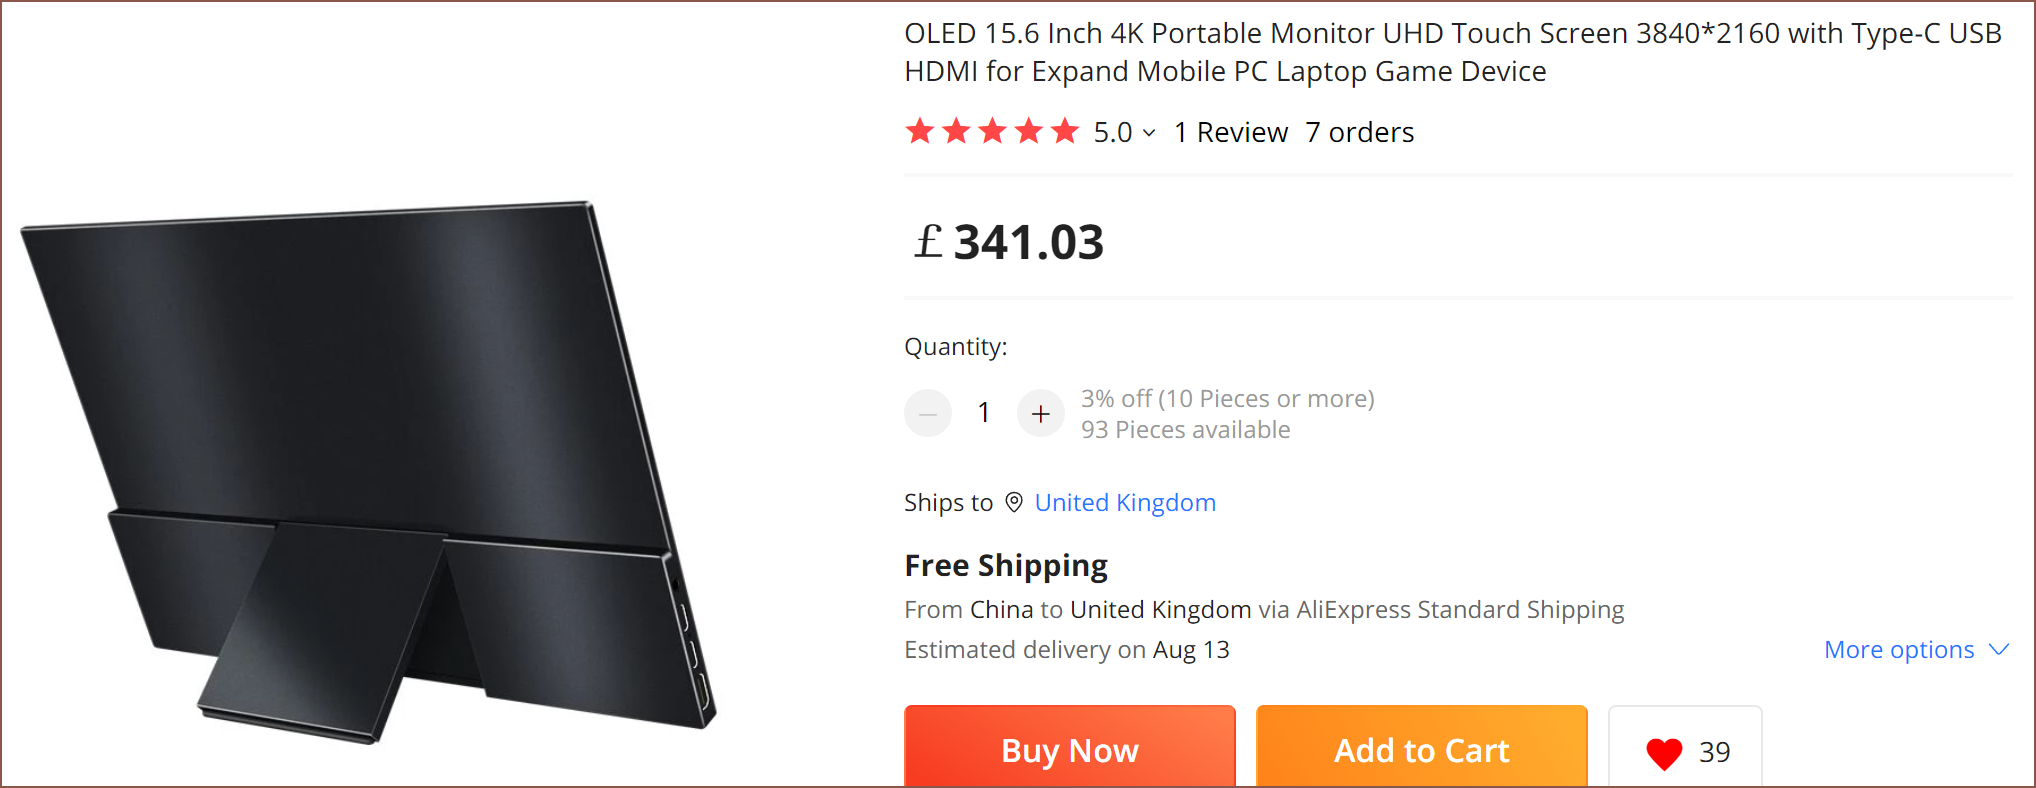
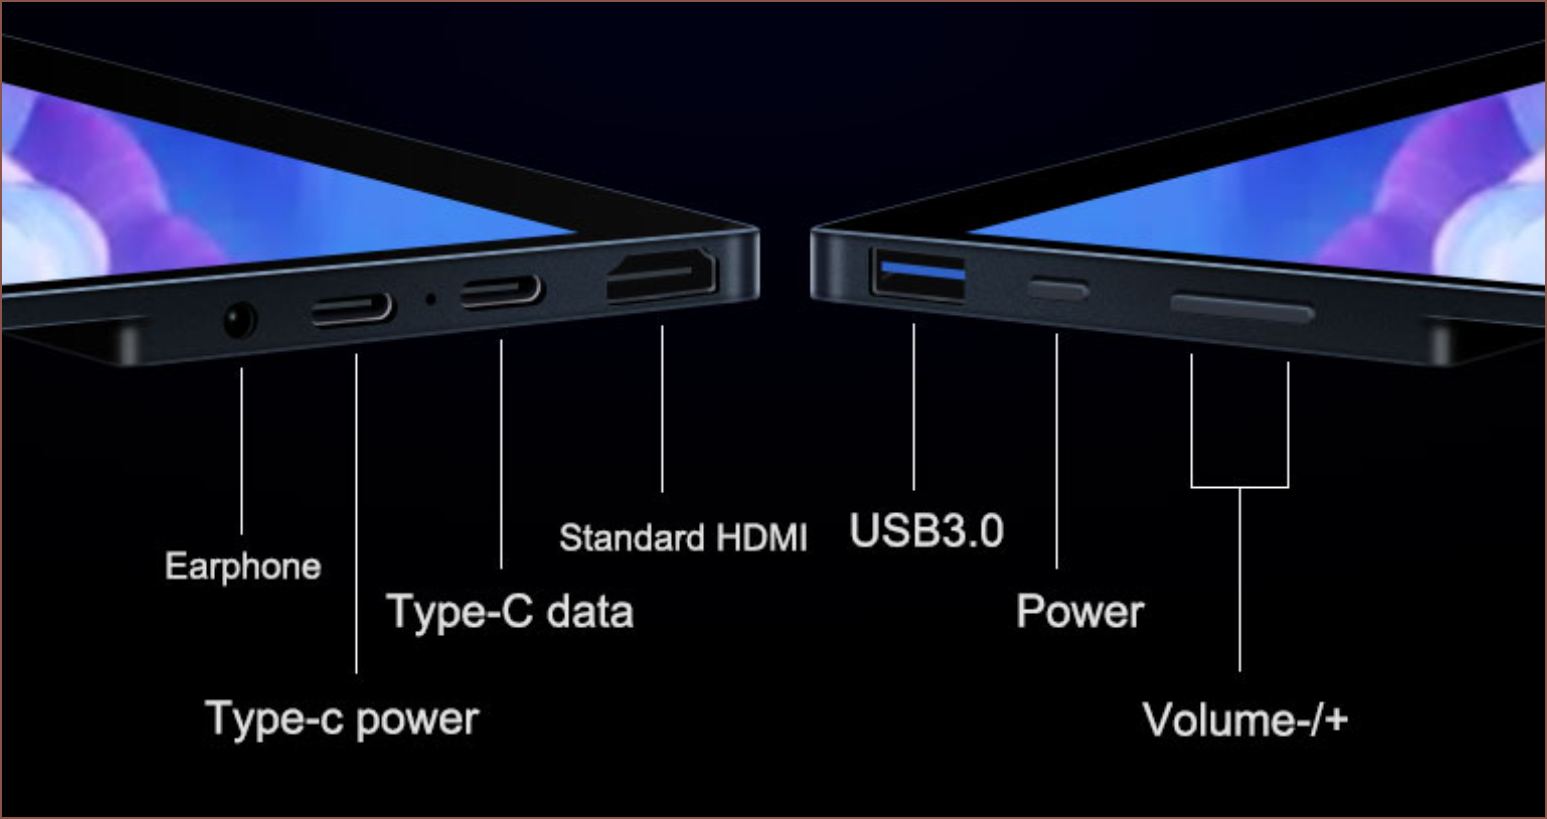
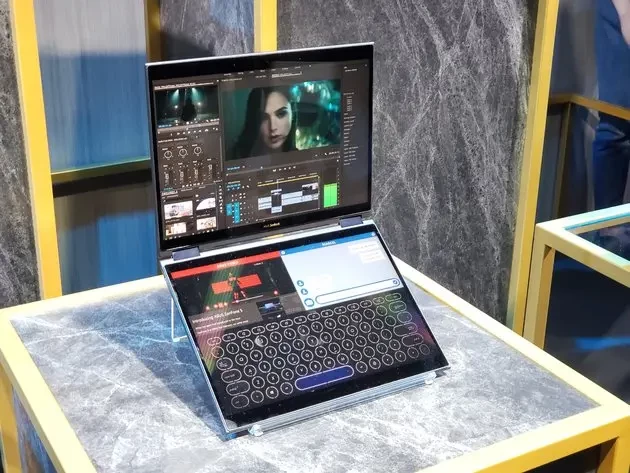
If these were around in Dec 2020 when I bought my screens, I most likely would've jumped on these instead. Thinner, deeper blacks, more colours, built in stand and has a full sized USB? Yes please.
Especially nowadays since the screens I bought late 2020 have gone up £70 each.It also looks to have less chin.
Oh there's also an IPS one in the same body.
Then it would've been an even easier sell to me. Buy 1 OLED main and 2 IPS additionals.
[17:30] Sigh... Now that I'm back into designing Teti, I think I can see the reason why my progress has stalled for months: all the "low hanging fruit" tasks mostly dried up and it was now predominantly the complex tasks left. One such task is designing the screen holder.
---------- more ----------
Screen Holders
My original idea was to have the 3 screen holders in a line like this, but Me In The Past already had concerns that it was only 75mm wide and Me Now was thinking that it was a waste of space utilisation. My new idea was to go the full 145mm width of space and just accept that I was going to cover the ports.
Or would I?
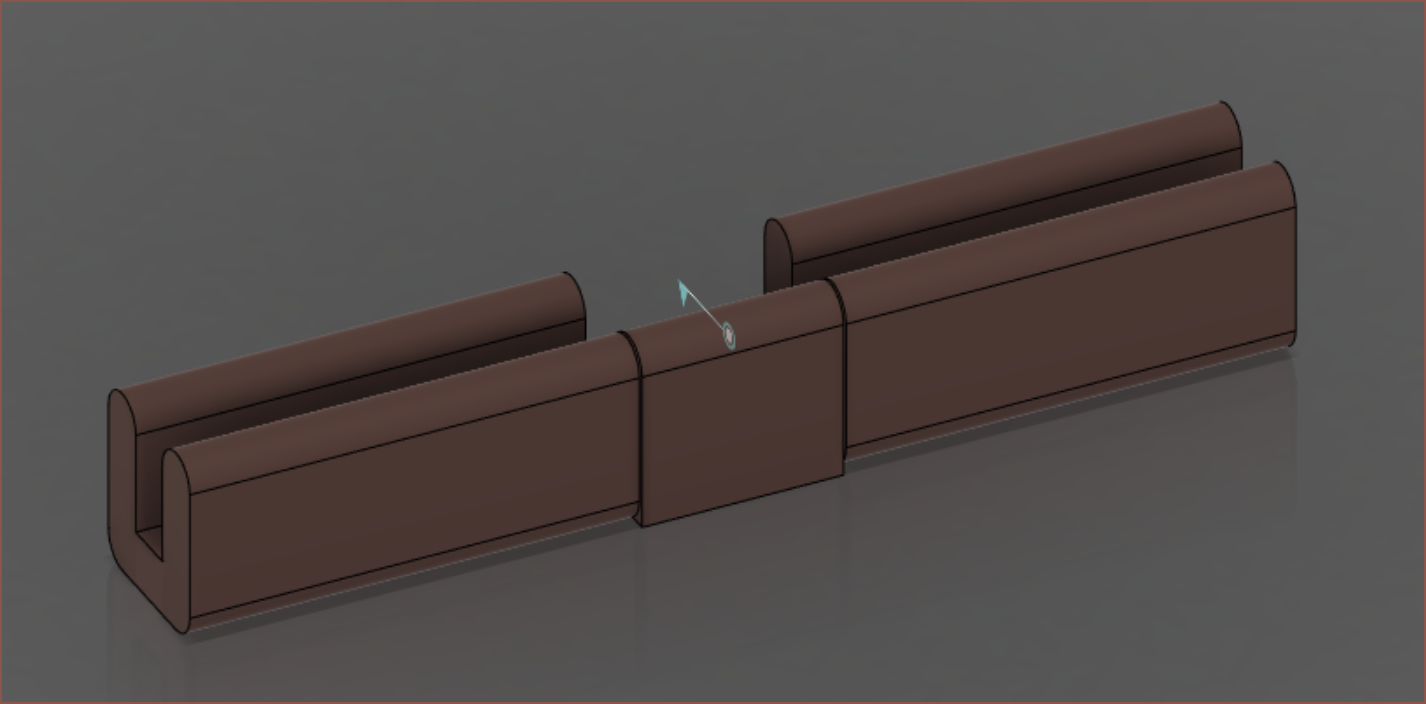
It was only when I started adding the parts to the Teti model that I realised that I could arrange the 3 holders in a C and avoid covering the ports. I could even drop one in through the top cutout if needed.
I'll likely add some holes for magnets down the line, but for now I wanted to further diffuse the potential solution into CAD, so I added material to support the back of the screen and started work on the laptop holder concept.
Dual Screen Laptop Mode
So, as you may know, a single screen is "Tethered Tablet" mode and 3 screens is for Desktop mode. 2 screens are for a laptop mode, both because the laptops seen below aren't purchasable and are just concepts, and because Teti was to fill the void of not being able to buy a laptop I wanted at the price I wanted to pay. A big reason was because most touchscreen and 2-in-1 laptops were either coming with soldered on memory or capped out at 16GB anyway. The cheapest 32GB 2-in-1 was from Lenovo and like £2200 when otherwise matched spec laptops were over half that for 16GB. Looking at Teti's BOM, the PC and its 3 4K monitors are around £2300, and for that I get a 11600K, 3060Ti and 64GB of RAM. I determined that I mainly desired relative portability (moving around a room) and usually not absolute portablilty (on a train), so I decided to go through with the PC route.
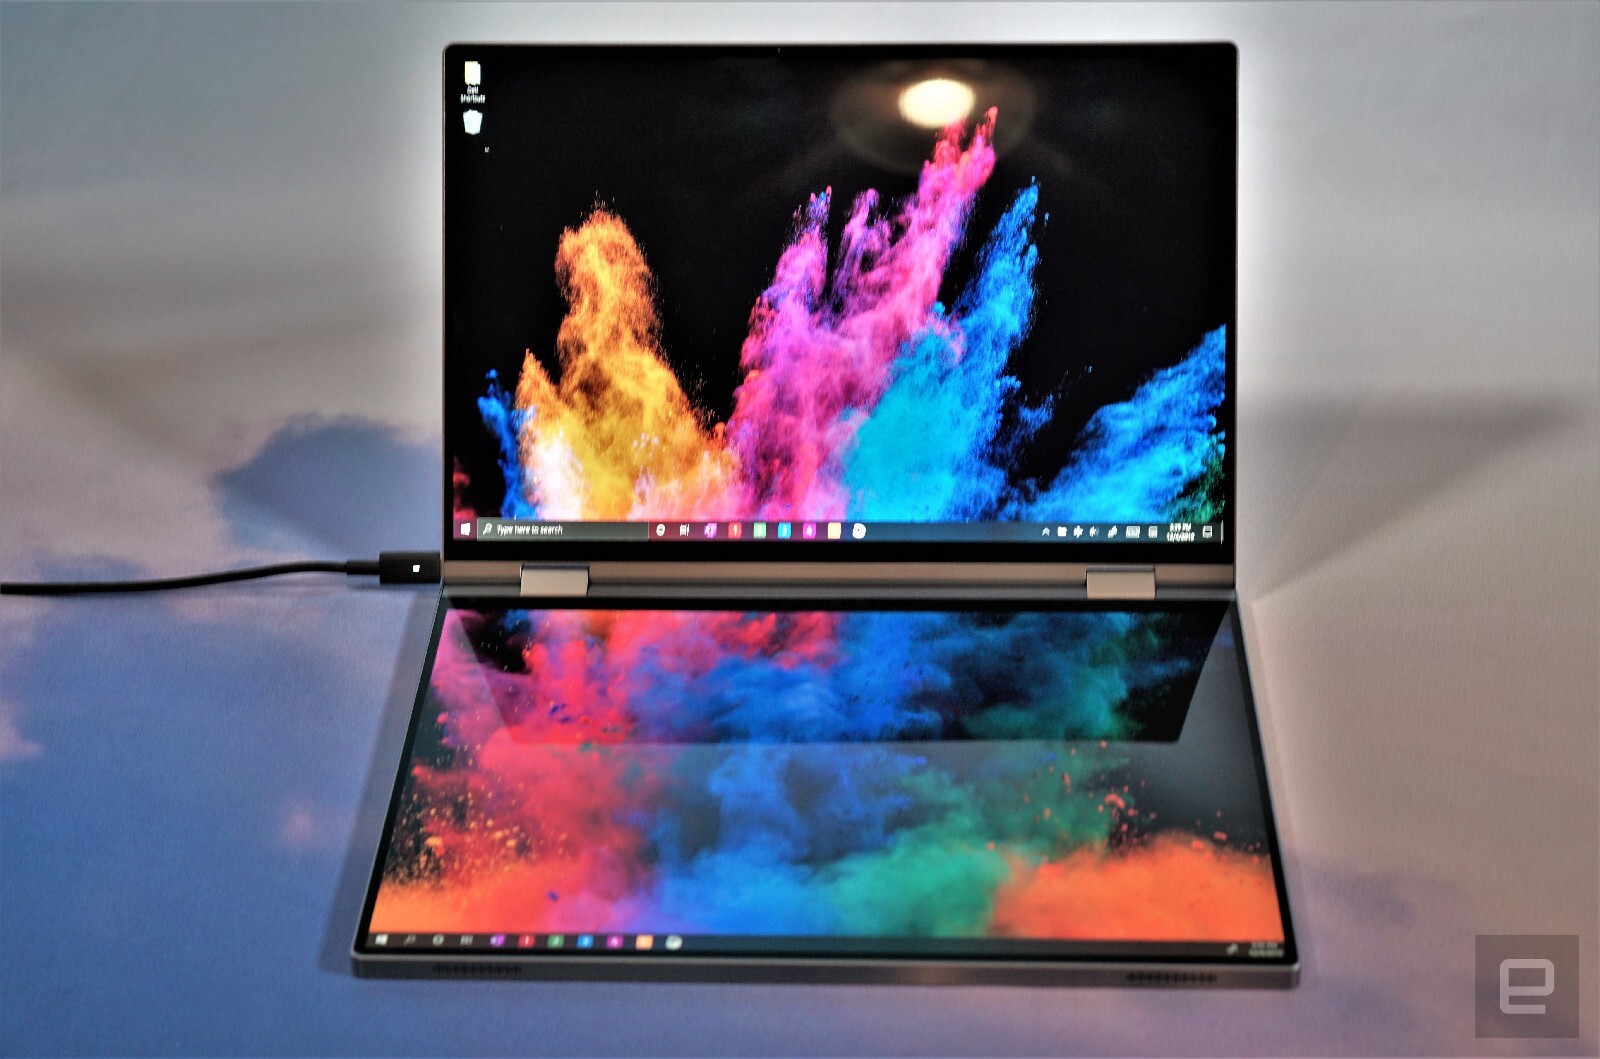
Asus Project Precog
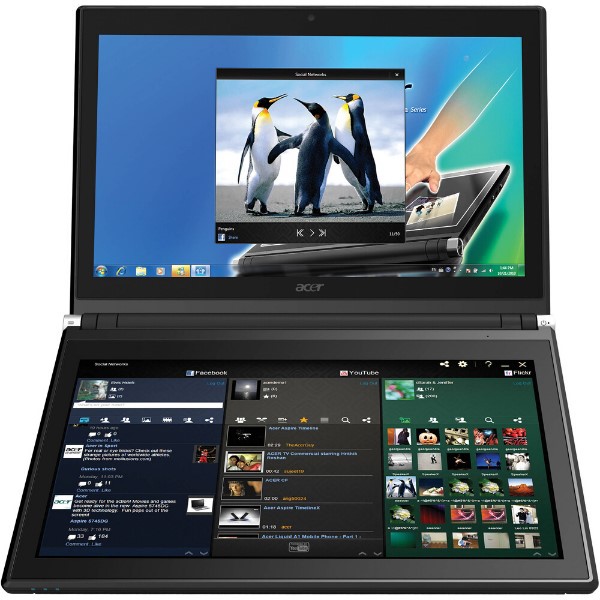
Acer Iconia 6120 (this one existed back in 2011)
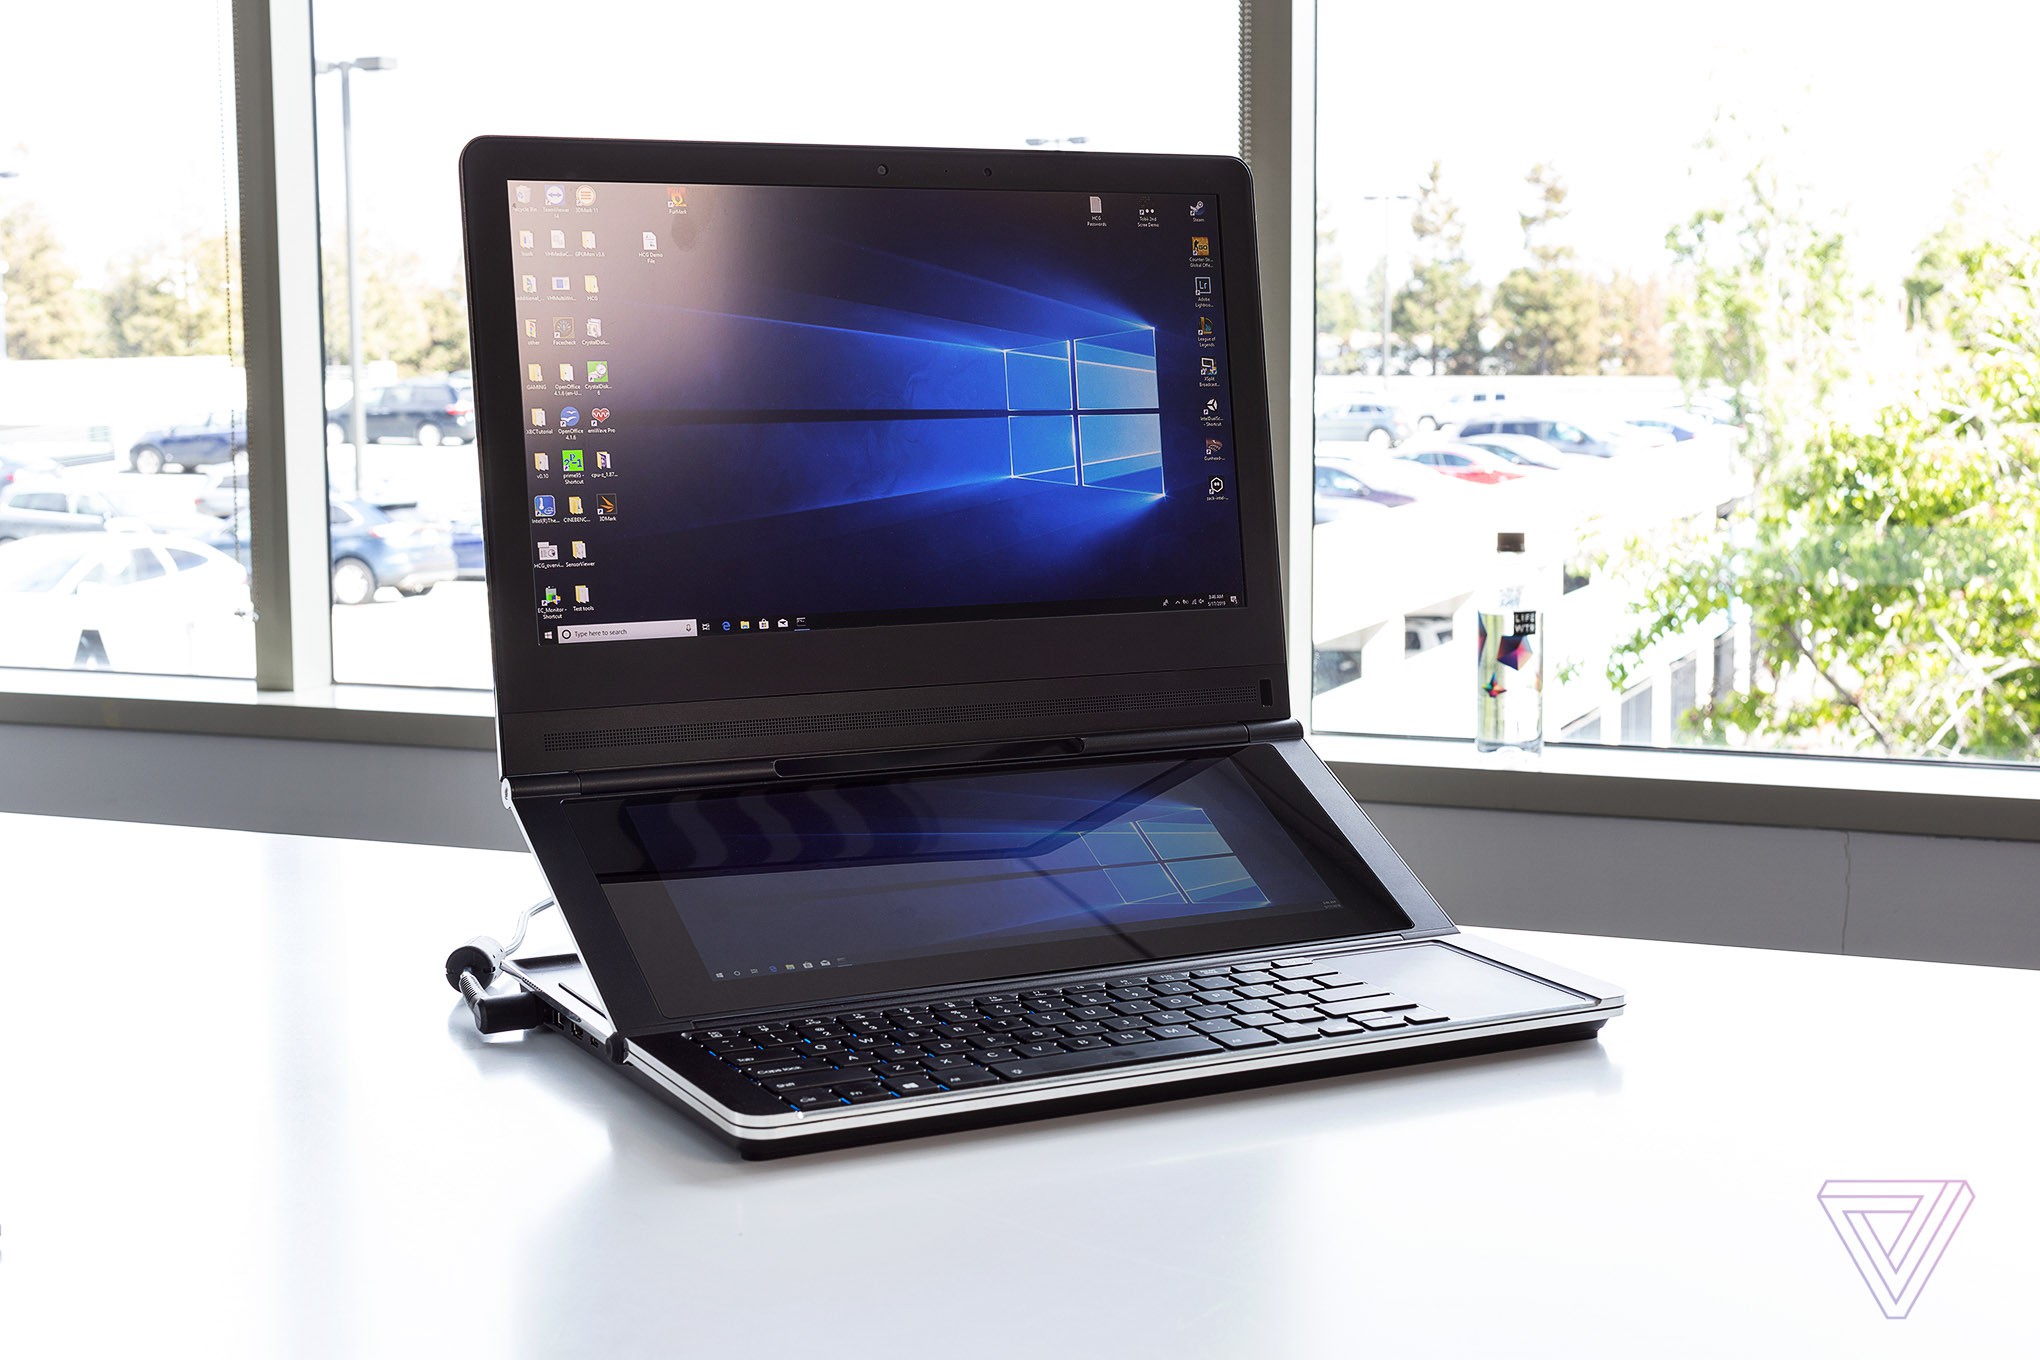
Intel Honeycomb Glacier
Intel Twin River
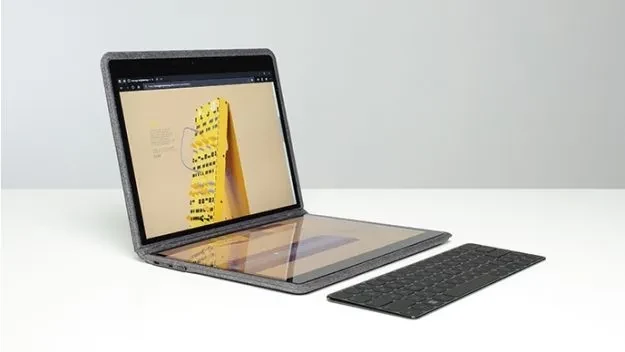
Dell Duet
Anyway, I was connected to a charger half the time and less than a metre away from it for meybe 40%, so It wasn't too hard to accept having a USBC cable or two always plugged in to the device.
Original Concept
Along with the original concept of Teti, the idea was to use magnets to hold the 2 screens on a printed mount. I used the Concept 3060Ti eGPU to guage how large it was going to be.
If you're wondering, the eGPU concept was a battery powered eGPU to use with the GX1 Pro I called Aeti (technically pronounced A-eti but I predominantly called it The Ae-Ti (not "tie" like that one guy at NVidia, but Ti as in 3060Ti or 2080Ti)) in the bleak days of the GPU shortage. I thought "Ok, if I can't build Teti, why not double down on portability and get a 7" beast of a UMPC? Aeti was "a work of art", as I repeatedly said, but I managed to snag a 3060Ti at MSRP days after getting it and diagnosed WiFi issues days after that and unfortunately returned it. It also had a few annoyances I knew were going to get to me eventually (limited screen angle and only 16GB of RAM) so it was a sweet 'n' sour relationship.
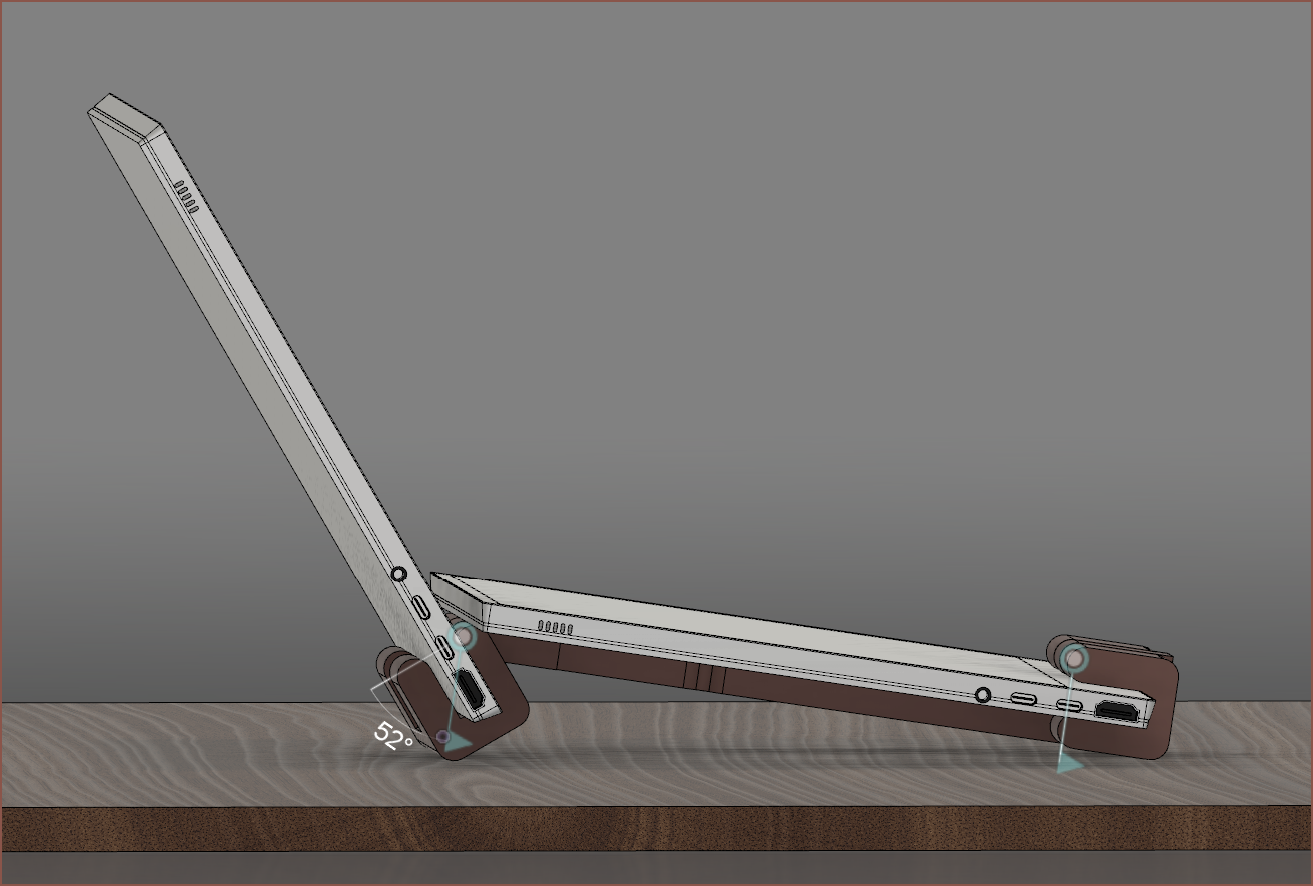
New Screen Holder Idea
This was the first time using the Pin-Slot joint and it's used to make sure the other half was level with the table at any angle.Fusion decided to do this back breaker and I eventually figured out how to get it to use the other solution:I then tried to see if I could close it like a traditional laptop:Yeah that's not happening. Anyway, these are the measured stats:So I'm looking at an 8 degree tilt for the bottom screen. This design also alows for the screens to be at 180 degrees, which is a feature I expecially like in laptops. At 180, the bottom screen is at its minimum angle of 6 degrees. It suprisingly stays within the 6 - 8 degree tilt throughout all usable angles of the main screen. Asus's Duo has a 9.5 degree tilt, but hopefully the 8.2 degree tilt at the maximum is still good enough for science.
Lastly, I might use the free mounting point to hold Tetent.
Last night, I was renaming Fusion 360 features to bring the standard of the CAD file more inline to the best practices I thought up a while ago. I also added a temporary stack of screen holders in the area that has been vacant for quite some time (see below).
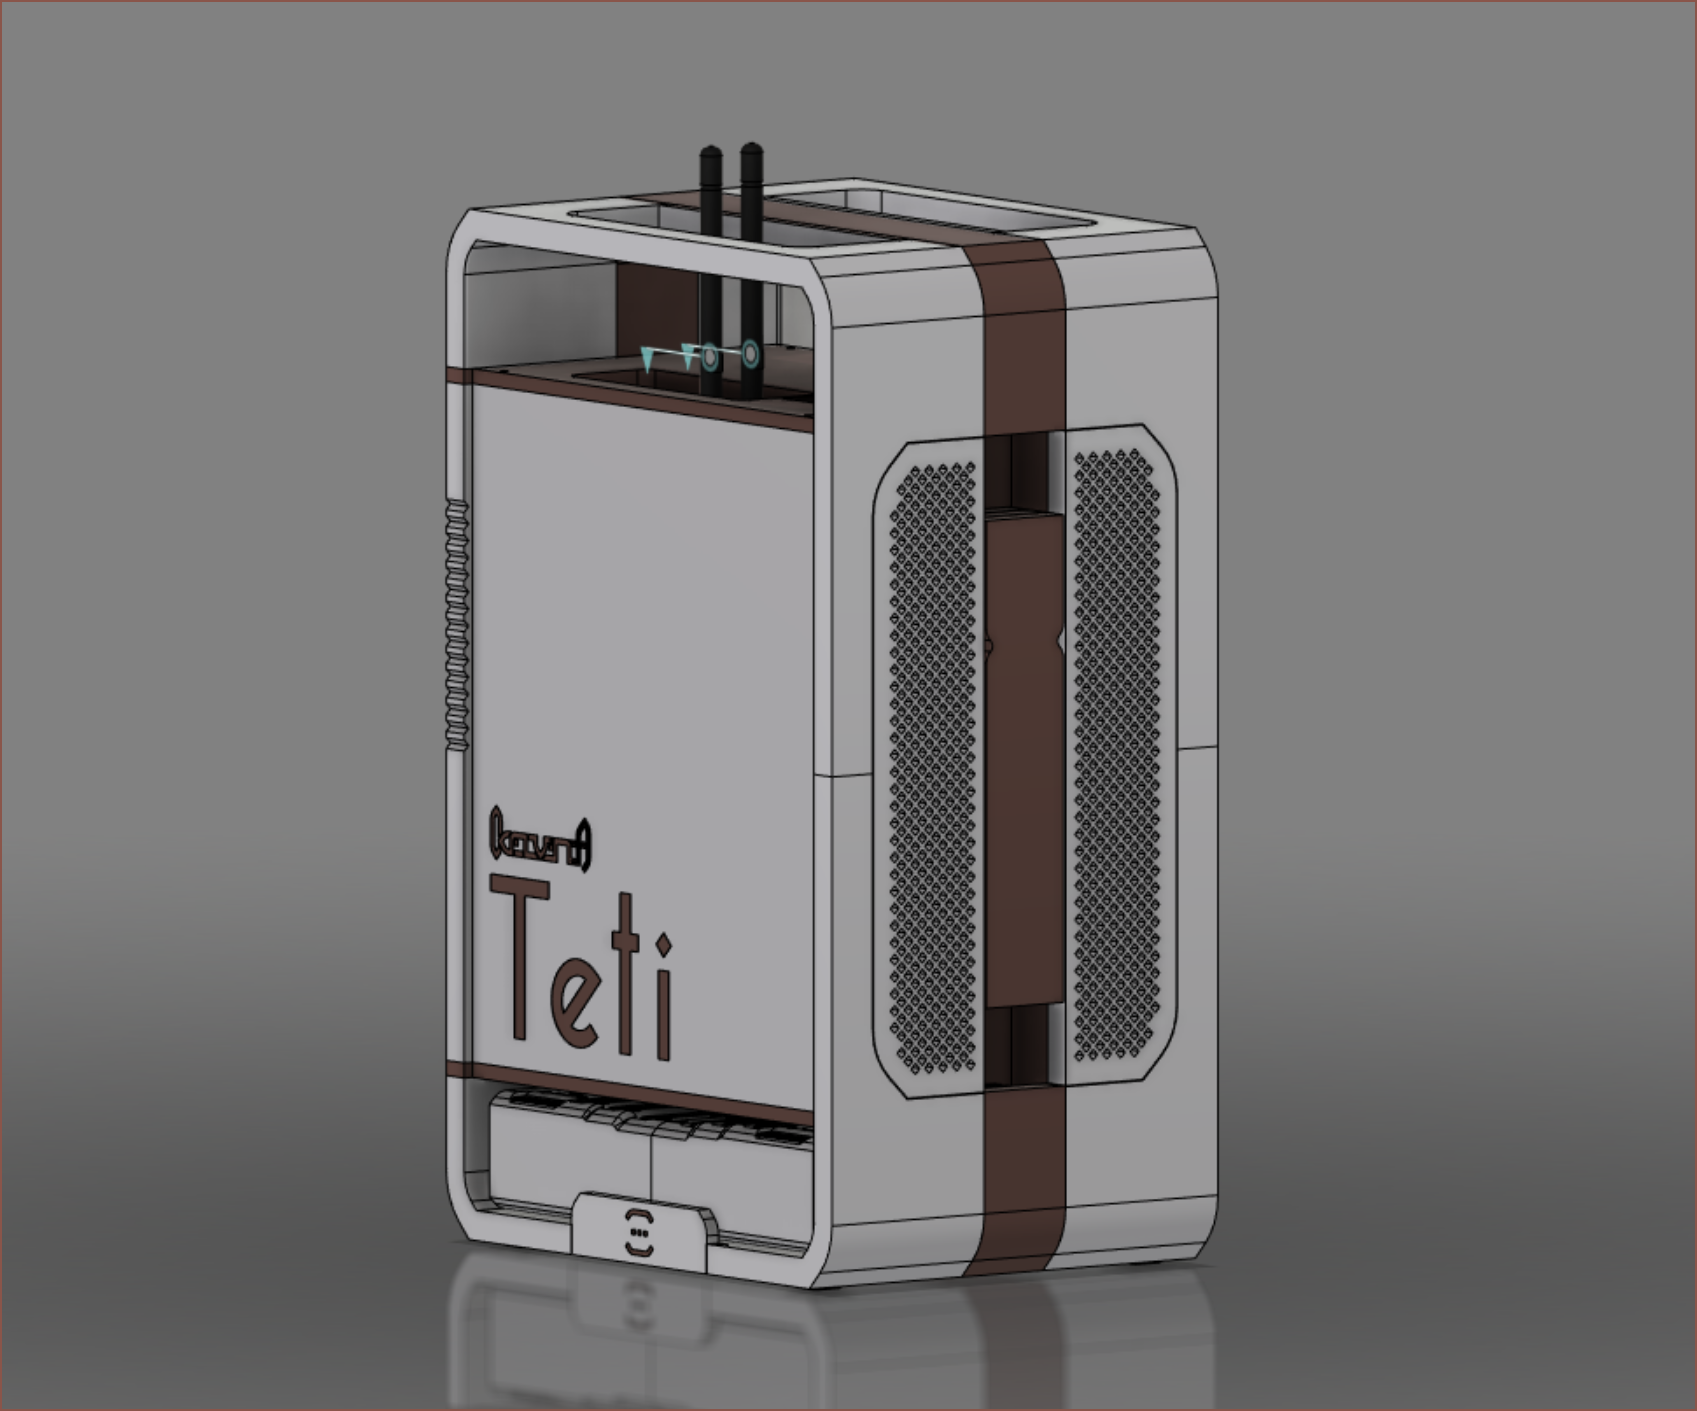
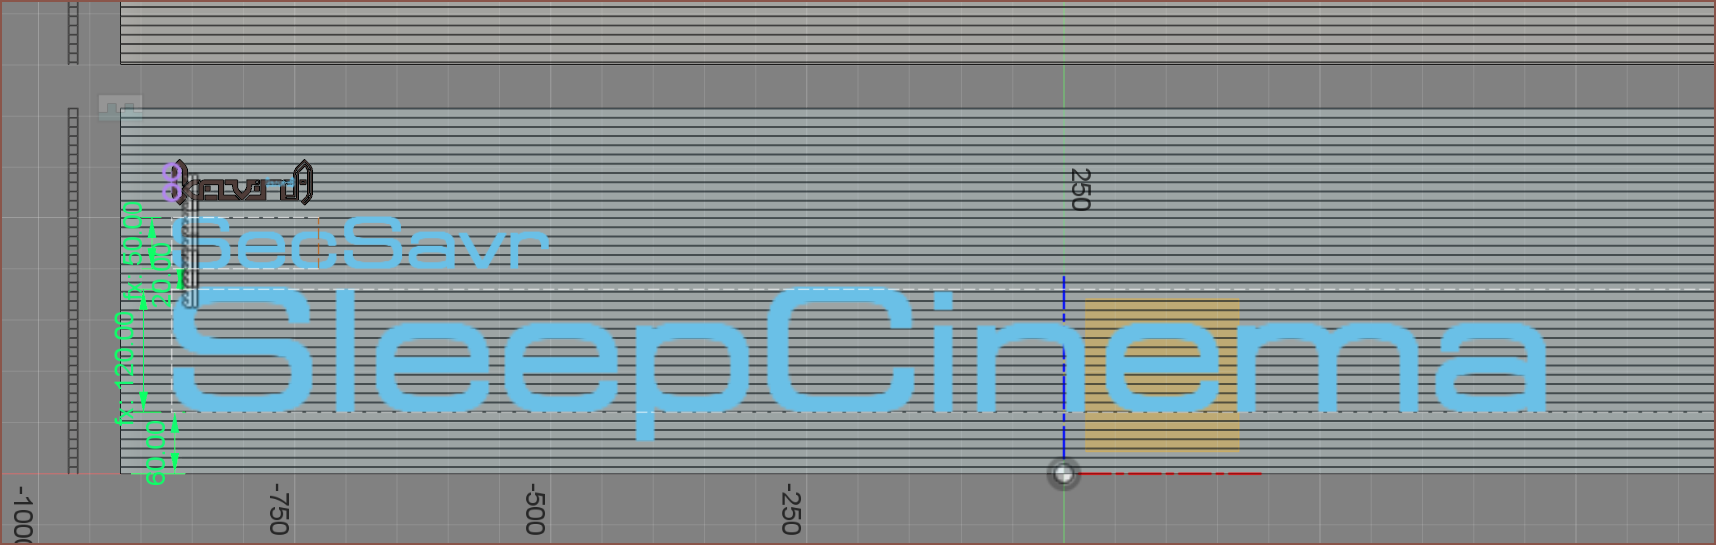
Eventually, I got to the part of the model that puts branding on the left panel, and I wanted to change it in a way that would be consistent with other projects.
---------- more ----------
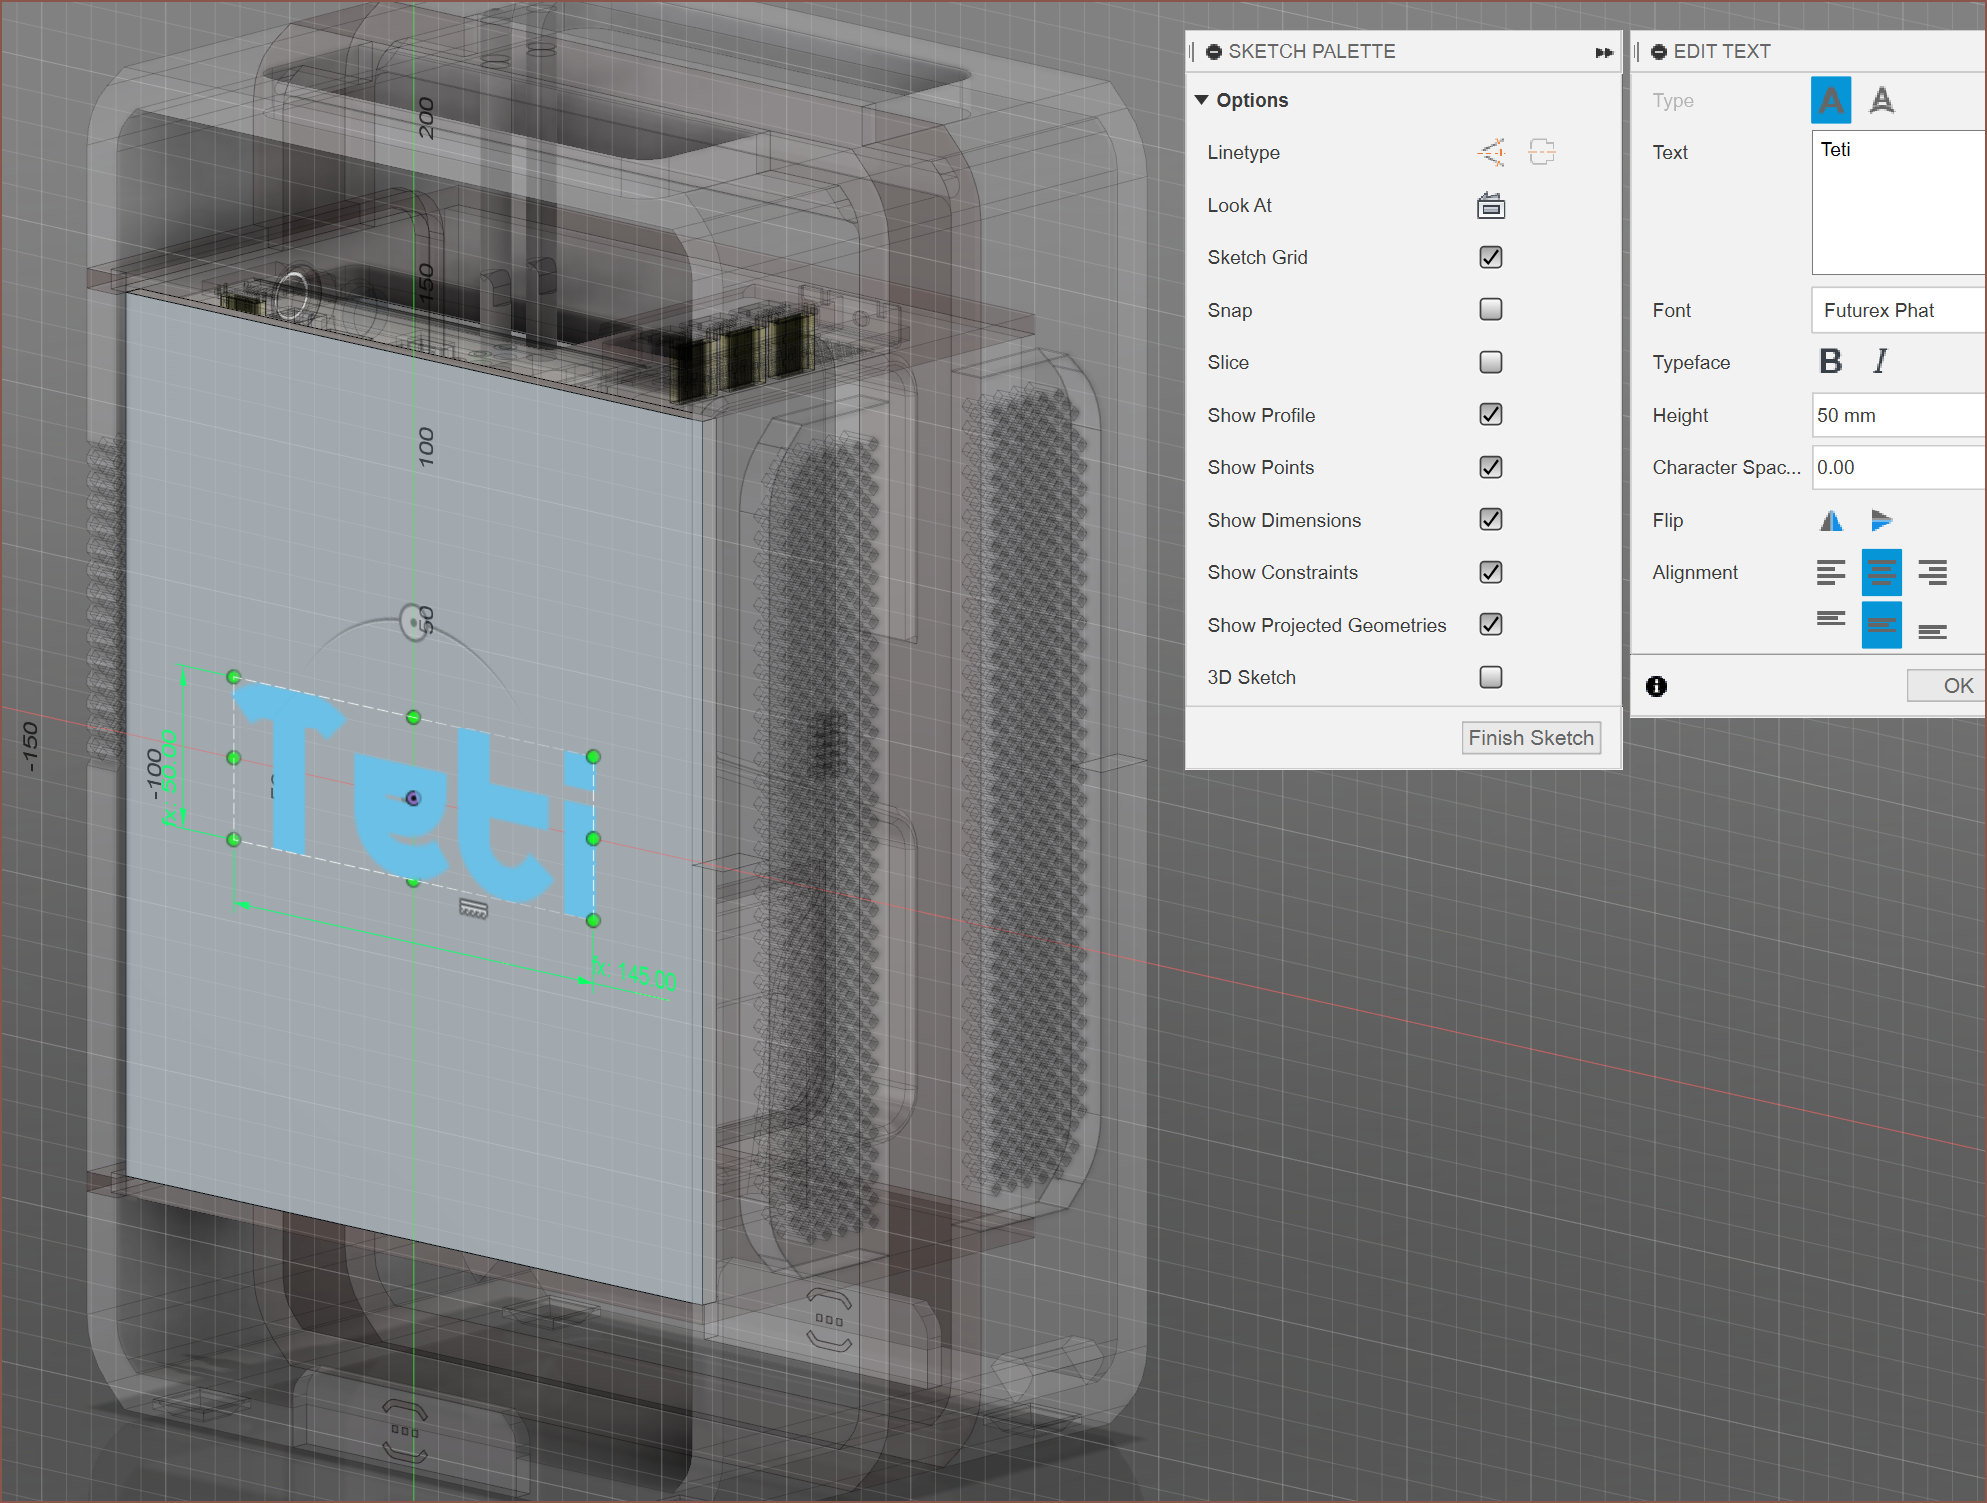
Font
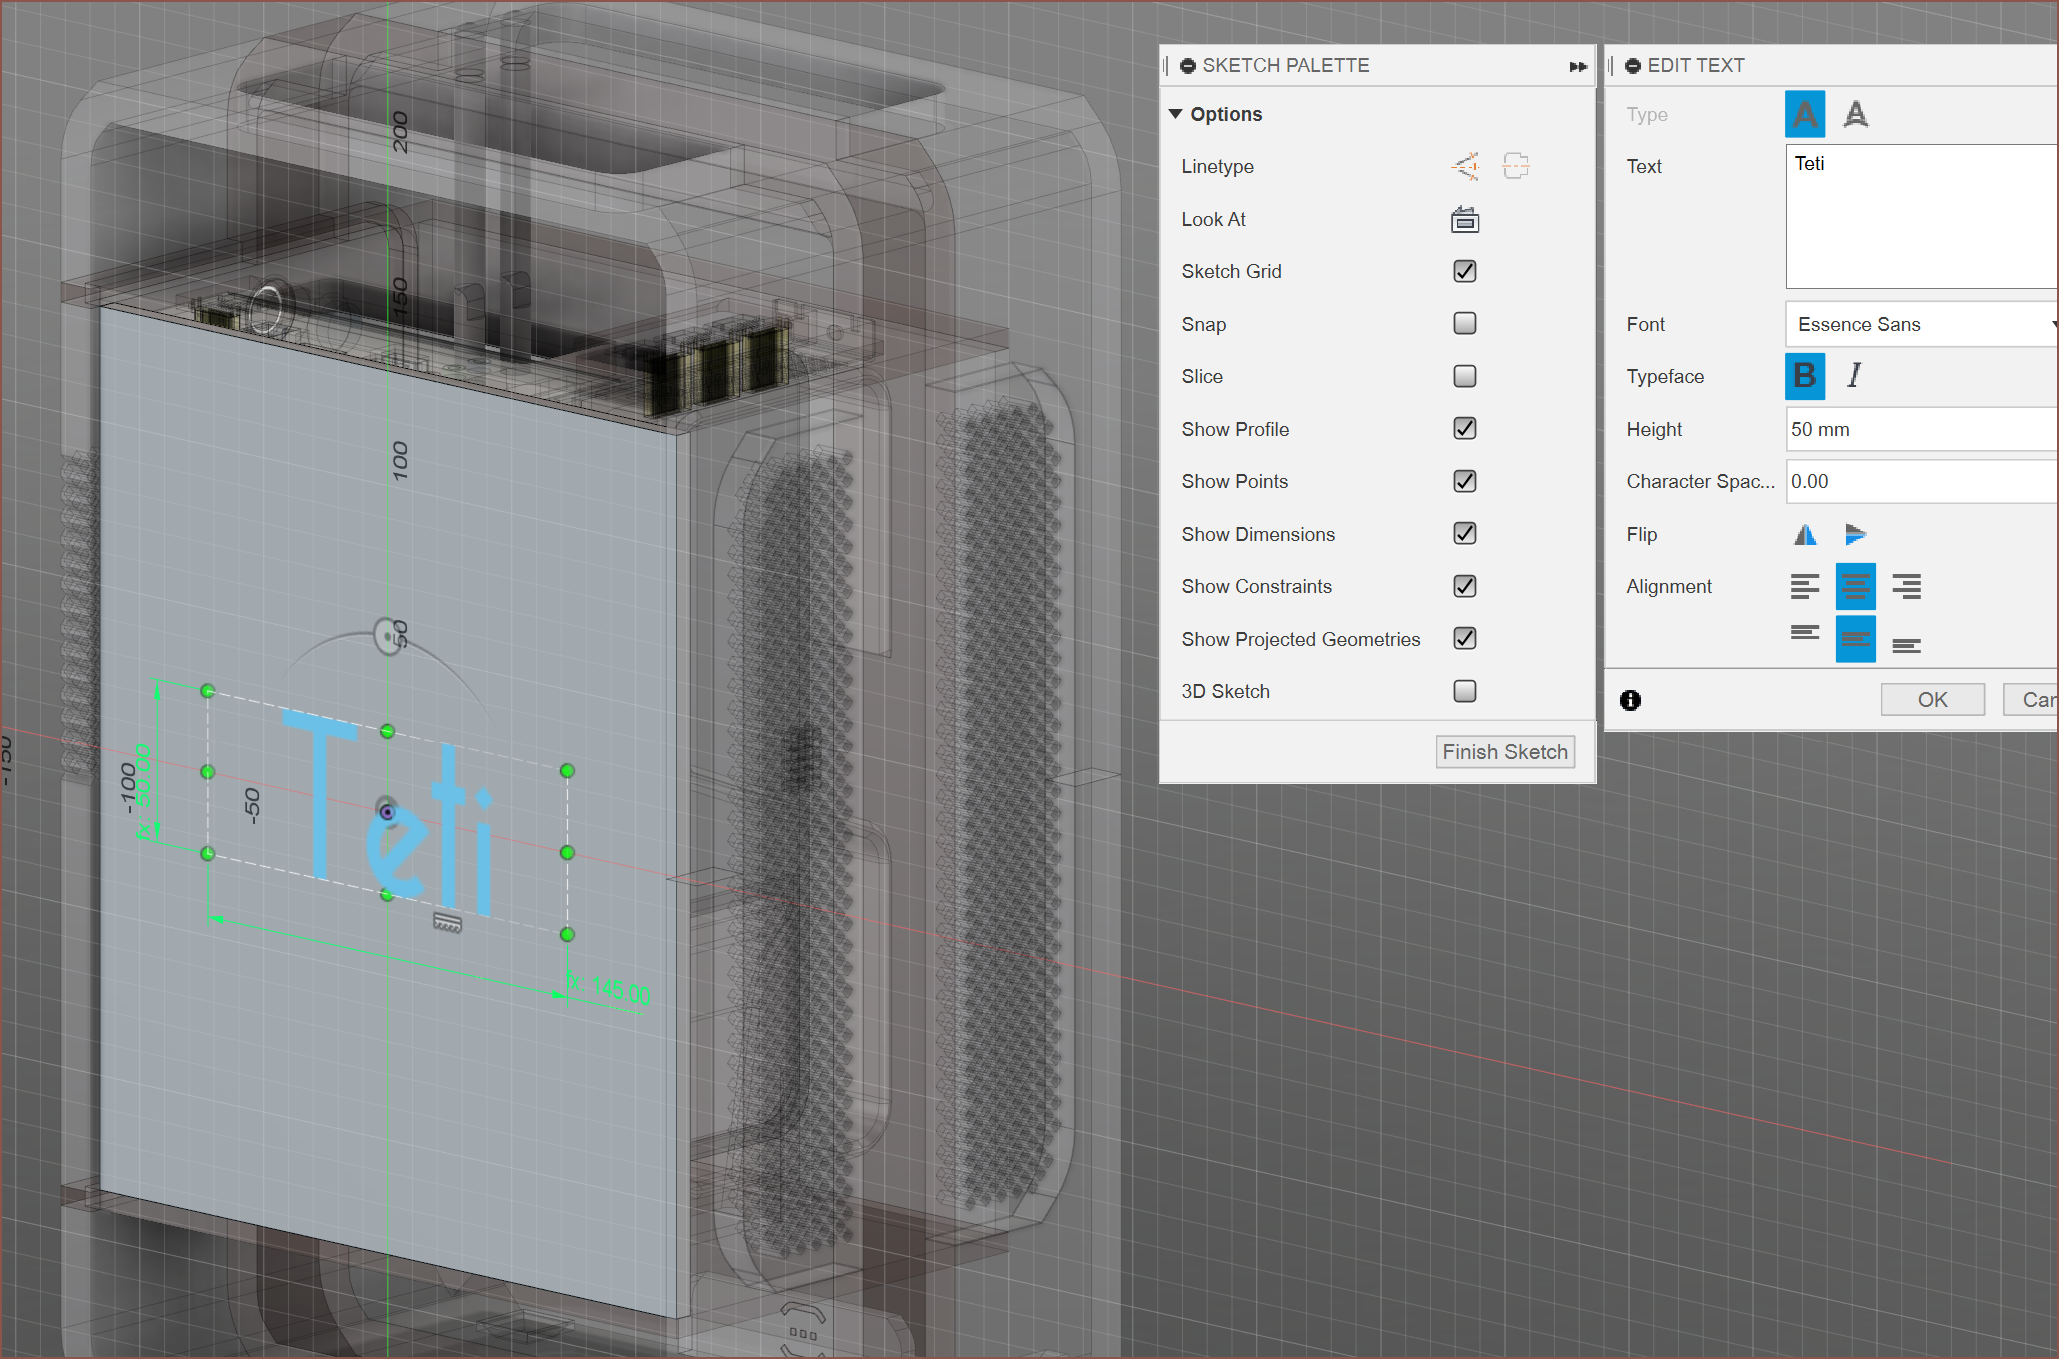
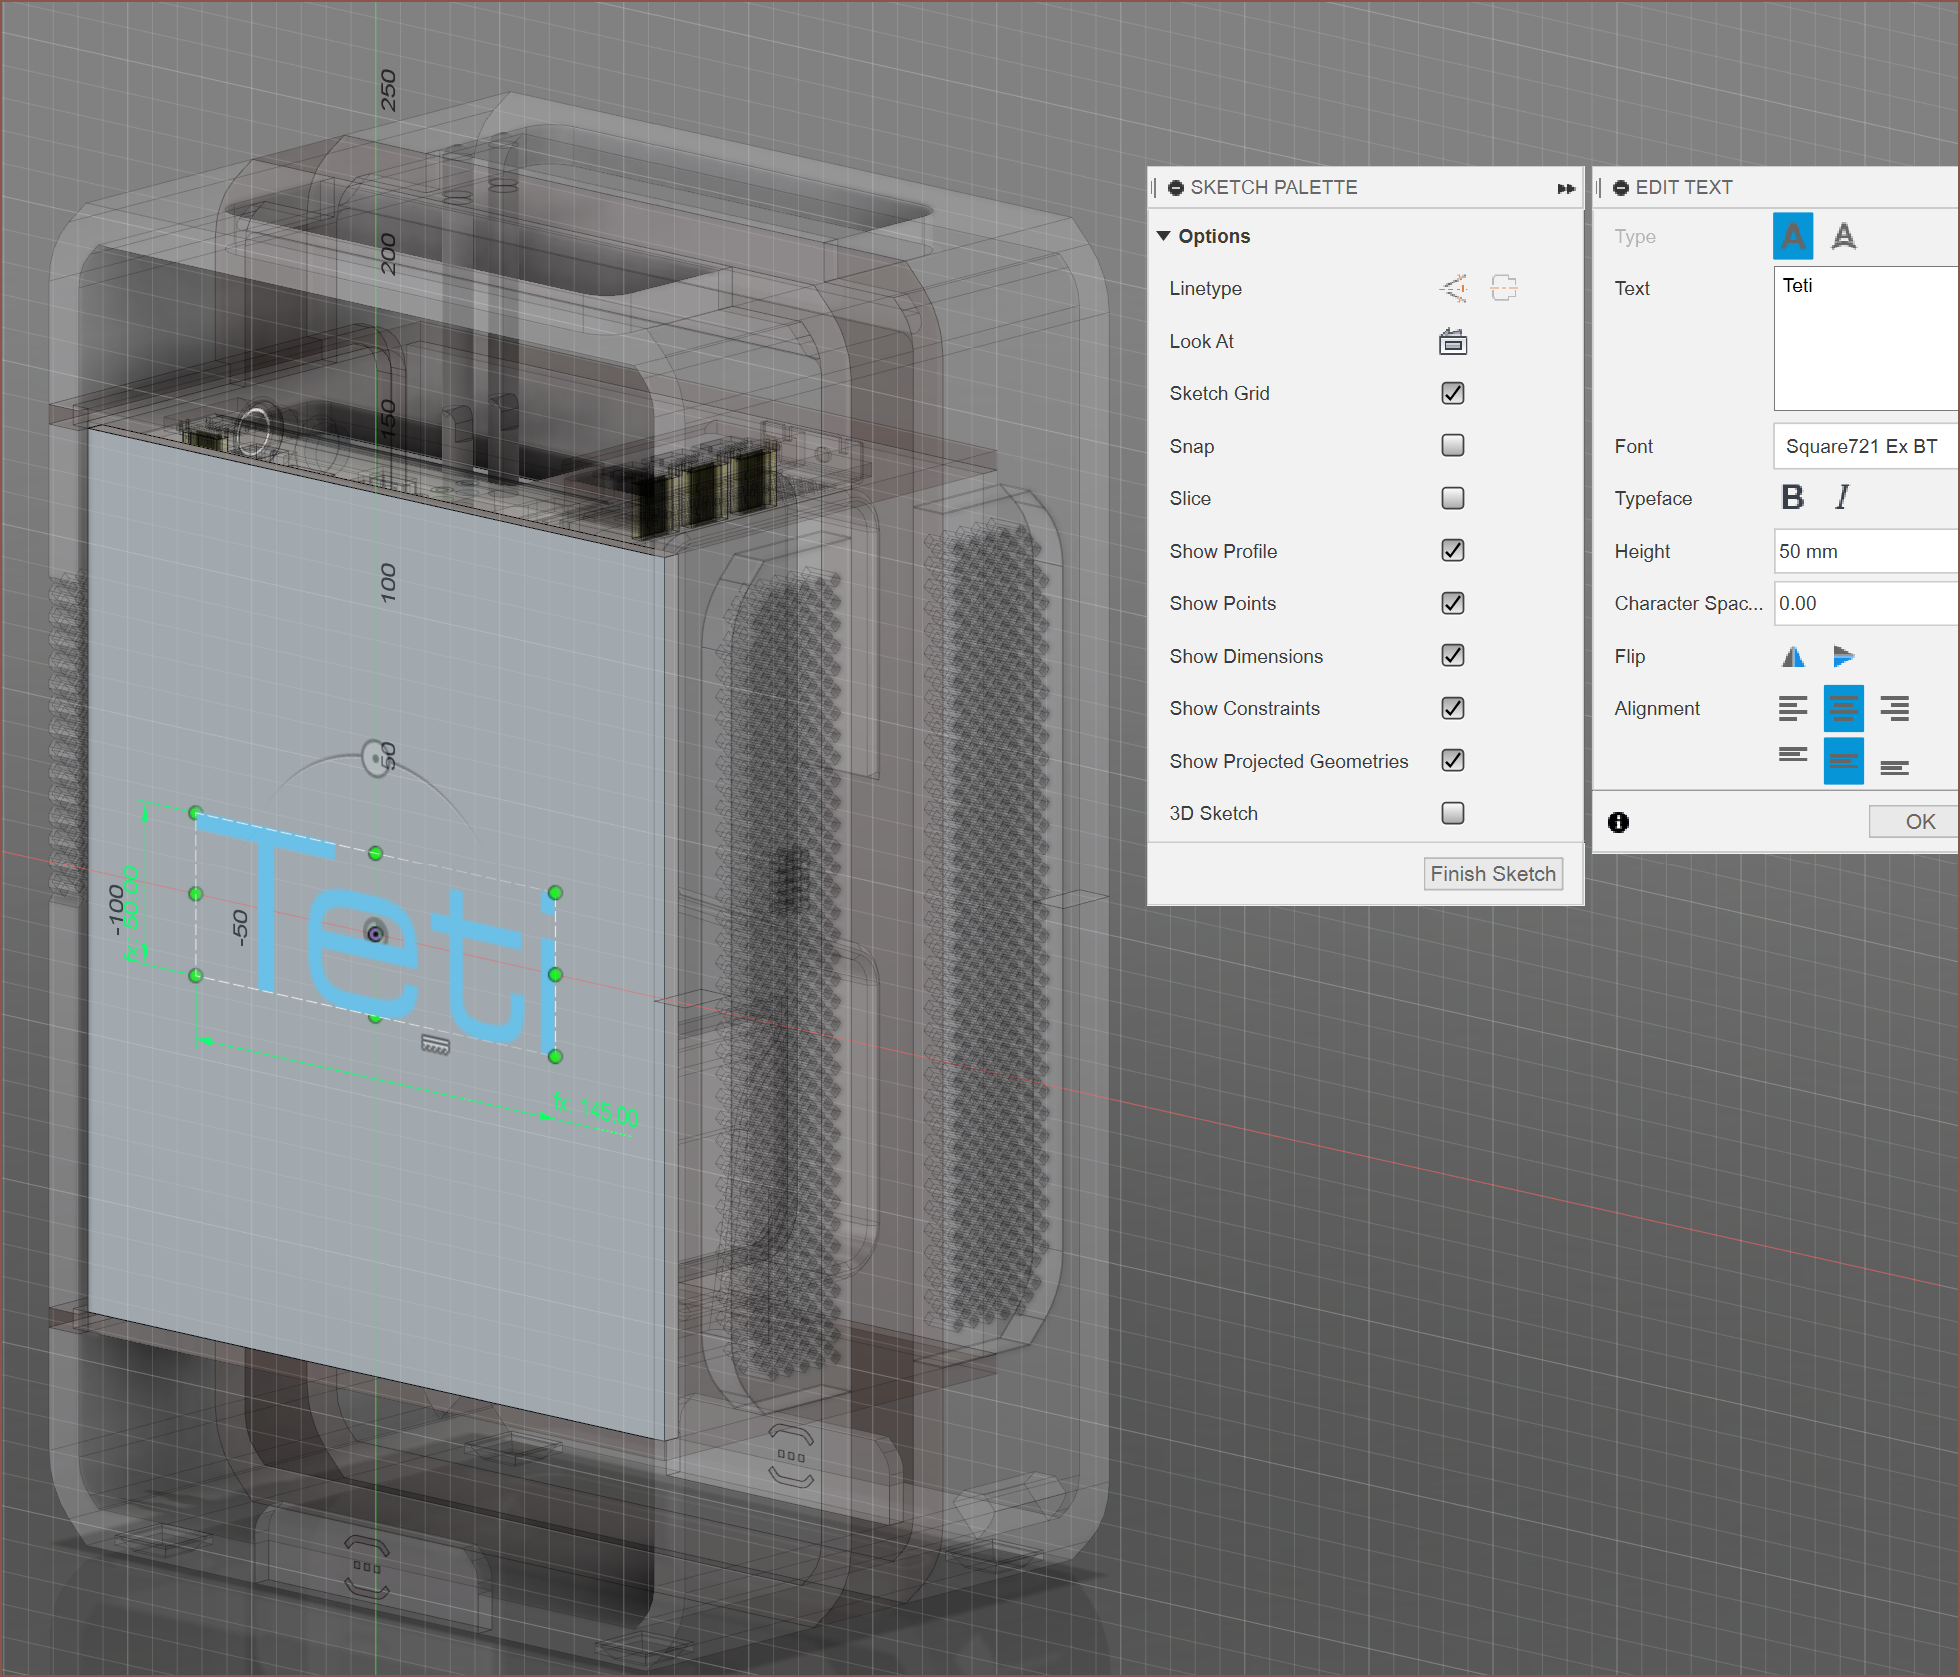
The first thing I did was choose what font I wanted.
The first one is the classic Teti font that I used in the previous 2 designs (more on that in a later log), the second one is the font I intend to use with SecSavr [gd0036] and the last was the font I used on T^2 Tiles [gd0095]. I continued to use the first one; the grill was inspired from the "i" in Essence Sans.
Placement
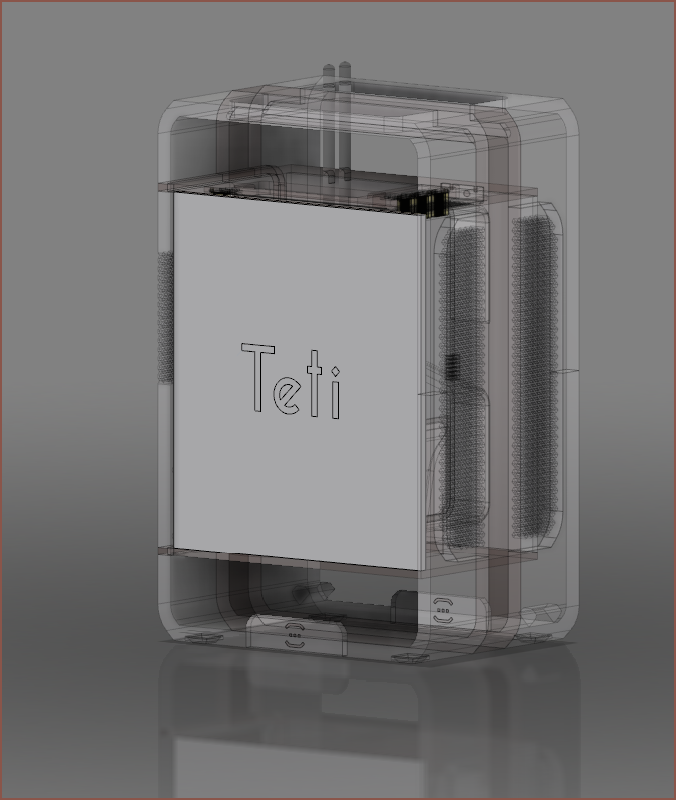
The text was originally in the centre because that was where the kelvinA logo was. It always looked uncentered, so I tried out an idea I was going to use for gd0036.
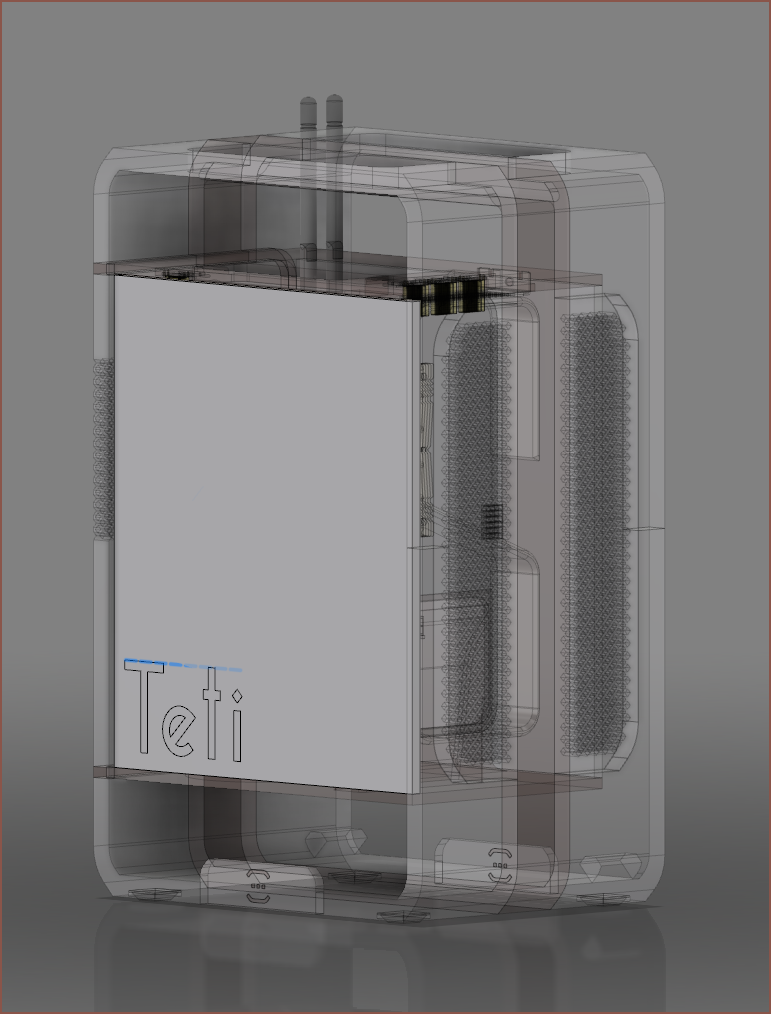
I then tried adding a line to the side, but I think it's better without:
Another idea was to make the kelvinA logo the line on the side of the text.
Other than it being mistaken for "ITeti" from affar, I couldn't really choose one over the other. This is when I decided to try other projects to get a consistent look.
SecSavr
So I modelled this pretty quickly and it was straightforward enough to try both ideas:I feel like the second one works especially well for multi-line blocks of text as it looks more streamlined and the kelvinA logo can be bigger. It also reminds me of the "Super Precious Heat Beam!" arangement of words from OVERPOWERED!.
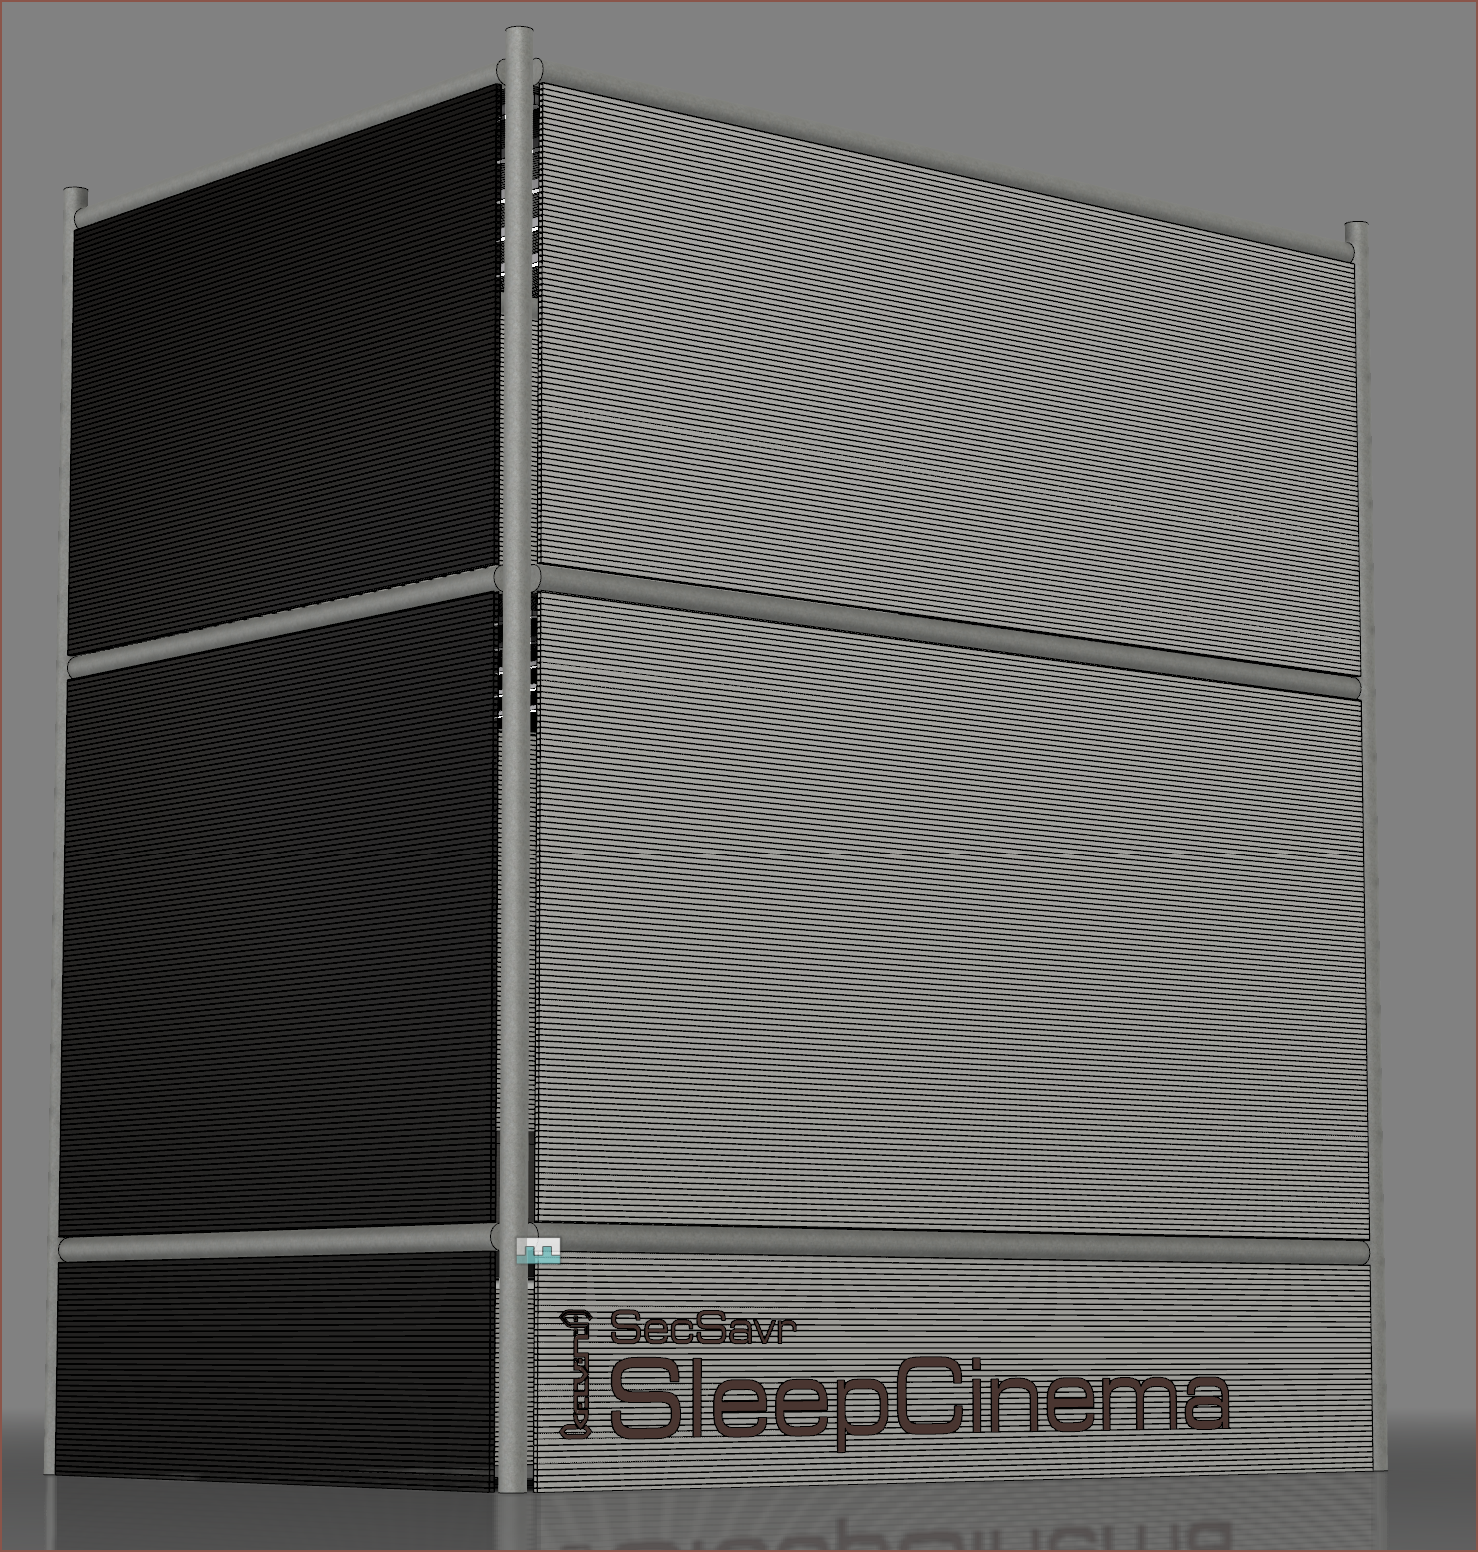
I think I'm just going to go with what looks the best in the location that the branding would be visible at, though with the 3 designs I've made, it seems that I'm more inclined to go with a kelvinA logo that is 90 degrees off front the project text. As long as it's not easy to accidentally misread the text like "ITeti", I don't think there are any particularly right or wrong answers. Perhaps an ideal idea is to keep "kelvinA" level so that people don't have to tilt their heads one way to read it.
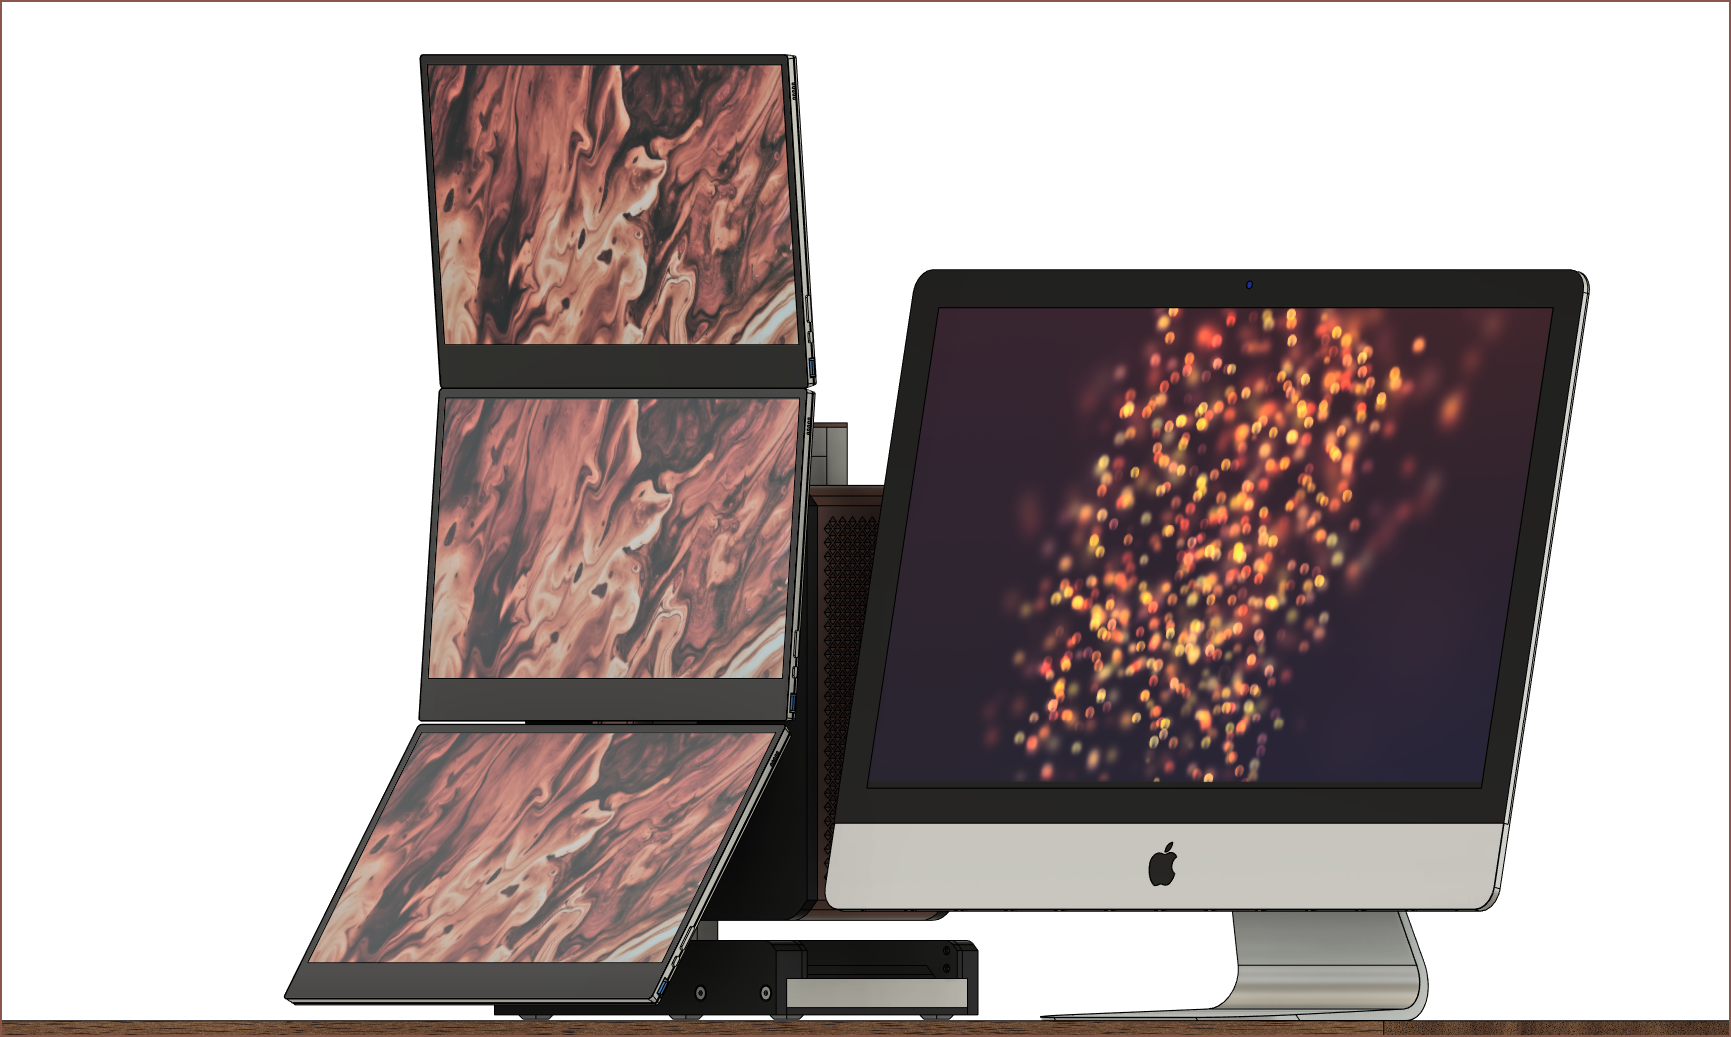
This is what the first 2 designs of Teti looked like before I thought of the current one:
The idea was to use 2020 and 2060 extrusions for the frame. The first one was going to use magnets to hold the screens at the top. I was also planning to use the RX6800XT but my human eye could only see out of stock. The image below is what I expect it to look like when all 3 screens are out, with a 27" iMac for scale:
Anyway, the 5900X was also out of stock and the Z590I Vision D ITX just came out with the cleanest and most ideal IO I could've ever hoped for, so I switched to an 11600K + 3060Ti system and embraced the all-white I originally planned for:
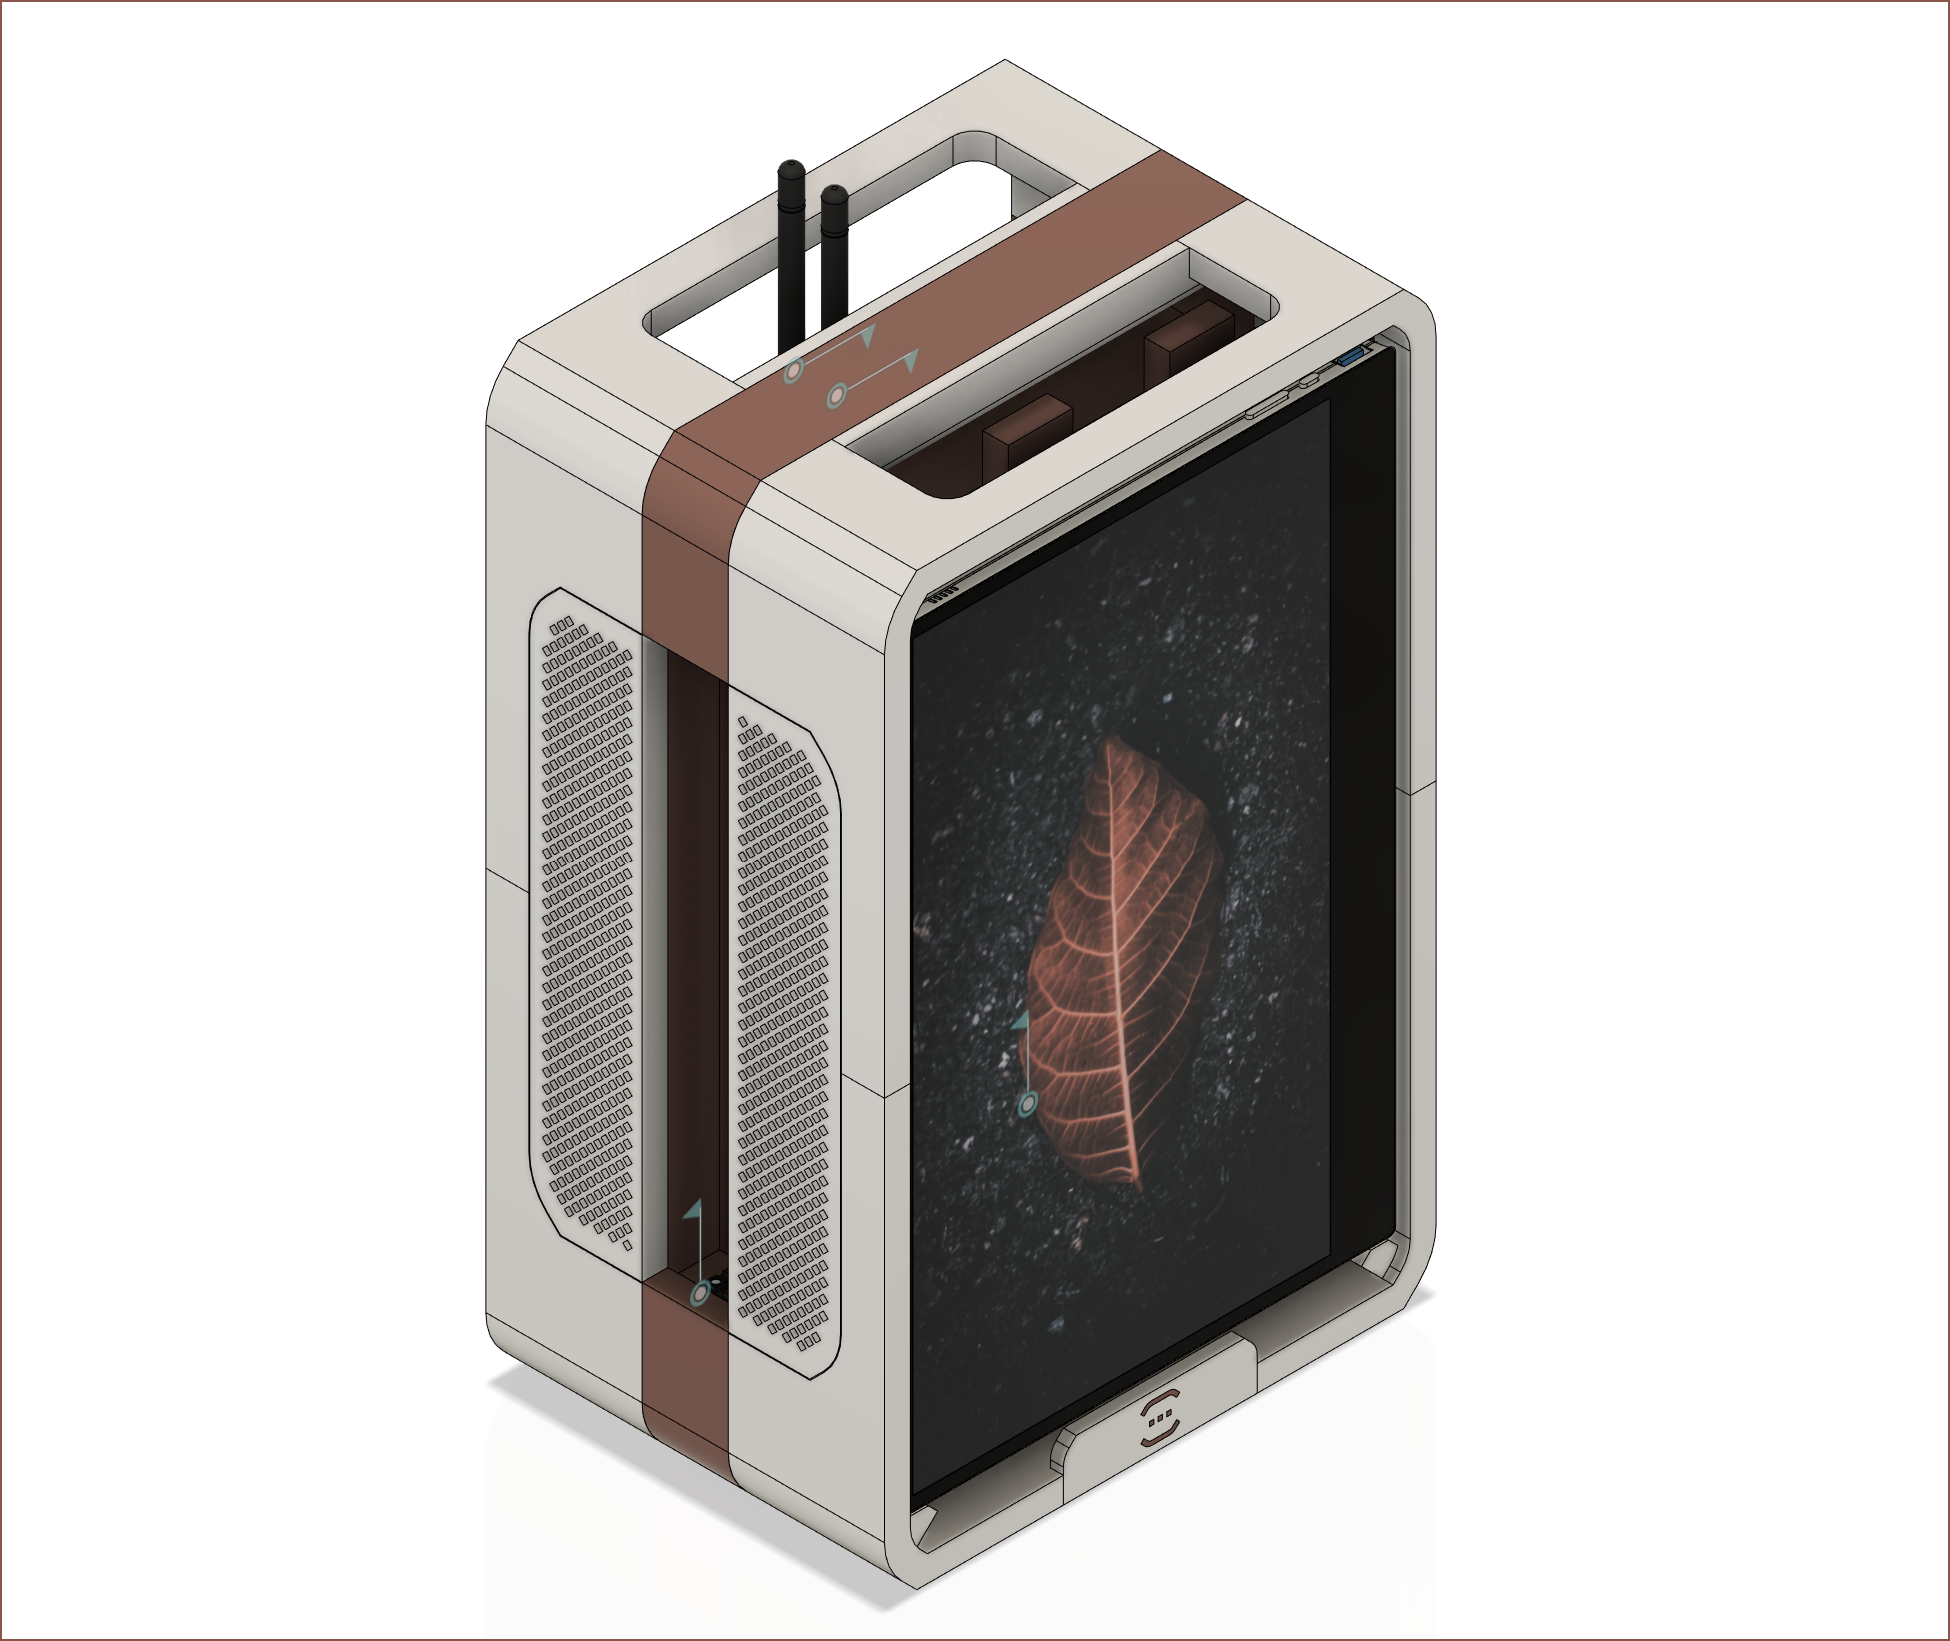
I went for black because it looked a bit cooler during the design stage. Anyway, this third design drastically simplified things, as I no longer needed an AIO or GPU riser cable and could just use the PCIe port the ITX came with along with a Noctua NH-D9L CPU cooler whilst still staying under 200mm width. This was the first concept, planned for an RTX 3070 in October 2020:
That blue block at the bottom was magnetically attached and would've been the base for the monitor stand before I thought of making the PC case itself the monitor stand. This concept also used some older screens that never worked out. They arrived from AliExpress bent, the main 4K monitor's touch didn't work and the dual 1080p's confirmed my suspicions that I needed a resolution of 1440p+ if I wanted to work without distractions.
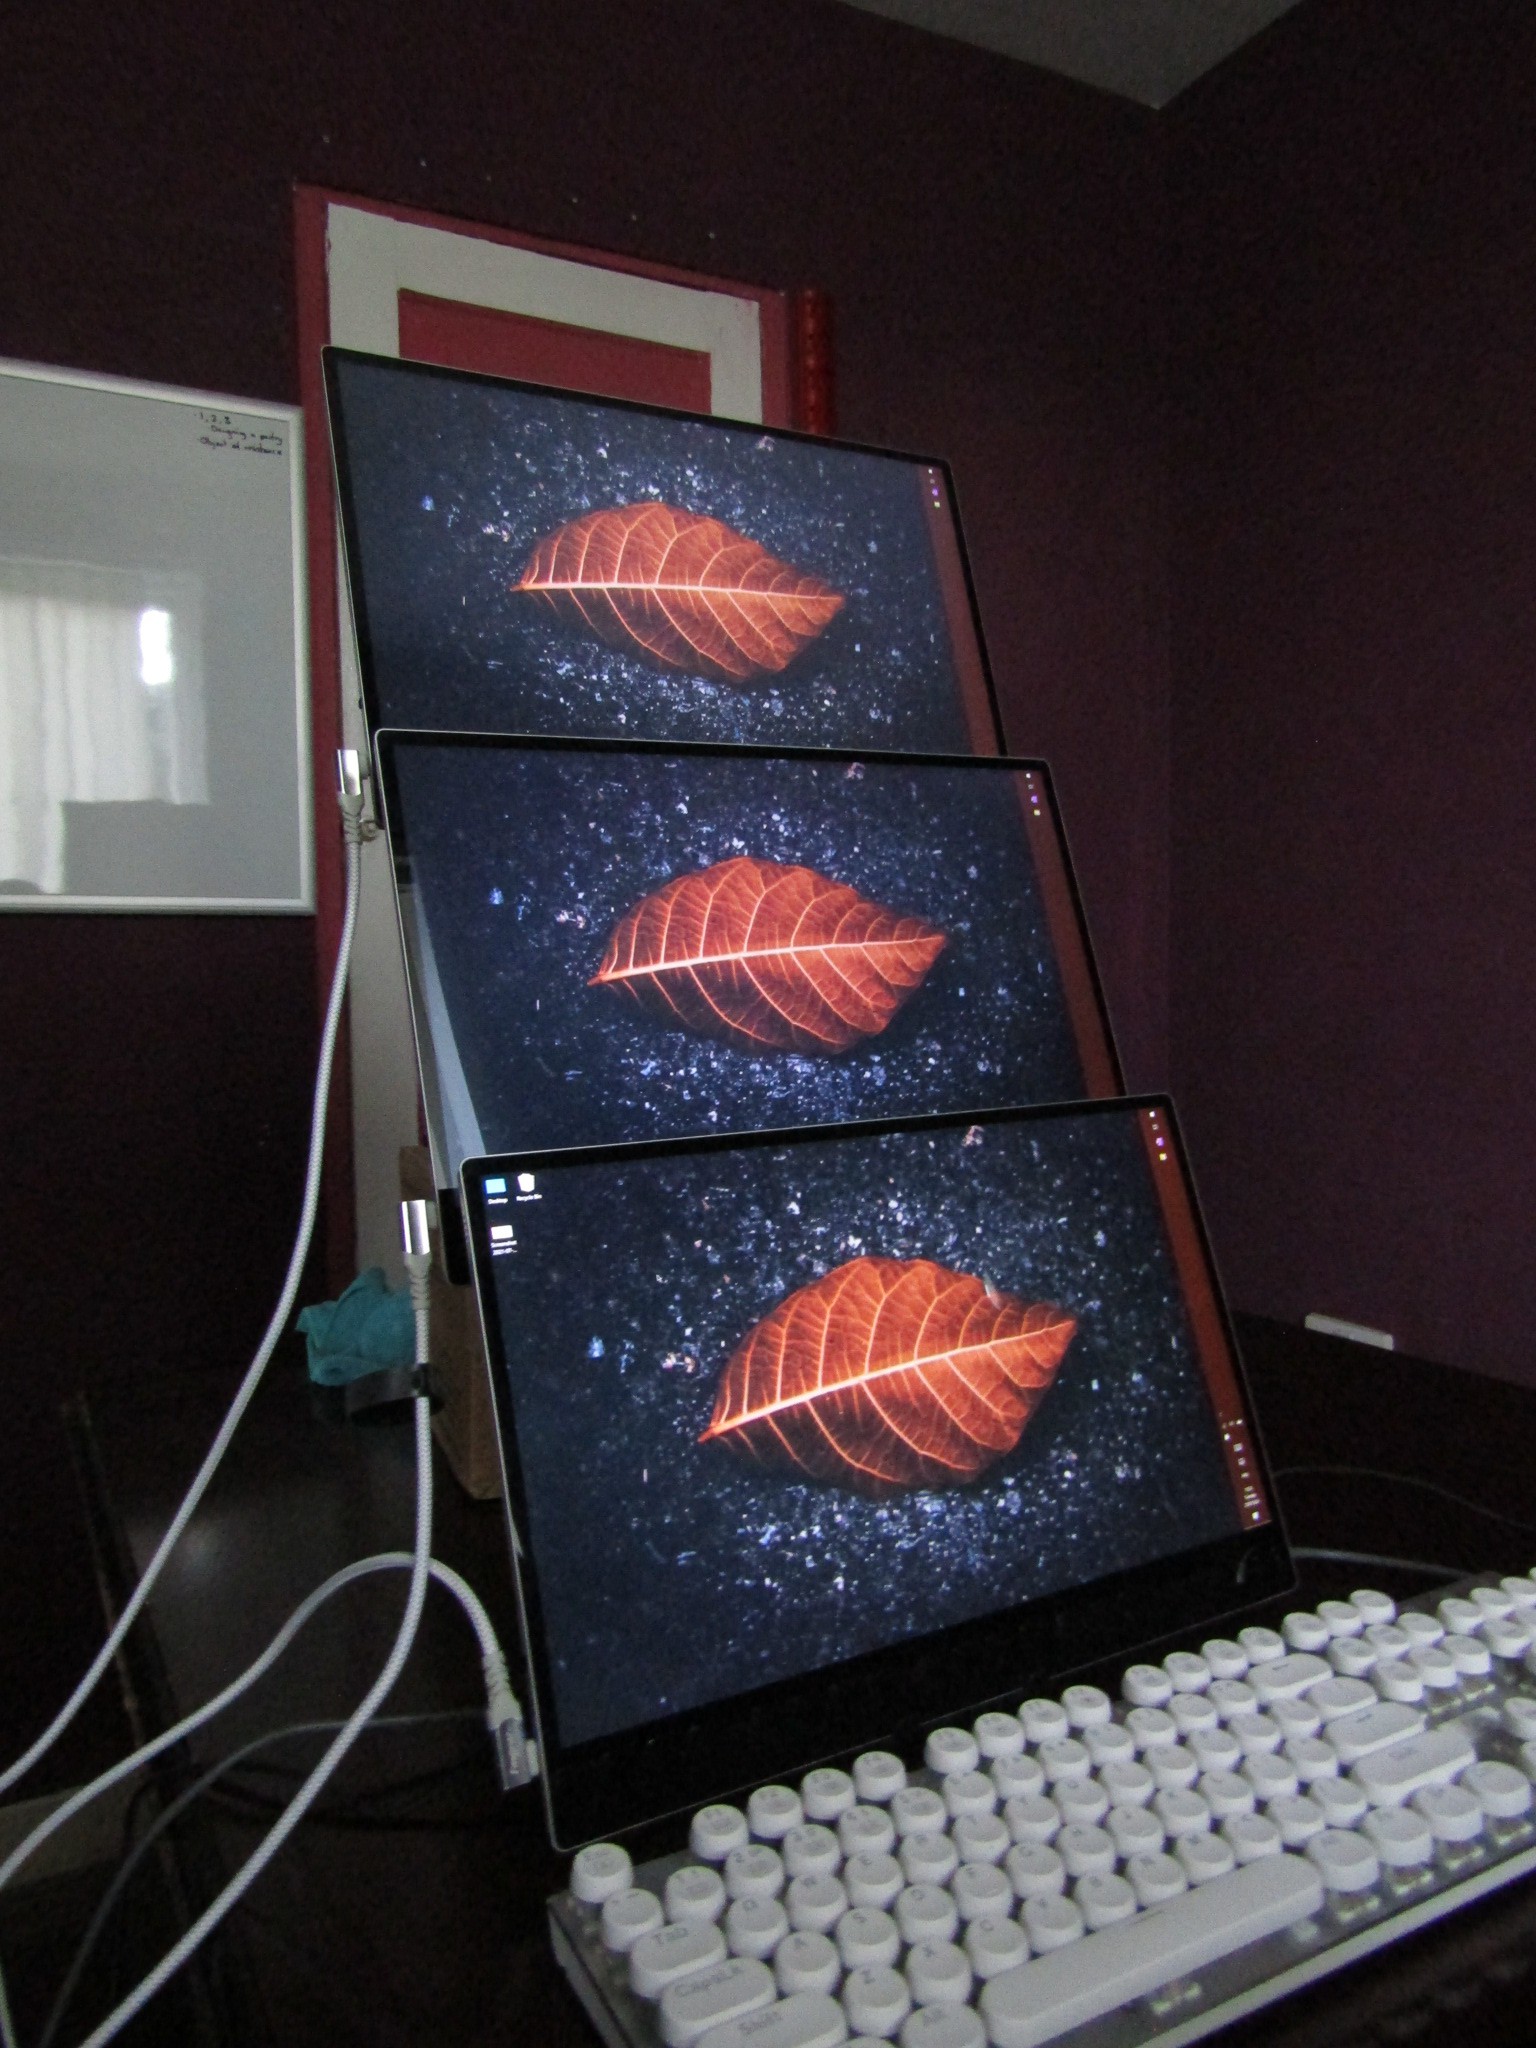
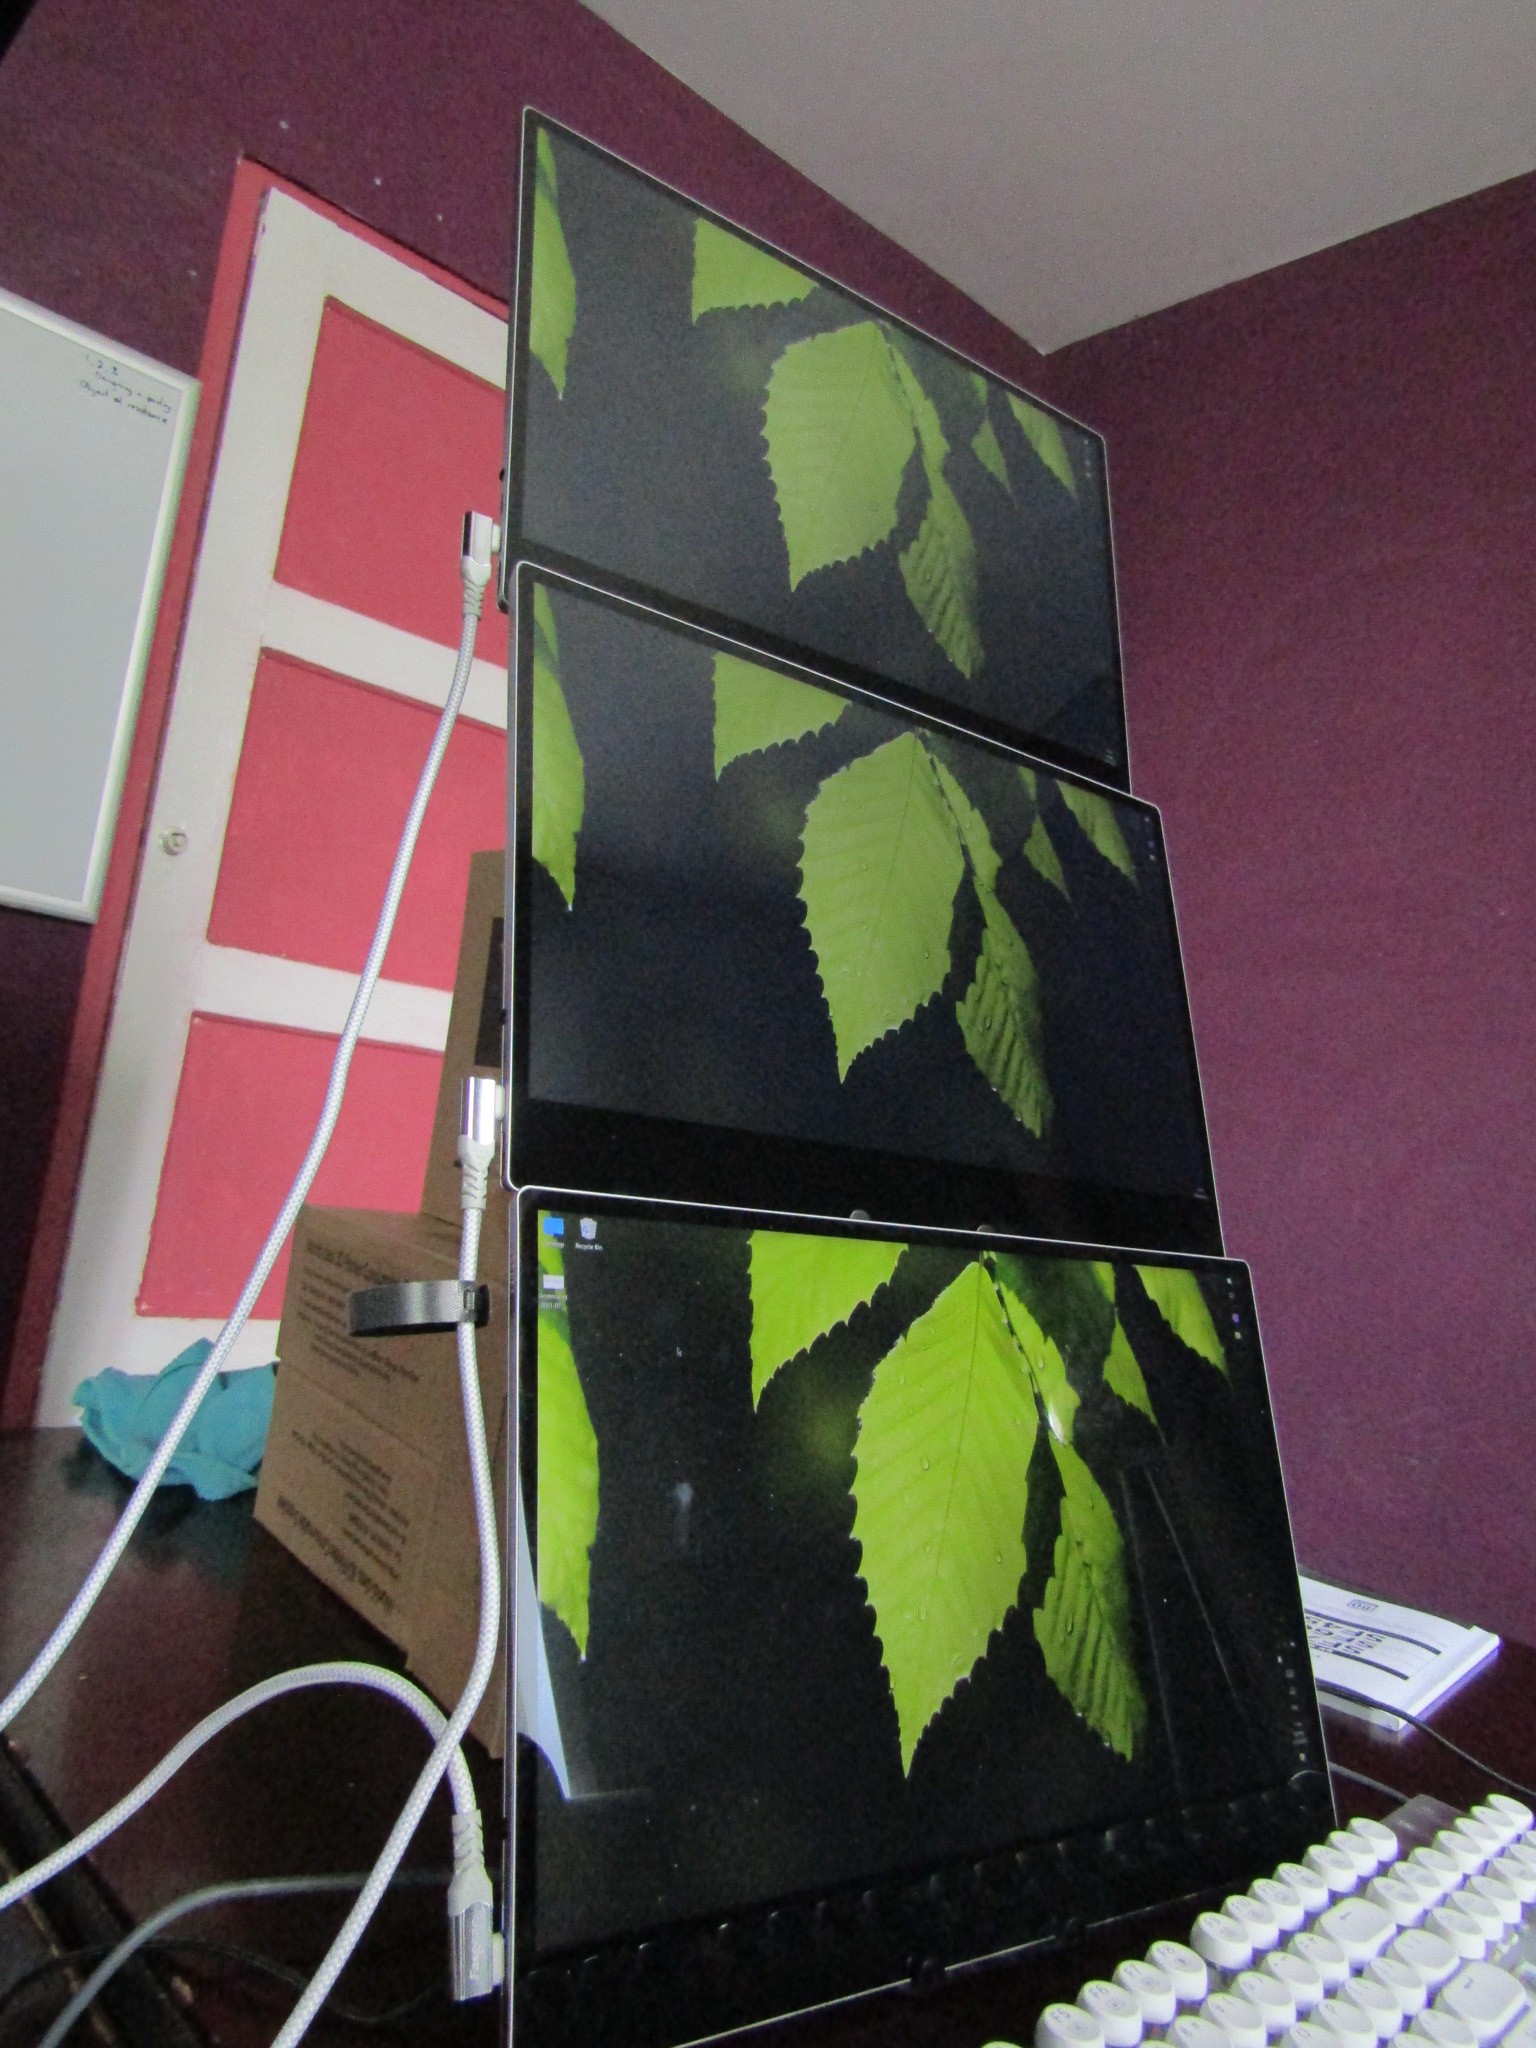
Currently, the PC is sitting on the box the motherboard came in:
I also tried the 3 screens with some filament spool boxes:
Right now, my task list is:
Go through the model and add mounting screws
Design the screen stands / holders
These holders need to be able to hold them in the 3 screen setup as well as individually like a tablet stand
Design a kind of locking mechanism to keep the screens in place in the case
Add the hinges for the 3 monitor setup stands
Add the holders for the screen stands
By using our website and services, you expressly agree to the placement of our performance, functionality, and advertising cookies.
Learn More
 kelvinA
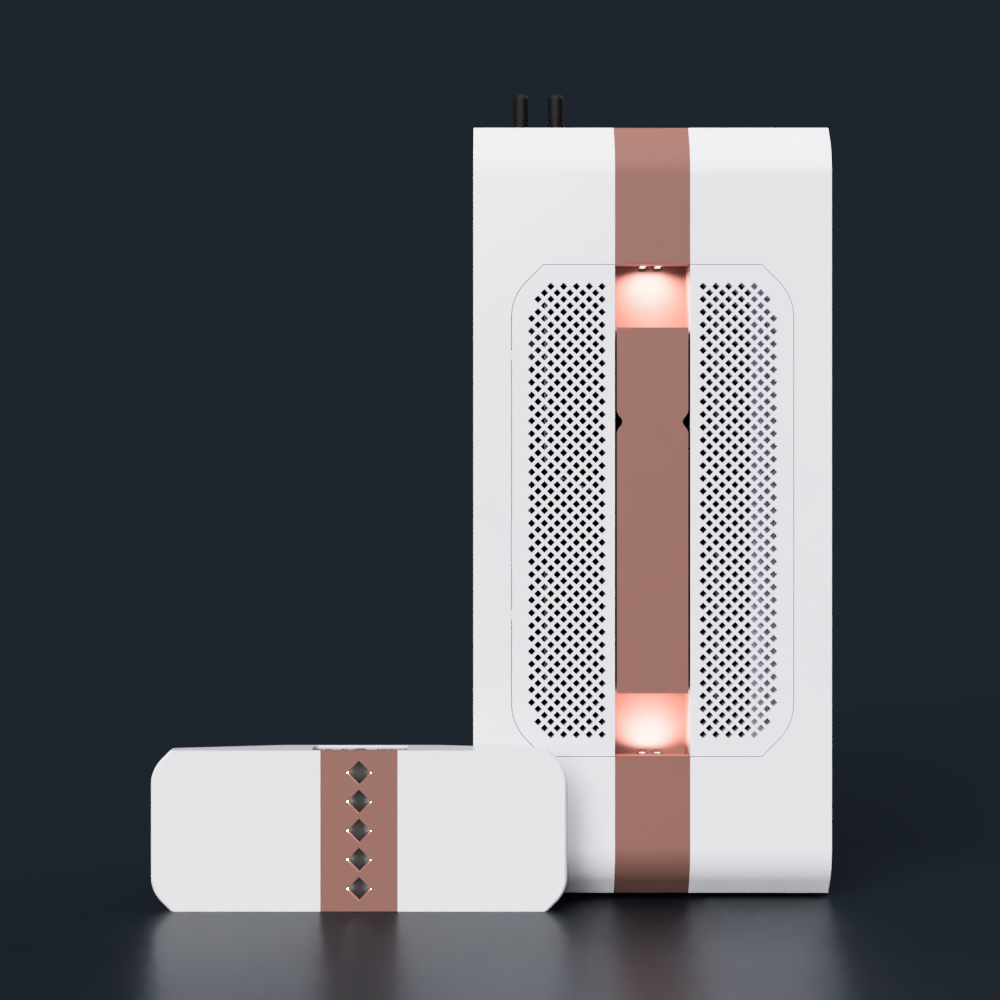
 Standard Edition 825GB Console – Mulbison ...")

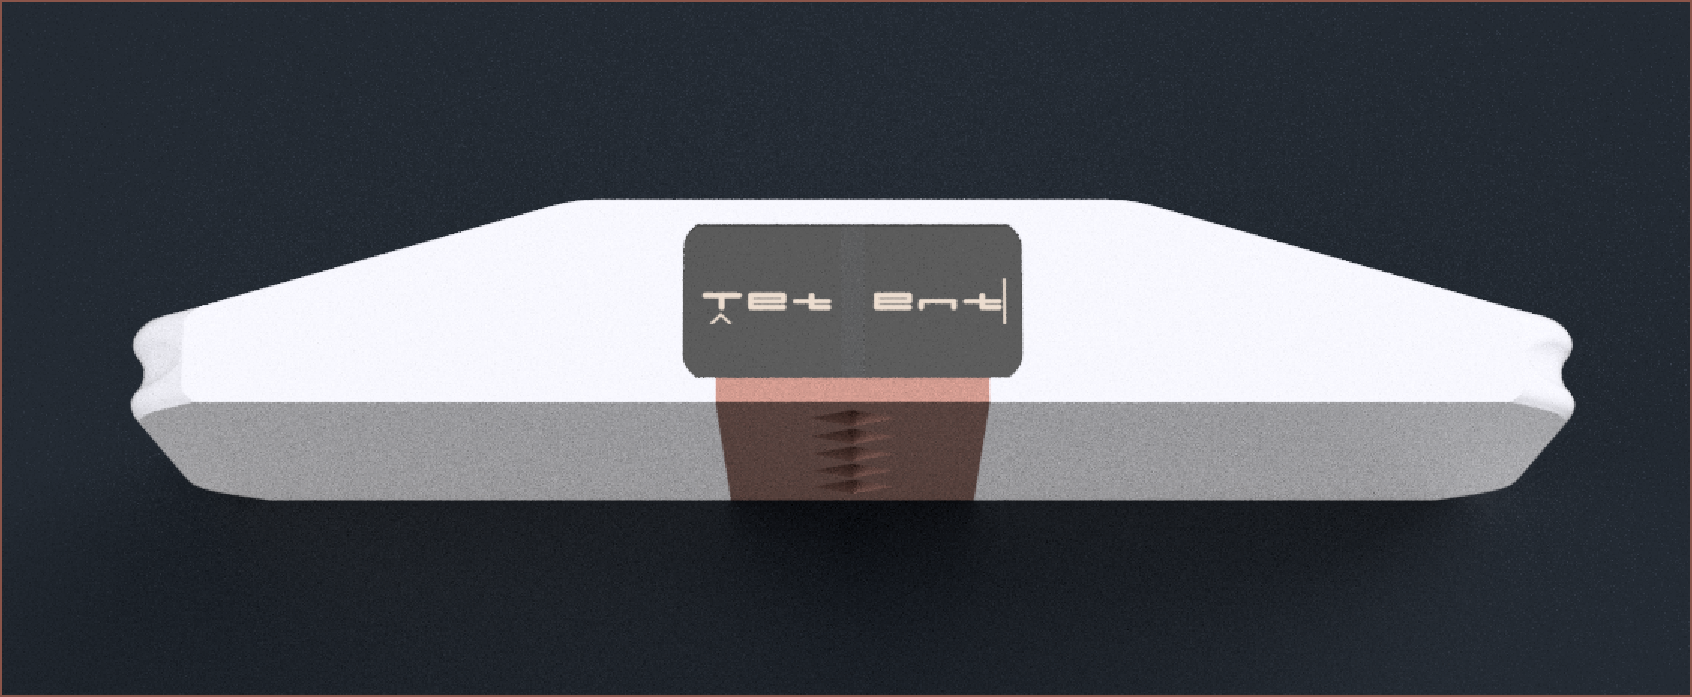 Lastly, I've added the same reflective LCDs on the bottom. The BOM of this "controller" is over £200, so I don't think it's too bad to add 10% for the satisfying convinience of not having to worry about device orientation, especially when Tetent is in a pocket. Just grab, calibrate and type.
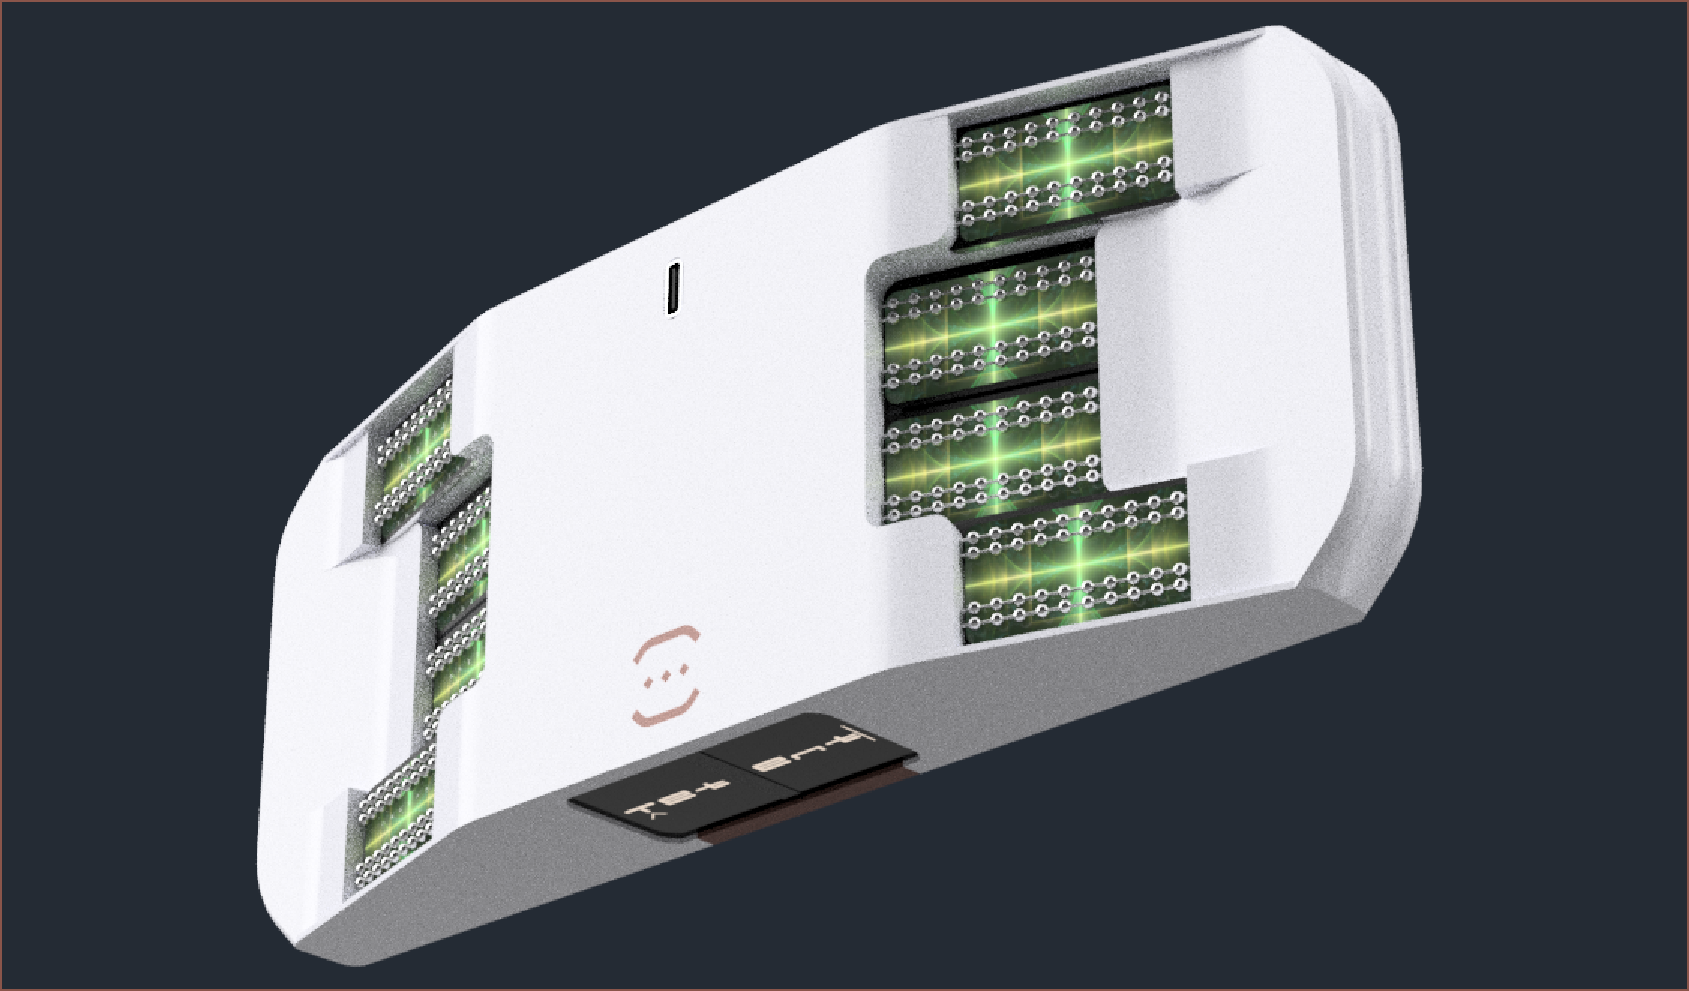
 The screen holders have been increased to the same length as the two Tetent's, which is currently 214mm. The print thickness has decreased slightly from 12 to 11mm so that they'd fit. This decreases the pressure exerted on the screens, and should make the tablet stand and laptop mode more stable.
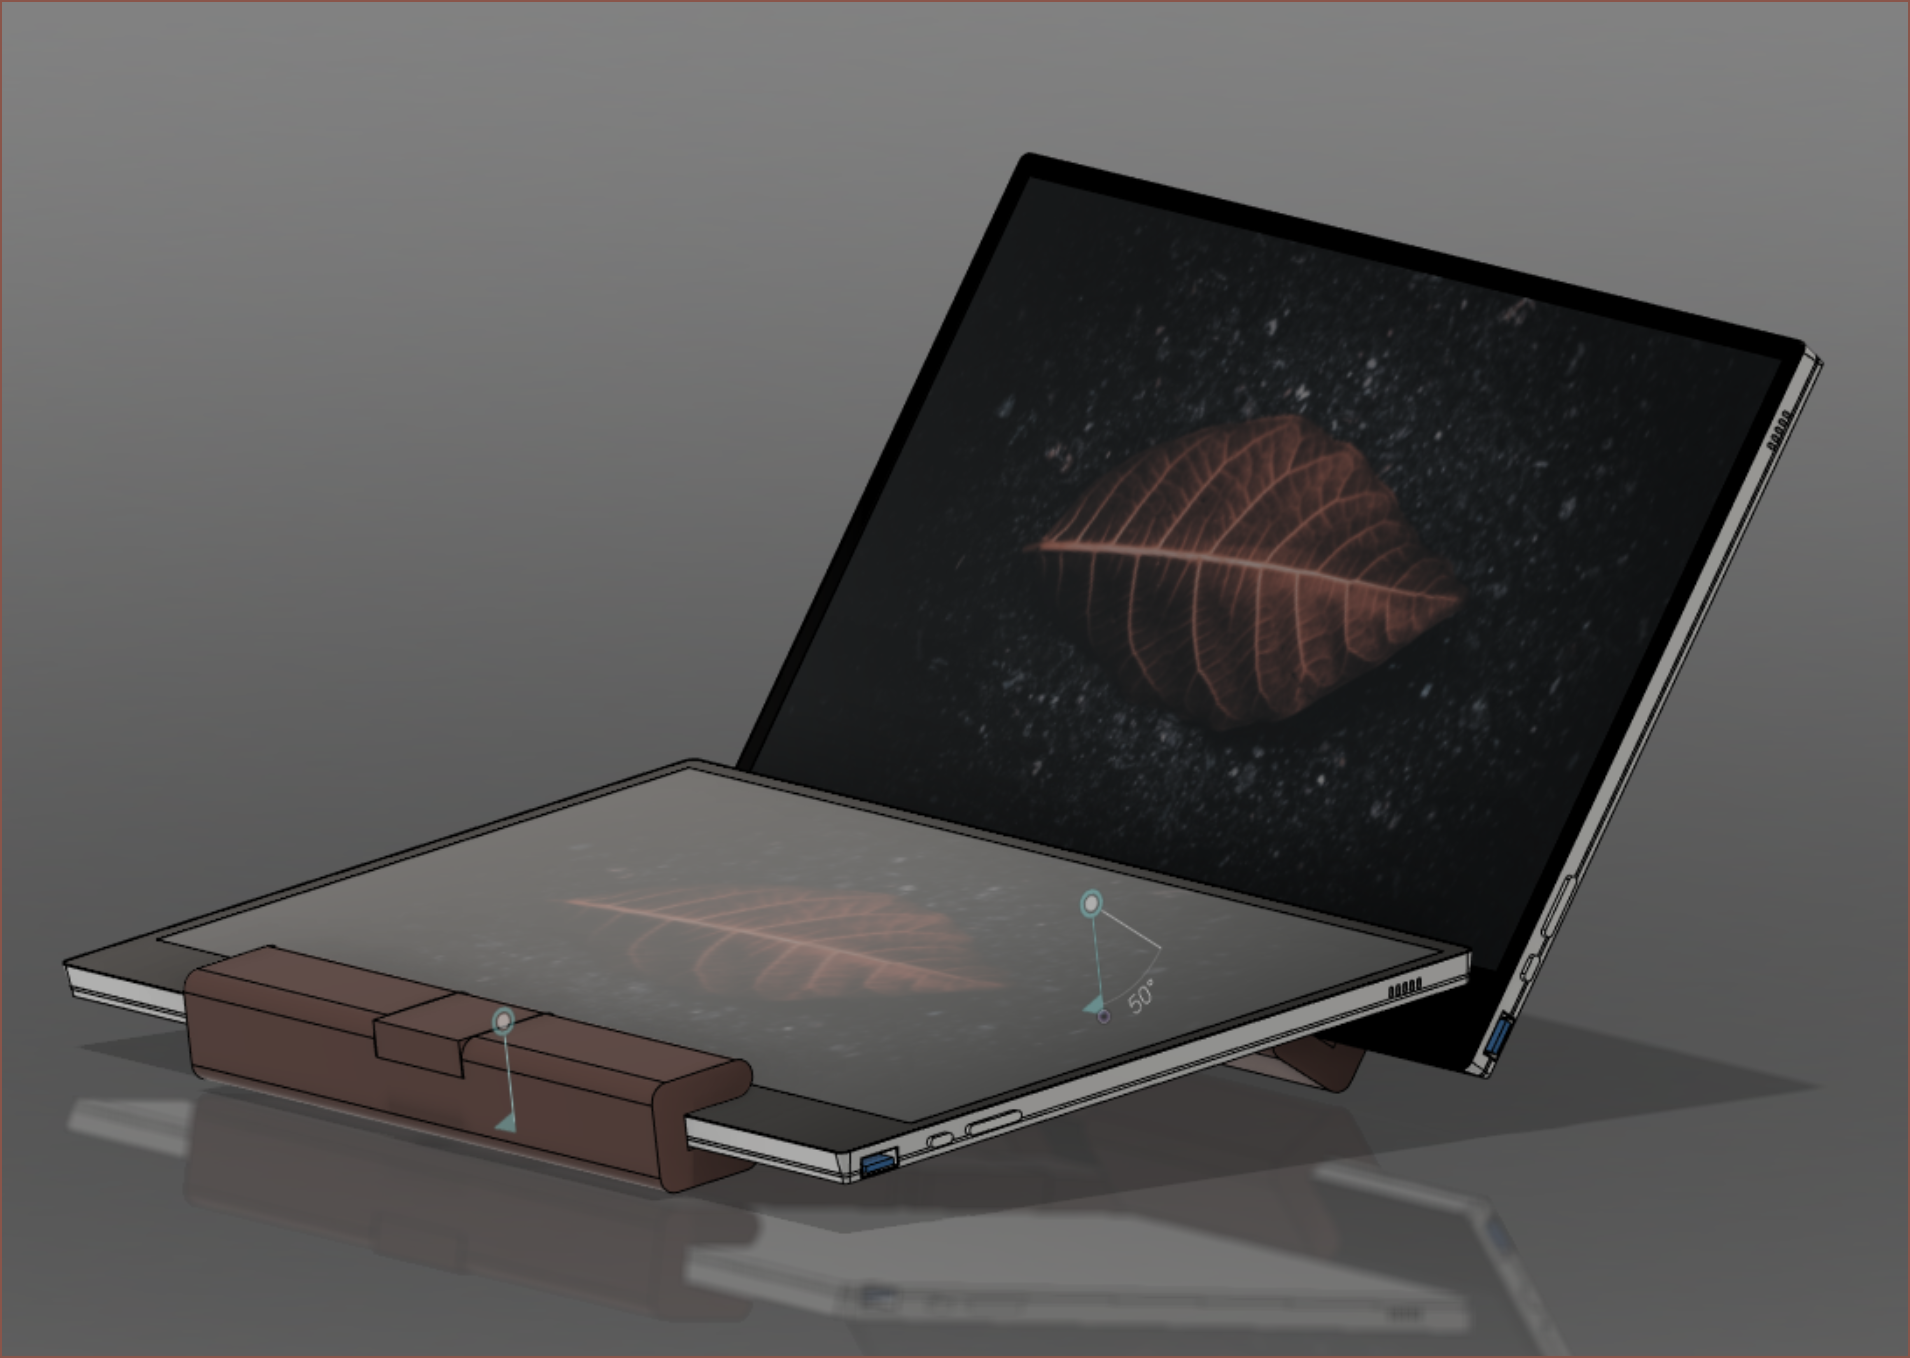
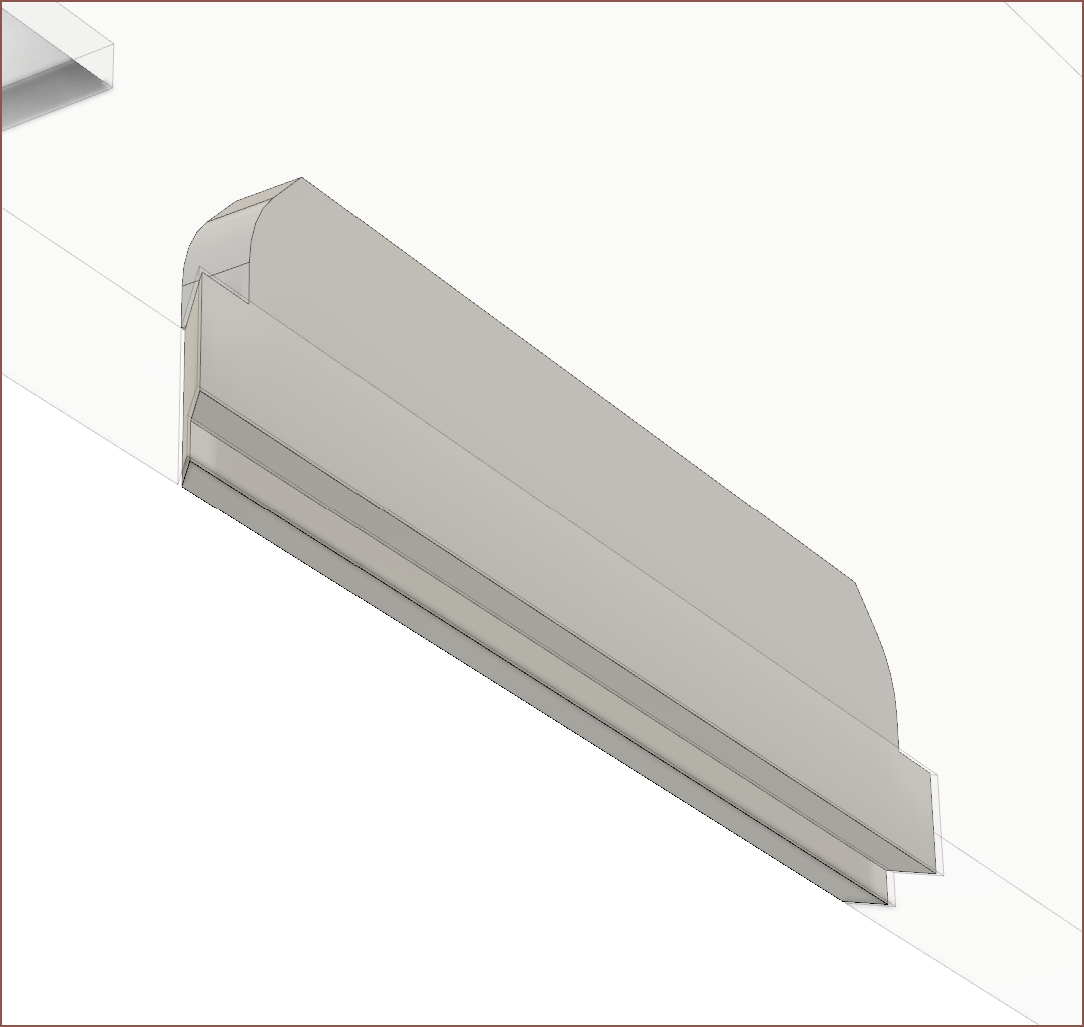 Then I modelled the clips that will hopefully keep the screens in place.
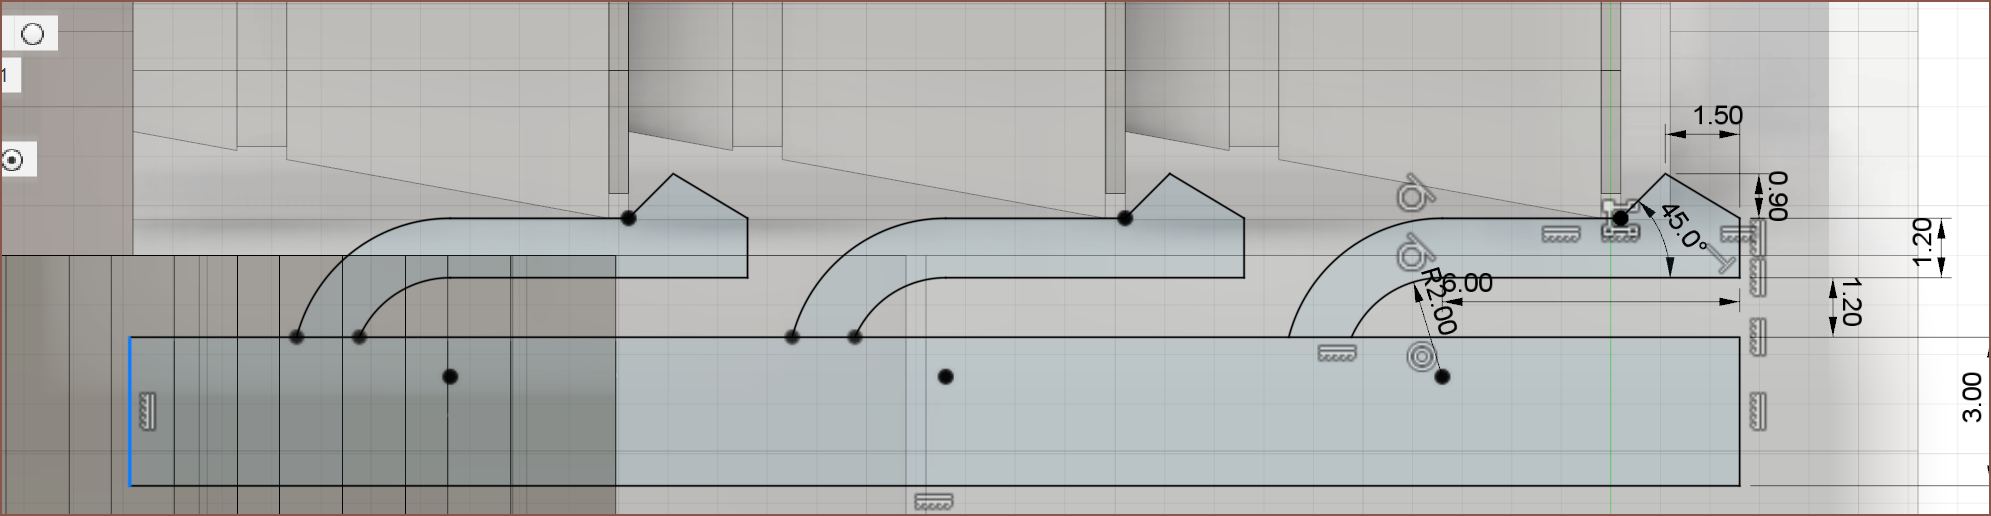
 Especially nowadays since the screens I bought late 2020 have gone up £70 each.
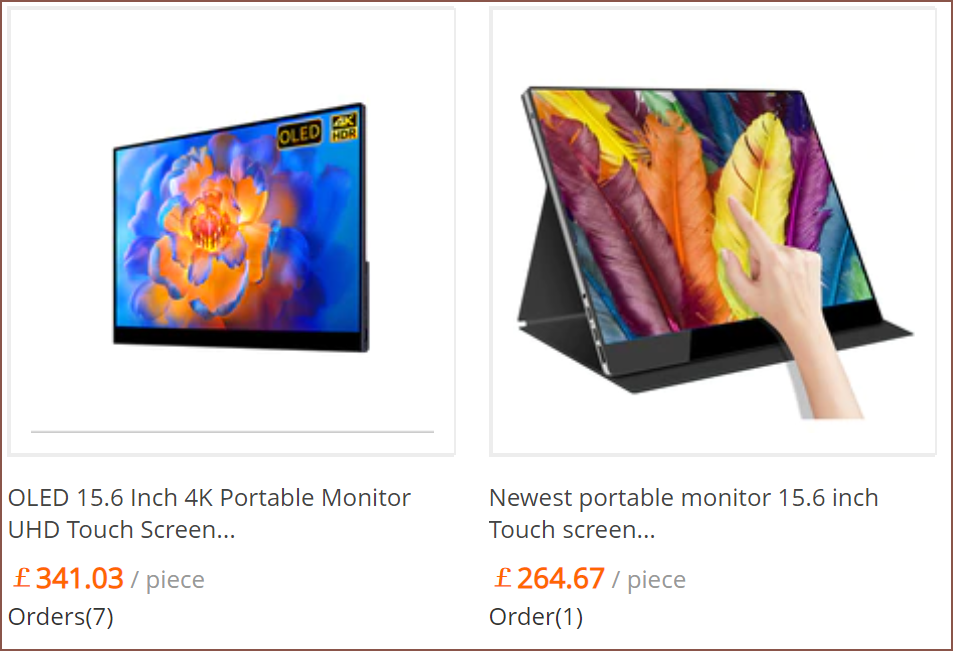 It also looks to have less chin.
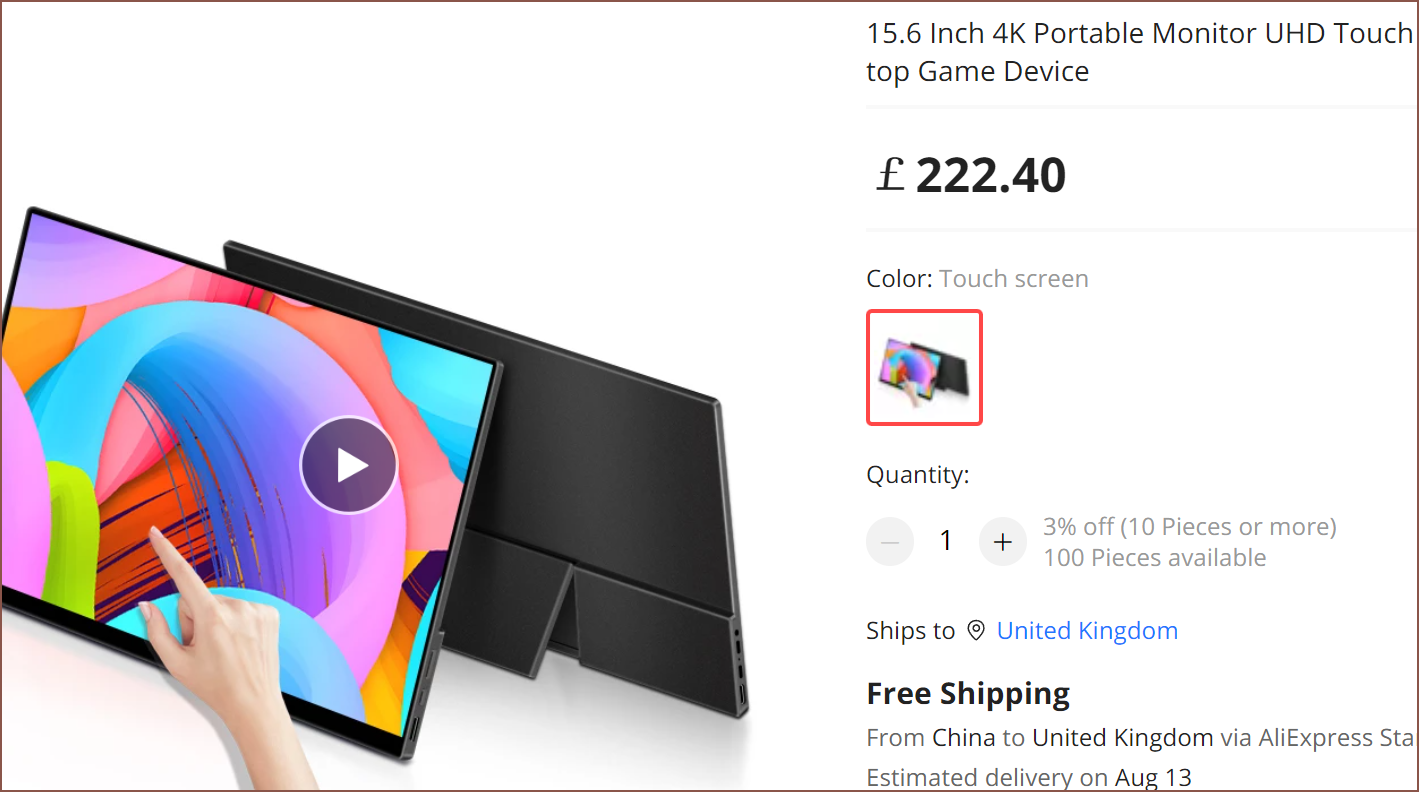 Then it would've been an even easier sell to me. Buy 1 OLED main and 2 IPS additionals.
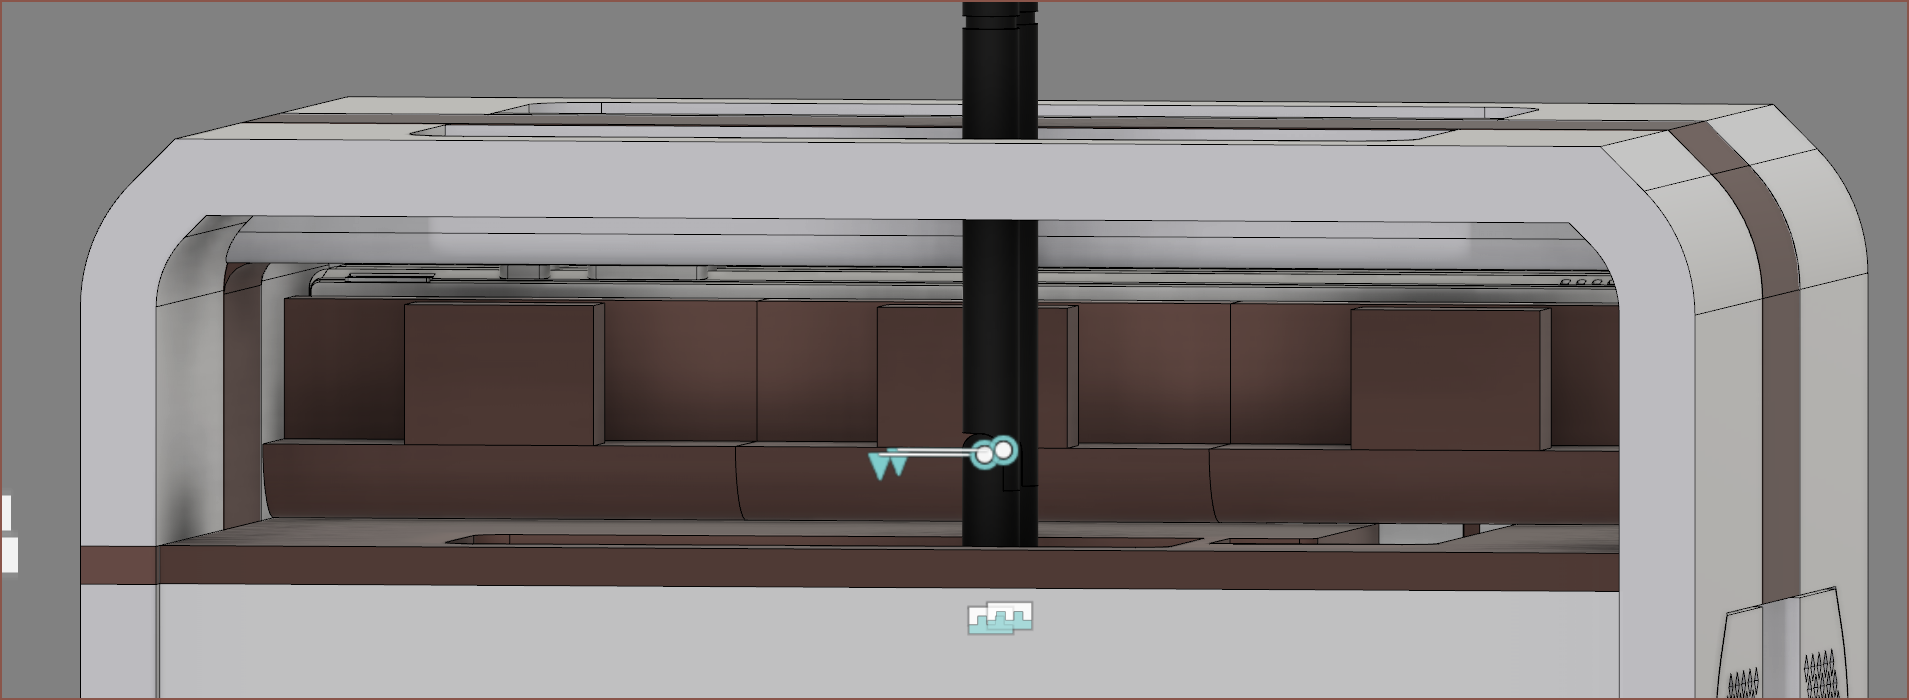
 Or would I?
 Along with the original concept of Teti, the idea was to use magnets to hold the 2 screens on a printed mount. I used the Concept 3060Ti eGPU to guage how large it was going to be.
 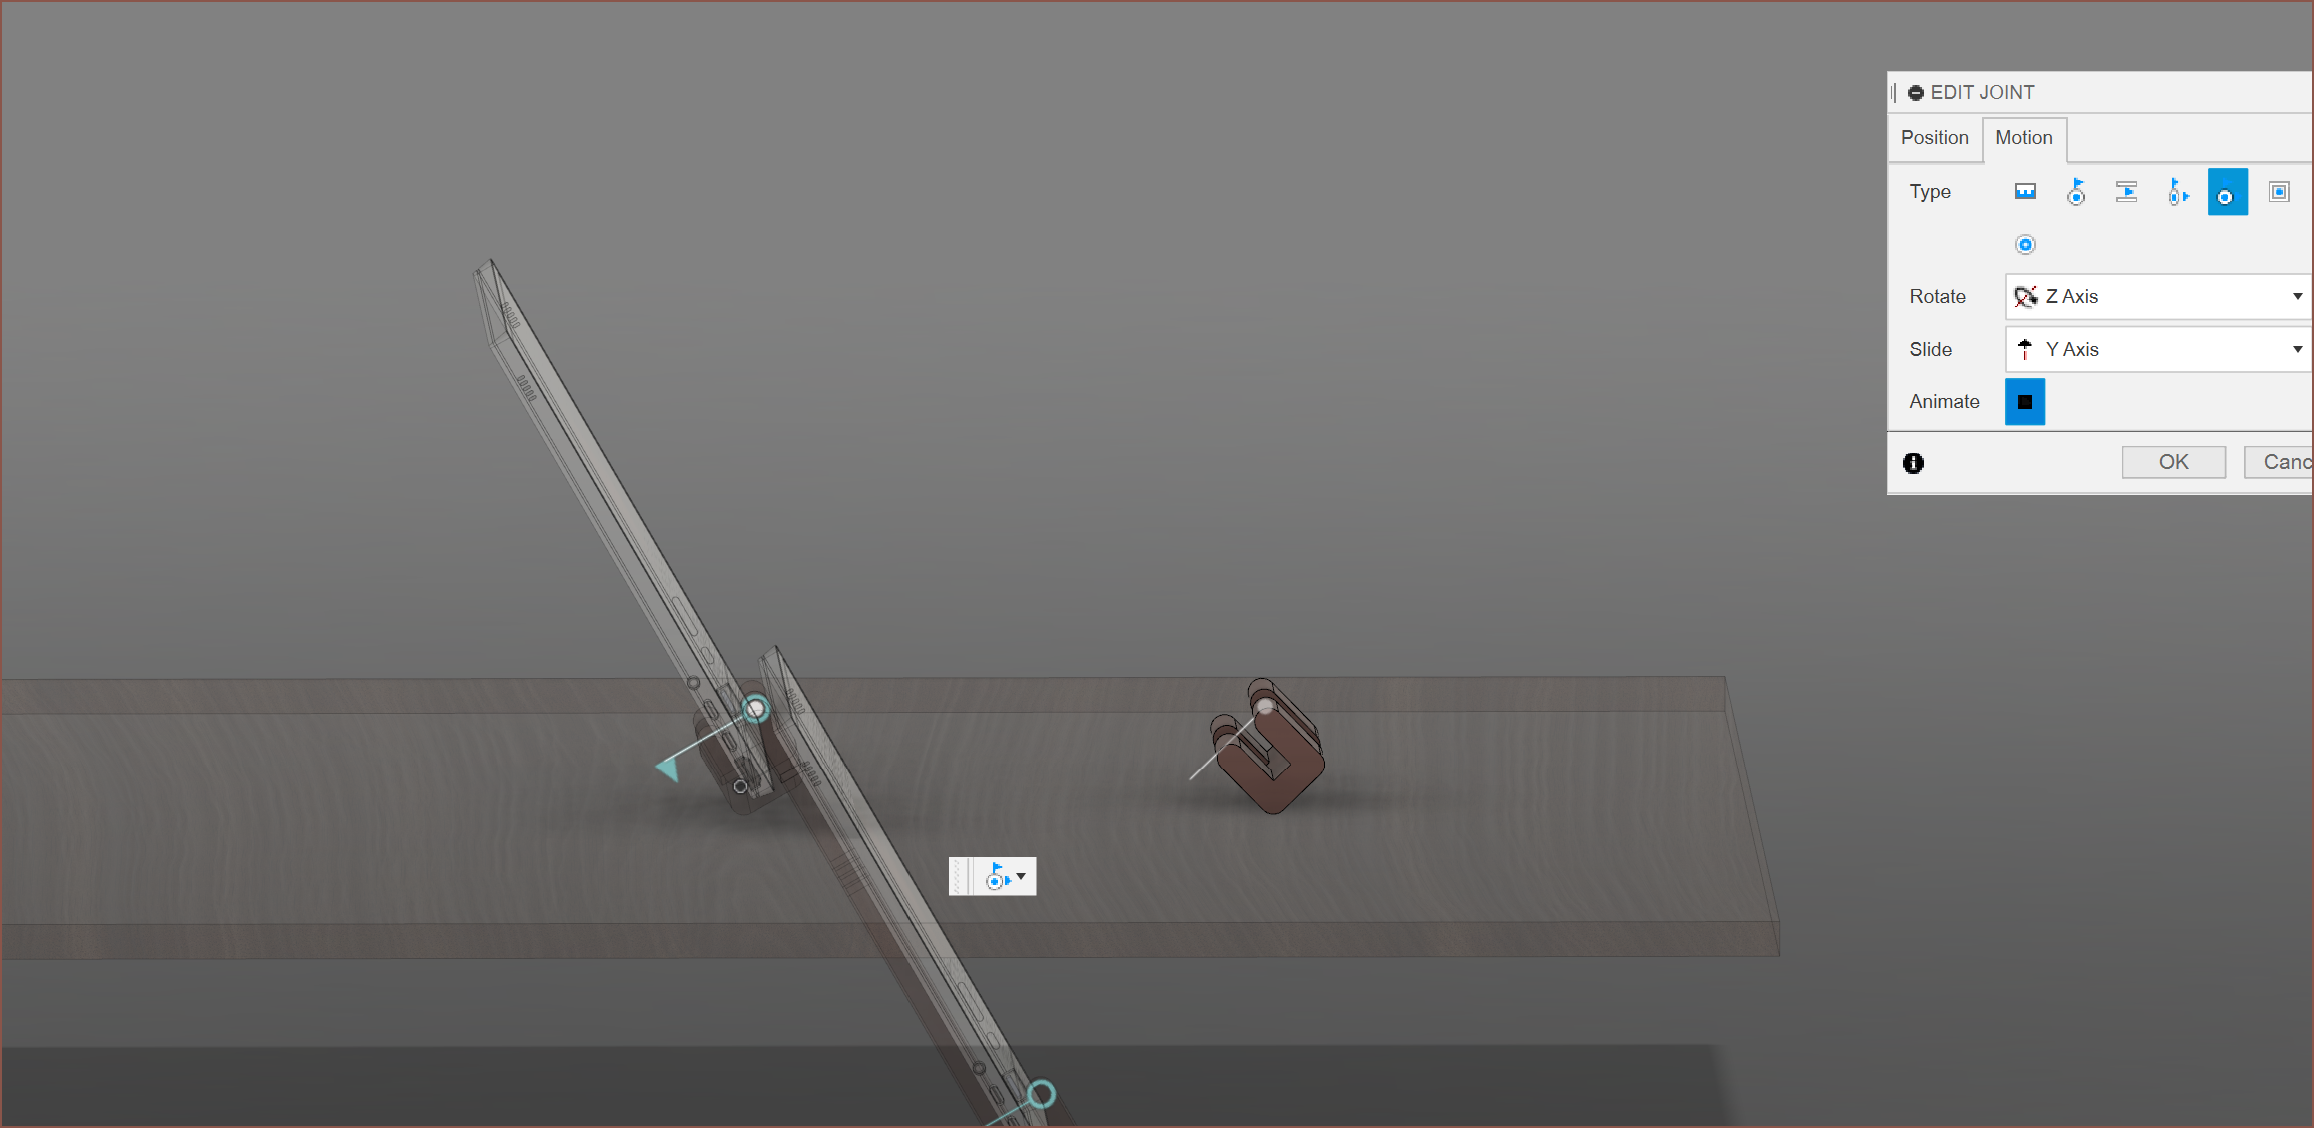 This was the first time using the Pin-Slot joint and it's used to make sure the other half was level with the table at any angle.
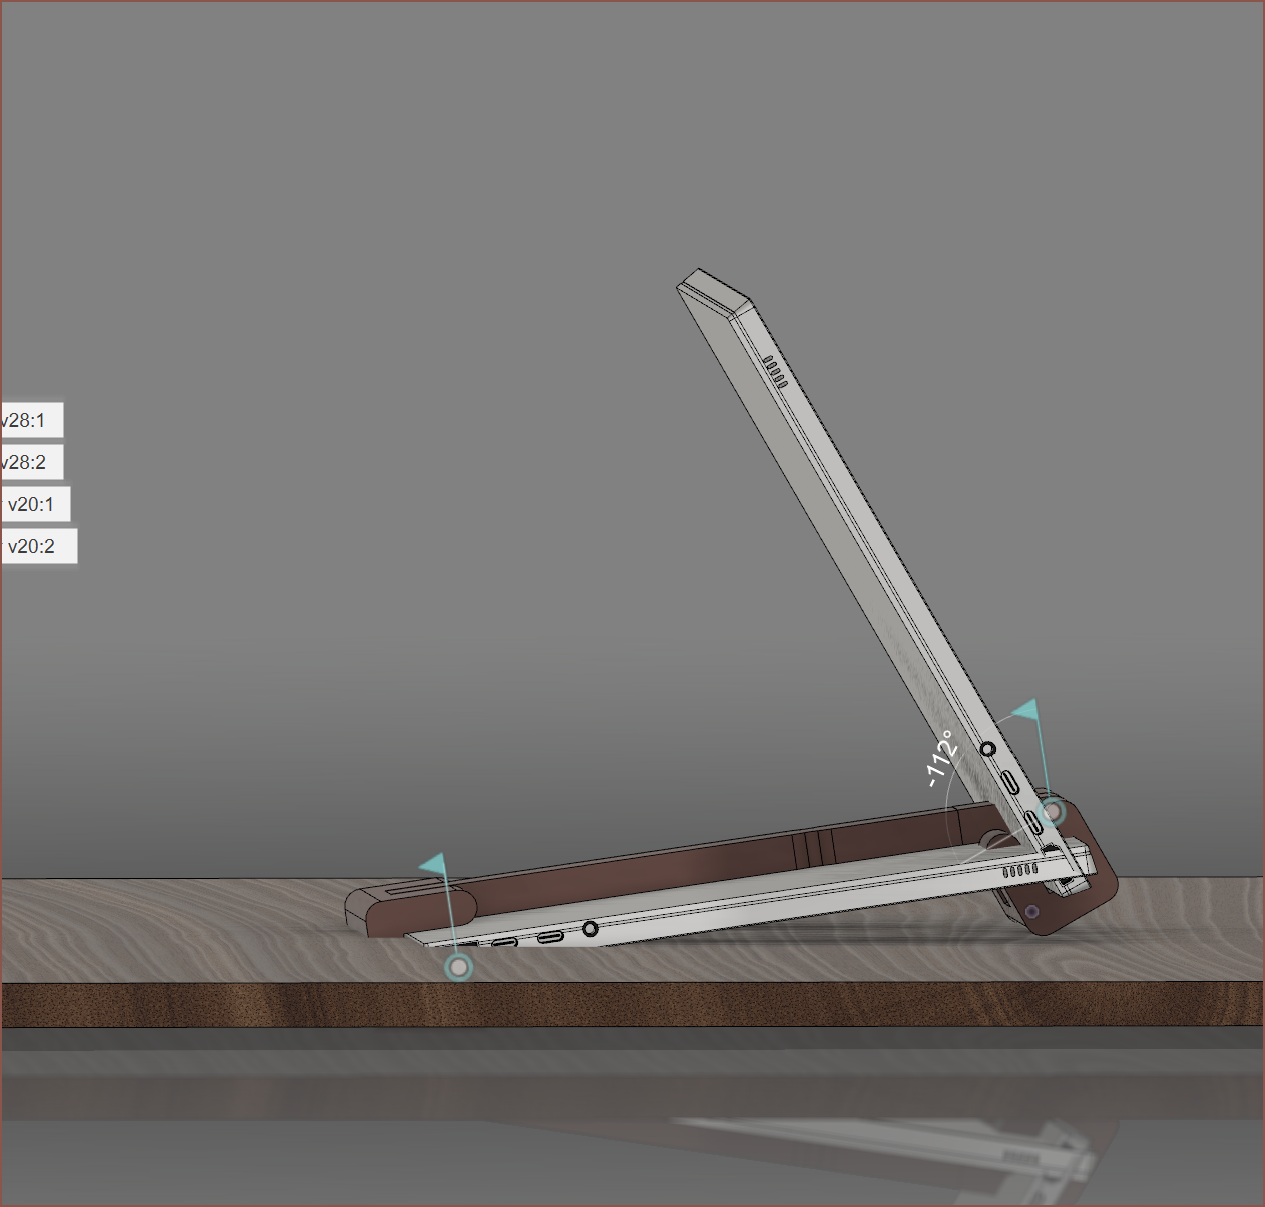 Fusion decided to do this back breaker and I eventually figured out how to get it to use the other solution:
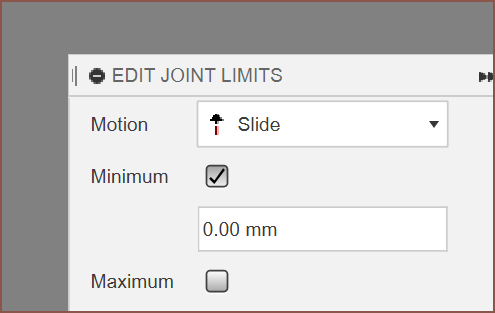
 I then tried to see if I could close it like a traditional laptop:
 Yeah that's not happening. Anyway, these are the measured stats:
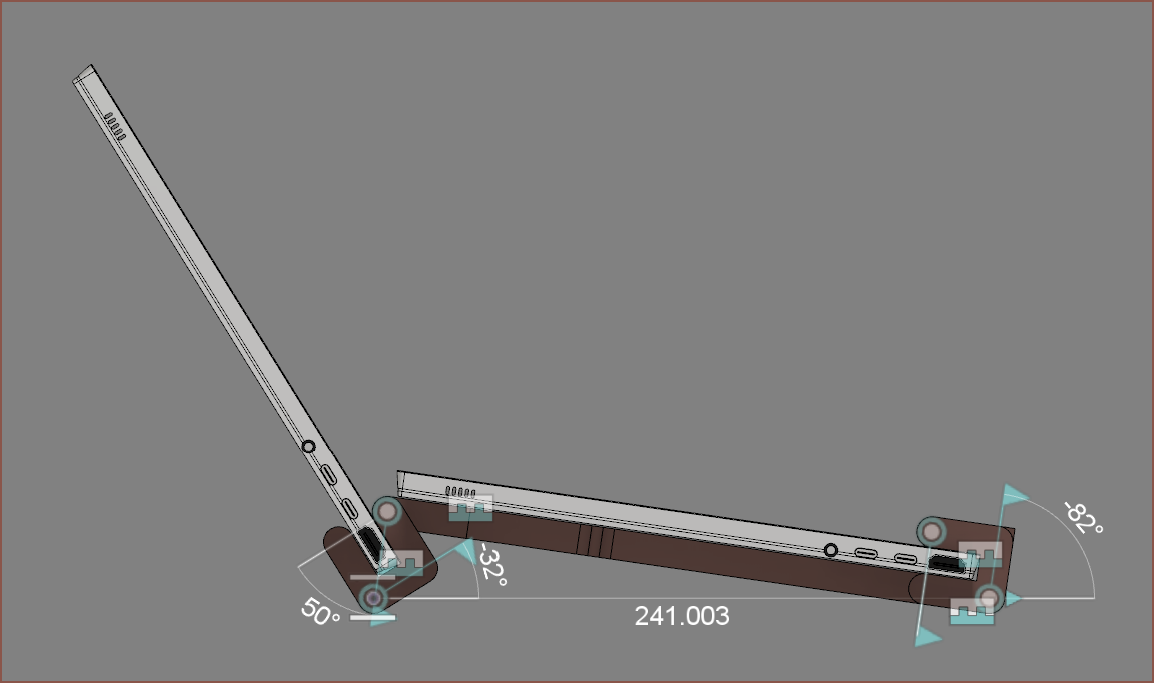 So I'm looking at an 8 degree tilt for the bottom screen. This design also alows for the screens to be at 180 degrees, which is a feature I expecially like in laptops. At 180, the bottom screen is at its minimum angle of 6 degrees. It suprisingly stays within the 6 - 8 degree tilt throughout all usable angles of the main screen. Asus's Duo has a 9.5 degree tilt, but hopefully the 8.2 degree tilt at the maximum is still good enough for science.
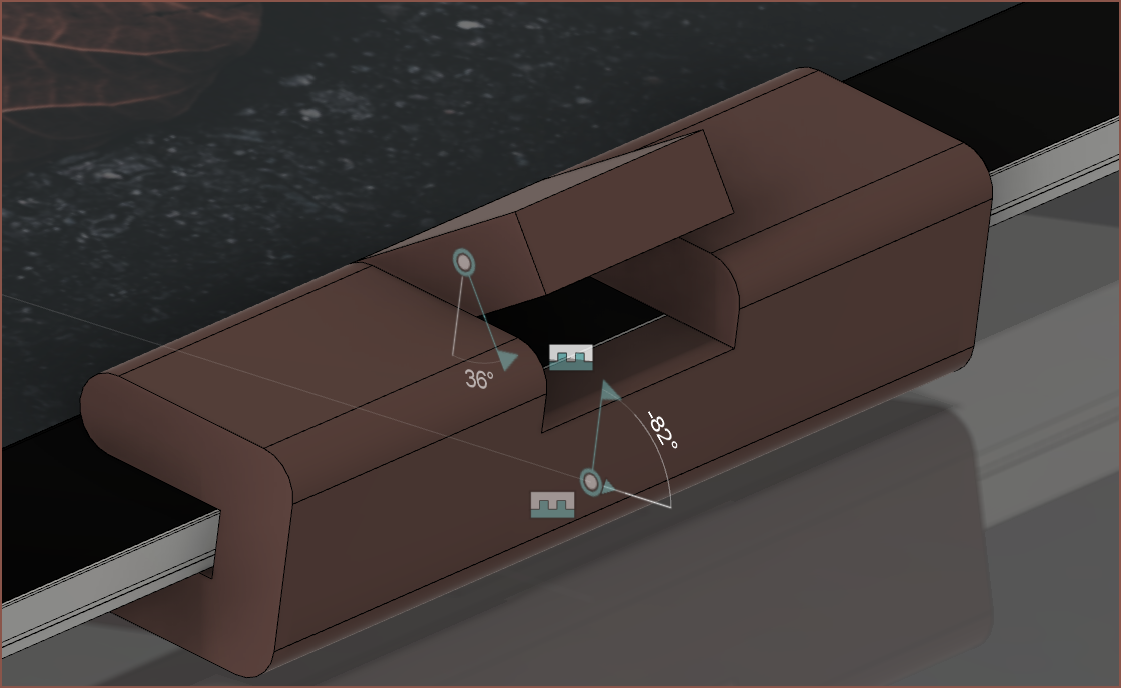

 I then tried adding a line to the side, but I think it's better without:
 So I modelled this pretty quickly and it was straightforward enough to try both ideas:
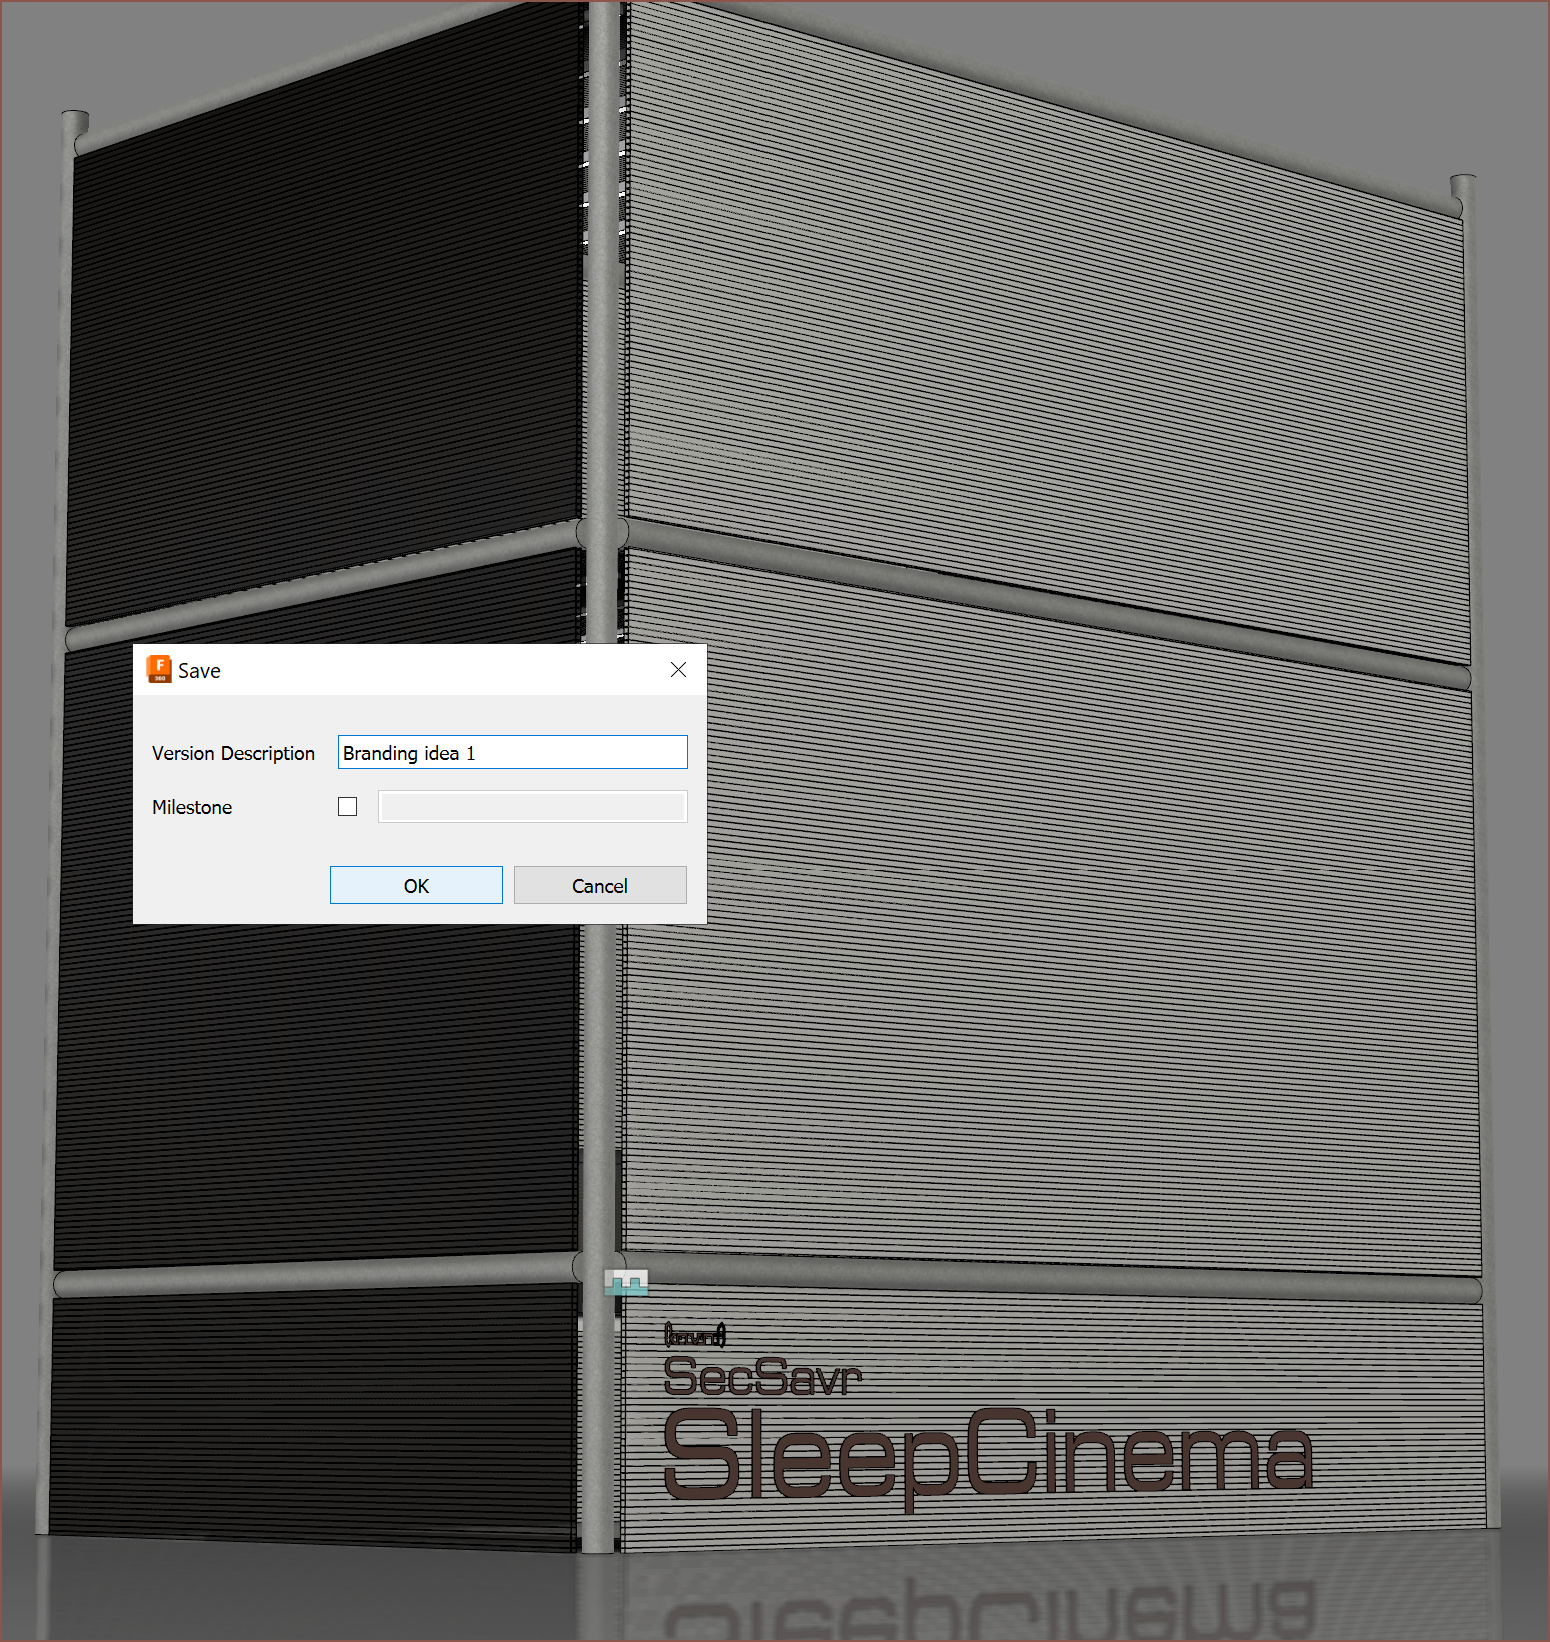
 I feel like the second one works especially well for multi-line blocks of text as it looks more streamlined and the kelvinA logo can be bigger. It also reminds me of the "Super Precious Heat Beam!" arangement of words from

 I also tried the 3 screens with some filament spool boxes: