-
[M] 19mm OD roller
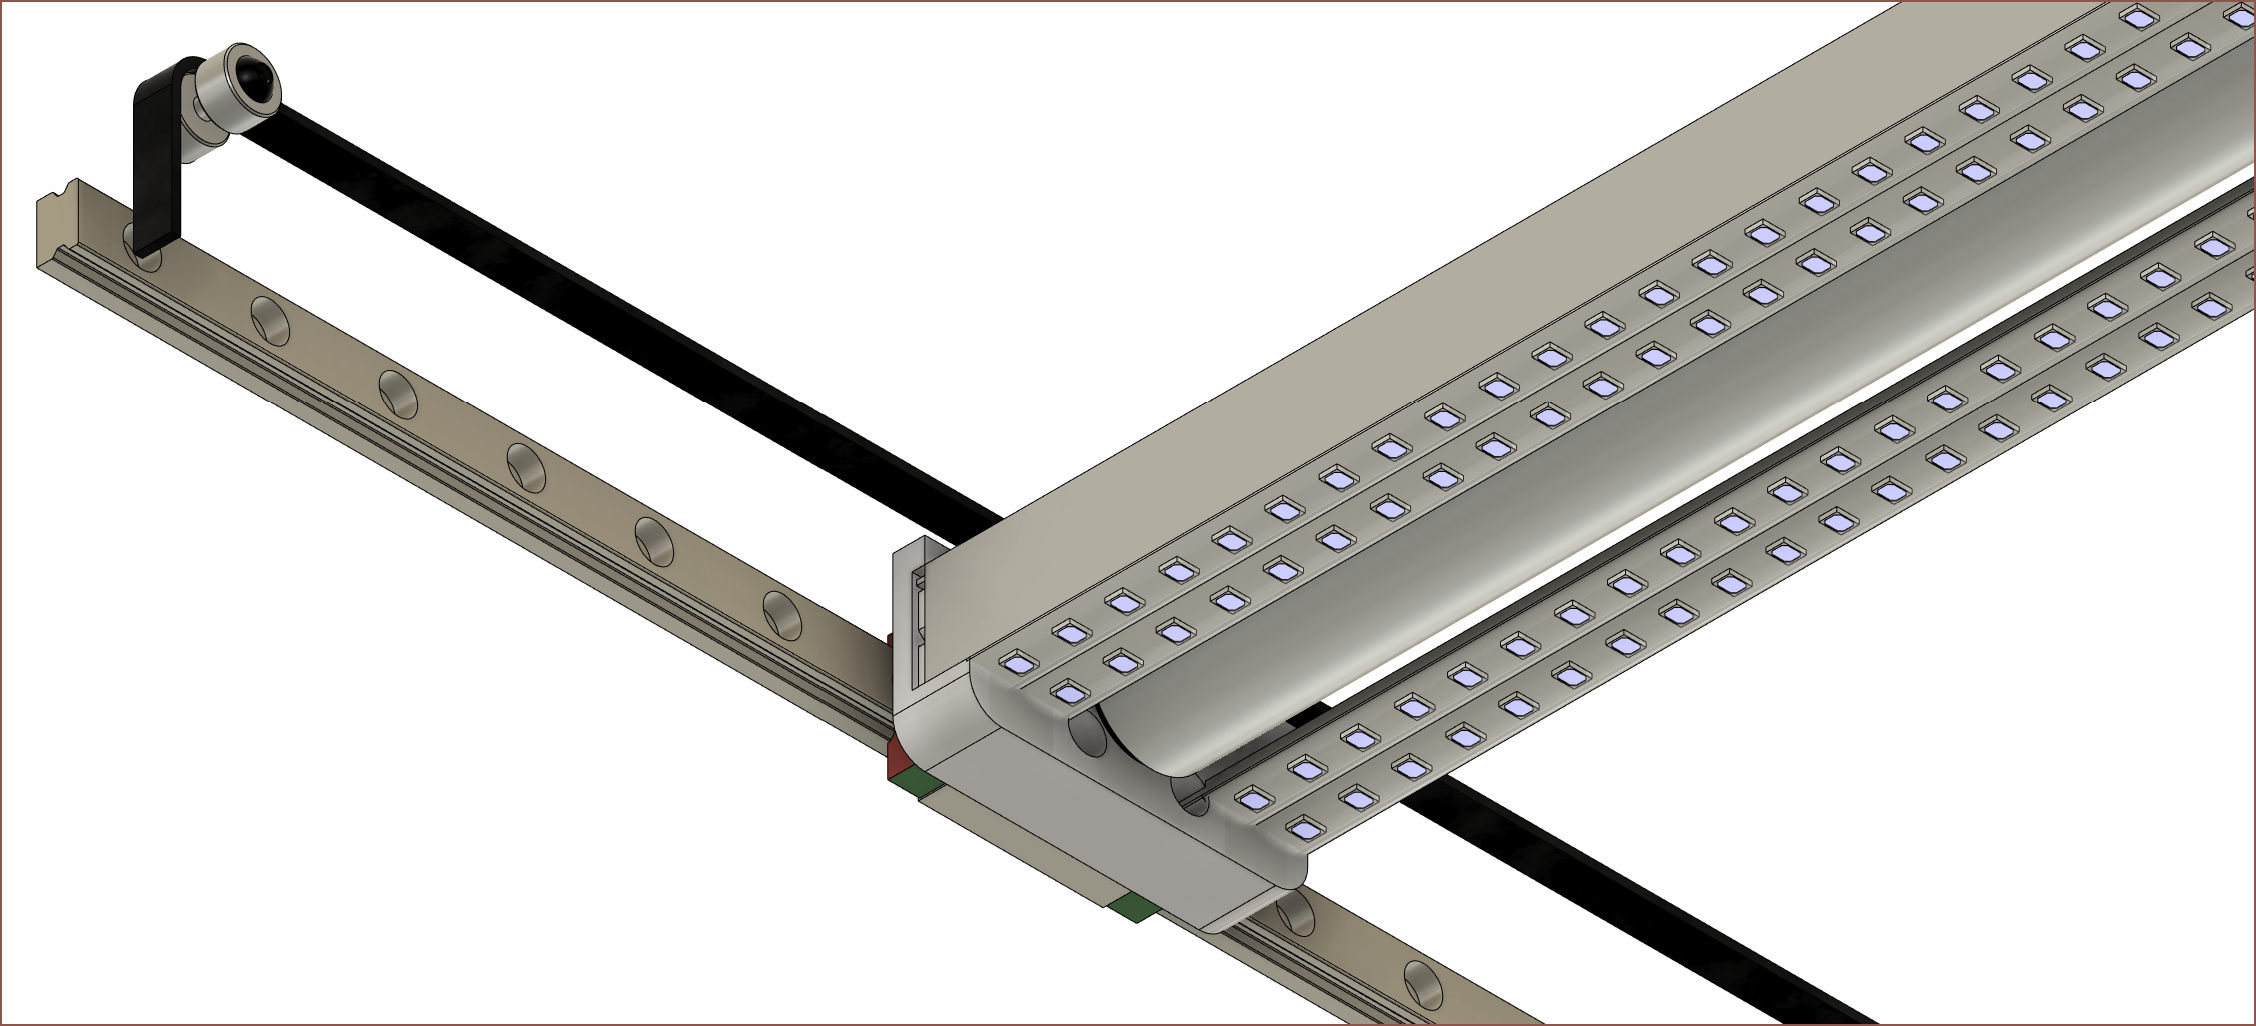
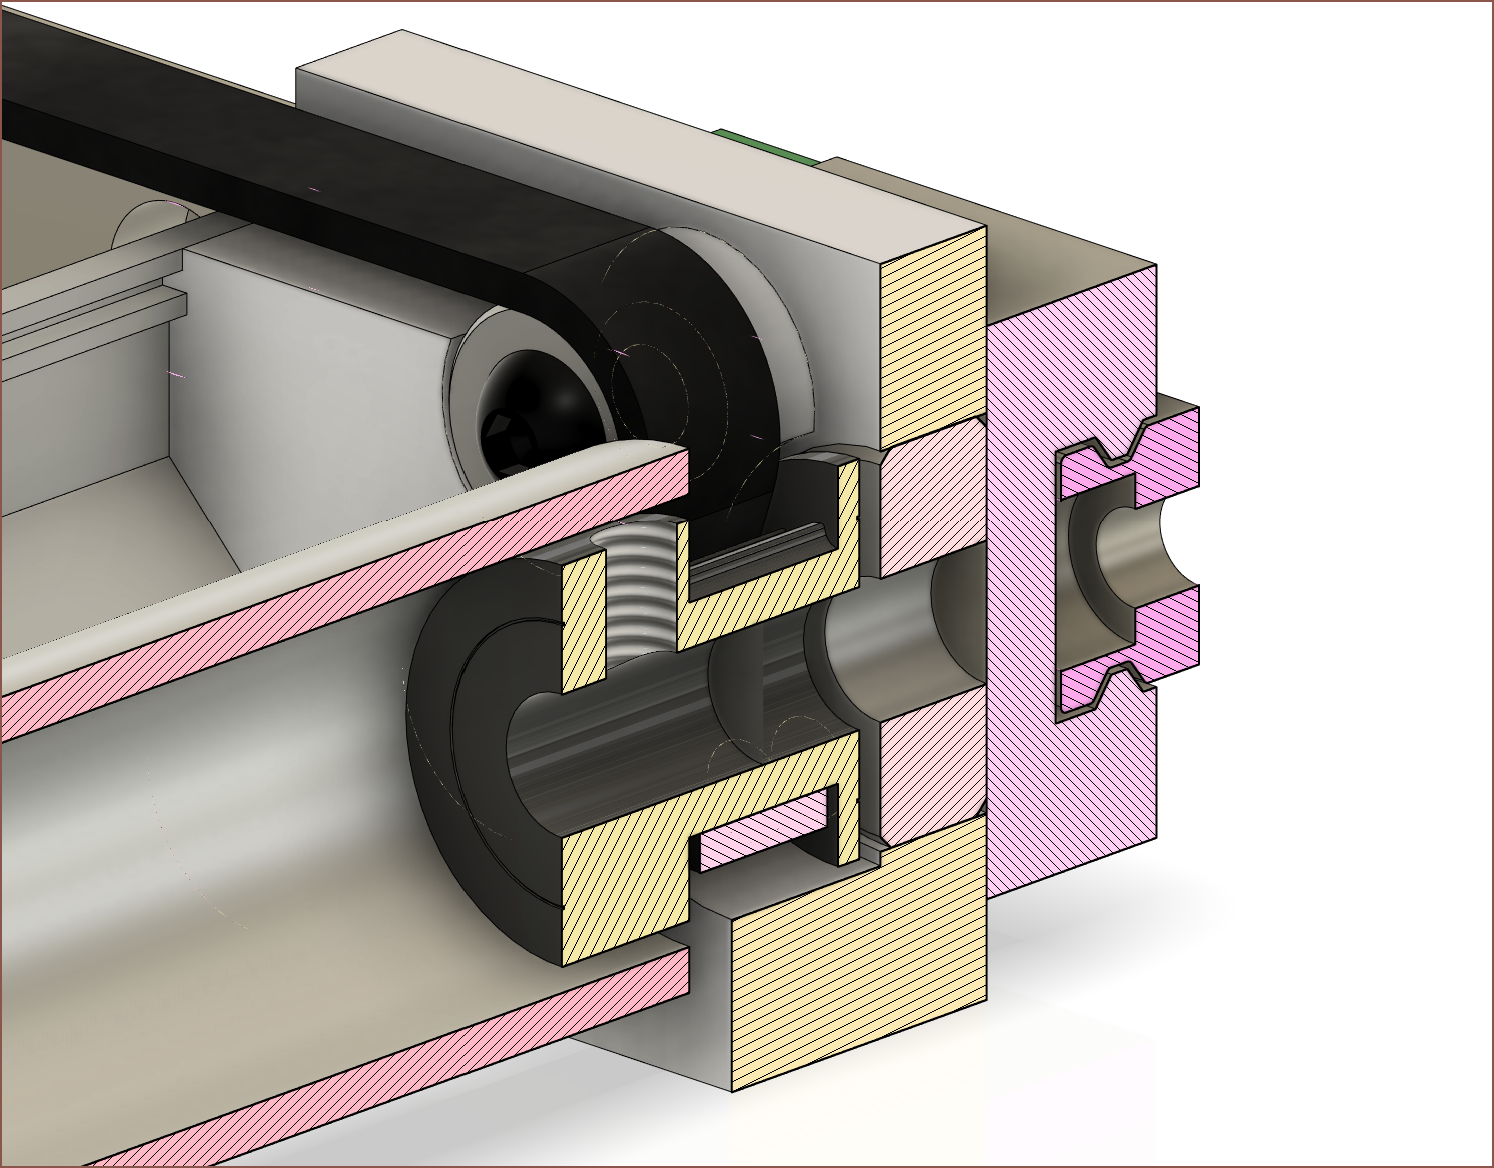
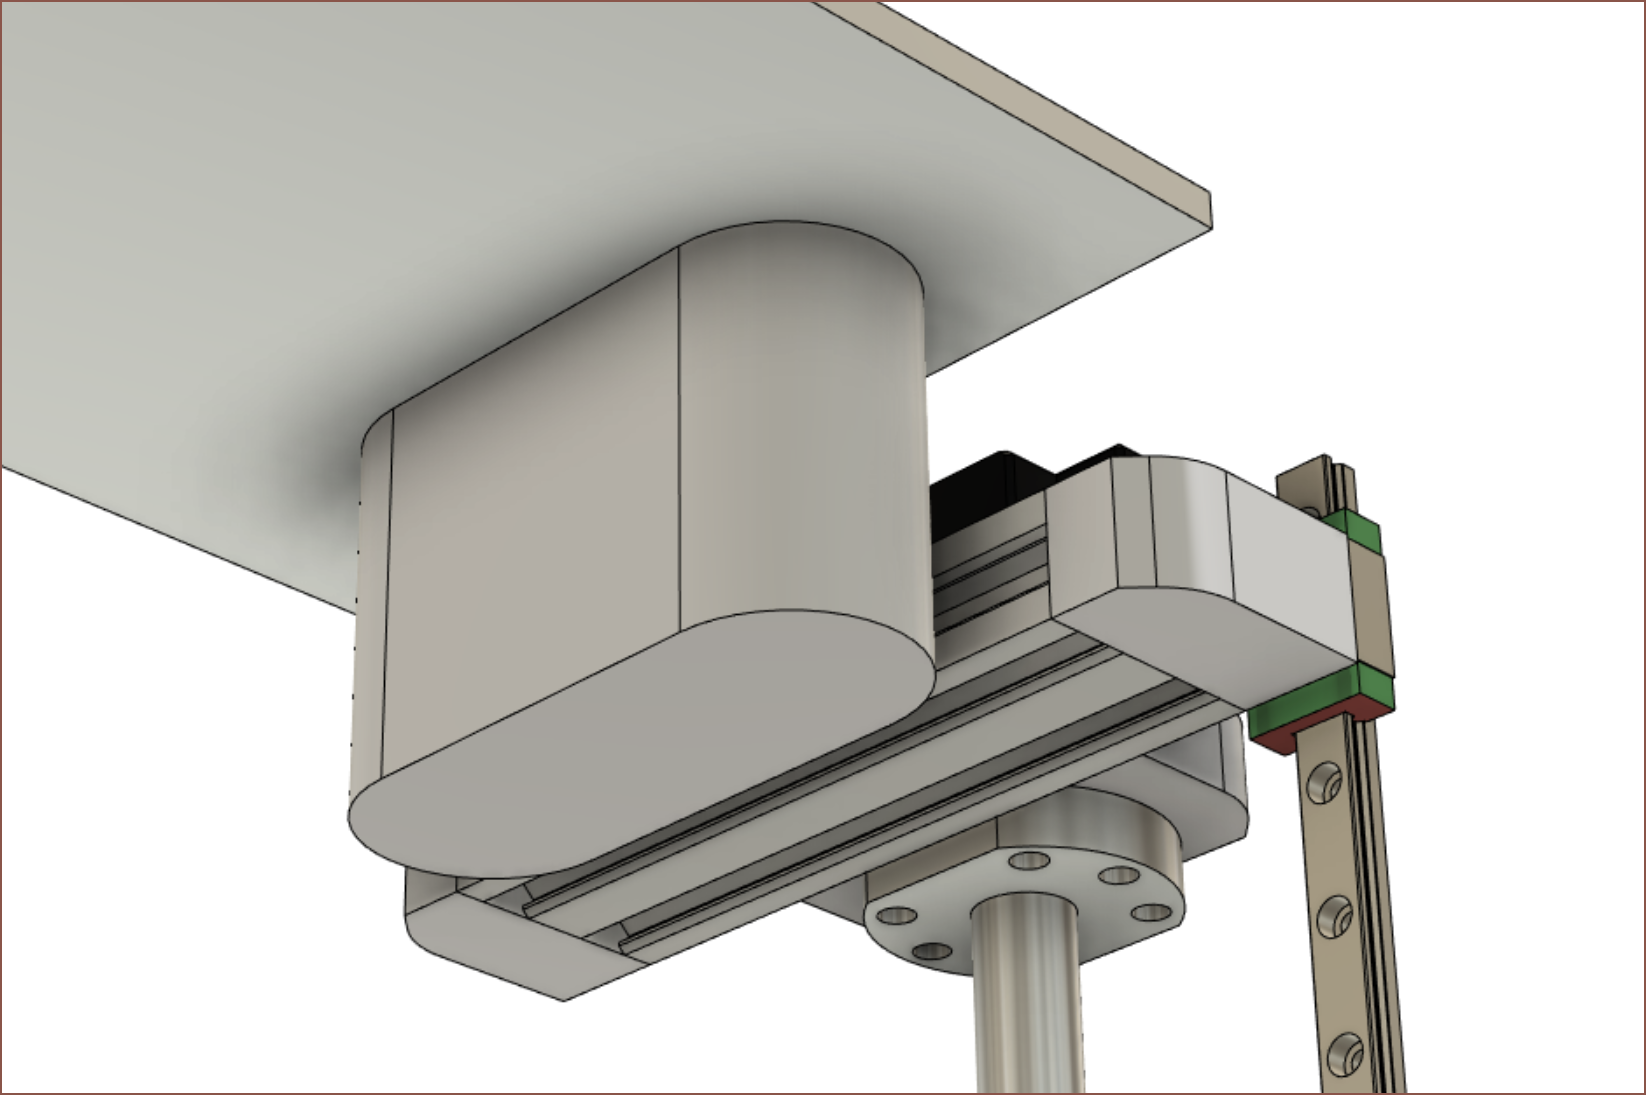
07/24/2022 at 19:24 • 0 comments![]() I wasn't expecting to be getting into PrecisionPefect (aka low clearances between parts) modelling so early in the game.
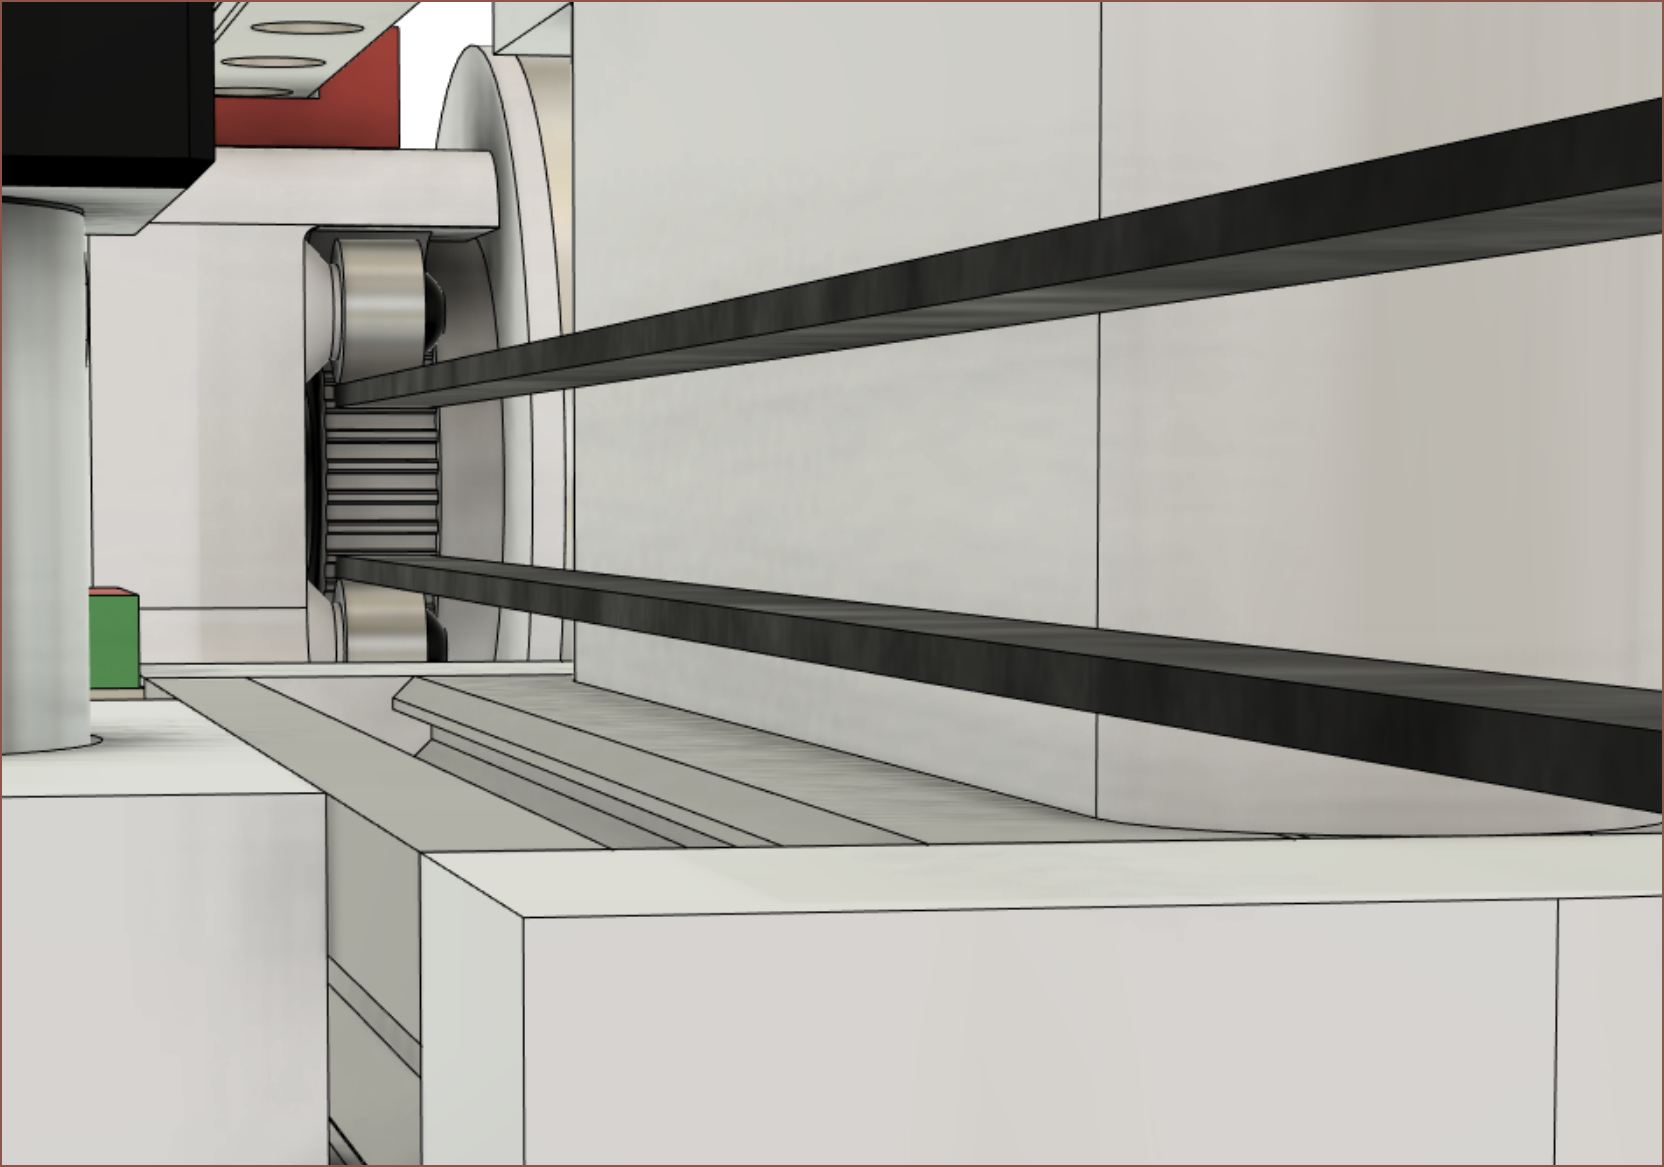
I wasn't expecting to be getting into PrecisionPefect (aka low clearances between parts) modelling so early in the game.![]()
The reason why I've gone with the belt going under the pulley is so that the belt can be as high as possible, but more importantly, so that if the R linear axis is the only one that's moving, the R rotational axis rotates in the direction it is intended to roll in. If the belt went over the top, the rotational axis motor would have to work against the rotation brought in by the linear axis motor.
I haven't yet modelled in the 5mm dowel, R axis belt/belt holder or the 2ish mm cleaning string.
-
[A] Current BOM price
07/24/2022 at 00:25 • 0 comments![]() Currently over £1K. Why is everything so expensive? I'll never understand how a couple of cheap items can still accumulate to something expensive if there's enough of them.
Currently over £1K. Why is everything so expensive? I'll never understand how a couple of cheap items can still accumulate to something expensive if there's enough of them. I should mention that an extra screen and 5kg of filament is in this BOM, as well as the linear rails and motors for the dual arm attachment (I have an expectation that the only way both arms would fit is if they merge) but uncalculated things like the cartridges are not in here.
The prices are also what AliExpress charges me, and they charge an additional 20% for VAT on things from a single seller under £136.
So far, the biggest outstanding sectors are:
- £113 for motors
- £335 for linear rails and ballscrews
- £181 for motherboard and other electronics
- £216 for UV equipment
Other than the extra screen, the UV equipment price is as low as it's going to get. Motors are a similar story.
Due to precision requirements, most of the linear rails are locked in. Due to time constraints, I don't really want to chance putting lead screws on the heavy cartridge axes. I looked into 16mm smooth rods but it doesn't look like that's going to save any money. I might be able to use the 42.4mm side beam but it could potentially mean that I have to use a longer ballscrew so that it can be fixed at the other end.
"Other electronics" is likely to increase as I haven't priced in the relays used to cut down on the physical amount of stepper drivers needed in the printer.
Oh right and the air filtration system isn't in the BOM. That's probably going to cost another £60 and up.
-
[M] Starting to remodel the roller
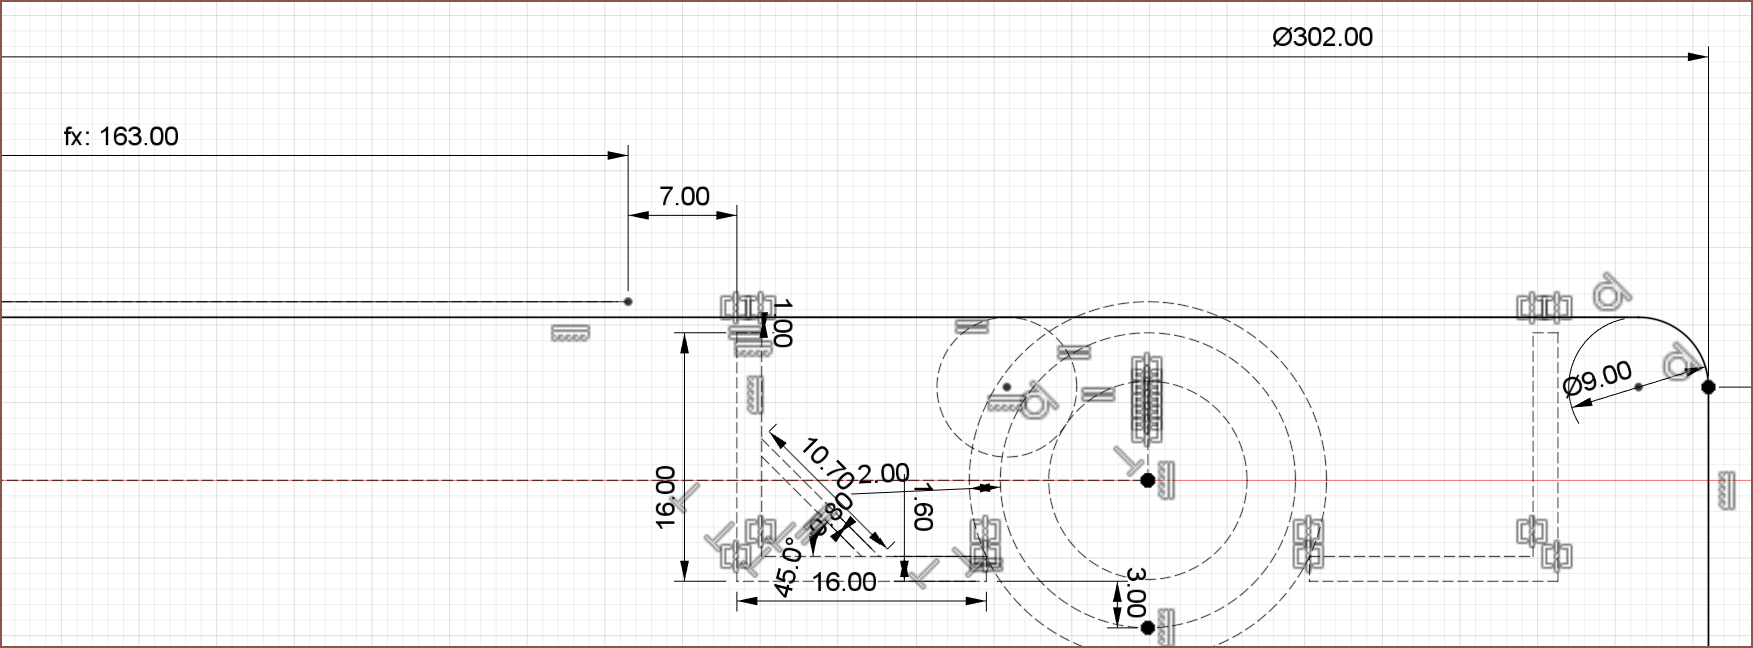
07/23/2022 at 23:05 • 5 comments![]() Yikes this took ages to compute.
Yikes this took ages to compute. For starters, the idea is to have a 16mm OD pulley squeeze into a 19mm polished aluminium tube with a 1.6mm wall (so 15.8mm inner diameter. Not sure if that's going to work out.)
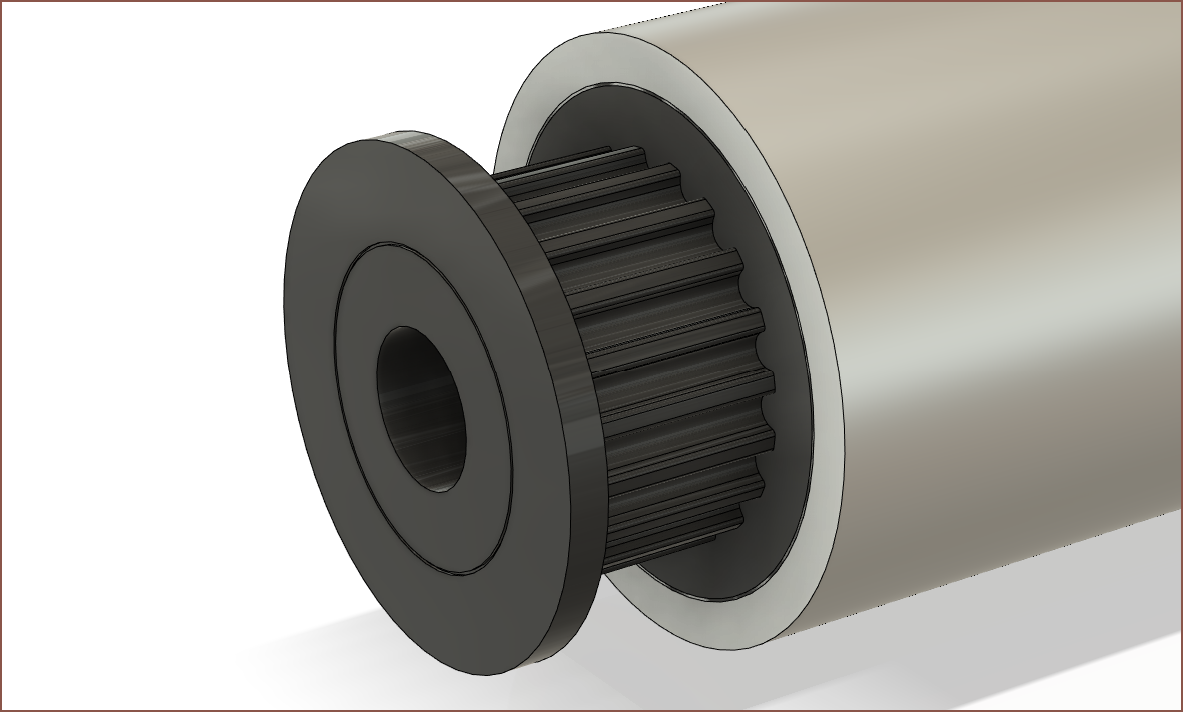
![]() Then I decided to go with dual LEDs instead of dual roller as I wouldn't have to worry about both rollers having the exact same Z height. I then looked all over ebay for a 16mm aluminium anodised angle but could only find 15. I remembered about the aluminium LED profiles and how one was a 16mm square angle and plan to use that in the design. It's also more likely to be available in different markets around the globe and might even allow me to put a LED strip in the channel to cure the resin that hits the string.
Then I decided to go with dual LEDs instead of dual roller as I wouldn't have to worry about both rollers having the exact same Z height. I then looked all over ebay for a 16mm aluminium anodised angle but could only find 15. I remembered about the aluminium LED profiles and how one was a 16mm square angle and plan to use that in the design. It's also more likely to be available in different markets around the globe and might even allow me to put a LED strip in the channel to cure the resin that hits the string.Speaking of LEDs, I'm thinking of using the waterproof version so that any resin dropplets can be wiped off and the coating should make it easier to apply a professional looking finish.
-
[T] Smaller cleaning roller
07/23/2022 at 20:30 • 0 commentsI have refined my idea in the last log about the string/yarn that will clean the roller.
This is the string I intend to use:
![]()
It's cheap and looks like it could really grab and hold onto the uncured resin from the roller. Instead of 2 strings on each side, a single string will be located at the top of the roller. This both means that resin can be cured to both sides of the exposed string, leading to less string used and less complexity, but the roller can be cleaned as it rolls over the print area. This reduces the limitations to extending the Y axis solely to the screen and UV lamp used, as well as reducing the time it takes to clean the roller for any additionall passes needed.
A smaller roller diameter can be used, claiming back valuable Z height. With the extra space around the roller now, I can probably add a second row of LEDs. The next aluminium angle size up is 15x15mm and the strips are 8mm each, so hopefully the 1mm overlap isn't a problem. More LEDs will allow a faster pass with the same final cure hardness or a higher cure hardness for the same default speed. Alternatively, a second roller could be added for a deeper clean on every pass.
I also wonder if the continuous fibre could be used. The roller is cleaned and the fibre is coated with UV resin for use with the fibre attachement.
-
[T] Roller cleaning, motor drivers and air filtration
07/23/2022 at 14:11 • 0 commentsRoller Cleaning
I just had an idea to clean the rollers, and that is by using a thread/rope/yarn across the entire length of it. Before this, I was thinking of paper kitchen towels and wondering where I was going to fit it. Additionally, there was not really anywhere for the used paper to go and I was worried it'll be draping over the front/rear "windows". This initial idea came from an article I mentioned in a previous research log.
Now the idea is to have the rope travel in a (ptfe coated) channel, with a similar tensioning system to the main one used for the PET film. Hopefully it can be simplified to only need 1 motor to pull and keep tension of the yarn, since it only goes in 1 direction (towards the waste spool). The yarn will be incrementally dragged across the length of the roller and there will be UV lights that slowly cure the resin so that it grows similar to the article mentioned in the above paragraph. The post-exposed/pre-cured layer shouldn't accumulate much uncured resin so that the roller doesn't accumulate much uncured resin, allowing the yarn to collect it all.
Driving motors
I've already counted the motors I'm using so far and the Suspense is likely to need over 10 independently controllable drivers even before the ones for the roller cleaning. I plan for a relay to switch which arm motors are connected to the driver since the printer can't use both at the same time. The BTT GTR can only accomodate 14 at the max, so Klipper and a M8P + [insert 8 extruder board) like the #SecSavr Sublime [gd0036] is probably required. I'd like to model in mounting holes that are compatible with the Monster8 (cheapest), Octopus (cheapest from BTT) and M8P to give users the option to install a wider choice.
I'm not sure if those smaller but way cheaper stepper motors can use 24V. I know from a YT video that they can use 12, so those steppers may need to be on the main Manta M8P with CB1 (I just got the latter in the mail today) and run them on a different-than-input voltage.
Air Filtration
Speaking of the electronics, I'm thinking of putting them under the VOC filter system which is at the bottom of the printer under the bed since there's still enough space at max Z to house a plane under there /s. I'm thinking of using the filtered air to cool the electronics before they go back outside. The intention is to have a negative air pressure and have a filter powerful enough to not rely on the use of venting through a pipe out to the nearest window. If anything, I want it to be so purifying that it can lowkey be used as an air purifier for the room the printer is in. I mean, I've got to prevent dust from getting into the printer and then prevent any VOCs from exiting it, so it's probably going to do it anyway.
-
[T] 3D Printed Circuit Boards?
07/22/2022 at 21:40 • 1 comment![NaNoS 3D Fabrication Service - Nano Dimension NaNoS 3D Fabrication Service - Nano Dimension]()
We could be Nano-Dimensioning... If you're wondering why I'm thinking of all the optimistic possibilities in the future when I don't even have a printer working right now (Suspense or otherwise), it's because I want to know what features I can "flyby" on the way to a solution. Unlike what I desire for #enSweepen [gd0096], CAD in general is a bit like the waterfall model in computing where you don't really want to be making drastic specification changes when further into the design. I'm still looking at what Sublime feature could be ported over
Anyway, imagine this. A UV curable, not-a-resistor conductive resin comes along. Now for standard, single material SLA printers across the globe, this resin is near useless, thus it's unlikely to be made. Enter the completed Suspense, which can use multiple, viscous resins to print with. Now there can be a conductive and non conductive material (or several) in the print, with features probably 2 or 3 pixels thick (3 or 5 mils).
Tracks. Vias. 3D tracks. Variable layers. Pads. Solder masks. Silkscreen. Coils for motors. We could be Nano-Dimensioning out here instead of worrying about fiberglass dust or very hazardous chemicals.
And for the traditional flat PCB, I think I could fit a (solderpaste and) pick and place attachment under the continuous fibre attachment where its X axis is on top of the arm instead of below it for the fibre attachment. It could be like JLPCB's single-sided SMD service. If 180 degree was implemented over the easier to implement 90 degree shoulder joint, the Suspense could probably populate a 100% keyboard PCB.
-
[R] PET Film Search
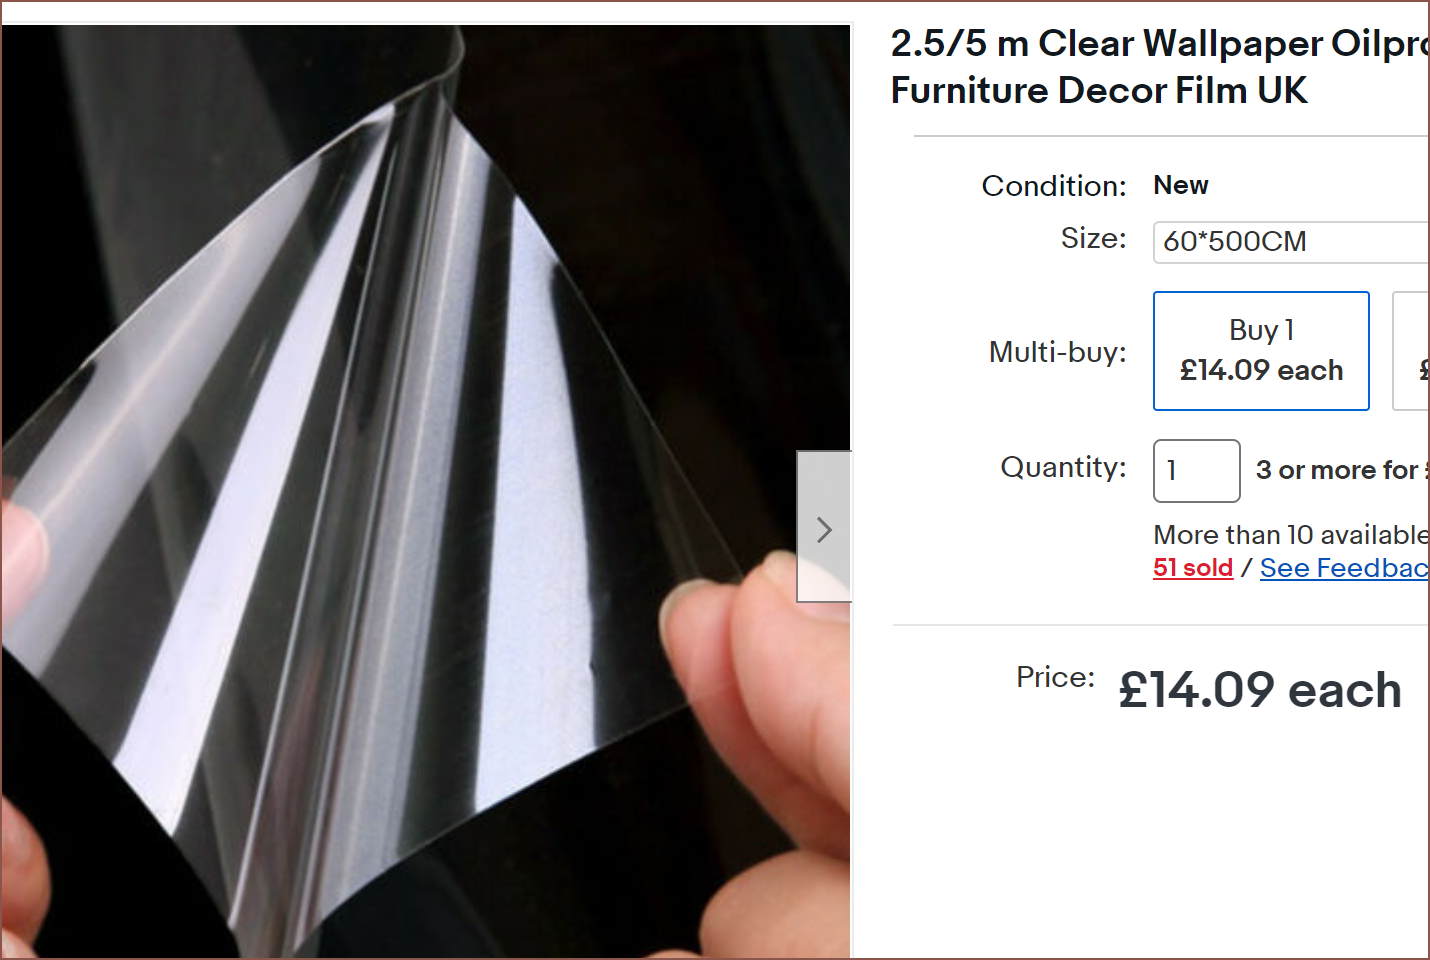
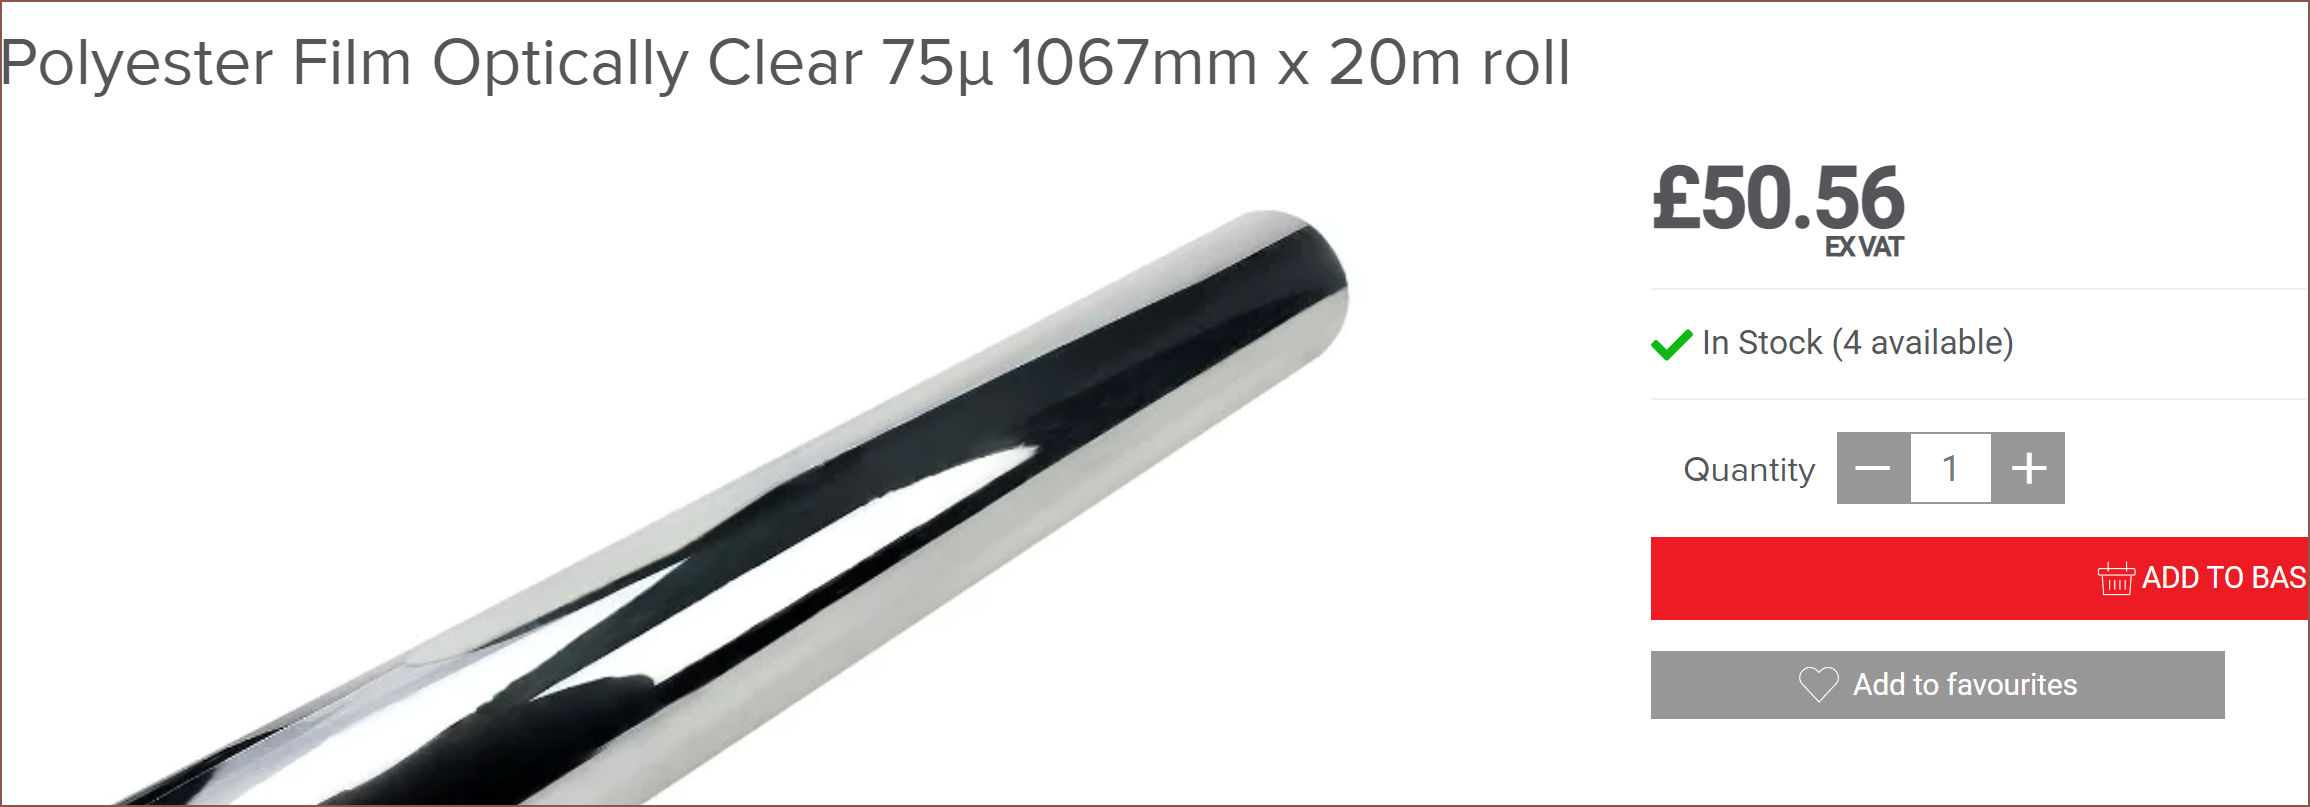
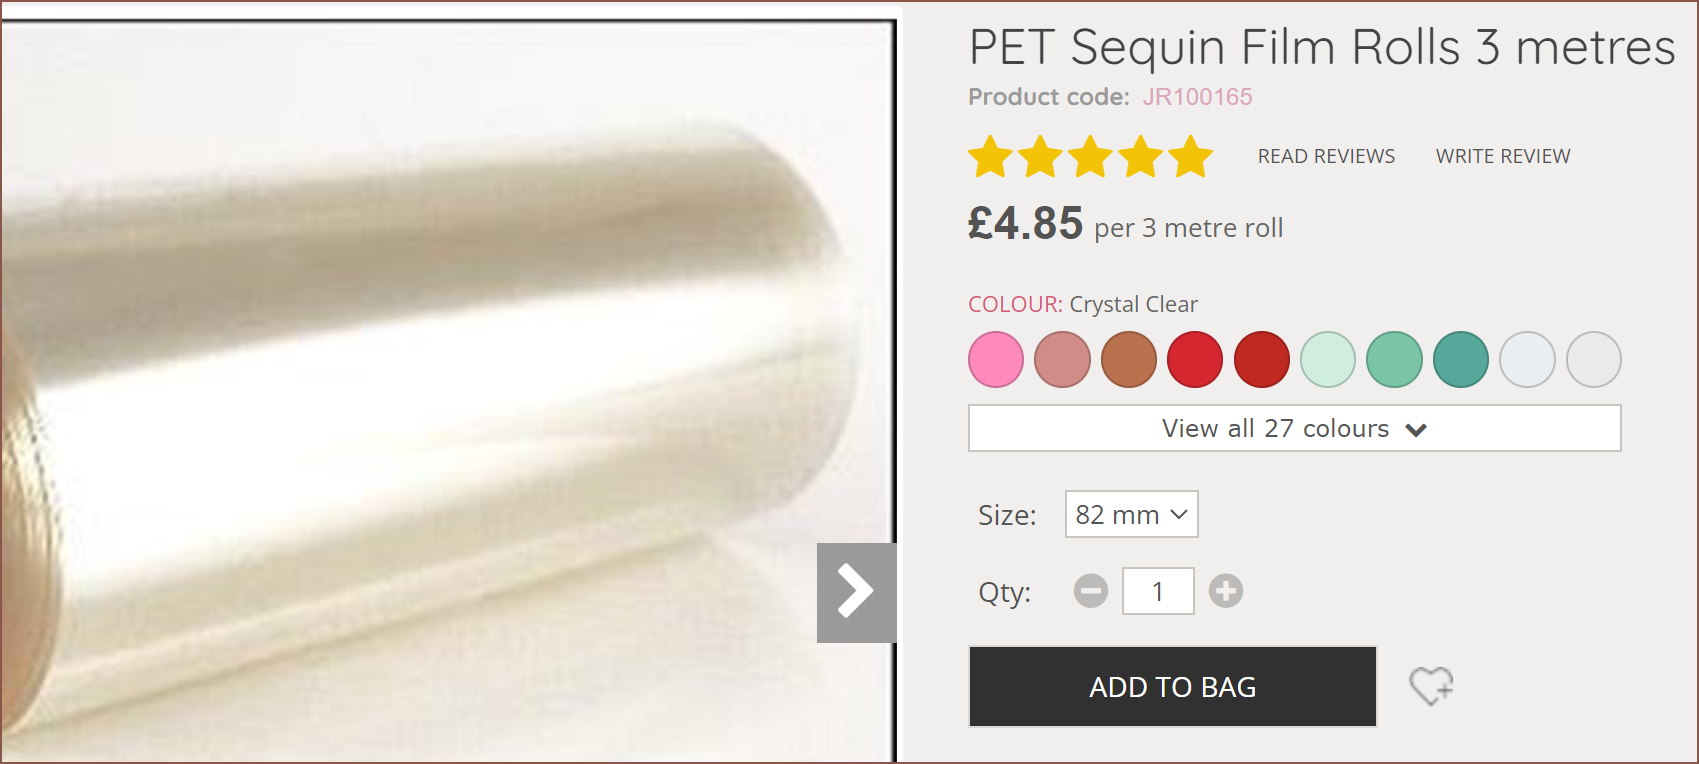
07/22/2022 at 12:22 • 0 commentsI started off by finding out that "Polyethene" and "PET" film are the same thing. I have a feeling that there's a roll of PET out there that isnt' called "Clear PET roll" because the only market for that at the moment are businesses selling to other businesses (story of #Filament Furnace [gd0042] ). This log is the research I've done over the past 24 hours:
- While it would've been truly convinient (since this was the first thing I found when starting to google), Acetate is not a suitable material.
- Unfortunately, the film on these "self adhesive" PET films is a thinner PVC film. I was hoping I could just peel off and discard the sticky film.
- The vast majority of films are much wider than 20cm. Like 60cm and up.
- This film could be an option if it can be cut into sections of 20cm.
![]()
It's a film that has a layer of silicone on both sides. It's used for things like transparent film that stickers are packaged on. Vat + shipping brings the total to £45.
- Clear sequin film would've been an option if only it was wider. Widest I could find was 125mm.
- This might be an option...
![]()
- The only issue could be its thickness.
![]()
- But wait a moment. Don't people use screen protectors with their resin printers?
![]() Ooo look at the bottom bullet point. PET is used for screen protectors here. That means that the PET shouldn't filter out wanted UV light and confirms my expectation that PET is so durable that it'll also protect the screen in the Suspense.
Ooo look at the bottom bullet point. PET is used for screen protectors here. That means that the PET shouldn't filter out wanted UV light and confirms my expectation that PET is so durable that it'll also protect the screen in the Suspense. ![]()
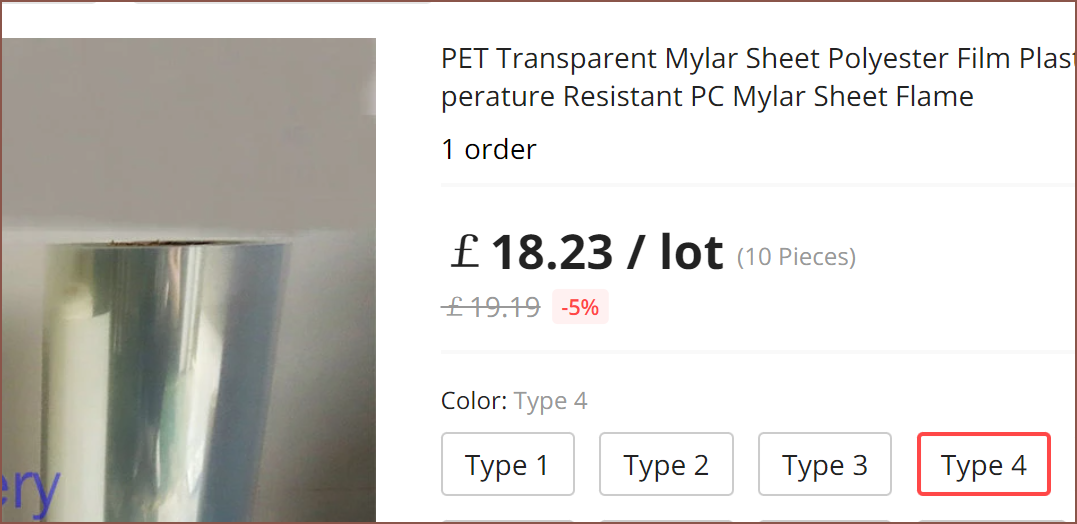
1 tear. Singular. "Don't do that... don't destroy my hope.". They've also got the same thing at another listing, but doesn't have the "10 Pieces" text so I don't know if they're charging £10/m or something. That's FEP prices.
- I knew this business was business to business. I can't imagine how much PET is on that roll.
![]()
- Cool to see how these packets are made though.
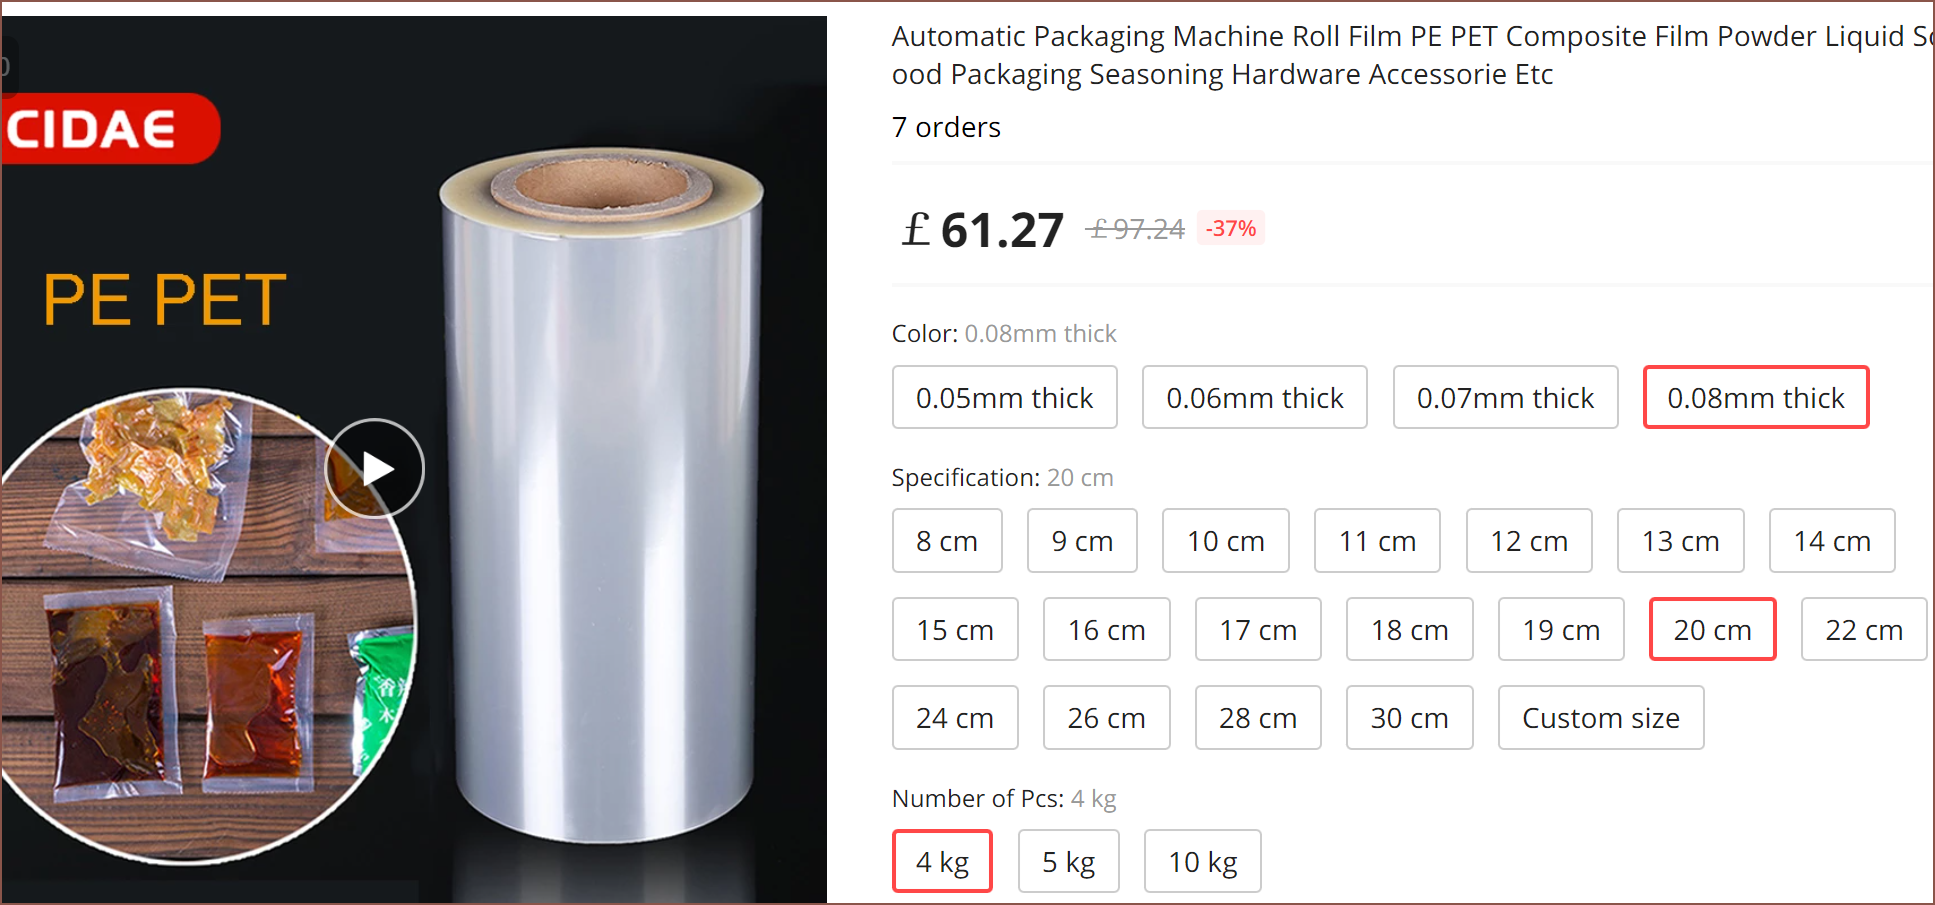
- I asked the seller and they said that they can't really measure under 4kg. With this in their description, it makes sense:
![]()
- I found this listing yesterday and have just seen the response:
![]()
![]()
The thing is that it's still the wrong size (so I'd have to figure out how to cut a long roll adequately straight, and it's £5/m which is not great, not terrible. Additionally, I don't want to buy from some lone ebay seller (see #Filament Furnace [gd0042] ) for which I'm here to unironically buy his/her entire stock:
![]()
- Hmm. I've been looking at a lot of listings now and my mental neural network says there's a high probability that this is clear PET not polypropelene or silver-coated mylar or vinyl or B Film for some DTF machine or the sublimation stuff for inkjets (this is the best I could find the last time I searched. It's where the £40 PET estimate came from in this log) the other trap cards on this journey across the web.
![]()
![]()
Only a 2kg option? But it's in my league budget. ![]()
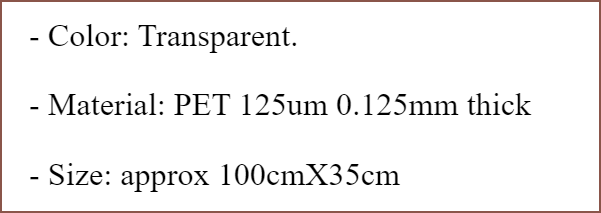
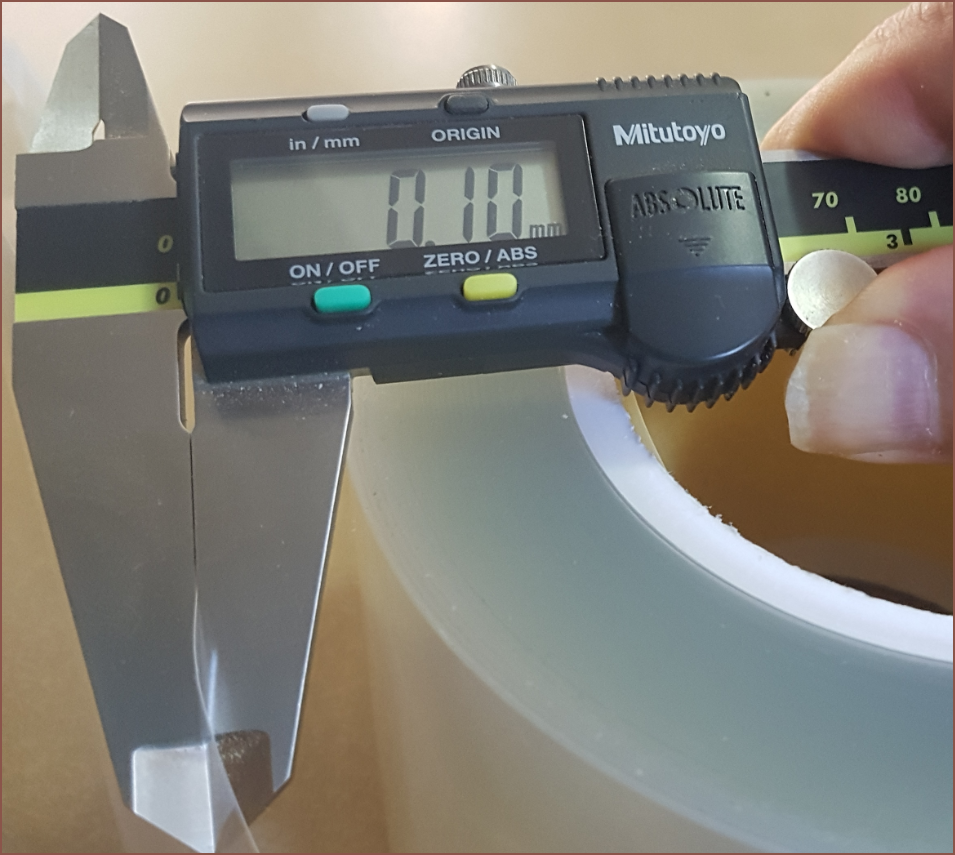
Yes... yes... yessss... This is the exact thickness I have modelled in the concept CAD file. ![]()
YES FINALYY!! After all these years... I've found it. I knew it wasn't going to be called something standard like "PET film".
I found another listing which states how much I can expect to be on a spool.
![]()
Wow so that means that 4kg of 0.08mm film is easily over 120m.
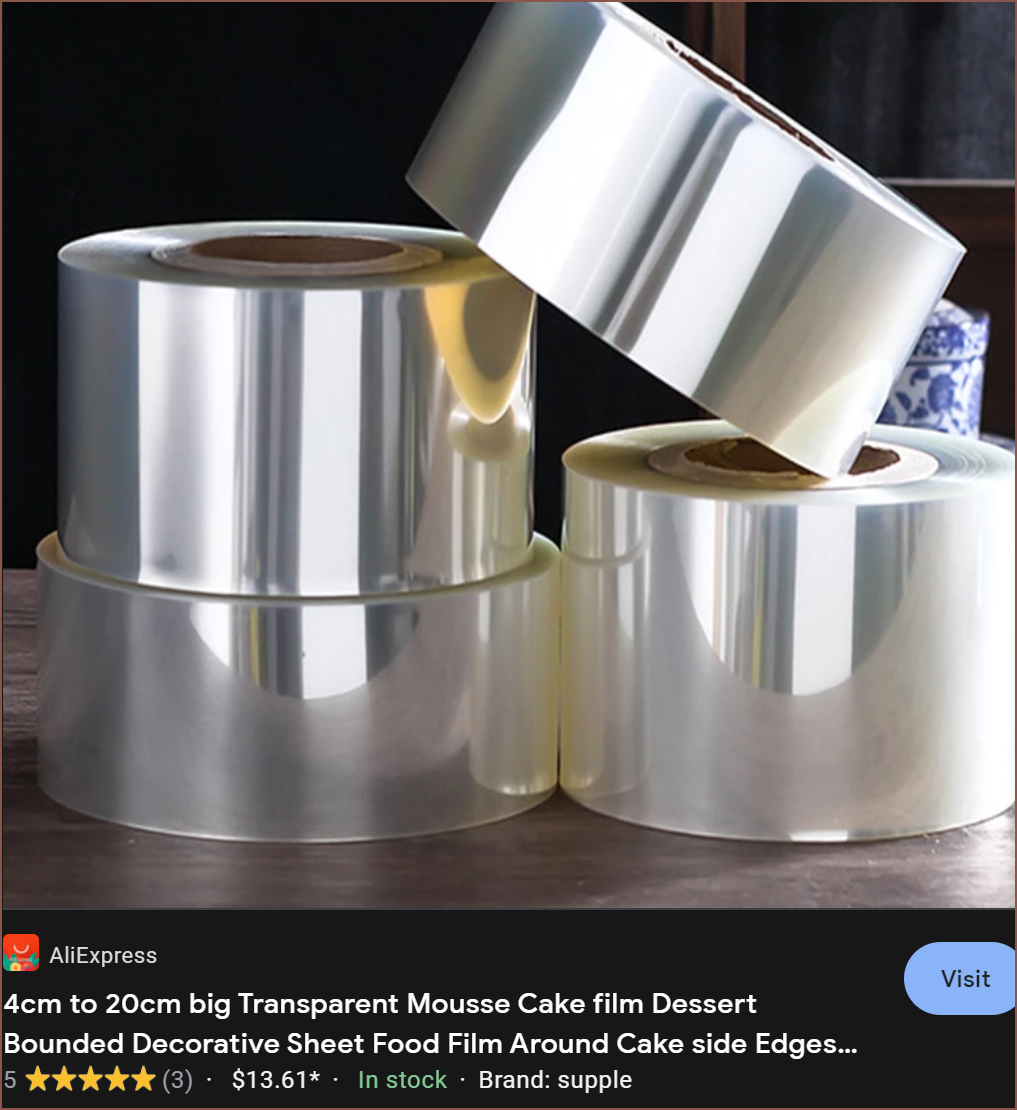
- Ok then so does the cake industry just use whatever is transparent and available?
![]()
![]()
- Seems like it
![]()
- Oooo some PET. *clicks*.
![]()
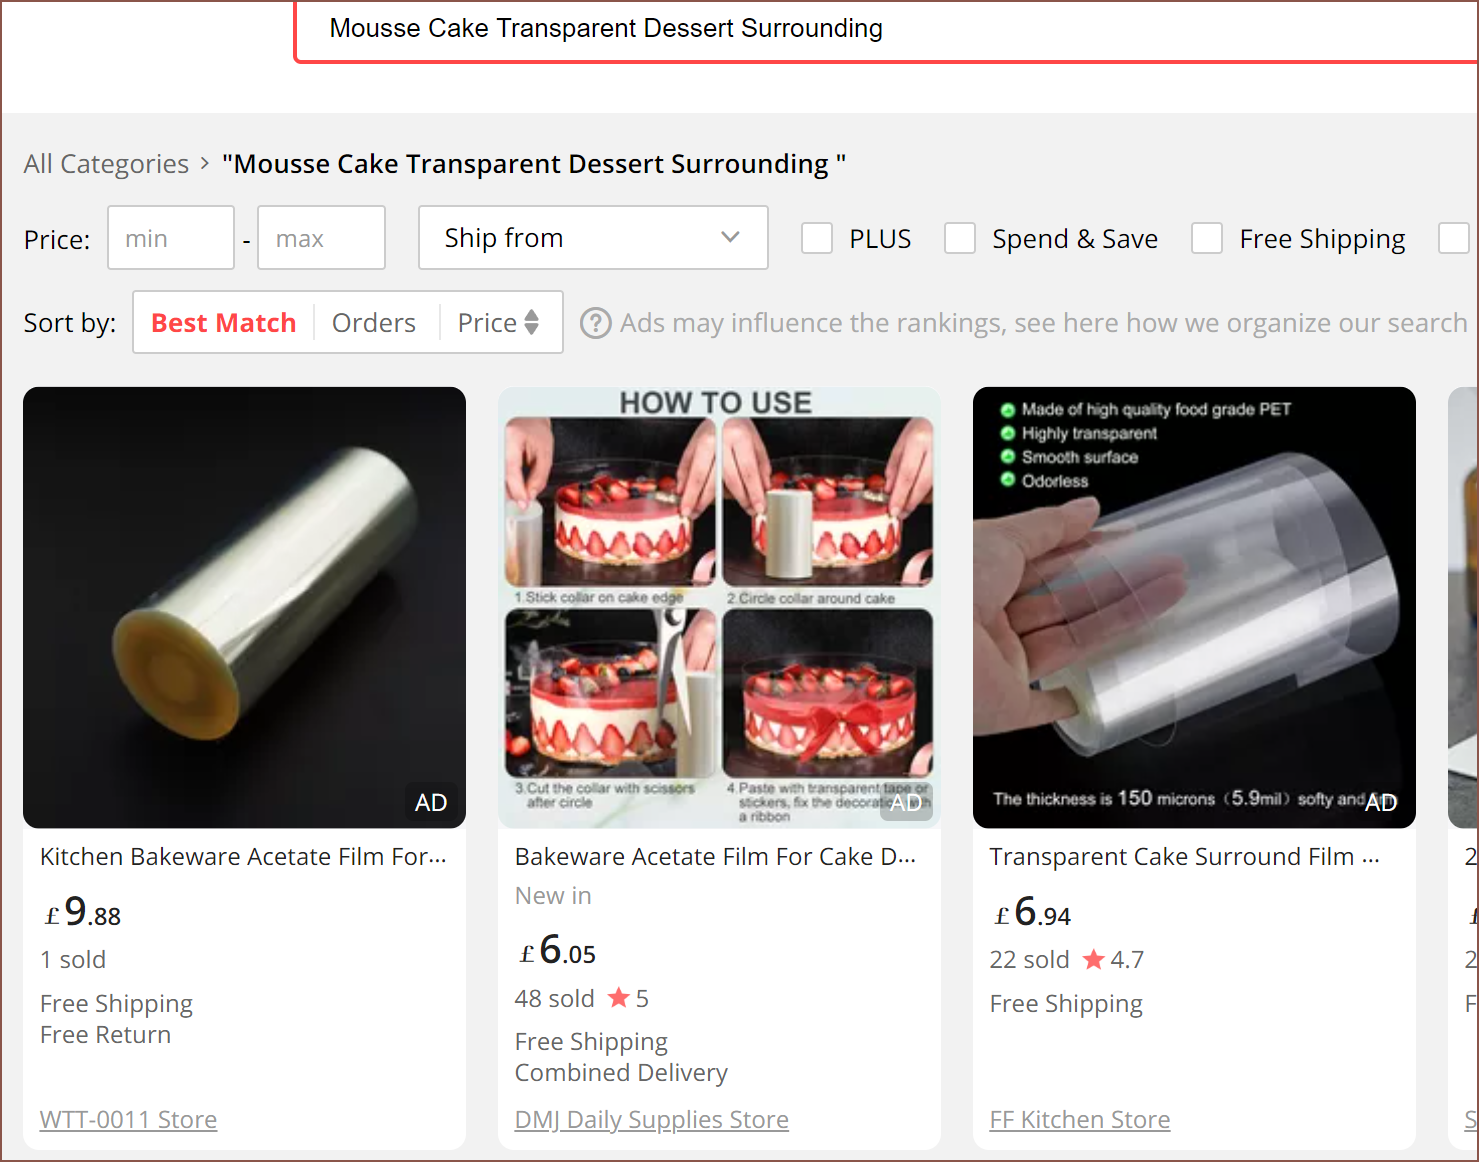
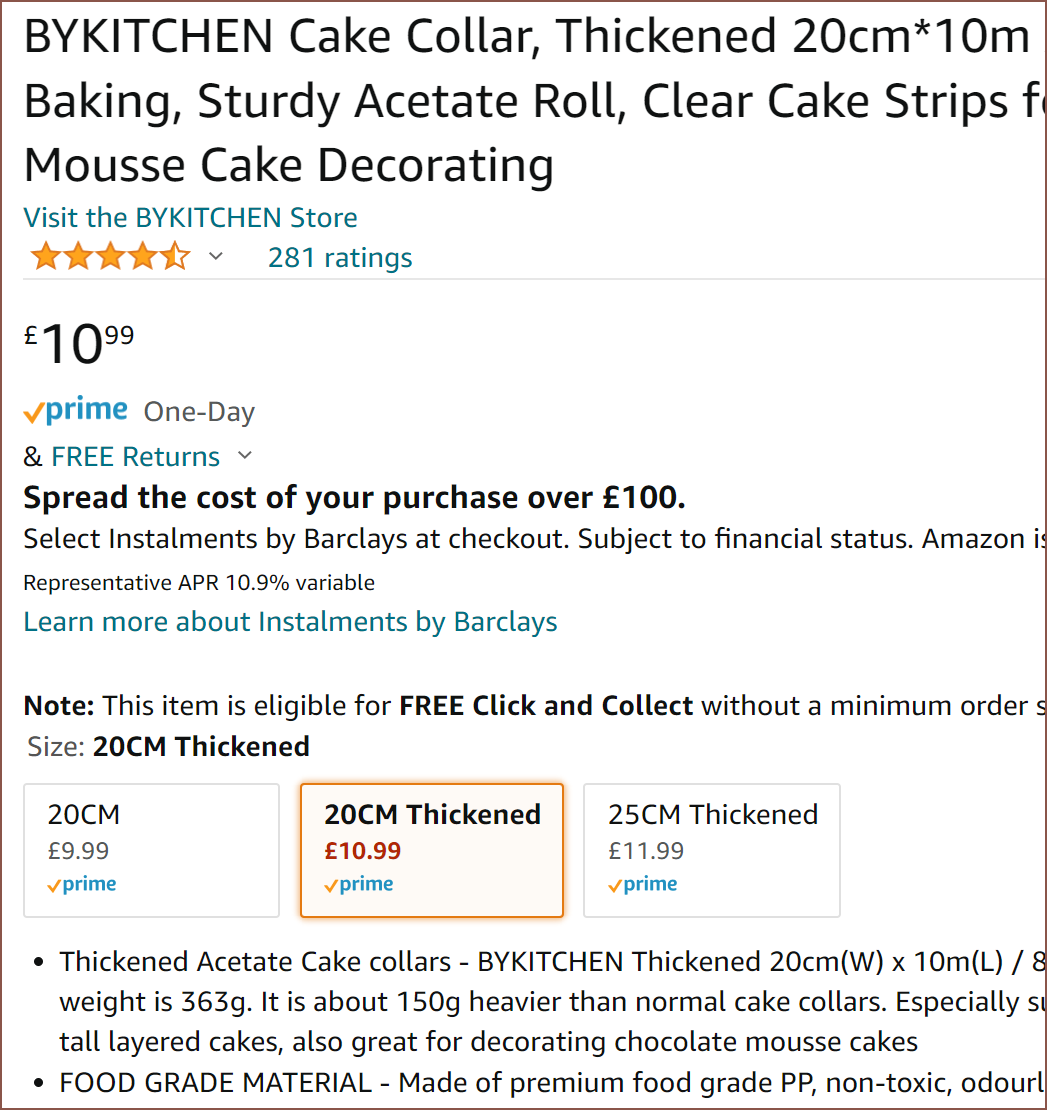
- Acetate again?! Don't say PET on the listing and ace-- wait. Is it one of those things where they say "acetate" but just doing that to get into search listings and instead use a more modern/available material?
![]()
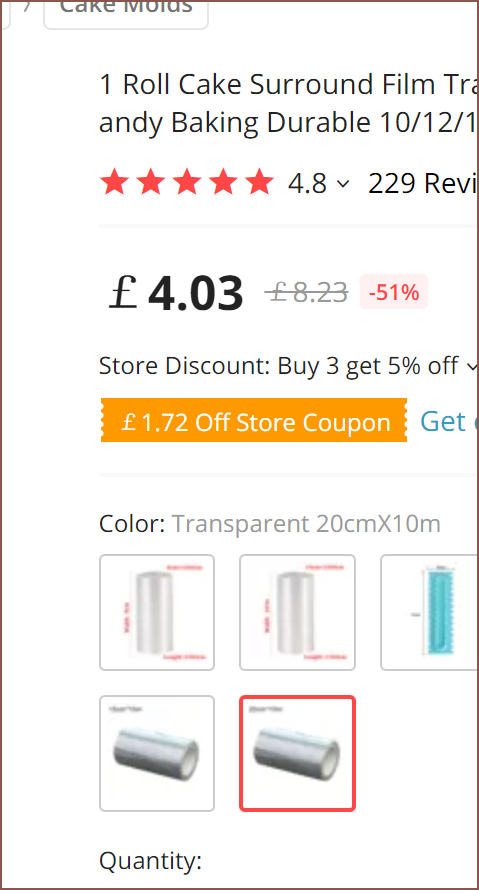
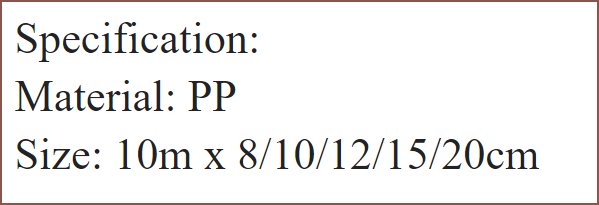
- The first roll I found is actually made from PP. Interesting...
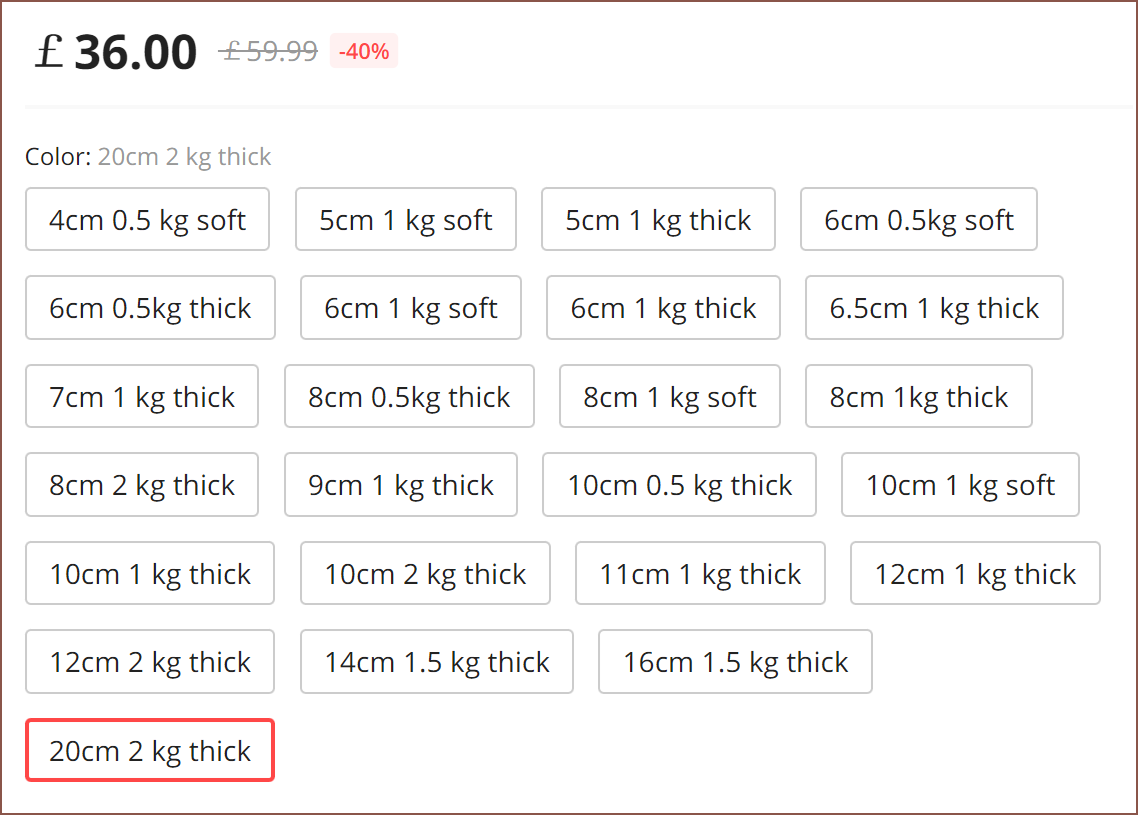
- A bit more searching reveals that PP that's used most of the time and the £6.94 and £36 stuff is the only allegedly PET ones I've found. Well I only need 10m of the stuff so I can finally get out of a search.
- [a few hours later]
![]()
- Found more instances of PET film. I had to go through a few listings but it's there. Considering that resin prints don't usually have to span over half a metre, it's probably better to go with the thickest stuff under 250 microns or so.
- While it would've been truly convinient (since this was the first thing I found when starting to google), Acetate is not a suitable material.
-
[E1][R] Magnetic Bed
07/21/2022 at 22:27 • 0 commentsToday, I saw this Hackaday article comparing the differences between a plain metal bed, the fancy etched beds from Anycubic and magnetic beds, before talking about how they haven't used thier resin printer as much as they would've liked due to the mess. Man, if only there was some project somewhere trying to tackle that problem plaguing personal photopolymerisation printers... 🤭😂
I had a feeling that things were going to be tough with removing the part from a plain bed than with a flexible plate, but also didn't really want to figure out how to make a 500+mm bed removable.
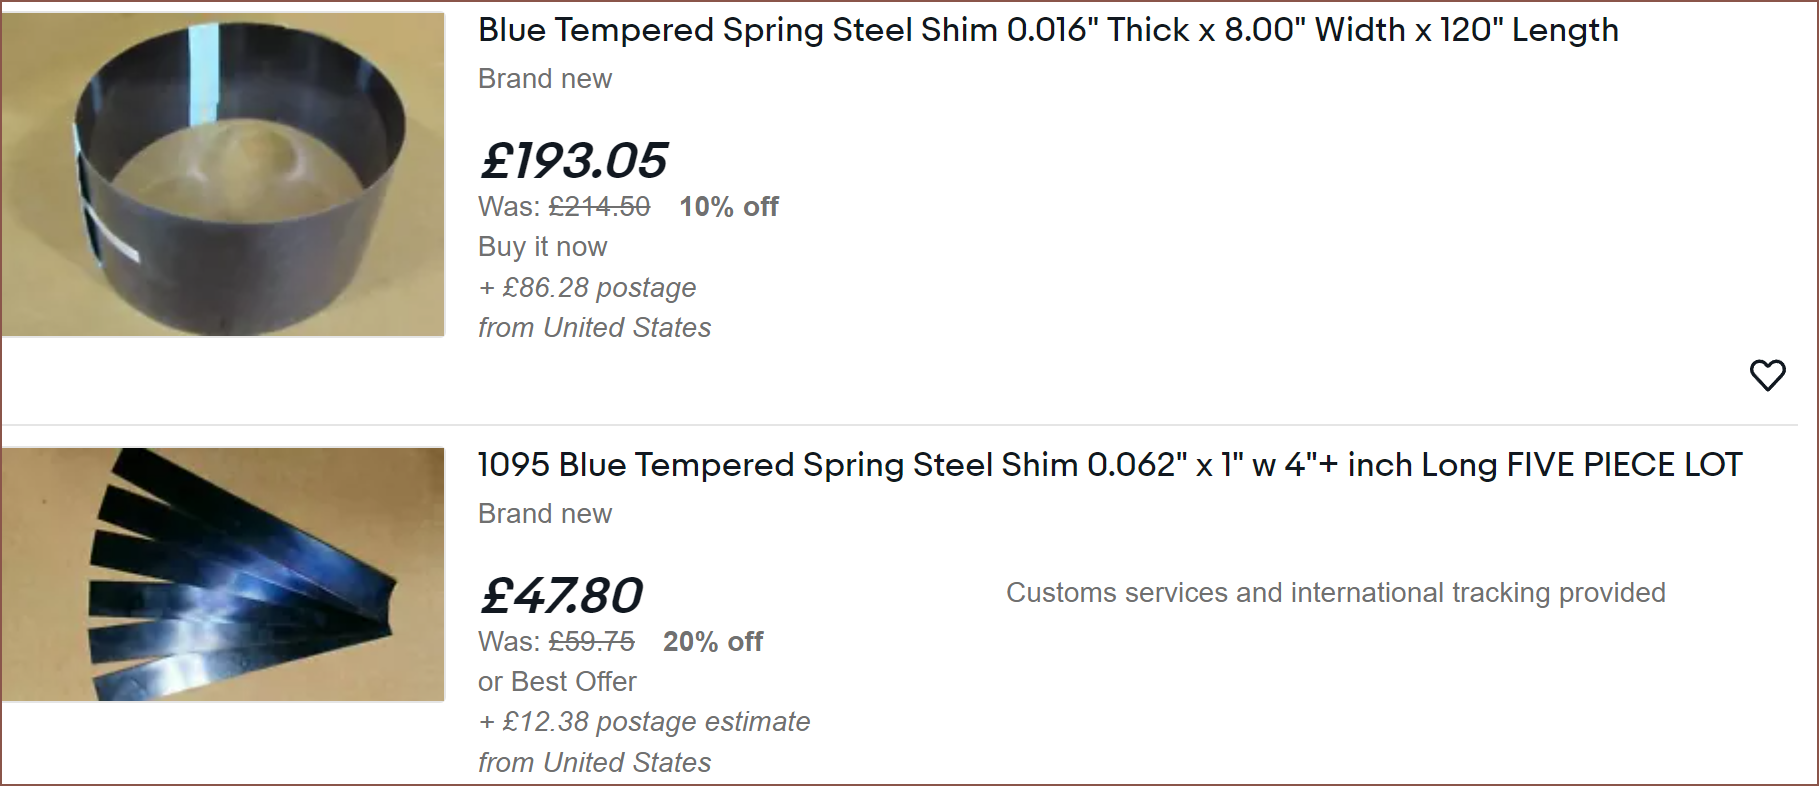
The aformentioned article links me over to this article on a DIY bed. I'm suprised that all the magnets would still be level enough to pring on. Perhaps the required tolerances for resin are lower than I'm expecting. One of the comments makes me aware that blue spring steel exists:
![]()
It exists... at prices out of my league budget. The author of the article has a hypothesis that the more reflective the bed, the larger the elephants foot. For the Suspense, another reason why a reflective bed isn't recommended is the possibility of enough UV light reflecting from the roller assembly and to uncured resin on the film above. A layer ontop of the cast tooling plate would also help because:
- a replacement would cost some £57 delivered and
- a surface raised from the bed means that
- the roller doesn't have to extend as far to clean up resin that squished onto the first few layers (contact area could be 515x168mm instead of 530+) and
- the bed mount screws can be closer to or even underneath the print area without resin seeping into the heads.
![]()
FDM rubber flexible sheet? A magnetic sheet printed on FDM or those cheap looking flexible beds for them? It works?
I think it's the latter. That works? It's printed on a raft, so perhaps you can't print straight onto it. It is cheap and a dark colour though, and I've got loads of space under the aluminium bed to put in stronger magnets if needed whilst having a flatter and harder surface under the "rubber magnet" with yet another one.
[E1: 00:22 22 july] I did some searching around on the main 3D printing discord and it sounds like magnetic beds are still a bit of a hit and miss. Also, to address some of the points in favour of magnetic and to eliminate having to drill holes into the cast tooling plate, I've thought of an adhesive based approach:
![]() This means that the bed is now 515x168mm which will be cheaper. This also gives me a bit more room for the cartridge assemblies.
This means that the bed is now 515x168mm which will be cheaper. This also gives me a bit more room for the cartridge assemblies. -
[M] Initial Z Axis
07/21/2022 at 17:50 • 0 comments![]() I'm changing how I model and making a multi step assembly:
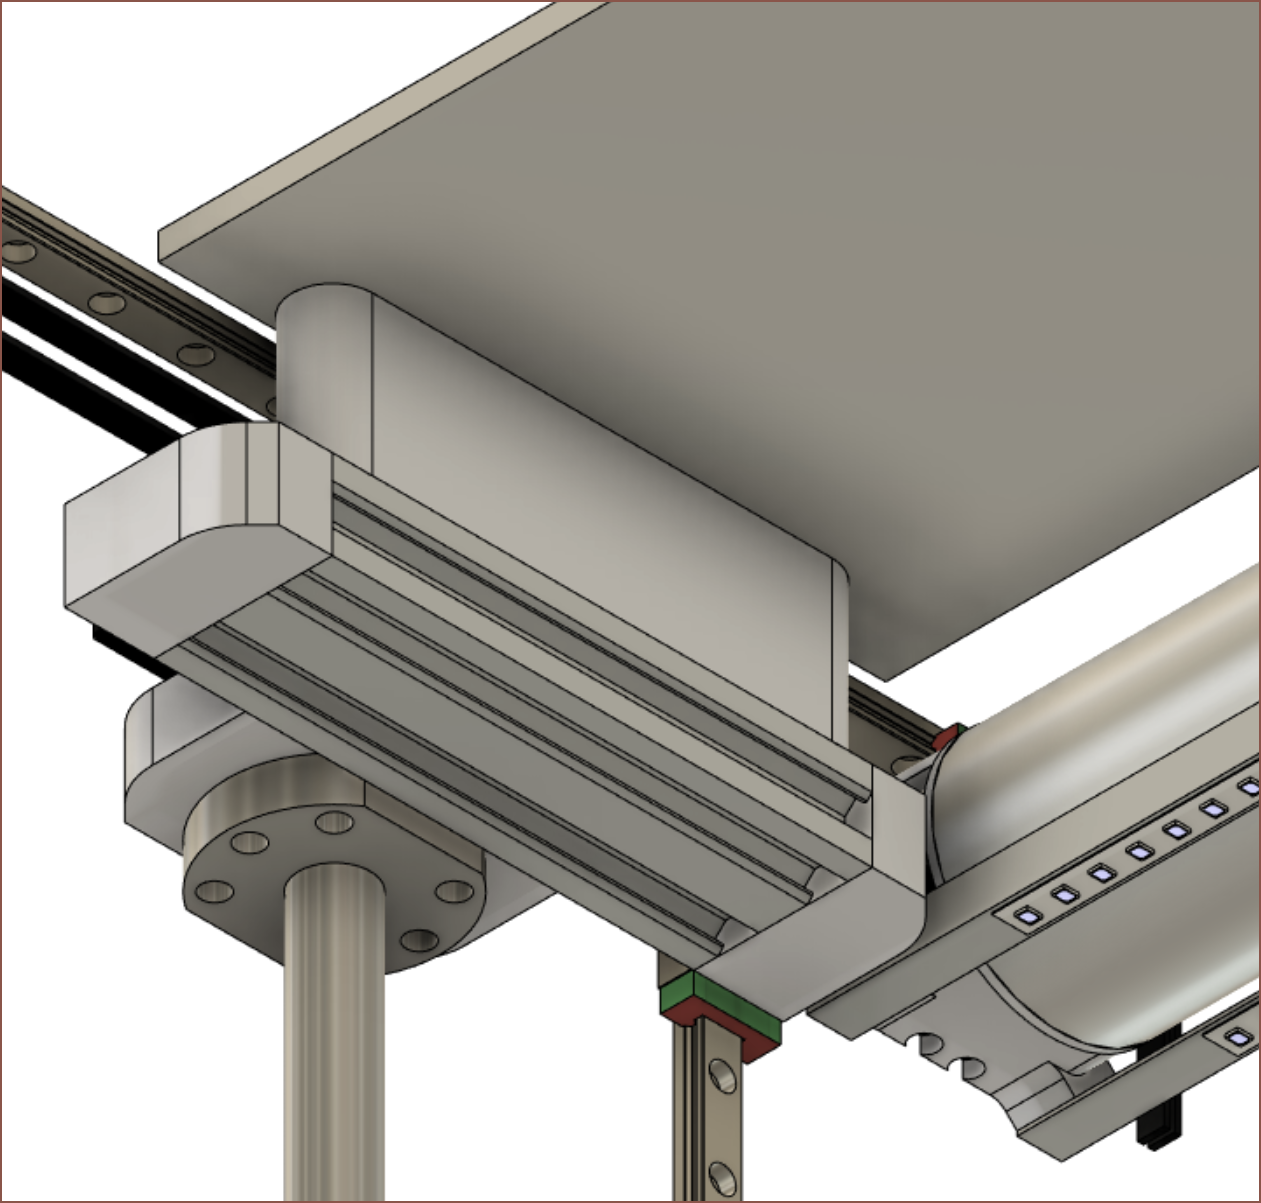
I'm changing how I model and making a multi step assembly:![]() This is similar to just having everything in 1 file but it makes it easier to work on specific components. It also acts as one encompassing "group" since you can't put groups in groups in the timeline. Right now, this allows me to start working on the bed assembly without a finished fibre arm assembly.
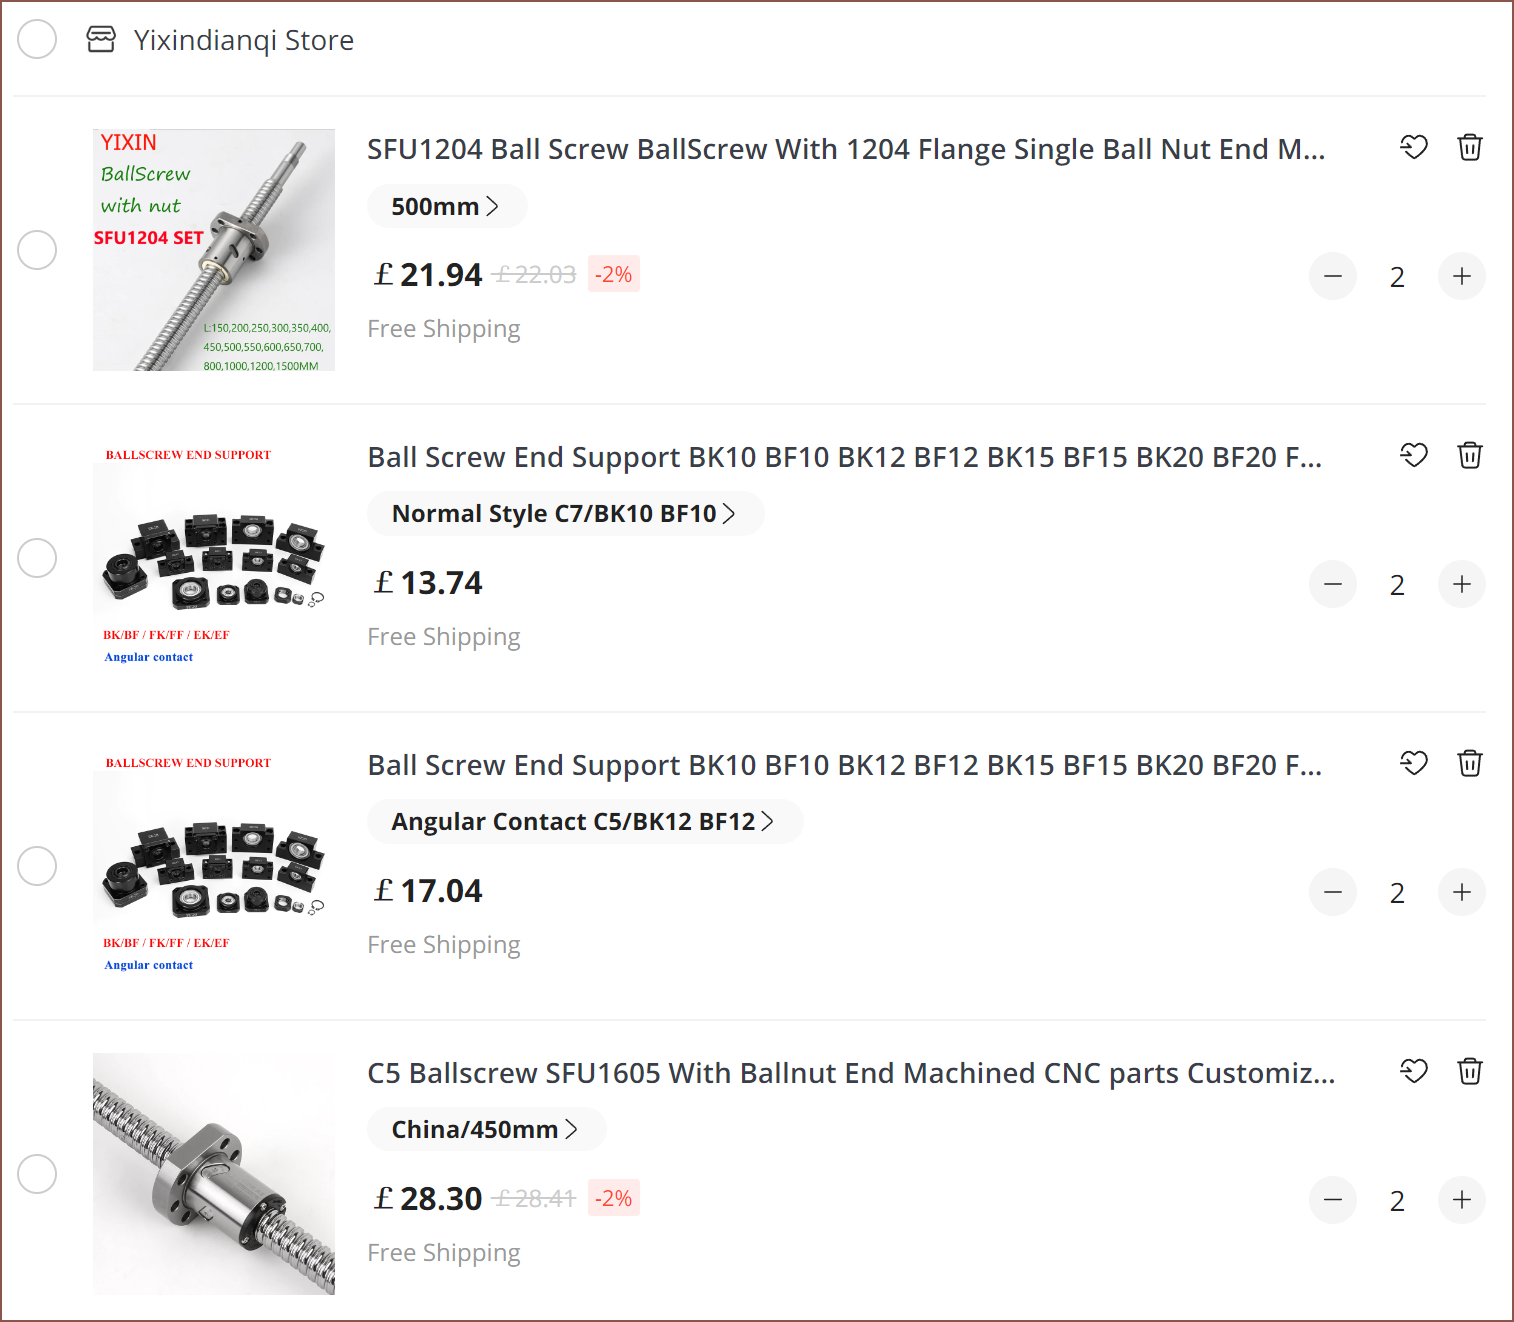
This is similar to just having everything in 1 file but it makes it easier to work on specific components. It also acts as one encompassing "group" since you can't put groups in groups in the timeline. Right now, this allows me to start working on the bed assembly without a finished fibre arm assembly.Anyway, due to the support hardware for the C5 1605 ballscrews I found (C5 is more precise than C7), and the roller belt I forgot about until I started modelling, my hopes of getting 320mm Z out of a 710mm footprint height are gone, reduced to atoms.
![]()
(Currently asking the seller if there's a BK10 only option) ![]()
![]()
![]() Even without the belt, I don't think the situation would've been much better due to the ballscrew supports anyway. I'm also thinking of using ballscrews for the cartridge axes since they're expected to see >5kg of mass on them.
Even without the belt, I don't think the situation would've been much better due to the ballscrew supports anyway. I'm also thinking of using ballscrews for the cartridge axes since they're expected to see >5kg of mass on them. -
[M] Continuous Fibre Initial Belt Path
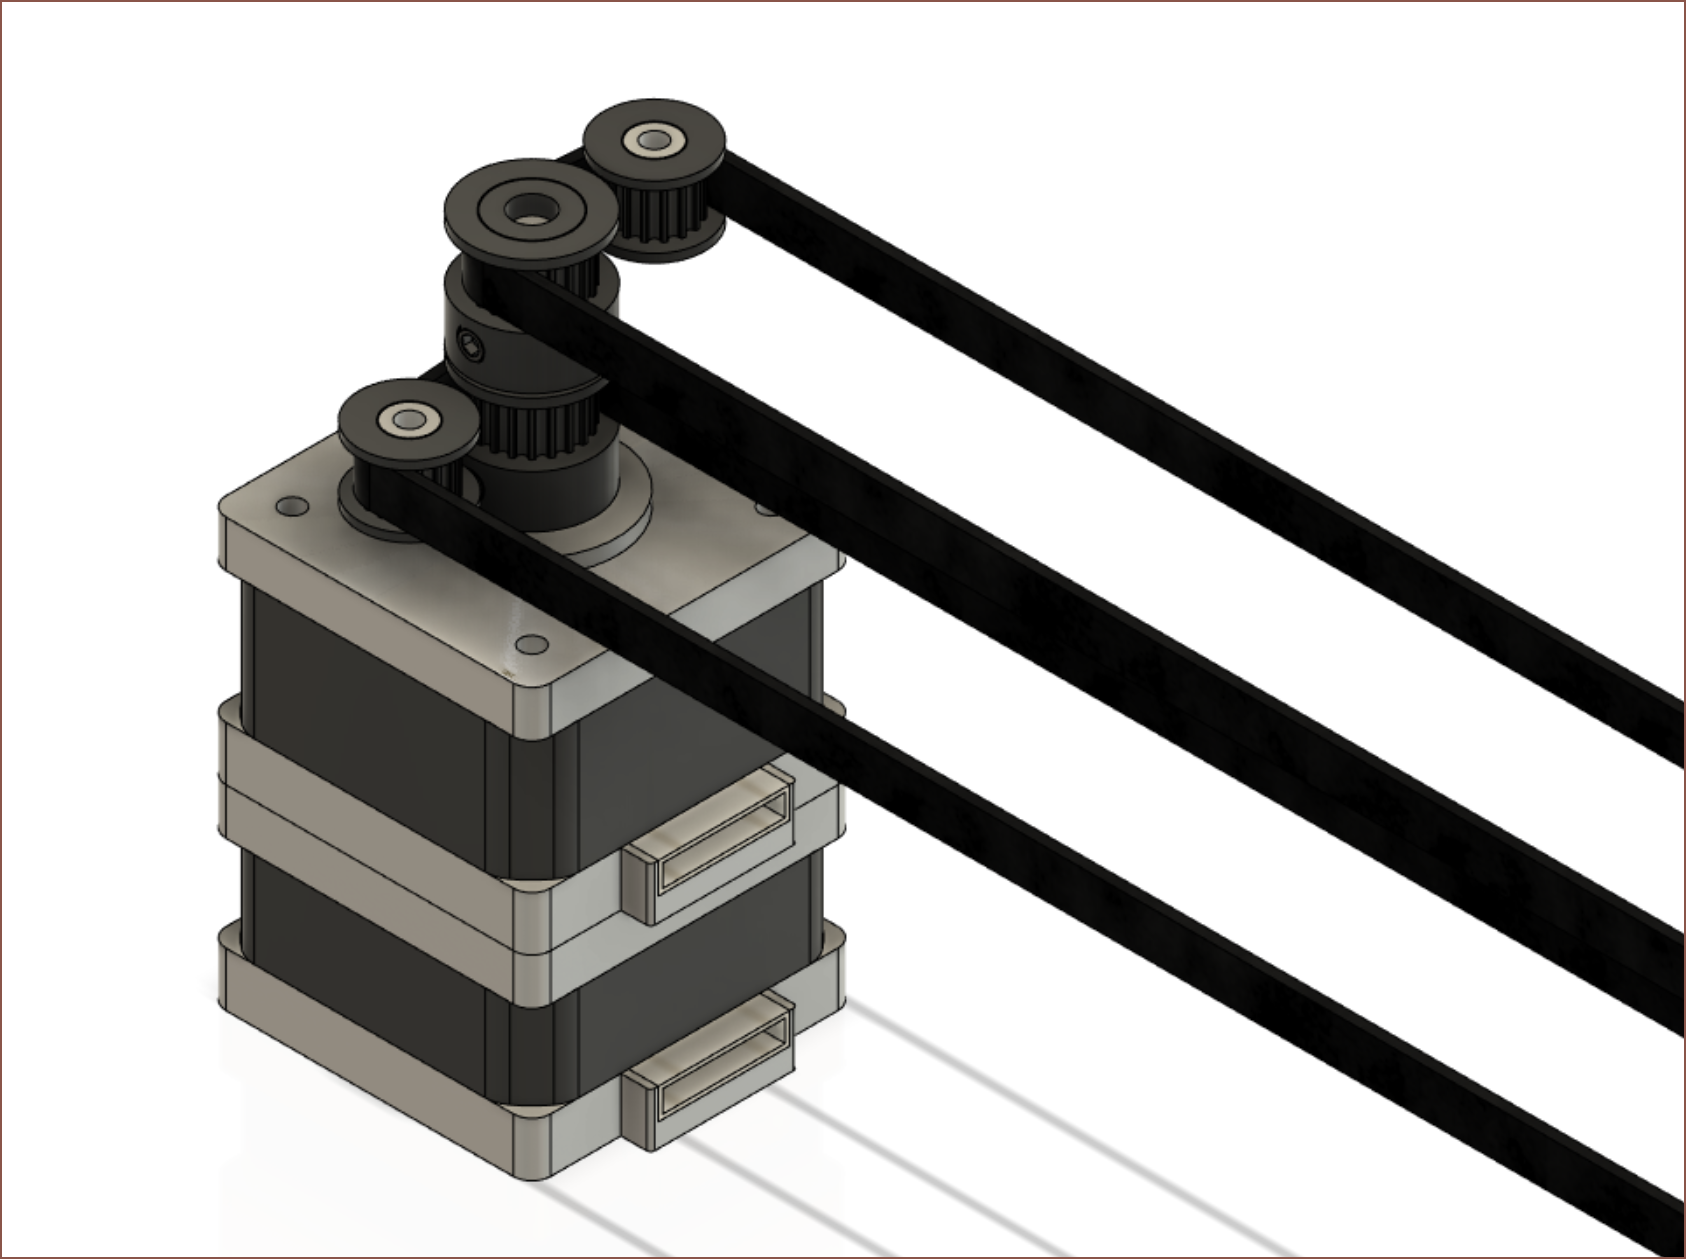
07/21/2022 at 02:36 • 0 commentsIt took a while to mentally compute, validate and recompute solutions, but I've got a solution for the belt path that will allow for all axis motors to be stationary, cutting down on moving mass and cables. It's similar to the roller but the belts are not on the same plane so that they could be successfully routed in the space available. I plan for the extruder to be on the arm due to the flexibility of the fibres.
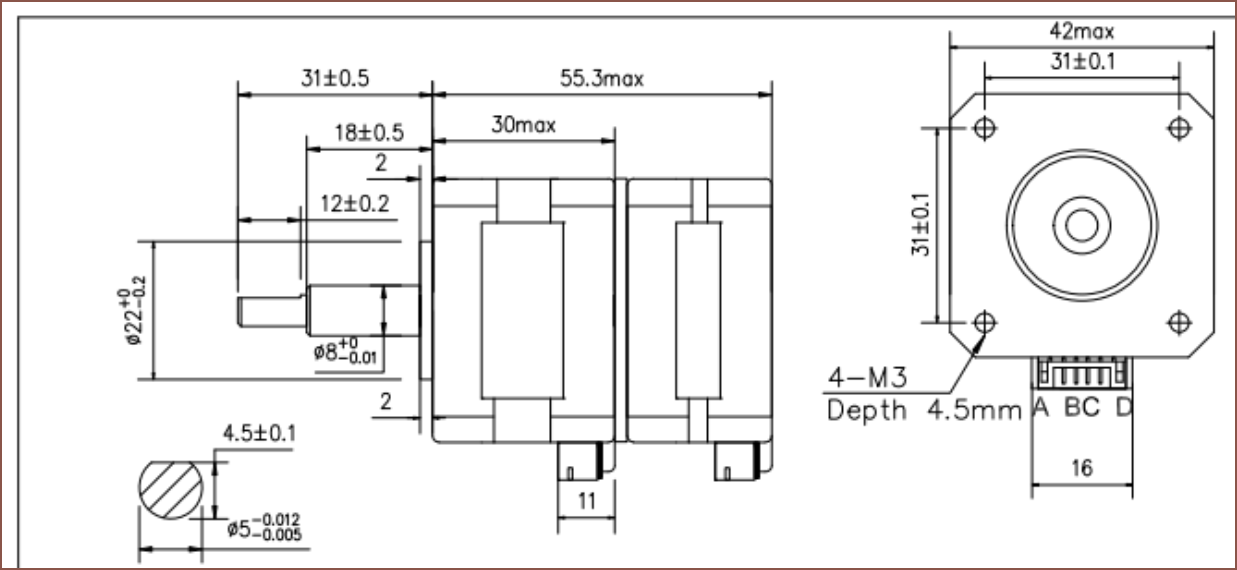
![]() I was wondering when I'd have a reason to use this exotic looking motor:
I was wondering when I'd have a reason to use this exotic looking motor:![]() These two motors are responsible for the 2 revolute joints and a 3rd motor will be on the other side that will move the arm across the X axis.
These two motors are responsible for the 2 revolute joints and a 3rd motor will be on the other side that will move the arm across the X axis.
Liquid Laminate Lithography 3D Printer [gd0105]
The best of resin with the best of filament; is such a 3D printer possible?
 kelvinA
 I wasn't expecting to be getting into PrecisionPefect (aka low clearances between parts) modelling so early in the game.
 Currently over £1K. Why is everything so expensive? I'll never understand how a couple of cheap items can still accumulate to something expensive if there's enough of them.
  Yikes this took ages to compute.
  Then I decided to go with dual LEDs instead of dual roller as I wouldn't have to worry about both rollers having the exact same Z height. I then looked all over ebay for a 16mm aluminium anodised angle but could only find 15. I remembered about the aluminium LED profiles and how one was a 16mm square angle and plan to use that in the design. It's also more likely to be available in different markets around the globe and might even allow me to put a LED strip in the channel to cure the resin that hits the string.




 Ooo look at the bottom bullet point. PET is used for screen protectors here. That means that the PET shouldn't filter out wanted UV light and confirms my expectation that PET is so durable that it'll also protect the screen in the Suspense.








 This means that the bed is now 515x168mm which will be cheaper. This also gives me a bit more room for the cartridge assemblies.
 I'm changing how I model and making a multi step assembly:
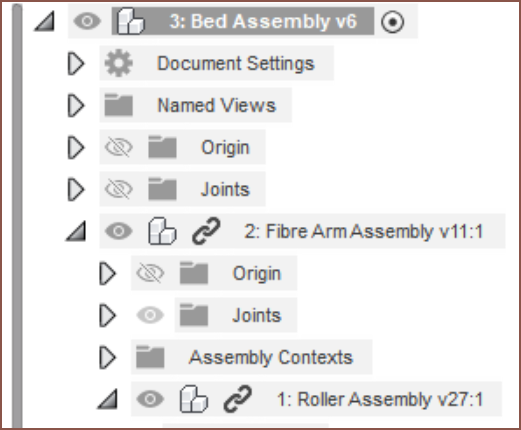 This is similar to just having everything in 1 file but it makes it easier to work on specific components. It also acts as one encompassing "group" since you can't put groups in groups in the timeline. Right now, this allows me to start working on the bed assembly without a finished fibre arm assembly.
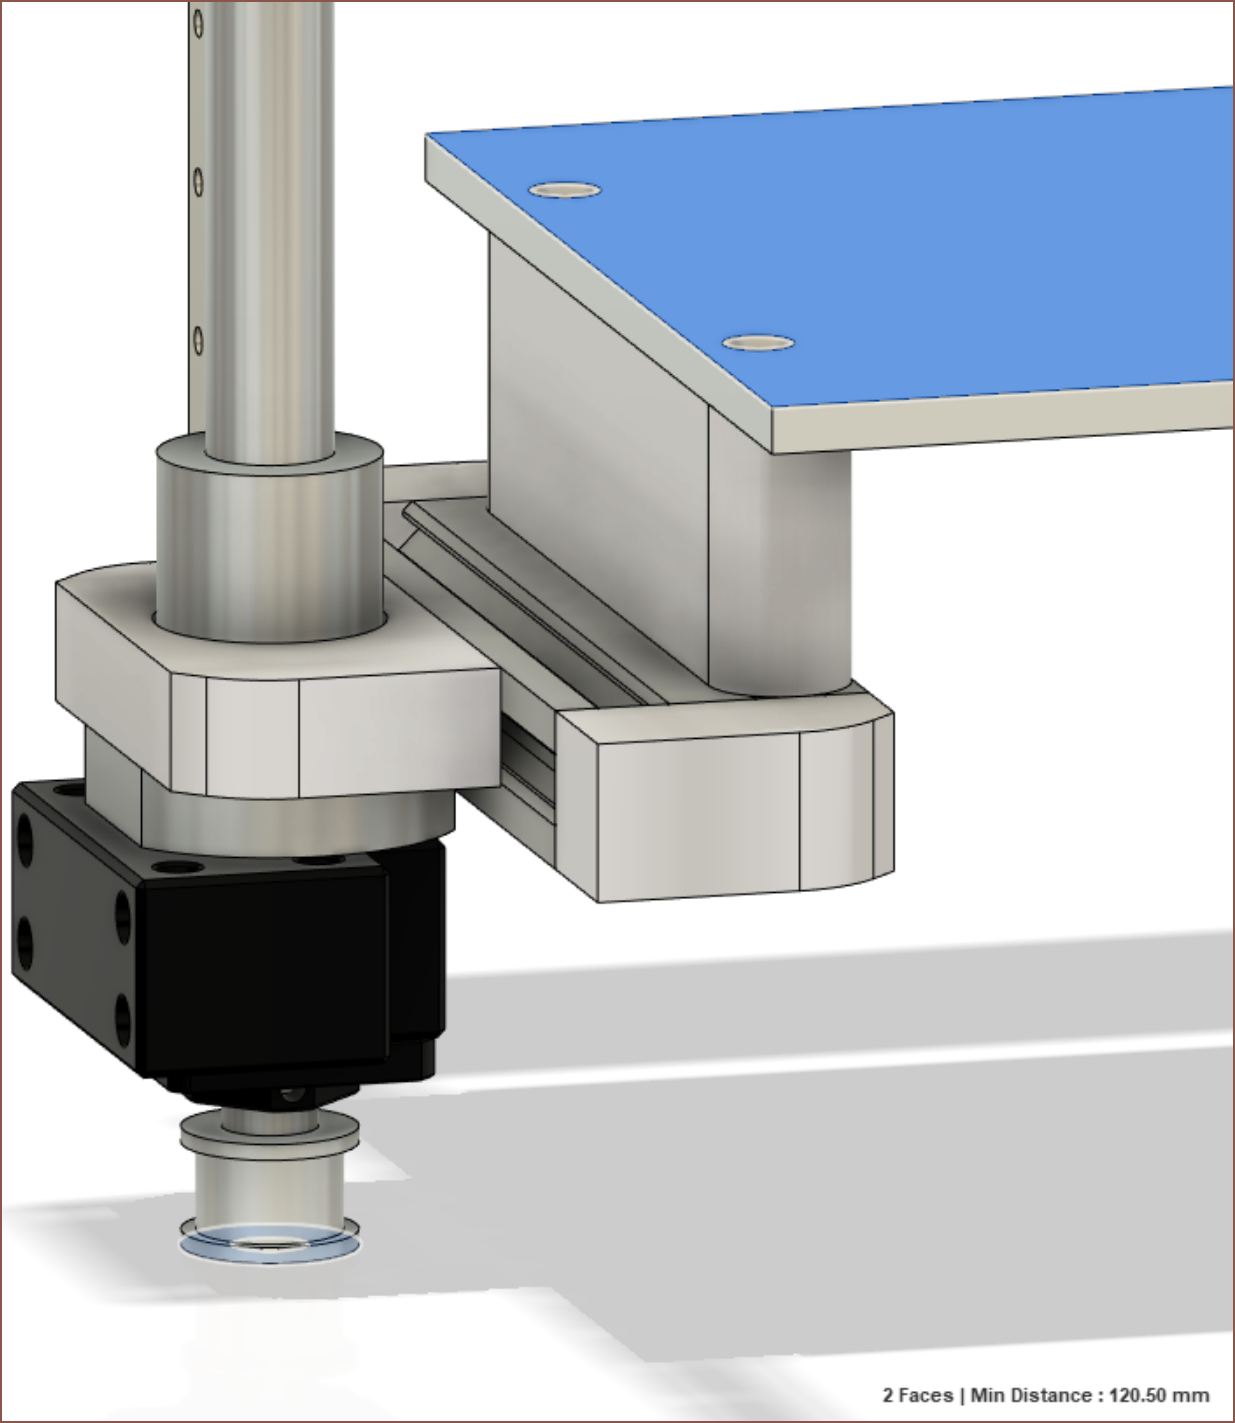
 Even without the belt, I don't think the situation would've been much better due to the ballscrew supports anyway. I'm also thinking of using ballscrews for the cartridge axes since they're expected to see >5kg of mass on them.
 I was wondering when I'd have a reason to use
  These two motors are responsible for the 2 revolute joints and a 3rd motor will be on the other side that will move the arm across the X axis.