-
[M] 3rd Concept
07/15/2022 at 01:14 • 0 comments![]()
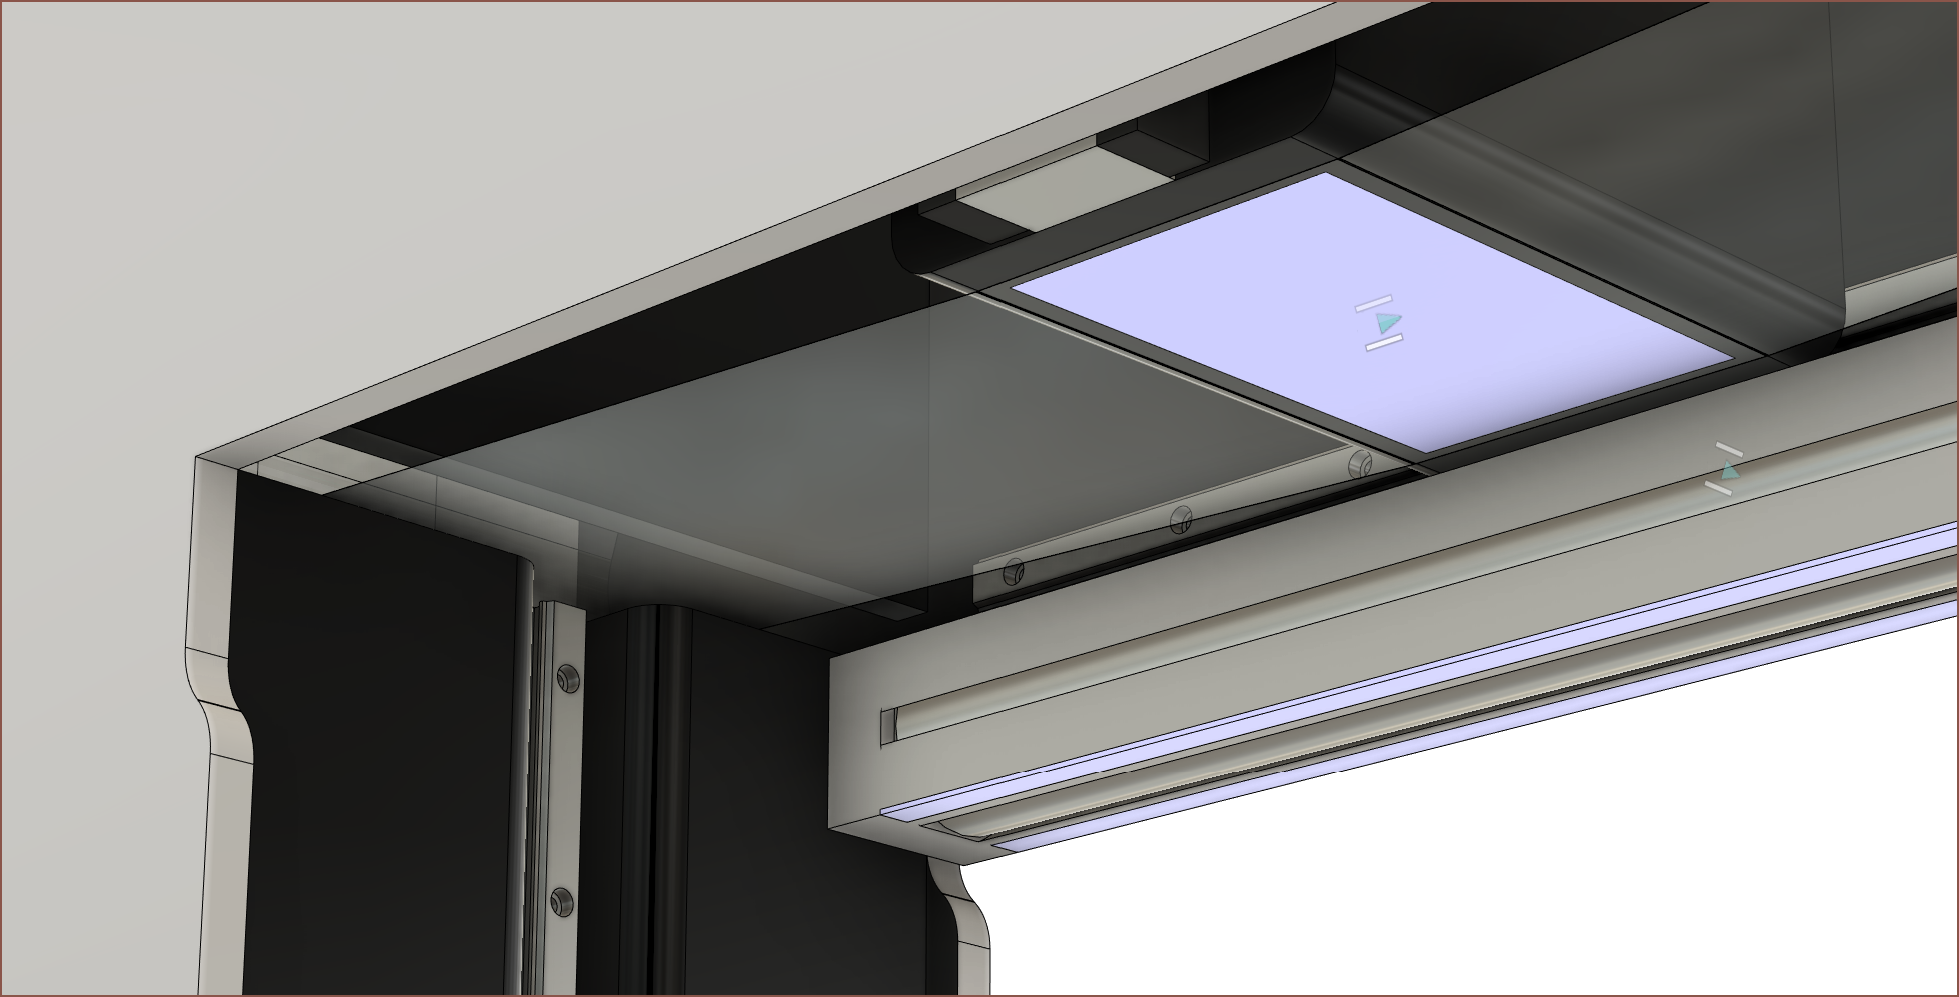
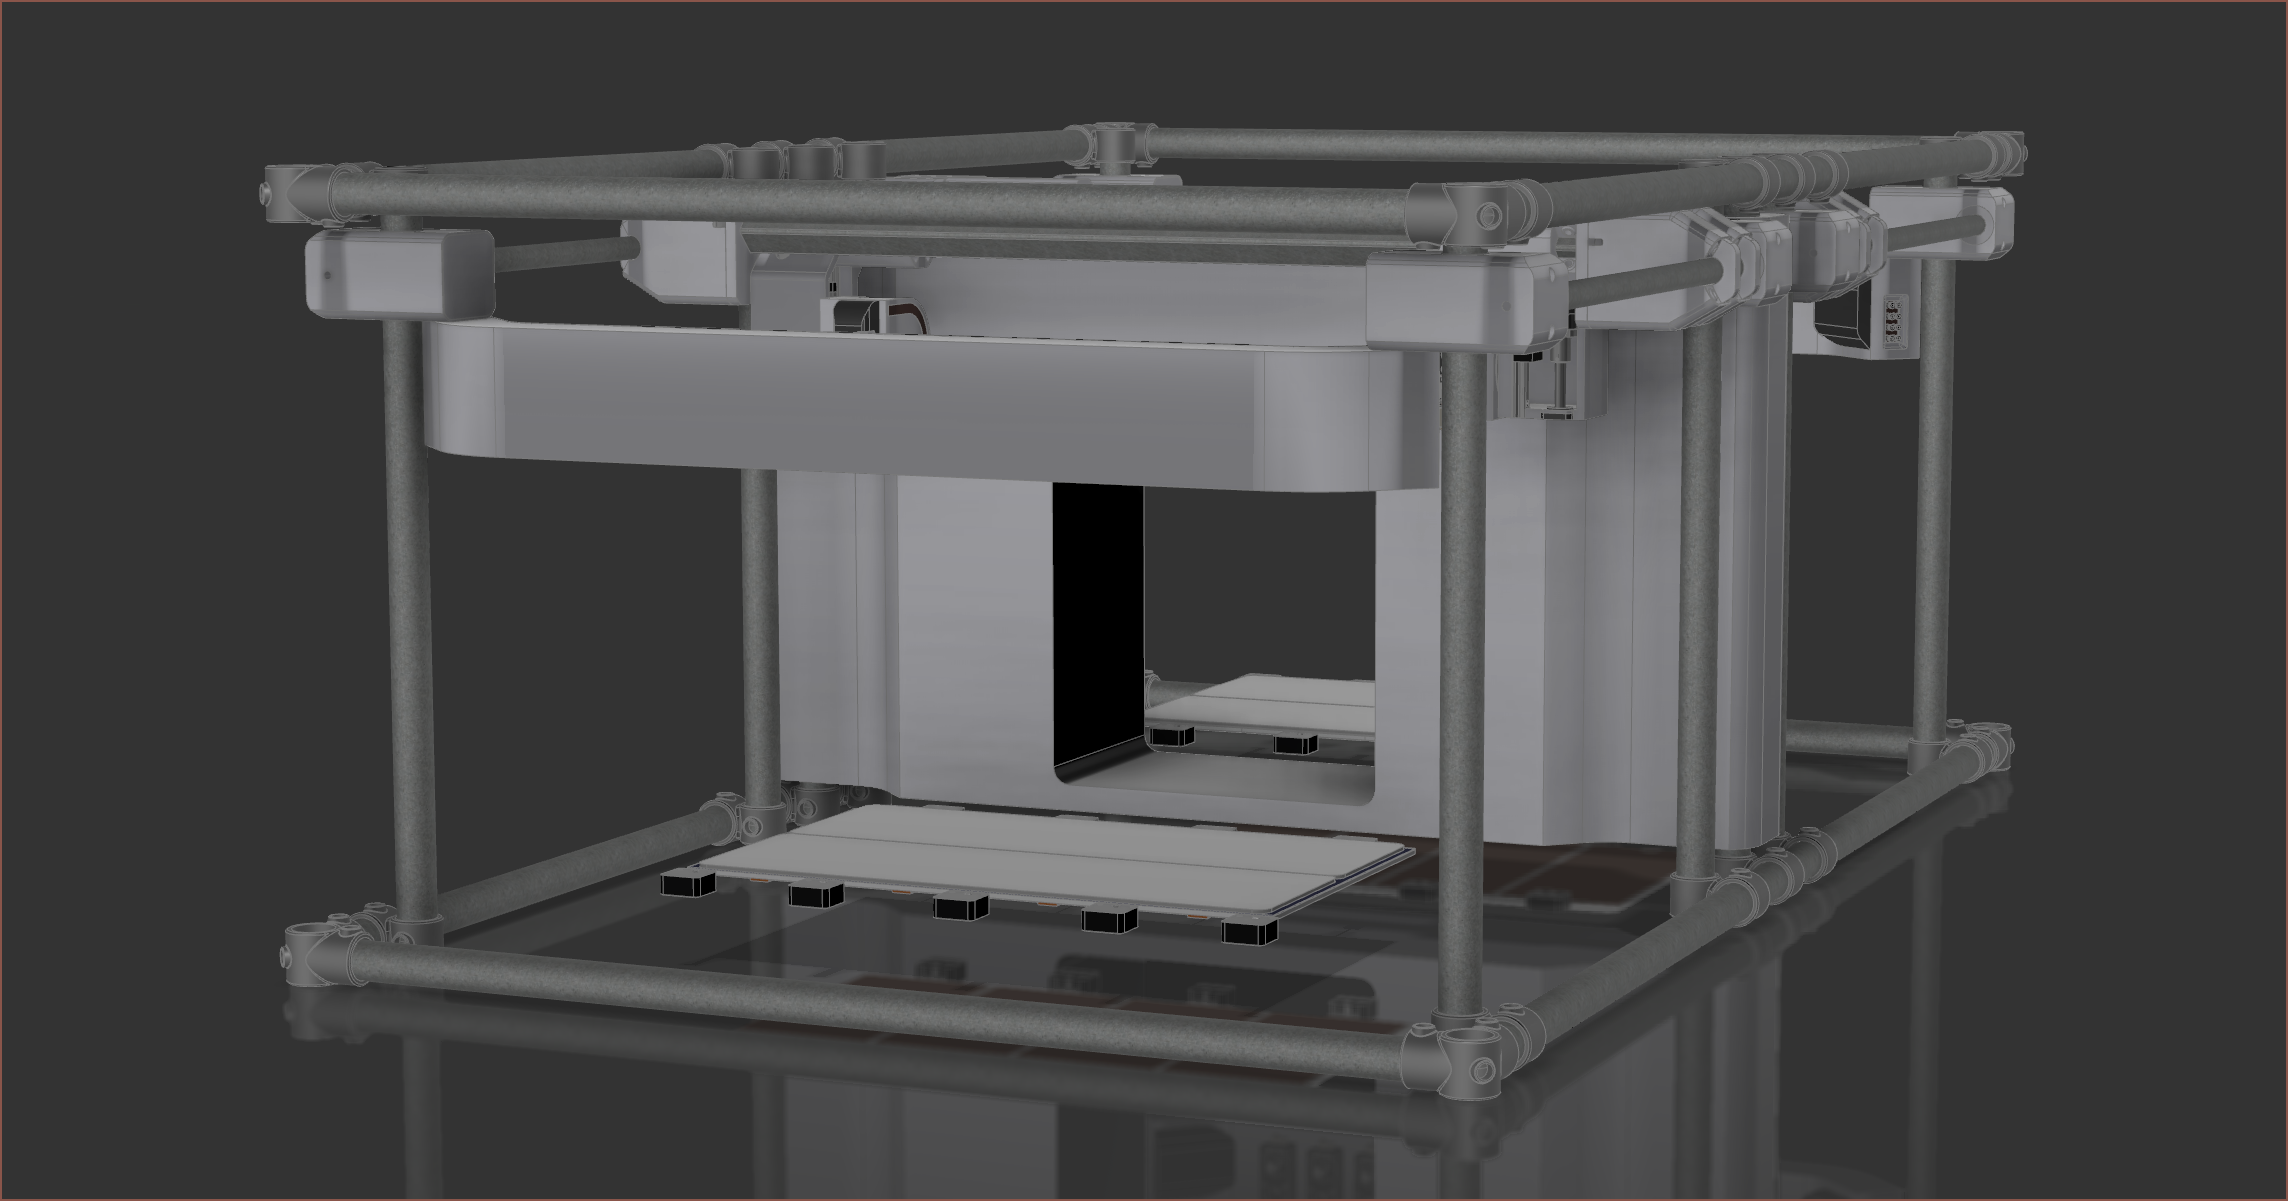
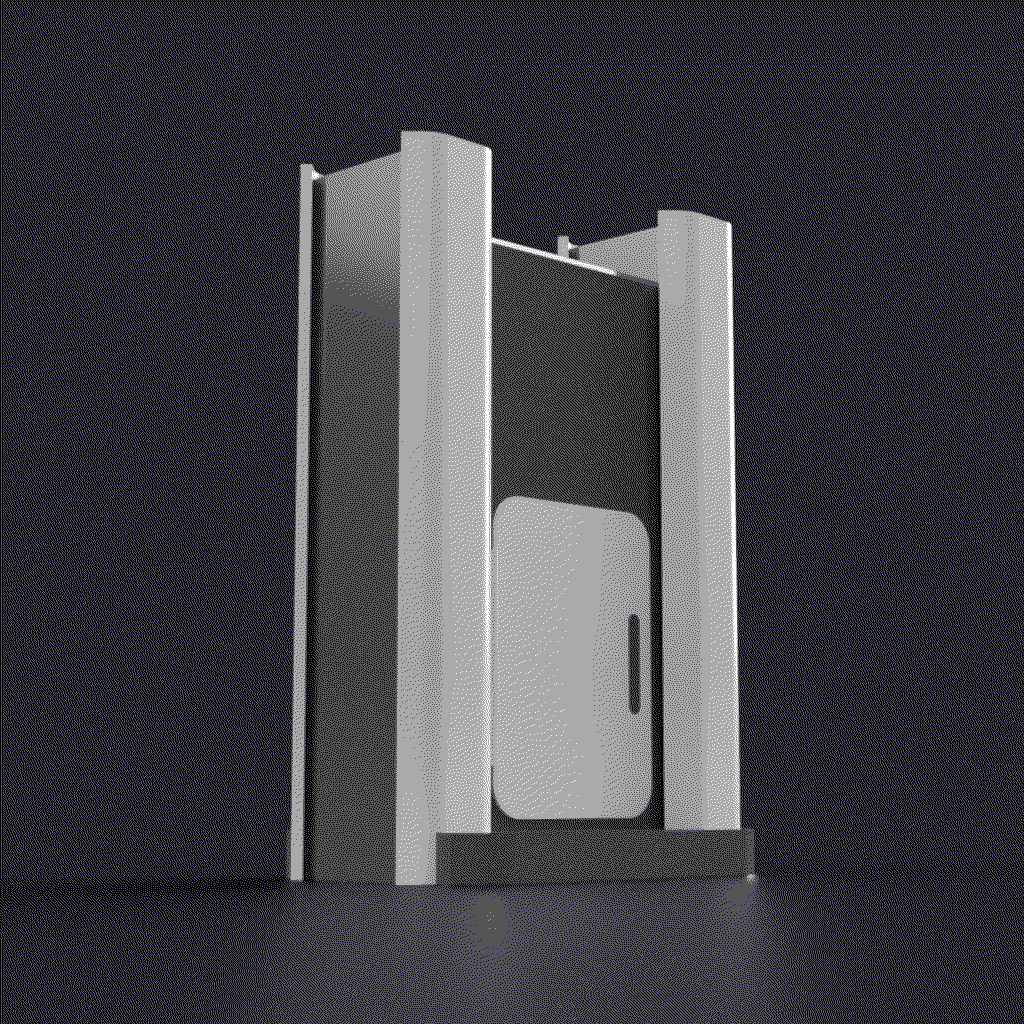
I've started to model the 3rd concept and I'm already worrying about the build area. With the overal height of 710mm, I'm just about able to squeeze out 330mm of Z height. This is while reducing the allowed cartridge spacing height from 70 to 60mm.
![]() I'm probably going to either move the HGR Z axis rail or switch to 2 MGN rails so that the ballscrew has somewhere to go. The roller is connected to 2 Nema17's on each side which are 20mm in lengtth. I still have to figure out where to put the roller linear rails. I've also got concerns as to how much resin the cartridges will be able to hold, and might have to go back to the 4-screen (356mm) build volume. Pricewise, it doesn't make an impactful difference, but I'm still constrained in footprint space.
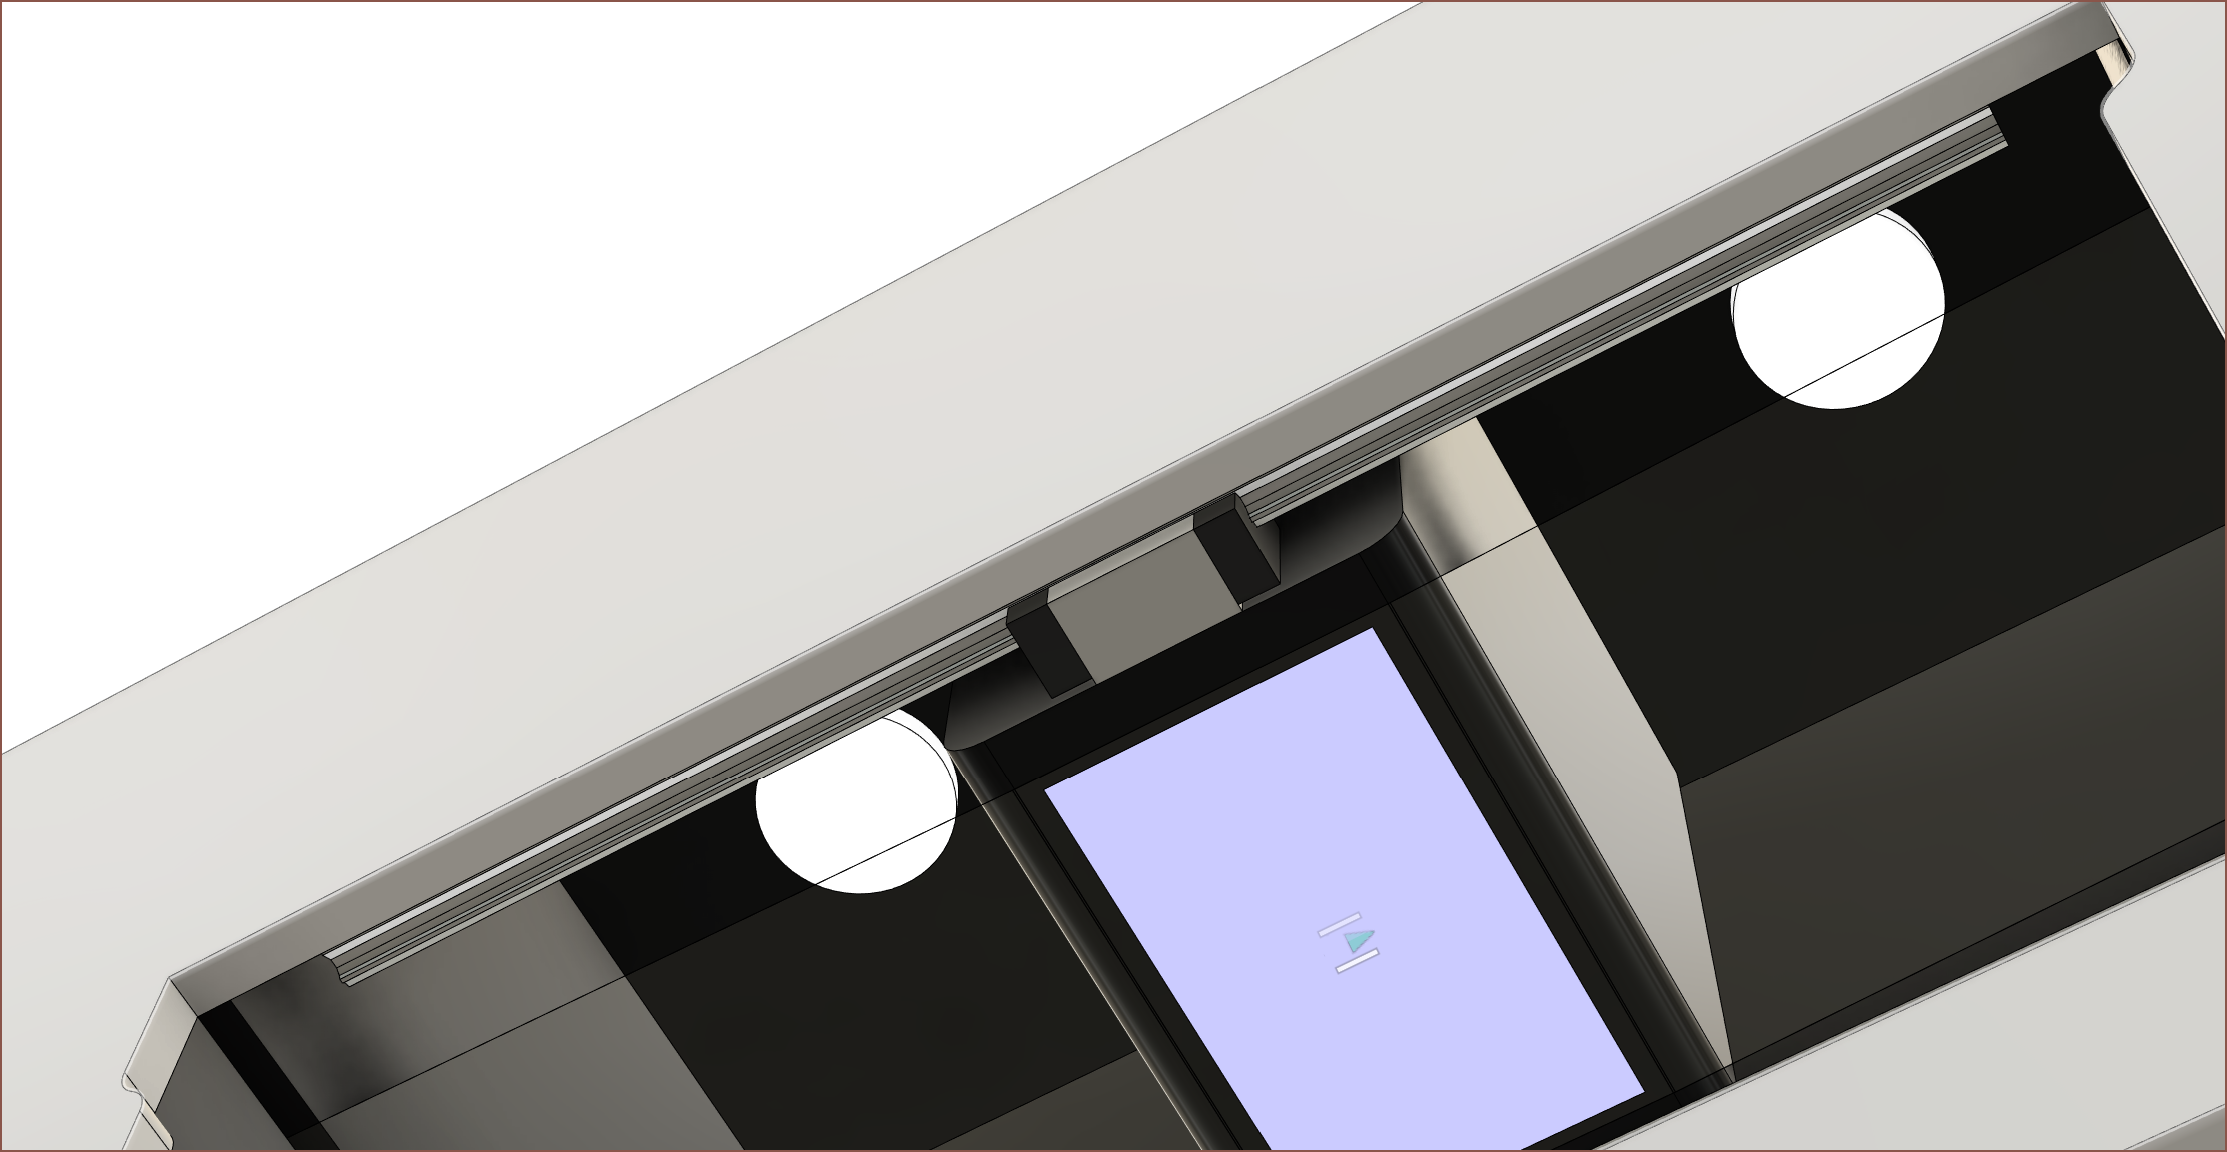
I'm probably going to either move the HGR Z axis rail or switch to 2 MGN rails so that the ballscrew has somewhere to go. The roller is connected to 2 Nema17's on each side which are 20mm in lengtth. I still have to figure out where to put the roller linear rails. I've also got concerns as to how much resin the cartridges will be able to hold, and might have to go back to the 4-screen (356mm) build volume. Pricewise, it doesn't make an impactful difference, but I'm still constrained in footprint space.![]() I'm expecting the LCD + UV assembly to be 200mm in height. I've also added 2 white LEDs in the ceiling for lighting when printing is finished.
I'm expecting the LCD + UV assembly to be 200mm in height. I've also added 2 white LEDs in the ceiling for lighting when printing is finished. -
[T] Current deliverable
07/14/2022 at 04:49 • 0 comments- Compatible with the SecSavr SleepCinema / CeilingSingle
- Build Volume: 445*143*345mm (XYZ)
- XY Resolution: 35um
- Max Multiple Materials: 8
- Full Colour Support: Yes
- Wash feature: Yes
- Cure feature: Yes
- Modular: Yes
- Price Target: <£999
-
[M] SleepCinema / CeilingSingle Frame compatibility
07/14/2022 at 02:27 • 0 commentsDue to the SpaceApp and saving costs on the frame, as well as the new UV LED bar concept idea, I got the idea to make the Suspense installable into the SleepCinema. For those unaware, that is the frame I'm building for the #SecSavr Sublime [gd0036], and the CeilingSingle is intended to be the frame that doesn't surround a small double bed.
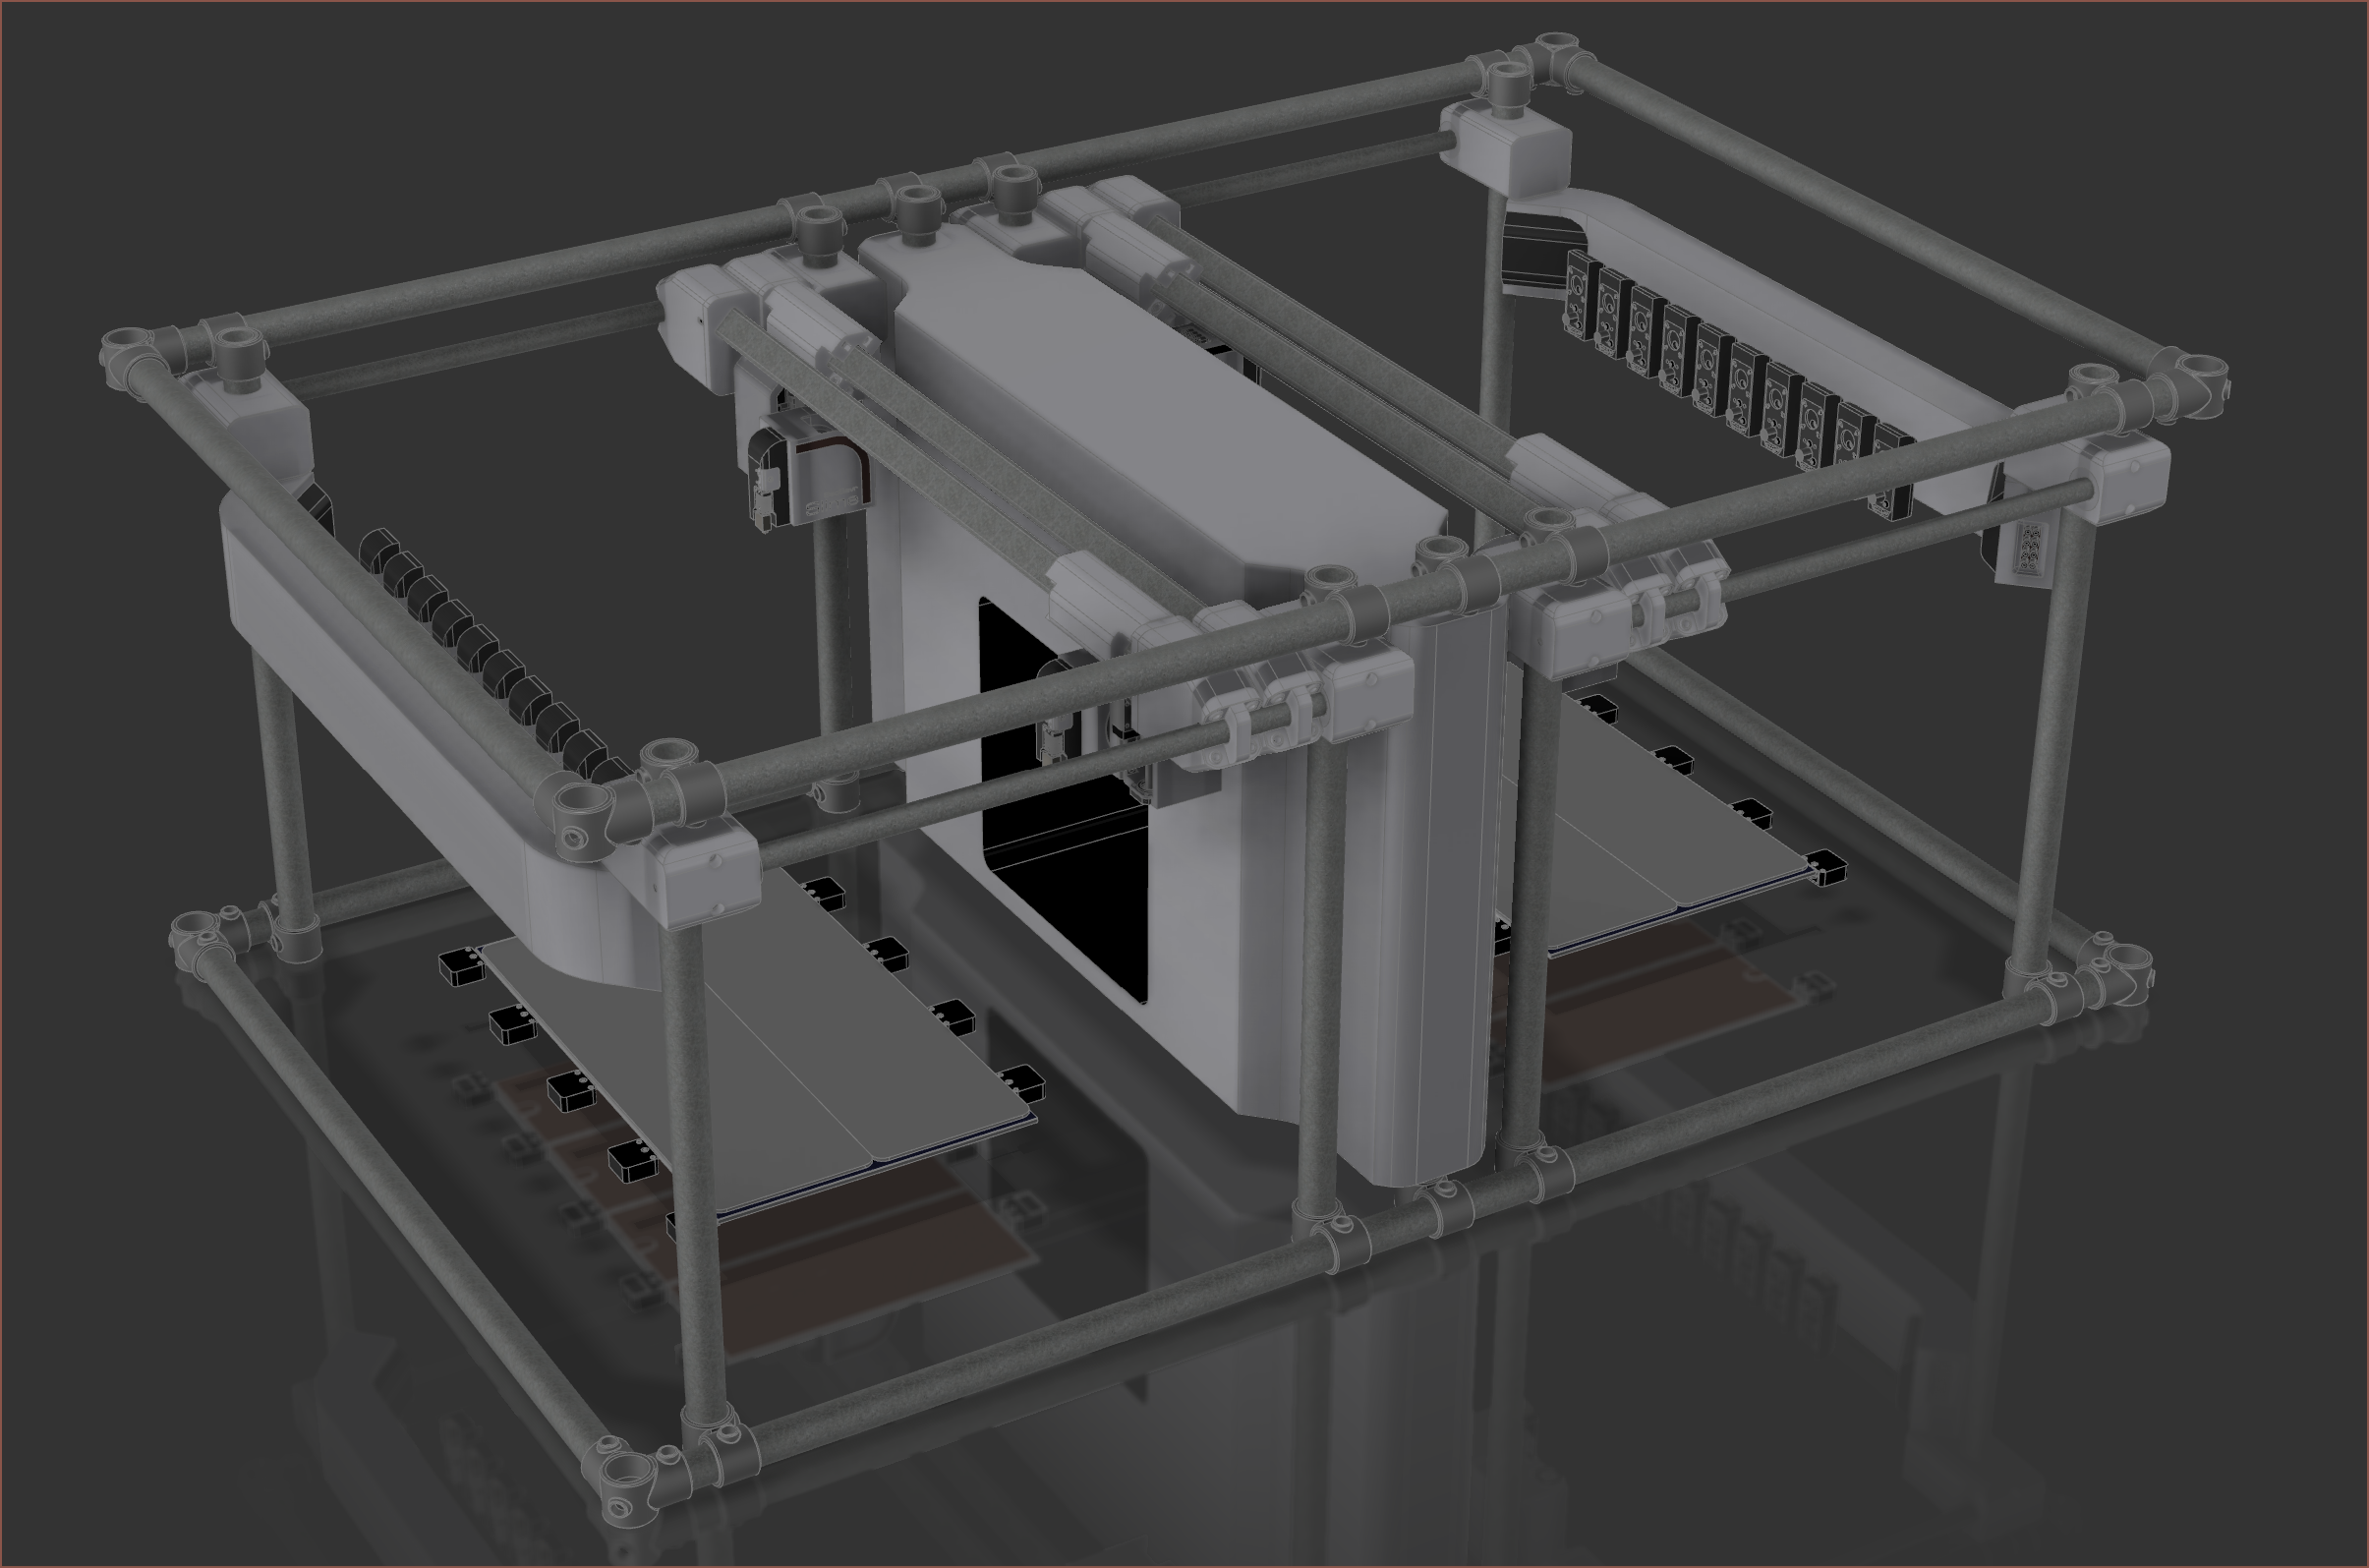
![]() I'm gonna be honest with you. I feel like I'm playing 5D chess over here now.
I'm gonna be honest with you. I feel like I'm playing 5D chess over here now.This new SecSavr Suspense Concept is 700mm tall and the depth is 260mm. In a CeilingSingle, that should fit 3 up by 3 across, or 9 Suspenses (though the middle 3 are harder to access). Considering that there are a few timelapses on the internet of resin printers without their covers on, I assume it's more than acceptable to not have doors on the Suspense considering that uncured resin will likely be in the shadow of the lights, the uncured resin will only be out for a couple seconds at a time and the SleepCinema is designed to be airtight for noise dampening and fume containment.
![]()
I'm going to keep the dual ballscrews so that the printer can be perfecty symmetrical down the middle, allowing a square hole to go through the printer. This allows getting to the build plate of a printer behind, as well as still allowing me to use the belt bed of the Sublime.
With the extra length, there's not really anything expensive stopping me from going to a 450mm X axis. The washing step of submersing the part in cleaning fluid is also expected to be eliminated, so I don't have to worry about storing the liquid needed for the additional volume. I might want to look at 8mm or 10mm cast tooling plate for the bed though.
-
[T] Current price estimate
07/13/2022 at 23:46 • 0 commentsI'm targetting under £1000 because I think that it could actually be doable. So far:
- Screen, controller and main UV lamp: £130
- Manta M8P, CB1 and 8 S6609 drivers: £80
- Motors, 4 leadscrews, 2 ballscrews and accessories: £190
- 24v PSU: £20
- HGR linear rails from AliExpress (X: 2x500mm Z: 2x500mm R: 2x300mm): £160
- Roll of PET: £40
- 8 resin cartridges: £80
- 405nm 3528 120/m LED strip: £10
- 50.8mm diameter cylinder (polished stainless steel): £30
- 4kg of PETG: £40
- 26.9mm galvanised tube (8x800mm): £30
- 6mm Tool Aluminium Build Plate: £30
Total: £840
While "The Unknown" has the potential to increase the price, there are also opportunities to save money, such as the roll of PET, using 1 ballscrew instead of 2 (cantilever vs x5sa like z axis), MGN rails for R and X, and savings in the hypothetical resin cartridges.
Those cartridges are certainly a question mark since the resin might slowly negatively affect parts printed with standard FDM materials, and the cartridges contain the mechanisms to deposit to and recollect resin from the lamination film, similar to a tonner cartridge for 2D laser printers. There seem to be a few people printing resin vats so that gives me hope that I can get away with it.
![]()
Anyway, it's very unlikely that "The Unknown" is double price, meaning that a VLM solution has a high probablility of a £1700 upper bound.
-
[T] Layer cleaning and curing ideas
07/13/2022 at 21:41 • 0 commentsI'm thinking that a roller gives me the most conceptual freedom to pivot to multiple new plans should initial ones fail.
The maximum time the cleaning procedure can take is 10 seconds for a solution to pass. The fastest method is to roll across the shorter axis, which is 143mm. 143mm is short enough that the circumference of a 50mm roller is longer (157mm). Considering that the roller would cover the 360mm span, I think this would be a required minimum diameter anyway for stiffness.
Additionally, I'm thinking about part curing and that the UV LEDs I have planned for the side walls may not be able to evenly cure the part. By putting a high powered led bar facing down on the roller bar (or a seperate bar, similar to the X axes in the #SecSavr Sublime [gd0036] ) I could obtain these benefits:
- The UV light can fully cure the part more evenly than a traditional cure station that rotates the part.
- By using black, light absorbing wall coatings for the build area instead of reflective ones, the UV light can cure the part whilst the uncured resin on the lamination film is being swapped or replenished.
- Less UV light sources will be needed, reducing costs and improving energy efficiency.
- A 2-20 minute cure will not be needed.
- A door with a window can be used, meaning that a camera will not be required to check on parts while printing.
This UV LED bar will only be turned on after all exposures have been completed for the layer. Since the layer is assumed to be devoid of uncured resin, I can't imagine any overexposure issues arising from different resins with different curing times, such as opaque and transparent materials.
For the roller, the plans I've come up with to try are:
- The roller does N number of passes and cleans itself when docked on something like a continuous roll of paper towel. A UV LED then cures the resin on the paper towel. Ideally, N = 1 or 2 and the roller speed is 150mm/s.
- A layer of cleaning fluid is depositied over the roller on the first pass. Then, the uncured resin and cleaning fluid is removed on subsequent passes. 2 rollers might be needed.
-
[T] Print times and the importance of layer cleaning
07/10/2022 at 22:46 • 0 commentsSo, since I have an exclusively draft FDM background, I forgot about how long it might take to print in SLA, especially with all the extra stuff happening during the print.
Calculating print times
If I assume 35um layer heights (to make a cube voxel), there's over 285 layers in 1 single centimetre. That's already not sounding good. With a 2-screen print cross section and 5 colours per layer to expose, that's 2,850 exposures in 10mm. Assuming 2 second exposure per screen area (though, the 108W source probably could cut that in half) and a very optimistic sounding 8 seconds to clean up the layer and switch to the next material, for a 320mm model:
320/0.035 = 9,142.8571
9143 * 2 * 5 * 2 = 182,860s exposing
9143 * 5 * 8     = 365,720s cleaning and swapping
182860 + 365720  = 548580s
                 / 3600 = 152.3833 hours
                 / 24 = 6.3493 days
And then, to see the maintenance costs:
182860 / 3600 = 50.7944 exposure hours
2000 screen hours / 50.8 = 39.3701 models
Assuming LED lasts 3 screens:
4/3 * (£43 screen / 39)  = 4/3 * £1.10
                         = £1.47
Now a 1s exposure could shave off over a day of printing, and printing 70um voxels could cut print time in half (as well as have a higher chance in the resin filling the voxel before photopolymerisation), but the real concern is the cleaning cycle.
Cleaning
BCN3D was never all that clear about this, thus I assume they haven't quite got the science just yet, but they intend to clean the layer before switch to another material. I'm intending to do the same and will have to discover some kind of method.
Before thinking of the print times, I was planning on doing a wash similar to a dishwasher, with the potential requirement of filling the entire chamber with cleaning fluid for the final wash before the cure.
Now I'm thinking that an adequete clean cycle per change could cut complexities like that out, such as plumbing, cleaning fluid filtration and storage, and internal voids where cleaning fluid could get trapped and be unable to evaporate. If possible, I'd like to do away with inserting holes into the part to get liquids out of it, bringing it closer to the benefits of FDM.
Ideally, there may be an opportunity to cure the part as the cleaning cycle takes place, resulting in a mostly cured part by the time all the layers have been exposed. Researching around Google leads me to believe that this wouldn't be necessary as even large objects would cure in 20 minutes, with smaller objects being closer to 5.
The ease of cleaning is inversely porportinal to the thickness of the resin the cartridges are able to accurately coat onto the film. That is to say, the closer the max thickness can be to the layer height without the minimum thickness going under that, the more likely a cleaning pass will obtain any resin still around.
How would I clean features that are so small they'd probably get damaged? No idea. Then again, those same thin features plunge into a vat of liquid for standard resin printers so perhaps they're a bit more resilient.
Cleaning methods
I'm thinking of:
- Use the clear film to wipe the resin and collect it (like a purge bucket).
- Have a microfibre cloth or paper stuck to a section of the film and clean onto that.
- Laminate a cleaning liquid on the film to dissolve liquid resin, perhaps with combination with the above idea.
- A sponge/roller/squeegee pass over the part.
-
[E4][R] Dithering for Full Colour 3D Prints
07/07/2022 at 19:15 • 0 commentsNow having 16... 18... 20 materials is great for the few prints that could use them, but what about prints that need more? More importantly, how many cartridges would be needed on stock? It seems that most print jobs won't share most colours between them, meaning that a user would likely have to stock on resins similar to paints for a a mini figure painter and swapping them out for each new job. Next, it's likely that an entire cartridge would have 5% of custom colour material in it simply because a part needs the colour in a few voxels here and there, which is a waste of storage space afterwards. When it comes to printing, it takes additional time to expose a layer of each required colour. Lastly, I was watching the Mimaki informational video of their new printer and saw how multiple drops went into each other, which was not what I had in mind for VLM.
All this made me question if the minimum amount of resins for full colour prints for VLM would actually be CMYKW+Clear+Support or something else, and how good the colour reproduction could be.
Dithering
I've heard of dithering and was planning to use it for gradients, and that's why I was leaning more on the 35um 6.6" screen over the 47um 8.9" screen (but more to do with price). Today I was wondering if it was possible to use this for full colour prints.
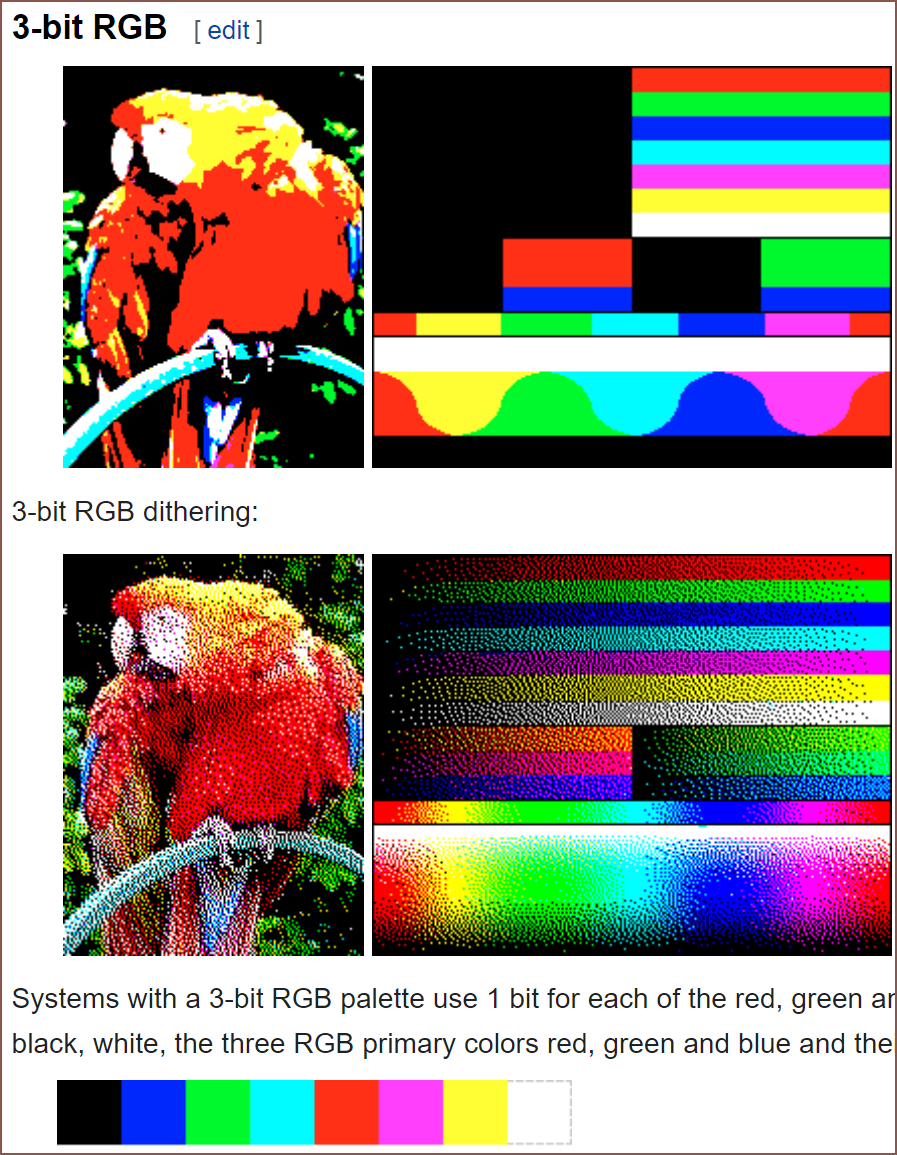
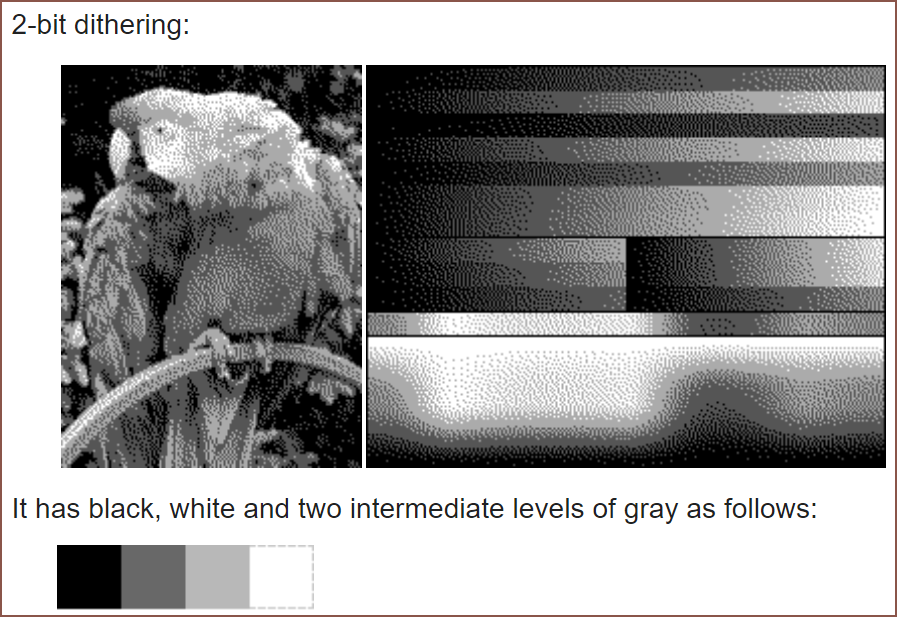
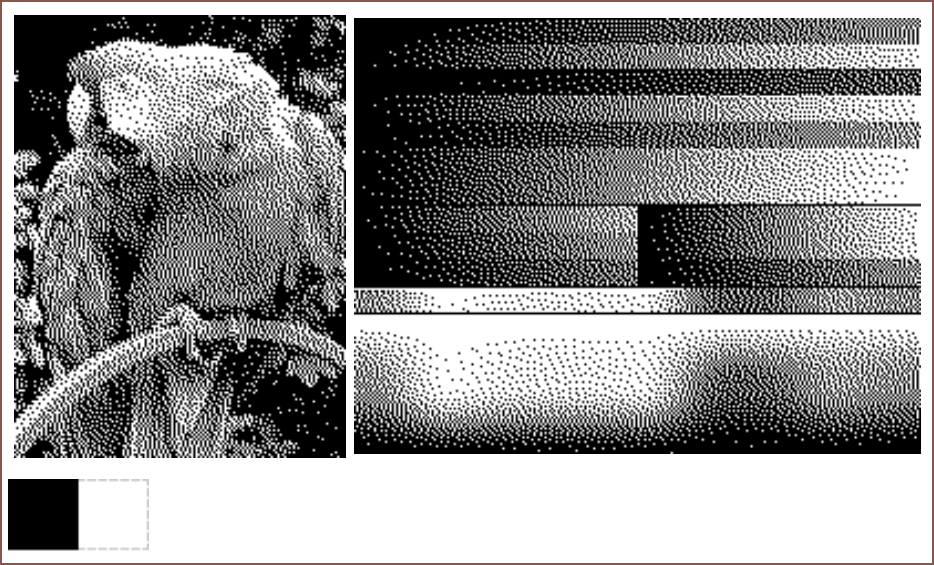
It didn't take long to find this Wikipedia page on it, and the notable mentions are 2-bit greyscale and 3-bit RGB.
![]()
(I like the sine wave in the non-dithered spectrum here.) ![]()
The pixels are very large, but the two images are already convincingly full colour and greyscale. There are many things I can think of that are in the range of grey, so I think it would be better to have the extra greys for 2 bit greyscale than rely on only white and black from RGB.
![]() I found this article and I think that the dithered image (made small to improve dithering effect) looks passable compared to the original image.
I found this article and I think that the dithered image (made small to improve dithering effect) looks passable compared to the original image.![]() Will the resin actually fill a 35x35 micrometer void if needed? I have no idea, but I'm going to assume yes until proven otherwise.
Will the resin actually fill a 35x35 micrometer void if needed? I have no idea, but I'm going to assume yes until proven otherwise. Colour choice
I assume that, as the pixel size approaches a small value, the dithering pattern will look closer to a gradient.
![]() Looking at this, it becomes apparent that CMYK or RGB alone isn't going to obtain the desired outcome. RGB is probably closer, obtaining a dim magenta, but dithered magenta and cyan doesn't make blue. I'd assume that the absolute lowest for full colour would therefore be RGBKW, though the colour depth would probably be lacking.
Looking at this, it becomes apparent that CMYK or RGB alone isn't going to obtain the desired outcome. RGB is probably closer, obtaining a dim magenta, but dithered magenta and cyan doesn't make blue. I'd assume that the absolute lowest for full colour would therefore be RGBKW, though the colour depth would probably be lacking.Hey wait. The internet exists. Surely there's a tool or tutorial on how to try this stuff out.
![]()
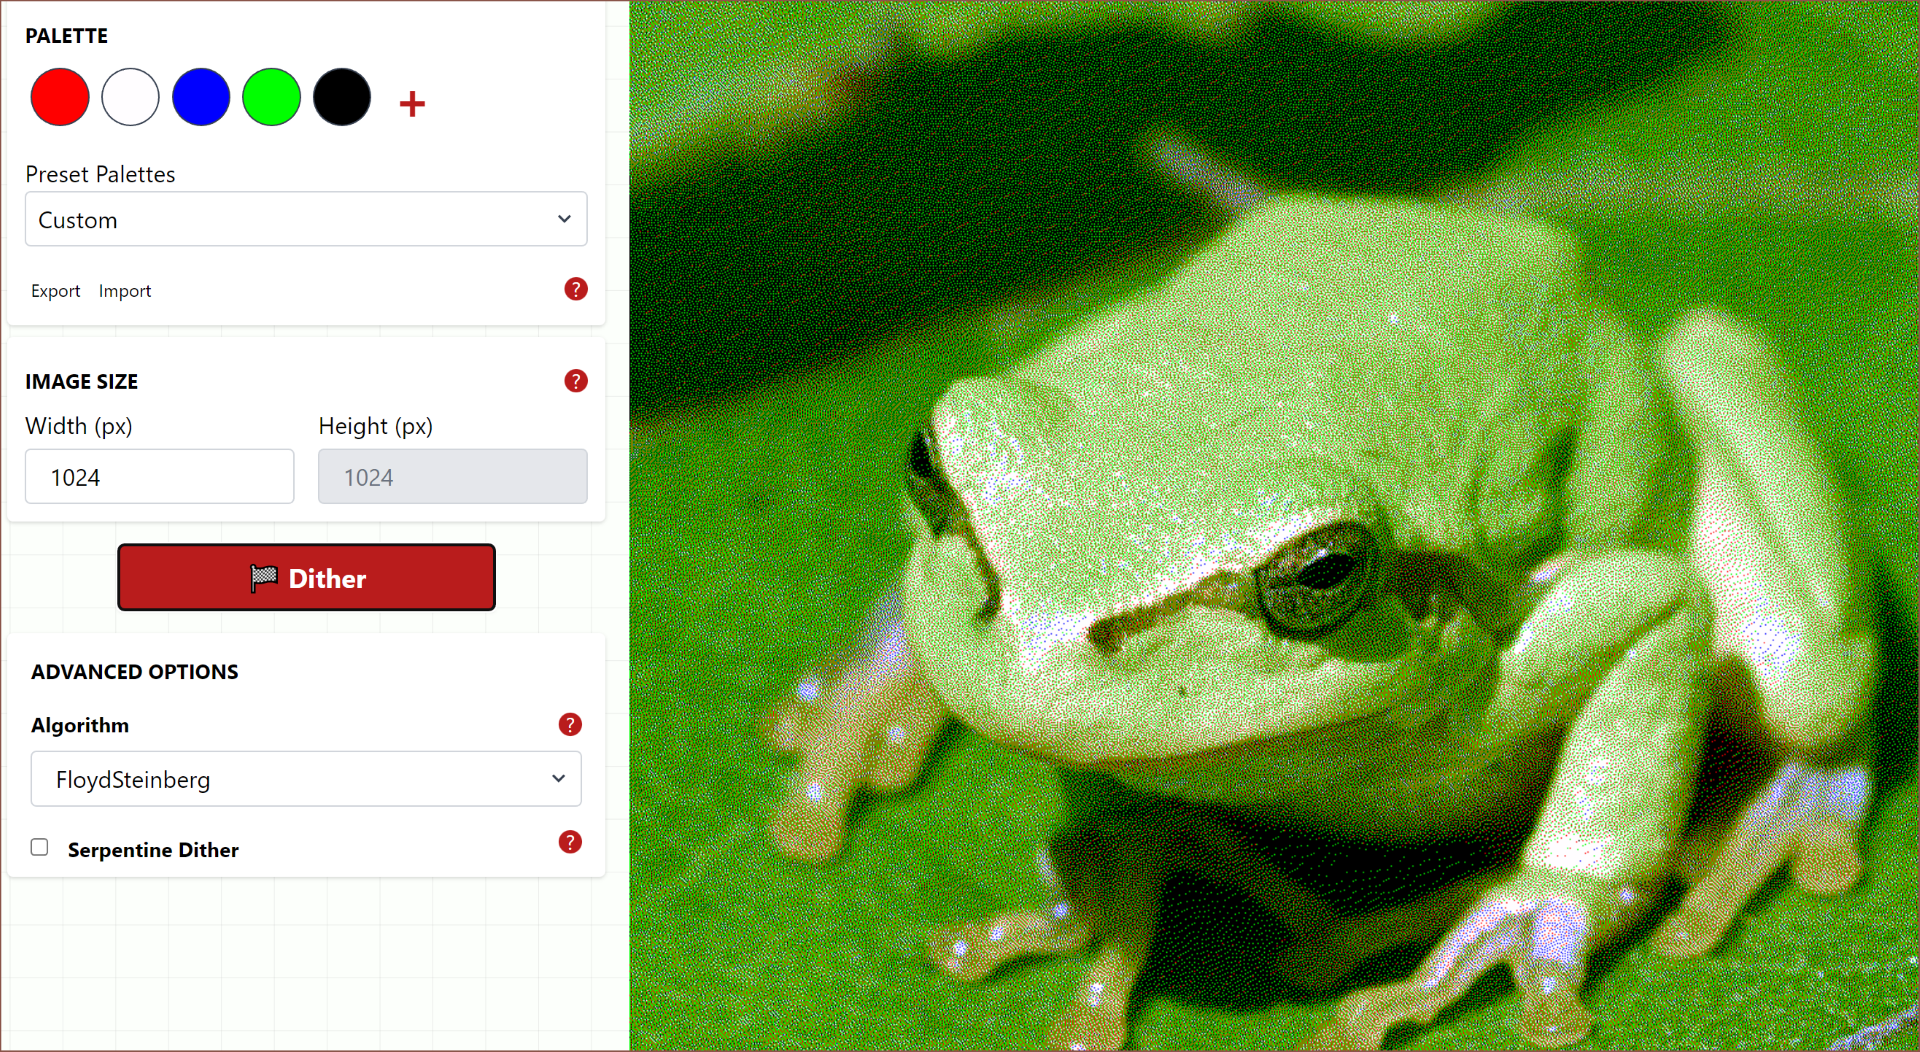
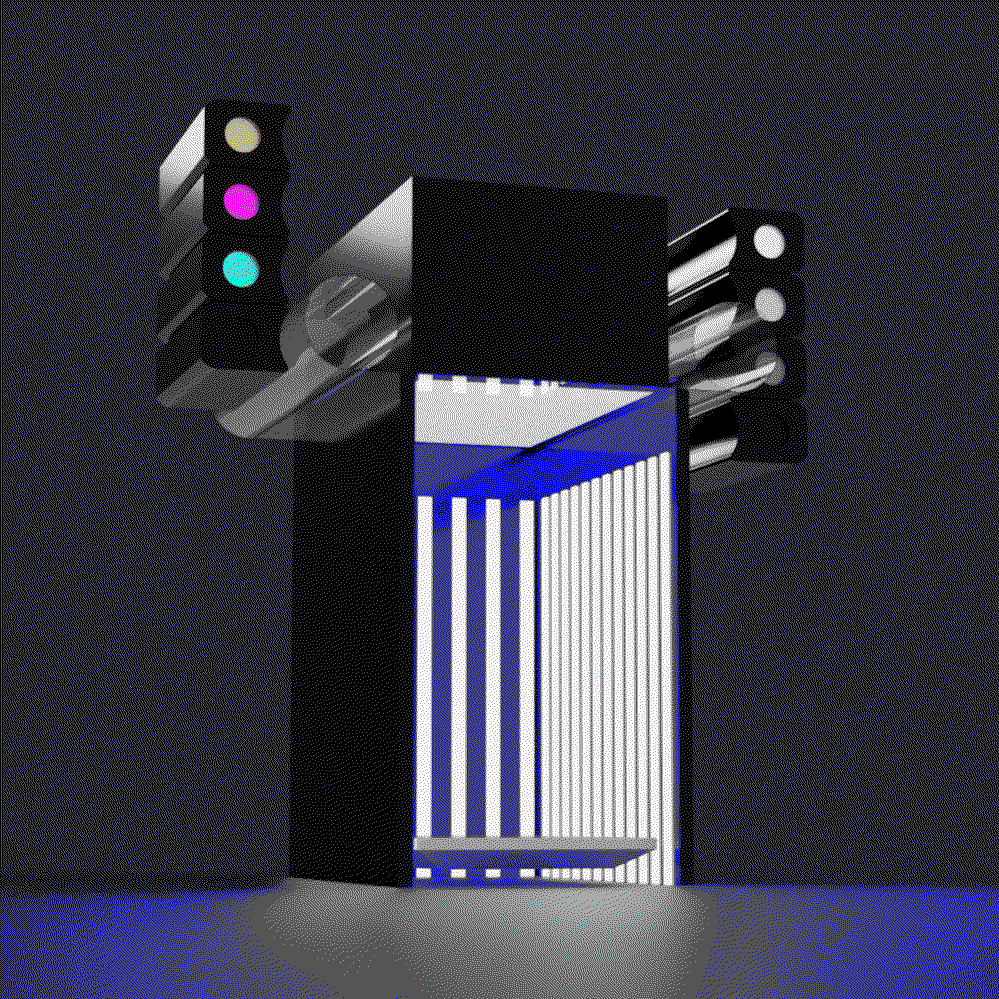
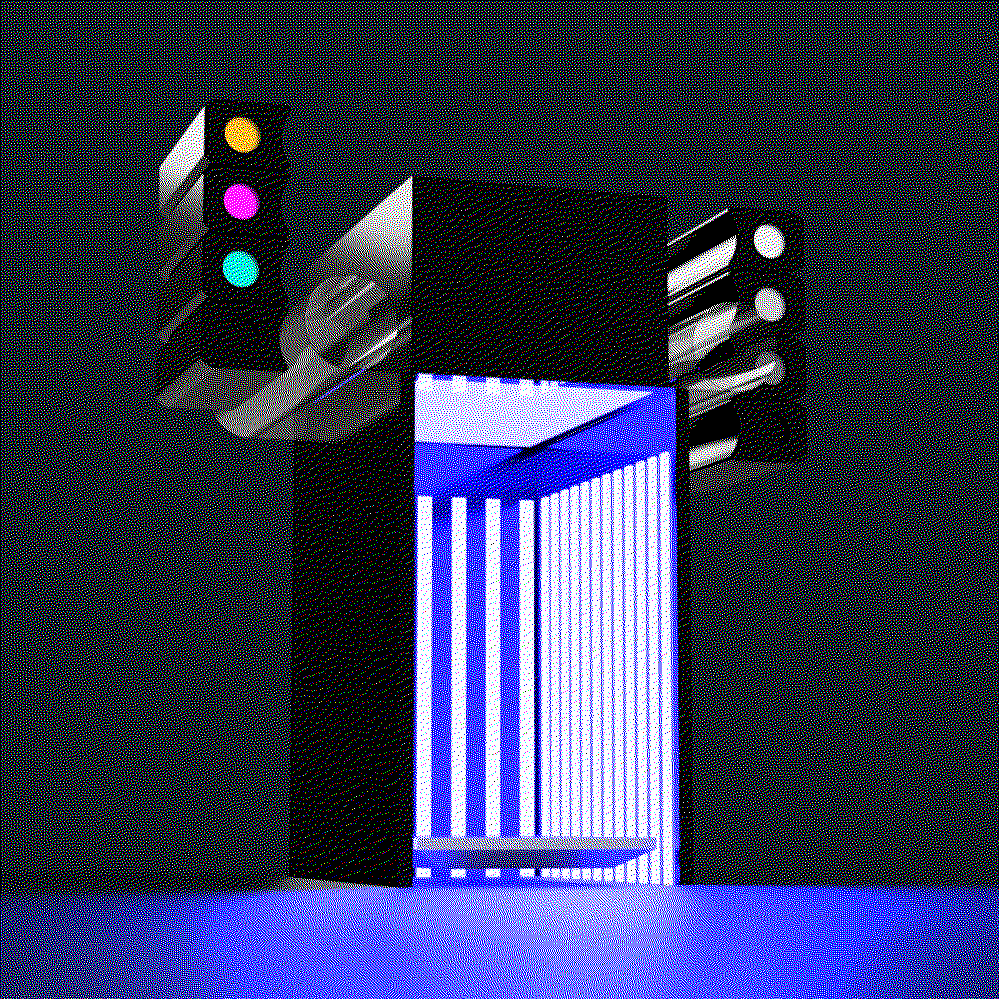
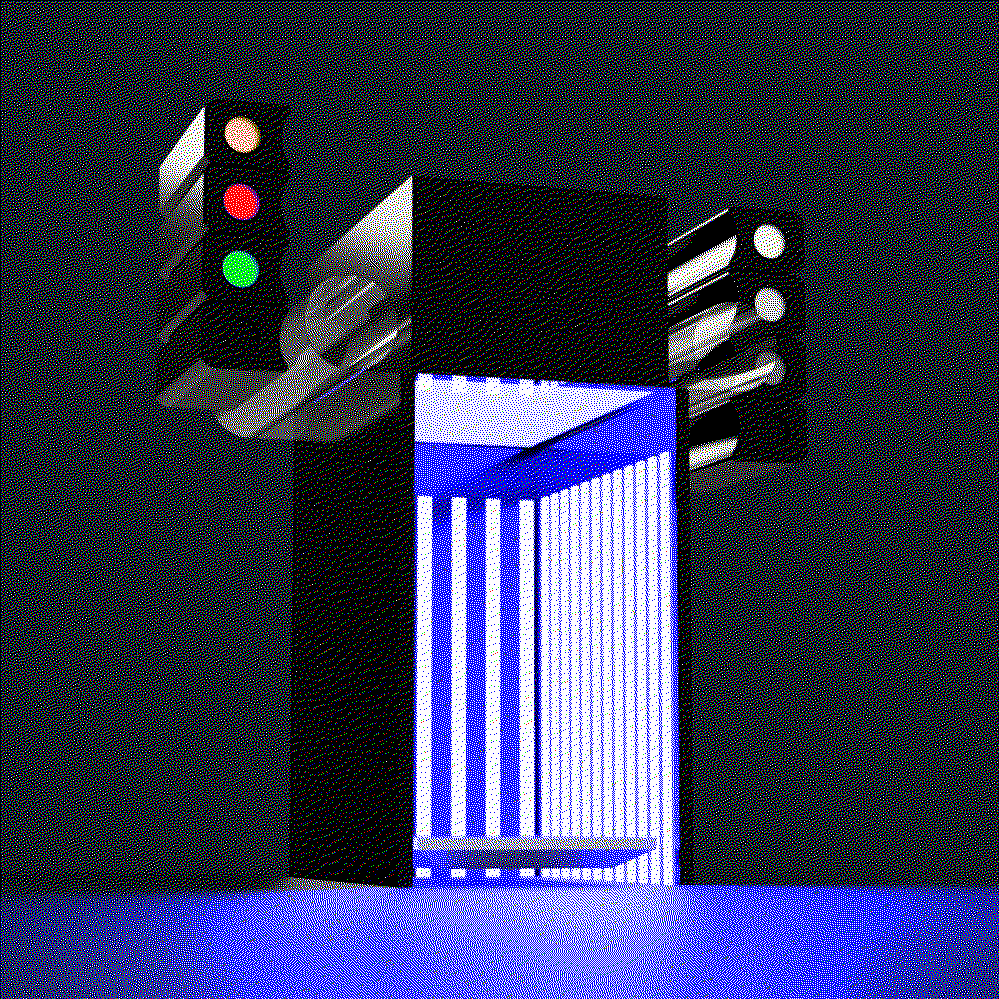
https://ditherit.com Oh wow. There is. And 5 colours actually looks pretty good actually. Not as green as the original, but certainly servicable. I feel like I'm just rediscovering tech before I was born, similar to a preteen finding a PS2 today, but research is research.![]()
[{"hex":"#ff0000"},{"hex":"#fffdff"},{"hex":"#0000ff"},{"hex":"#00ff00"},{"hex":"#000000"}] Looks kind of dry but it's passable. It totally feel that some more greyscale depth could really help though.![]()
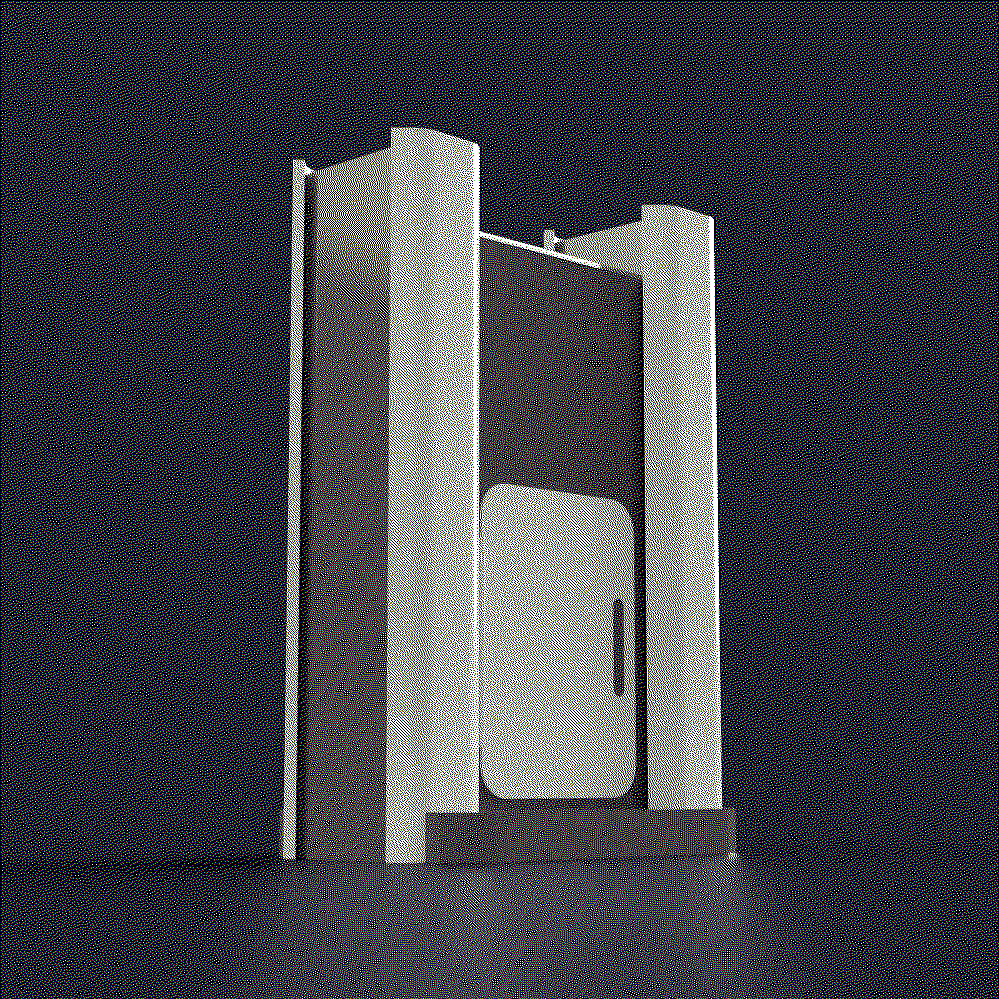
[{"hex":"#ff0000"},{"hex":"#ffffff"},{"hex":"#0000ff"},{"hex":"#00ff00"},{"hex":"#000000"},{"hex":"#555555"},{"hex":"#aaaaaa"}] Wow. It's true. This is RGB and 2 bit KW. The algorithm might need to get a bit more complex though, as the one on the site would prefer using greys than colours, as seen below:![]()
![]()
[{"hex":"#ff0000"},{"hex":"#fffdff"},{"hex":"#0000ff"},{"hex":"#00ff00"},{"hex":"#000000"},{"hex":"#ffff00"},{"hex":"#ff00ff"},{"hex":"#00ffff"}] The darks and greys look much better on the first image of the first concept, but the LED's look brighter on the second. Oh and RGB colour didn't go so well:
![]()
![]()
[{"hex":"#ffff00"},{"hex":"#fffdff"},{"hex":"#00ffff"},{"hex":"#ff00ff"},{"hex":"#000000"}] CMY doesn't look too far off either, but not as vibrant.
Additional materials
Other than colours, there should be support (optional), clear, metallic/glitter and flexible, where metallic is a shiny material for colours like gold and silver, and flexible is for a custom part rigidity.
Finishing Notes
Perhaps it's the current algorithms for dithering not being ideal, but it looks like RGBKW + Clear would be the minimum amount needed for a general use, full colour printer and there's not a grand improvement going to 8 bit colour, however more greys would have a noticable improvement. I see that most dithering noise seems to be due to a lack of luminance instead of saturation.
Greyscale-only would be even lower, only needing 3 materials stocked: KW + Clear, but adding grey (a 50/50 mix of black and white) would greatly increase perceived colour depth.
[E1] Adding Yellow
A bit more research today and I found a paywalled research paper called "Color dithering methods for LEGO-like 3D printing", which sounds like something I'm looking for. They said that, with opaque bricks, RYGBKW gave the best image.
It turns out that there is something called a "multi-primary display" and the popular 4th colour is yellow. Considering that RGB LED's don't quite make the best yellows, I can further understand this decision.
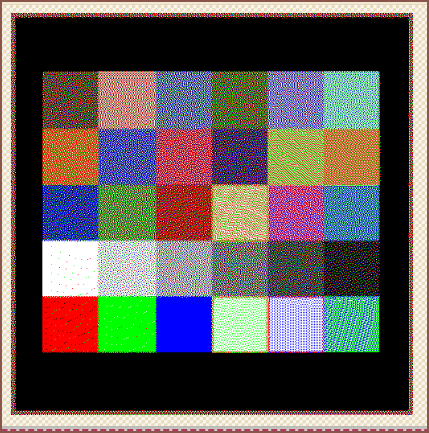
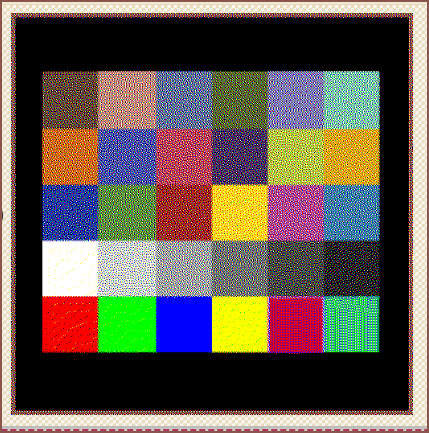
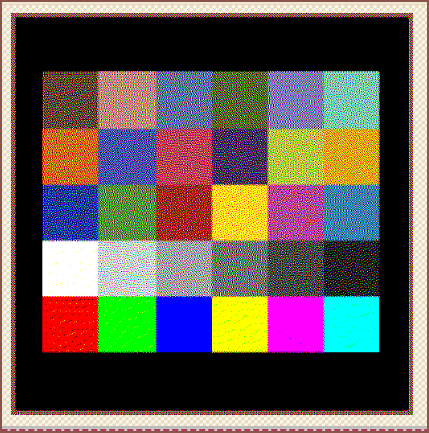
Thus I recreated the colour card used and dithered them in RGB, RGBY and RGBCMY:
![]()
![]()
![]() Primary colours aside, the colour palette has a noticable improvement from RGB -> RGBY and a negligible one.
Primary colours aside, the colour palette has a noticable improvement from RGB -> RGBY and a negligible one.[E2] Darker grey
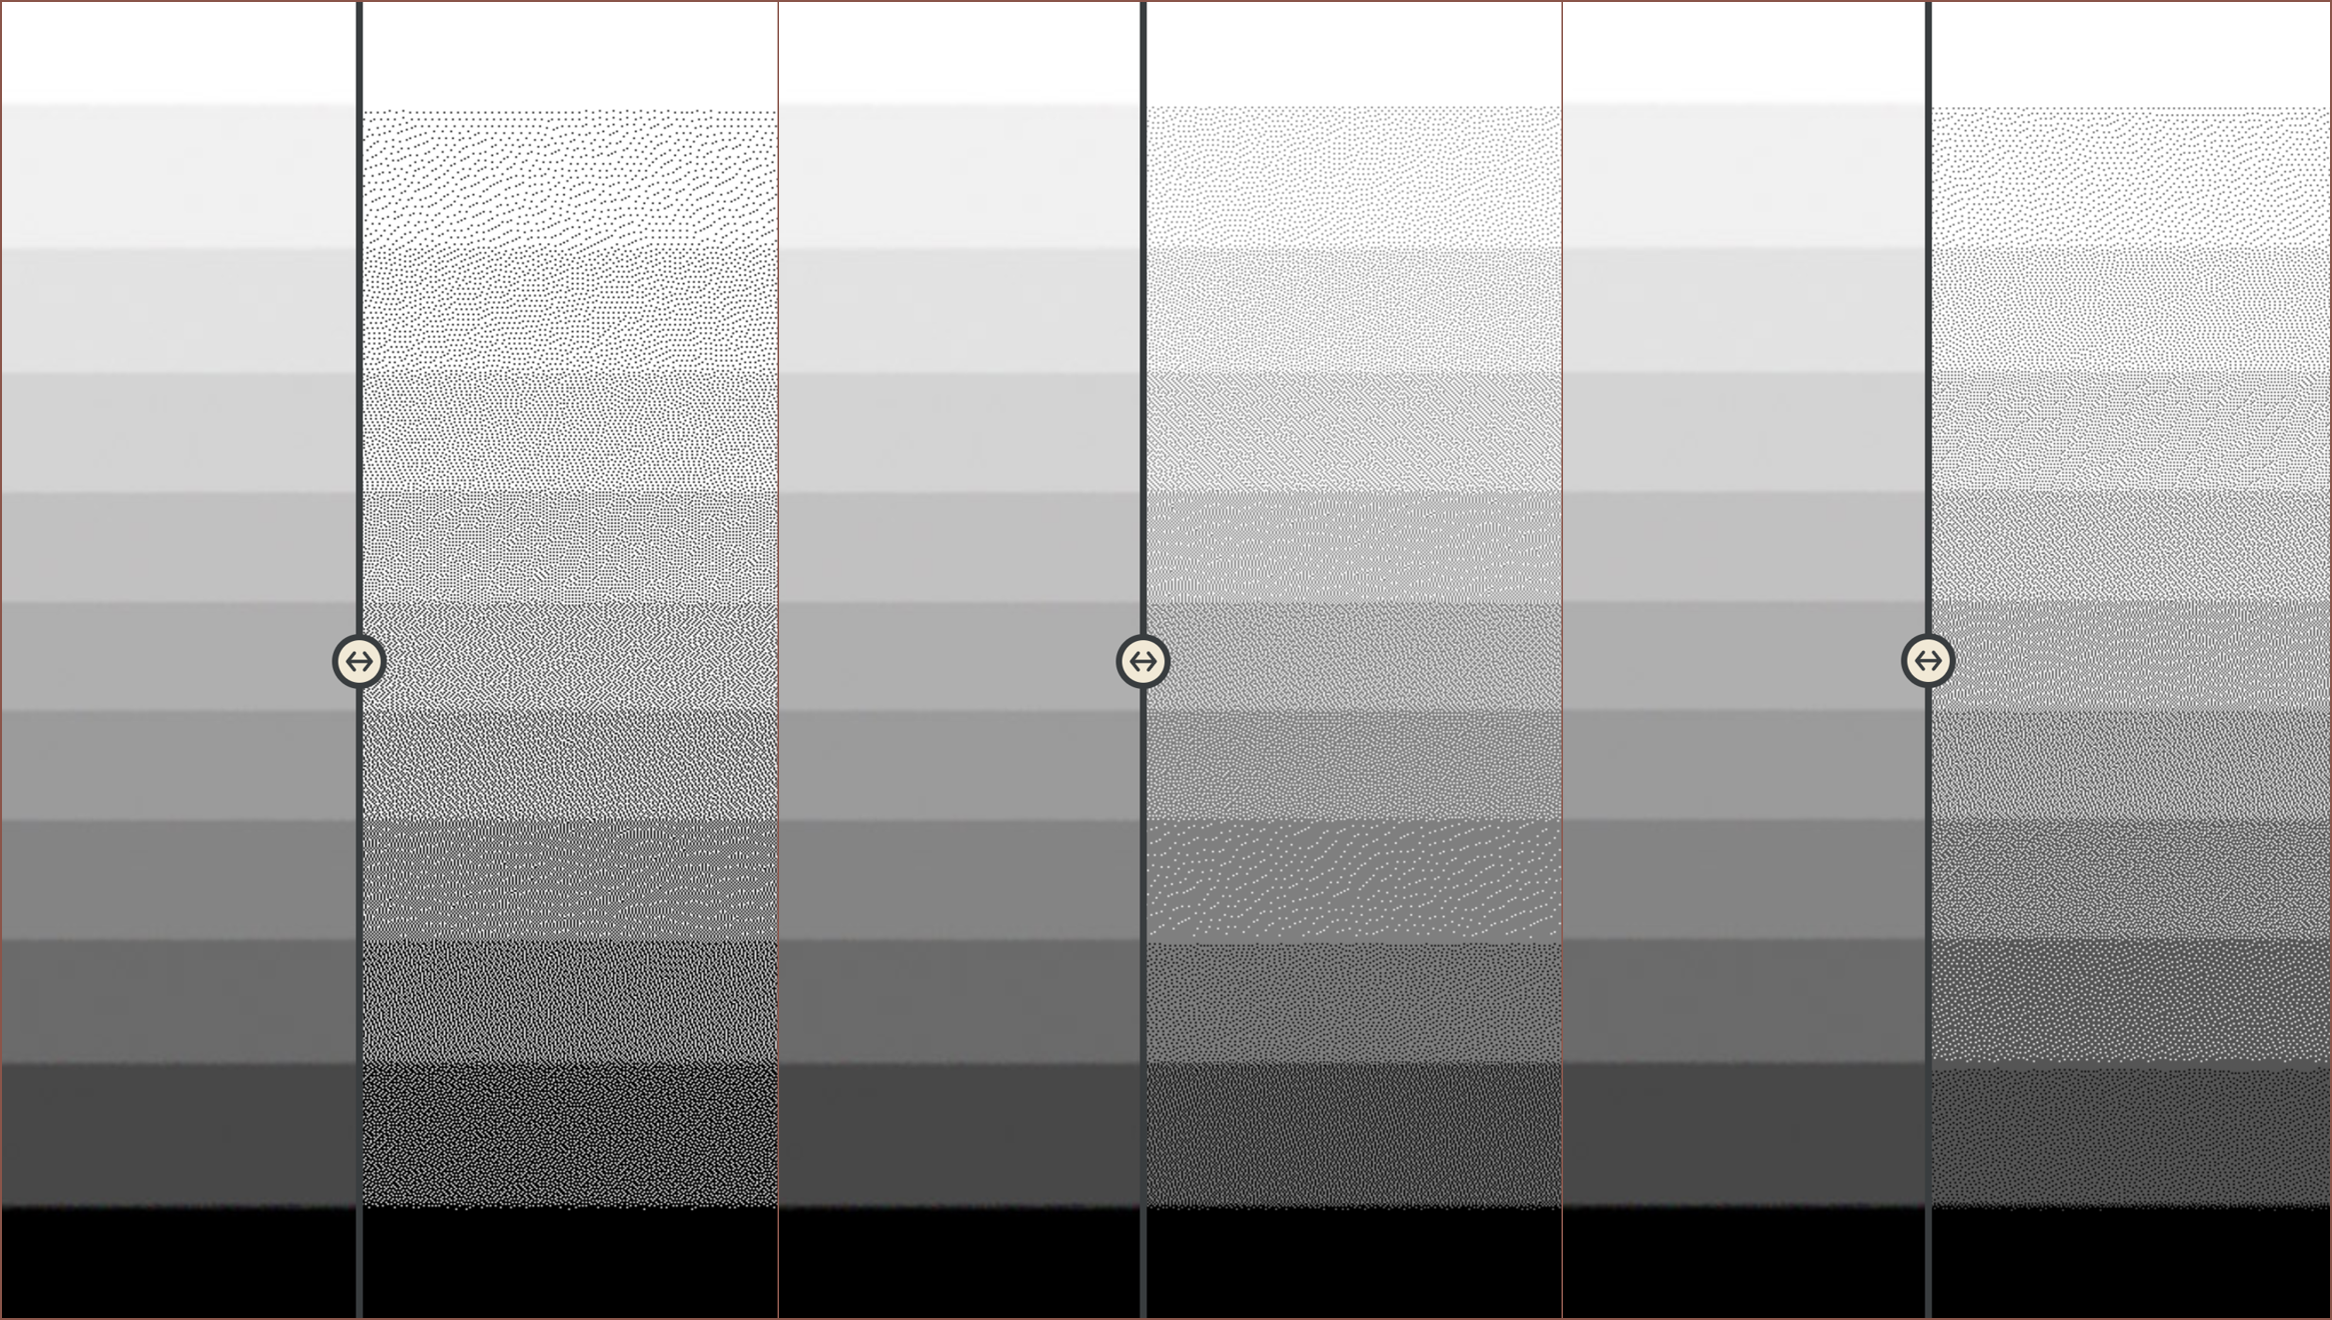
I'm thinking that, since the images usually look somewhat pastel, a 2:1 mix of black and white would look better than a 1:1 mix. Using https://doodad.dev/dither-me-this/, I was able to confirm this.
![]()
Left: KW, Middle: KW + 1:1 Grey (#7f7f7f), Right: KW + 2:1 Grey (#555) I do wonder if it is just a limitation of the dithering algorithm. I have found out that these algorithms are actually faily old: https://tannerhelland.com/2012/12/28/dithering-eleven-algorithms-source-code.html
[E3] Gamma
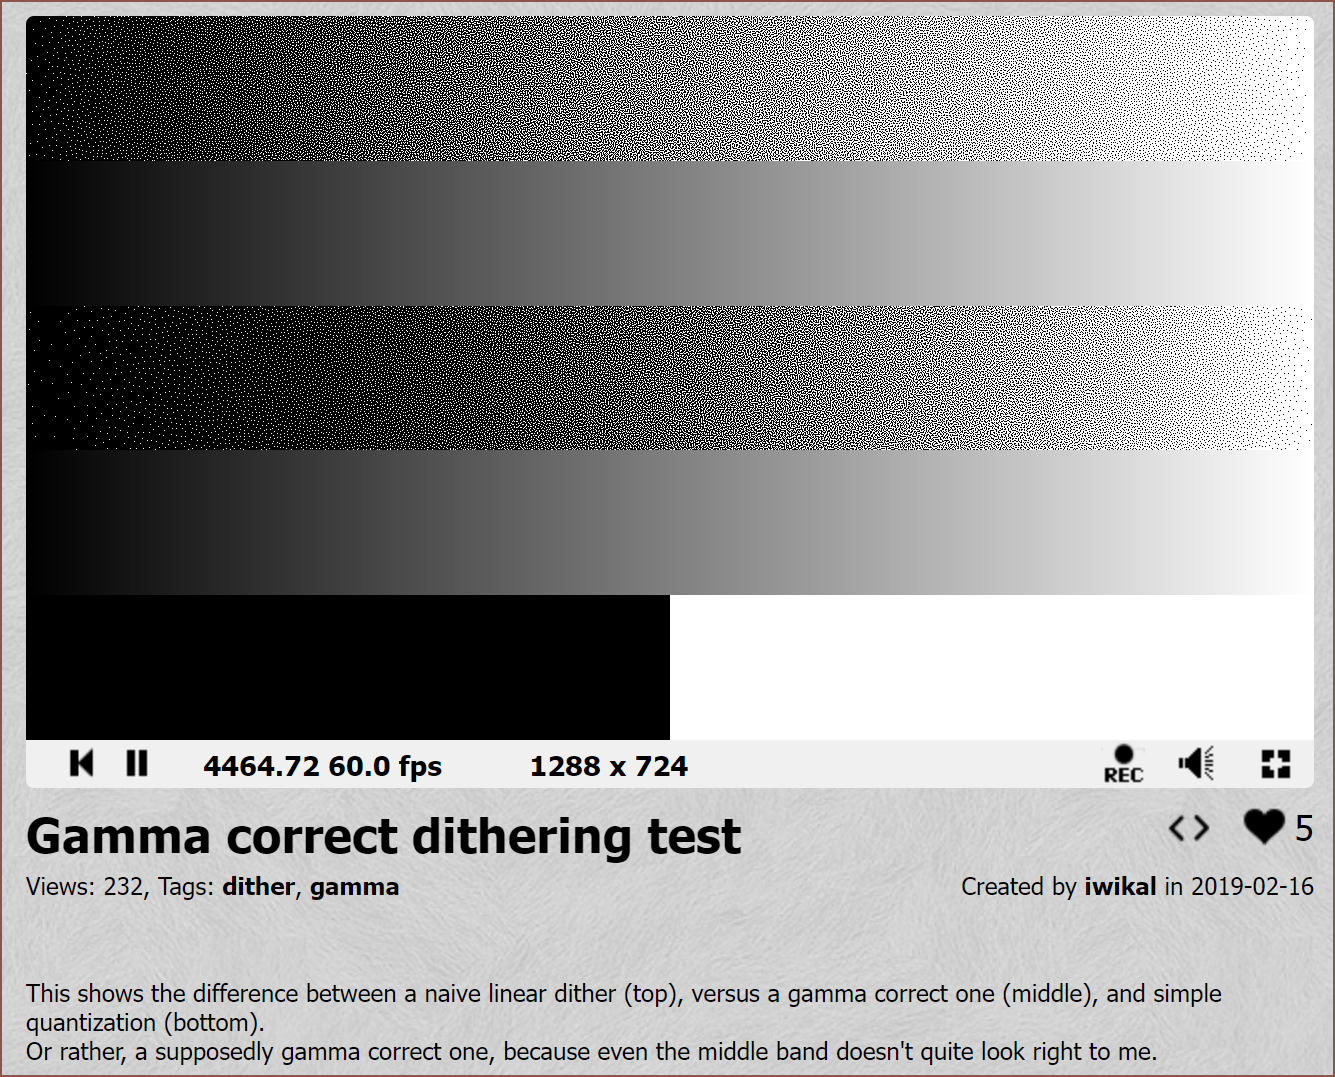
Apparently, it's a gamma issue.
- https://www.shadertoy.com/view/tdjGDt
- https://drj11.wordpress.com/2009/04/03/dither-and-gamma/
- https://bisqwit.iki.fi/story/howto/dither/jy/
That gives me hope that I can get by with just RGBYKW+Clear+Supports. I can't find any silver resins, and I doubt a bit of glitter is going to conveniently slot itself into every voxel. Also, some voxels may be disconnected from any main features, so a support material would be needed there. I'll probably go for 10+ cartridge bays to allow for full 1-bit colour, up to the one gives me a usable Z height and outer build height under 84.5cm (a quick search for the height of an under-cabinet fridge). I might also target under 74cm and install it into the SecSavr SleepCinema instead of a second #SecSavr Sublime [gd0036].
[E4] RGB Only
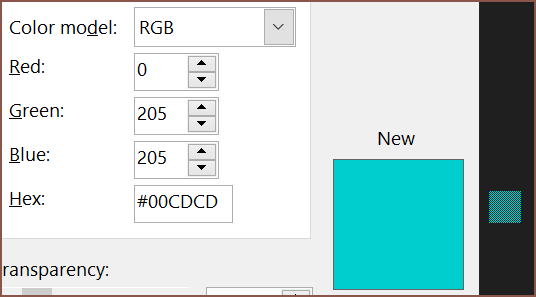
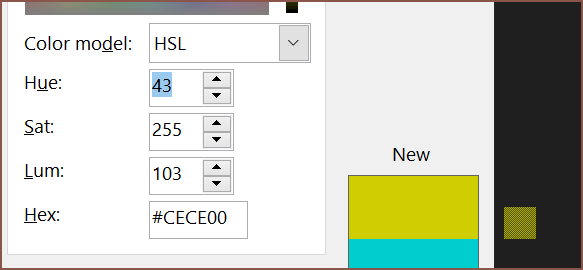
I wanted to see what colour a checkerboard pattern of RG/GB/BR would get, as like I mentioned at the start of the log, the less changes per layer, the faster the part prints (thus the LCD lasts for more prints).
![]()
![]()
![]()
![]()
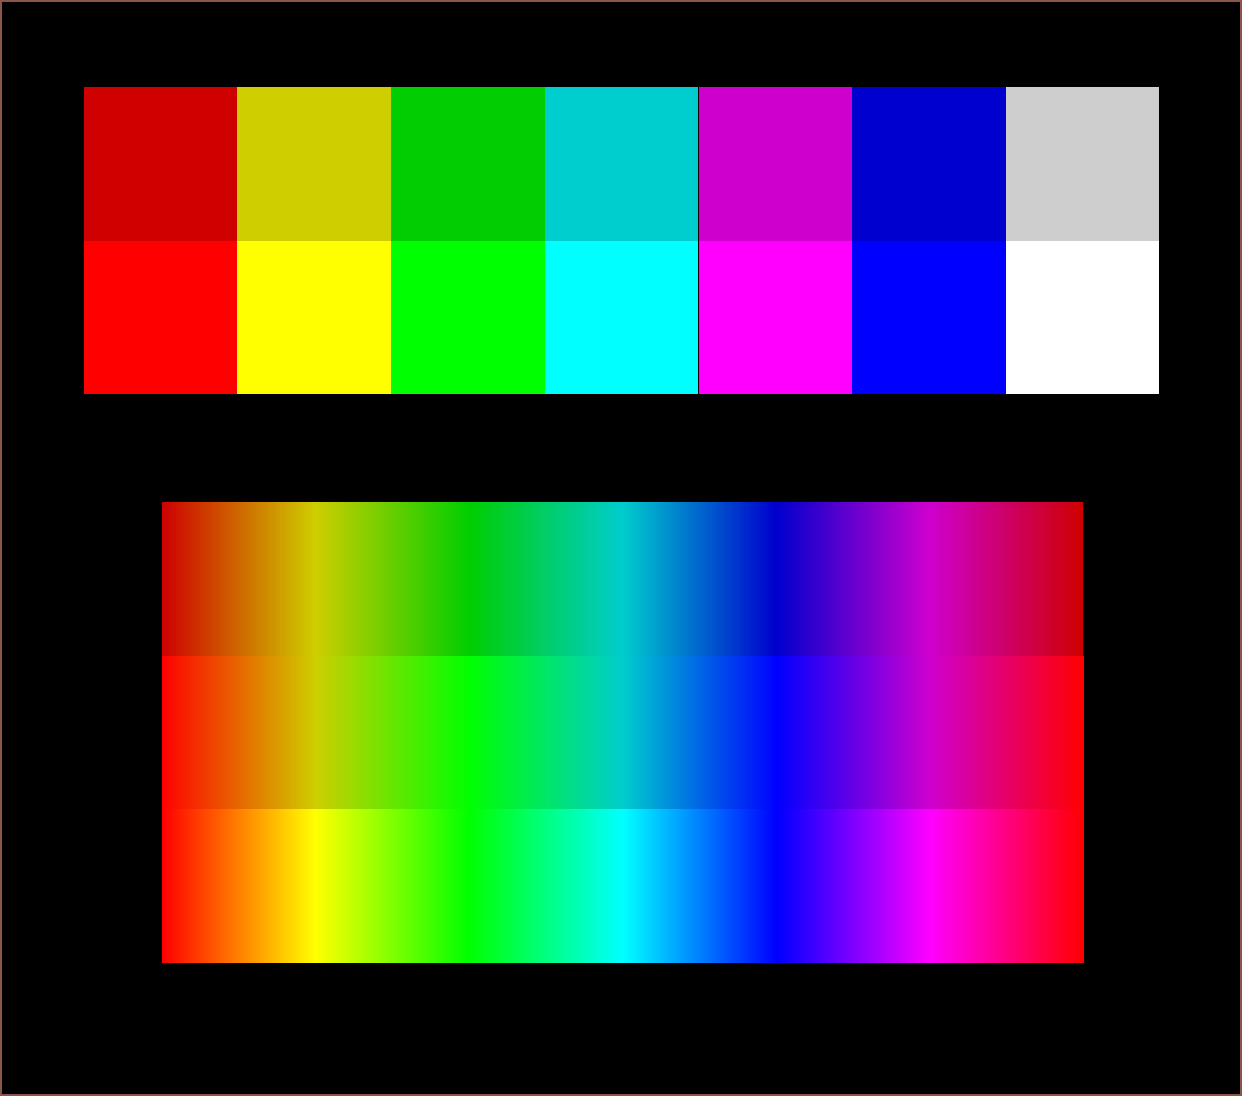
Thus it looked like 206 was the brightness similar to the checkerboard patten. Putting those values into a colour palette:
![]() The top blocks are all values maxed to 206. The blocks under it are 255. For the continuous spectrums, the top is 206 max, the middle is 206 for CMY and 255 for RGB and the bottom is 255 max.
The top blocks are all values maxed to 206. The blocks under it are 255. For the continuous spectrums, the top is 206 max, the middle is 206 for CMY and 255 for RGB and the bottom is 255 max. I can see how yellows could be an issue, both because the high brightness of yellow and because materials like leather, wood and copper fall into that colour space, but colors made from RGB are probably fine for prints that don't need extreme vibrancy across all hues.
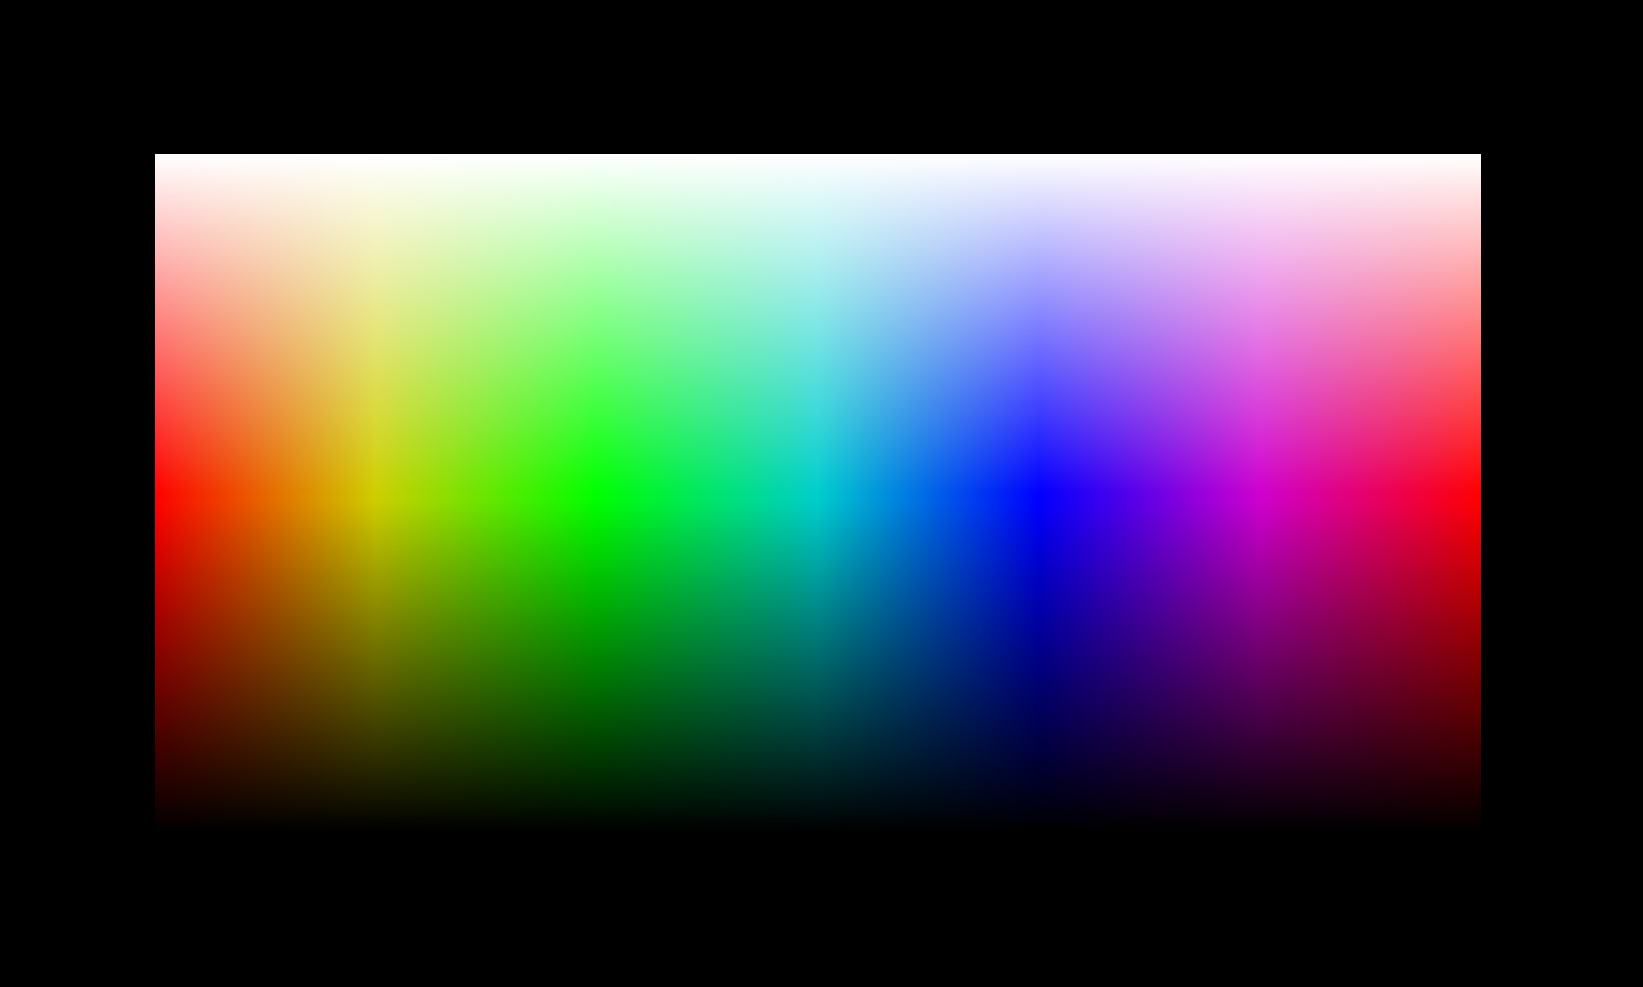
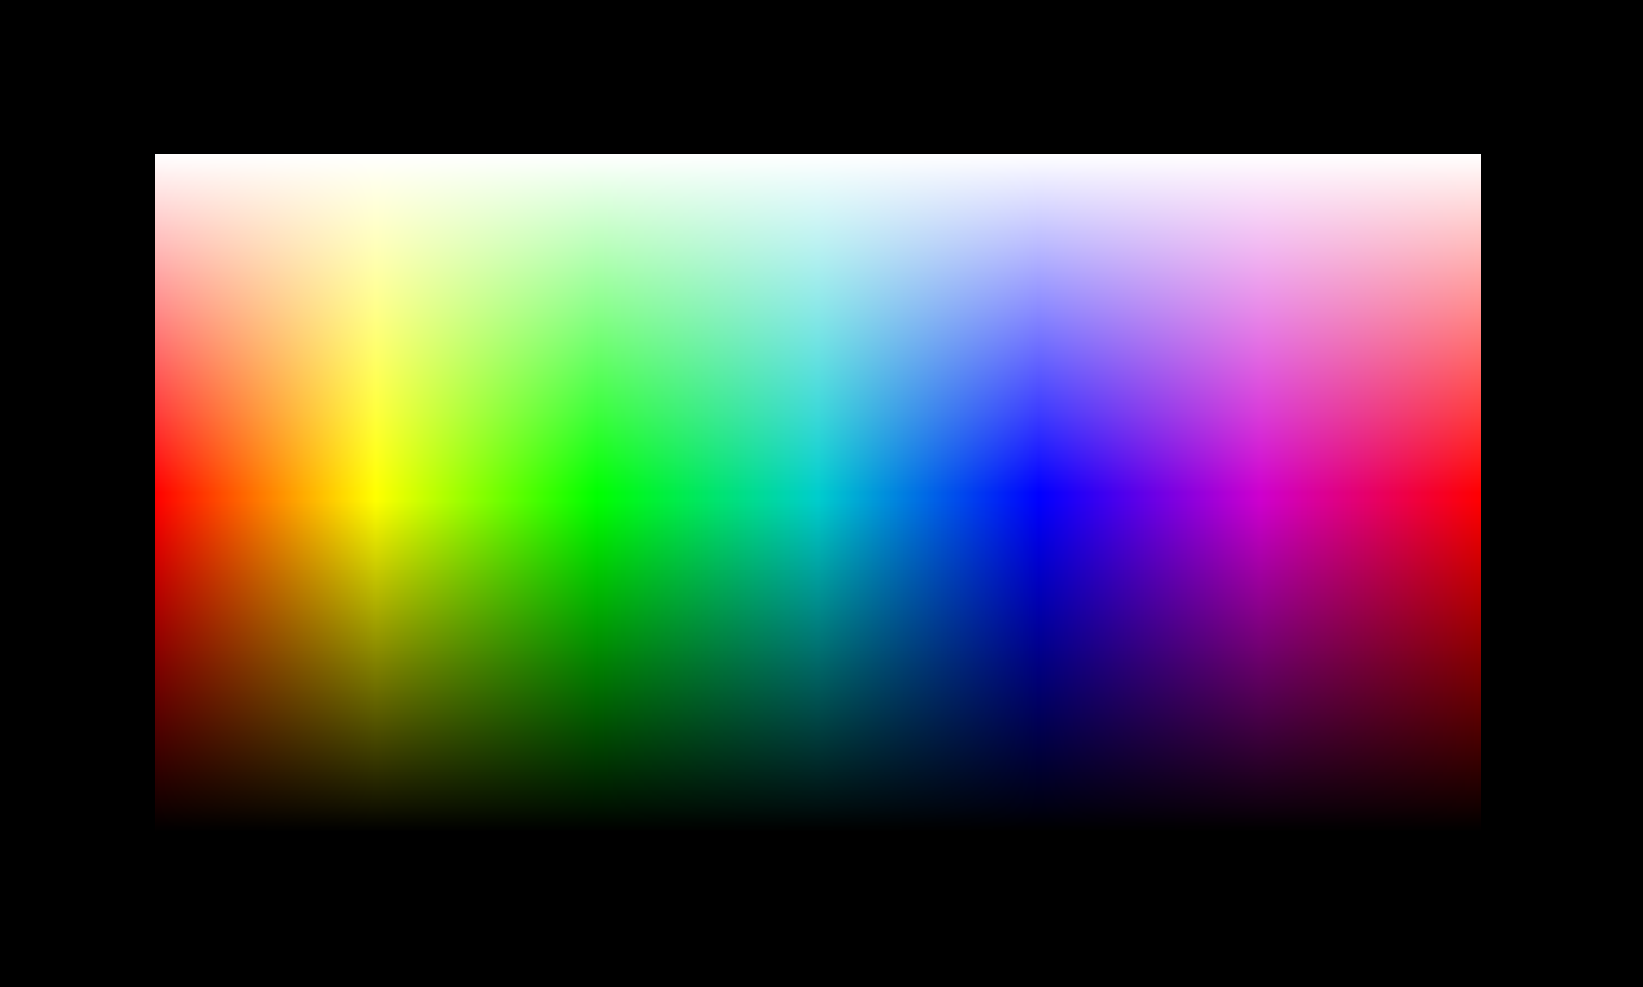
![]() That looks spectrum enough for my science. Below is RGBY to compare:
That looks spectrum enough for my science. Below is RGBY to compare:![]() I can see improved oranges and limes. Not sure if it's enough of an improvement to keep yellow stocked and increase the already long print times (I assume) by about 20% on average (fully opaque prints where support material is only used as an interface layer).
I can see improved oranges and limes. Not sure if it's enough of an improvement to keep yellow stocked and increase the already long print times (I assume) by about 20% on average (fully opaque prints where support material is only used as an interface layer). - https://www.shadertoy.com/view/tdjGDt
-
[T] Demo print idea
07/06/2022 at 21:36 • 0 commentsI'm probably getting ahead of myself and I haven't even modelled it, but I wanted to mention it so that I can get it off my mind. I'm thinking that a demo print can be a custom variation of a tub of "I Can't Believe It's Not Butter", but the name is "I Can't Believe It's Not Polyjet". I'm hoping to have the lid clip on to the tub, but it would be even better if a it was a print in place assembly.
It's something along the lines of the idea that people in the distant past wanted faster horses instead of cars. I think most hobbyists that dream of affording a Polyjet printer actually want a printer that produces those highly detailed and coloured prints and have less importance on the method. I don't think people were all that keen on 2D ink cartridge clogs due to those small nozzles and the VLM process seems closer to the toner 2D printer.
-
[T] Suspense Small
06/30/2022 at 16:12 • 0 commentsSince the Suspense concept is quite large (though smaller than the Mimaki 3DUJ-2207 with a more useful build volume), I'm also thinking of a smaller variant that has less features and overall footprint to more likely fit in a home. I'd expect:
- 143x179x200mm build volume.
- 2 or 3 cartridges, and they're all installed on 1 roller side only.
- 360x450x400mm footprint.
-
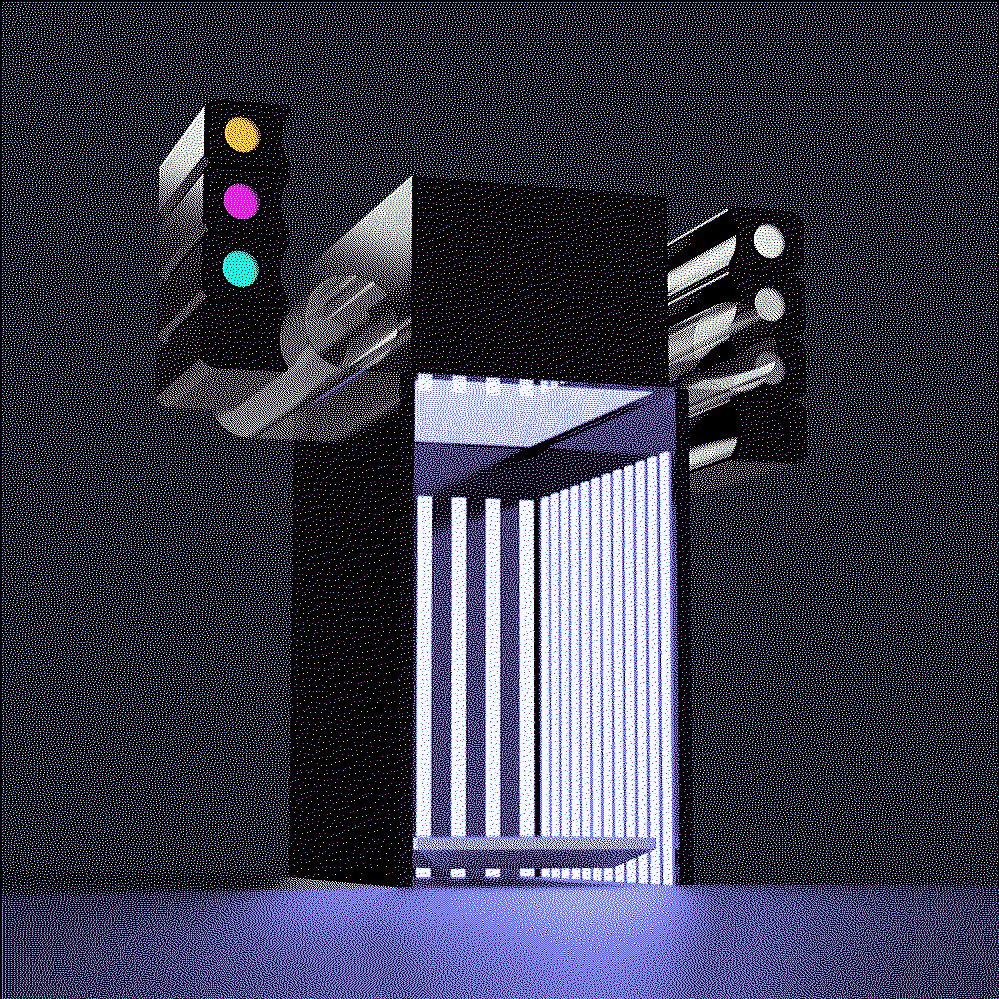
[M] Glass shelf on concept
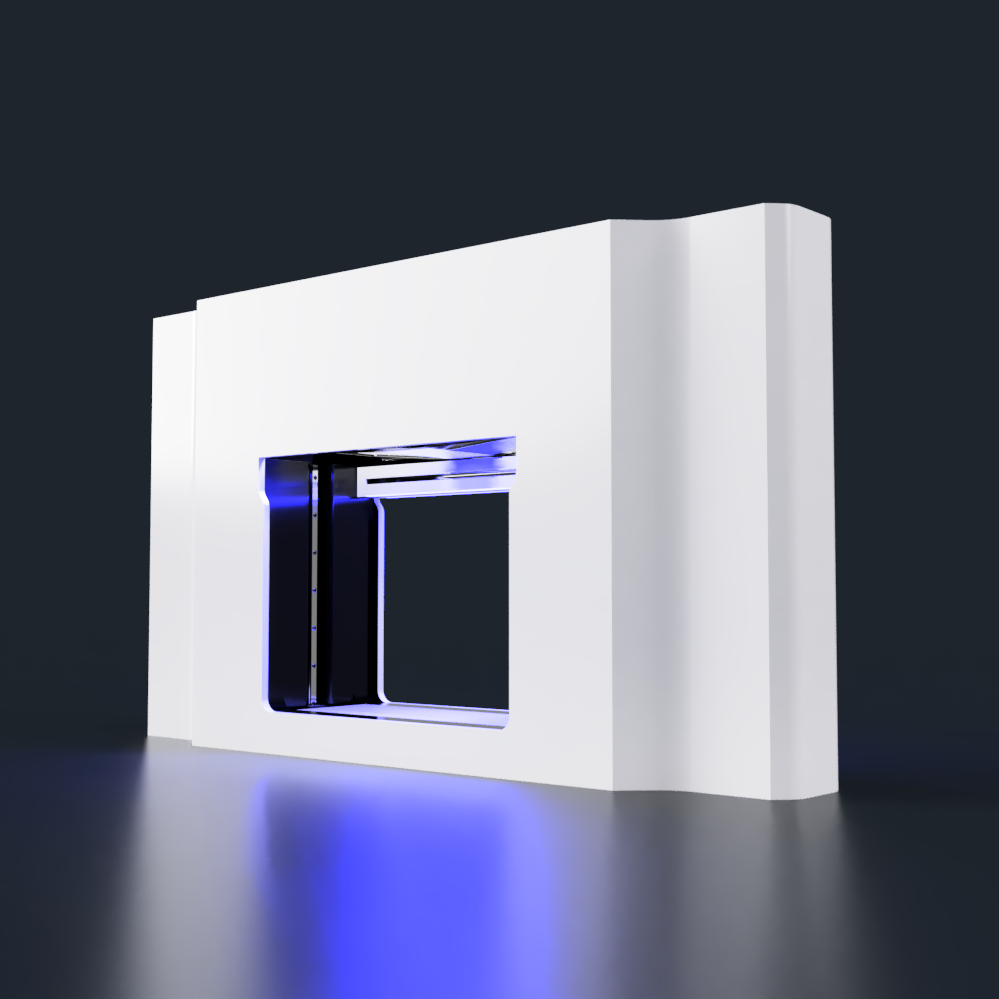
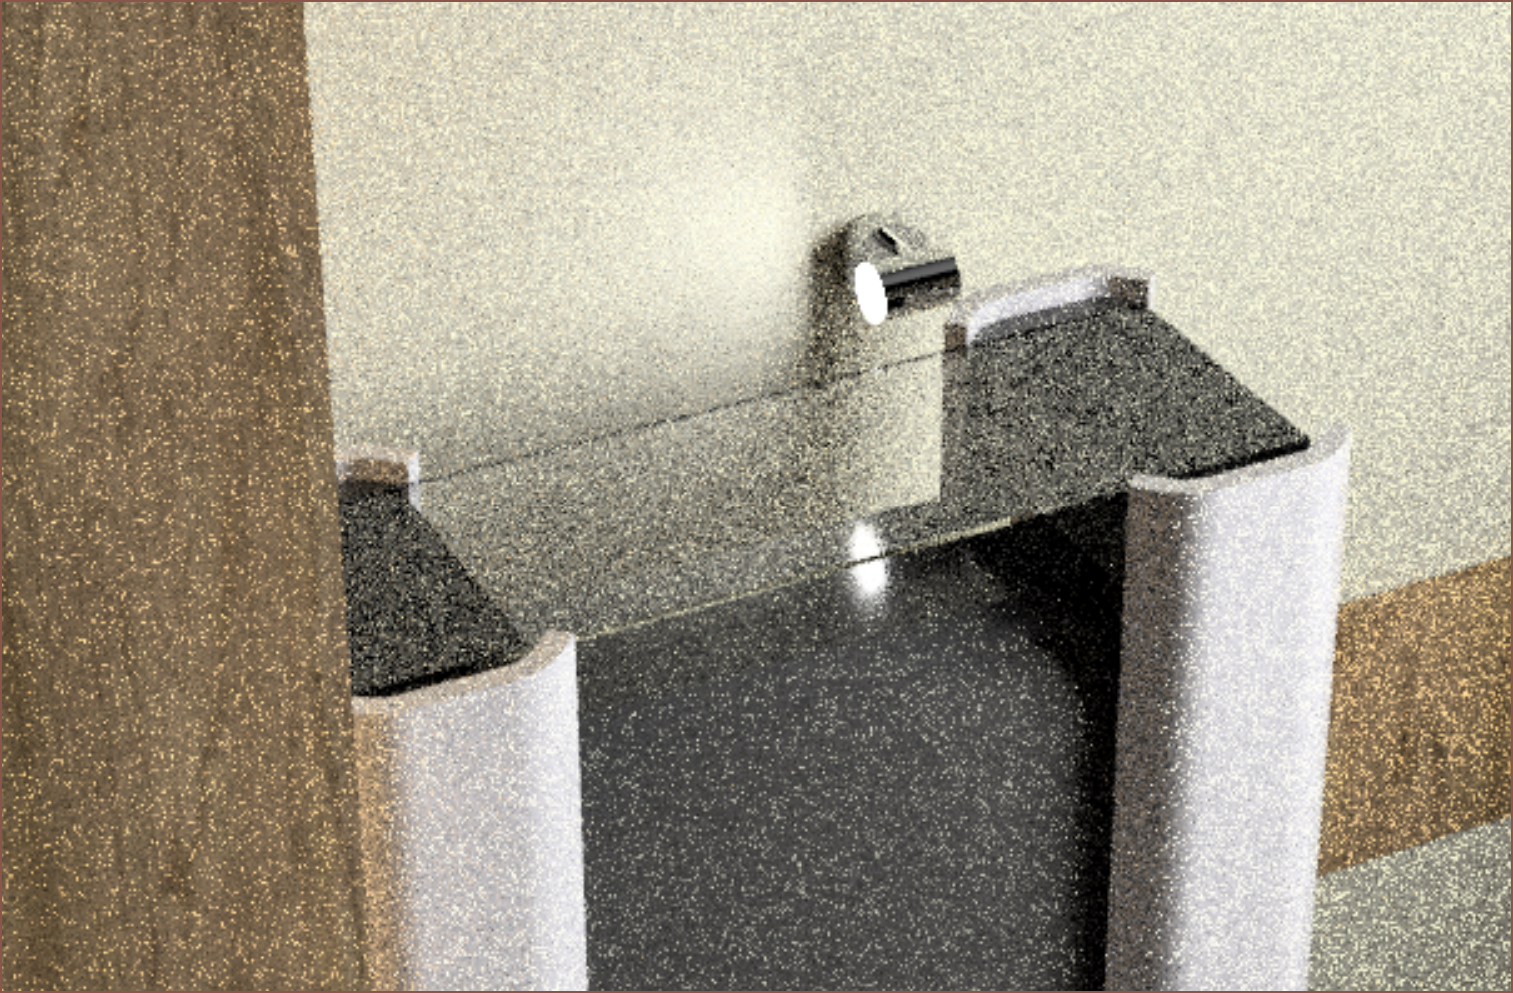
06/28/2022 at 14:44 • 0 comments![]() Since this printer is so large, I thought it would be a good idea to have a shelf on the top of it.
Since this printer is so large, I thought it would be a good idea to have a shelf on the top of it.
Liquid Laminate Lithography 3D Printer [gd0105]
The best of resin with the best of filament; is such a 3D printer possible?
 kelvinA
 I'm probably going to either move the HGR Z axis rail or switch to 2 MGN rails so that the ballscrew has somewhere to go. The roller is connected to 2 Nema17's on each side which are 20mm in lengtth. I still have to figure out where to put the roller linear rails. I've also got concerns as to how much resin the cartridges will be able to hold, and might have to go back to the 4-screen (356mm) build volume. Pricewise, it doesn't make an impactful difference, but I'm still constrained in footprint space.
 I'm expecting the LCD + UV assembly to be 200mm in height. I've also added 2 white LEDs in the ceiling for lighting when printing is finished.
  I'm gonna be honest with you. I feel like I'm playing 5D chess over here now.

 I found
 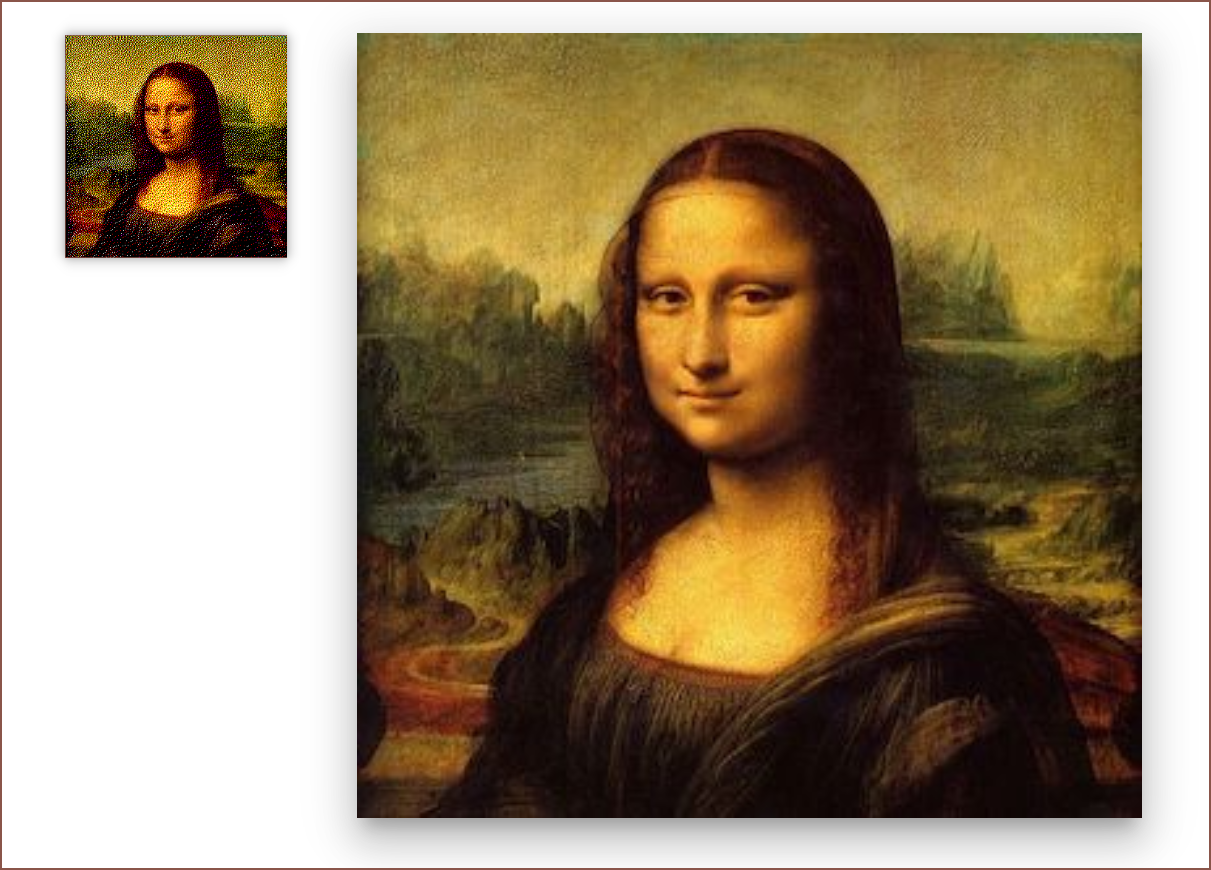 Will the resin actually fill a 35x35 micrometer void if needed? I have no idea, but I'm going to assume yes until proven otherwise.
 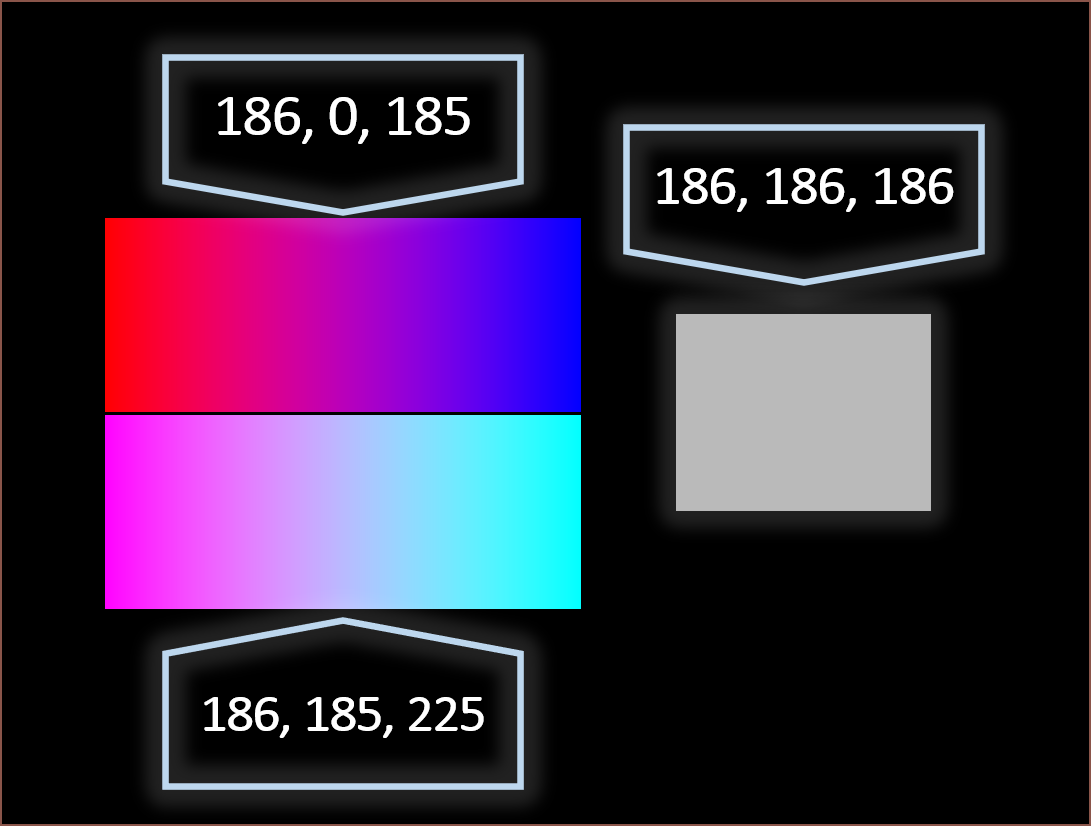 Looking at this, it becomes apparent that CMYK or RGB alone isn't going to obtain the desired outcome. RGB is probably closer, obtaining a dim magenta, but dithered magenta and cyan doesn't make blue. I'd assume that the absolute lowest for full colour would therefore be RGBKW, though the colour depth would probably be lacking.
 Primary colours aside, the colour palette has a noticable improvement from RGB -> RGBY and a negligible one.


 The top blocks are all values maxed to 206. The blocks under it are 255. For the continuous spectrums, the top is 206 max, the middle is 206 for CMY and 255 for RGB and the bottom is 255 max.
  That looks spectrum enough for my science. Below is RGBY to compare:
 I can see improved oranges and limes. Not sure if it's enough of an improvement to keep yellow stocked and increase the already long print times (I assume) by about 20% on average (fully opaque prints where support material is only used as an interface layer).
 Since this printer is so large, I thought it would be a good idea to have a shelf on the top of it.