 Nik Reitmann
______________________________________________________________________
## PINOUTS
Raspberry:
NXT = 5
PRV = 6
Back = 13
IR_D-OUT = 12
Relais = 4
Relais = 5V
IR Emitter = 3.3V
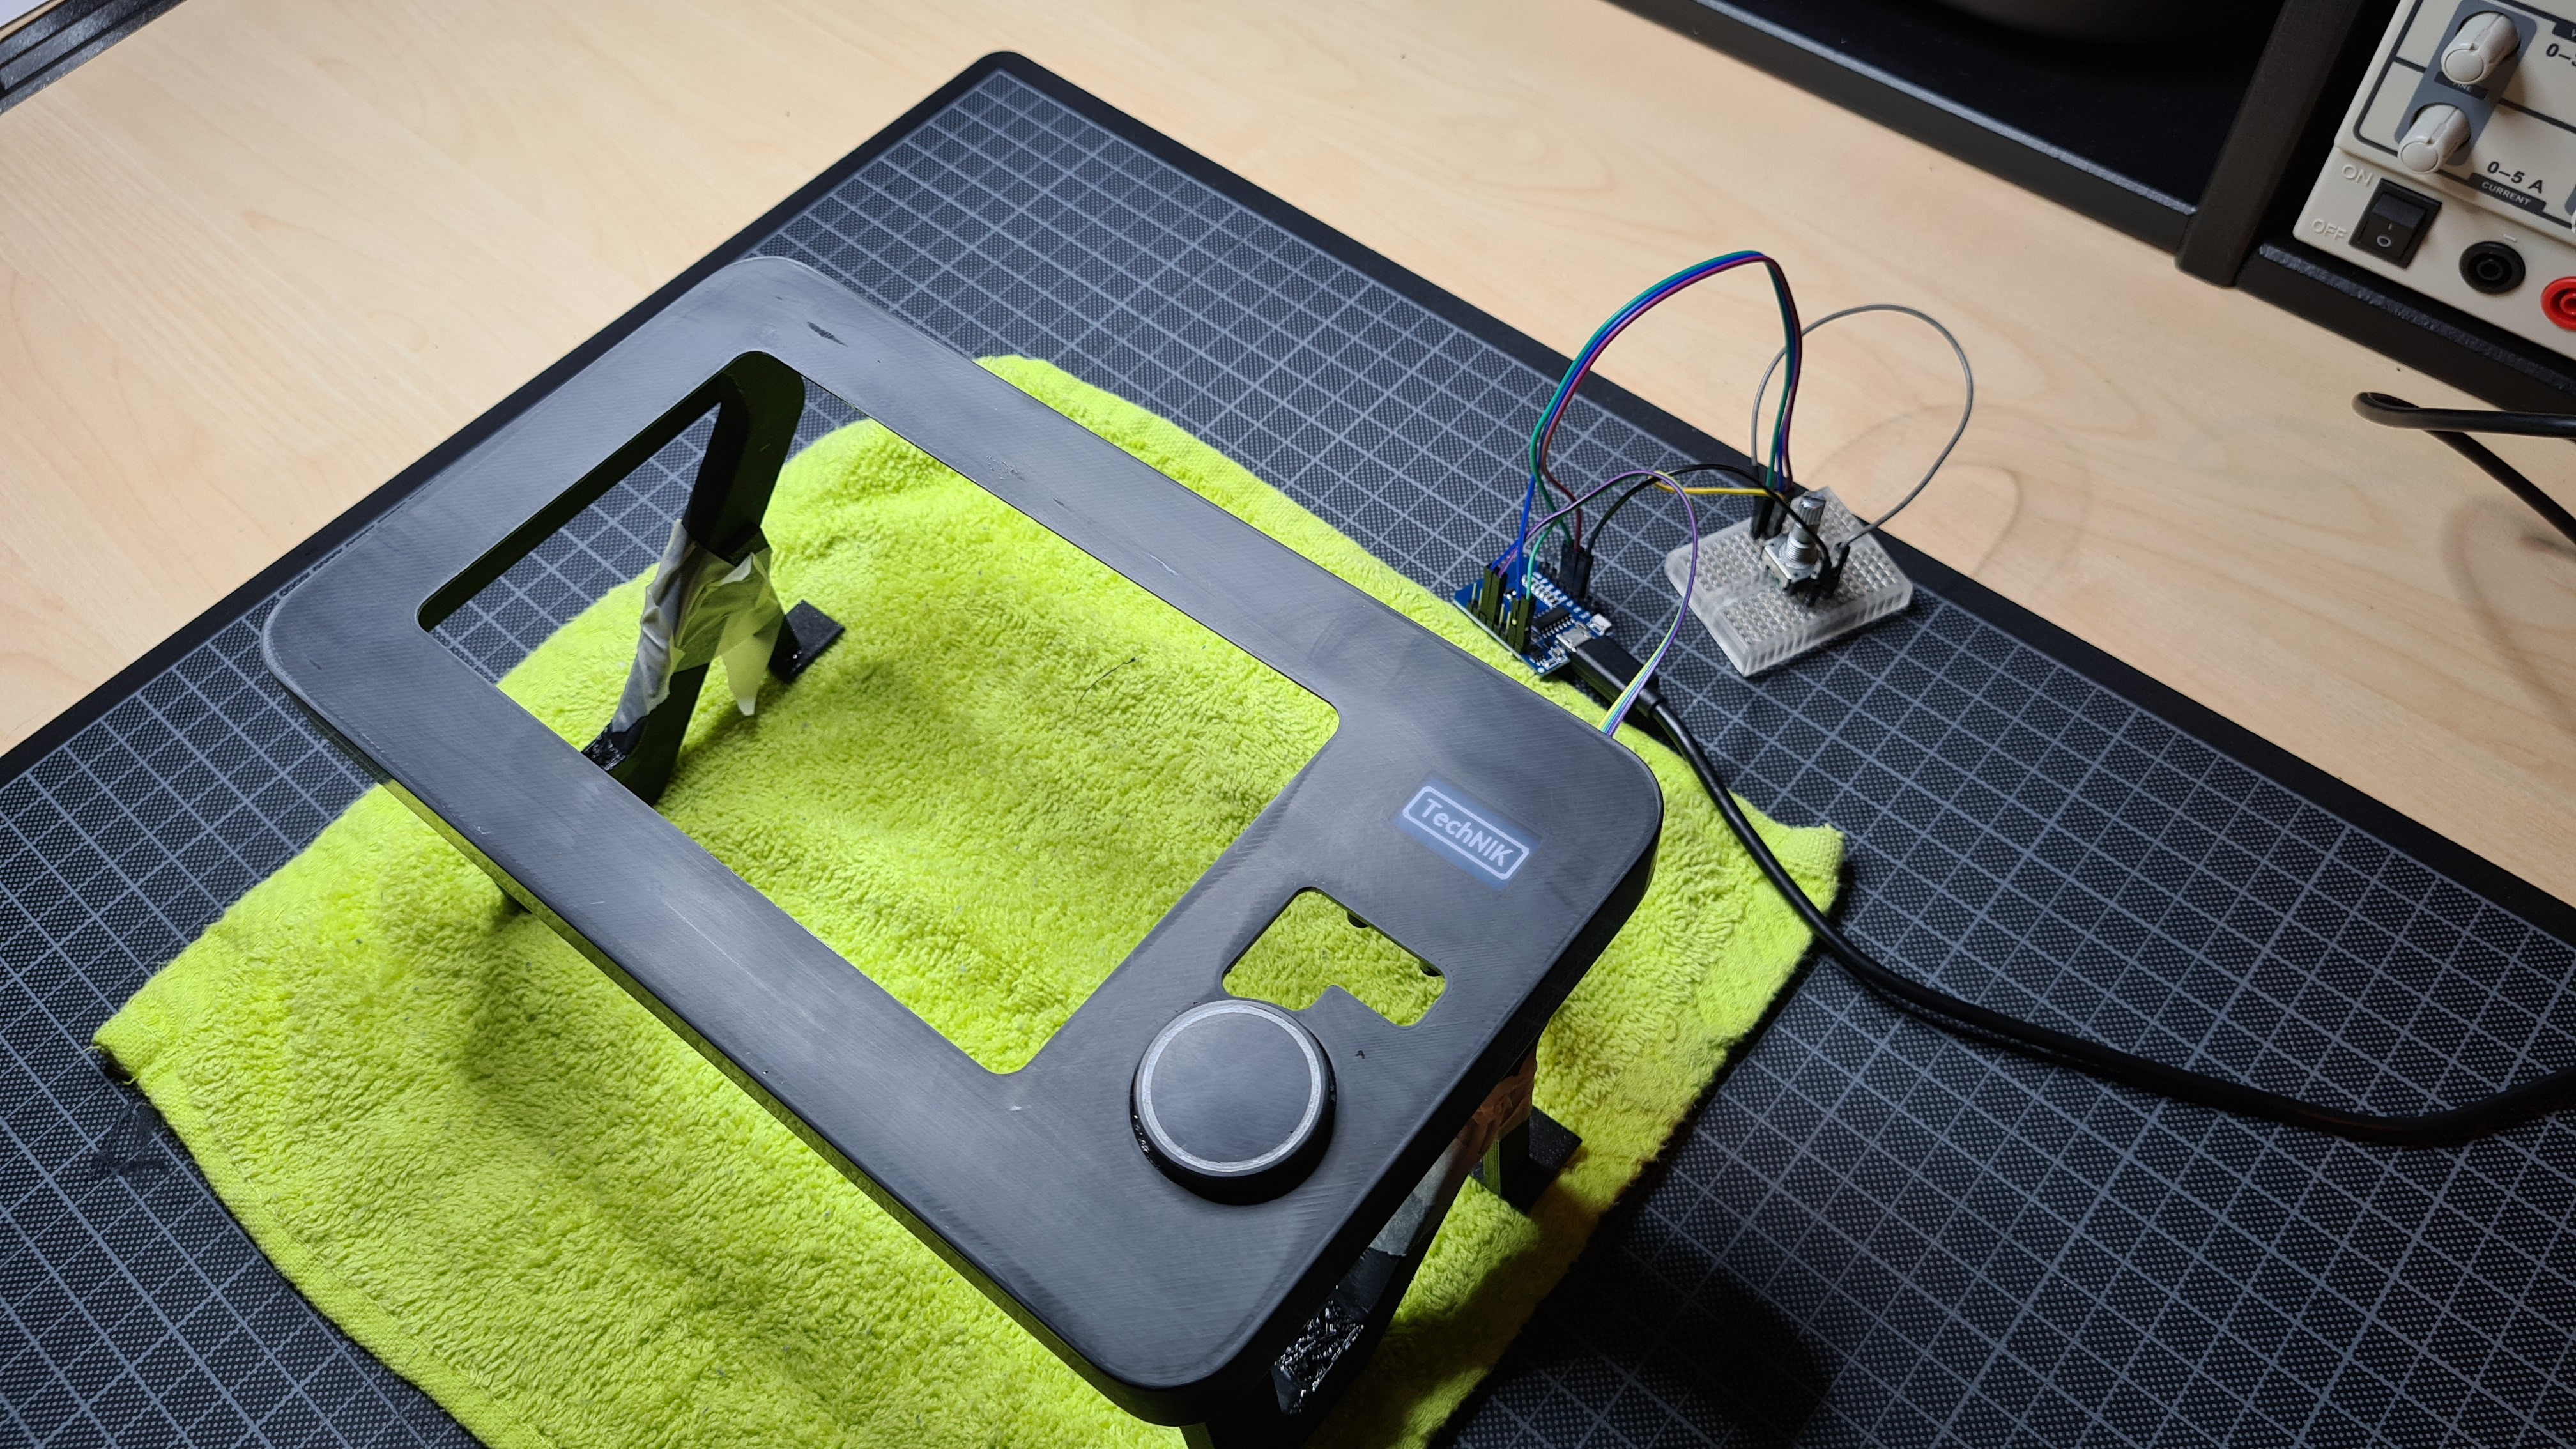
Arduino (Wemos D1 Mini)
# display
SCL = D1
SDA = D2
# rotary
Left = D3
Right = D4
button = D8
______________________________________________________________________
## HOW TO
# DISPLAY
Step 1 - While the SD card is still in the laptop/pc:
- in config.txt: comment out gpu_mem=16 and lcd_rotate=2 in config.txt
- add to config.txt:
#---Begin-Custom-(Do not alter Begin or End Tags)-----
gpu_mem=128
disable_splash=1
avoid_warnings=2
hdmi_force_hotplug=1 config_hdmi_boost=10
hdmi_group=2 hdmi_mode=87 hdmi_cvt 1024 600 60 6 0 0 0
#---End-Custom------------------------
Step 2 - Boot Raspberry Pi
- Put the SD card in your RPi and boot.
- Find the IP address of the RPi, and enter this in a browser—see Determine your piCorePlayer IP address.
- Once the RPi has booted up, this should bring up the pCP web interface.
On [Main Page] scroll down to “Additional functions” and click on “Extensions”. Wait for green ticks, then click on the [Available] tab. In the ‘Available extensions in the piCorePlayer repository’ section. - Load nano.tcz extension
- Load the pcp-sbpd.tcz extension
- Load the pigpio.tcz extension
- Install Jivelite from the [Tweaks page] (this step includes an automatic backup, so accept the reboot prompt.)
______________________________________________________________________
## DISPAY POWER TOGGLE
### startup script
- sudo nano /mnt/mmcblk0p2/tce/start_display.sh
#!/bin/sh
sudo pcp-gpio mode 4 out
- sudo chmod +x /mnt/mmcblk0p2/tce/start_display.sh
- add script to user commands via webUI in tweaks section
### control script - sudo nano /var/www/cgi-bin/display_on.cgi
#!/bin/sh
sudo pcp-gpio write 4 0
- sudo nano /var/www/cgi-bin/display_off.cgi
#!/bin/sh
sudo pcp-gpio write 4 1
- sudo chmod +x /var/www/cgi-bin/display_on.cgi
- sudo chmod +x /var/www/cgi-bin/display_off.cgi
- sudo nano /opt/.filetool.lst
- add at the end of the file: var/www/cgi-bin/display_on.cgi
var/www/cgi-bin/display_off.cgi
- pcp bu
- sudo reboot
## CONTROL
# now the display can controlled via REST:
http://192.168.1.35/cgi-bin/display_off.cgi
http://192.168.1.35/cgi-bin/display_on.cgi
______________________________________________________________________
#### calibrate touchscreen:
- Go to Web-Gui of piCorePlayer, section [Tweaks] and set “Jivelite Autostart” to “no”.
- Reboot your RPi.
## get correct input device
cat /proc/bus/input/devices
## calibrate
sudo TSLIB_FBDEVICE=/dev/fb0 TSLIB_TSDEVICE=/dev/input/event1 /usr/local/bin/ts_calibrate
- Make your calibration persistent: $ pcp bu
- Go to the WebGui of piCorePlayer, section [Tweaks] and set “Jivelite Autostart” to “yes”.
- Reboot your RPi.
Step 6 - Adjust Jivelite to the resolution of the screen
- Connect a mouse or an IR-remote to the device to configure jivelite.
- Choose your language and in the next menu select GridSkin 1024x600.
- Save your changes in Jivelite...


 TM
TM
 Chris
Chris
 ensafatef
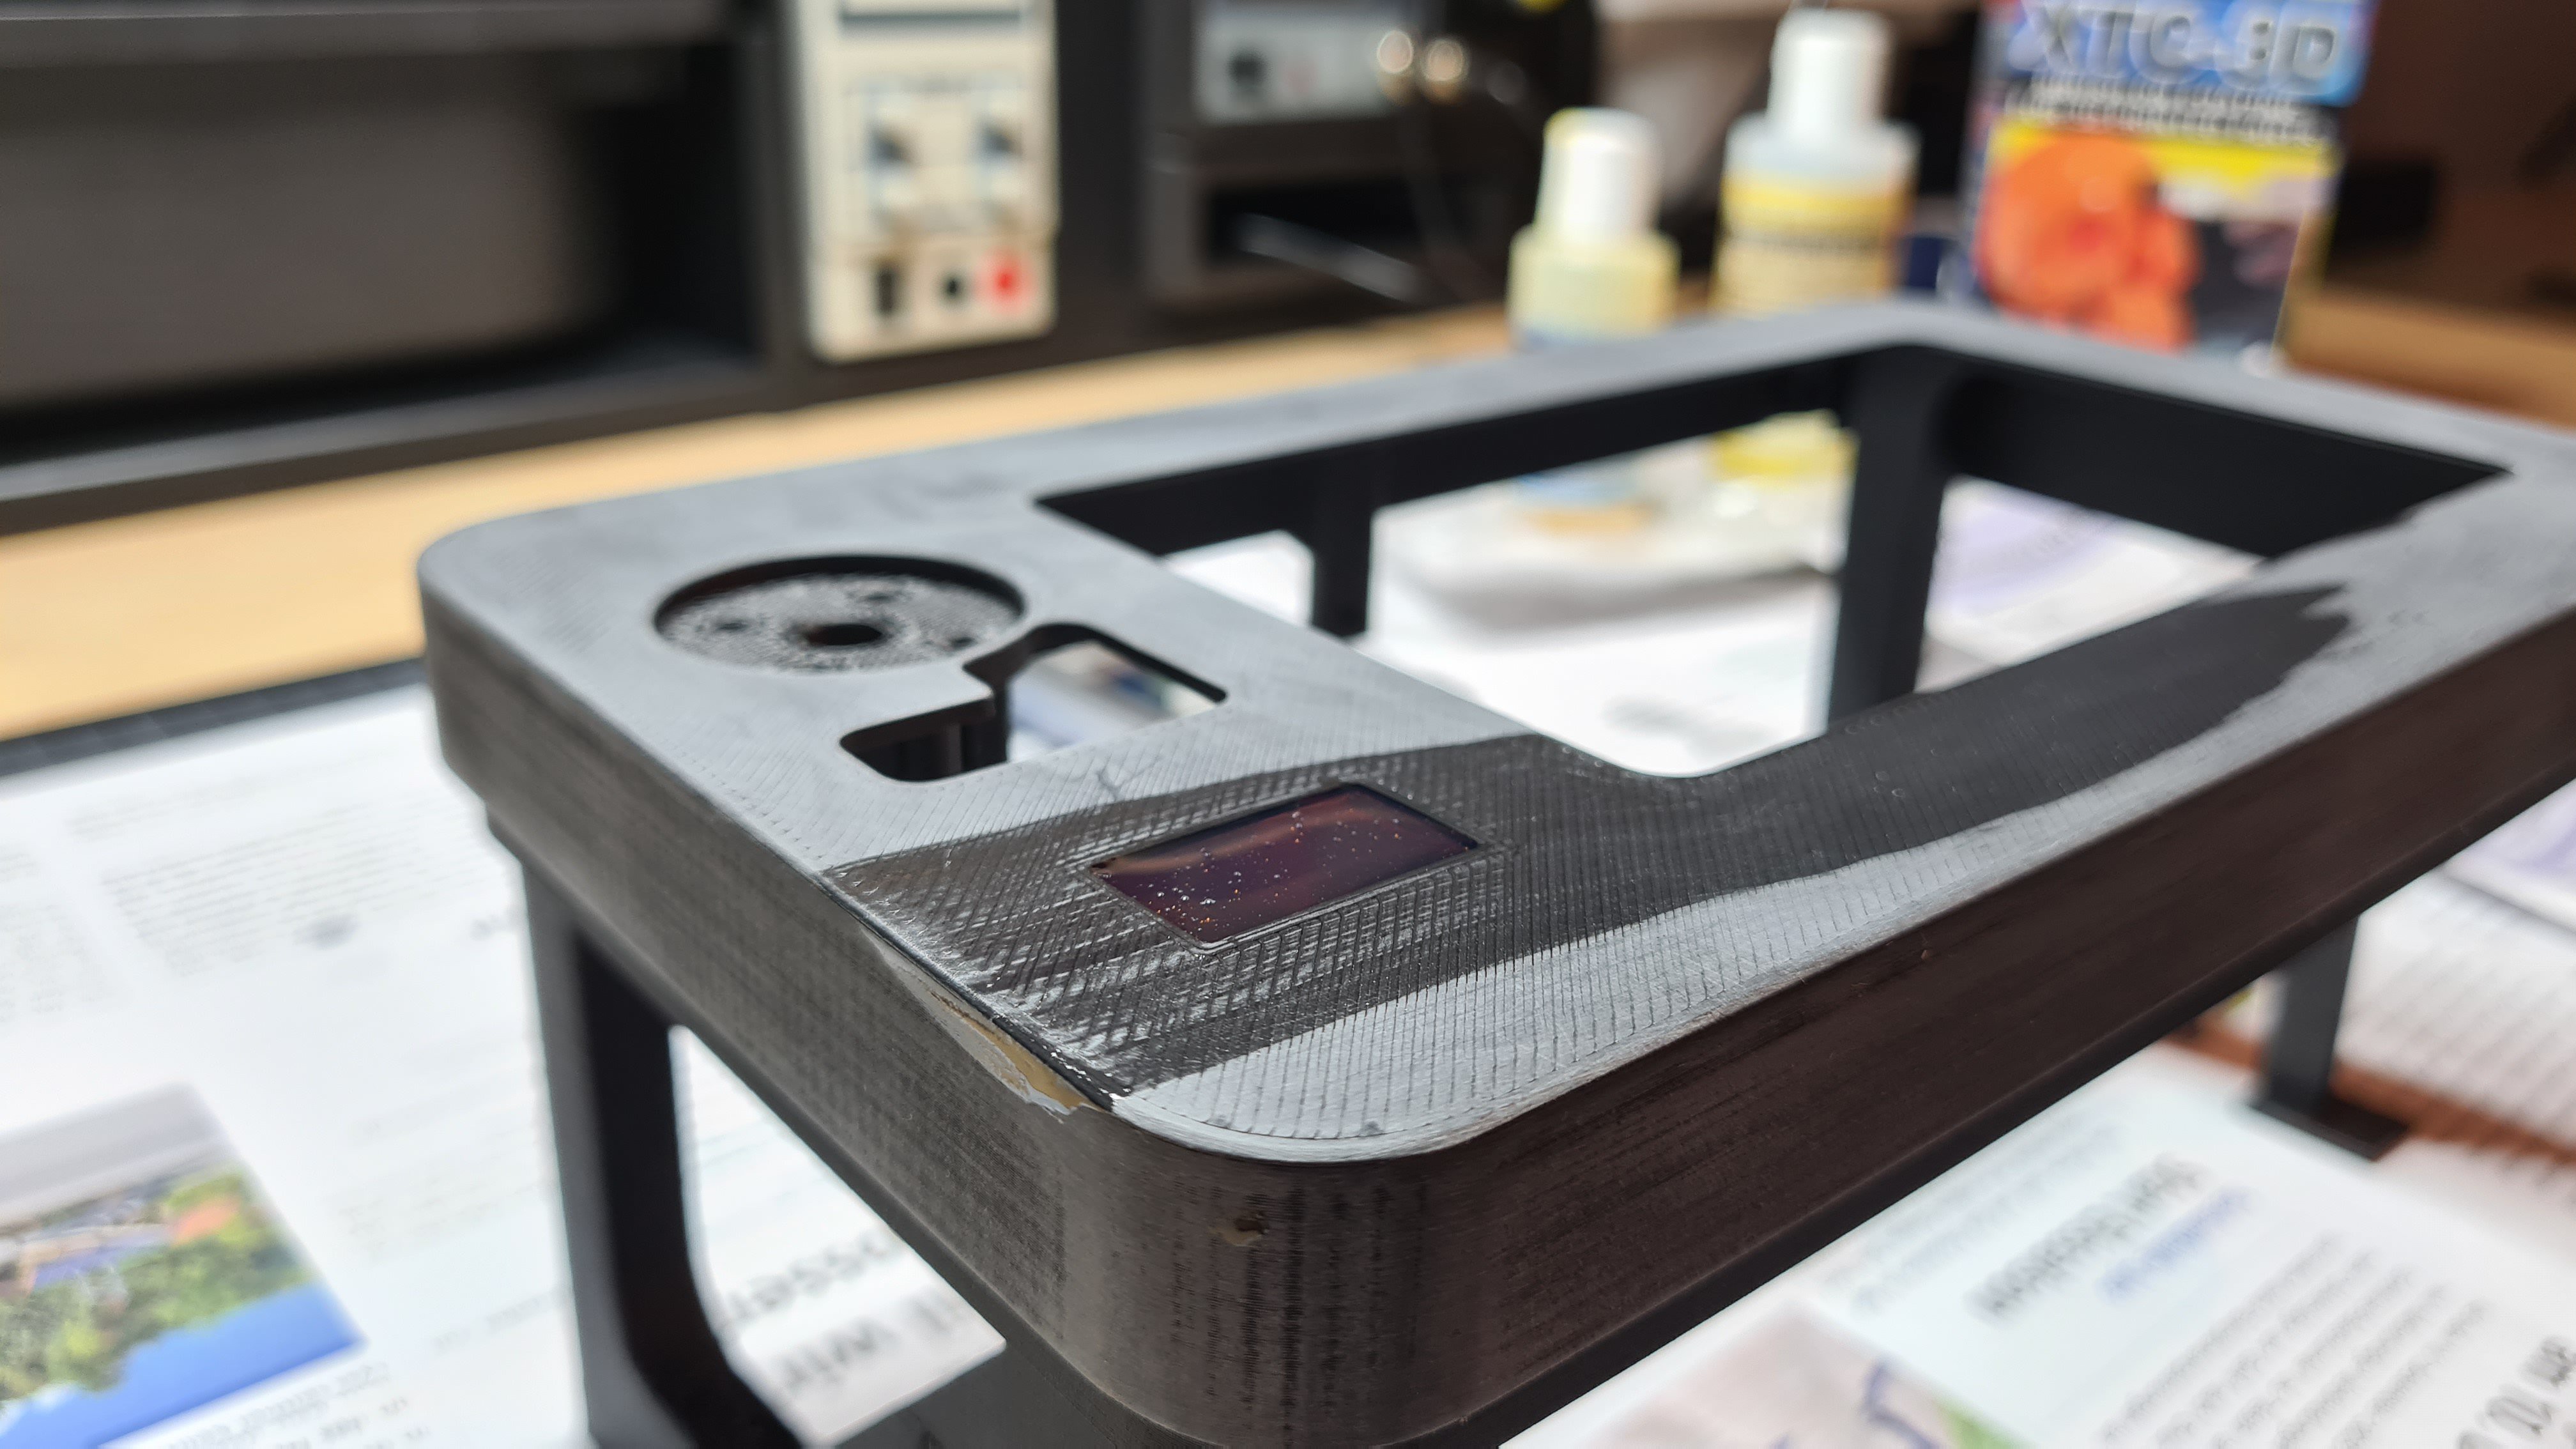
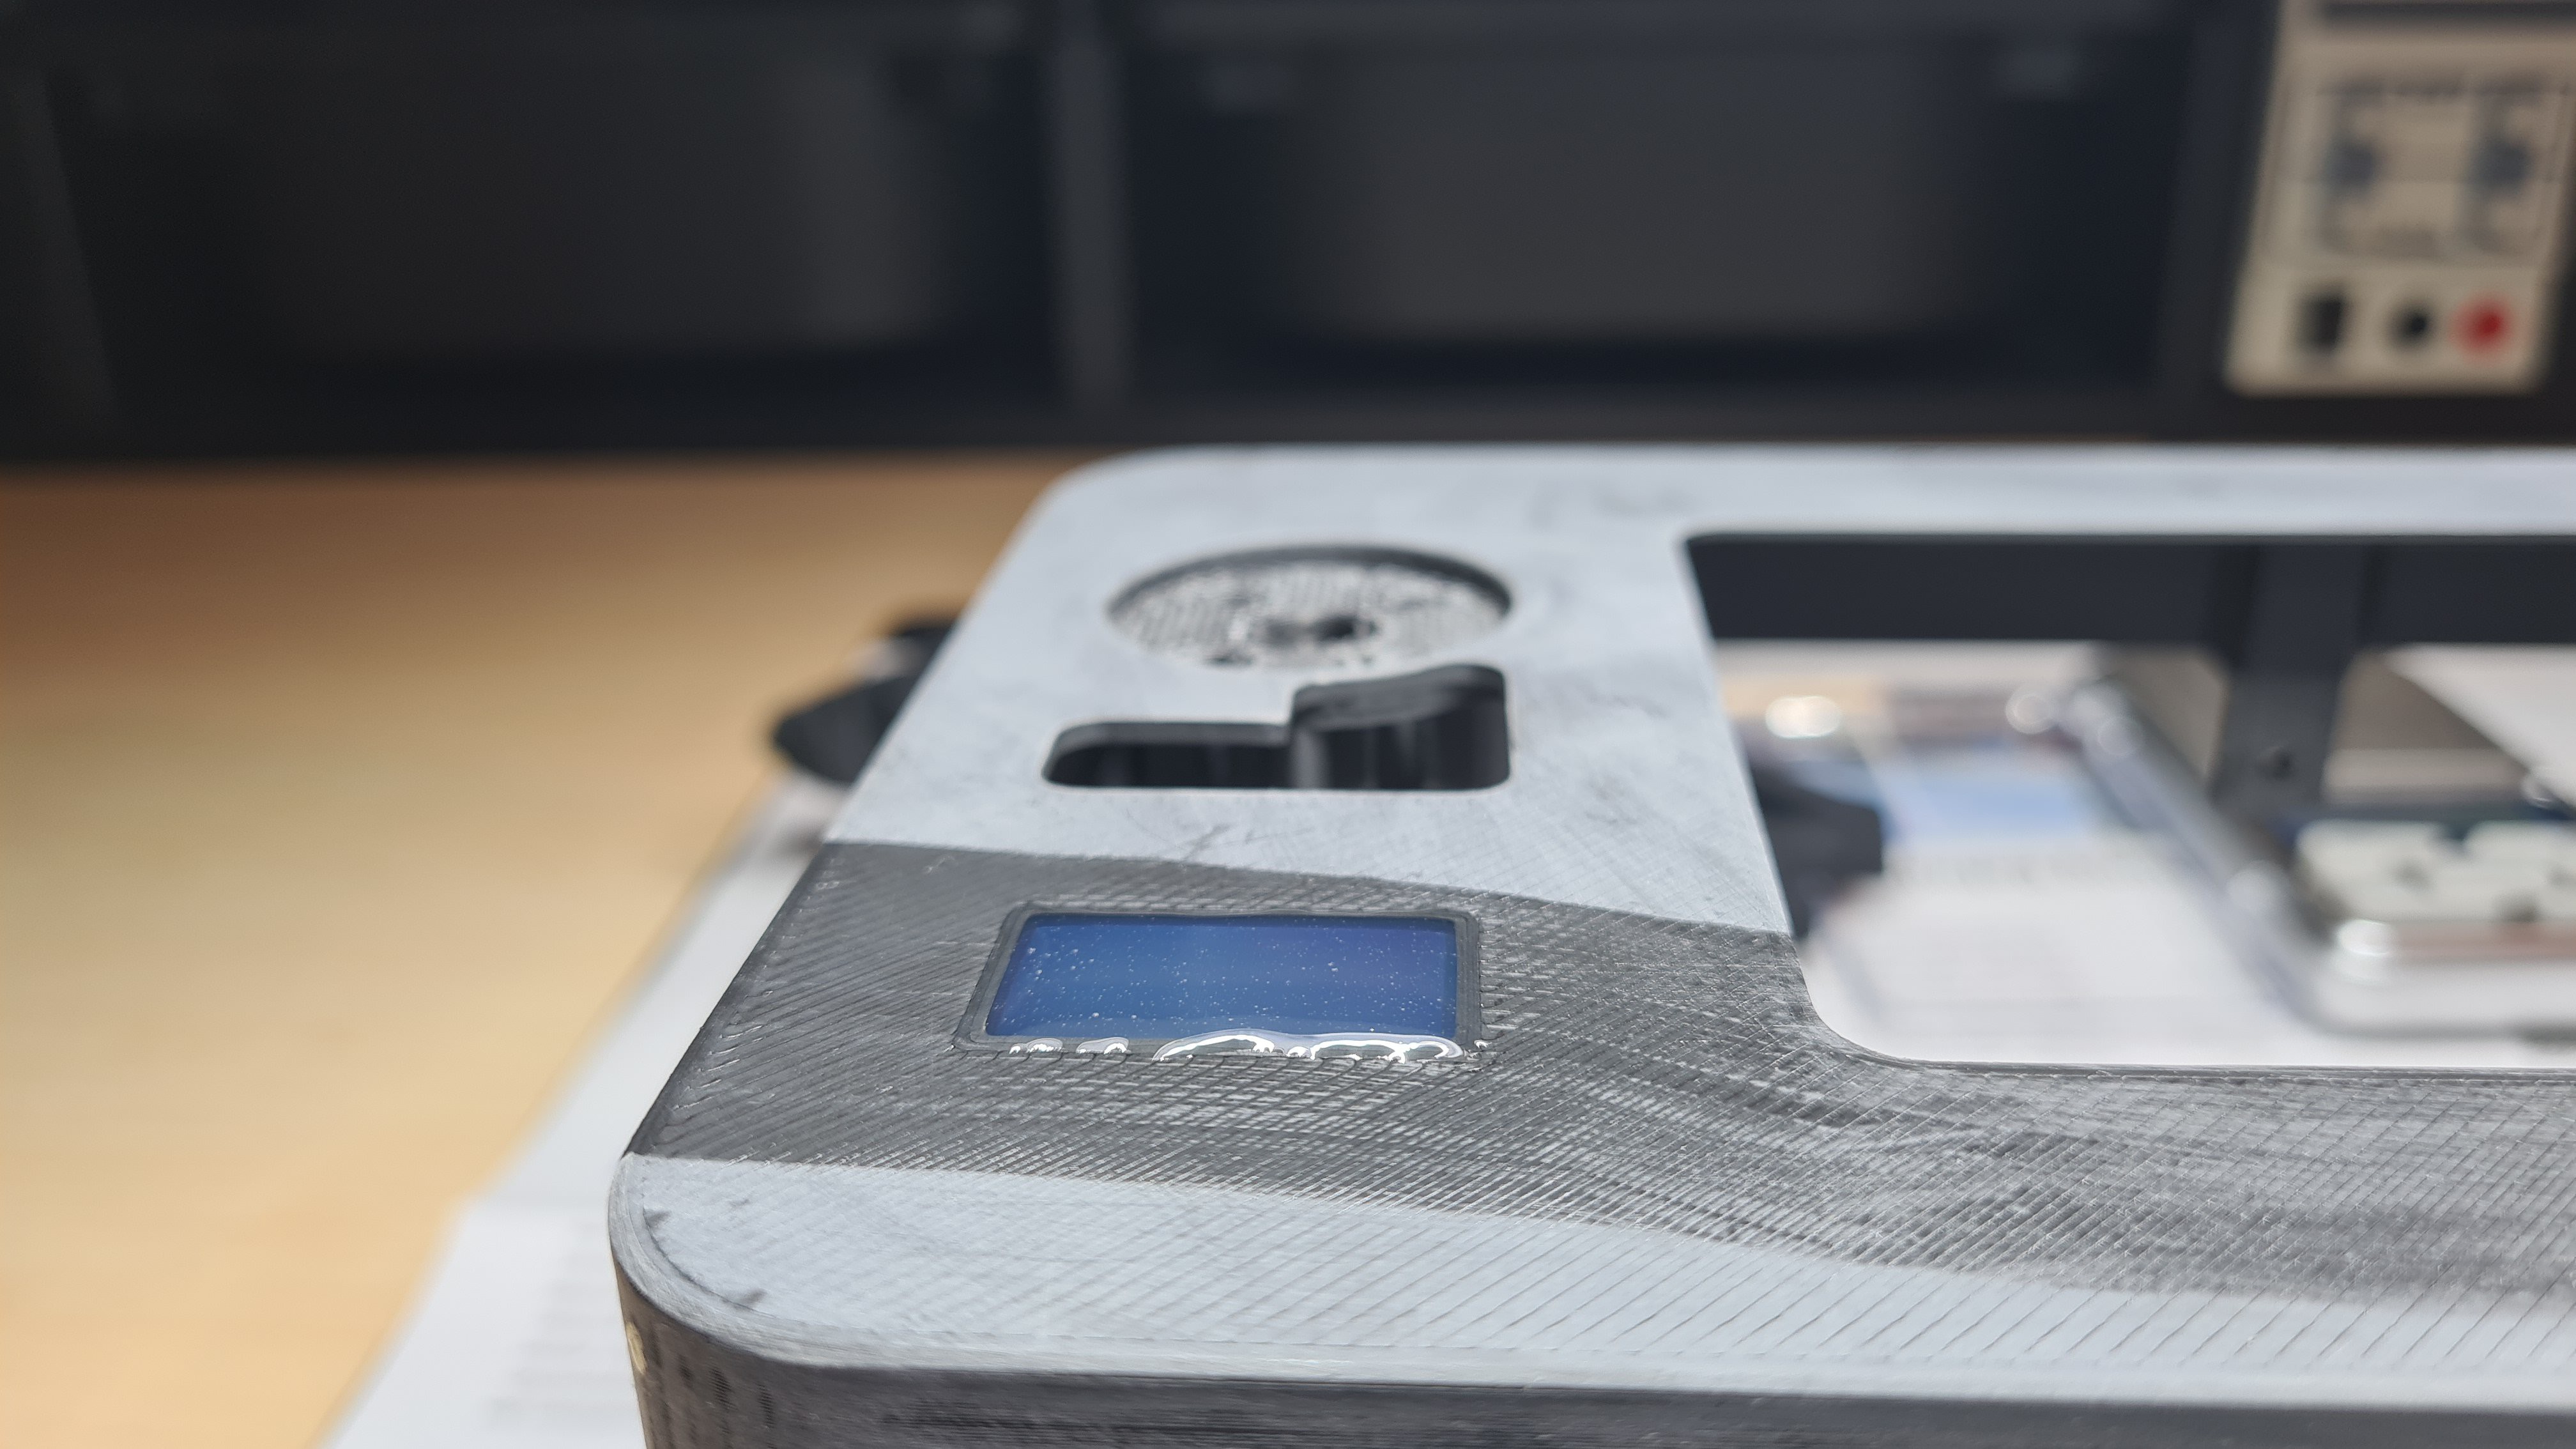
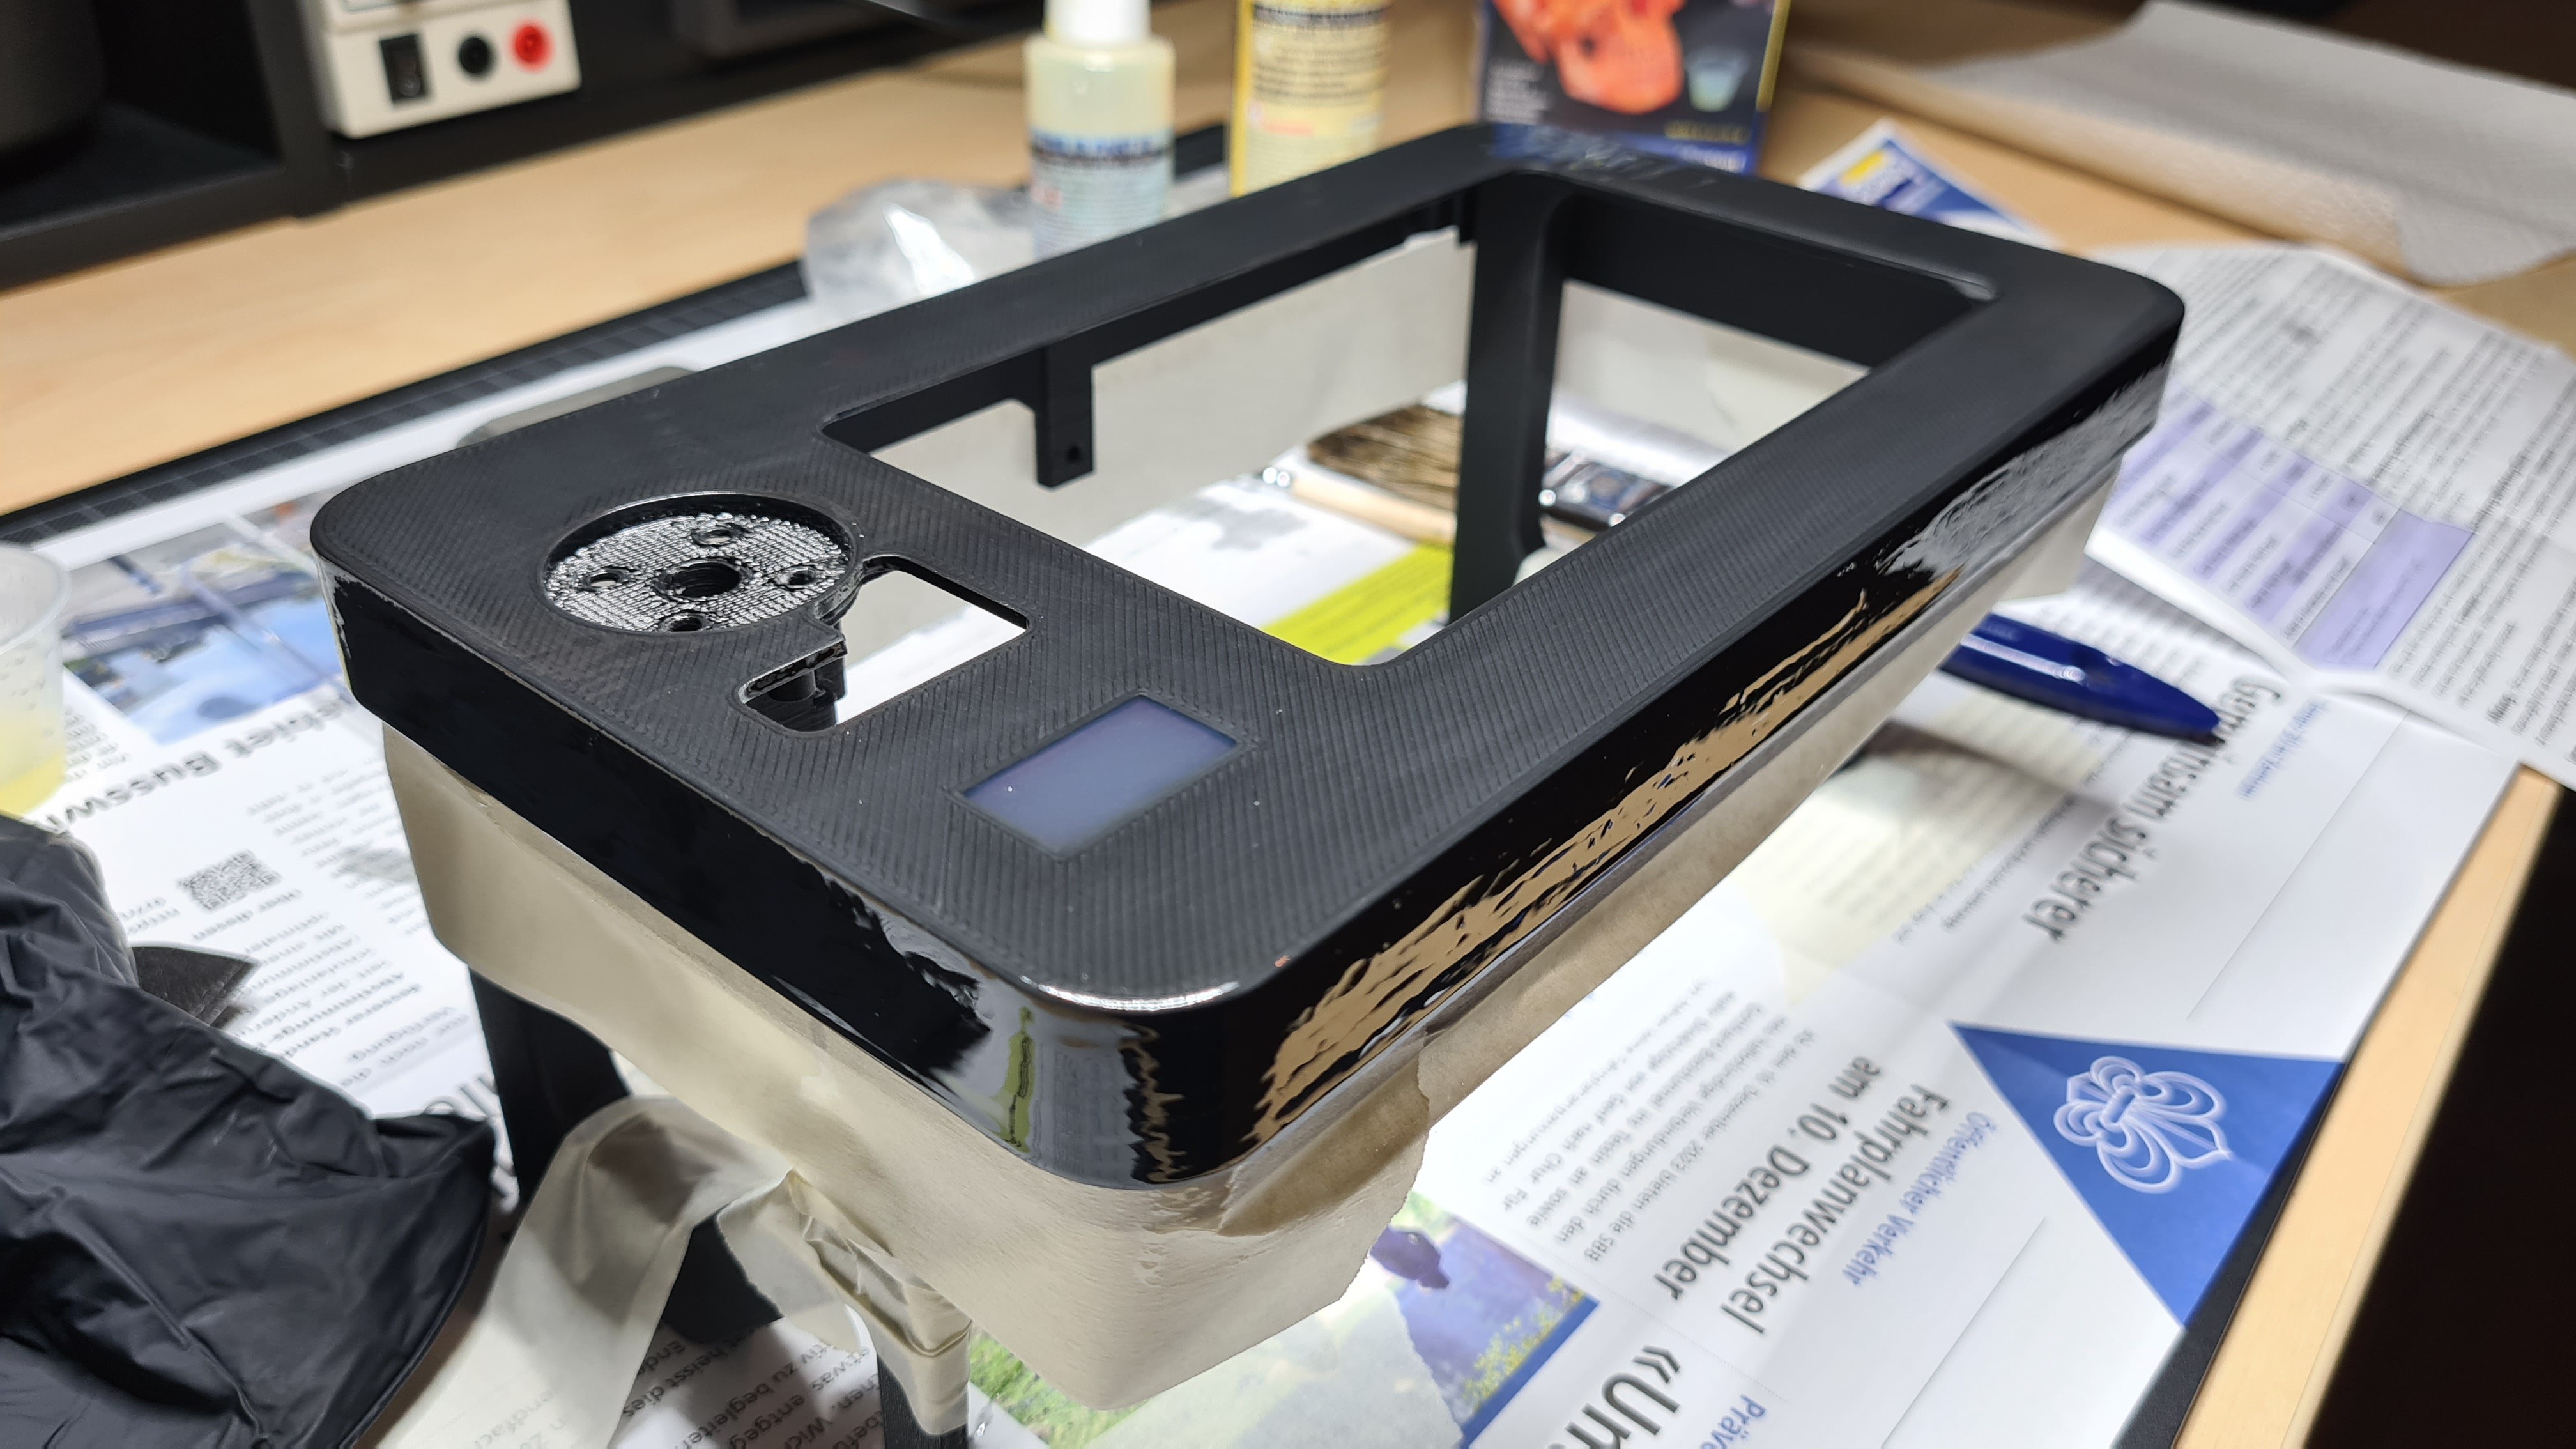
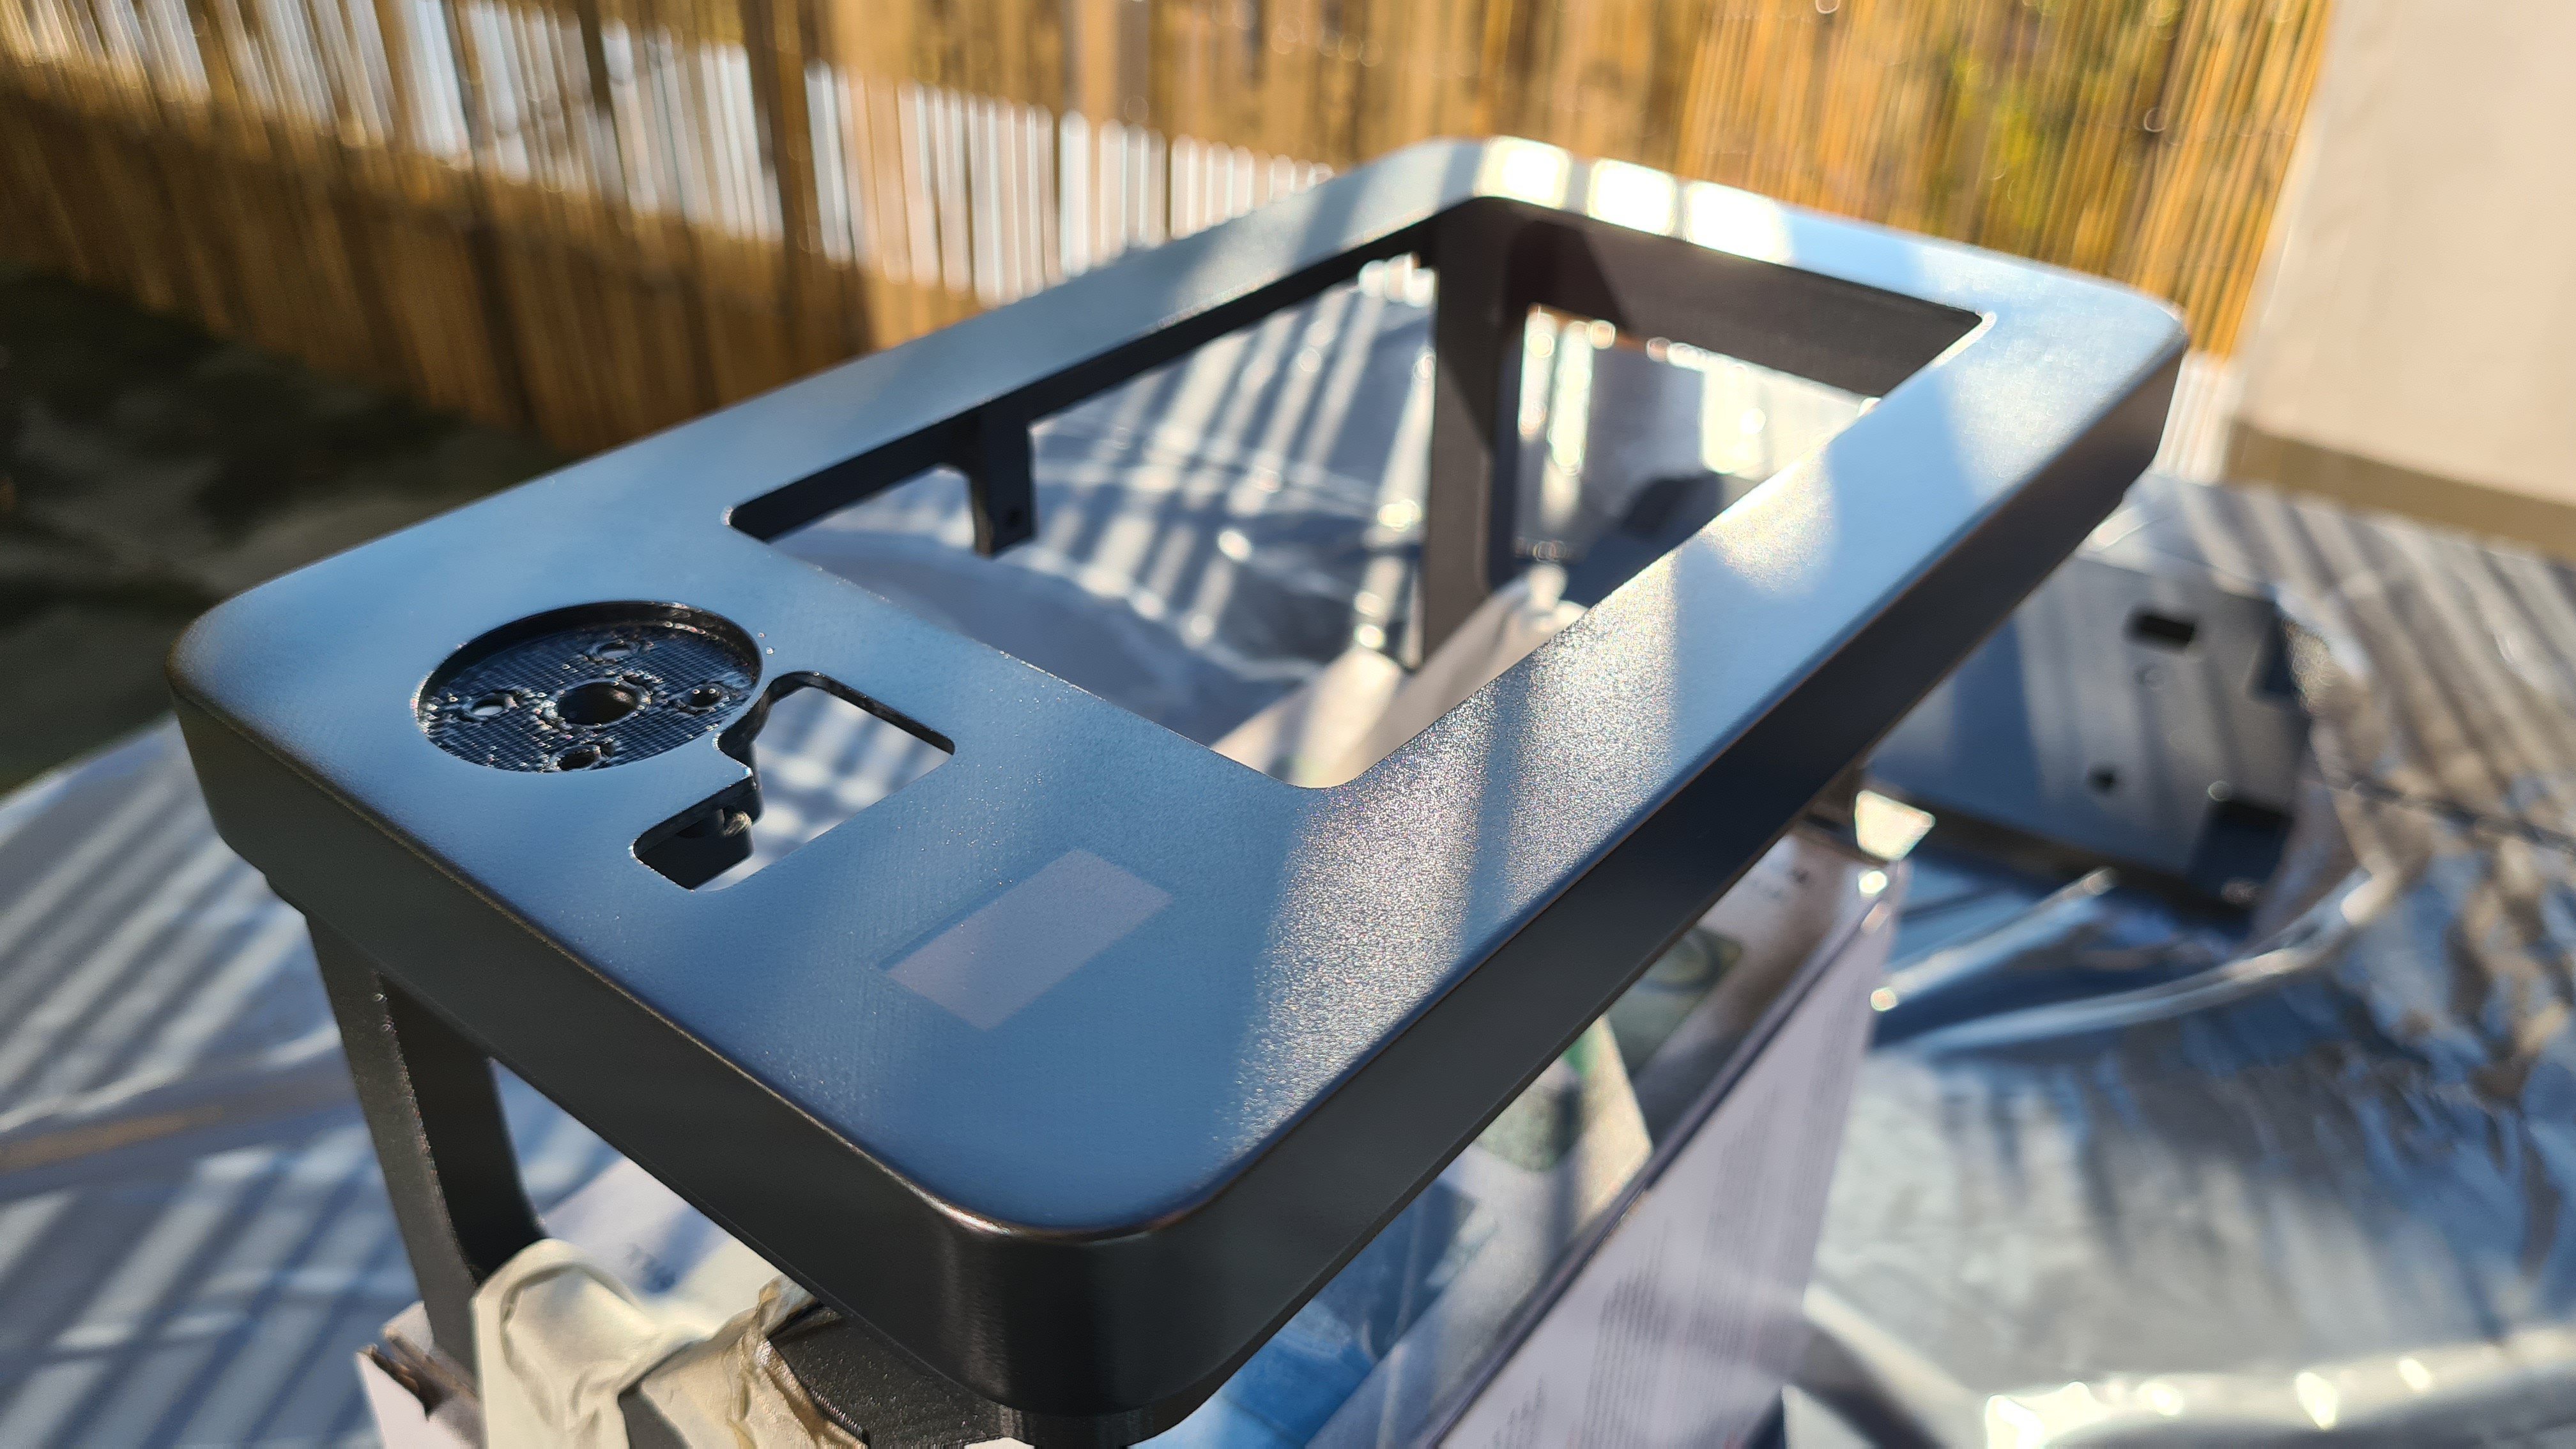
Hi! Do you have any description (youtube video o blog post) on your epoxy finishing for the 3D print? It looks great!