 ken.do
-
Wiring the steppers
08/31/2017 at 21:05 • 0 commentsI thought setting the current limit was confusing...
The X and Y axis use two stepper motors each. So the first thing I had to figure out was 'series or parallel'. The original assembly instructions said parallel was the way to go. Newer instruction says series. I went with series because, I learned, the current draw remains at the same level as if you were wiring one stepper.
Next, how do you reverse the direction of one of the steppers so they both travel the same direction? Can anyone tell me how reversing one of the coils in a stepper makes it go the opposite direction? I got really stuck on this. I felt like if the motor should be reversed, both coils should be reversed...
I was wrong. Here is the picture I was working from. Clear, right?
![]()
We will see if what I did matches this in the next log.
-
Setting the current limit for DRV8825 stepper drivers
08/24/2017 at 05:14 • 0 commentsI have been stuck on this one for a long time.
At first I didnt have a proper multimeter. Mine is on permanent loan to somebody somewhere... So I ordered one from China. 3 months and 2 weeks later, I get it. I go to set the current limits and...
Wow. So much, I learned.
On the Vicious1 site, there is a handy video from Pololu, most of which I didn't understand. There is also some words, some of which I kind of understood.
The procedure seems straight forward - ground here, tune pot there, bingo! Some issues I ran into:
Do I power the driver on the ramps board to set the current limit? Do I buy a pololu board and try that? Do I need the motor connected? And does the current limit need to be different than mentioned on the video because I am running two motors from one driver?
Solution: I ended up throwing the driver on an empty breadboard and wiring (with a little guesswork) from a still of the Pololu video, no ramps board, no motor, just power. I will get a Fritzing up here ASAP. I needed 5.5v and 12v.
-
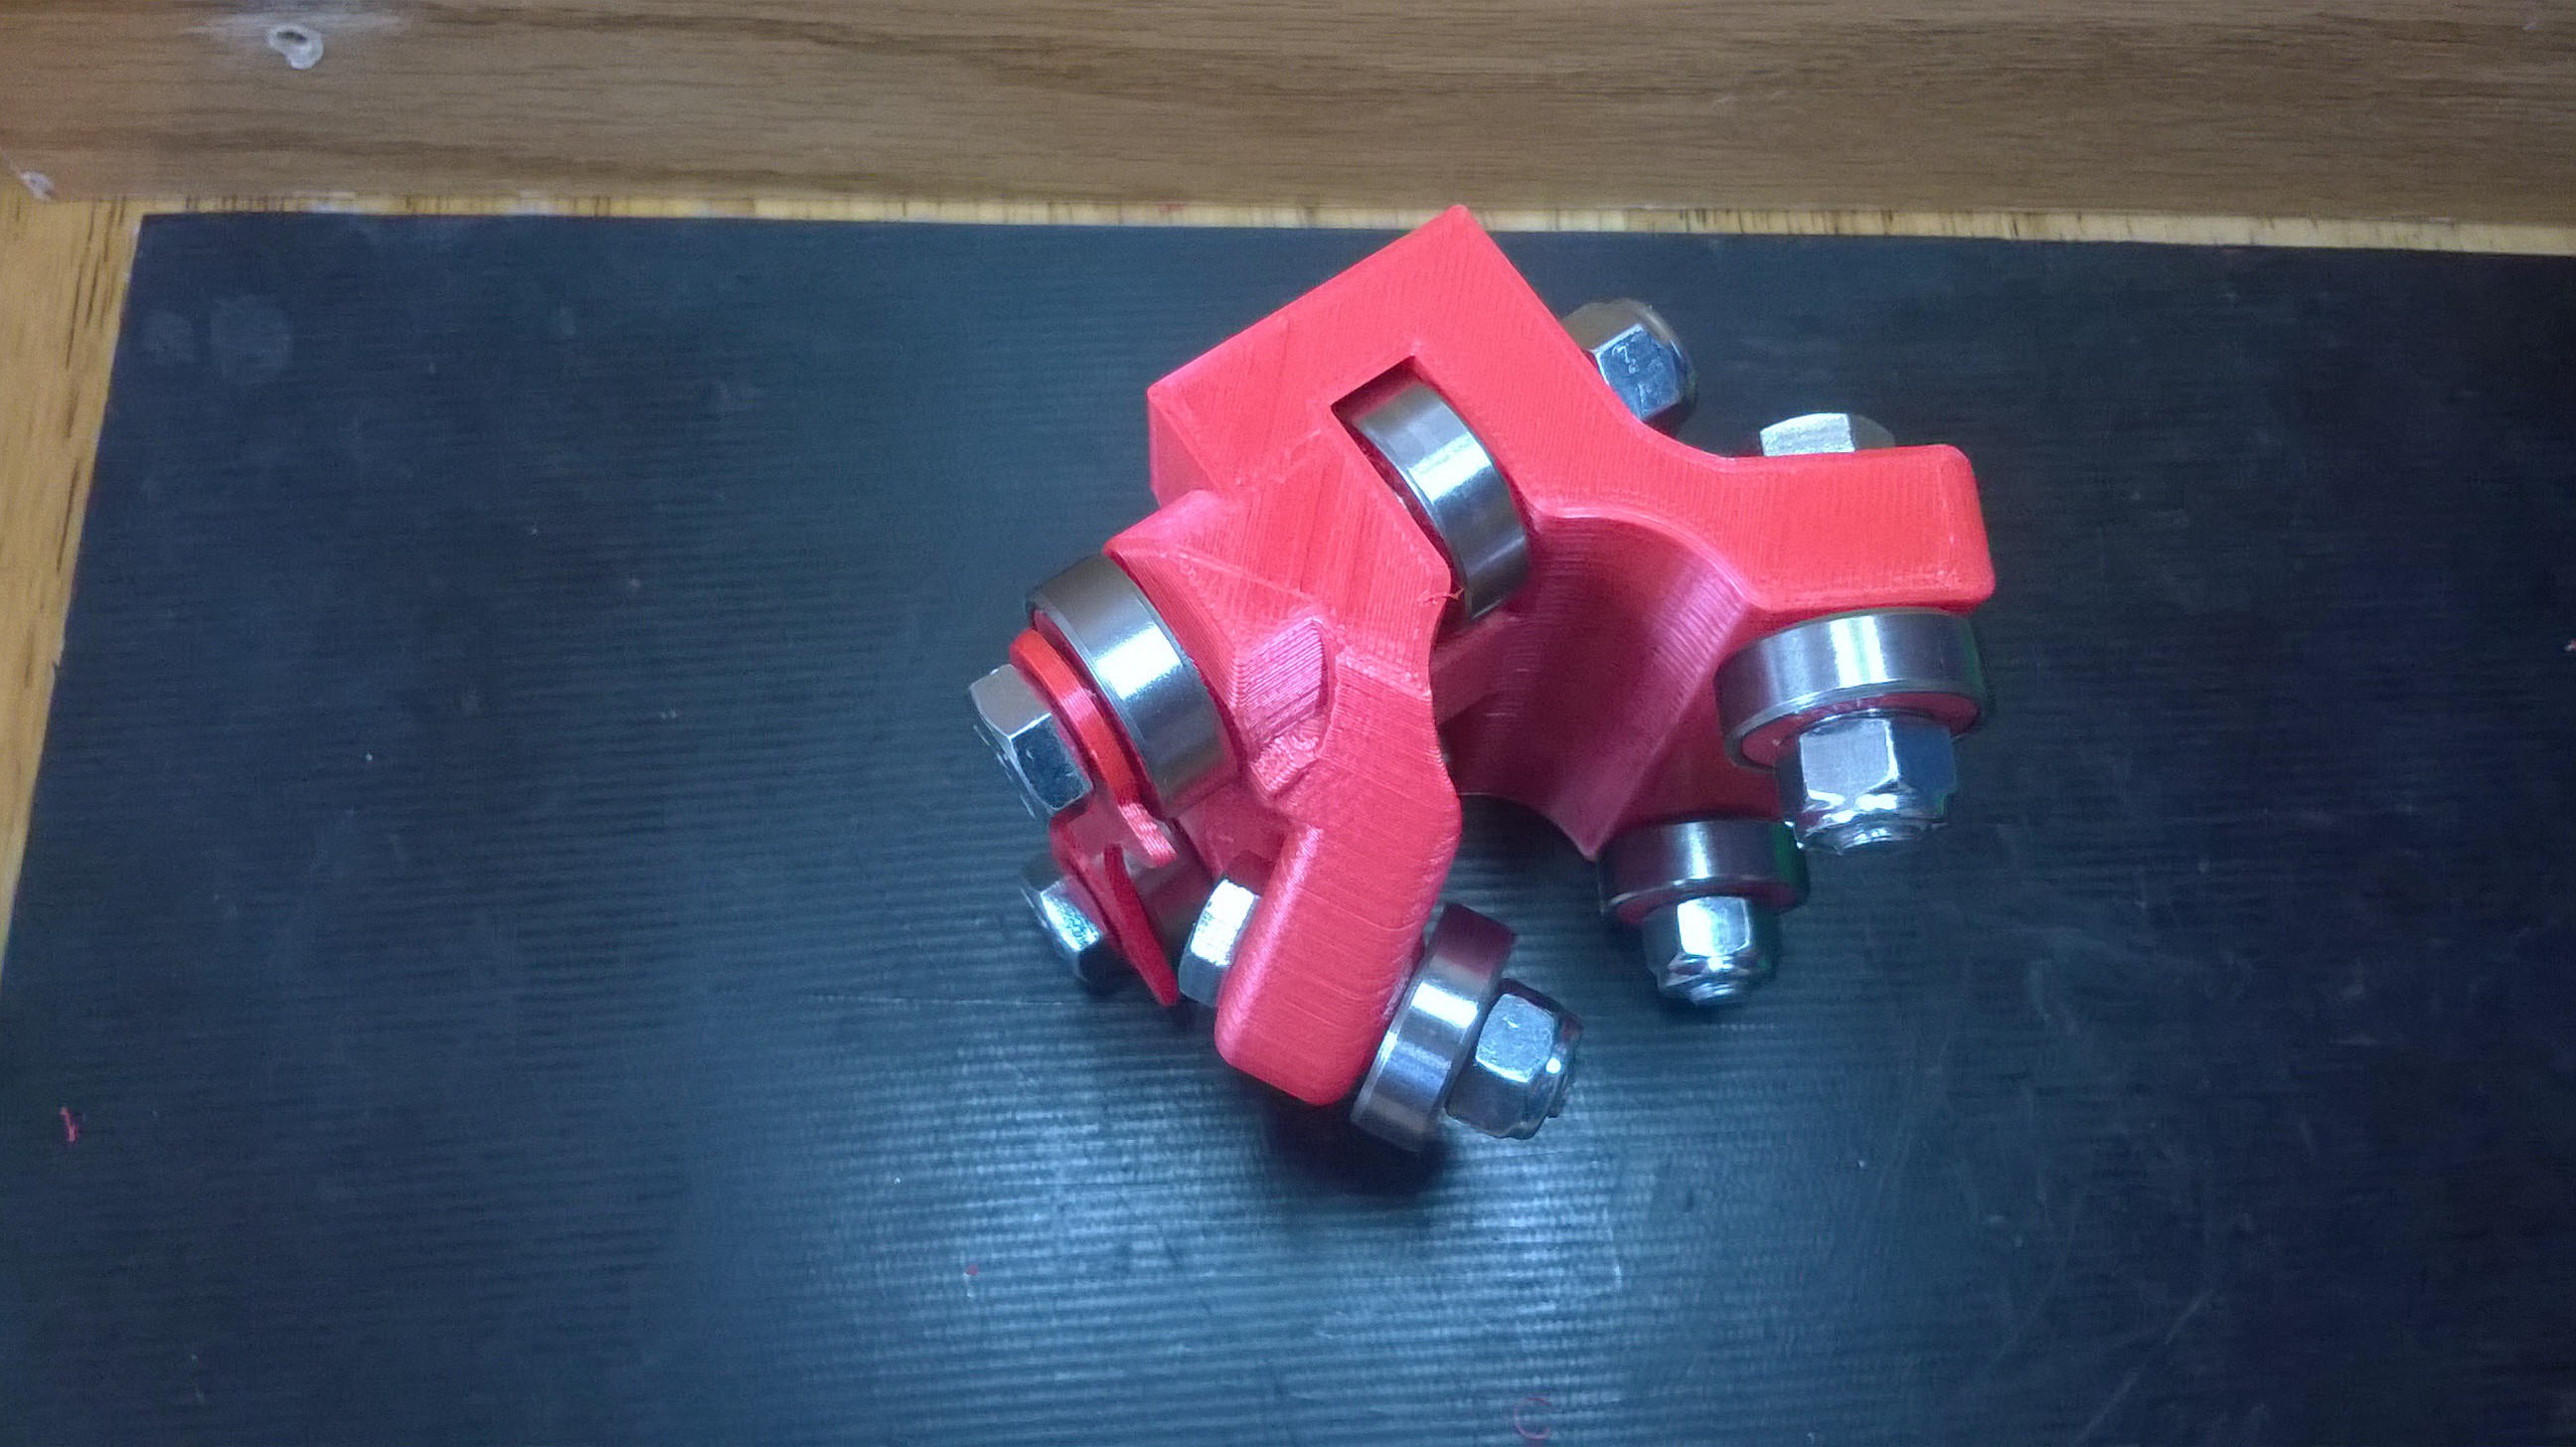
The rollers
04/11/2017 at 03:45 • 0 commentsI am just going to put up some pics...
![]()
![]()
![]()
-
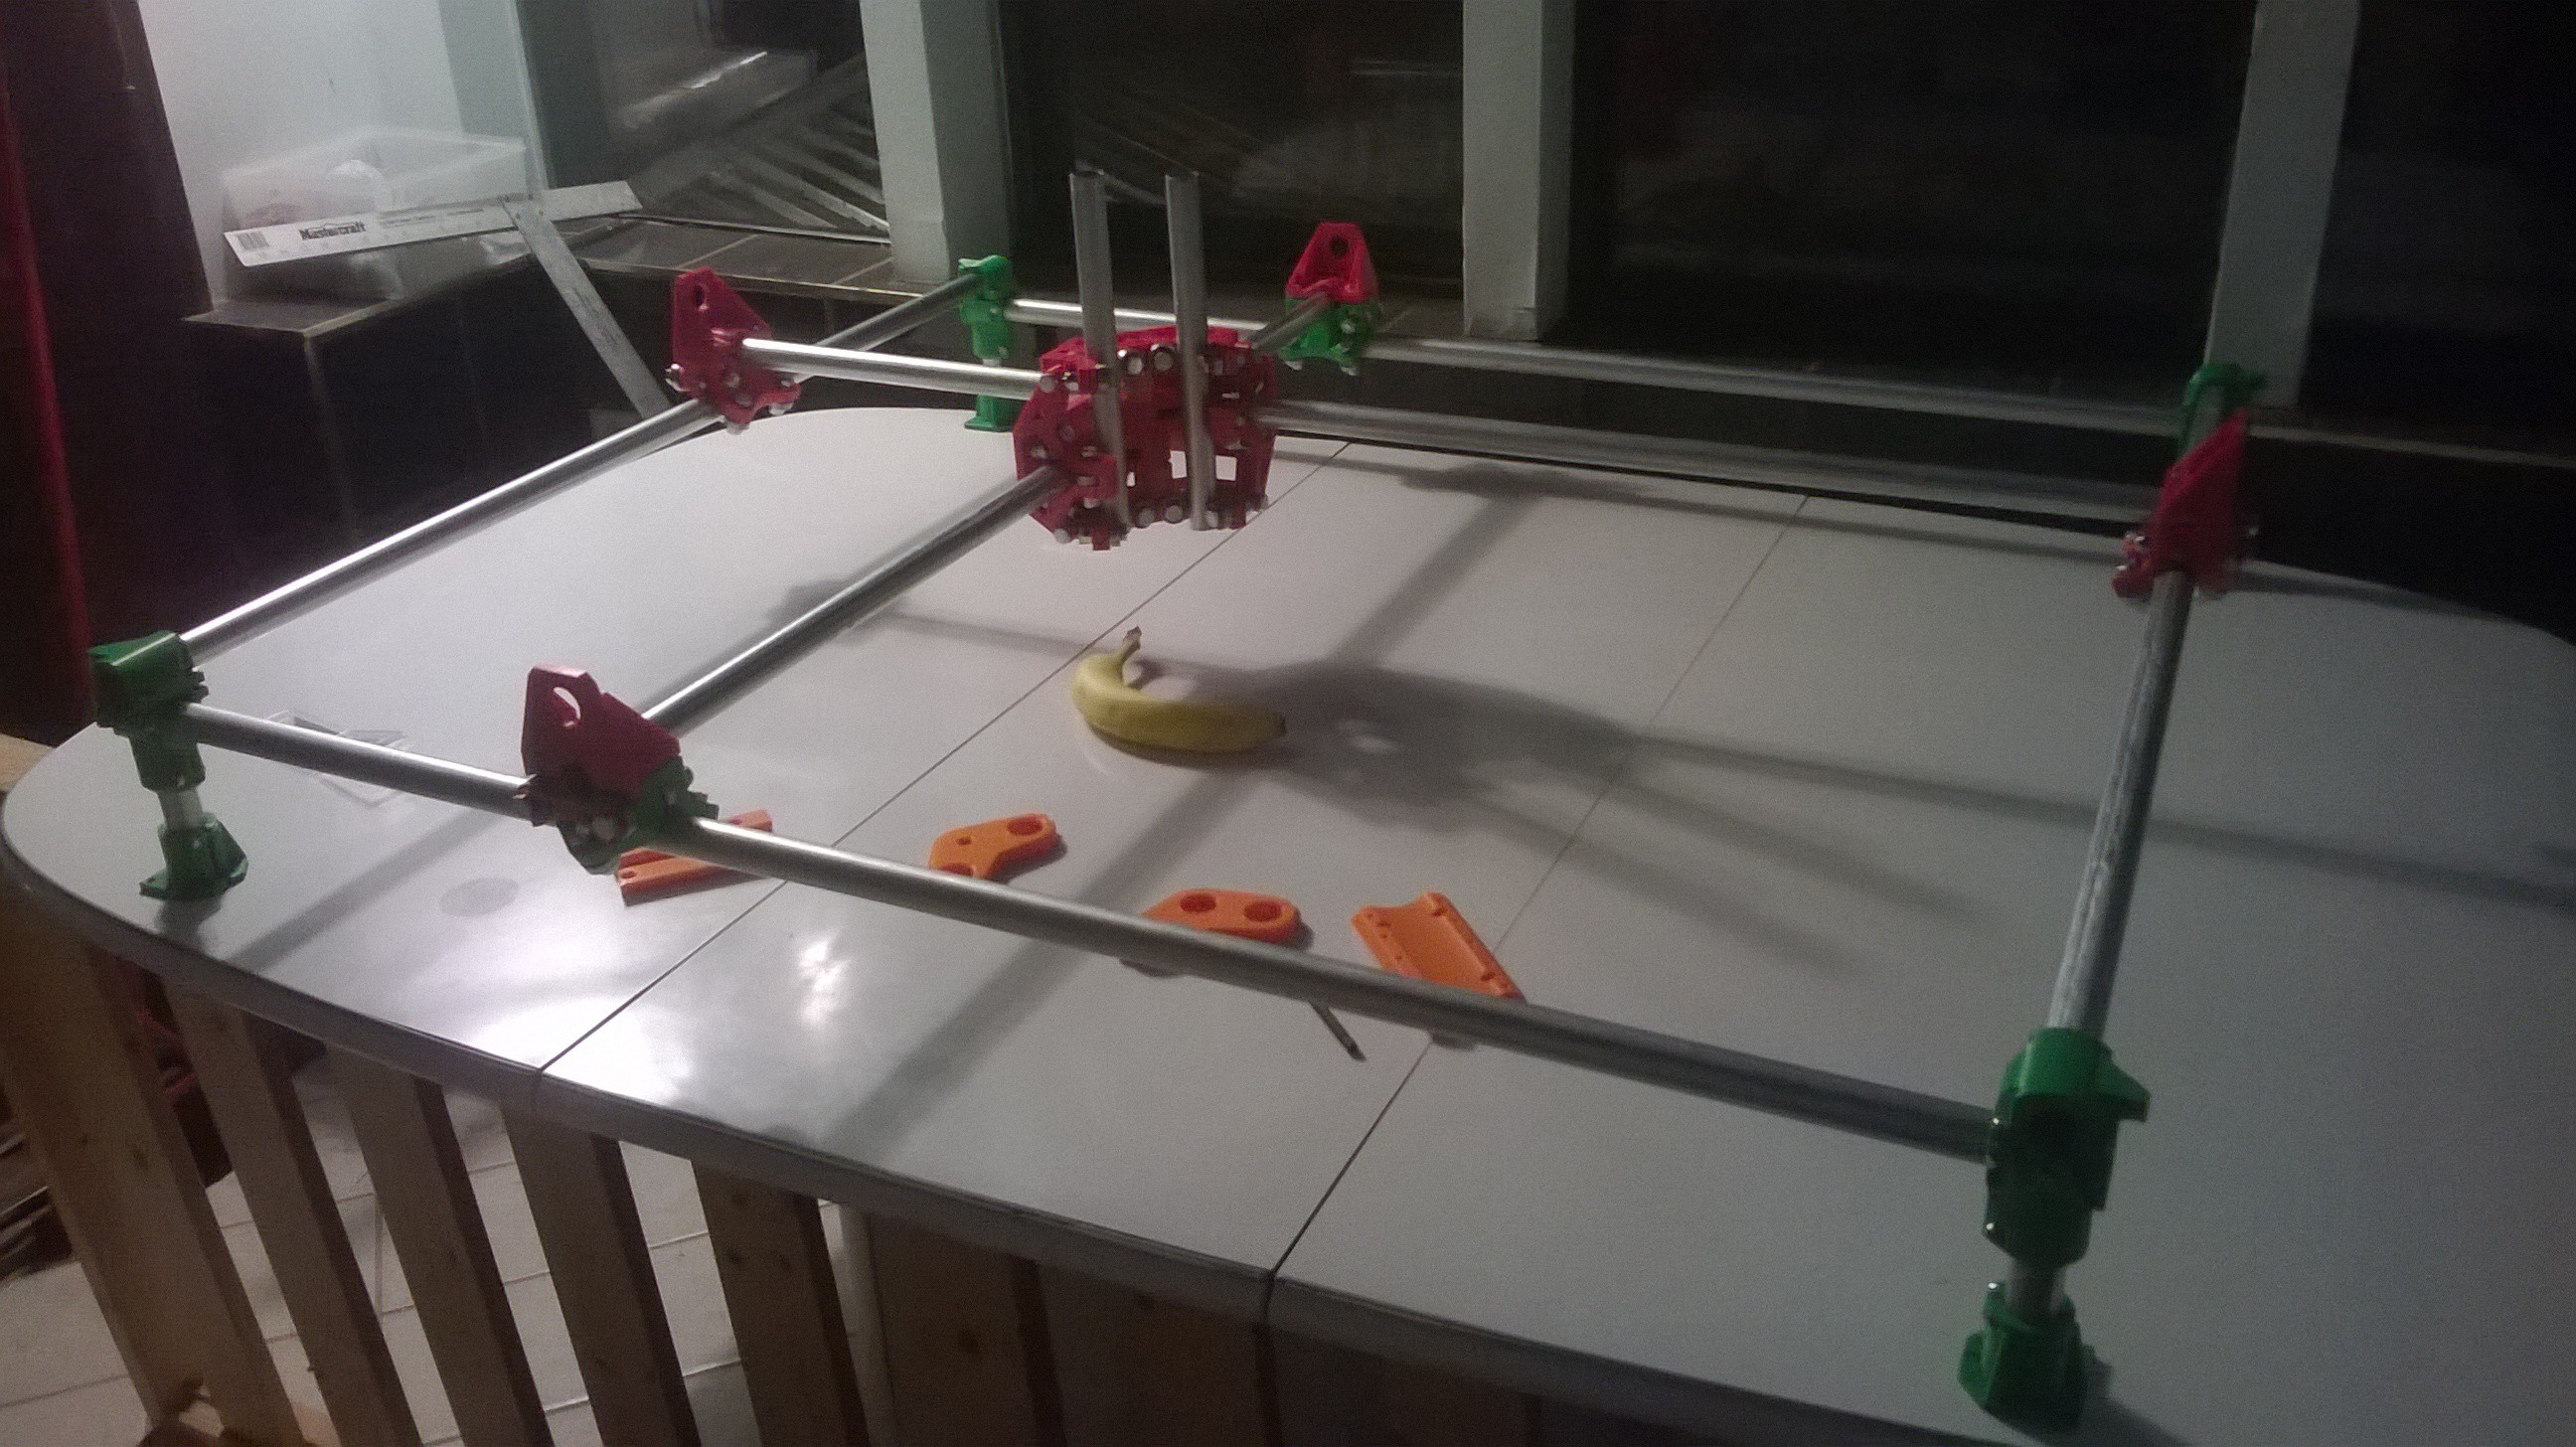
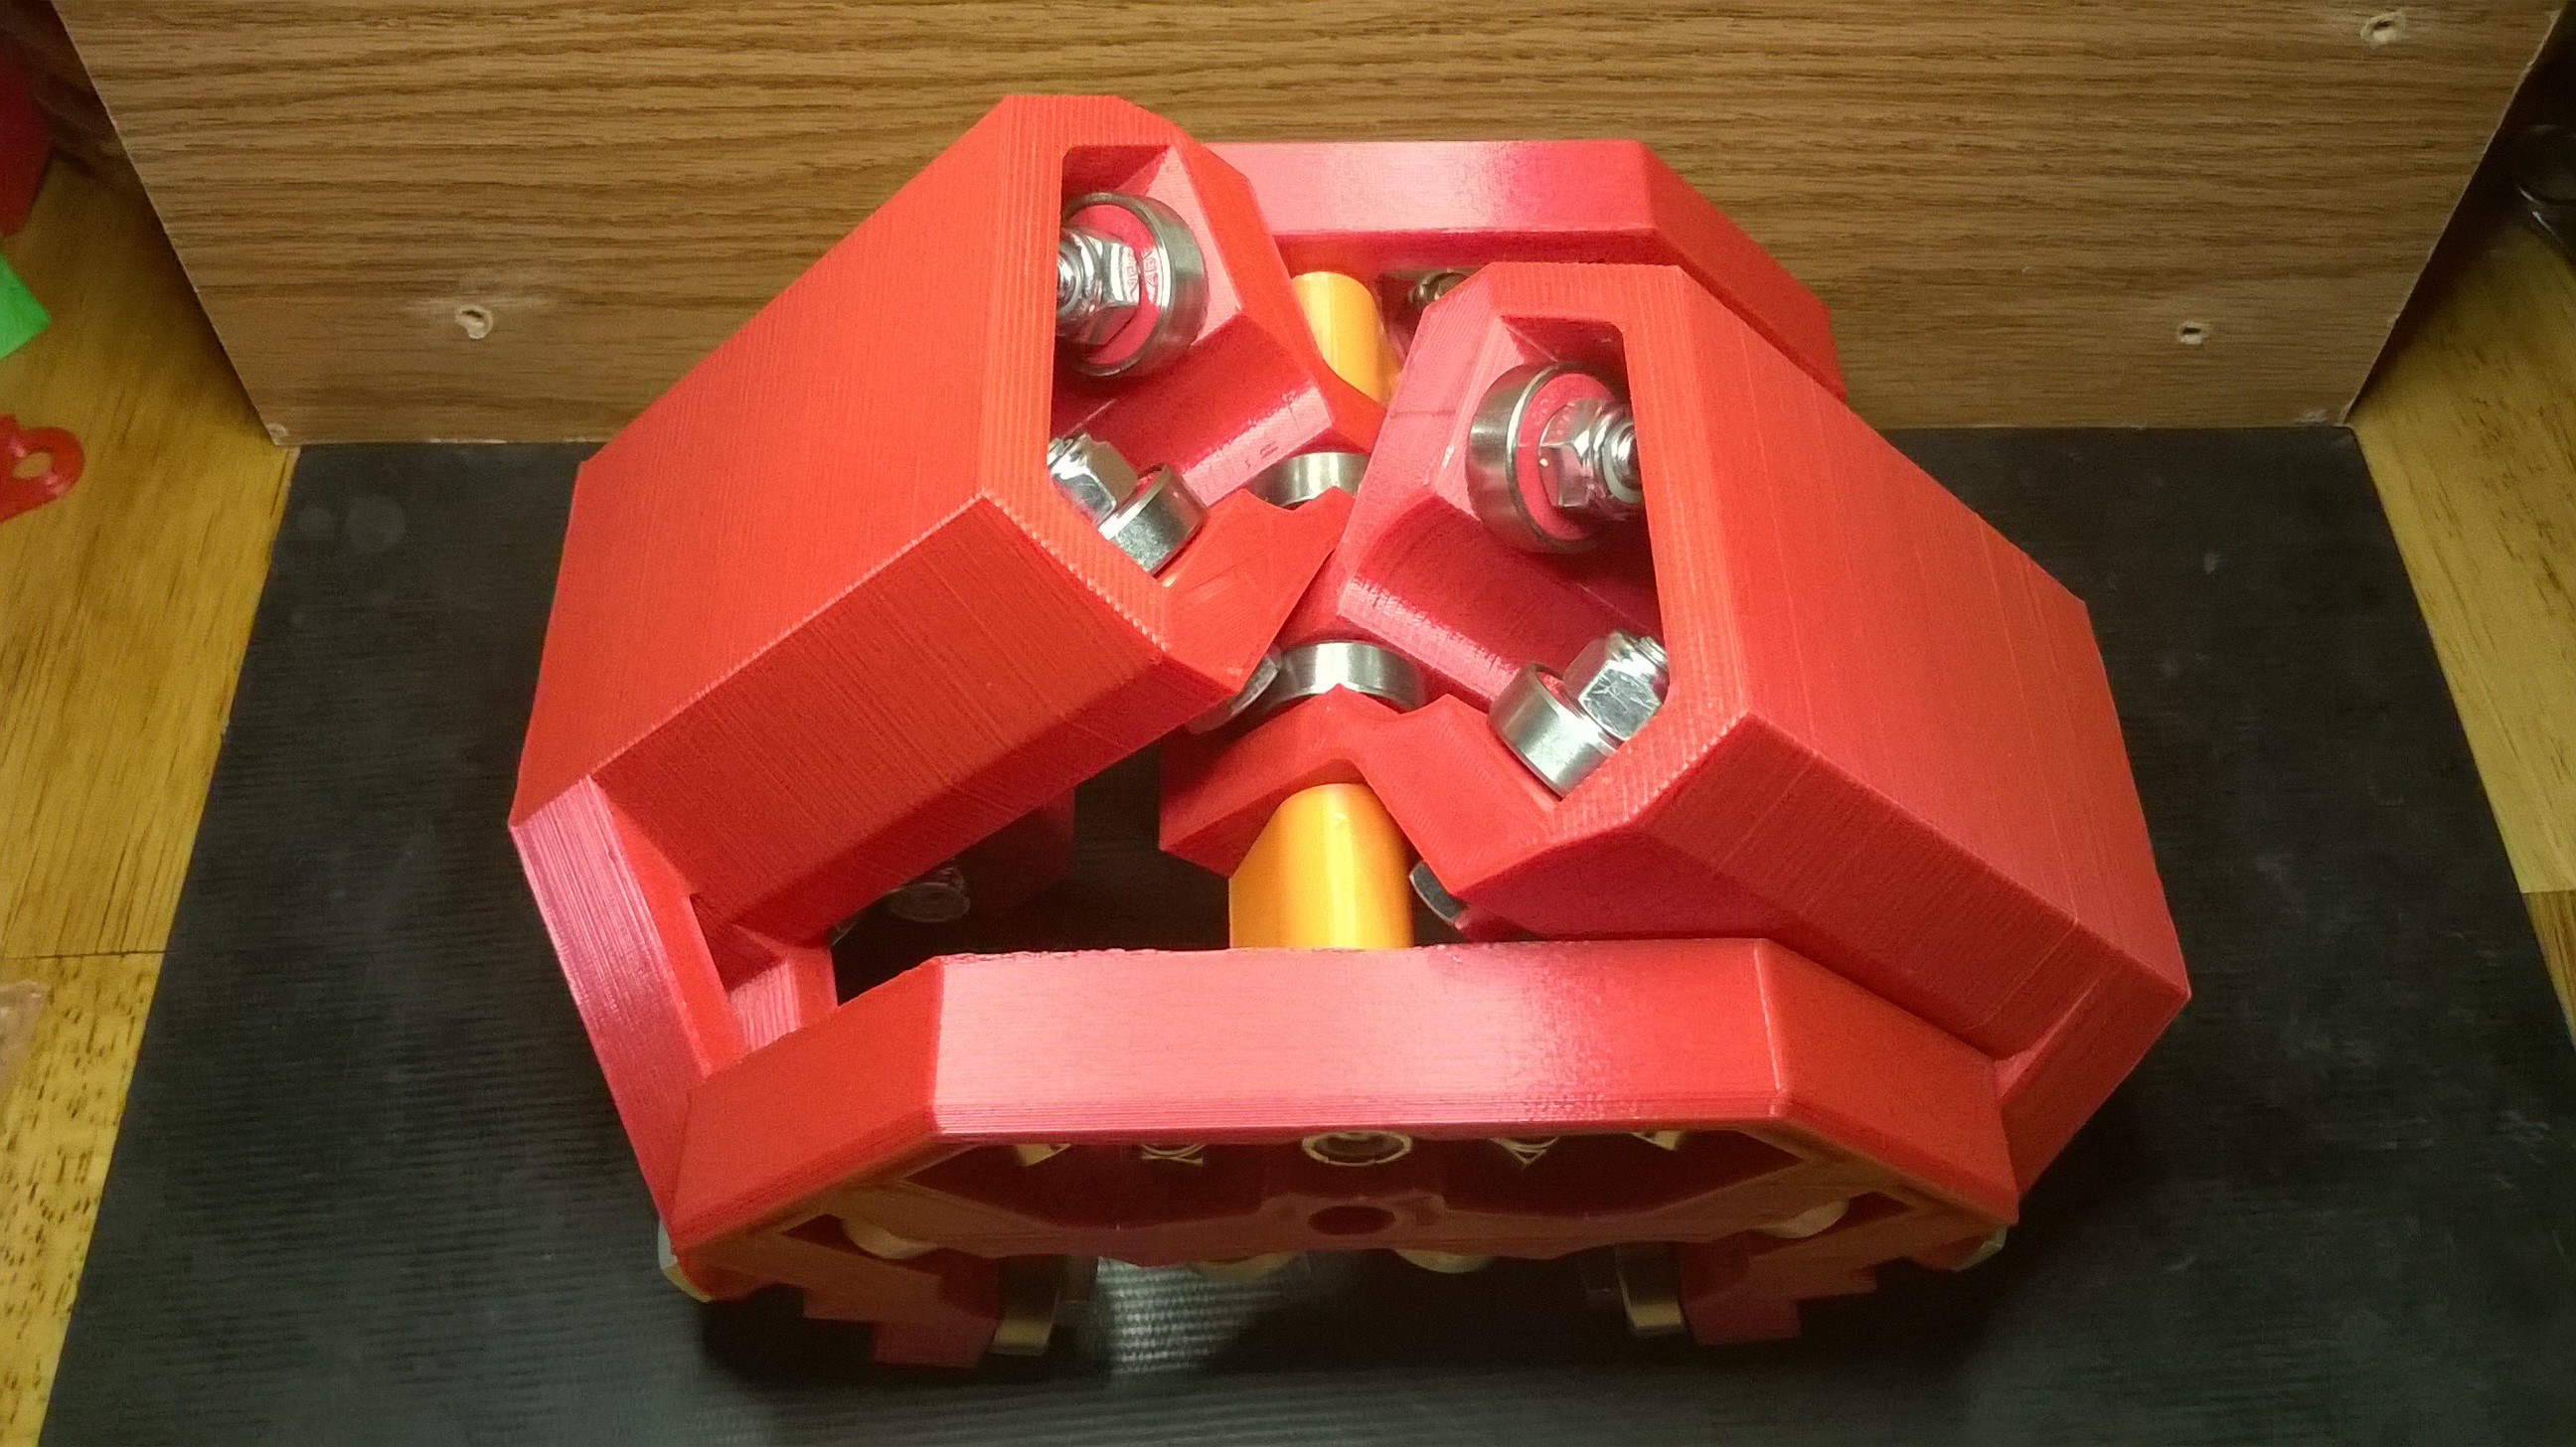
Again, skipping ahead
04/11/2017 at 03:44 • 0 commentsI am like a kid on Christmas day... I can't wait to see it together! Once in a while I can do the tantric build thing, but not today...
![]()
(banana for scale) (it was also the only thing I took the time to eat today...)
I haven't tightened anything down yet as I am not sure what my base is going to look like yet. Outside dimensions are 46.5" x 40.5".
-
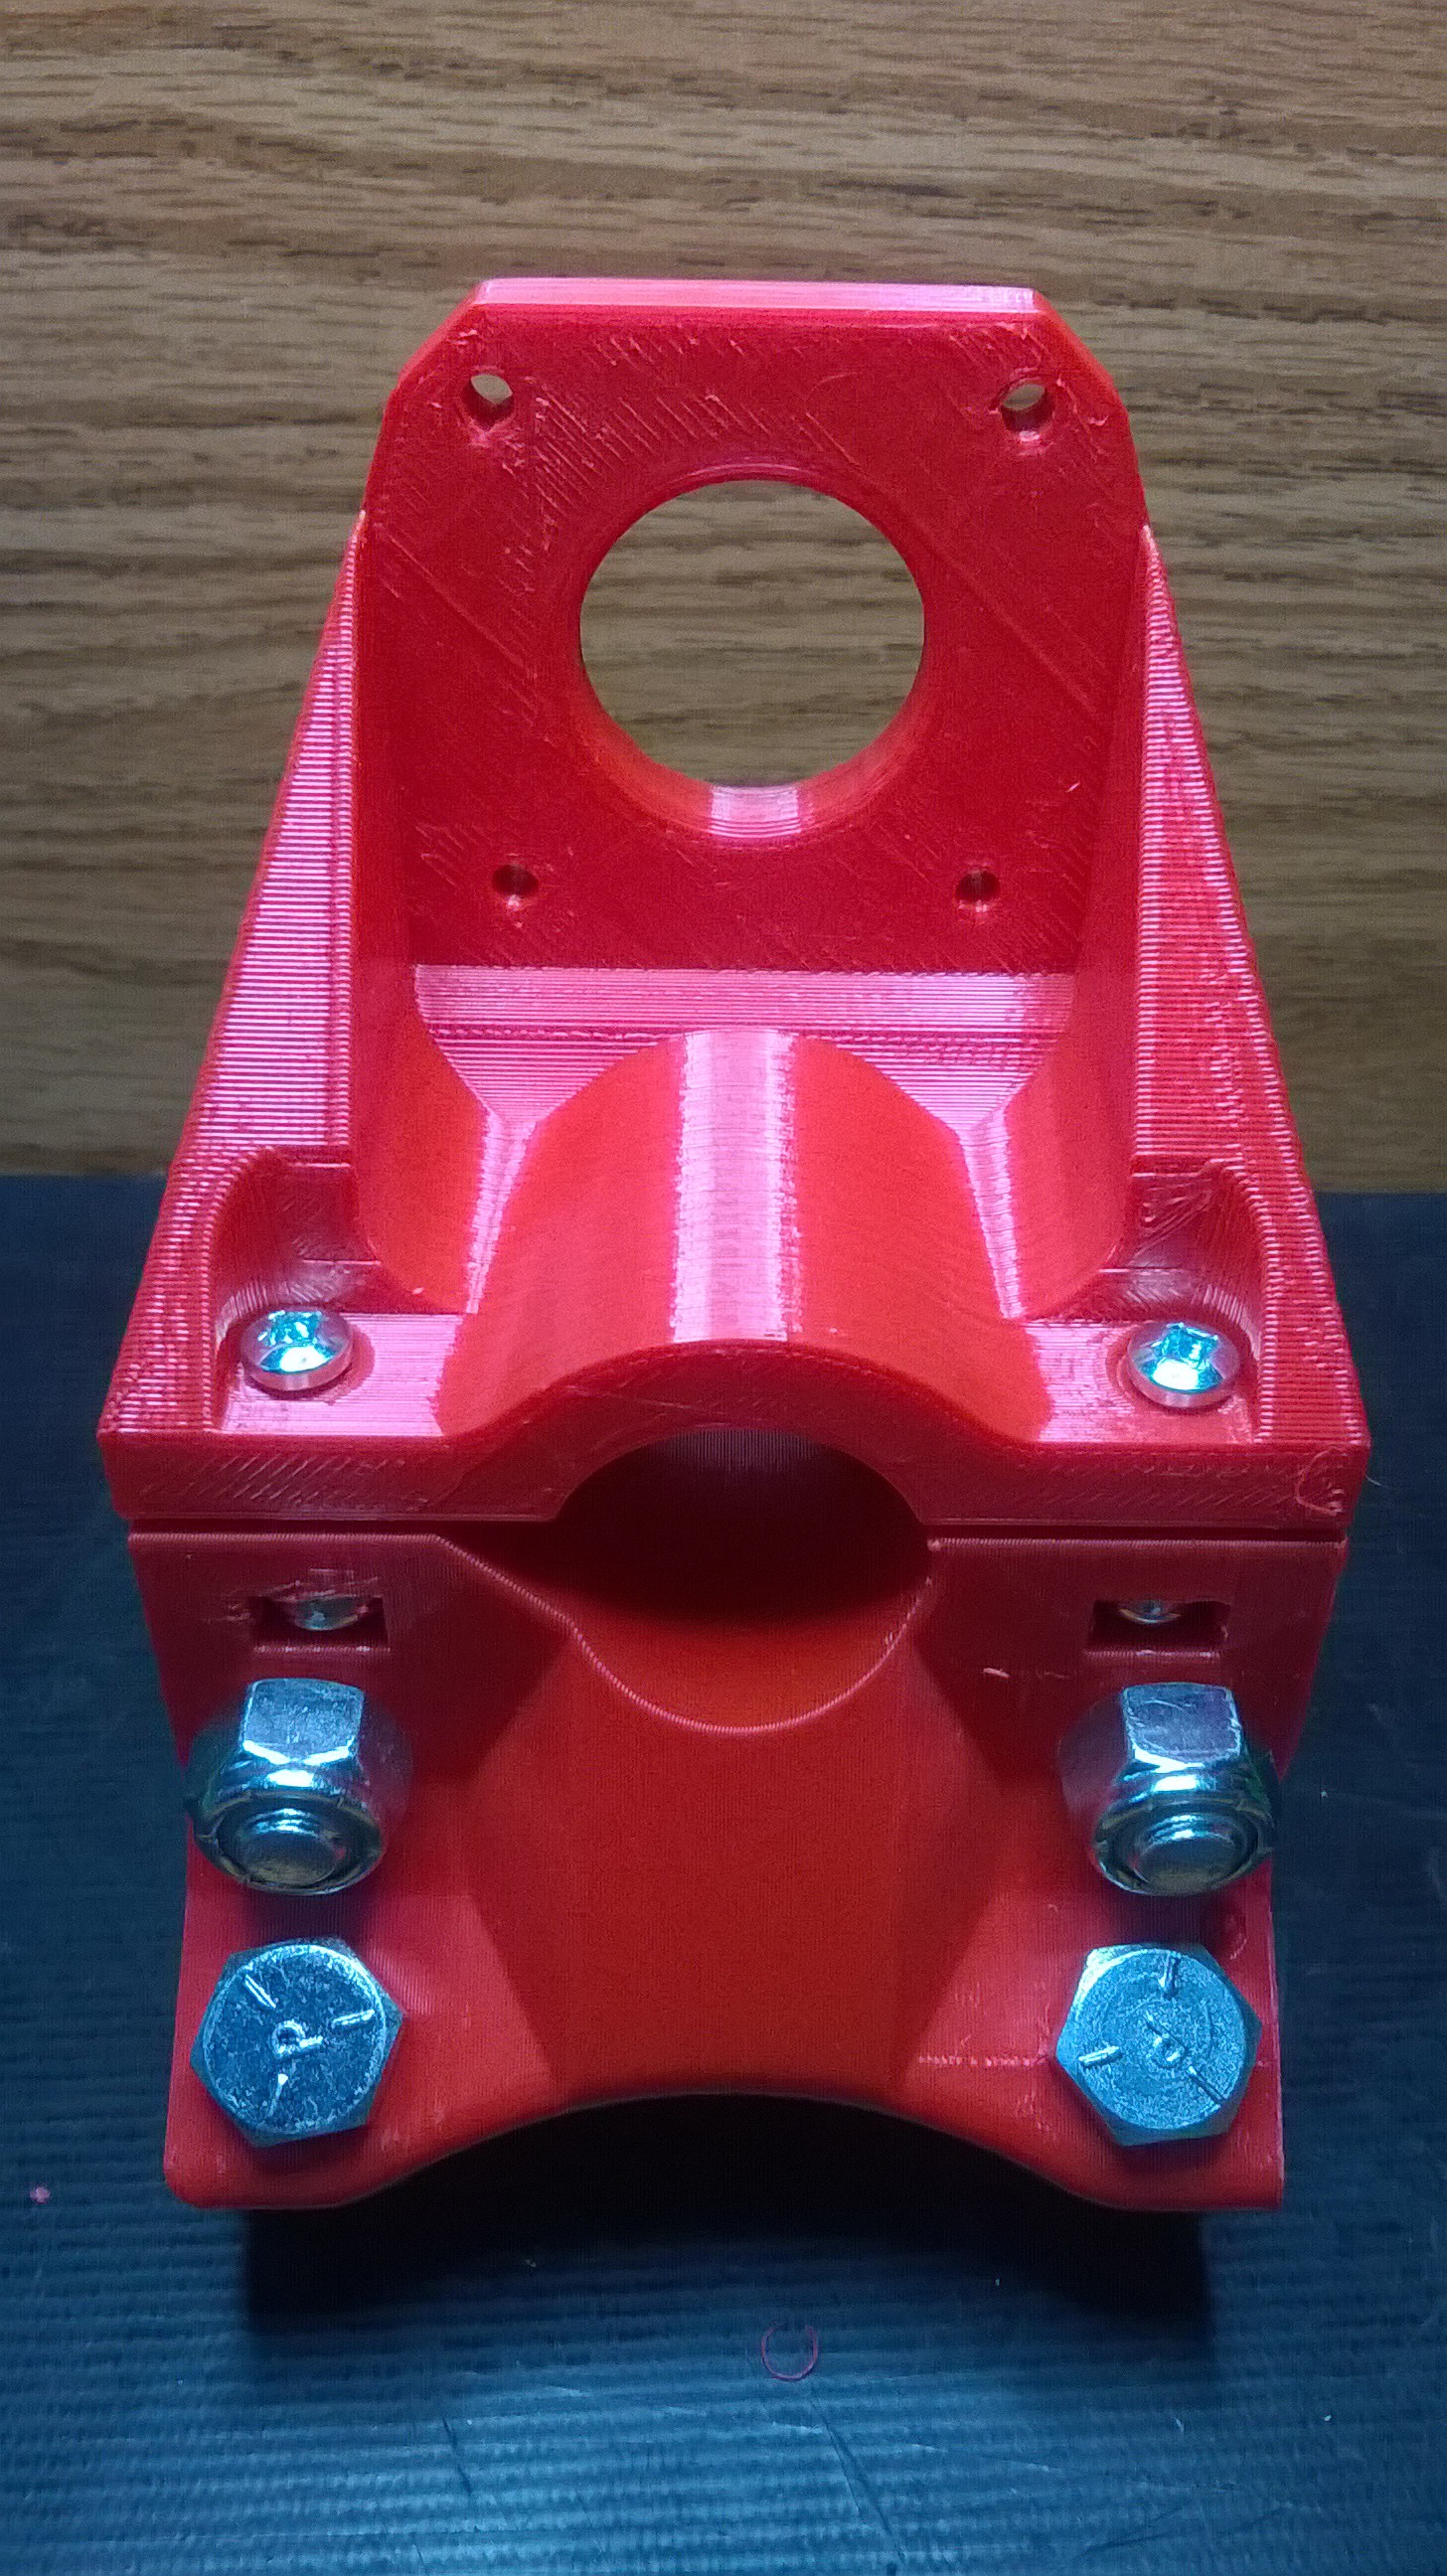
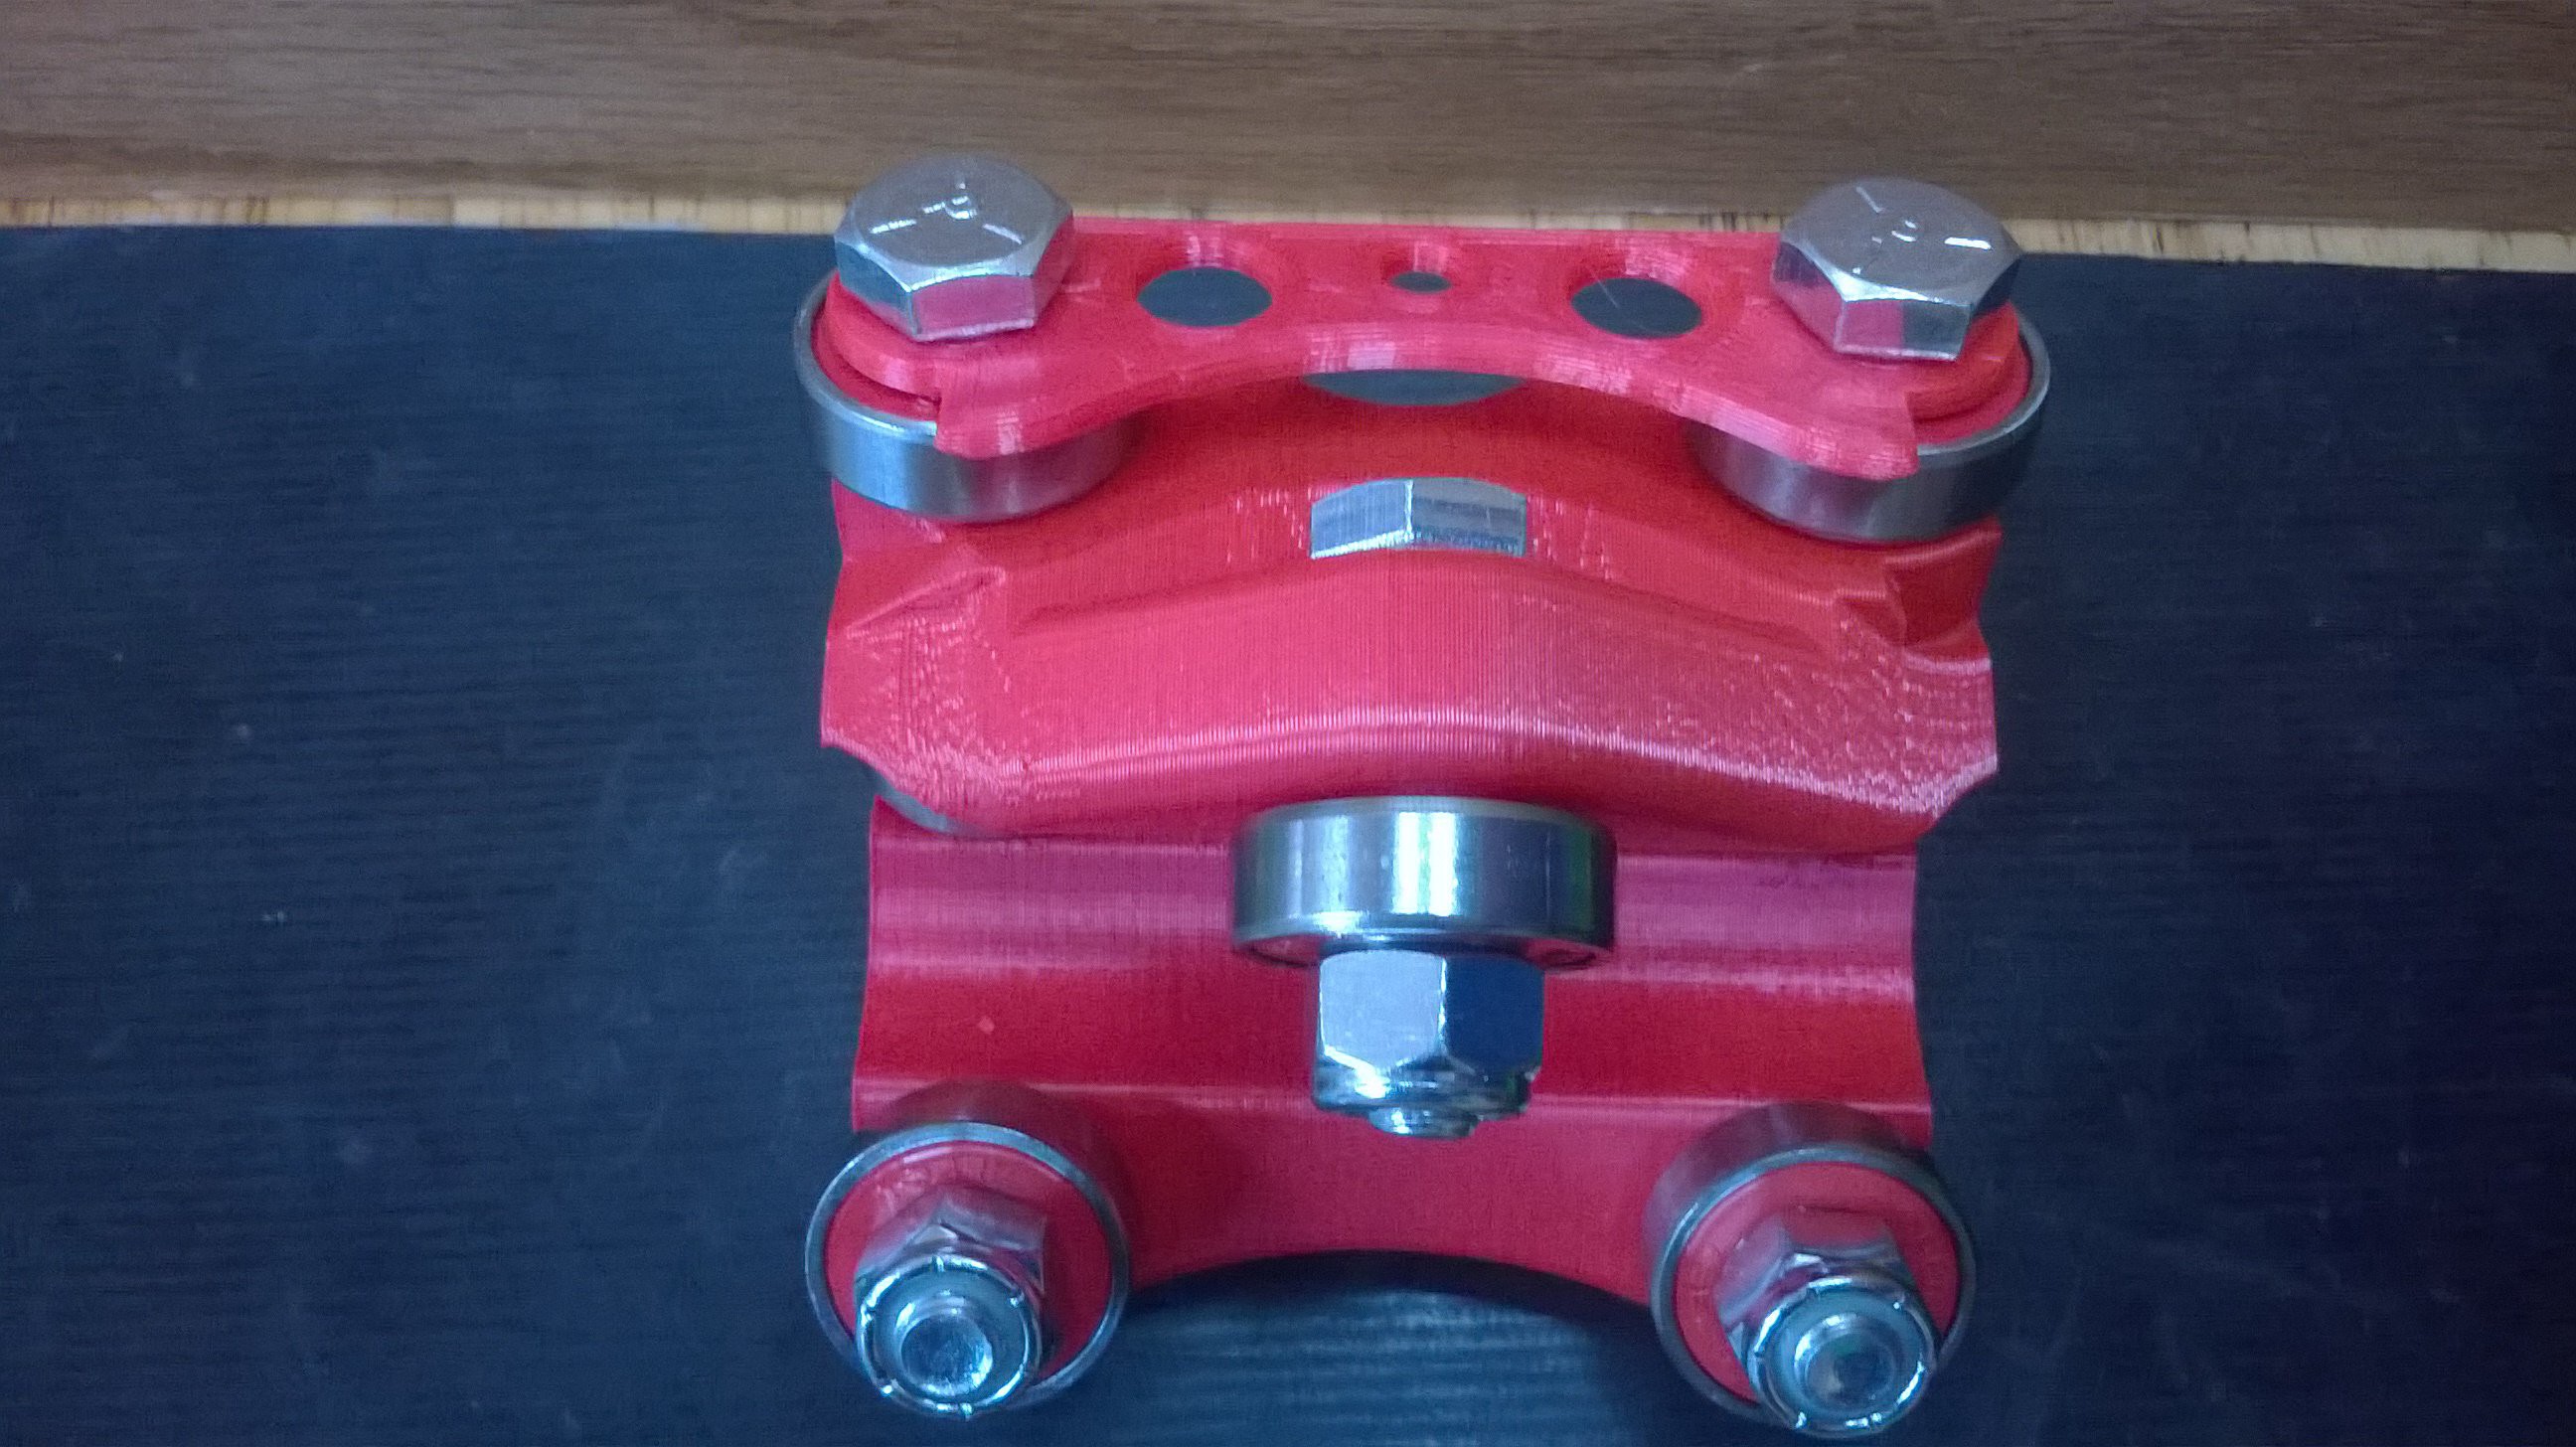
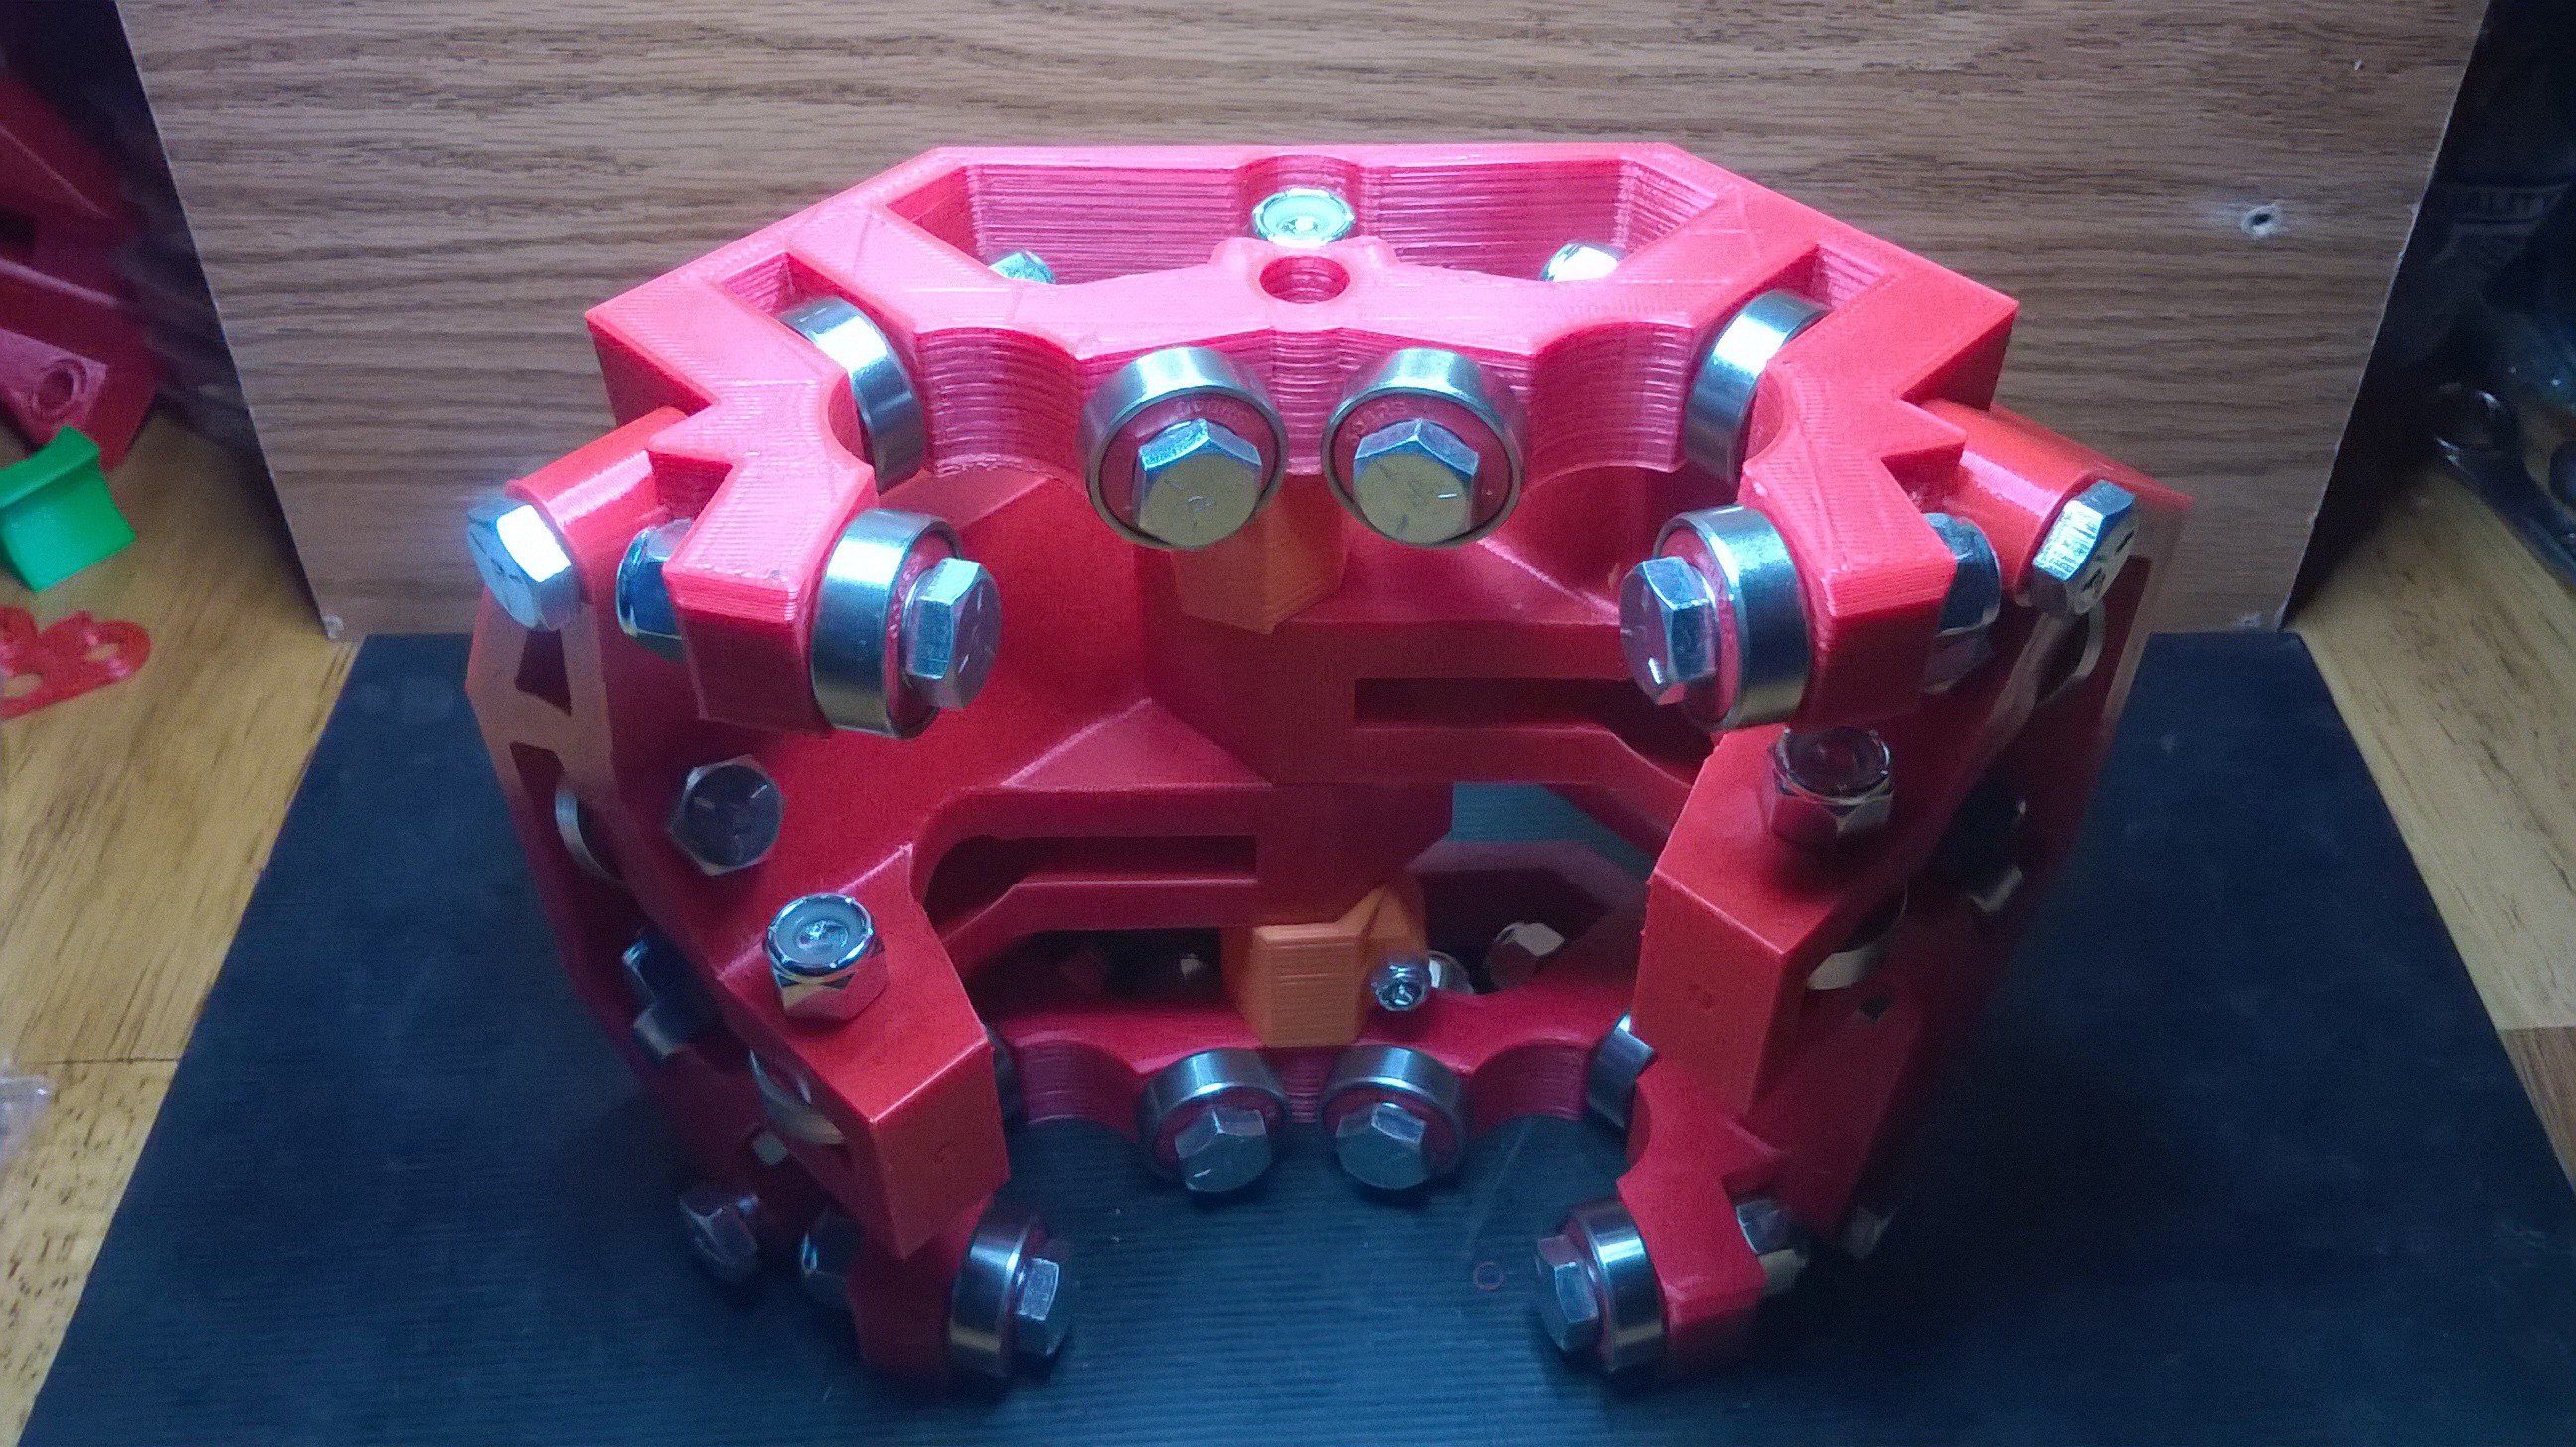
Acheivement get! Build Middle Assembly
04/09/2017 at 03:13 • 0 commentsOk. The minecraft references are getting a bit stretched.
So I built the middle assembly. I should read the instructions before I start building...
It went fairly smooth. I ran into some tight spots tightening nuts, but thats what needle nose pliers are for. Mostly these incidents were me getting ahead of instructions...
![]()
![]()
I know it looks kinda complicated, but the truth is... it is a bit complicated. That said, following the instructions actually helped!
-
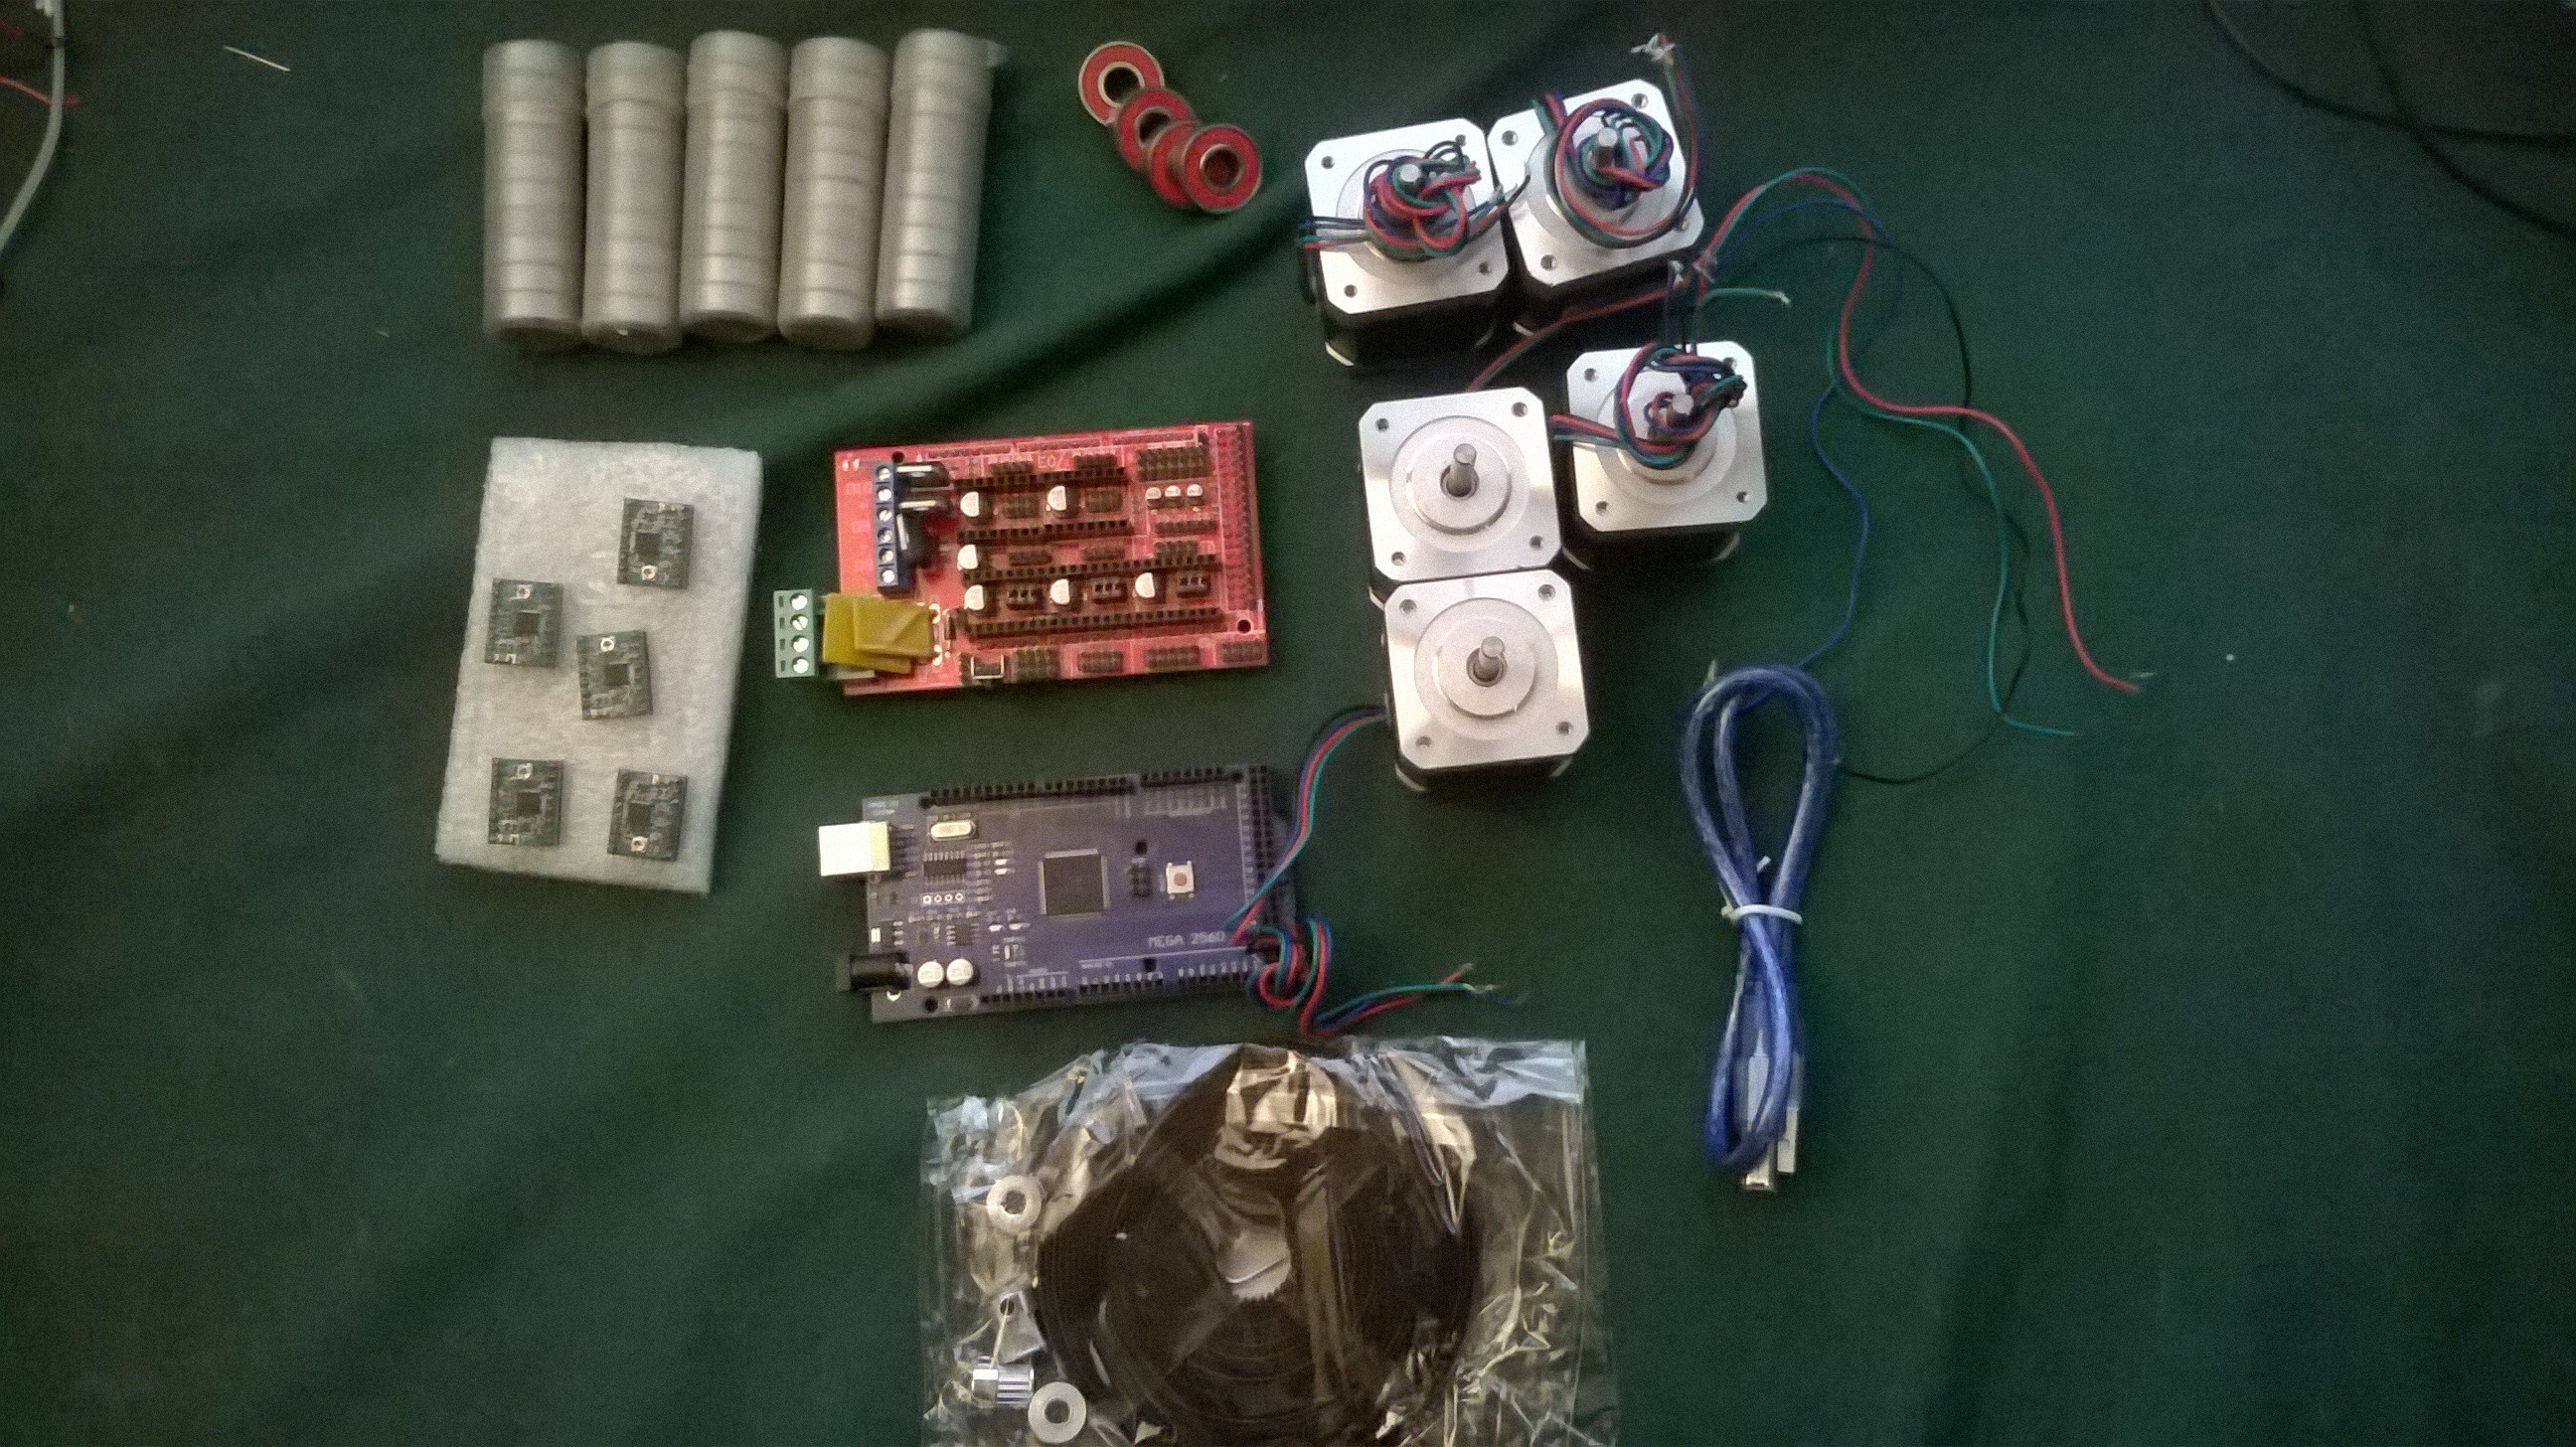
Achievement get! Acquire Hardware
04/09/2017 at 03:05 • 0 commentsFinding the electronics was easy. Finding them for the cheapest price was time consuming. If I was getting paid $5/hr to track down the cheapest parts, I would have lost money. There is quite a list of required items. I got most of them from China (to be expected) and am quite happy with the quality. The RAMPS board I got came with motor drivers that were different than the ones specified in the build instructions, so I ordered the spec ones just to minimize the chance of operator (me) error.
Altogether the parts cost me around $200 and two months of my life.
![]()
Locally sourcing the remaining nuts and bolts require visiting all three hardware stores on the island where I live. And revisiting two... a word of advice; don't shop when you are sick. I asked for some pretty interesting things and not because I was on any medications (maybe because I was not on any medications...) Finding a 5/16 coupler nut that is only 7/8 long proved impossible. But I have a hacksaw and know how to use it. I was not expecting to spend as much as I did on nuts and bolts; about $30. That reminds me, I actually didn't find any M3 screws... I'm gonna need those.
-
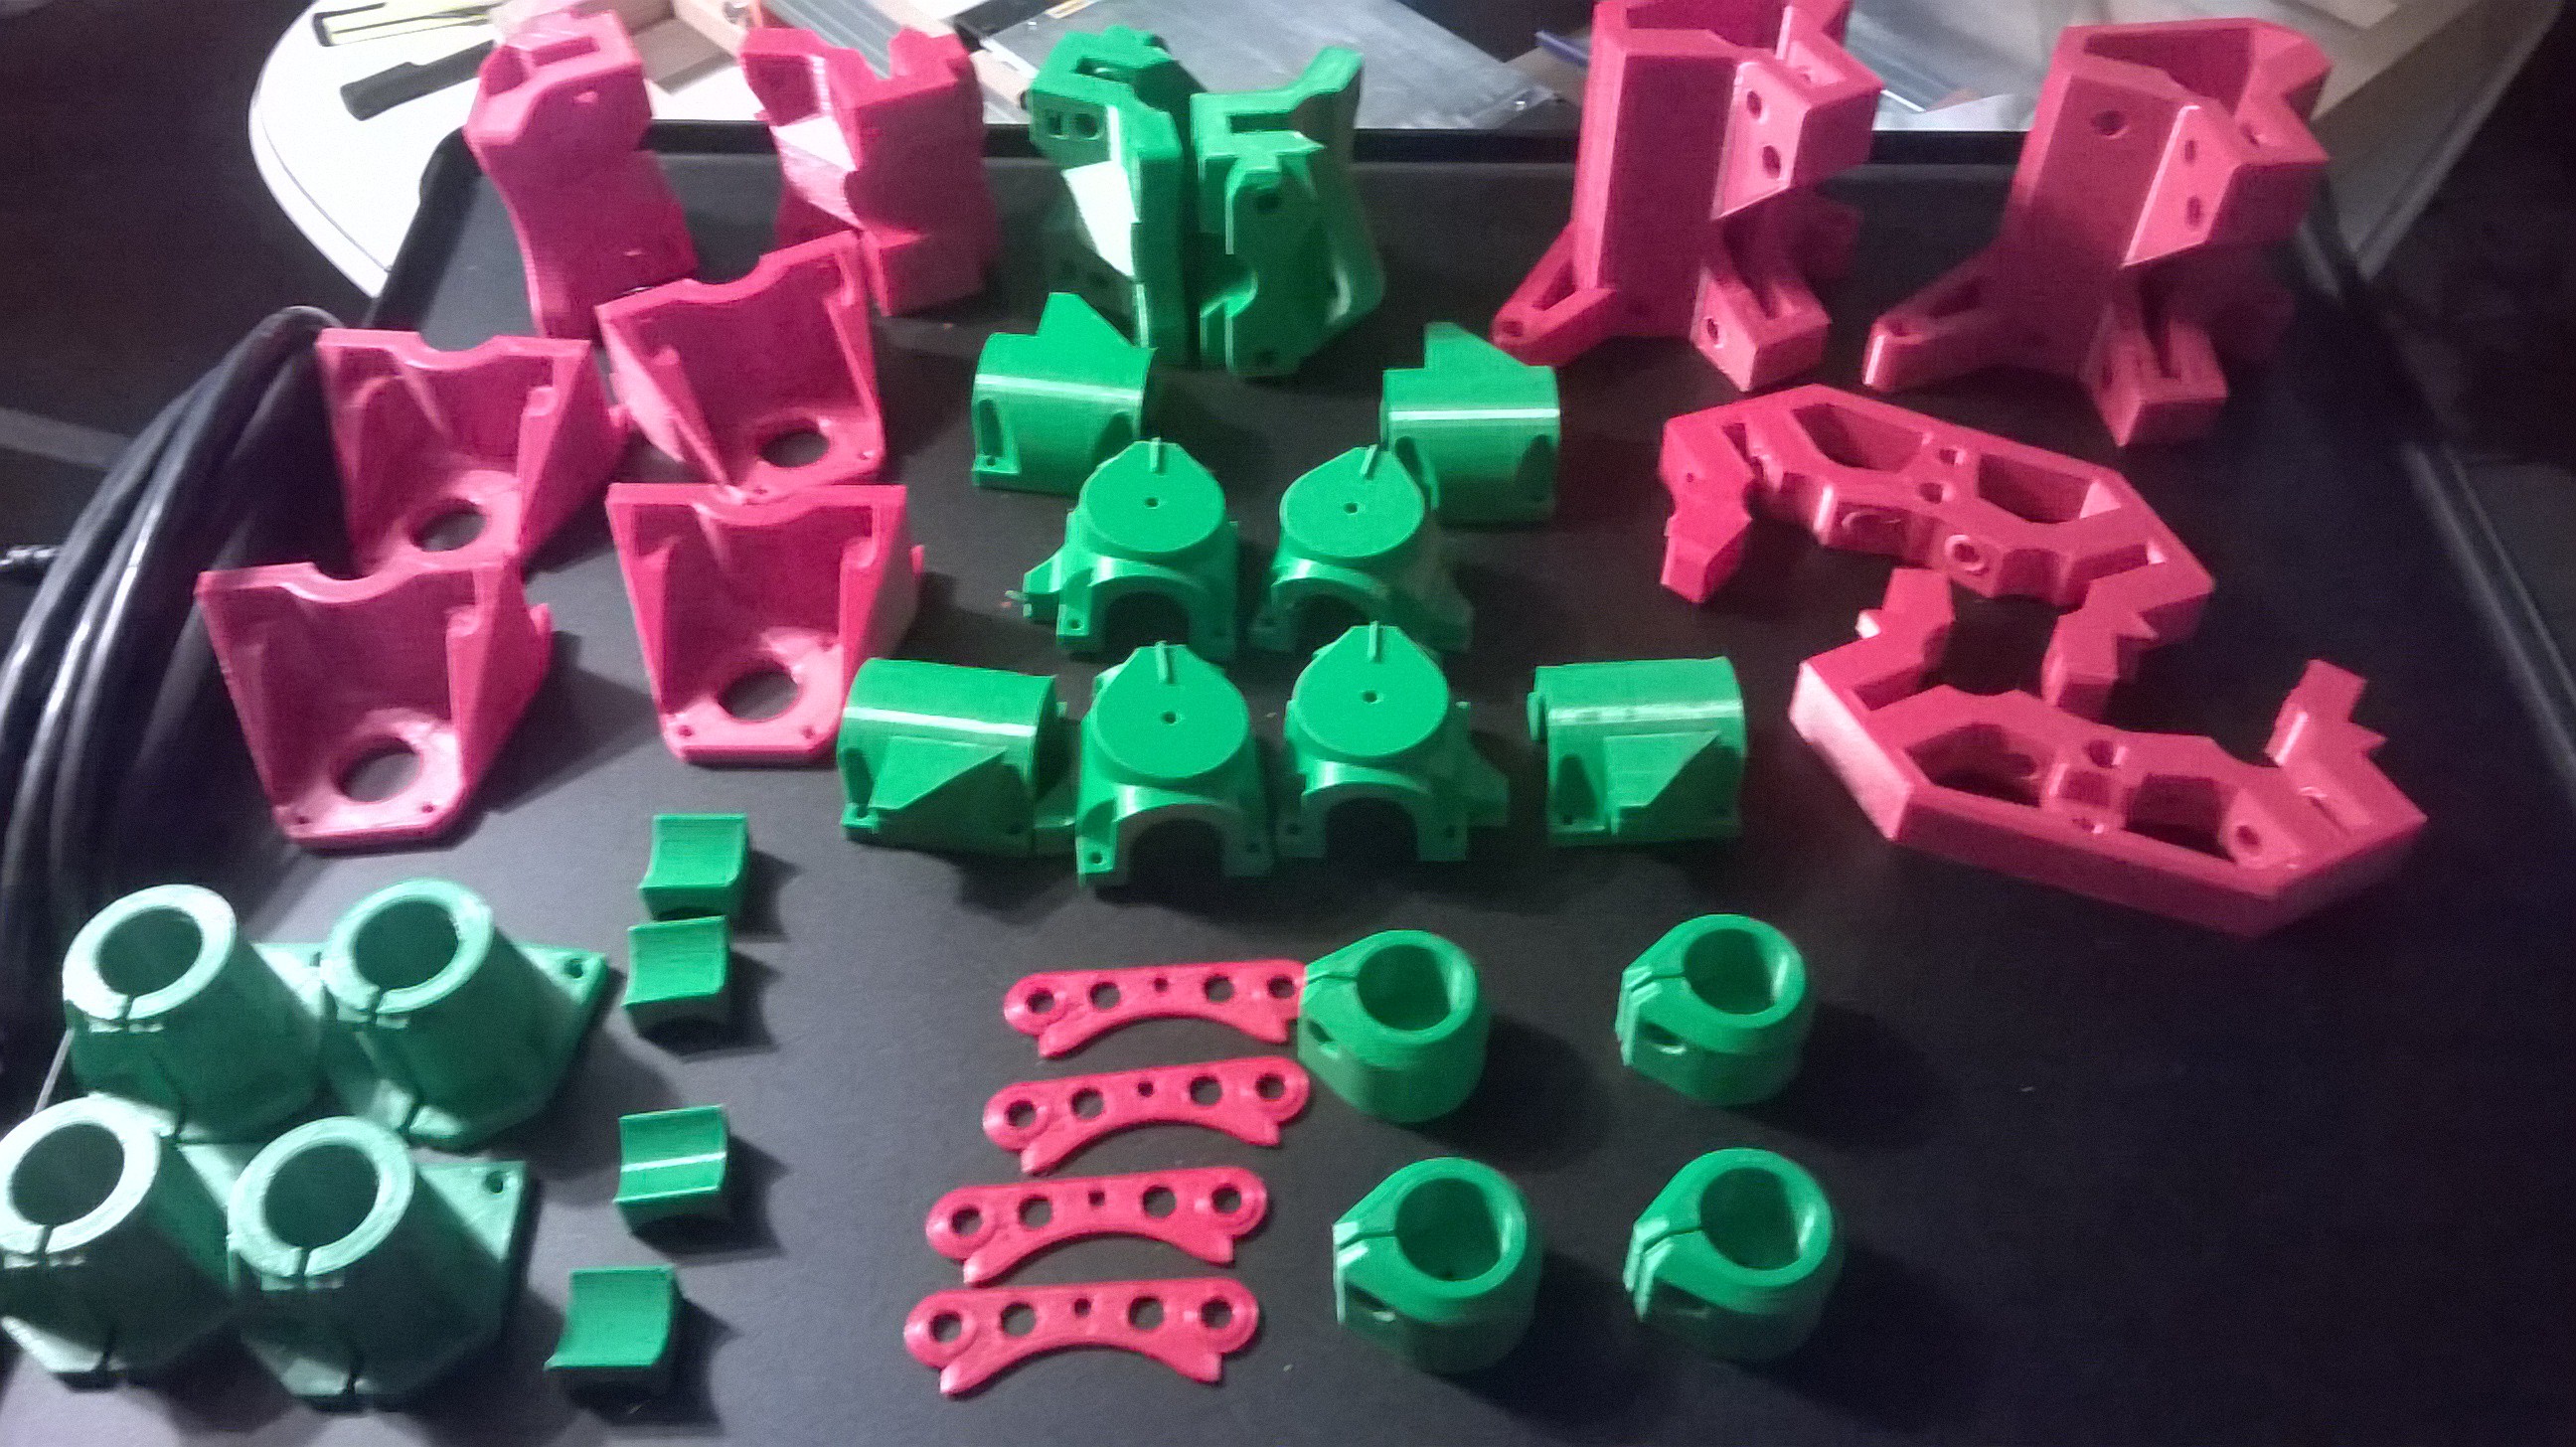
Achievement get! Print Parts
04/09/2017 at 02:54 • 0 commentsPrinting the parts for this project was an exercise in faith and patience. Faith that once finished, I would end up with a workable project and that all my parts would be dimensionally accurate (enough). Patience, not just mine, but my family who by now have just about tuned out the printer noise. Just about. A total print time of over 100 hours; it only seemed like 99 hours! How time flies...
Due to some epic fails (almost all mine, my Printrbot is basically flawless if used as prescribed) the amount of PLA needed was almost, or maybe a little over, 2 kg. Thats a lot.
![]() This pictures was taken when I had almost all the parts printed. Sorry no banana for scale, but some of these parts were 130mm in Z.
This pictures was taken when I had almost all the parts printed. Sorry no banana for scale, but some of these parts were 130mm in Z. One of the issues I had post-print was that to be 100% sure that the print would stick to the print bed, I squashed the first layer just a little too much, leaving a (sharp) ledge around the parts and in all the holes. Annoying.
Another was using my Printrbot filament hanger-thing on top of the Z axis/alu handle; if you don't watch it or block it, the reel carrying the filament can interfere with the Z/Y bearing block causing (my) tears.
Mostly Printed CNC Build
This is a build log for the Vicious Circle MPCNC machine

 This pictures was taken when I had almost all the parts printed. Sorry no banana for scale, but some of these parts were 130mm in Z.