-
New Cherry MX Controllerboards and a first Case
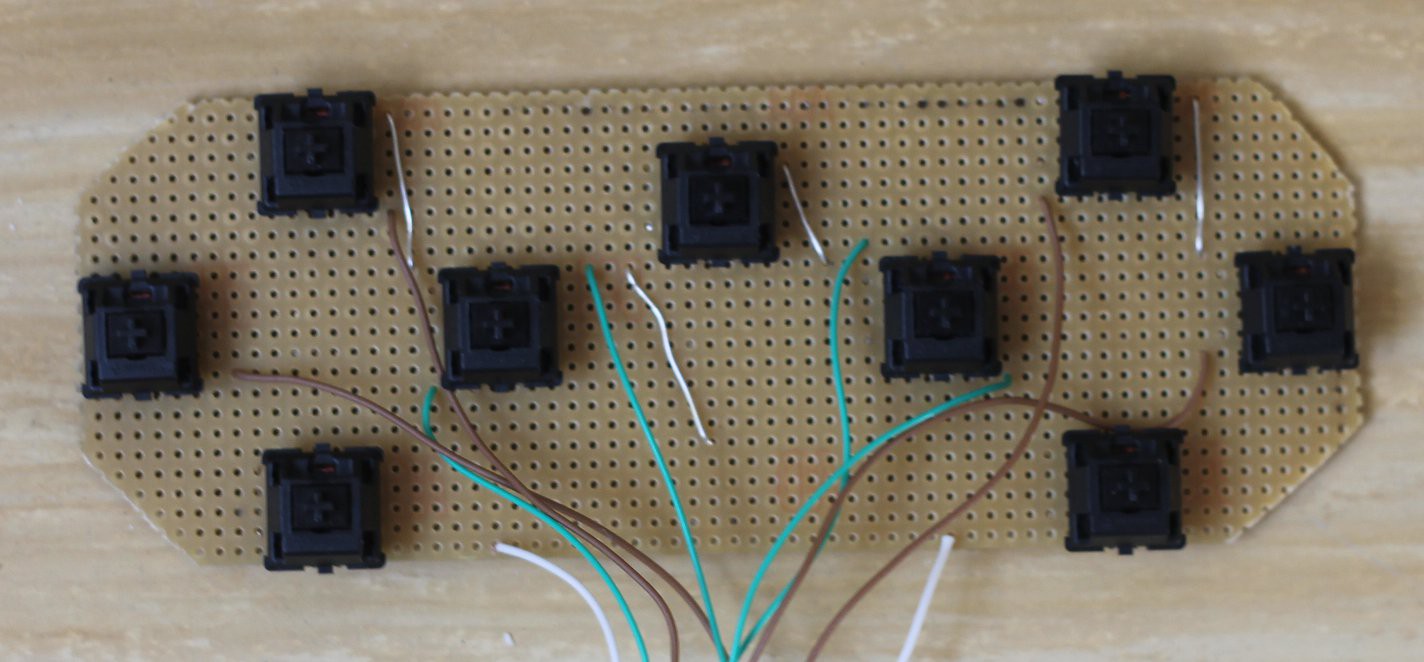
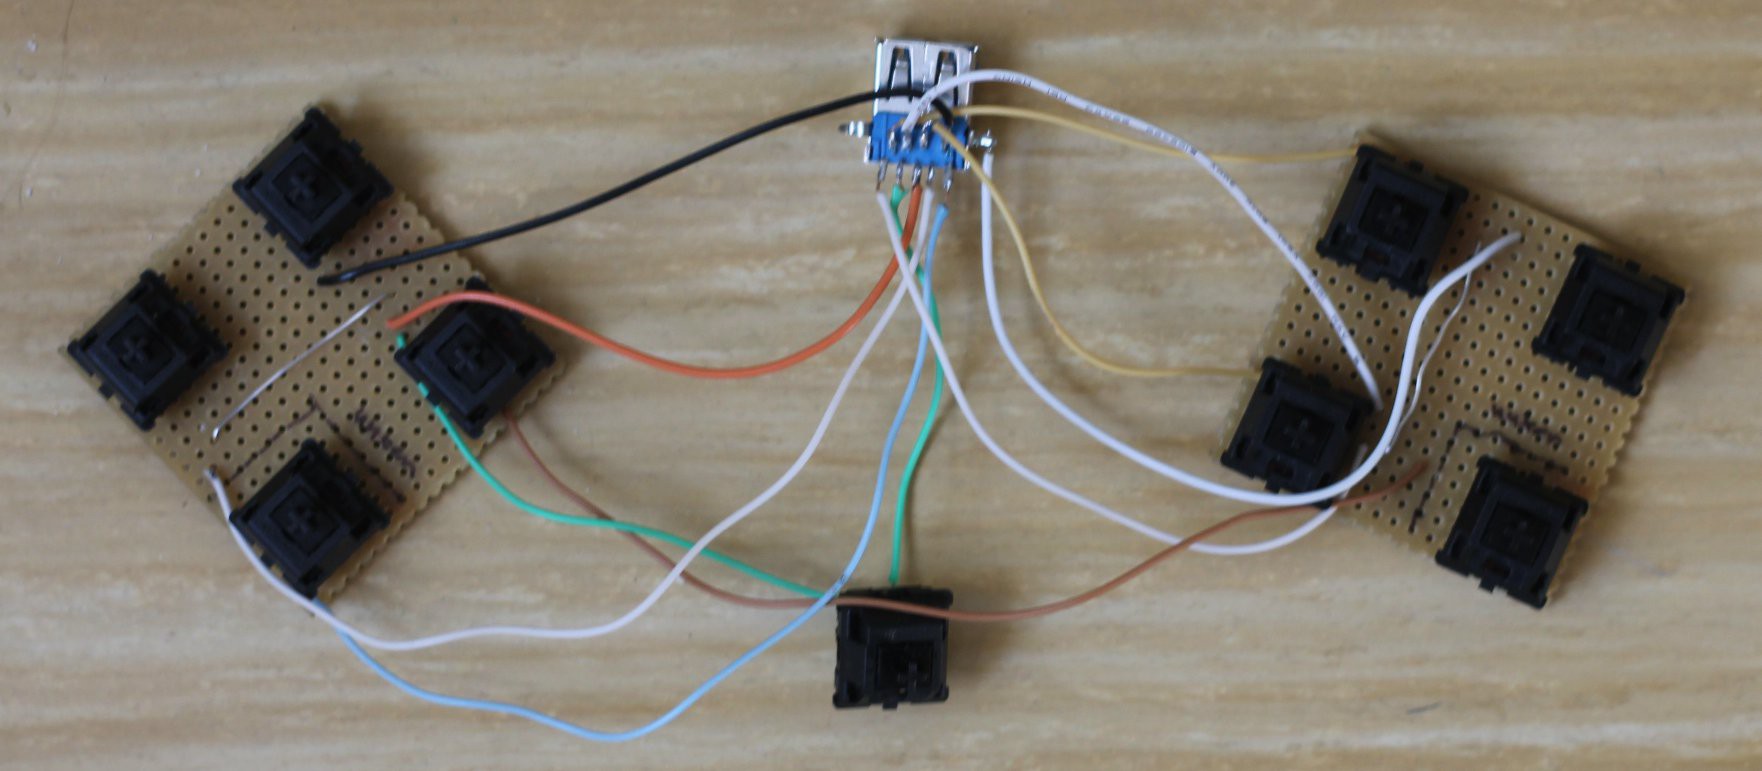
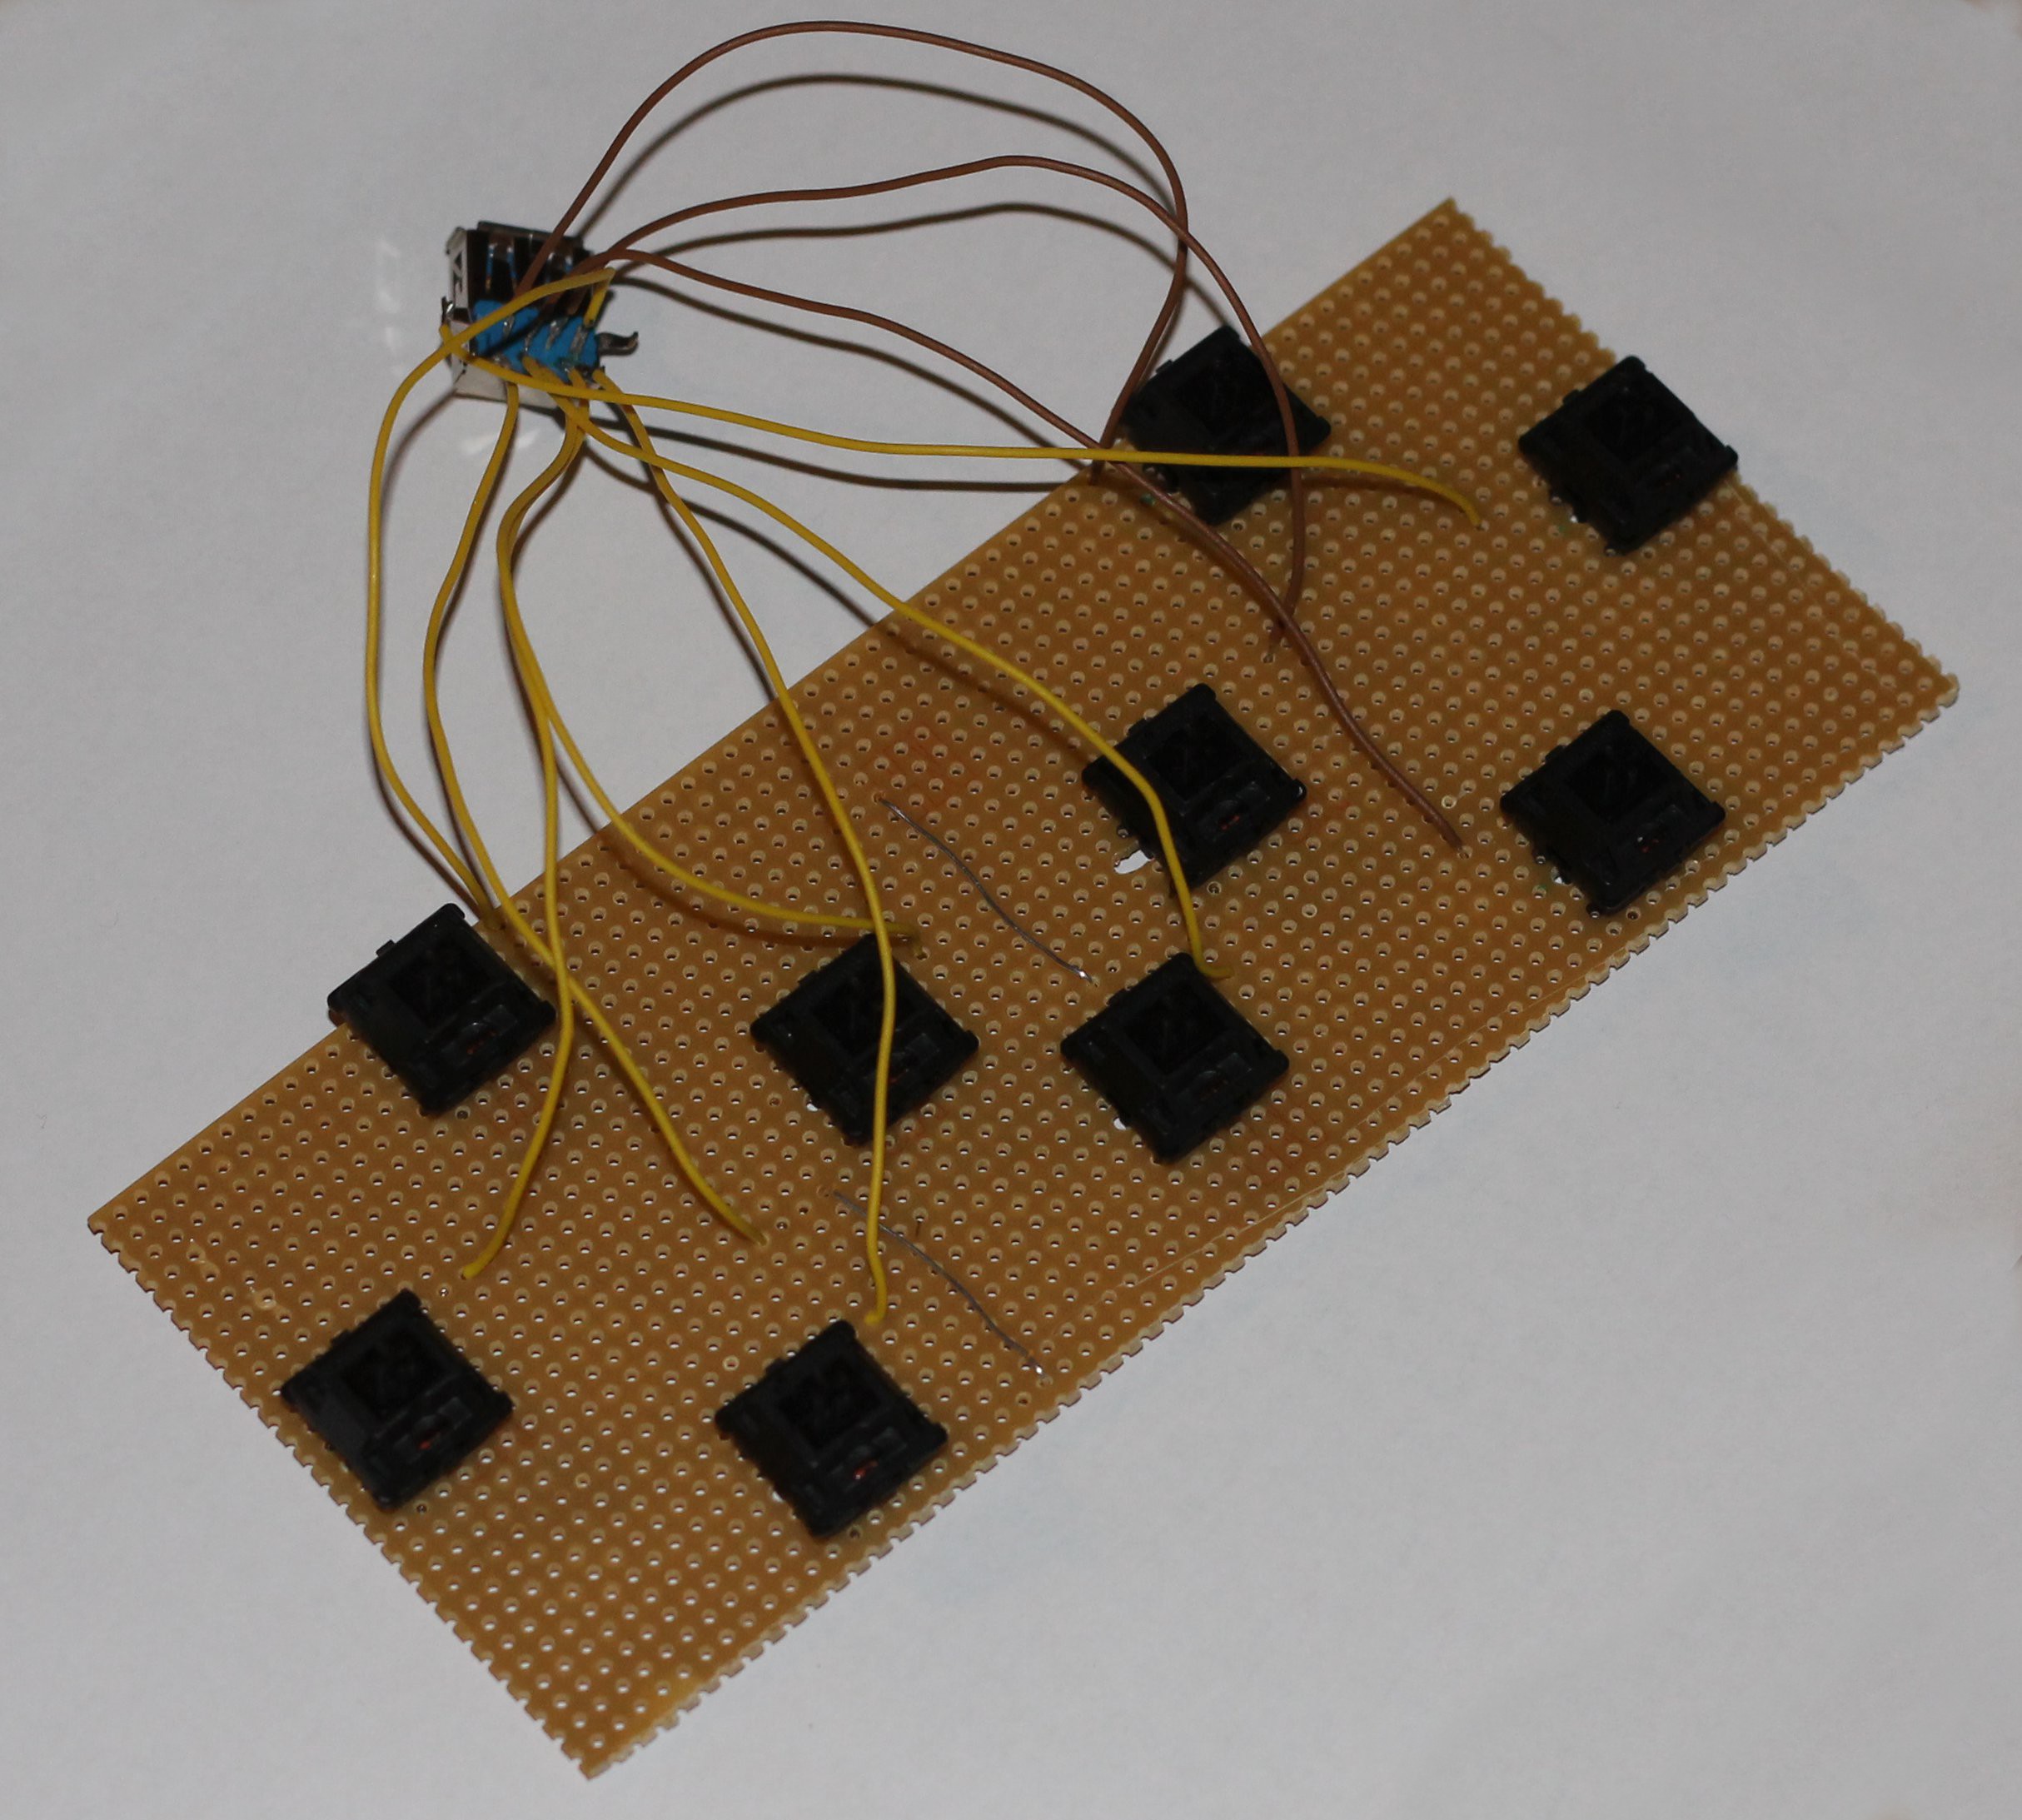
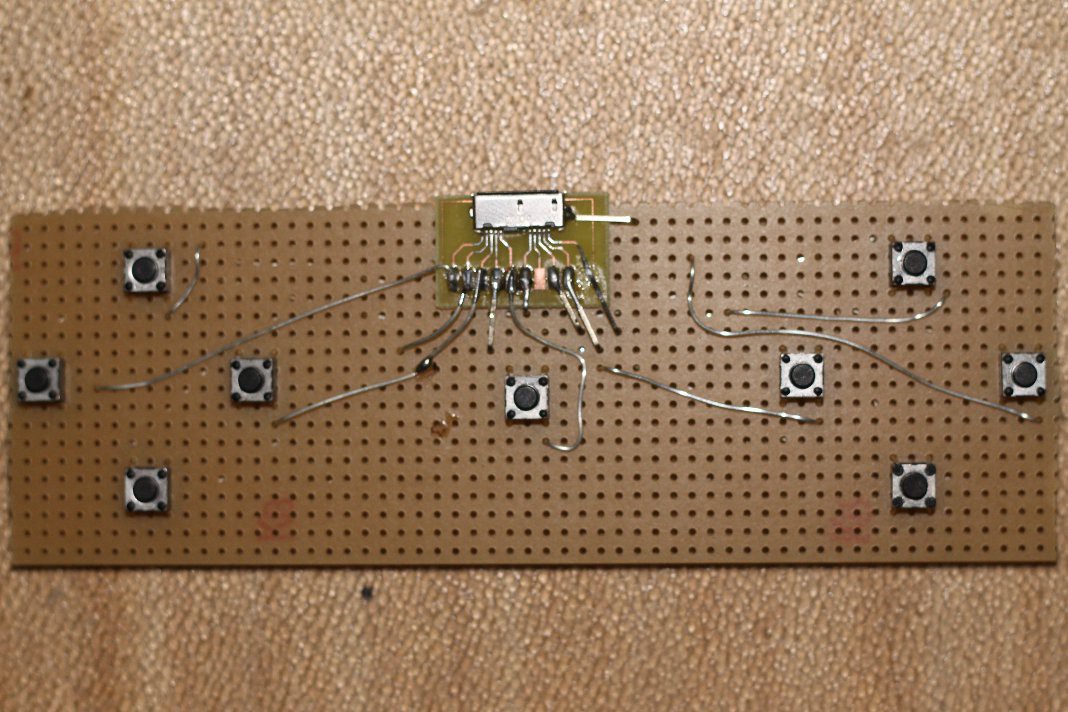
10/19/2014 at 11:41 • 0 commentsThe previous days I built two new Cherry MX controllerboards. At the first one I minimized the distance between the switches.
Heres a foto of the second one:
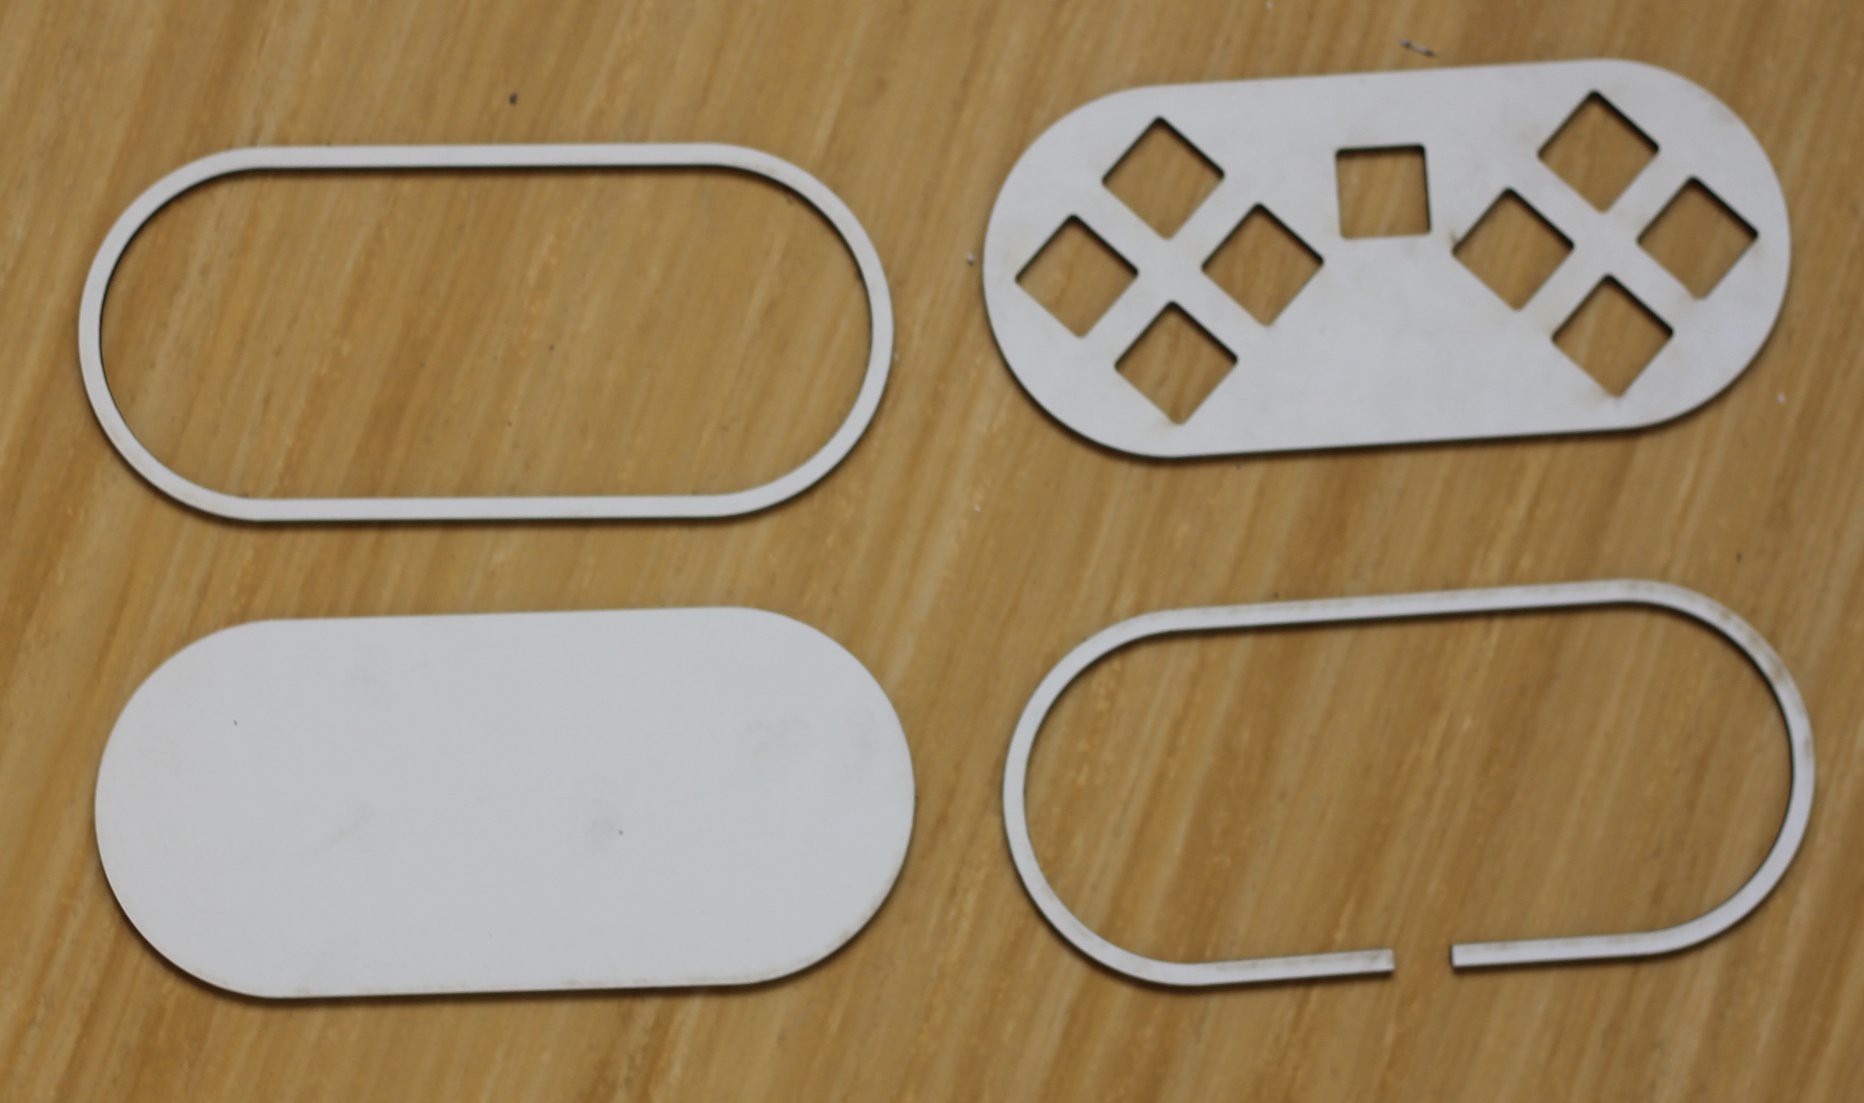
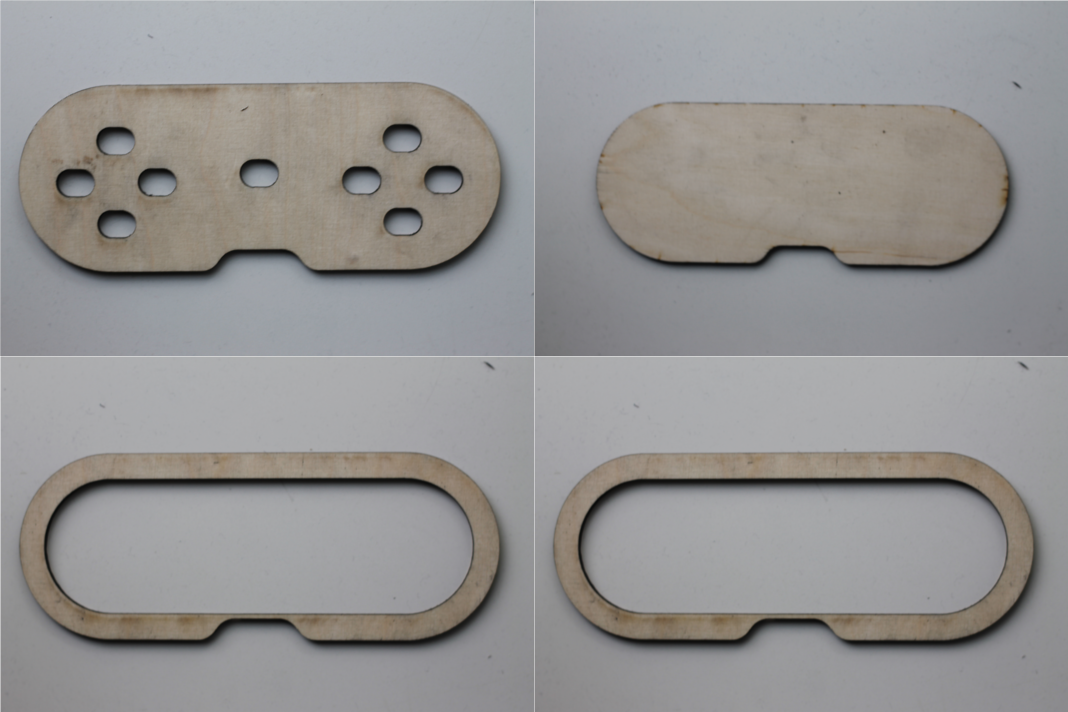
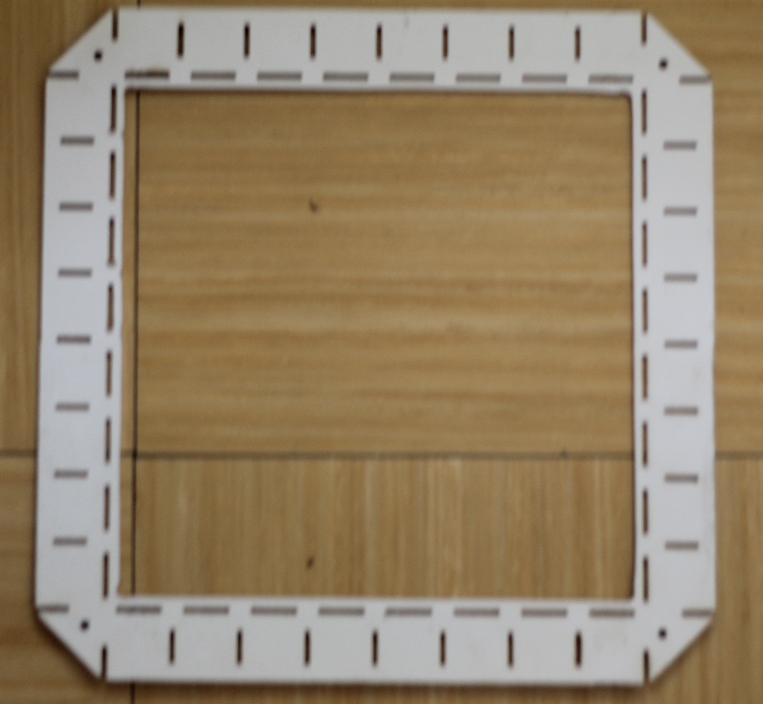
I also cut the parts for the cases of both new controllerboards out of a 3mm MDF board.
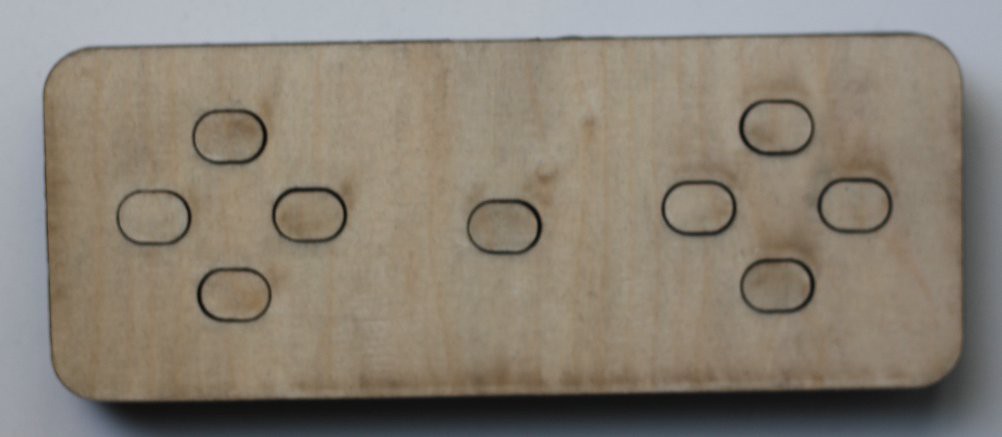
parts for case for board2 ( parts for case for board1 are similar )
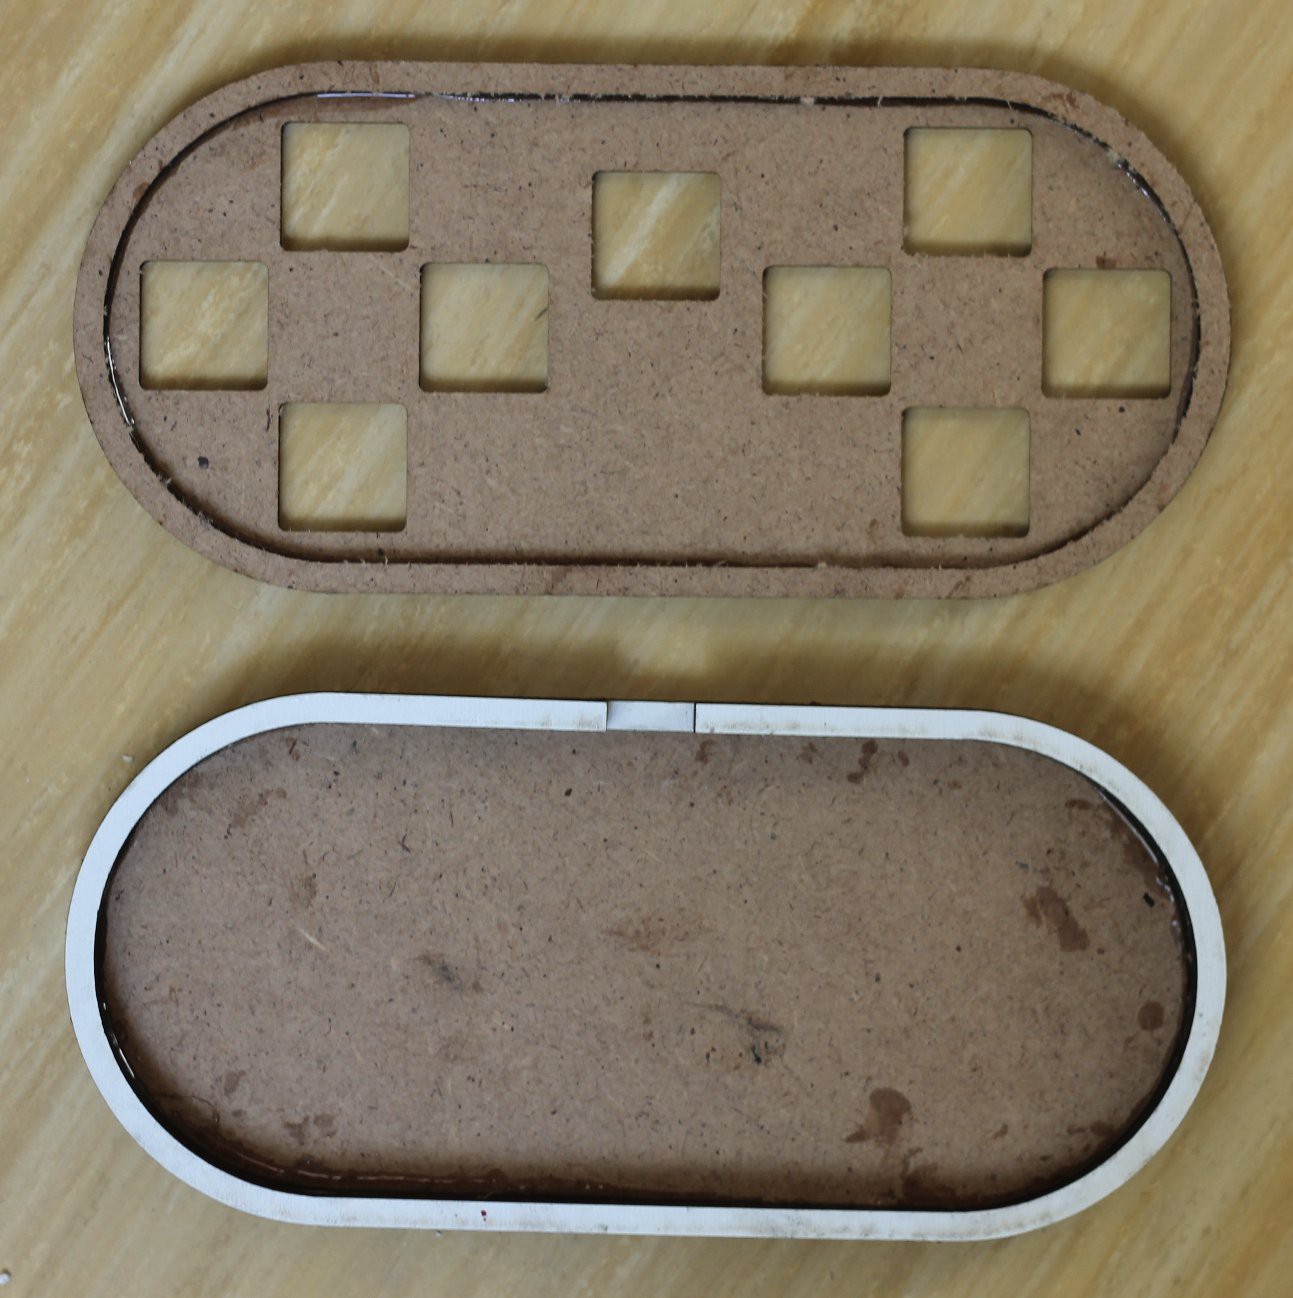
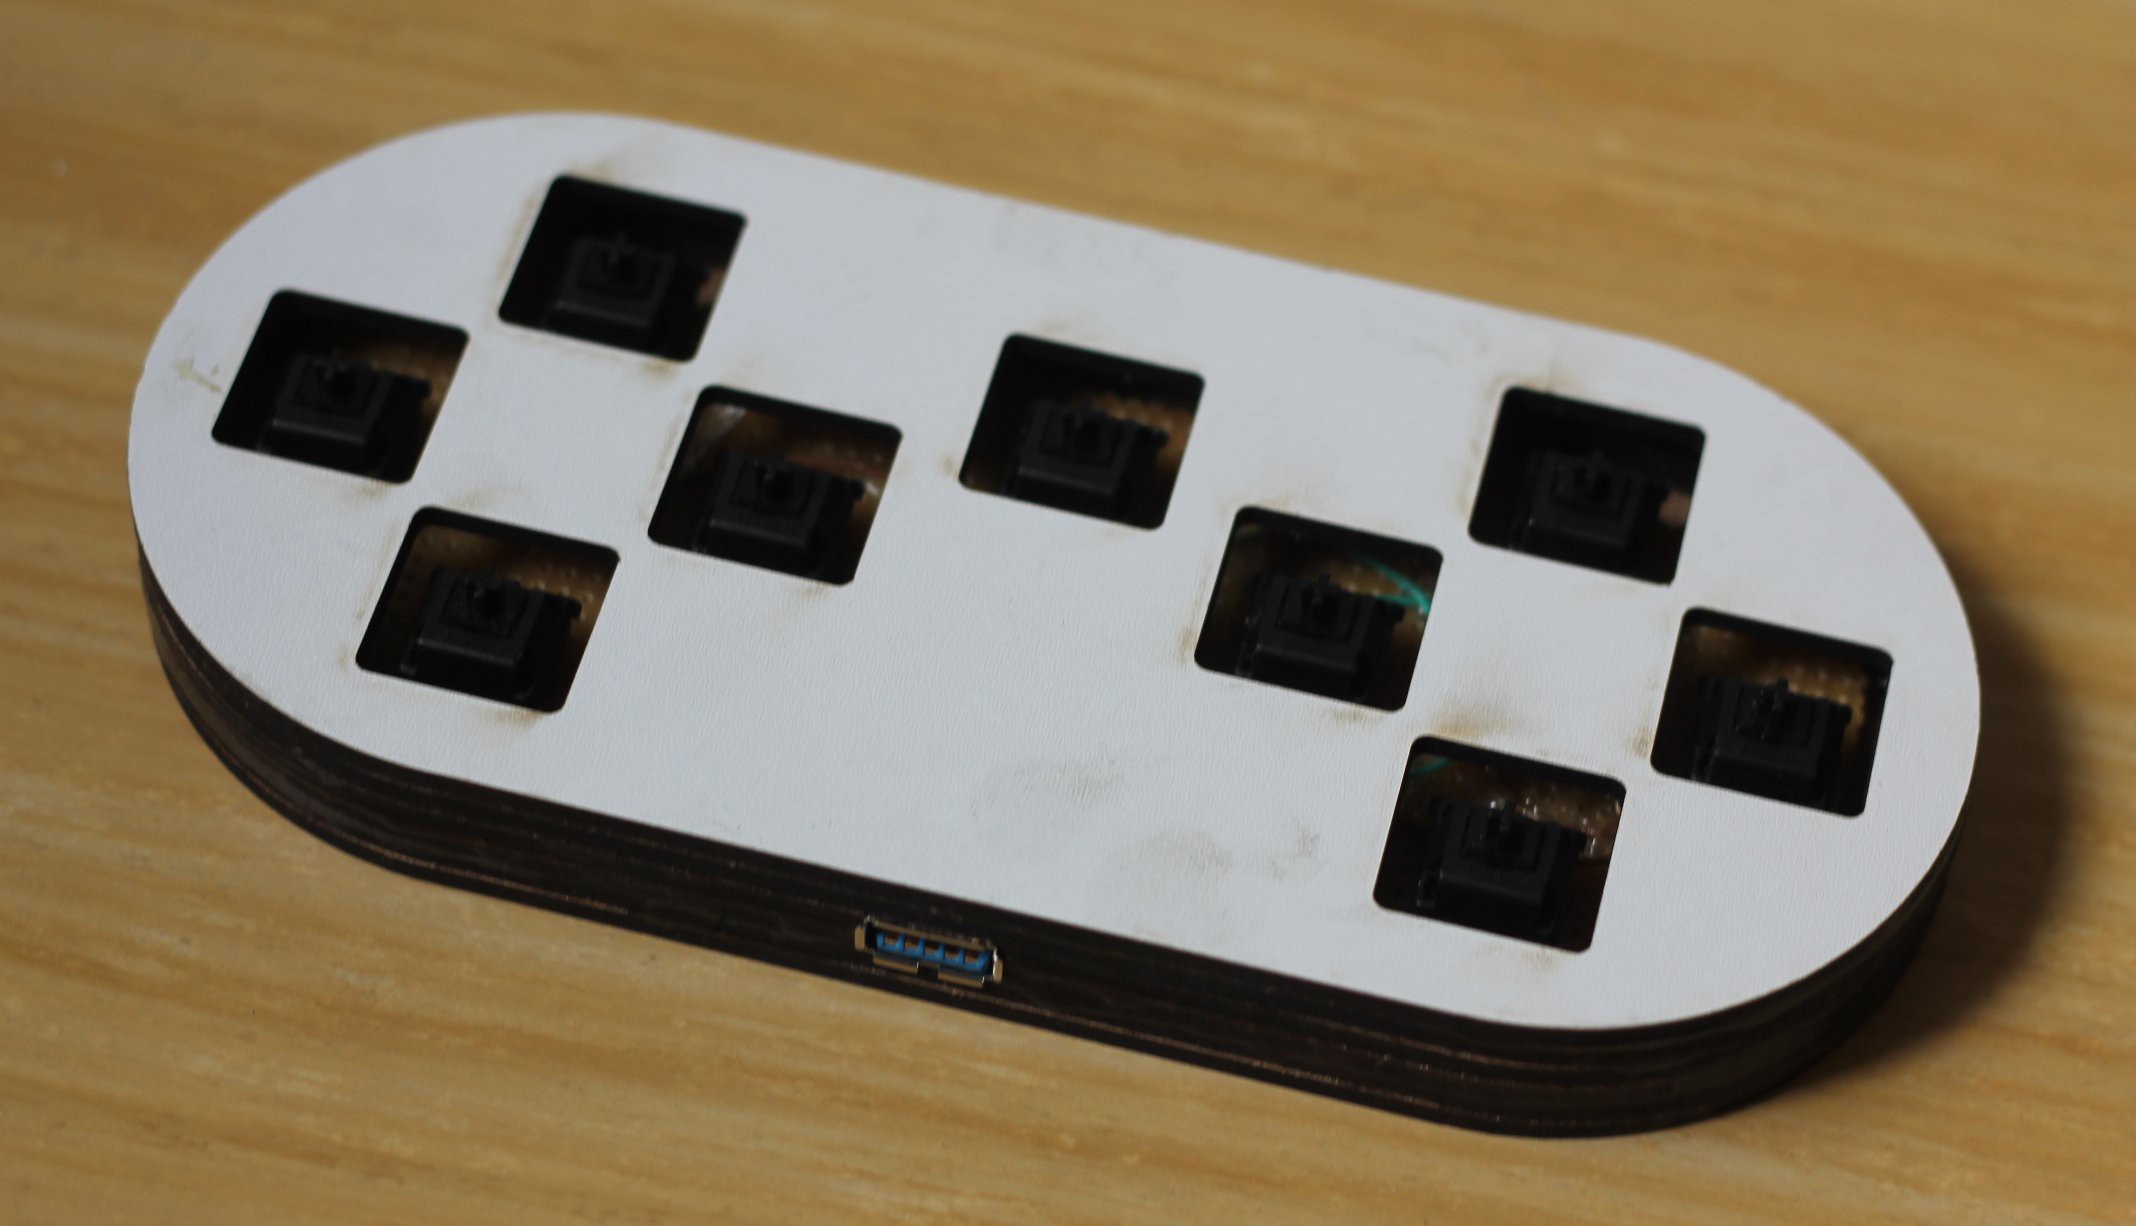
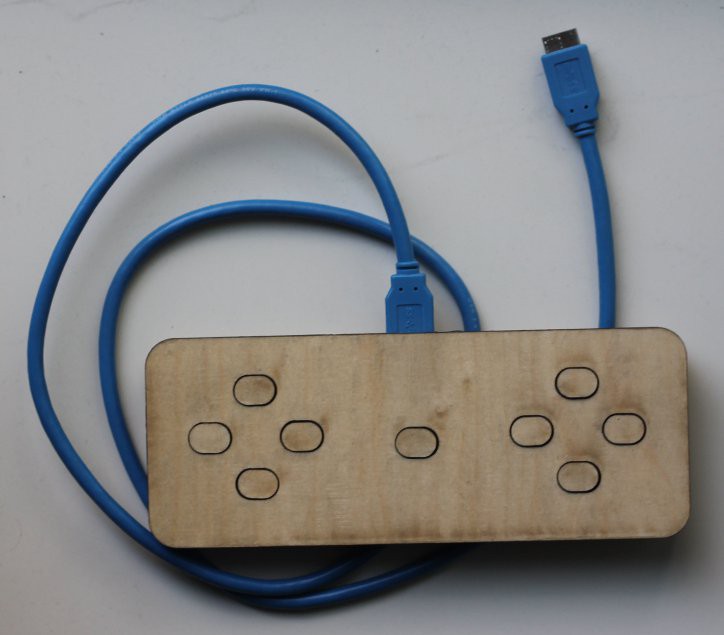
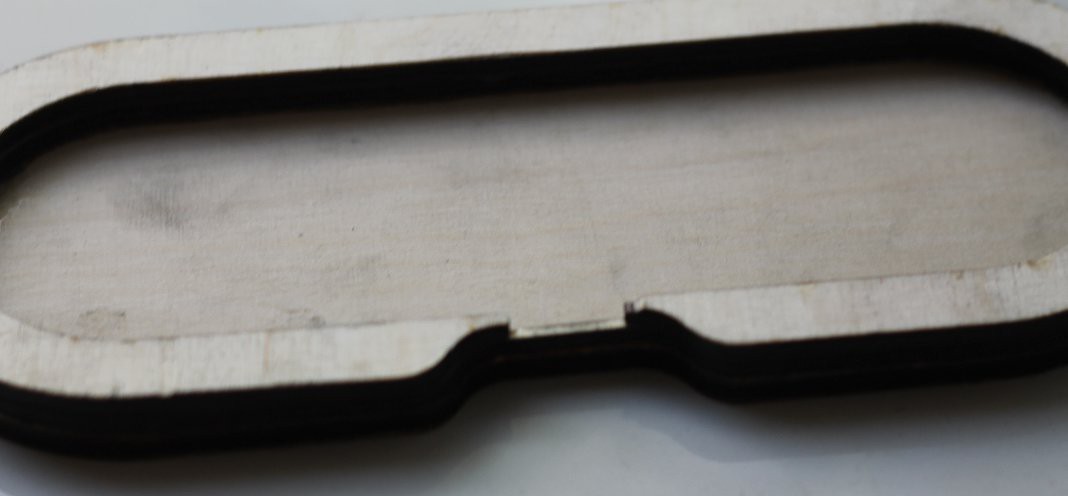
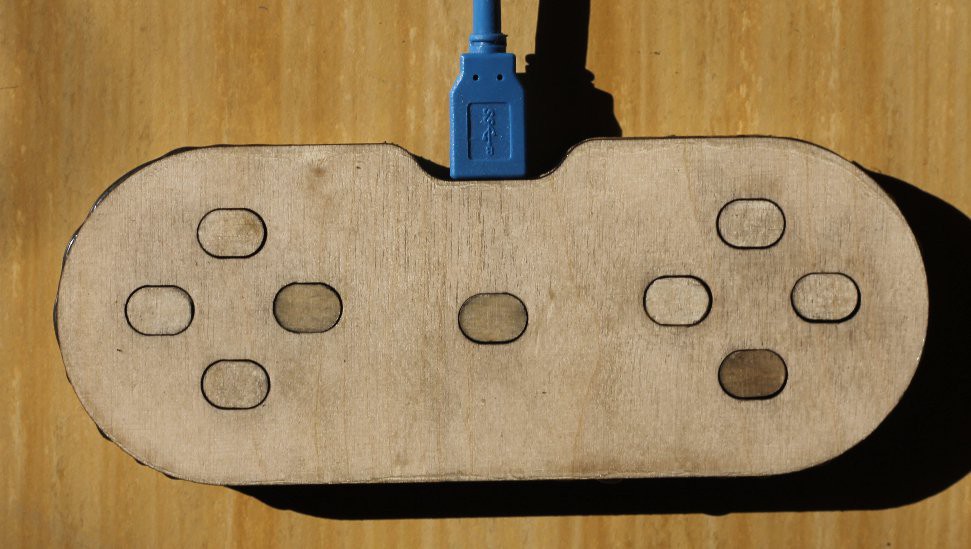
And I built the case for board1 :
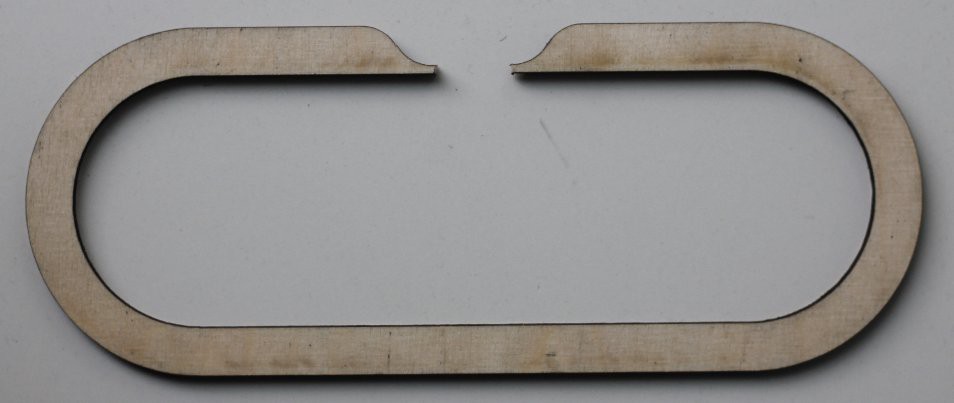
First I glued together this two parts :
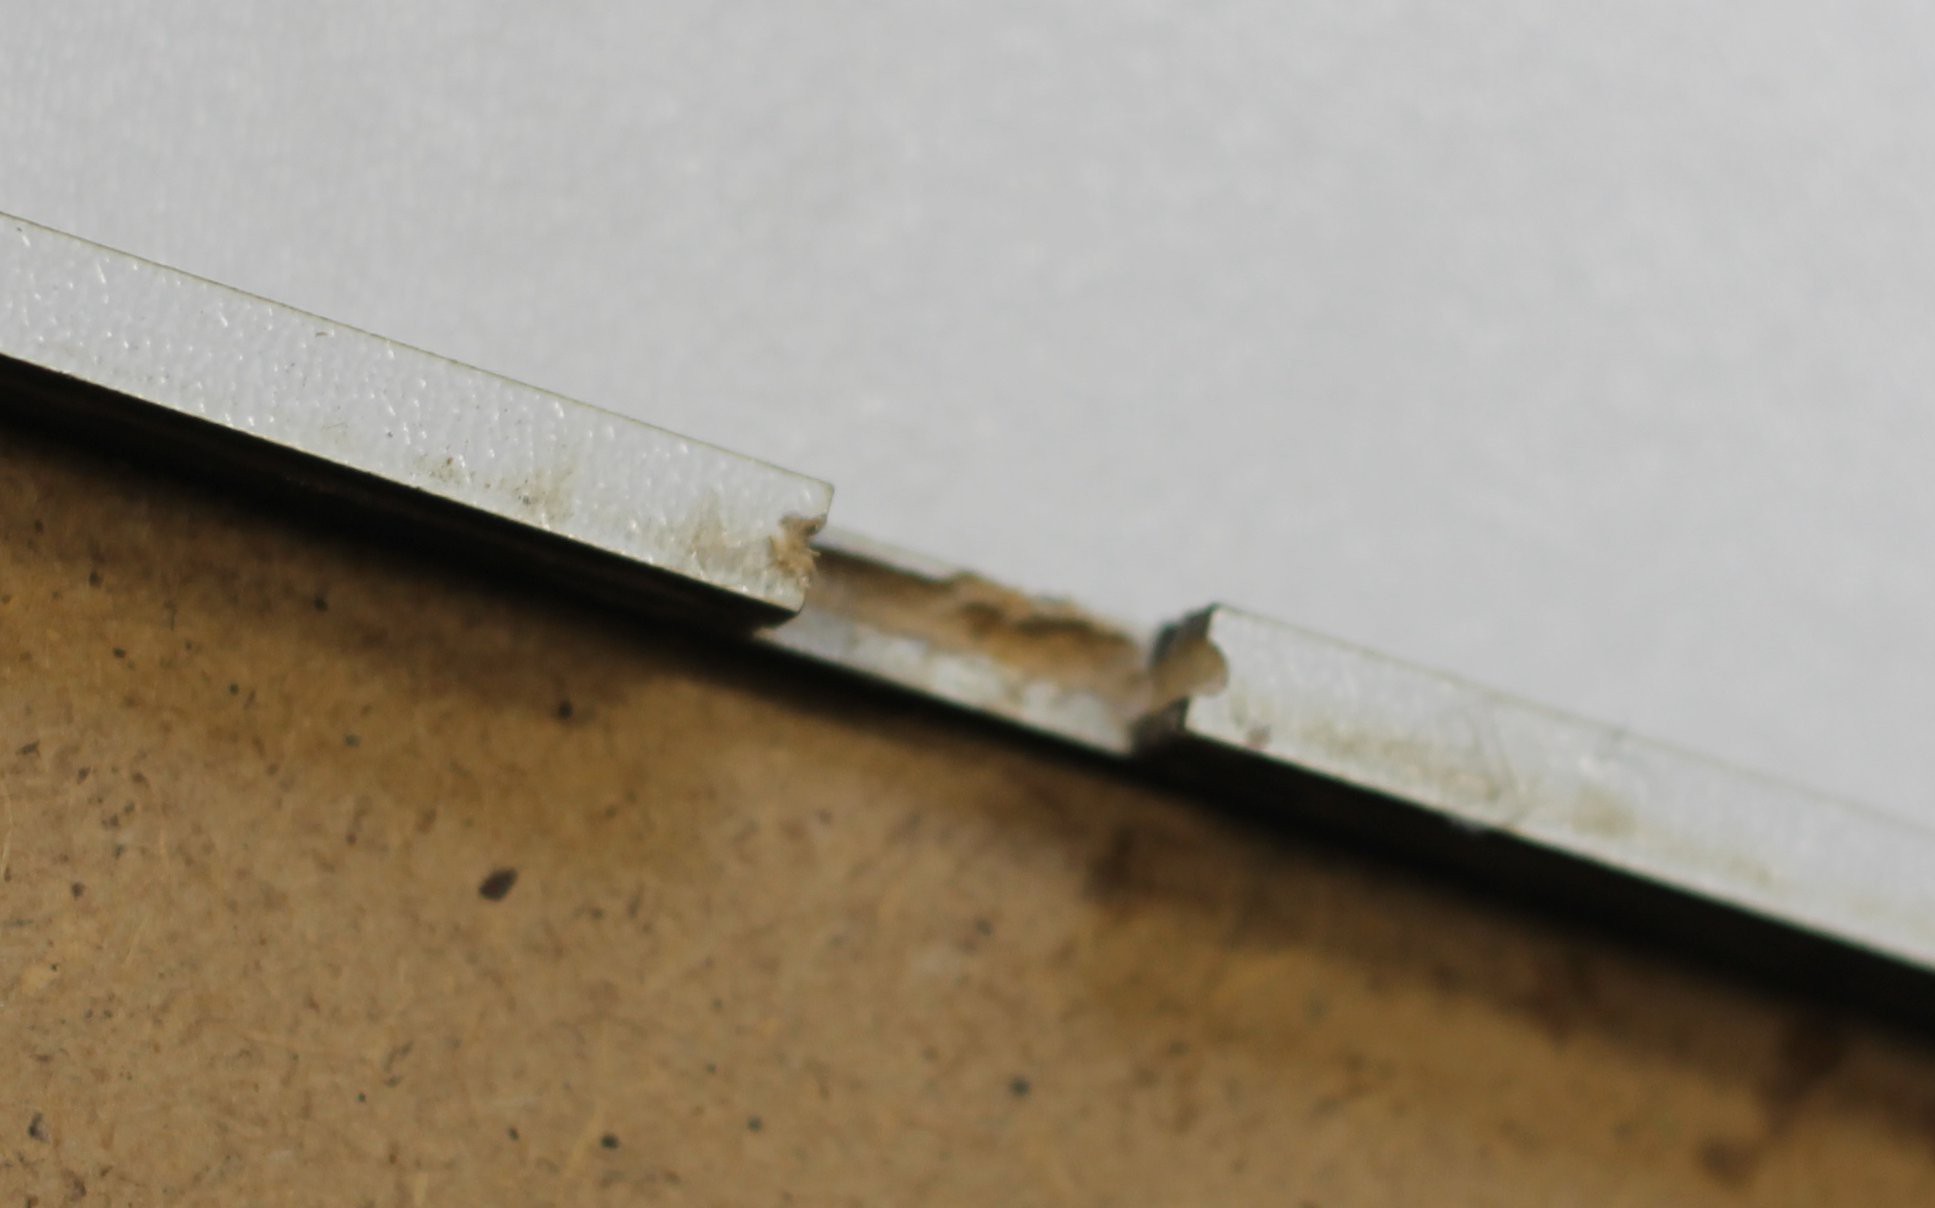
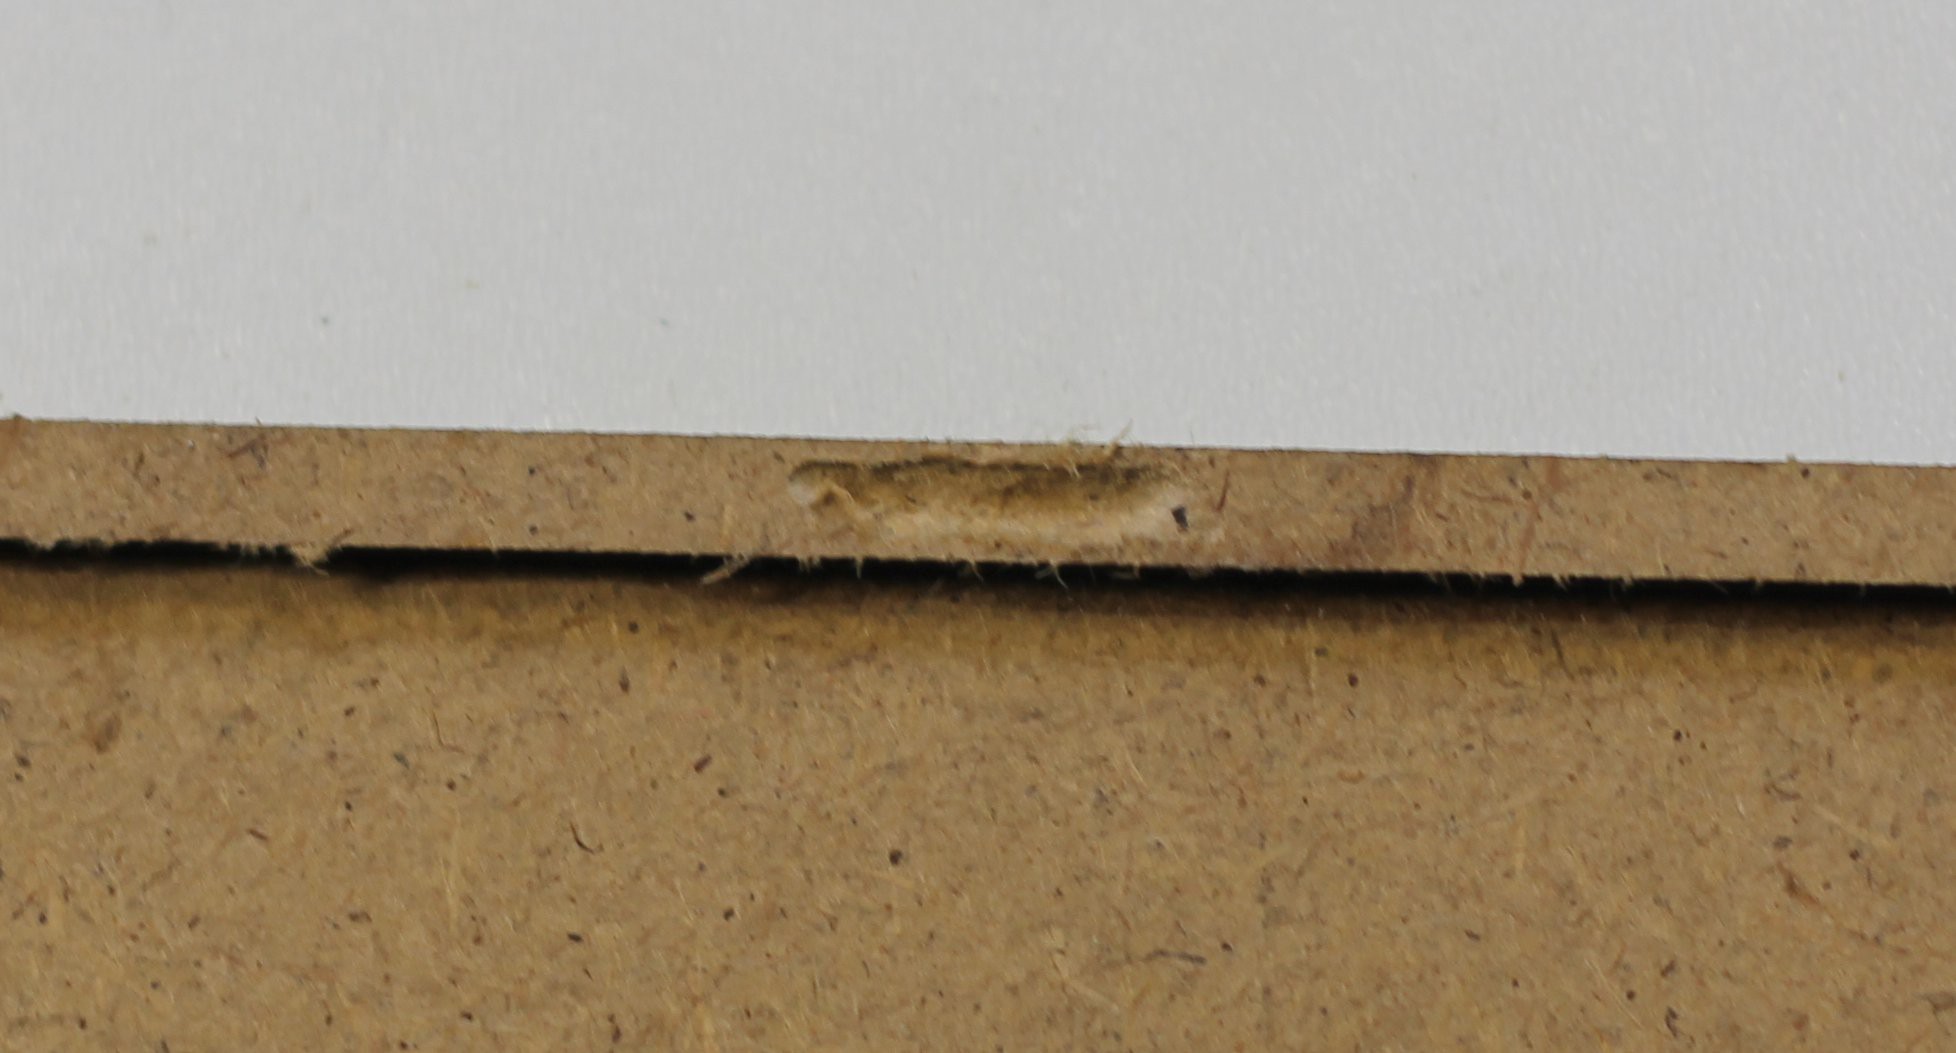
Next I milled these hollows into the parts, to give the springs on the USB connector space to let them do what they do.
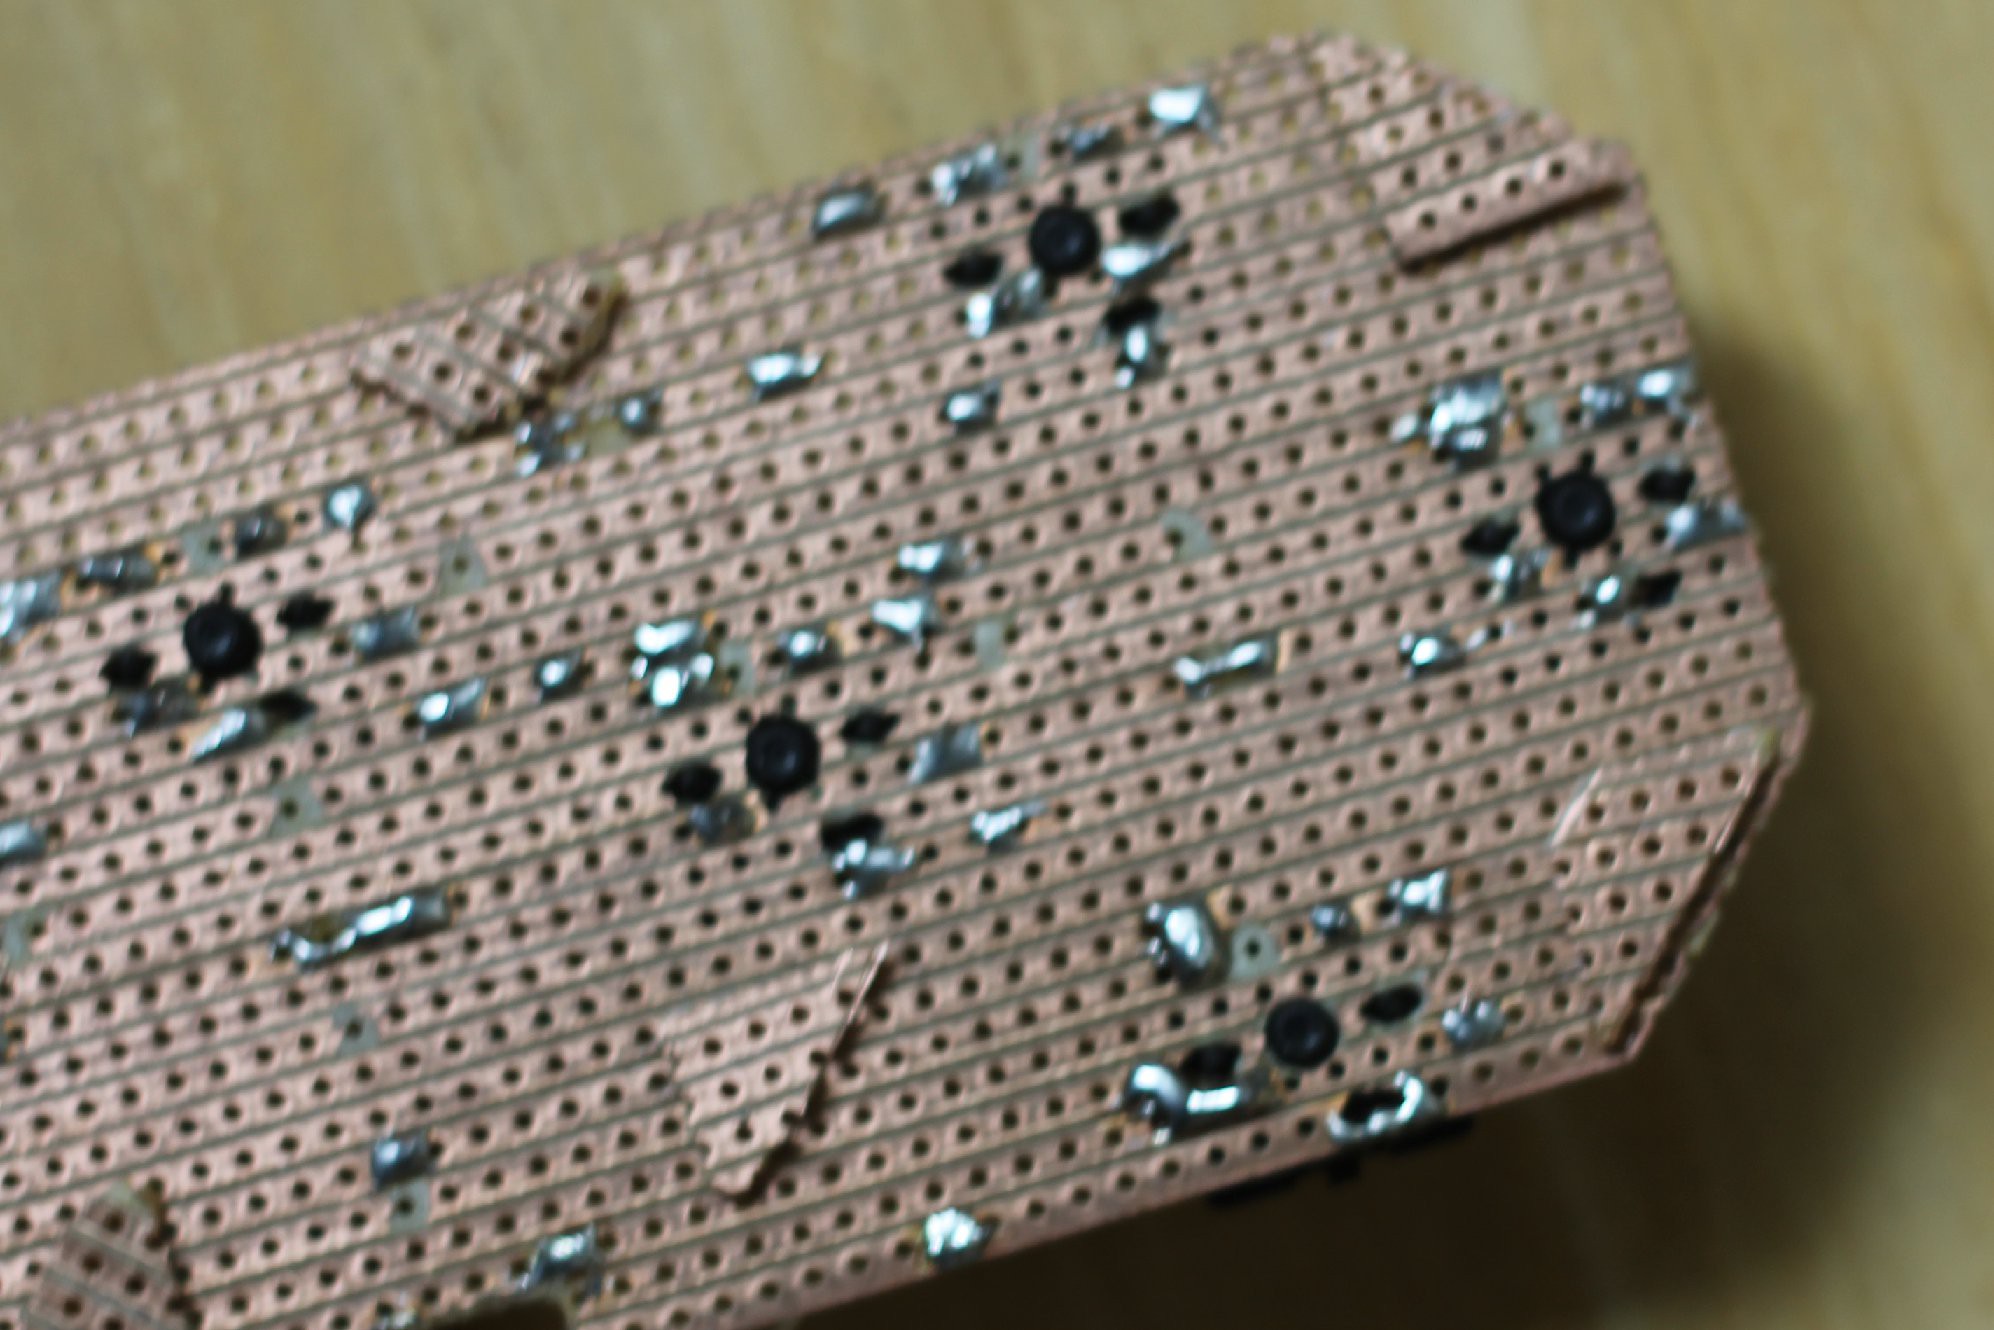
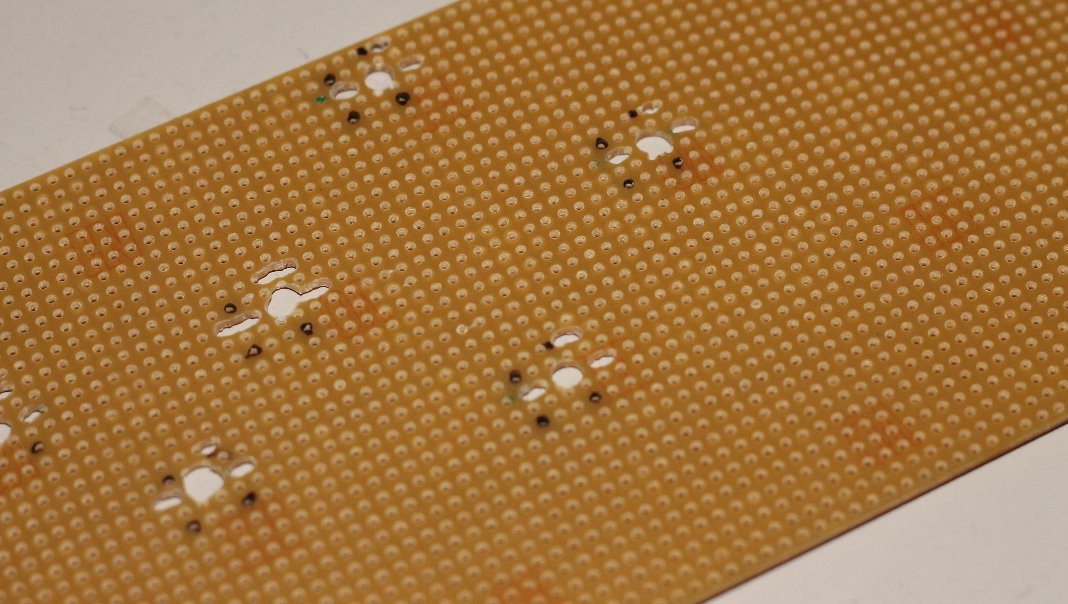
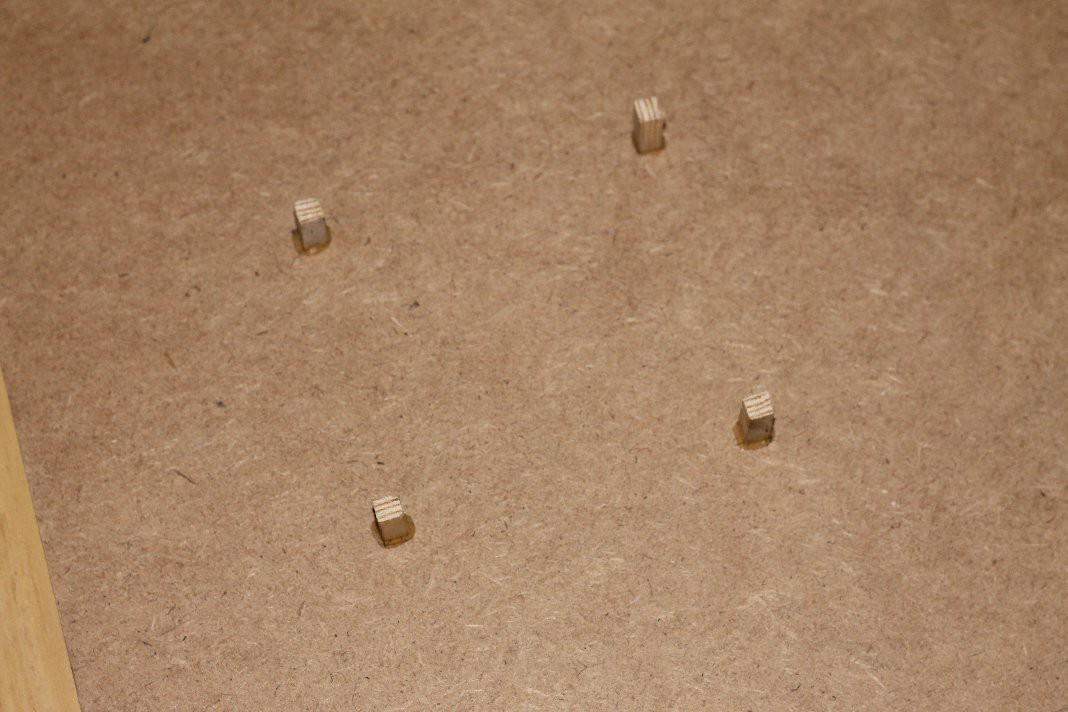
Then I glued some small card pieces on the bottom of the board to have a flat contact area.
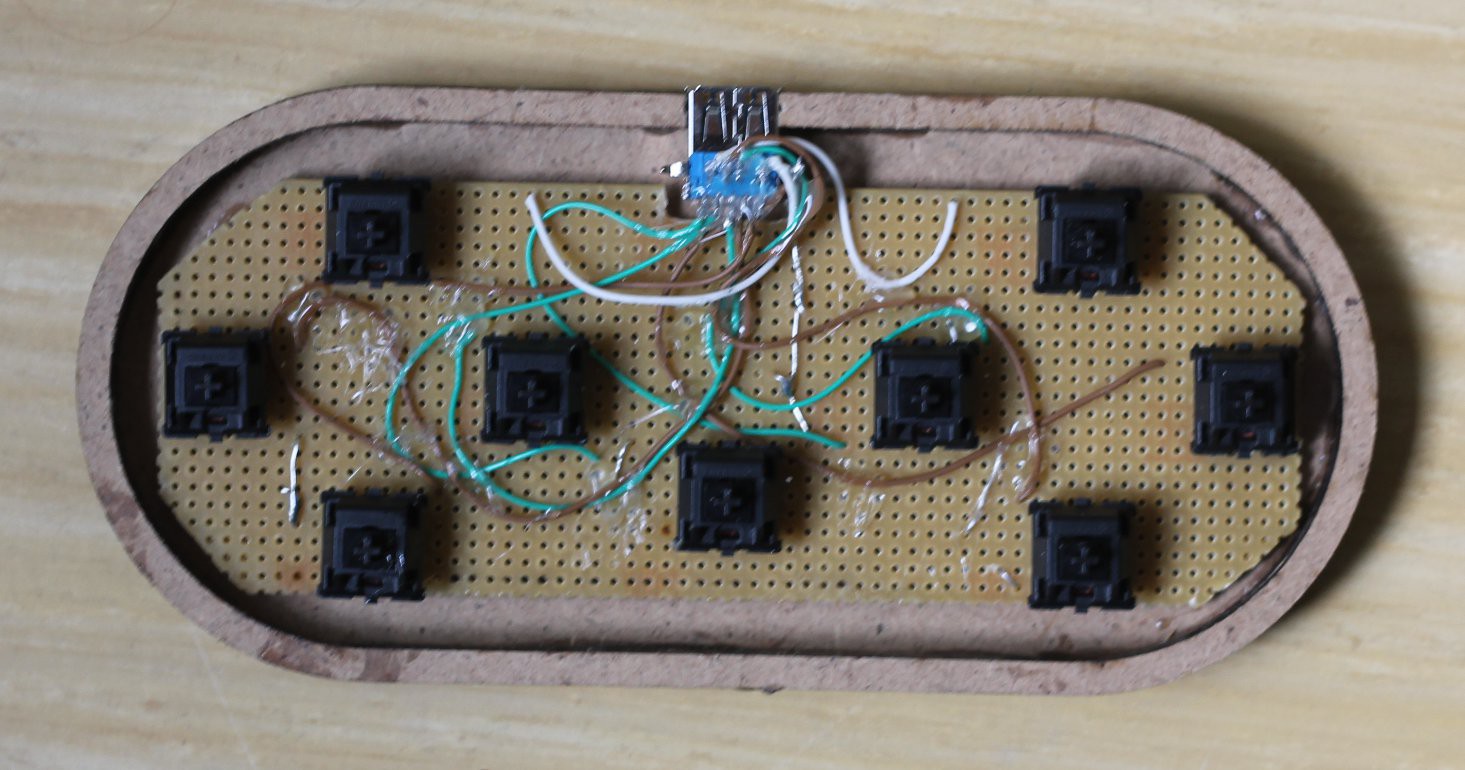
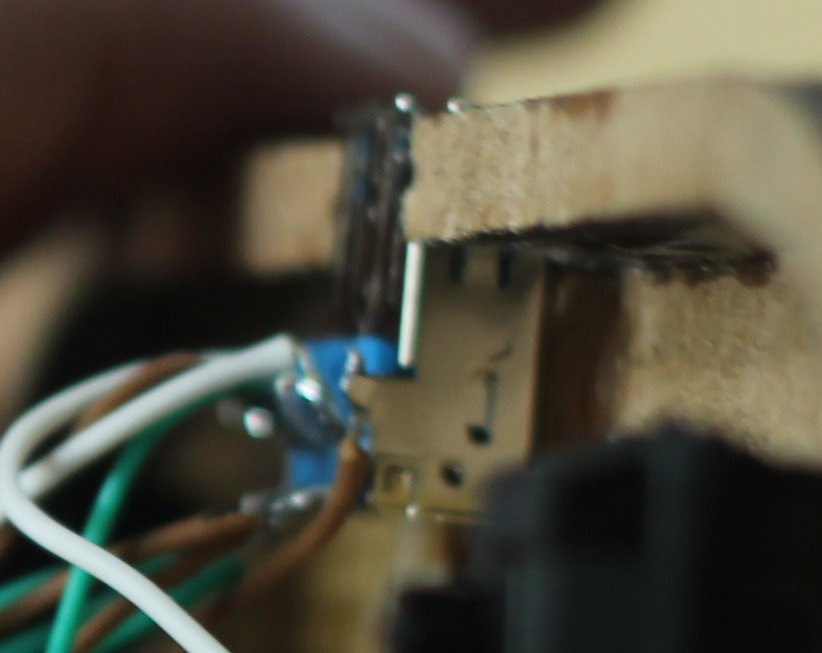
Next I glued the board and the USB connector into the bottom part of the case, and fixed the wires with some hot glue.
To hold the connector in place I used a piece of a 3mm MDF, which I put under the connector.
Then I glued the top of the case on it.
-
New Controllerboard with Cherry MX Black Switches
10/07/2014 at 19:13 • 0 commentsWhile looking for cool Projects on hackaday.io several days ago I found the unhappy hacking Keyboard. As I skimmed over the project logs I came across Cherry MX Switches and thought those could work better for my Controllers, because they are made to put keycaps on then. My father had an old Cherry G80 keyboard lying around and allowed me to take it in parts. Yesterday I soldered the Cherry MX Switches out of the Keyboard and began to make some tests and drilling holes for the switches in a card.
Today I soldered everything together. I used a normal USB 3.0 female connector instead of an USB 3.0 micro female connector, because I had lying around these connectors and USB 3.0 normal to micro cables and I didn't need to make new breakout boards for the connector, because the pins aren't that small on these connectors.
-
Controllerboards and first trys of case building
09/27/2014 at 13:05 • 0 commentsBoard
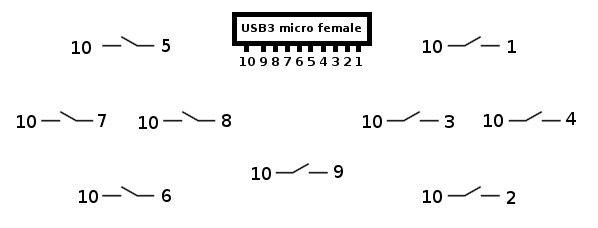
schematic
![]()
( Pin 4 is the shield of the connector )
board
Case
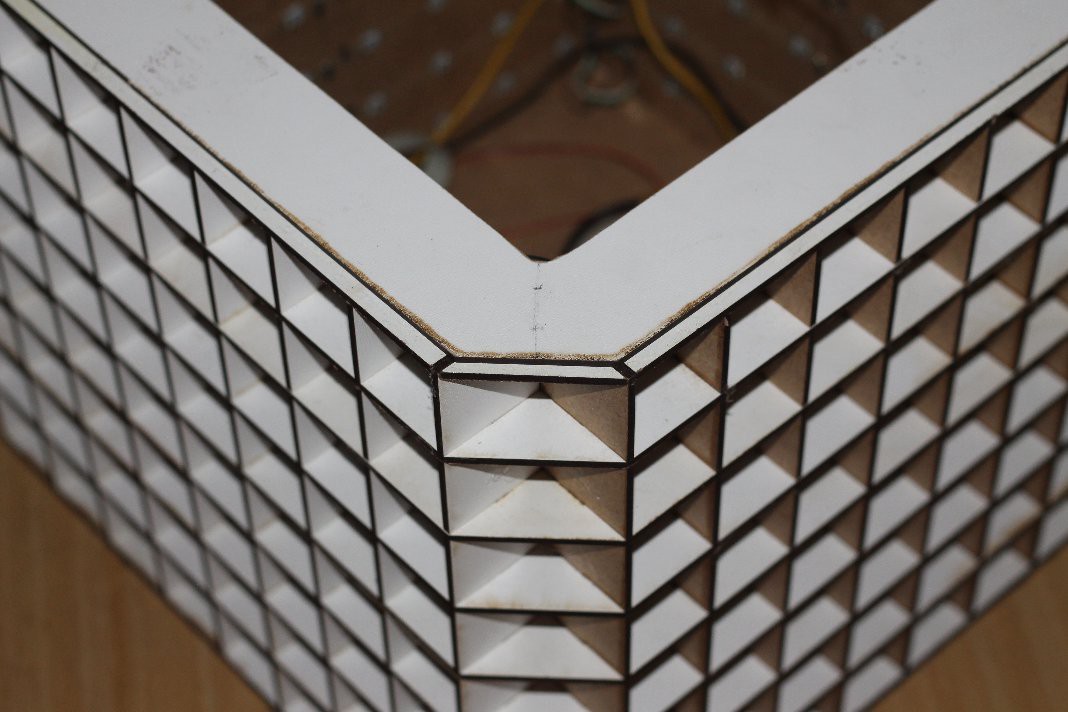
I built a case out of 4 parts, which I cut out of an woodboard with a lasercutter.
There are two things I didn't liked about that case: The corners and that I needed to make a hole for the USB-Cable.
So I designed a second version. Thats how I built it ( the buildingprocess of version 1 is similar ) :
The parts for the case version 2
![]()
I cut a piece out of one of the middle parts for the connector.
Next I glued all parts except the top one together.
And painted all parts with clear paint, to ninimize dirt on the controller.
Next I cut away the corners of the board, to make it fit into the case.
And then I glued the board in the controller and the top on it.
Unfortunatly the most buttons didn't work. The reason for this is probably, that I orderd other simular buttons, for the second board by mistake.
-
Top
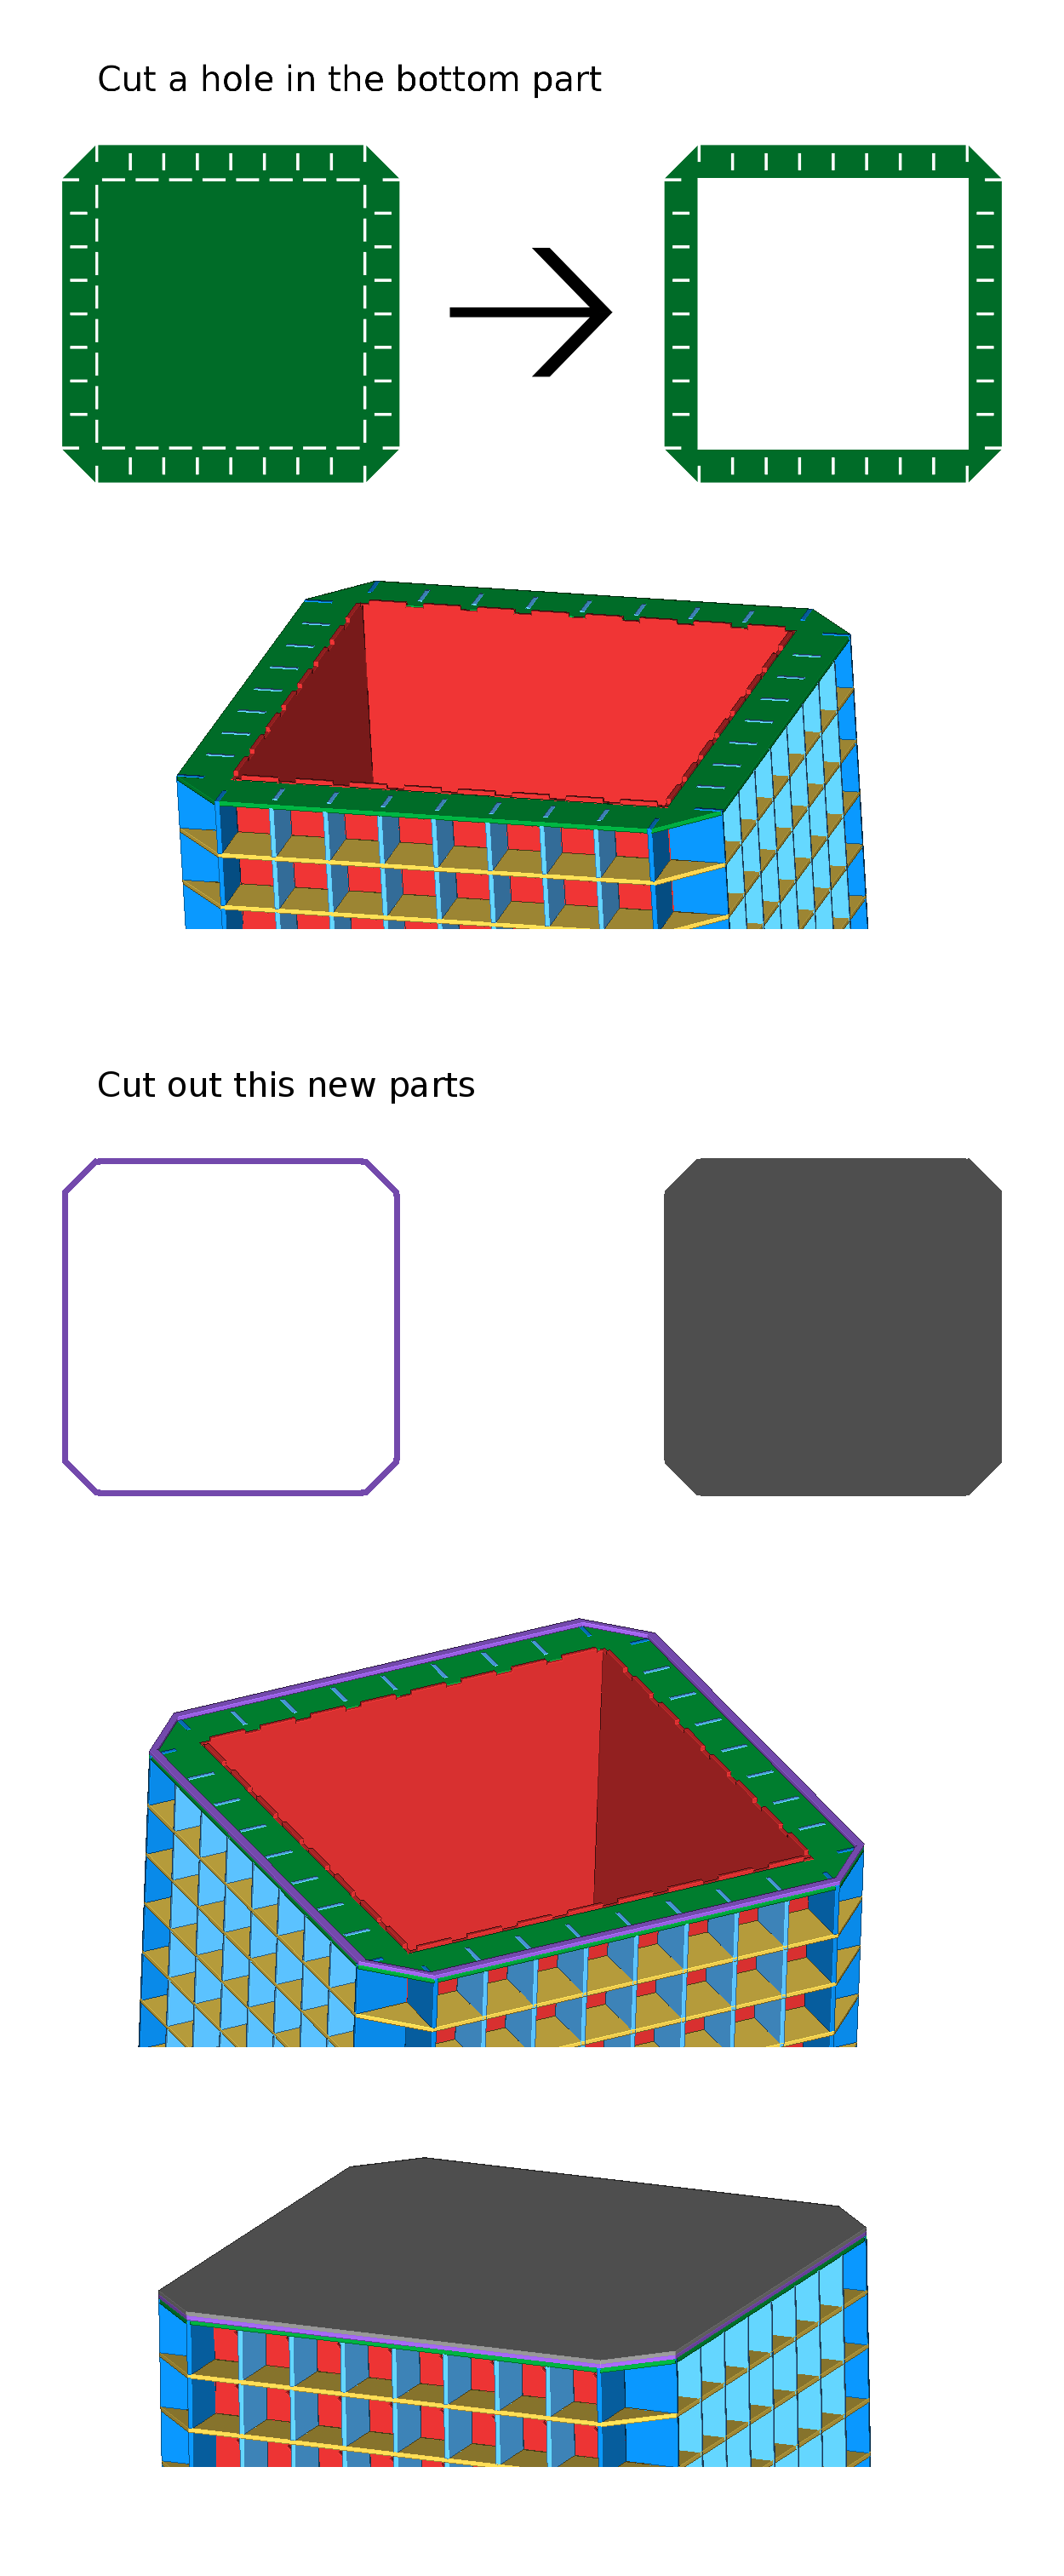
09/18/2014 at 18:09 • 0 commentsAs I designed the parts for the cube I didn't had in mind that I will need to get inside the cube sometimes to uplaod new games or maybe repair something. So I redesigned the top a bit to make it removable.
Thats how I made it :
First I cut a big hole in the existing part. ( ..and four wrong holes in the corners )
![]()
Next I cut out a new part and drilled four blind holes ( radius = 8mm depth = 2mm ) in the corners. ( I deleted the photo of the other side and some more by mistake )
Next I glued magnets in the blind holes and glued both parts on the cube that way that the magnets are complete enclosed.
Next I cut out the top and drilled four blind holes in the corners ( same size as at the other part ) . Next I glued magnets in the holes and glued some rocketsticks on the back to fix a bend.
On the cube :
It overlaps 5mm, because the plexiglas for the pixel-area will be 5mm wide.
-
Bottom
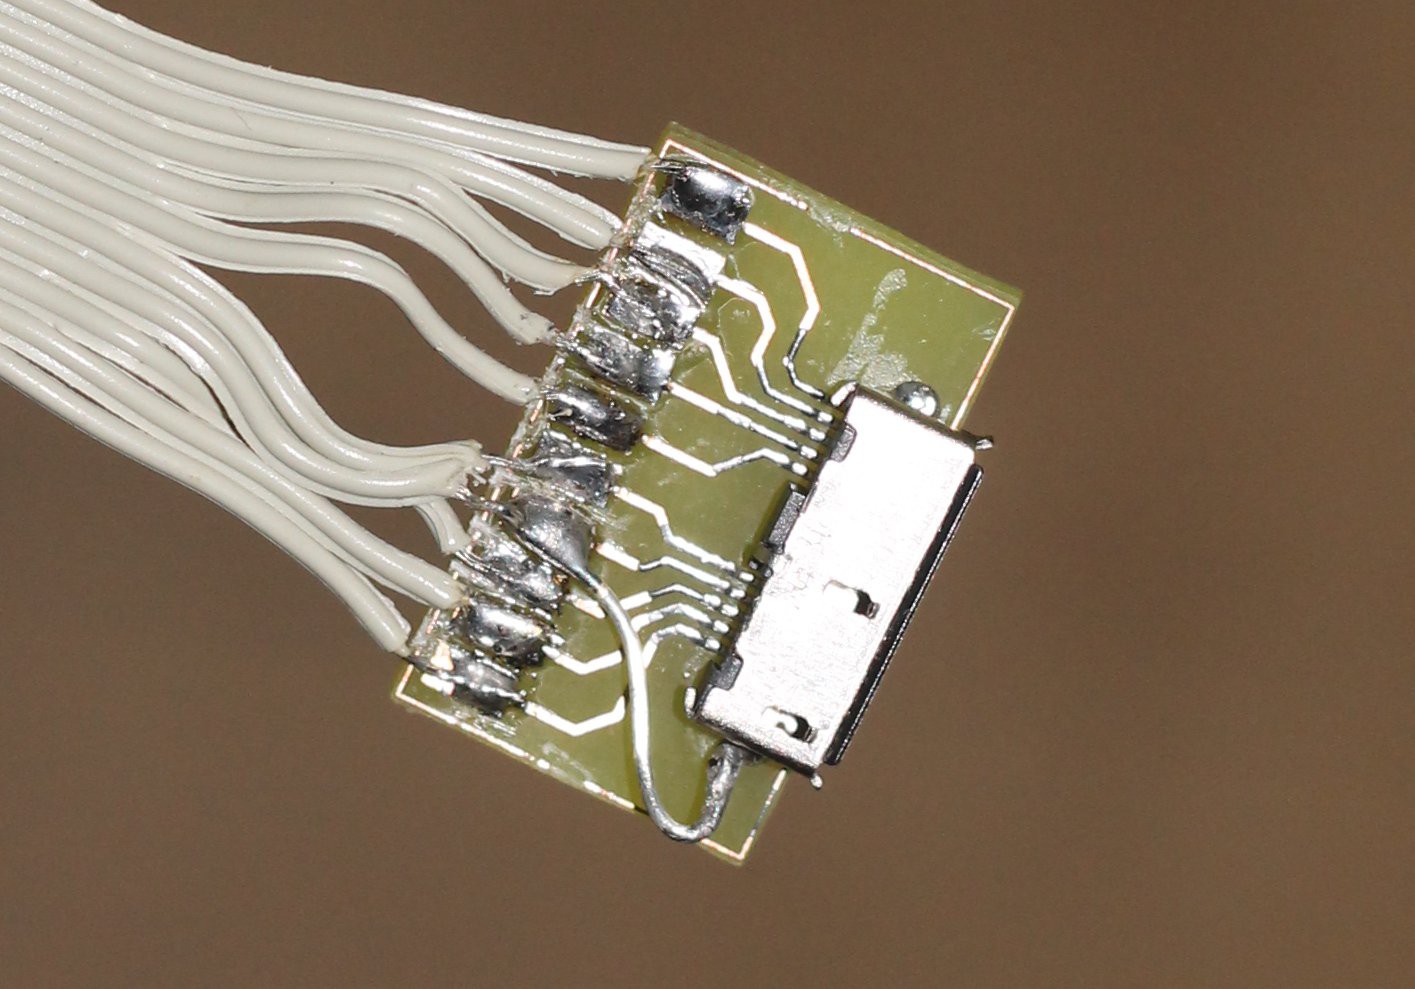
08/29/2014 at 11:48 • 0 commentsFirst I soldered the USB 3.0 micro female connectors for the controllers on the wires I had soldered on the main board. ( I used a breakout board to make the soldering easier. ) After some tests I recognized that the 4th pin / ID-Pin of USB 3.0 micro isn't usable at all. Now I needed a new 4th pin and found out that the shell goes through the wire as well. So I just used a piece of wire and connected the 4th pin with the shell.
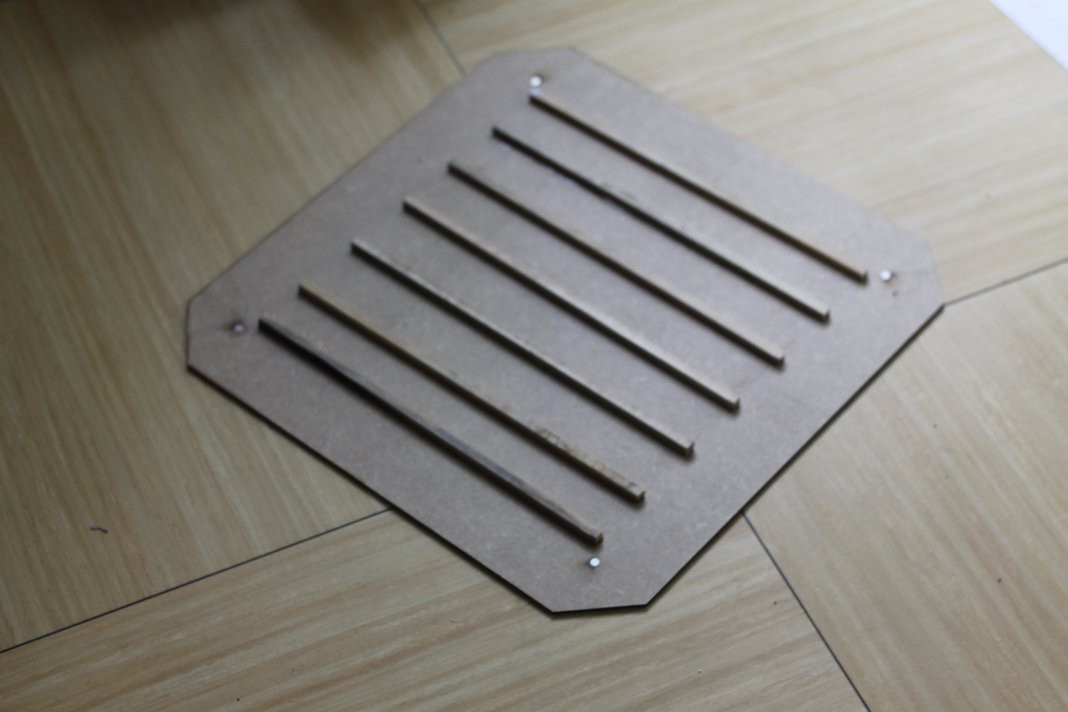
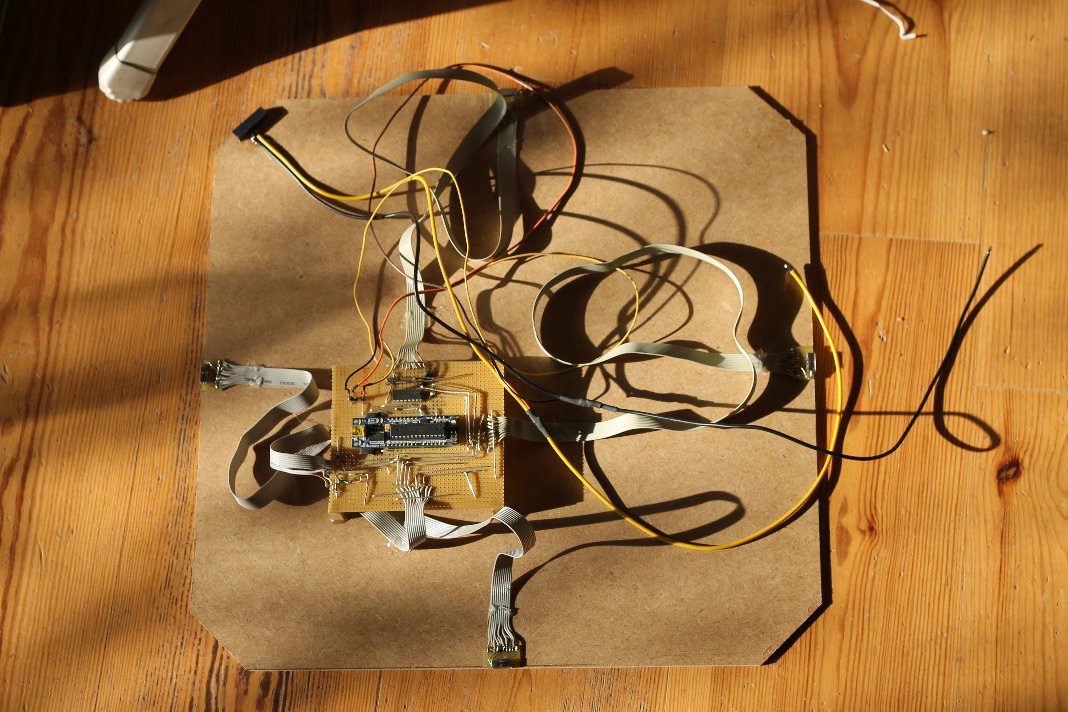
Next I glued some short sticks on the bottom to glue the main board on it.
Next I glued the main board and the connectors on the bottom.
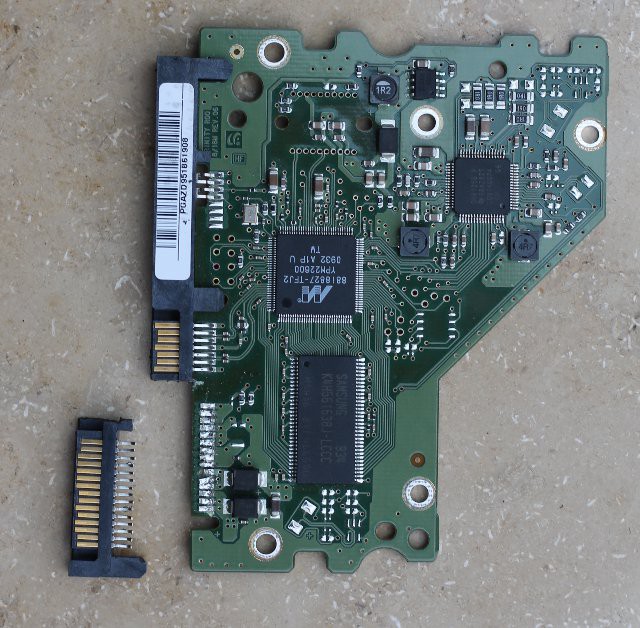
Then I needed a as small as possible power suply. I ended up with SATA. The problem was: where to get a female SATA connector ? The answer is: out of a broken hard disk.
Next I pulled out the pins i didn't needed, wired the connector with the main board and glued the connector on the bottom.
Then I glued the bottom on the rest of the cube and connected the LEDs with vcc and gnd of the SATA connector and data in of the first LED with pin 11 of the Boarduino. -
The main board
08/22/2014 at 17:51 • 0 commentsMy idea that I could simply connect all buttons of all controllers with vcc or gnd and a digital pin came out to be wrong as I recogniced that the pins of my USB Boarduino v2.0 were not enough. My first solution was to use the Fubarino I won at the hackaday Fubarino Contest, but the NeoPixel library by Adafruit didn't worked with the PIC processor. So I needed to came up with another solution.
![]()
Each button on the controller will be connected with the reply pin and one of the other pins. The system works that way:
- shift out on the 74HC595: Q0 low and the rest high
- readout the reply pins ( low = button1 of that controller is pressed / high = it isn't )
- shift out on the 74HC595: Q1 low and the rest high
- readout the reply pins ( low = button2 of that controller is pressed / high = it isn't )
- ...
The 9th pin is conected with a digital pin of the arduino, because I thought it would be a bit dissipative to use a second 74HC595 just for one pin.
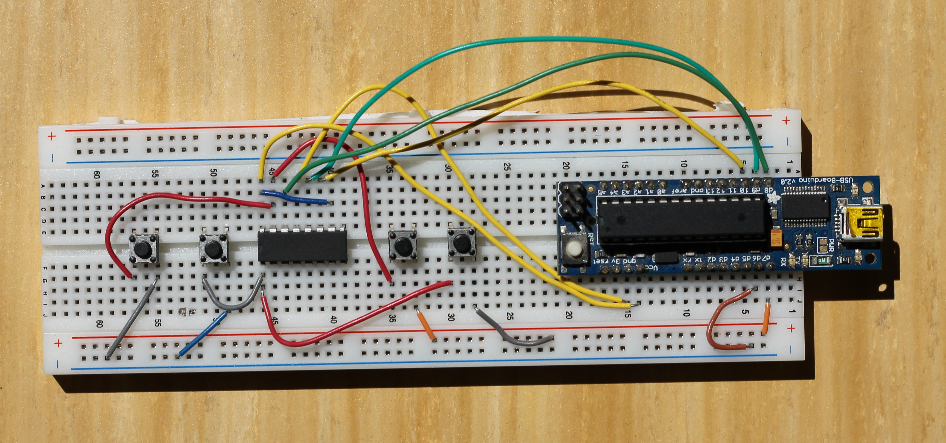
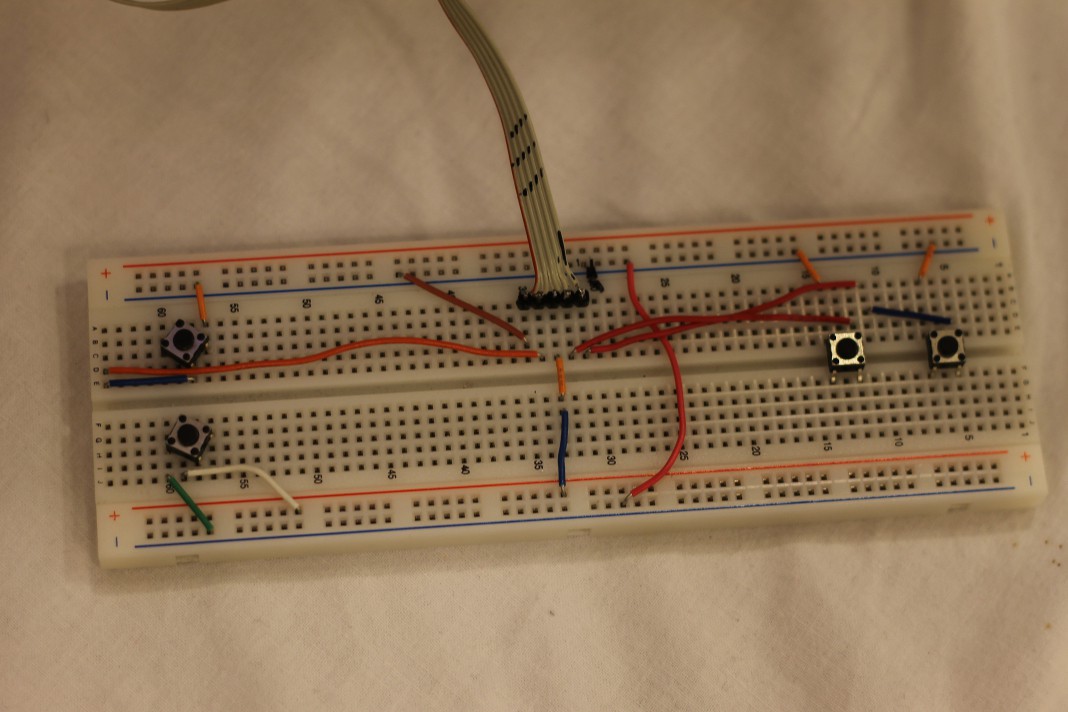
First I made some test on a breadboard, because I didn't knew 100%ly that it would work.
![]()
It worked with a limitation: More than one button at the same time didn't worked. Maybe its possible to solve with some diodes on the controller. ( If someone knows a solution for this, I would be glad to hear from you )
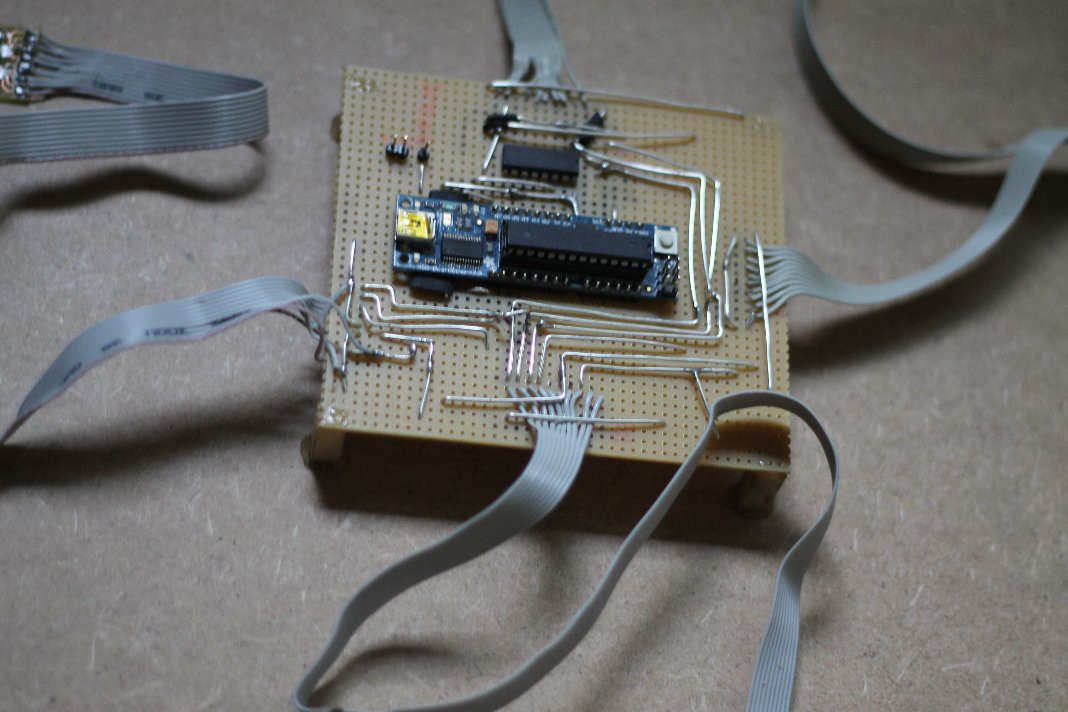
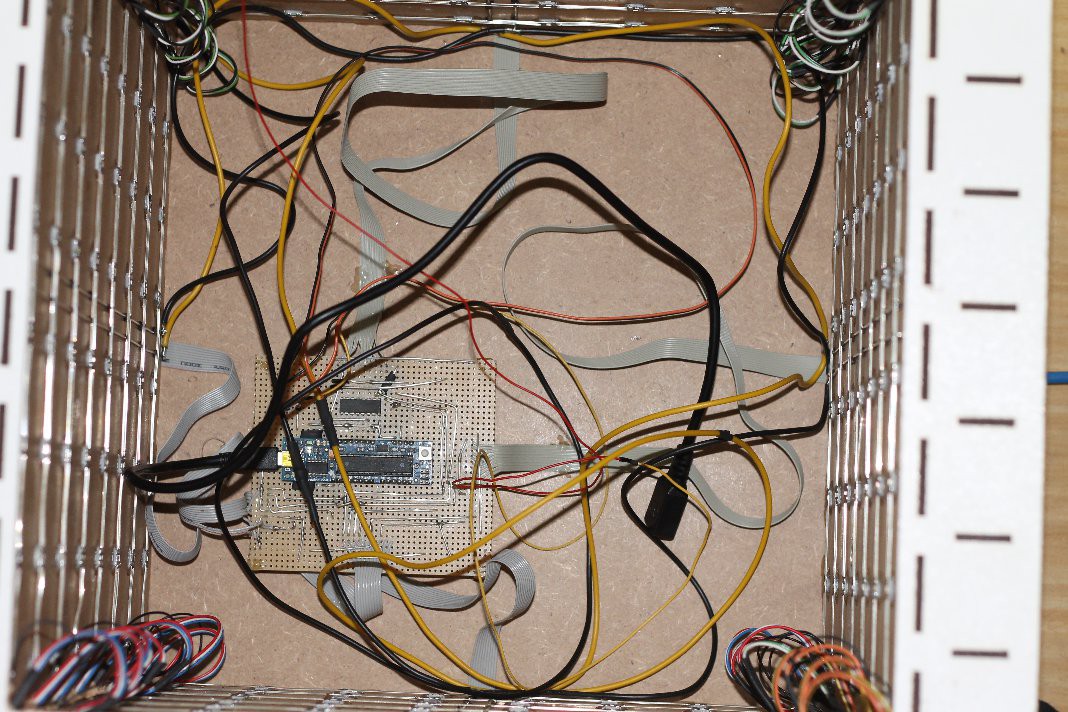
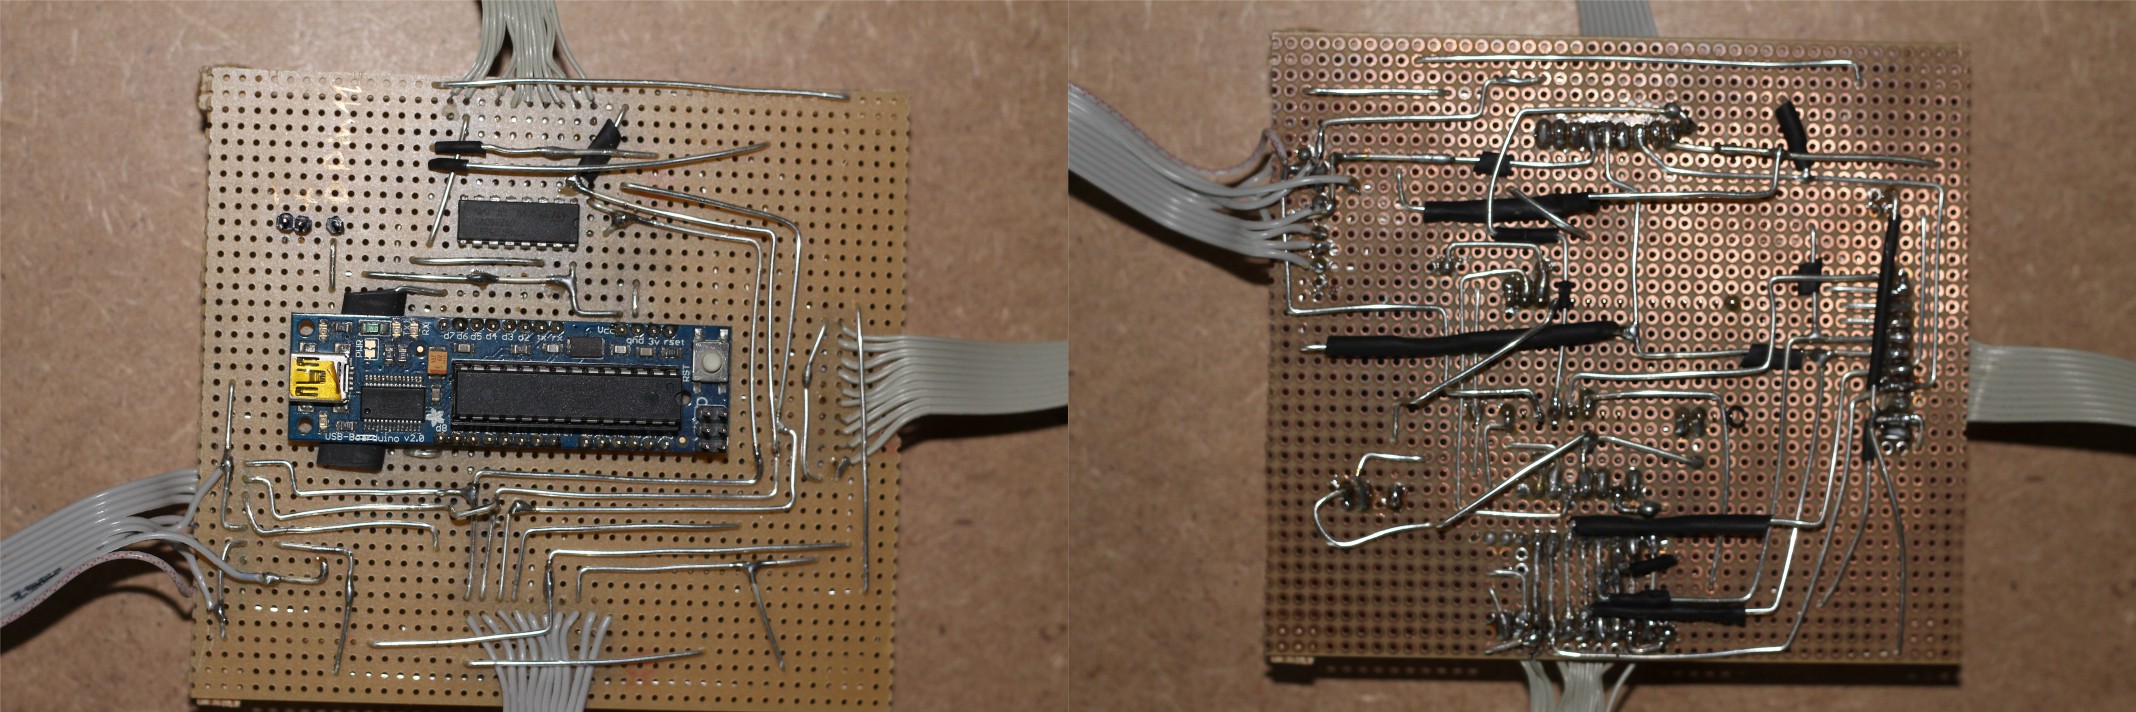
This is the final <irony> professional, cleanly designed board. Using sisams "3D adhoc wiring technologie" (tm) </irony>.
-
Temporary setup for the Makerfaire Hannover
08/22/2014 at 15:33 • 0 comments -
Pixel in the corners
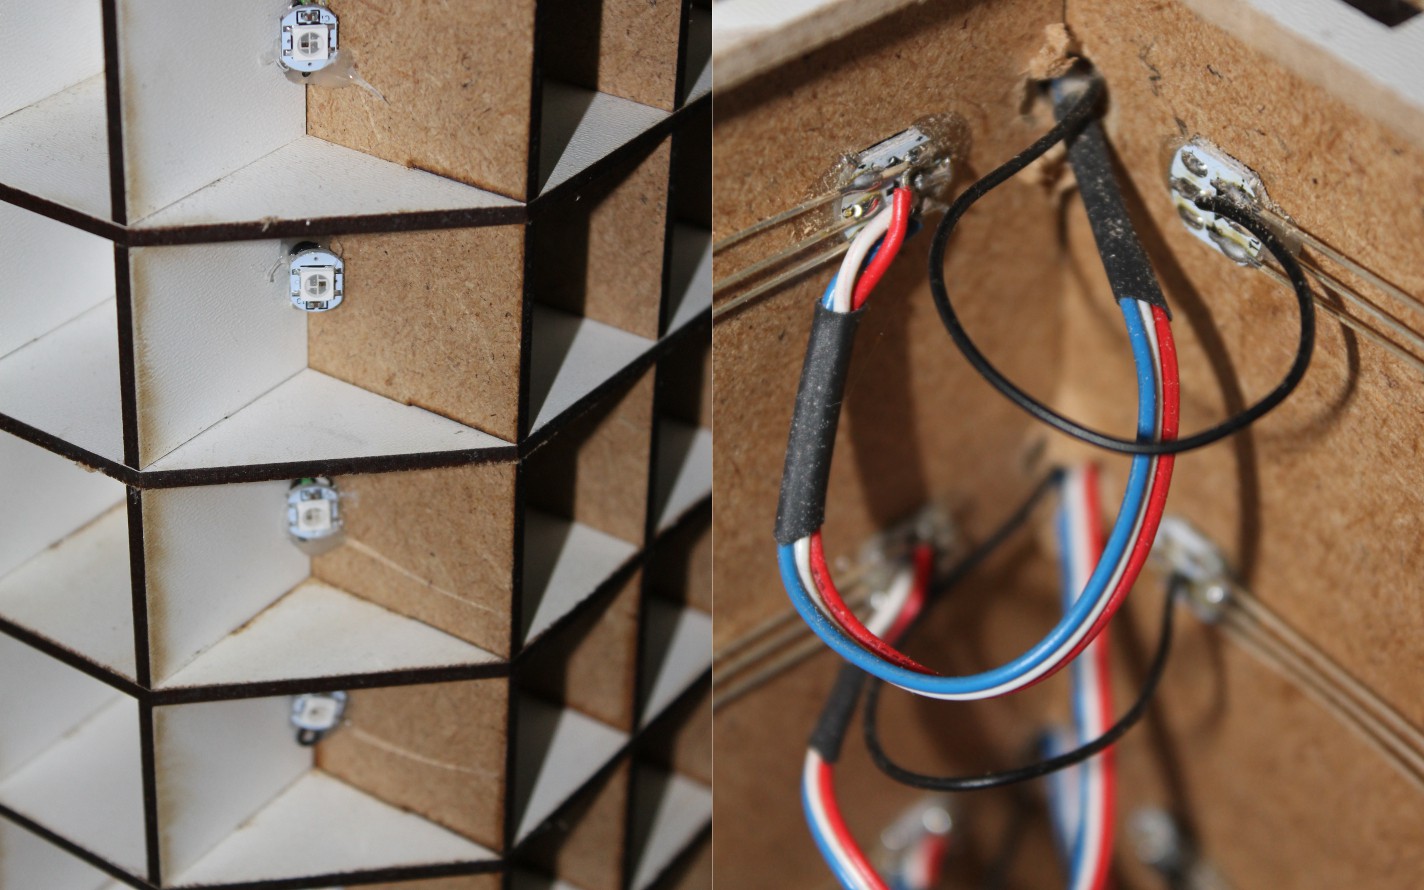
08/22/2014 at 14:43 • 0 commentsTo get the LEDs in the corners wired I needed to drill holes in the middle of each Pixel-Box .
![]()
Next I put the wires through the holes and let them stand out as much as possible to solder them on the LED. Unfortunately I missed to take pictures of this step.
After I tested the whole LED-Strip I glued the LEDs in the Pixel-Boxes.
-
a little Fail
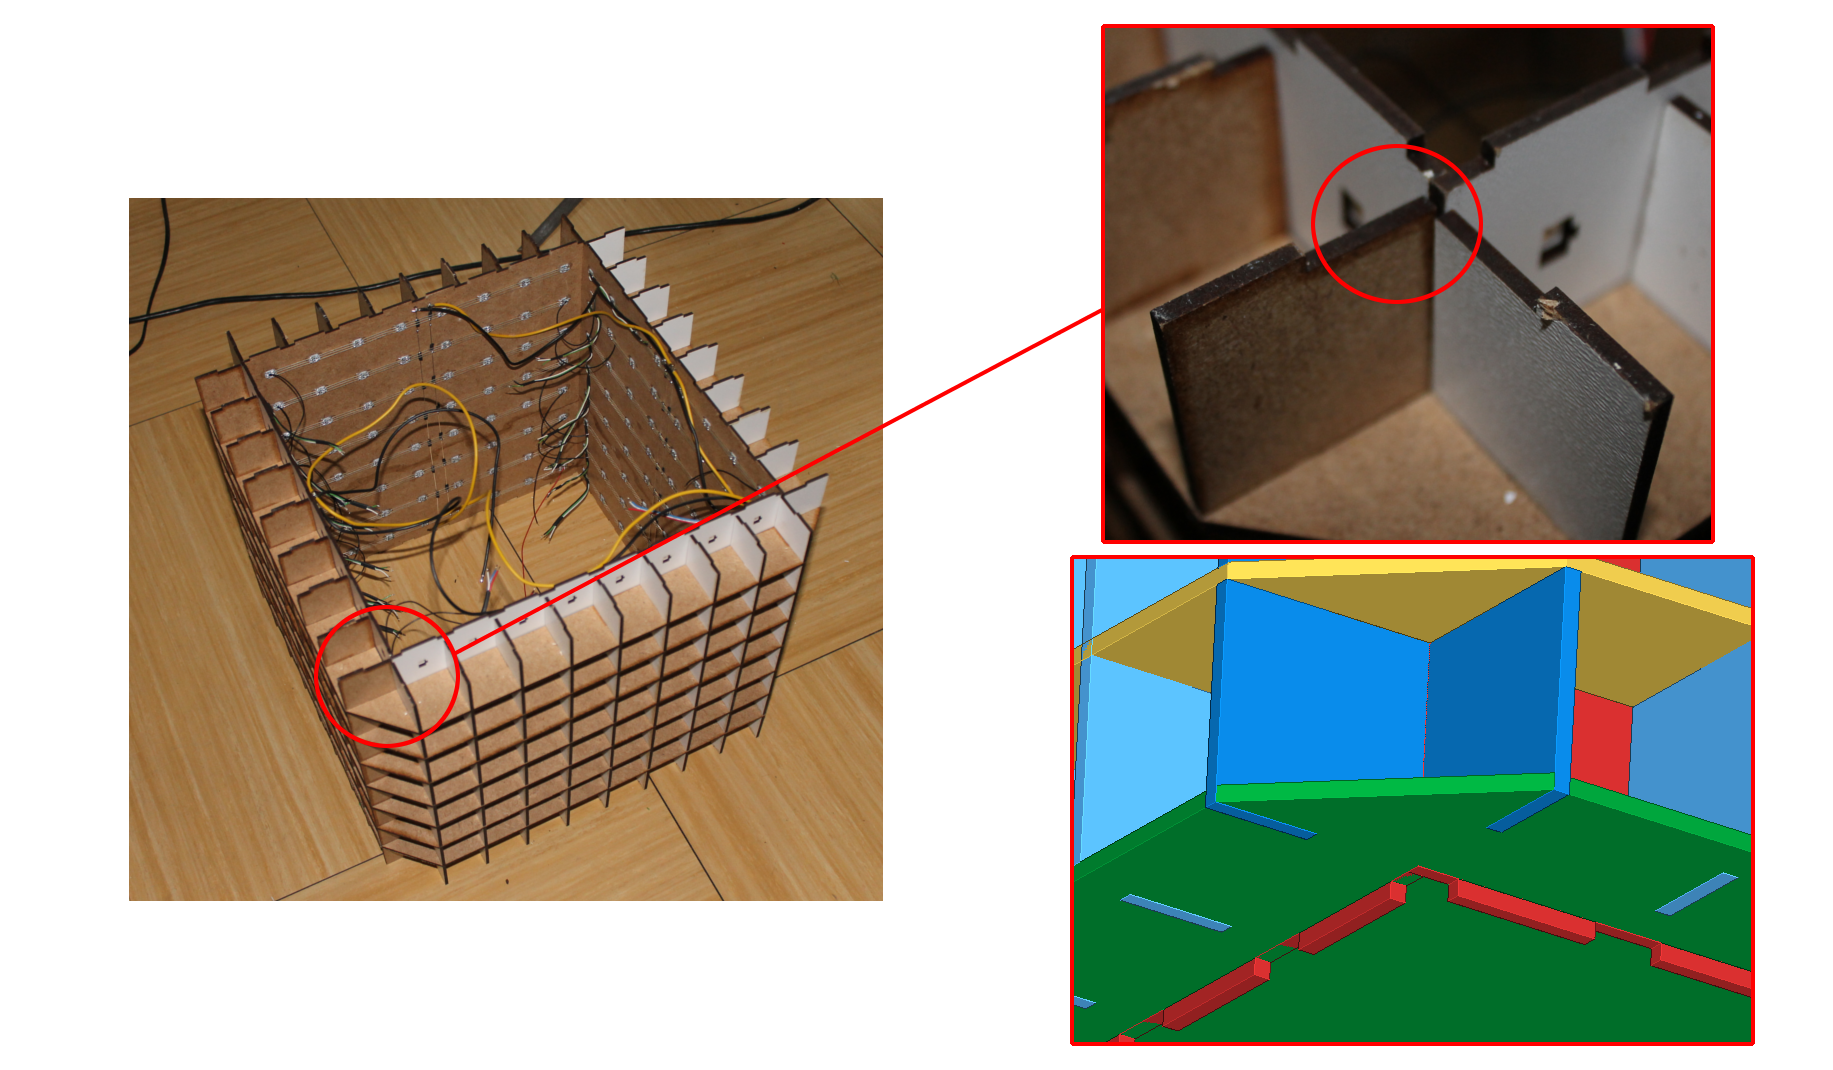
08/21/2014 at 18:03 • 0 commentsAs I put the inner surfaces into the rest of the cube I recognized that the top edge didn't matched perfectly.
![]()
First I thought about to just rasp it away, but that would be too much work and I had an better idea:
![]()
I think this solution is even better than the first plan, because the space between the green and the grey part is perfect for connectors for the controller and power supply.
-
Assembly
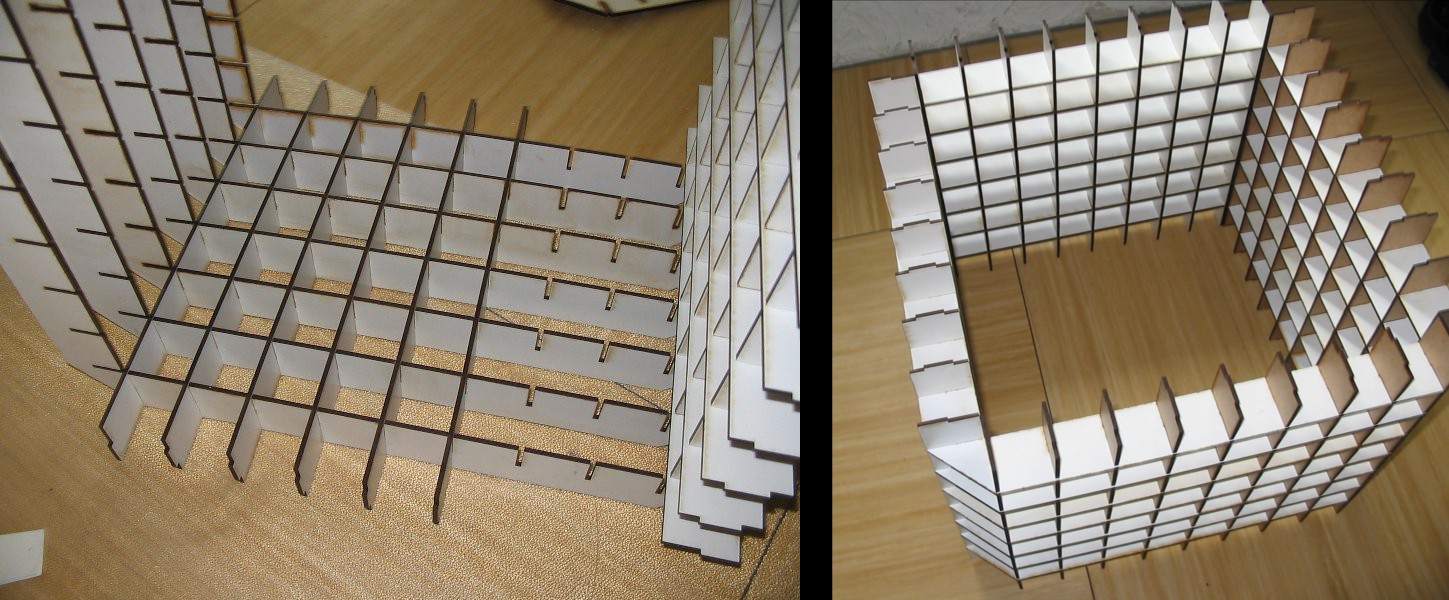
08/20/2014 at 18:29 • 0 commentsI cut the parts out of a mdf board (with a lasercutter) and put them together.
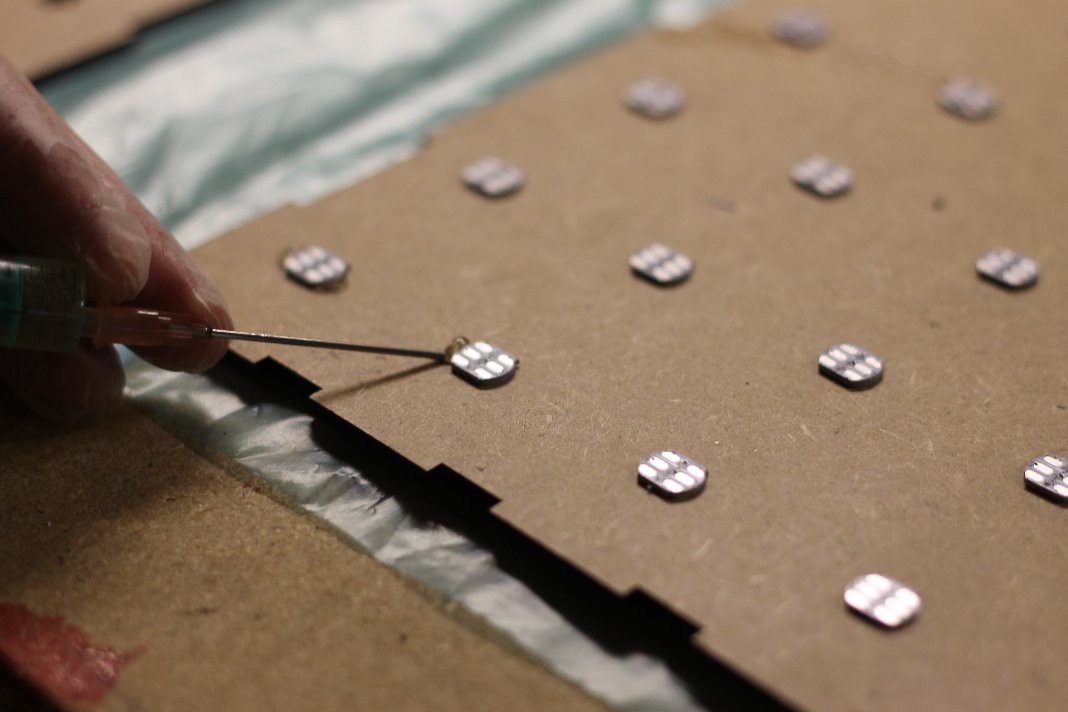
Than I glued the WS2812B LEDs on the inner surface.
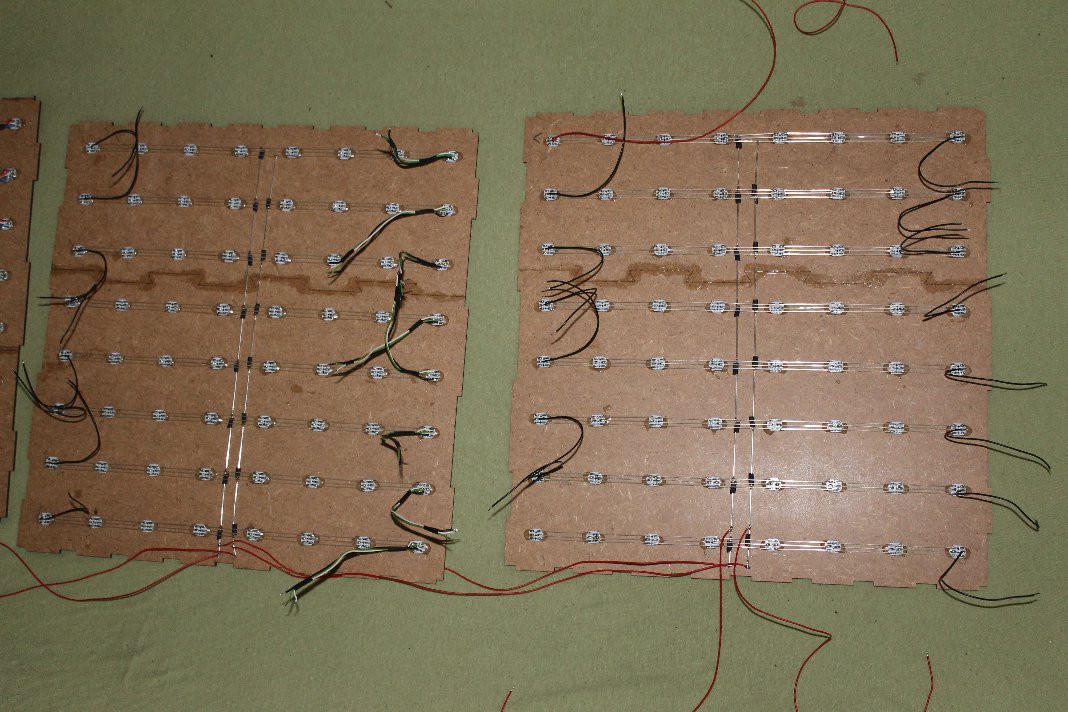
..and wired them.
- The black, green and white wires will be the data and power supply for the LEDs in the corners.
- The red wires are vcc and ground. ( I changed them, because I thought they were too thin, but I just took a picture with that wires )
- The one red wire on the top is data in for the first LED.
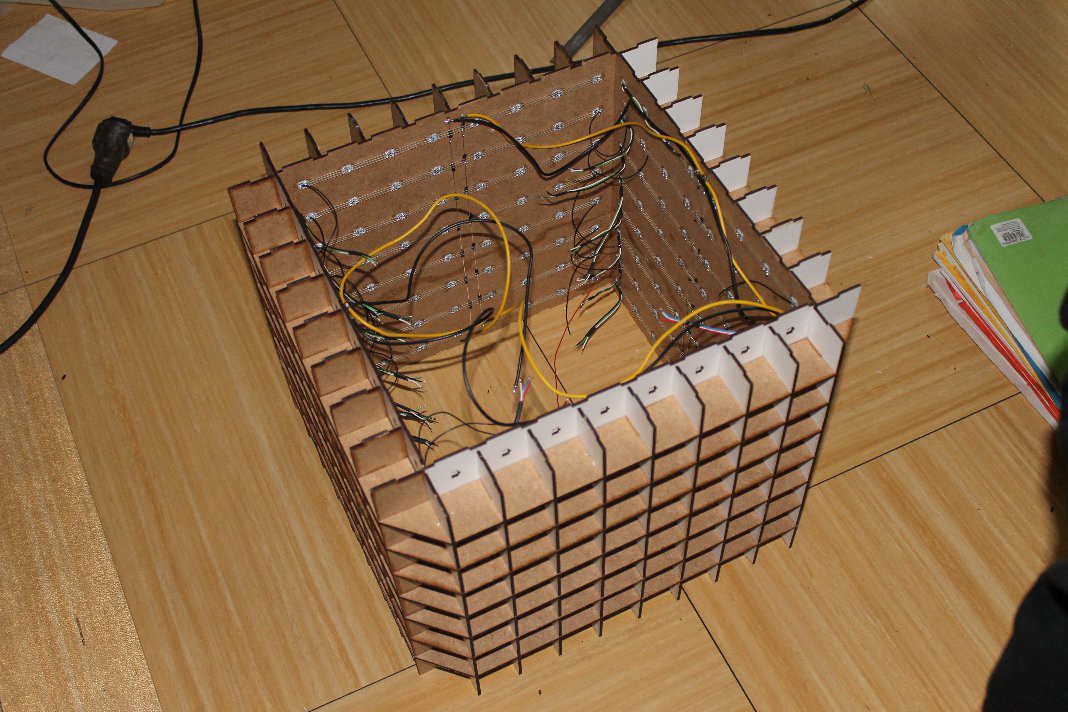
And finaly I just put all together.
 sisam
sisam