Concrete CNC
This is an attempt at a cheap but rigid CNC machine (budget approx. 2000€)
This is an attempt at a cheap but rigid CNC machine (budget approx. 2000€)
To make the experience fit your profile, pick a username and tell us what interests you.
We found and based on your interests.
Would you believe it? It's actually finished and was used for a first project yesterday! I don't even want to check how long ago it was that I started this project. Far too long...
There are no visible differences to the last log post (except for for a retractable arm holding the interface laptop), so instead of another picture I'll start with some video action:
First ever project was pocketing some hardened stainless steel. After a few slight issues the end result turned out amazing. Zoom in on this picture to see the surface finish:
I'm really happy with the rigidity and minimal backlash of the machine, it handled this tough material well. The only real disappointment was the milling spindle. I knew a cheap high speed spindle would have issues machining steel since it requires lower RPM and higher torque than aluminium or plastic. But with a 2,2kW spindle I didn't think a 5mm endmill would present such a challenge.
Still, I expect I will mostly be milling aluminium and hopefully it will rip through that like butter. The recommended speed range is 8000-24000 RPM, and I was trying to cut at 4400 RPM.
And with that I declare this project completed! Although I may still post more logs with upgrades, modifications, or maybe just to show another milling project. This started out as one of many big projects I have initiated, but ended as one of the few I actually finished. Fantastic!
Apparently it's been abut a year since my last log entry. Time flies... The project was standing completely still during September-December. But March-April saw a lot of progress.
Anyway, at the end of the last log I had started making some way covers. The X-axis is already protected, and for the Y-axis I used simple rubber sheets. For the Z-axis I spent a lot of time figuring out how to make custom bellows, until I suddenly came across a ready-made product in a local store that was a perfect fit: A roller blind for cars. I took it apart and removed the cams to make it free-running (always trying to roll back up), and it was super easy to fit. I suspect the fabric may melt when exposed to hot metal chips, but I'll just replace the fabric when that happens.
Next up: an enclosure. I may bring this to my apartment when it's finished, so an enclosure is absolutely necessary. It should also look nice. I started by vacuum forming the bottom tray from 3mm ABS:
It is attached to the X-Y table by countersunk screws.
I decided to make the sides from 6mm MDF, which is cheap and easy to laser cut. Also environmentally friendly when compared to metal or plastic panels. I then coated the panels with 2K epoxy resin to make them stronger.
After that I sanded them down so I could get a good surface finish when spray painting them. I tried spraying the paint directly on to this surface, but I found that despite the epoxy resin it would still absorb to much paint. So I had to go through the trouble of priming all the panels before painting it. This entire process seemed endless, having to do everything on both sides of seven panels each time.
One full evening to laser cut and trim all the panels.
One full evening to coat them with epoxy.
One full evening to sand the epoxy.
One full evening to prime the panels.
One full evening to sand the primer.
One full evening for a second layer of primer.
One full evening for sanding this layer of primer
Two full evenings to spray the topcoat (Blue, RAL 5010)
Then assembly and some modifications to make it fit. I wish I had taken an easier route...
But here it is!
The window is 2mm PETG riveted to a thin welded steel frame. It is held closed by a couple of magnets. In the future I will add a safety switch.
As you can see I have also connected the water cooling system. It uses a 120mm CPU cooler with built-in pump and fan. Time will till if that's enough, but I'm hoping it is. There is also mist coolant installed.
And with this done the machine should be ready to go! Next update will be a video with some machining.
Time to connect everything!
Since I'm using a CNC shield, connecting is relatively straight forward. All the pins are labeled (except for z endstop and spindle rpm being reversed) and the connector type is already decided. But there are things to consider. First of all: shielding. I'm using shielded cables for the stepper motors and limit switches. But shielded cables only work if connected properly. I grounded my cables to the enclosure, as I believe this to be correct. Unfortunately proper EMC cable glands are quite expensive, so I just purchased some cheap brass cable glands and did the following:
Peel another cable with braided shield, and remove a section of the braid.
Fasten the loose braid firmly to the cable braid with a piece of steel wire and flatten it.
Press this down the cable gland fasten it.
And there you go! A solid ground connection for your cable. Just one thing missing: obviously the cable gland in turn must be well connected to the enclosure. To this end I made a tool to remove the paint around the hole on the inside.
A lot of pictures wasted on something seemingly insignificant. But proper grounding of shielded cables is important! Or so I've concluded based on my finding on the subject. It's not like I'm really an expert, I'm just a mechanical engineer after all...
Another neat option is to use GX16 or DIN connectors and sockets where the cables enter the enclosure. This provides ground while also making it easy to disconnect or change cables. I did this with some cables, and in hind sight I wish I had done it on all cables.
Next up: installing limit switches. Here's a picture of the x-y cross slide with limit switches installed (only missing the cams for the y-axis on this picture).
The Z-axis limit switches look about the same.
Next I decided to improve my stepper drivers a bit, to get as much performance as possible out of the puny DRV8825. I soldered a big sheet of 0,3 mm copper to the thermal vias on the bottom, and also soldered some whiskers to the current sense resistors since these are a bit underrated for the application.
This helped, but even with all this I was not able to get up to the specified 2,5 A that the drv 8825 should be good for. In fact i was still stuck at about 1,8 amps before overheat protection kicked in. After adding a powerful cooling fan I could turn it up to 2 amps. Maybe I can go higher, but measuring the amps and tuning the pot was a bit of a hassle because of my huge heatsinks being in the way. Maybe I'll get back to this later, if I don't scrap these and go for some real drivers. Or servos. The reason for this disappointment could be that the thermal vias are not fully filled with tin on these cheap boards. Maybe the themal sink of the driver isn't even properly soldered to the board? Or maybe this is normal when using 36V power supply and steppers with low resistance? Feel free to comment on this if you have some useful experiences.
Anyway this is how my electronics enclosure looks like today (plus a 12v power supply and a cooling fan over the drivers).
After this I started to tram and true the machine. I also tuned the control system, and was disappointed by the feeds I got. I can only seem to get my steppers up to about 560 rpm. Maybe this i normal but that means only 2250mm/s with my 4 mm pith ball screws. Nothing to do about that now though...
Then I immediately proceeded to break my first end mill.
Being new to fusion 360 it seems i failed to export the roughing cut and exported only the finishing cut. This is what you get...
But I also decided that my rails and ball screws are much to exposed to contamination while machining, so I'll finish the way covers before I do any more machining. The X-axis needs no protection since it is on the underside of the table and thus already protected. I protected the Y-axis with the simplest possible means, as illustrated...
Read more »In parallel with making the "head" of the machine, I've been working on some other details. One thing was the spindle clamp. I purchased a ready-made clamp in cast aluminium, but found the precision to be quite low. So I remachined it a bit.
First I installed the spindle in the clamp, and dialed in the spindle to get it perfectly level. Then I machined it flat. But actually it wasn't that easy, I had to successively face all sides before I could clamp it properly since the overall straightness and squareness was so poor.
After machining I placed it on a granite surface plate and checked the result with a dial indicator.
Unfortunately I found it to be out of alignment by about 0,02mm per 100mm, which is more than I consider acceptable. But when I reinstalled it in the milling machine and checked it with a dial indicator there, it seemed to be aligned. Nu use trying and failing again, so I'll wait until it is actually mounted on the CNC and see how it aligns there. If it does not align when properly mounted, I'll have to try again and compensate somehow.
After working on the spindle clamp, I moved on to making the last ball nut block. I made this one slightly different from the previous blocks. This time I made room for a dedicated screw for clamping the preload-nut. The previous design used the same screws for mounting the block and for clamping the rotating nut, which made it a bit difficult to get the right preload during assembly.
I also wanted proper connectors for my stepper motors, which only had 4 wires sticking out of it. I figured somebody must already have done this, and indeed I found files on thingiverse for covers that match gx16 connectors (https://www.thingiverse.com/thing:2481149). But beware that you may need to mirror the part to fit your particular motor! (as I had to do).
They printed well on our Z-corp plaster printer. Plaster may not sound like a good material, but it's cheap and temperature resistant, which is a good thing since they will be mounted on stepper motors that can get quite hot. After infiltrating the plaster with epoxy it gets more than enough strength.
I also sanded and painted the parts, after which they look really good. If you look closely you can also see that I countersunk the holes for the screws.
This is what they look like with the covers and connectors in place.
And this is a closeup of one of the motors along with the first cable I've assembled. Looks great! The cables are a bit overkill at 0,75mm2, but it was either that or 0,2mm2 (which should actually be enough, but only just. So i went with these). I got this cable at a clearance sale on elfa.se.
Now it's time for some assembling!
I started by assembling and greasing the ball screw assembly and the linear rail carriages. Since the "head" is quite heavy, I hung it from a rope at about the right height so I wouldn't have to hold it up while inserting the scews. This made it very easy to get everything in place.
But to fasten the last screws I needed a very long allen key, which I did not have. So I tried making one by cutting the tip from an allen key and welding it to a roundbar. I even turned down the weld in the lathe and polished it a bit to make it look good. With this tool it was very easy to get the screws in place through the deep holes in the head
But when I applied more torque to fasten the screws properly, it immediately shattered. Probably because of uneven hardness after welding So I had to make a new one, but this time I tried hardening and tempering it with primitive means. I heated the tip with a blowtorch to an orange glow and quenched it in water. Then i brushed the metal clean and heated it until it turned blue (having a clean metal surface is important to be able to see the change in color). This time it held up to the full torque needed with ease. It seems I tempered it a bit too warm, since I could see some very slight deformation on the corners after fastening. But it worked! Below...
Read more »I finally have some time to cast the "head", that will connect the spindle to the Z-axis. This will be the last concrete cast.
I started by machining some steel stock to size and squareness.
I then made a fixture (which I forgot to take a picture of) and tacked them together. Then I clamped it down firmly on the cast iron table before welding all the rebars, in an attempt to keep everything flat and straight. It didn't go as well as I had planned, but I'm glad I made an effort since I dread to think how it would have turned out otherwise. Since all the steel will be machined again after casting, It doesn't need to be perfect.
I then built a wooden box around this and poured the concrete. After pouring I covered it with plastic to keep it from drying out too quickly, and left it over night at room temperature for an initial cure. I then started heat treating it. My scheme goes as follows:
-Approx 72 hours in 60 degrees centigrade to quickly cure the concrete and gain full strength. Important to keep it covered so it doesn't dry out! The water is needed in the curing process.
-Let it cool before disassembling the mold, then let it dry for a few days in room temperature. Drying it carefully in the beginning should prevent cracking.
-After a few days, place it in the oven at 40-50 degrees centigrade for 48 hours to get the last moisture out. Some minor surface cracks may appear after this stage, but that's acceptable.
-Allow it to cool, then coat it with epoxy to seal it.
-Let it rest for a few days to allow the water still inside to distribute itself evenly.
-Ready for machining! The heat treatment process should prevent the concrete from shrinking and distorting as it ages.
This picture is a fast forward to after the first heat treatment stage. On the left is a paper cup with concrete from the same batch. It will go through the same heat treatment and eventually be used for quality control (I'll crush it with a hydraulic press to test the strength and then inspect the internal structure).
Right out of the mold. This was followed by a few days of drying in room temperature, and then a few days of accelerated drying at 40 degrees centigrade. Finally I painted it with a layer of epoxy and let it rest for another few days. After that it was time to start machining:
As usual I started by clamping it down on three points only to avoid twisting the block (there are three small patches of aluminium between the bottom face and the milling table). I then faced all the metal blocks on both sides. After facing I started drilling all the holes for mounting the rail carriages, ball nuts, and spindle. This was a bit of a hazzle since the milling machine I'm using did not have enough y-axis travel to drill all holes at once. So I had to release the workpiece, move it 50 mm, and realign it, which is not ideal... But here we are, the finished result:
The small piece of angle iron is a mount for a gas spring. I intend to use one to counteract the weight of the concrete block and the spindle (which weighs about 24kg). But it's quite expensive, so I'll try without it first and evaluate the performance. If I find that acceleration and speed is suffering by the weight, or that the spindle drops by itself when the steppers motors are powered off, I'll buy the gas spring and mount it.
Last up is a picture of the other side. The reference cast is placed on top to illustrate the surface finish (notice how it is reflected in the mounting surface for the spindle).
This is a minor update with no big changes. But I've started assembling the machine a bit, mostly because it takes up so much space when spread in pieces.
First up is placing the base on the carriage, then lifting the tower in place. The tower weighs "only" 80 kg, so it could be done by hand. But a much safer way is to use some kind of lifting equipment. I used a forklift.
Next picture is a closeup from the back. Between the base and the carriage you'll see something silvery. This is a thin blanket with aluminium foil on both sides. It insulates the base from the electronics enclosure to prevent heat from affecting the base during machining. You may also notice that the base is "hovering" about 10mm above the carriage. It is actually standing on three plastic feet. Having only three support points prevents twisting of the machine base when the floor is not flat and the carriage is twisting. This is quite important since the machine is so heavy.
Finally you may notice that the locks for the electronics enclosure are now in place, which are needed for legal reasons (they also do a lot for the overall quality impression, don't you think?).
After some more assembly, this is how it looks:
After putting it together, I did a rough check to see if the tower is perpendicular enough to the table (the table has adjustable feet for fine tuning, but I want to verify that the range of adjustment is enough).
After checking perpendicularity in both directions, It's now ready for the next step. That is to lift the tower up again, add some polyester putty in between the tower and the base, then set it down again. This will ensure a perfect interface surface, which stiffens the structure and prevents twisting or bending the base or the tower when tightening the bolts that hold them together. Here goes:
The top surface (the bottom of the tower) has been brushed with PVA release agent, to make sure it is still removable should I ever wish it. It's also a backup; if I should fail this step I still have another chance. I've also added masking around the mating surfaces and the rods. There is also a gray safetyblock in the center, this is to protect my fingers from getting crushed if the tower should drop while I'm doing this. It would still fall over, but that's not as dangerous.
I did some preliminary tests with the putty ("chemical metal" in this case), and found that the window of workability was impossibly short for such a critical step. It was supposed to cure in about 10 minutes, but before 5 minutes had passed it was already hard. So I cooled the putty to 0 degrees using icewater and reduced the amount of hardener to 1% by weight (recommendation was 2-4%). This gave me about an 8 minute window within which the putty was still soft enough.
Putty is in place. Dropping the tower! After dropping it down i started shaking it around to make sure the putty would spread throughout. Eventually putty was flowing out around almost all edges, so I would call it a success. Once it cured to a clay-like consistency I cut the overflow with a knife and removed the masking tape. This is the result:
After letting it cure over night I started torquing the nuts. I had made holes in the roof of the electronics enclosure to allow me to assemble it while it is mounted to the carriage, but the hole pattern had a terrible mismatch. Only 5 out of 10 nuts could be fastened with a socket as intended. I can't make the holes any bigger since they need to match the rubber caps and keep the dust out. So instead I welded allen heads to five of the nuts:
This presents a potential problem where the threaded rod could bottom out inside the nut, which would make it entirely useless. So after carefully verifying this for each of them, I added some thread locking agent and torqued all the bolts. Finally done!
Next up I'll start sketching the final concrete cast; the part that holds the spindle. Once that...
Read more »Time to finish the cupboard at the back. This will house the electronics, so it requires some modifications. Once thing I want is electrical continuity throughout the enclosure, to act as an EMC shield and to add some safety. But riveting the sides together like I did with the other cupboard will already accomplish that. Besides that, I would also like it to be dust proof. One last requirement is that, for safety reasons, opening the enclosure must require some form of tool. So I need to add some typical enclosure locks. Here we go:
As implied by the teaser from the last log, I was planning to cut some holes in the sides. While we have a great assortment of machines where I work (at Umeå Institute of Design), this time I asked our neighbors for help. This is part of the result:
This was done with the water cutter at sliperiet fab lab (http://sliperiet.umu.se/en/happening-here/fablab/). Big thanks! The patterns were made using FreeCAD. I also made some paper mockups with the lasercutter before cutting it for real (as seen in the previous log).
With these cut, assembly can begin:
Silicone is applied as I go along, to keep it sealed. And very soon it was fully assembled. But in truth it was not that easy, it turns out the silicone was too old and never cured. So I had to wipe it of as much as I could and apply new sealant, which was especially complicated since I had already riveted everything together... I'll never make that mistake again, always check the expiry date of your silicone!
But here we are, so far so good. The connector and power switch is installed, as well as a USB port on the other side.
On the inside we have the same supporting frame as in the other cupboard, but with a laser cut plastic washer glue in place by silicone to keep it sealed. On the photo below you see this feature, but also the inside of the connector and switch (which has a similar laser cut washer for a tighter fit). You may also notice the screw sticking out of the floor. This is a nickel plated brass screw with brass nuts, and the bottom nut and the screw is soldered to the sheet metal. I sanded of the paint closest to the hole and used an ordinary soldering iron with tin. It worked very well, and it will serve as my safety earth connection.
Next up is the airtight heat exchanger. While I want the enclosure to be dust proof, it also needs cooling since it will house most of the power electronics. First up is buying two large heat sinks with fans, and I found the perfect product in the form of "arctic cooling alpine 11 plus".
These are very cheap and have near perfect heat sinks. All I want to do is face them off a bit to get a larger area of contact, since they won't be used for a puny processor.
Mirror finish! I also tried placing it flat on the granite surface plate, and verified that it is now very flat and smooth. Reading up on heat sinks, flatness seems to be the most important factor, so this should be perfect. But I chose to question that. I decided that a convex surface should be best on such a large interface surface, in order to maintain pressure in the center. The reason why none of the sources on the Internet seems to agree with me is probably because most sources describe how to interface heats sinks with electronics. A convex heat sink would place stress on such components, but that is not relevant in my case. So here goes, after facing them I'm using the milling machine to bend them (while carefully protecting the surface finish):
I started...
Read more »I've finished bolting the rails in place, so the next item on the list was to make the spindle holder and the last ball nut mount. But I've gradually come to realize that the machine is becoming very heavy. I've always known what the total mass will be when finished (around 300kg), but I've come to a better understanding of what that means as I'm producing the parts and putting them together. It's going to be very heavy.
Given this new understanding, it is obvious that the machine does not qualify as a desktop machine. standing on a desktop the milling table would also become too high, but standing on the floor it would be too low. So it will need to stand on some sort of custom support.
So I came up with the idea of placing it on top of a sheet metal cupboard with wheels! May as well have some storage in close proximity to the machine. Looking around for something cheap I soon stumbled on this product from IKEA that comes in a beautiful workshop grey:
A single cupboard like this is too small, so I bought two of them and will place them back-to-back. This way, the rear cupboard can serve as the electronics housing! Fantastic! Unfortunately these are nowhere strong enough to support the weight of the machine, so I welded a support structure for it:
I started adapting one of the cupboards by riveting all the sides together. These cupboards are normally assembled almost entirely without tools, a clever design but I want more stability. Also I imagine they may rattle from vibrations while milling otherwise.
I then bolted it to the support frame.
It is also supported internally to cope with the load of the entire machine.
I'm standing by with the second cupboard since it is going to be adapted for housing electronics. Here is a teaser:
It's time to mount the rails and see what sort of precision we can get. First up is measuring the flatness of the rail mounts after machining. These are checked against a diabase surface plate, and I found the rail mounts to be 0,02mm higher in the center than at the ends. This was expected after i noticed the milling table flexing during machining, although I had hoped to be within 0,01mm. But it will have to be good enough, I won't bother to try again.
Next up is bolting down the rails and making sure they are straight.
After half an hour or so I got it straight to within 0,01 mm.
After making sure it was straight sideways, I decided to again check the flatness with rails and carriage in place. I found that, including the rails, it is now 0,03 mm out of plane, and varies much more along the length instead of varying as a smooth arc. Looking at the datasheet for the rails, I found that the variance in rail height is actually up to 0,02 mm. Given this realization, I suppose the 0,02mm arc on the rail mounts is really not a big deal since the rails themselves vary by about as much.
I also took a shot at estimating the backlash in the rails and carriage. I did this by setting the dial gauge up on a 25 cm lever and pulling and twisting the carriage by hand. I won't try to quantify the results, but I'm very impressed by the stiffness. I already feel like I can recommend these for CNC use (Hiwin HGR20R rail and HGW20CC-ZA-H carriage. ZA stands for medium preload).
Next up is to bolt down the second rail and make sure it is both straight and parallel to the first rail. after that I guess I have to start working on the spindle mount or the undercarriage with wheels that I am planning for the machine. Things are progressing nicely.
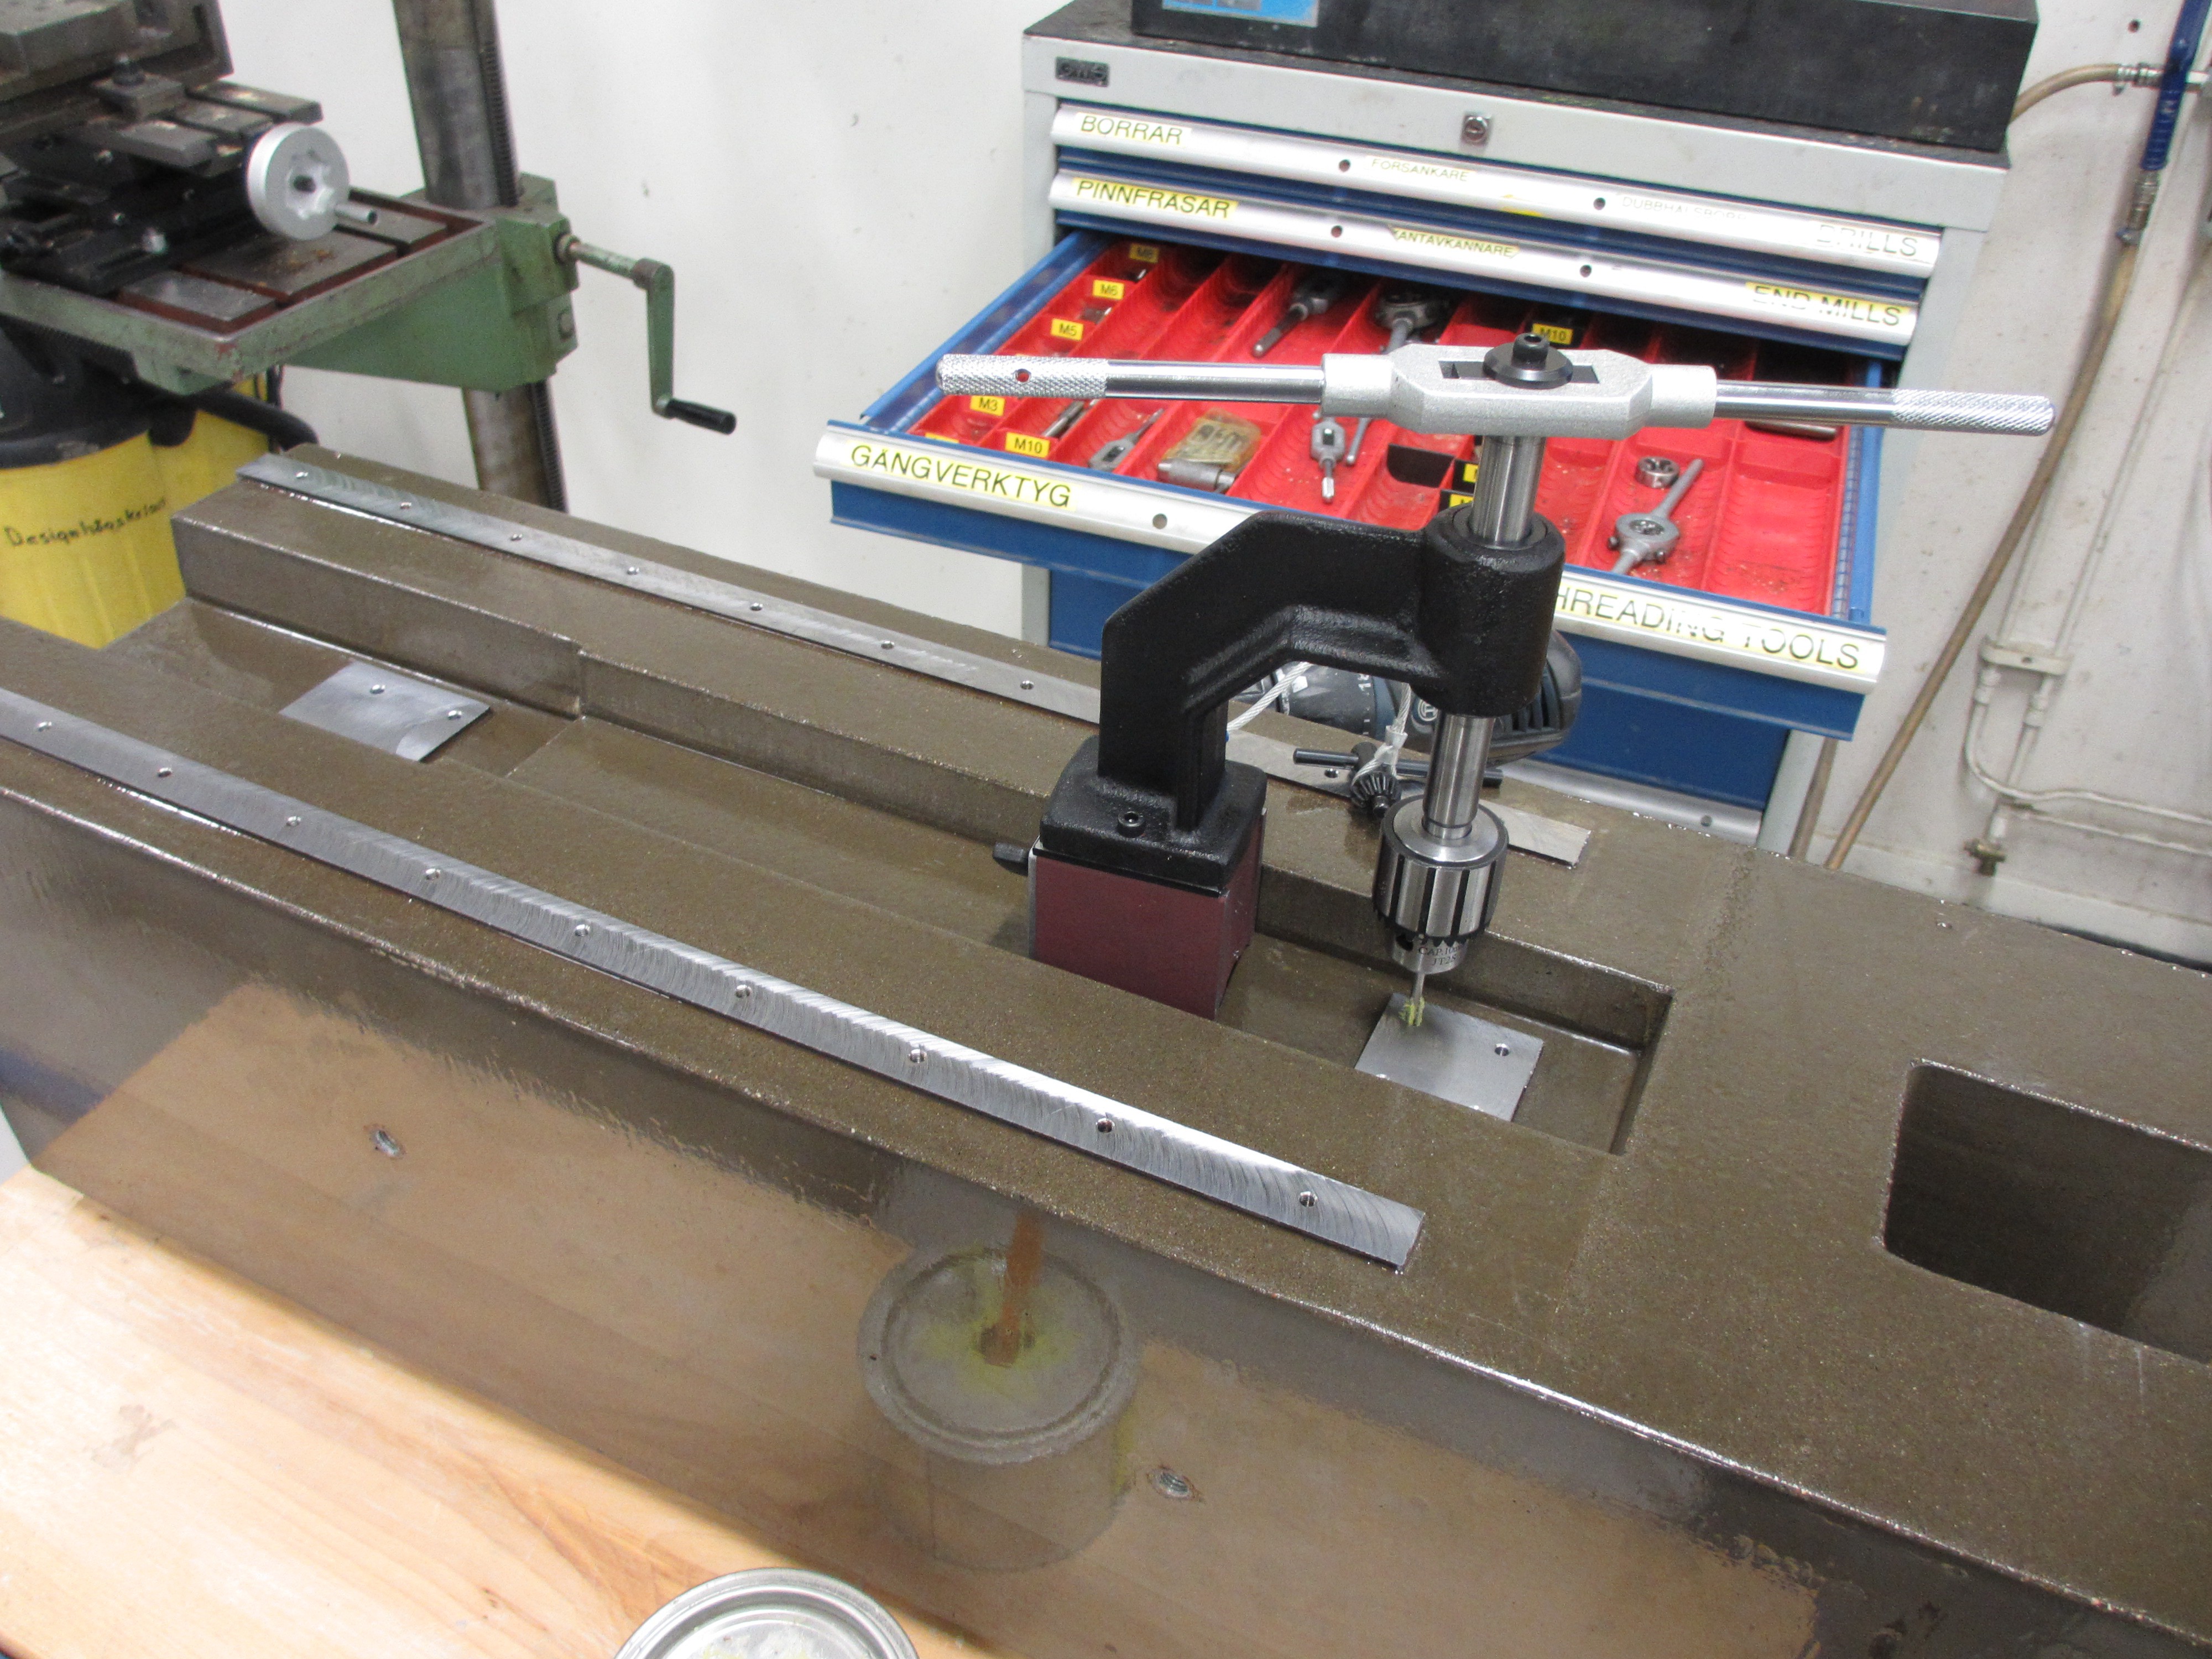
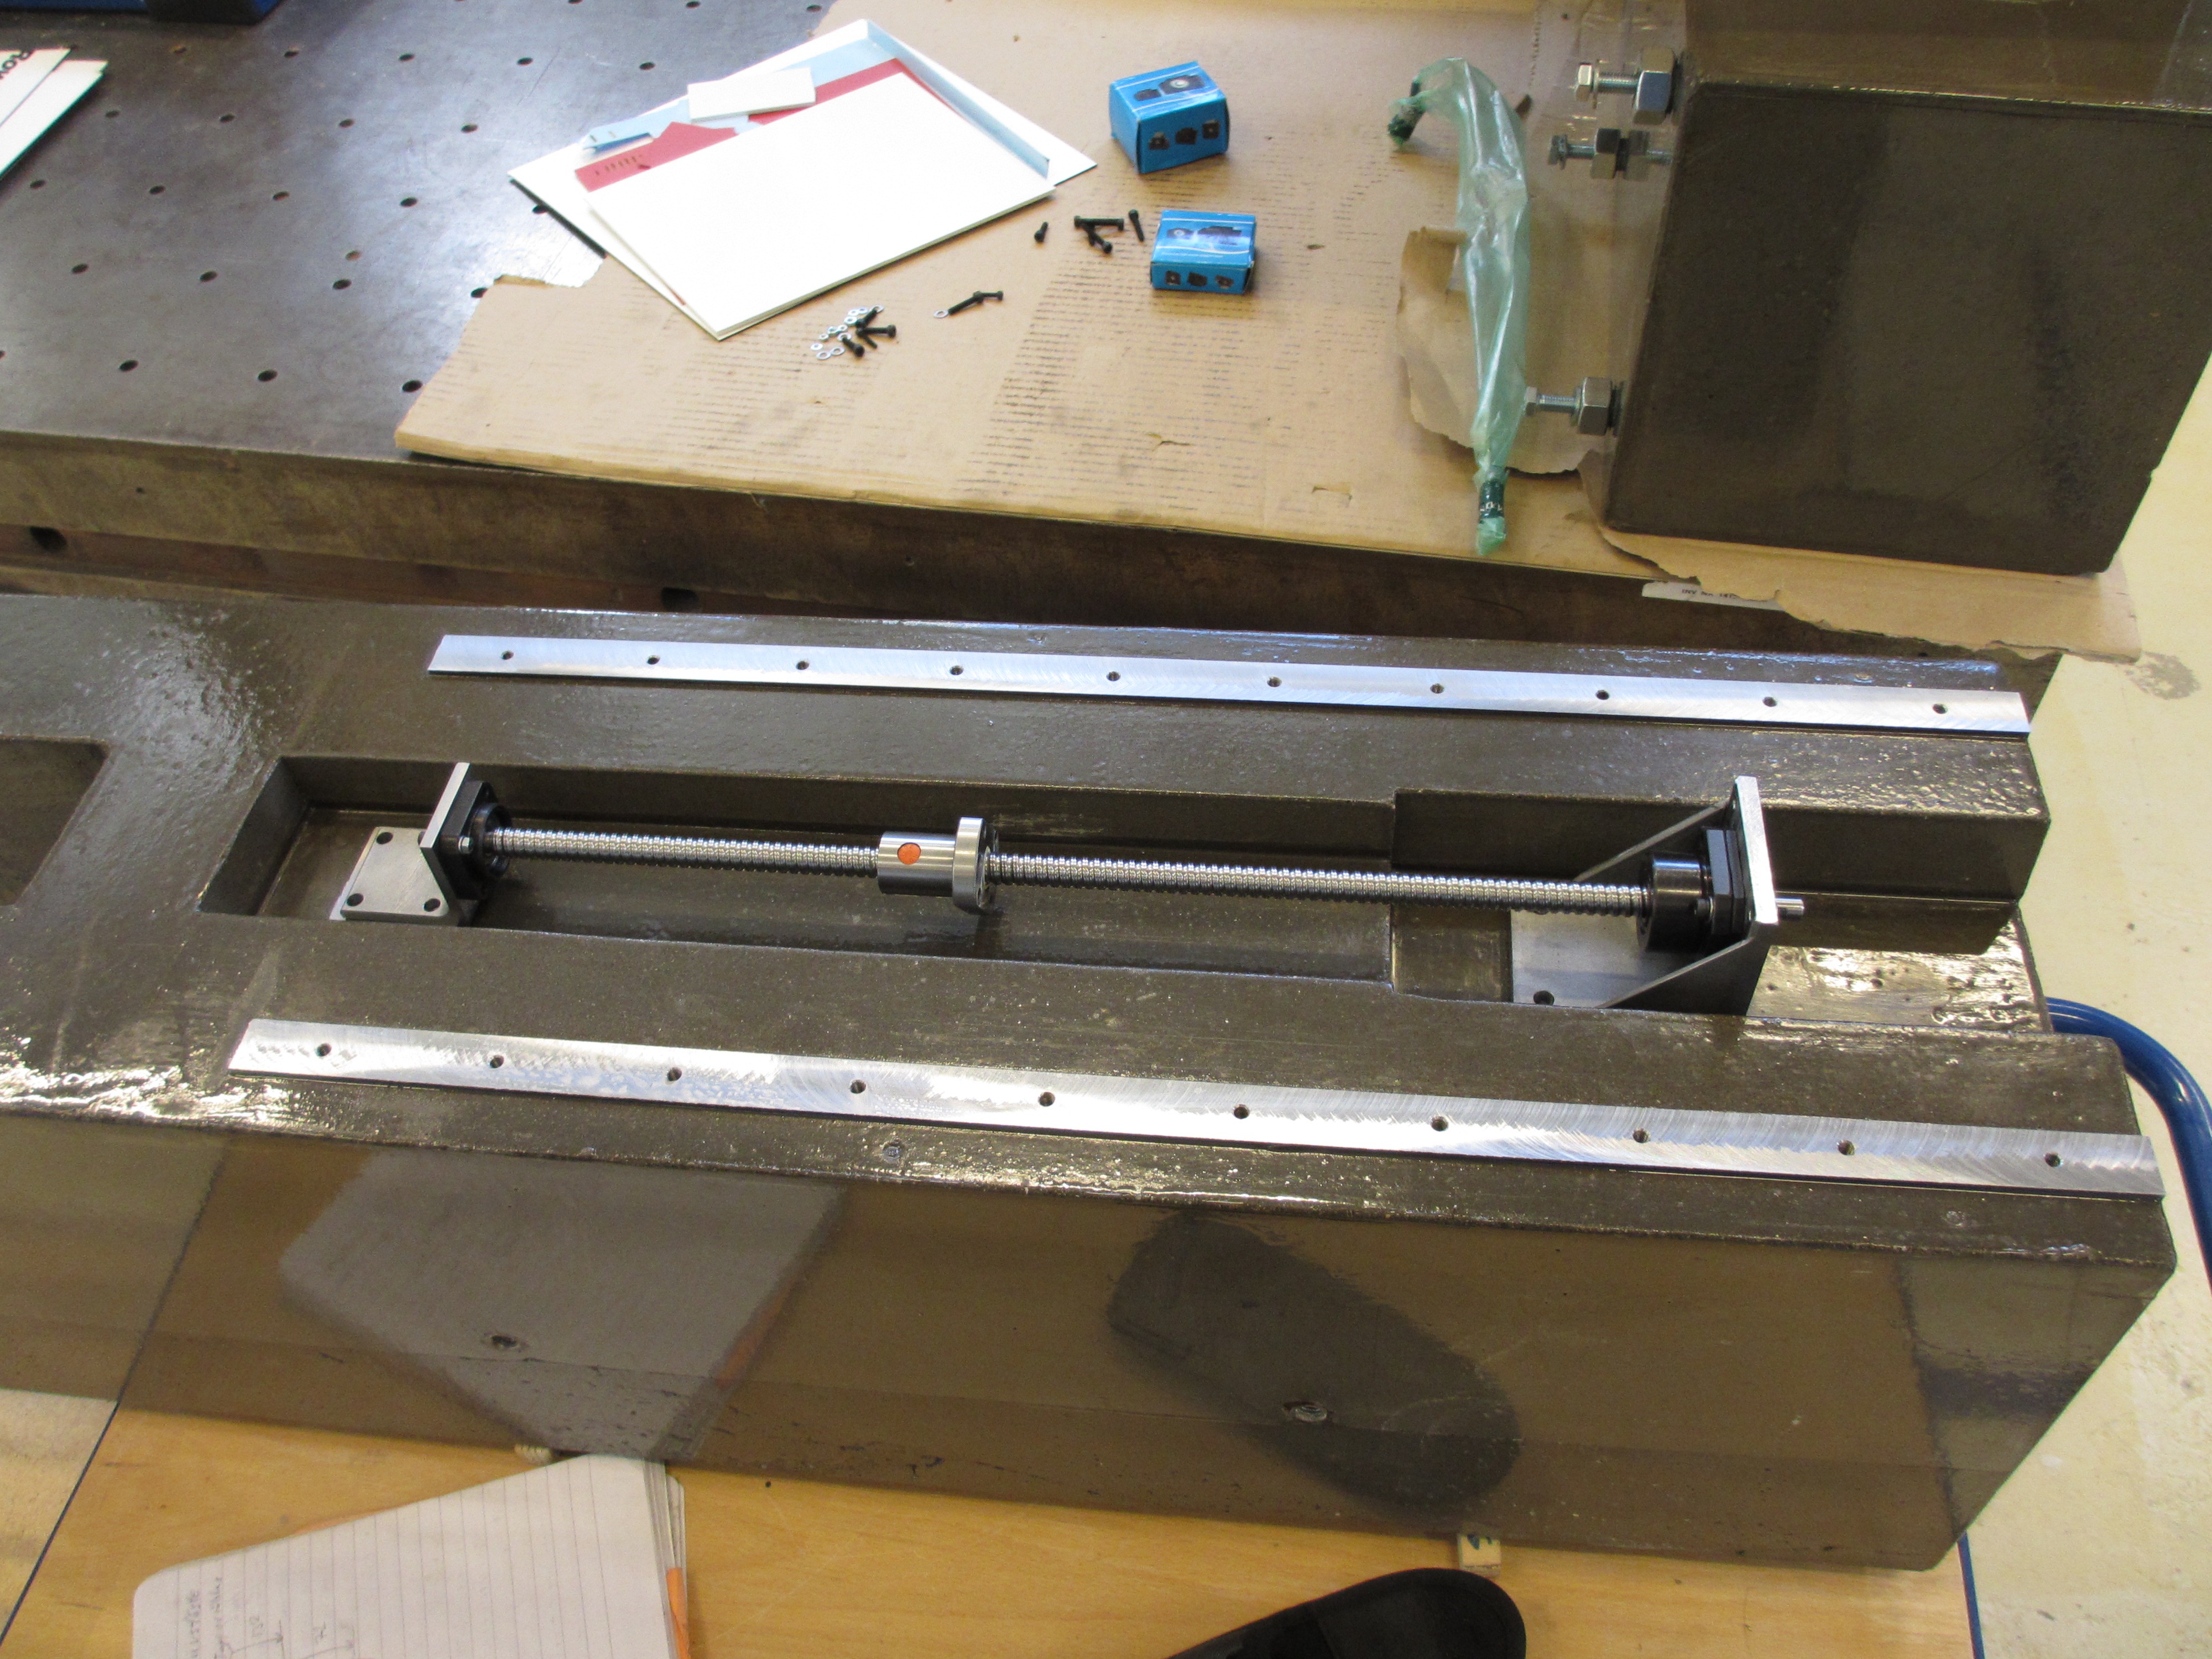
Time to work on the steel inserts. First step is to get the tower onto the milling machine and checking how flat the rail mounts are. I found them to be within 0,4 mm out of plane, and since they are sticking out 4 mm from the concrete that translates into no problem! Since the purpose of this next step is to mill them perfectly flat (and also drill some holes for the ball screw mounts). After also making sure the block is aligned with the X- axis of the milling machine, I clamped the block down and set up two extra dial gauges between the table of the block so I can be sure that it is not moving during machining. 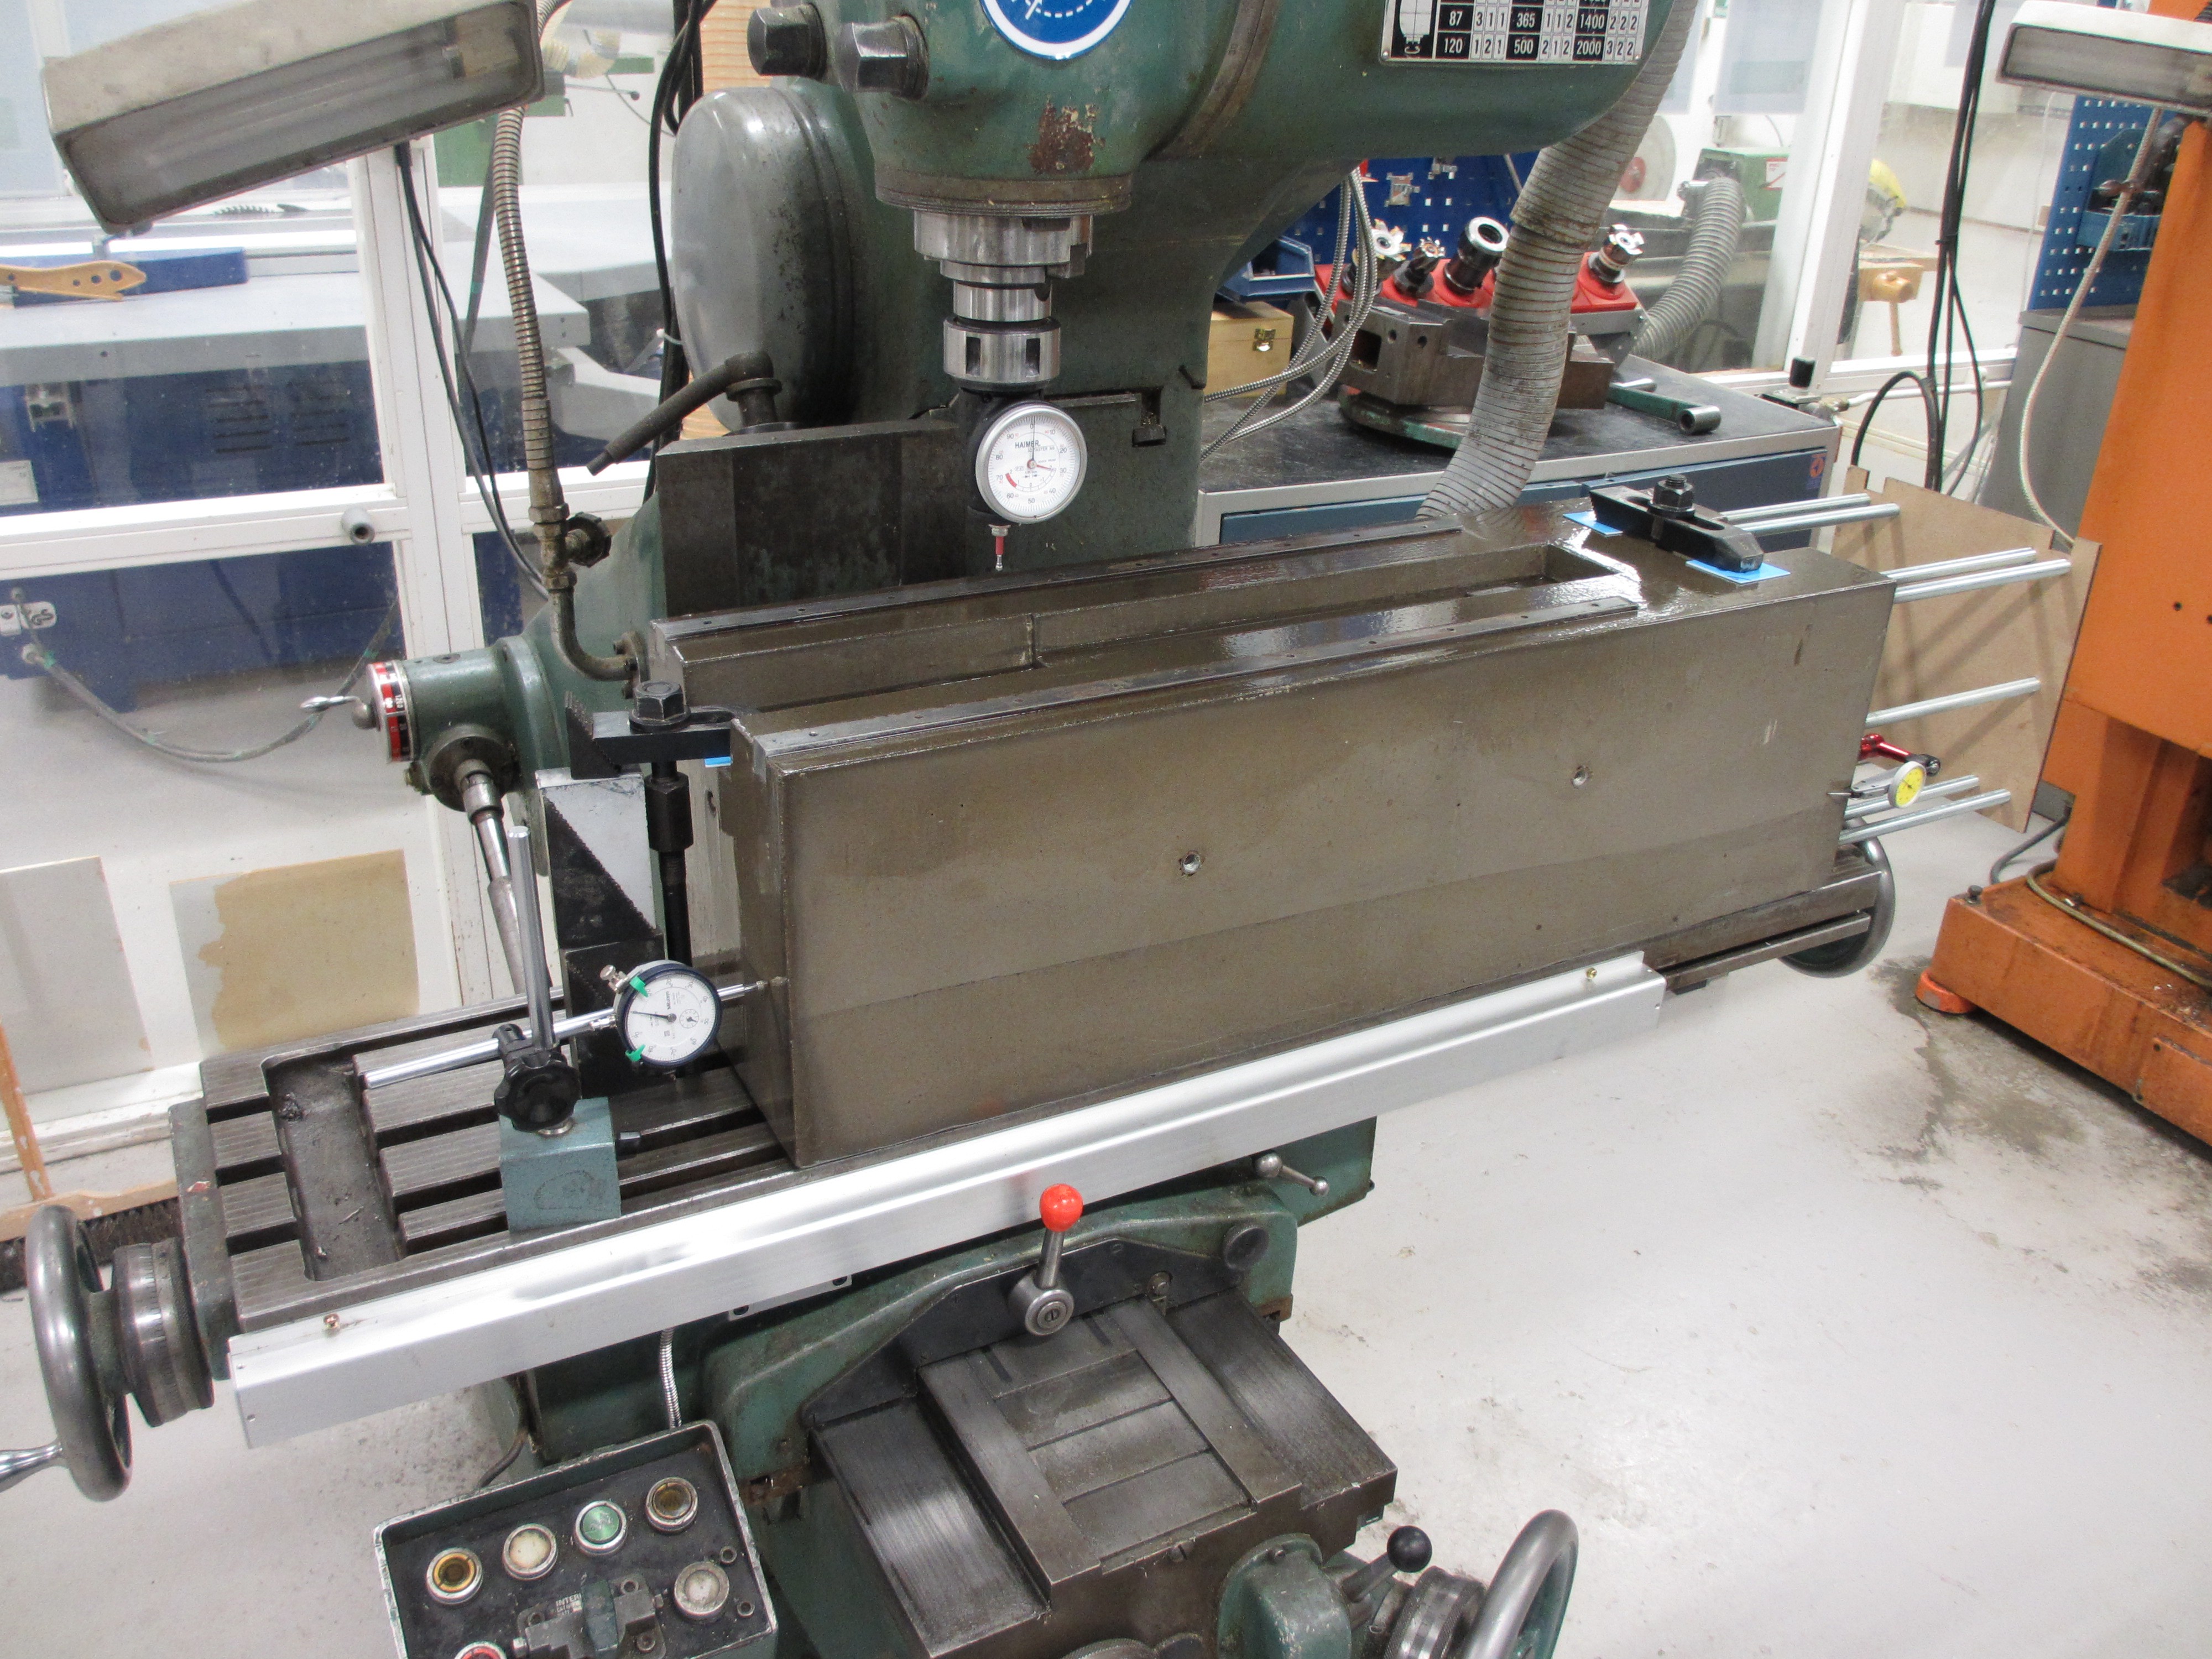
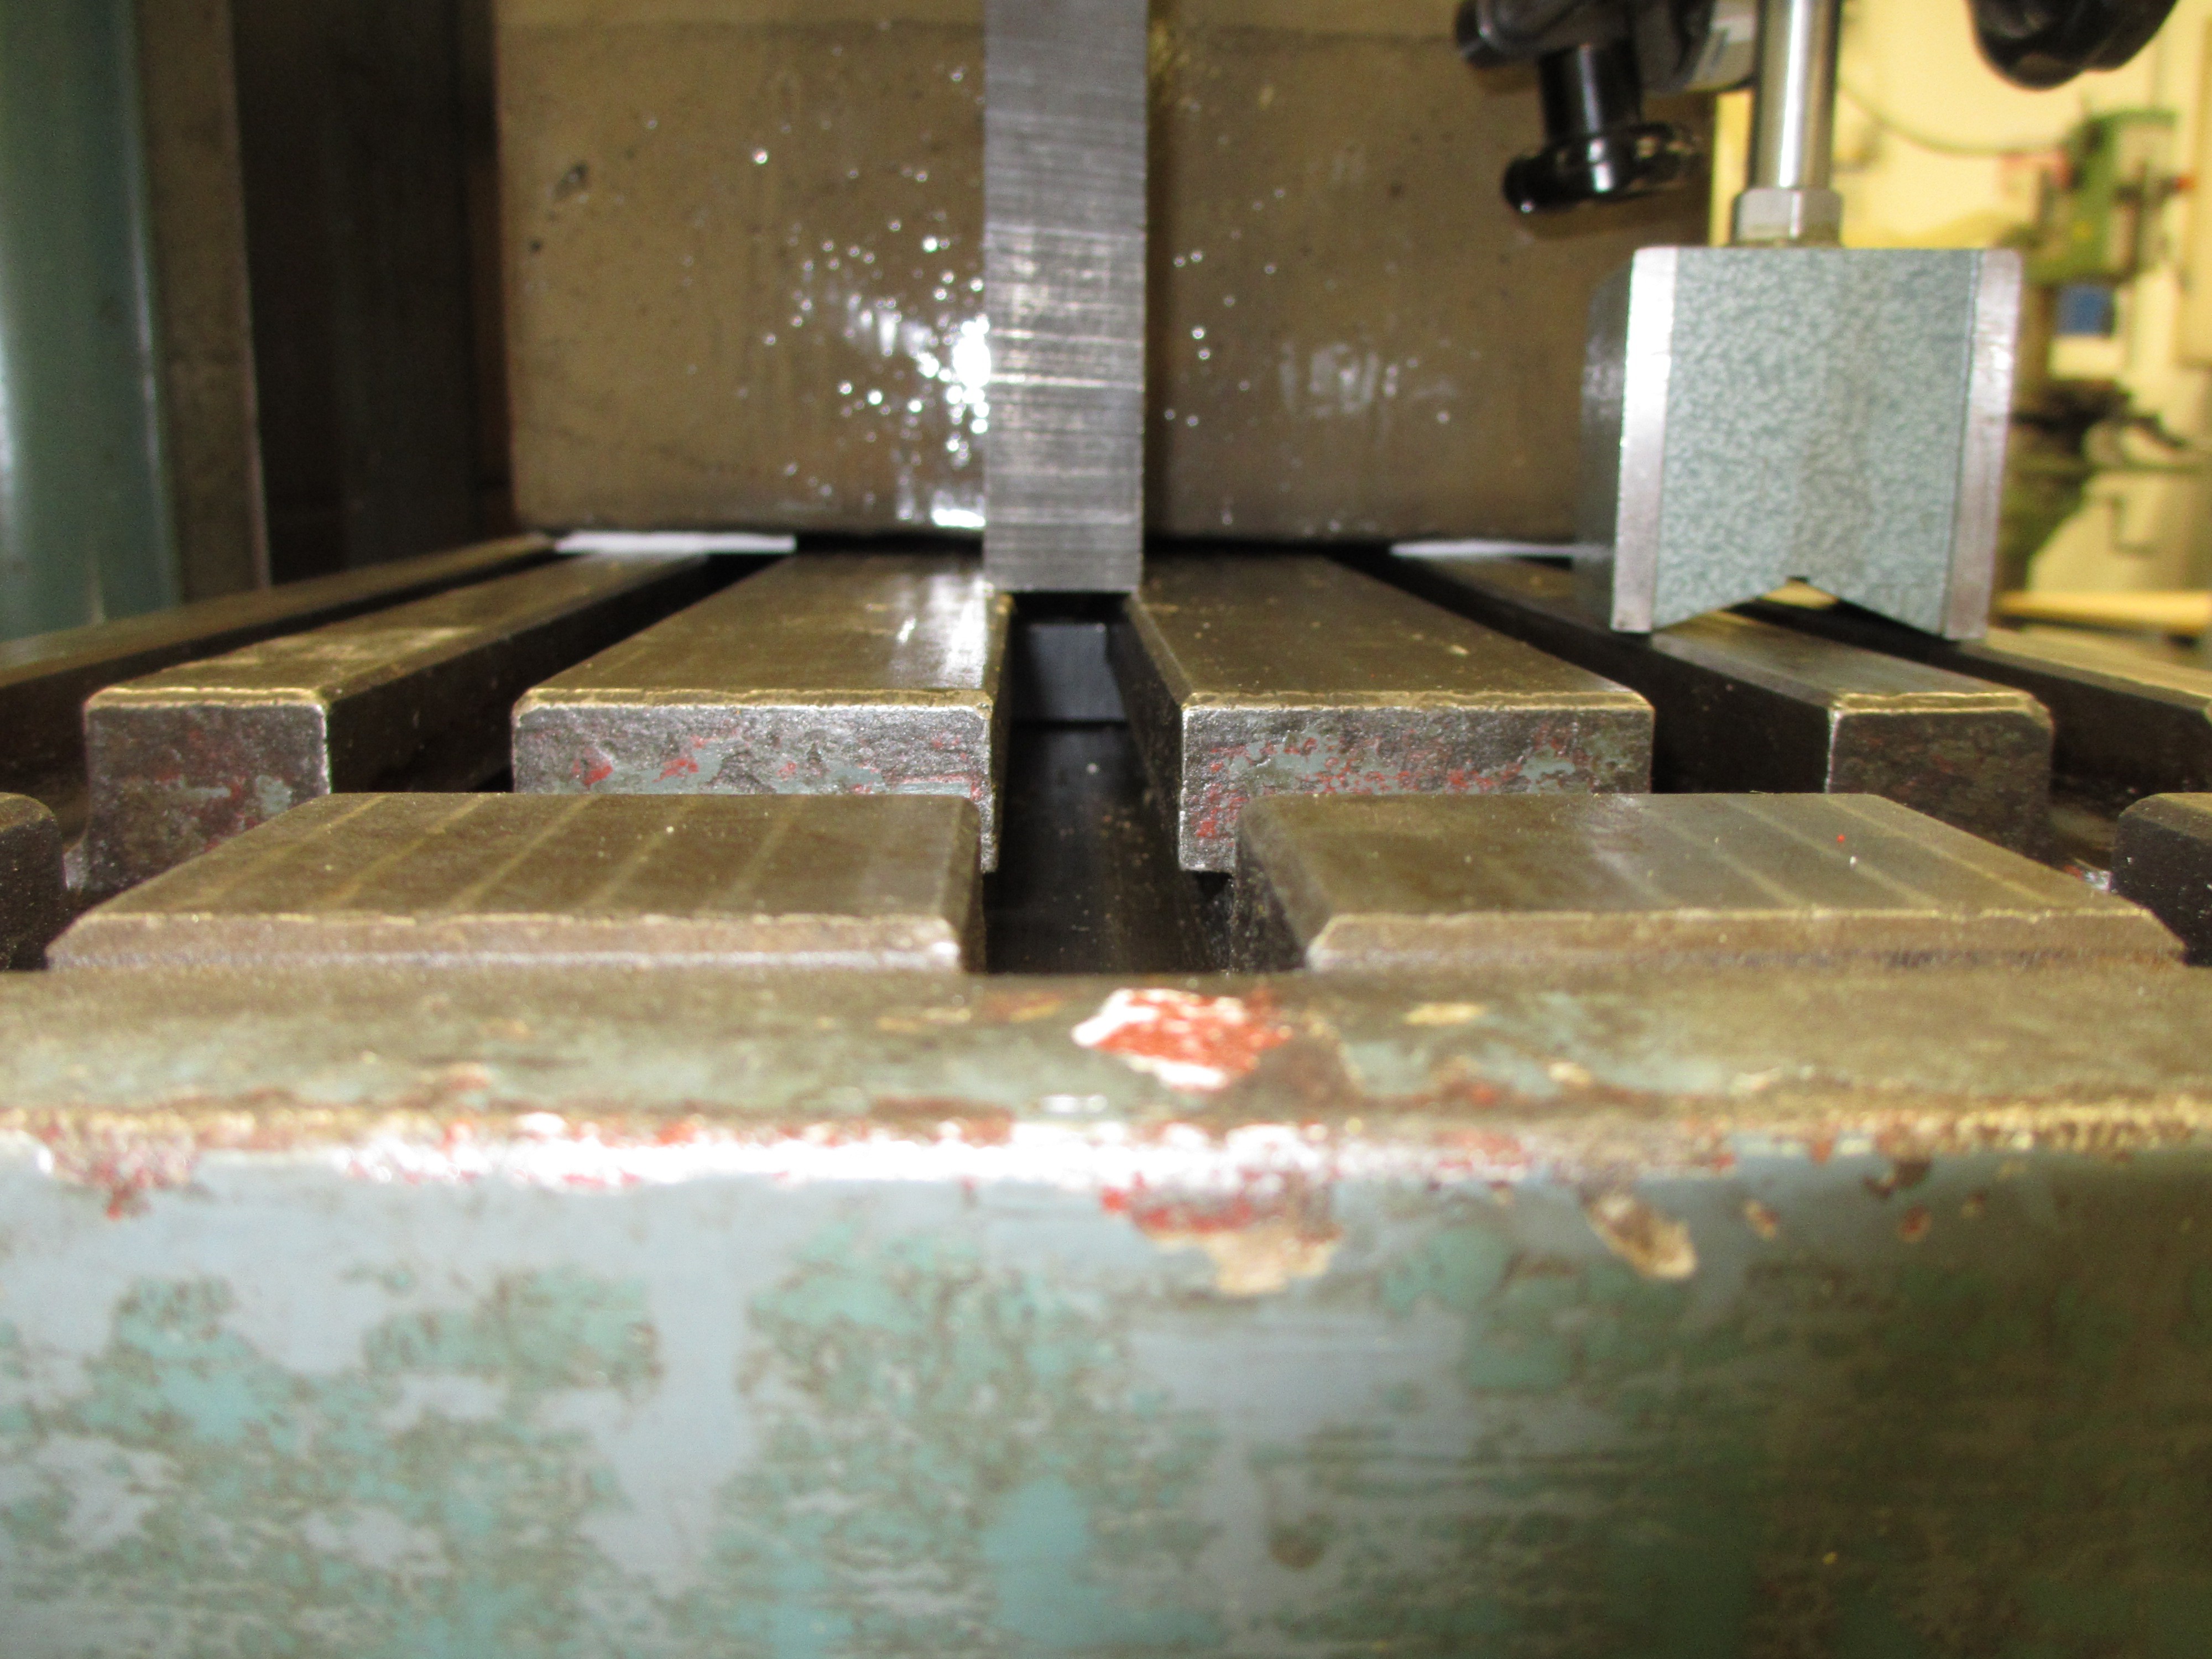
Such a small imprecision is not an issue, since the X and Y zero points were only used for drilling holes for the ball screw mounts. These will be tapped and are quite forgiving. A bigger problem is that due to the weight of the concrete, I concluded that the machine table was actually flexing slightly near the ends of X-travel. I estimate it may have flexed some 0.015-0.03 mm. This will probably cause the machined surface to "arc" a bit, having a high spot in the center. I'll have to verify the results and see if they are good enough.
Create an account to leave a comment. Already have an account? Log In.
Your machine looks fantastic - I only just found it while researching into concrete as a filler for my own diy mill. It's been a while - did you finish it, is it working?
Thanks. And yes! I finally finished it. I used it for the first time yesterday. I'm writing a new log post about it right now, it includes a video with some action.
Become a member to follow this project and never miss any updates
 Alastair Young
 Caleb Peters
 rawe
rawe
 Jose Ignacio Romero
Bravo!
As for your hardened steel milling.. 1mm depth of cut is a lot for any trochoidal milling path. I think this little spindle and tool would zip along happily at 1/4 of that with an increased feed rate. Be careful next time.. that sort of heat generation on plywood can be dangerous but top marks for using a vacuum to clean up and not an airline! :)