0%
0%
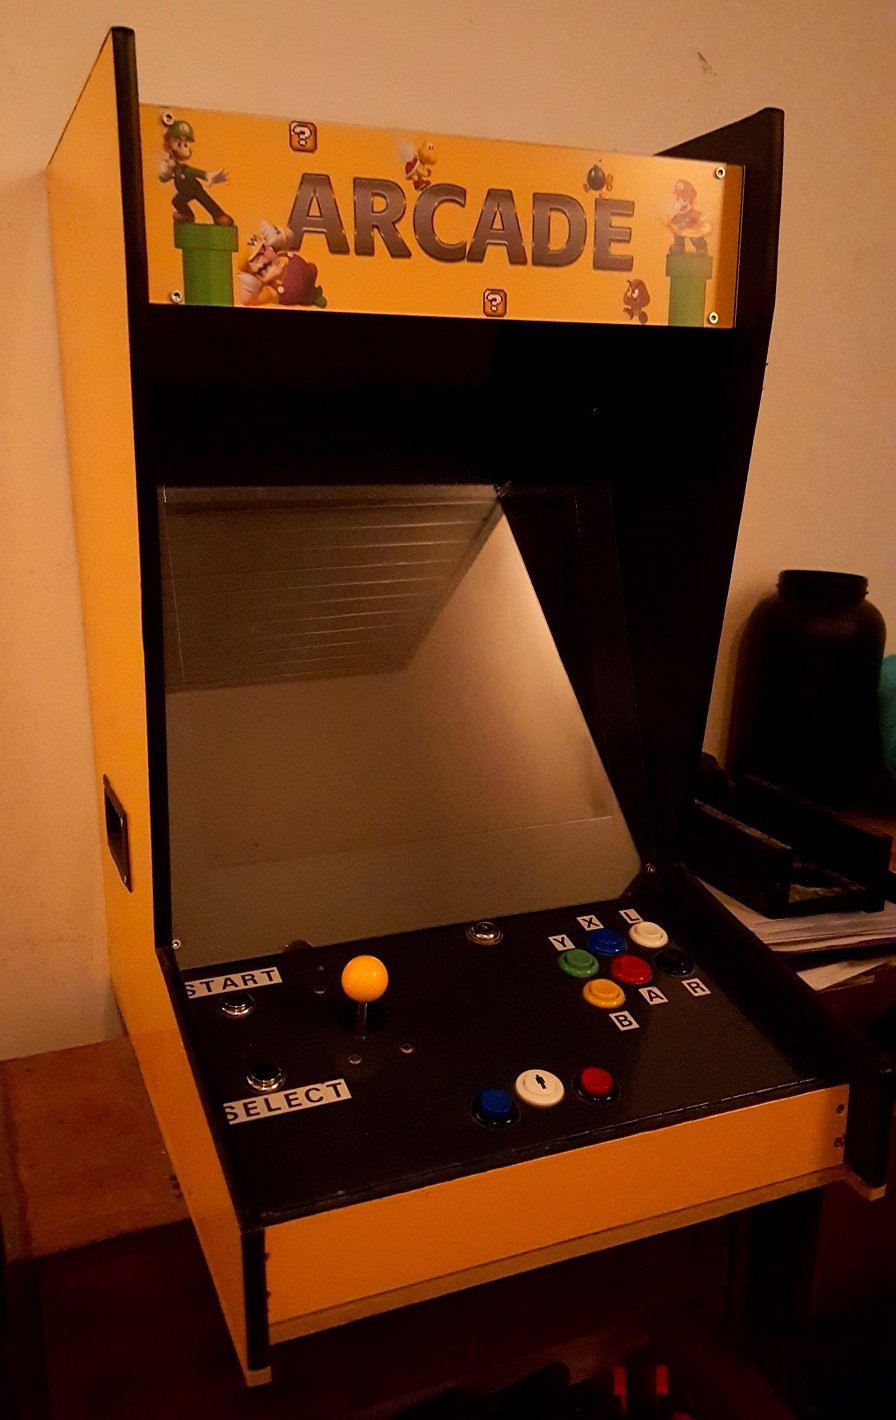
Arcade Cabinet
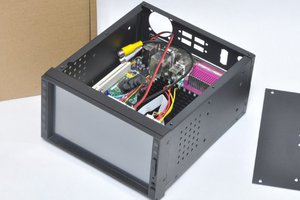
Arcade cabinet build around a Raspberry Pi 2 B running Porta Pi (Retropie + Emulationstation) with detachable control panel.
 Lumor
LumorBecome a Hackaday.io member
Already have an account? Log in.
Just one more thing
To make the experience fit your profile, pick a username and tell us what interests you.
Pick an awesome username
hackaday.io/
Your profile's URL: hackaday.io/username. Max 25 alphanumeric characters.
Pick a few interests
Projects that share your interests
People that share your interests


 Randy Walker
 Mime Industries
 Richard Hogben
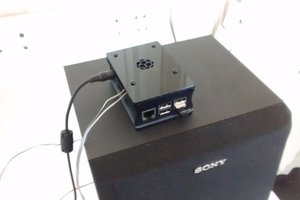
 Max2Play
What did you do for the edges of the MDF? I built one about 4 years ago but I didn't do anything for the edges and it looked awful.