-
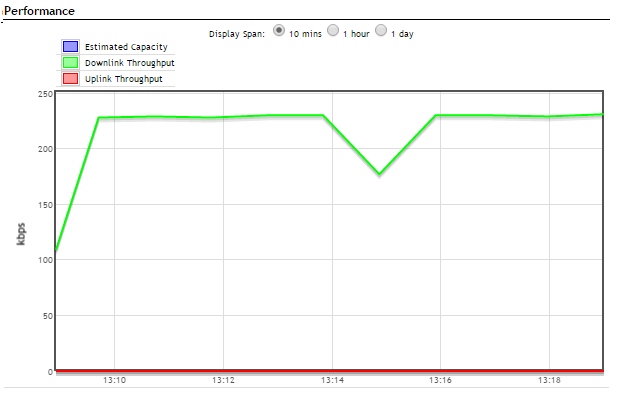
left one of the controllers and strips outside for almost a year
10/18/2015 at 19:44 • 0 commentsnot completely waterproof , controller, wifi and strips still work fine. cleaning it up and doing a conformal coating on it.
-
3.3v version, logic level shifter woes.
01/03/2015 at 06:13 • 0 commentsThe old BS138 bi directional logic level shifter can't hack 800khz., 400khz is fine, the 10K's make it too slow.
time for a M74VHC1GT125DF2G
-
Moar videos
12/27/2014 at 02:09 • 1 commentjust like Christmas music, more than once is too often. testing at 921600 kbaud, strips are ordered and acting as one giant contigous strip now.
-
Very silly MFC app added to github
12/25/2014 at 06:07 • 0 commentsI knocked up a very hacky quick app that displays the LED's as buttons and sets the colours to match the LEDS ( within reasons)
It's expecting broadcast UDP (which is terrible idea) and abuses the OnPaint of MFC, but it's mildly interesting. VS2013 project file,.
Also helps to show the latency of UDP broadcast around a network.
![]()
-
Changing firmware of ESP8266 and other stuff
12/25/2014 at 01:54 • 0 commentsI finally got around to compiling up the ESP8266 firmware on windows, i'd previously setup an EC2 instance beforehand and got it compiling but not tested it.
I used CHERTS setup here , which actually seemed to work as documented! amazing stuff :)
http://www.esp8266.com/viewtopic.php?f=9&t=820
Once i'd fiddled around with python adding all the extra stuff it needs, and gave up on the cygwin version of esptool.
Compiled new firmware and was left with the at_v0.20 9,3 sdk and firmware files
C:\Espressif\examples\at_v0.20_on_SDKv0.9.3\firmware
12/24/2014 17:18 35,120 0x00000.bin
12/24/2014 17:18 160,992 0x40000.binok grab https://github.com/themadinventor/esptool setup python with serial support etc.
quick batch file name it flash.bat and use flash COM4 (or whatever yours is)
c:\esptool-master\esptool.py --port %1 write_flash 0x00000 0x00000.bin
pause reset the esp
c:\esptool-master\esptool.py --port %1 write_flash 0x40000 0x40000.bin
These last two are only needed if you want to reset the settings.
pause reset the esp
c:\esptool-master\esptool.py --port %1 write_flash 0x7C000 C:\Espressif\ESP8266_SDK\bin\esp_init_data_default.bin
pause reset the esp
c:\esptool-master\esptool.py --port %1 write_flash 0x7E000 C:\Espressif\ESP8266_SDK\bin\blank.bin
Connect to a 3.3V UART, ground GPIO 0 , reset the ESP , flash each section, resetting in between.
in user_main.c i changed the UART setup too :-
uart_init(BIT_RATE_921600, BIT_RATE_115200);
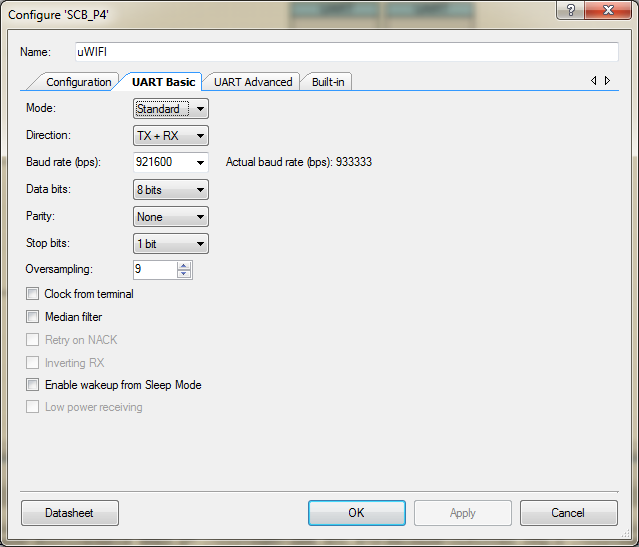
then flashed up the image and got it running at 921600 baud, a few false starts but the reset settings above, will help you. It also loses the CIOBAUD command, which is easy to add back.
so then i ran my CIPSERVER with a UDP port as usual, and nada. . so reflashed back and forth, the usual head scratching and eventually figured look at the code in the firmware, sure enough in at-ipCmd.c UDP listener is commented out. look for and start un-commenting here
// pUdpServer = (struct espconn *)os_zalloc(sizeof(struct espconn));then that whole section is commented out (not sure why lines of // vs #if 0), up until, stop un-commenting on the line before this.// pLink[0].pCon->type = ESPCONN_TCP;now look for this, which is also commented out ( i don't know if eclipse has a vertical select like VS does, and frankly i don't want too )at_udpserver_recv(void *arg, char *pusrdata, unsigned short len)Keep an eye on this routine, since this is why i'm doing the firmware updates anyway.Recompile and re-flash, and you ought to be back in business with UDP.
also in at_cmd.c i modified line 150 to stop compiler noise
else if(((*pAtRcvData >= '0') && (*pAtRcvData <= '9') )|| (*pAtRcvData == '='))Finally in PSoC creator, change the baud rate for the XMAS lights on the WIFI UART thusly
![]()
Re-flash the PSoC light node and test !
So at first sight the LED's do seem smoother at this baudrate, but that's entirely subjective and the limiting factor maybe elsewhere, its also been a long week ;) but lets call it a win win all around
update: I put one of the new code nodes up along with the old ones, and its significantly faster..
The reason i want to redo the code in the firmware is to get rid of the +IPD,0,length:, and any trailing data, from the CIPSERVER, since i'm looking at something that requires the data to have nothing extra added. While its useful in a lot of places, i can do without it here.
Also i'd like to note back on that long week thing, sometimes you look for something, say the protocol for a bootloader and you expect the OEM not to give it to you, so you poke around and find DLL's that look interesting, then spend a couple of hours completely reverse engineering them back to working C code , then look for API call documentation to give it that extra va-voom and you then discover that in fact they did give you the code for a different version of the bootloader that has got enough info.. The moral of the story is that i'm a pretty awesome RE'r and got the RE'd code back to pretty much the supplied code, and that sometimes maybe you should look for the API doc's a bit harder next time, but also seeing the code side by side looking the same is good booster. Hopefully more on this later.
-
Simple OSX/linux udp
12/24/2014 at 17:33 • 0 commentsonly a few small changes from windows version. instructions same for both linux and OSX, assuming gcc is installed already etc. save as test.c, compile with gcc -std=c99 test.c run as ./a.out #include <stdio.h> #include <string.h> #include <stdlib.h> #include <termios.h> #include <unistd.h> #include <sys/types.h> #include <sys/time.h> #include <sys/socket.h> #include <netinet/in.h> #include <arpa/inet.h> // Defines #define LIGHTS "192.168.1.230" // Address of Node #define BUFLEN ( 450 ) // Length of data to send to LED strips, 150 LEDs, three byte values per LED , 450 #define PORT (40002) // The port the ESP is listening on void changemode(int dir); // short cut exit routine void die(const char *str) { fprintf(stderr, "error: %s\n",str); changemode(0); // exit with error exit(1); } void changemode(int dir) { static struct termios oldt, newt; if ( dir == 1 ) { tcgetattr( STDIN_FILENO, &oldt); newt = oldt; newt.c_lflag &= ~( ICANON | ECHO ); tcsetattr( STDIN_FILENO, TCSANOW, &newt); } else tcsetattr( STDIN_FILENO, TCSANOW, &oldt); } int _kbhit (void) { struct timeval tv; fd_set rdfs; tv.tv_sec = 0; tv.tv_usec = 0; FD_ZERO(&rdfs); FD_SET (STDIN_FILENO, &rdfs); select(STDIN_FILENO+1, &rdfs, NULL, NULL, &tv); return FD_ISSET(STDIN_FILENO, &rdfs); } int main(void) { struct sockaddr_in si_other; int s, slen = sizeof(si_other); unsigned char data[BUFLEN]; if ((s = socket(AF_INET, SOCK_DGRAM, IPPROTO_UDP)) == -1) { die("socket create error"); } // setup the target port/address memset((char *)&si_other, 0, sizeof(si_other)); si_other.sin_family = AF_INET; si_other.sin_port = htons(PORT); si_other.sin_addr.s_addr=inet_addr( LIGHTS ); printf("press space to stop\n"); changemode(1); // wait for a key press while (!_kbhit()) { // fill the buffer with a simple green fade // each LED is three bytes, RGB, so the 2nd led is (index*3) for (int i = 0; i < BUFLEN; i+=3) { data[i ] = 0; // red data[i+1] = i>>1; // green data[i+2] = 0; // blue } // send to ESP if (sendto(s, (const char*)data, BUFLEN, 0, (struct sockaddr *) &si_other, slen) == -1) { die("couldn't sendto"); } } //get rid of keypress (fflush) getchar(); changemode(0); close(s); return 0; } -
Simple windows UDP send
12/24/2014 at 17:09 • 0 commentsHere is a very basic UDP send to one node at a time. Make a simple win32 project and copy this in. (Also added to github) // simple_udp.cpp : Defines the entry point for the console application. // // Headers (put this in stdafx.h if using precompiled headers) #include <stdio.h> #include <string.h> #include <stdlib.h> #include <winsock2.h> #include <Ws2tcpip.h> #include <conio.h> // Library needed #pragma comment(lib, "Ws2_32.lib") // Defines #define LIGHTS L"192.168.1.230" // Address of Node #define BUFLEN ( 450 ) // Length of data to send to LED strips, 150 LEDs, three byte values per LED , 450 #define PORT (40002) // The port the ESP is listening on // short cut exit routine void die(const char *str) { fprintf(stderr, "error: %s\n",str); WSACleanup(); // exit with error exit(1); } int main(void) { WSADATA w ; struct sockaddr_in si_other; int s, slen = sizeof(si_other); unsigned char data[BUFLEN]; /* Open windows connection */ if (WSAStartup(MAKEWORD(2, 2), &w) != 0) { fprintf(stderr, "could not initialise winsock\n"); exit(0); } // create a udp socket if ((s = socket(AF_INET, SOCK_DGRAM, IPPROTO_UDP)) == -1) { die("socket create error"); } // setup the target port/address memset((char *)&si_other, 0, sizeof(si_other)); si_other.sin_family = AF_INET; si_other.sin_port = htons(PORT); // convert IP address string to numerical if (1 != InetPton(AF_INET, LIGHTS, &si_other.sin_addr)) { die("InetPton failed"); } printf("press space to stop\n"); // wait for a key press while (!_kbhit()) { // fill the buffer with a simple blue fade // each LED is three bytes, RGB, so the 2nd led is (index*3) for (int i = 0; i < BUFLEN; i+=3) { data[i ] = 0; // red data[i+1] = 0; // green data[i+2] = i>>1; // blue } // send to ESP if (sendto(s, (const char*)data, BUFLEN, MSG_DONTROUTE, (struct sockaddr *) &si_other, slen) == -1) { die("couldn't sendto"); } } //get rid of keypress (fflush) _getch(); closesocket(s); WSACleanup(); return 0; } -
pushed firmware source code to github
12/23/2014 at 18:09 • 0 commentsThe firmware for the PSOC4 + esp8266 is up on github. You can use the Cypress board to test it, P1.5 is the LED output.
Details are in the eagle file and the firmware schematic in Cypress Creator Project.
Cliff notes.
P3.2 connect via buffer to CH_PD
P3.0 WIFI RX
P3.1 WIFI TX
P0.7 Boot Switch
P1.5 LED strip
P1.6 Status LEDYou should either run the PSOC+ESP8266 and logic level to 5V for the led strip, or logic levels between the esp and PSOC , i have run the ESP at 5V IO with 3.3V power, for weeks (accidentally) but i guarantee your only ESP8266 that took 6 weeks to ship will immediately explode if you try that.
I did move some of the lines around in eagle, so they wouldn't conflict with the debug pins, since its an active repo they can get out of sync. So verify against schematic in Creator 3.0
Preset the BAUD rate of the ESP8266 to 460800 with AT command AT+CIOBAUD=460800
This baud rate is set in the XMAS Lights TopDesign, double click the uWIFI tab to see it, changing it there requires a change to the ESP8266 BAUD rate as well, use the echo_mode() function in the firmware for a passthru, if using the $4 cypress board, it'll appear at 115200 baud on the its serial port when plugged into a PC. The Two UARTs have independent speeds.
Edit the run_server() for your WIFI's AP name and password too..
You can use the Cypress UART Bootloader (Tools/BootLoader Host 115Kbps) or a minipro etc to load this firmware.
All you have to do is send 450 bytes of UDP to the ESP and the LEDS will display it. I'll add PC code next. You can send to specific IP or broadcast UDP (not recommended for WIFI) use UDP port 40002
esp8266 rx > tx, tx -> rx, , p3.2 to CH_PD via logic level converter. LED strip directly to P1.5 , all grounds common.
It's all a little rushed, so i may have missed something out.
-
Started install, programming adapter
12/07/2014 at 17:01 • 0 commentsSo i can quickly reflash and diagnose the ESP8266's I made a simple adapter from a 2x4 IDC/ribbon plus a USB to UART adapter that i had lying around.
![]()
The pin sticking out the side is for grounding for GPIO0 to reflash it , or reset, super basic. Just needs 3V3, GND TXD/RXD
![]()
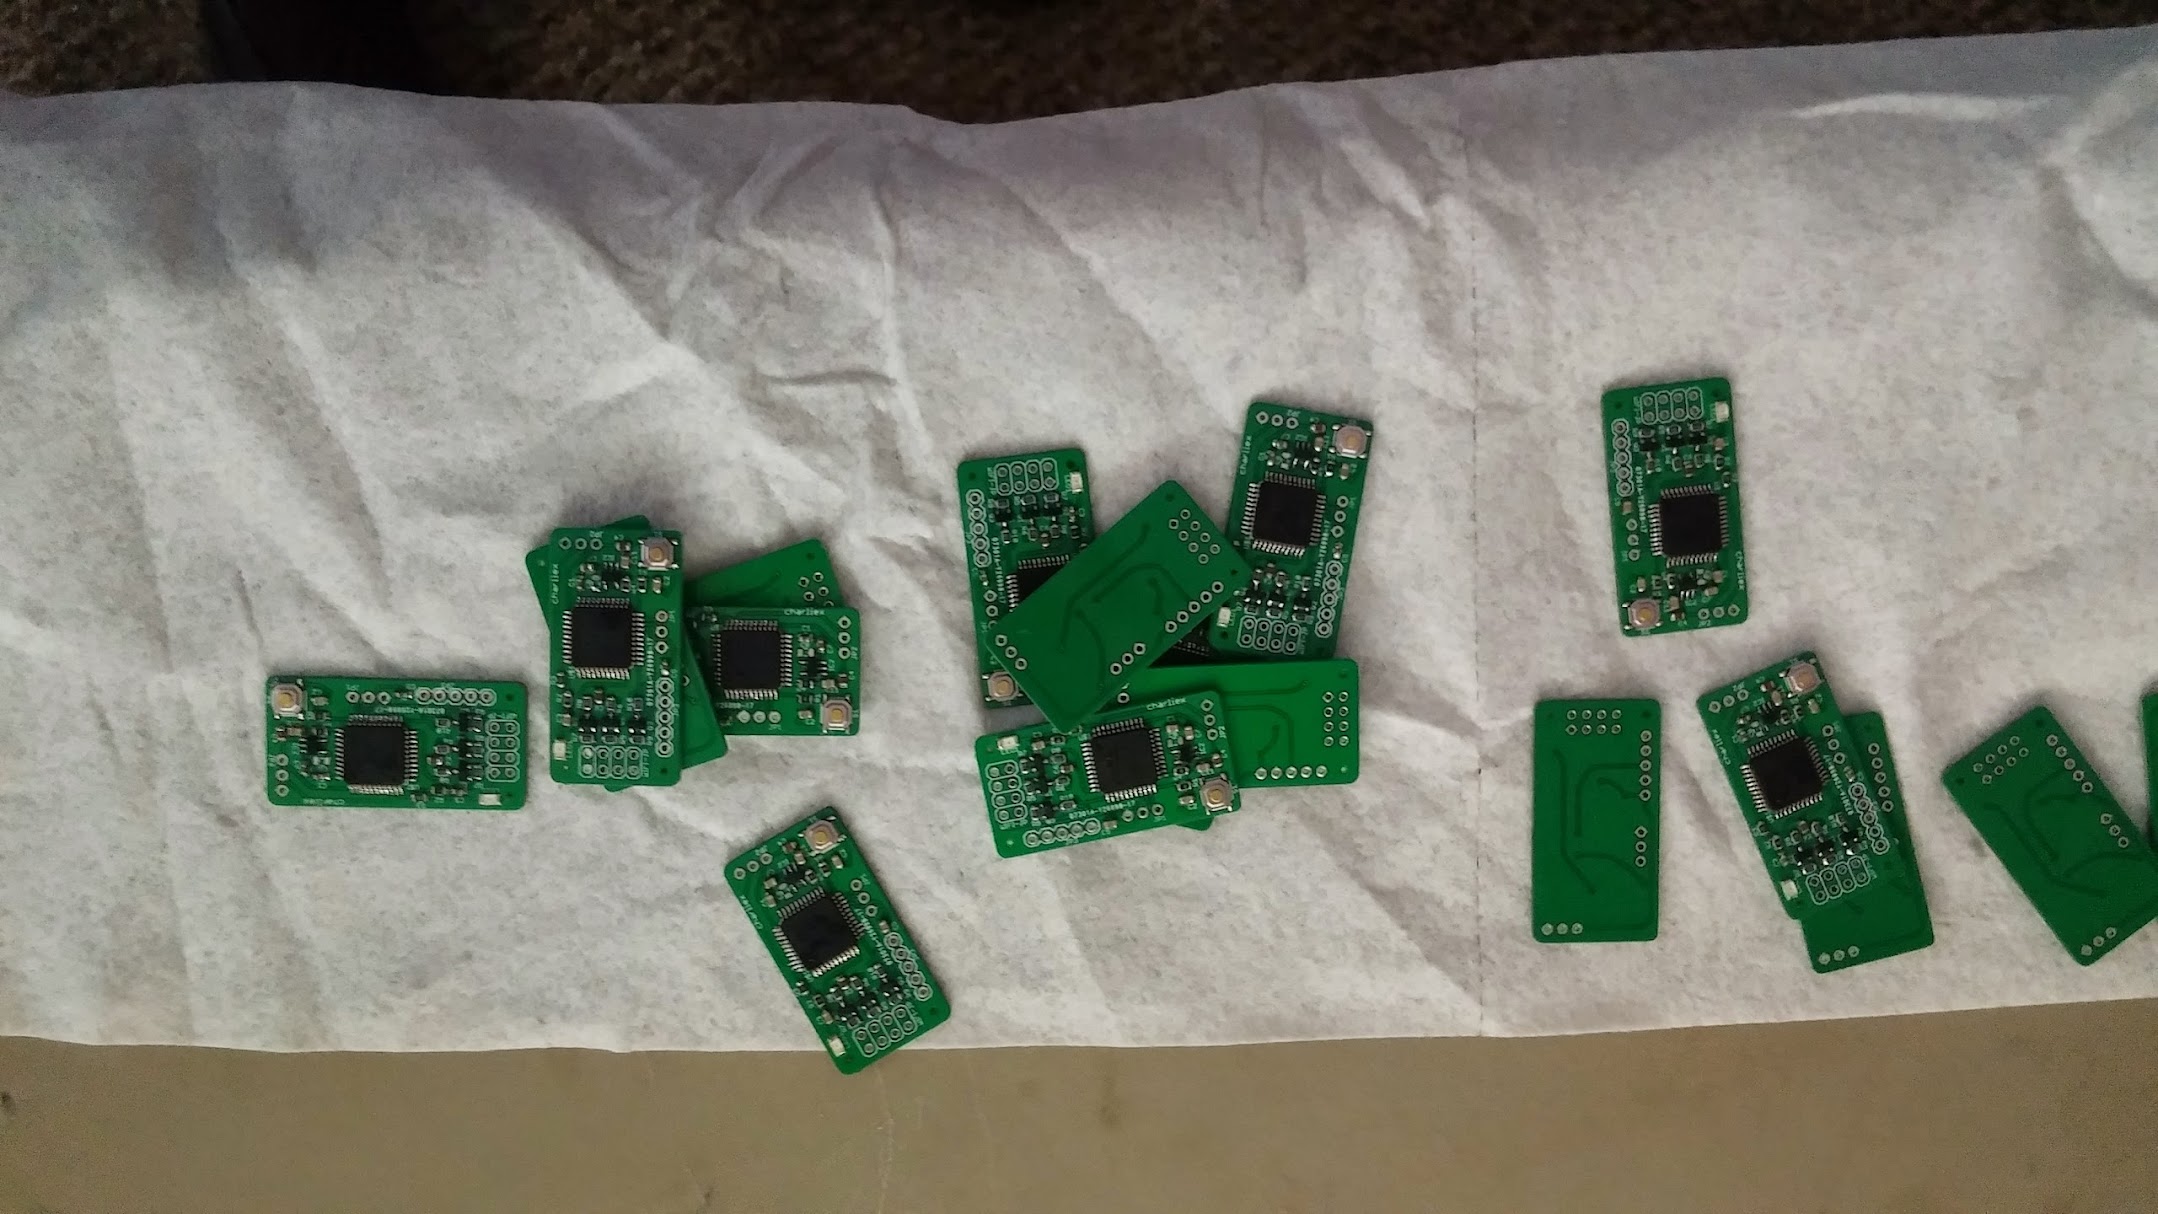
krs built all the rest of the boards, i'd put the chips on so i could flash them , the PSOC's need no supporting hardware to be flashed.
![]()
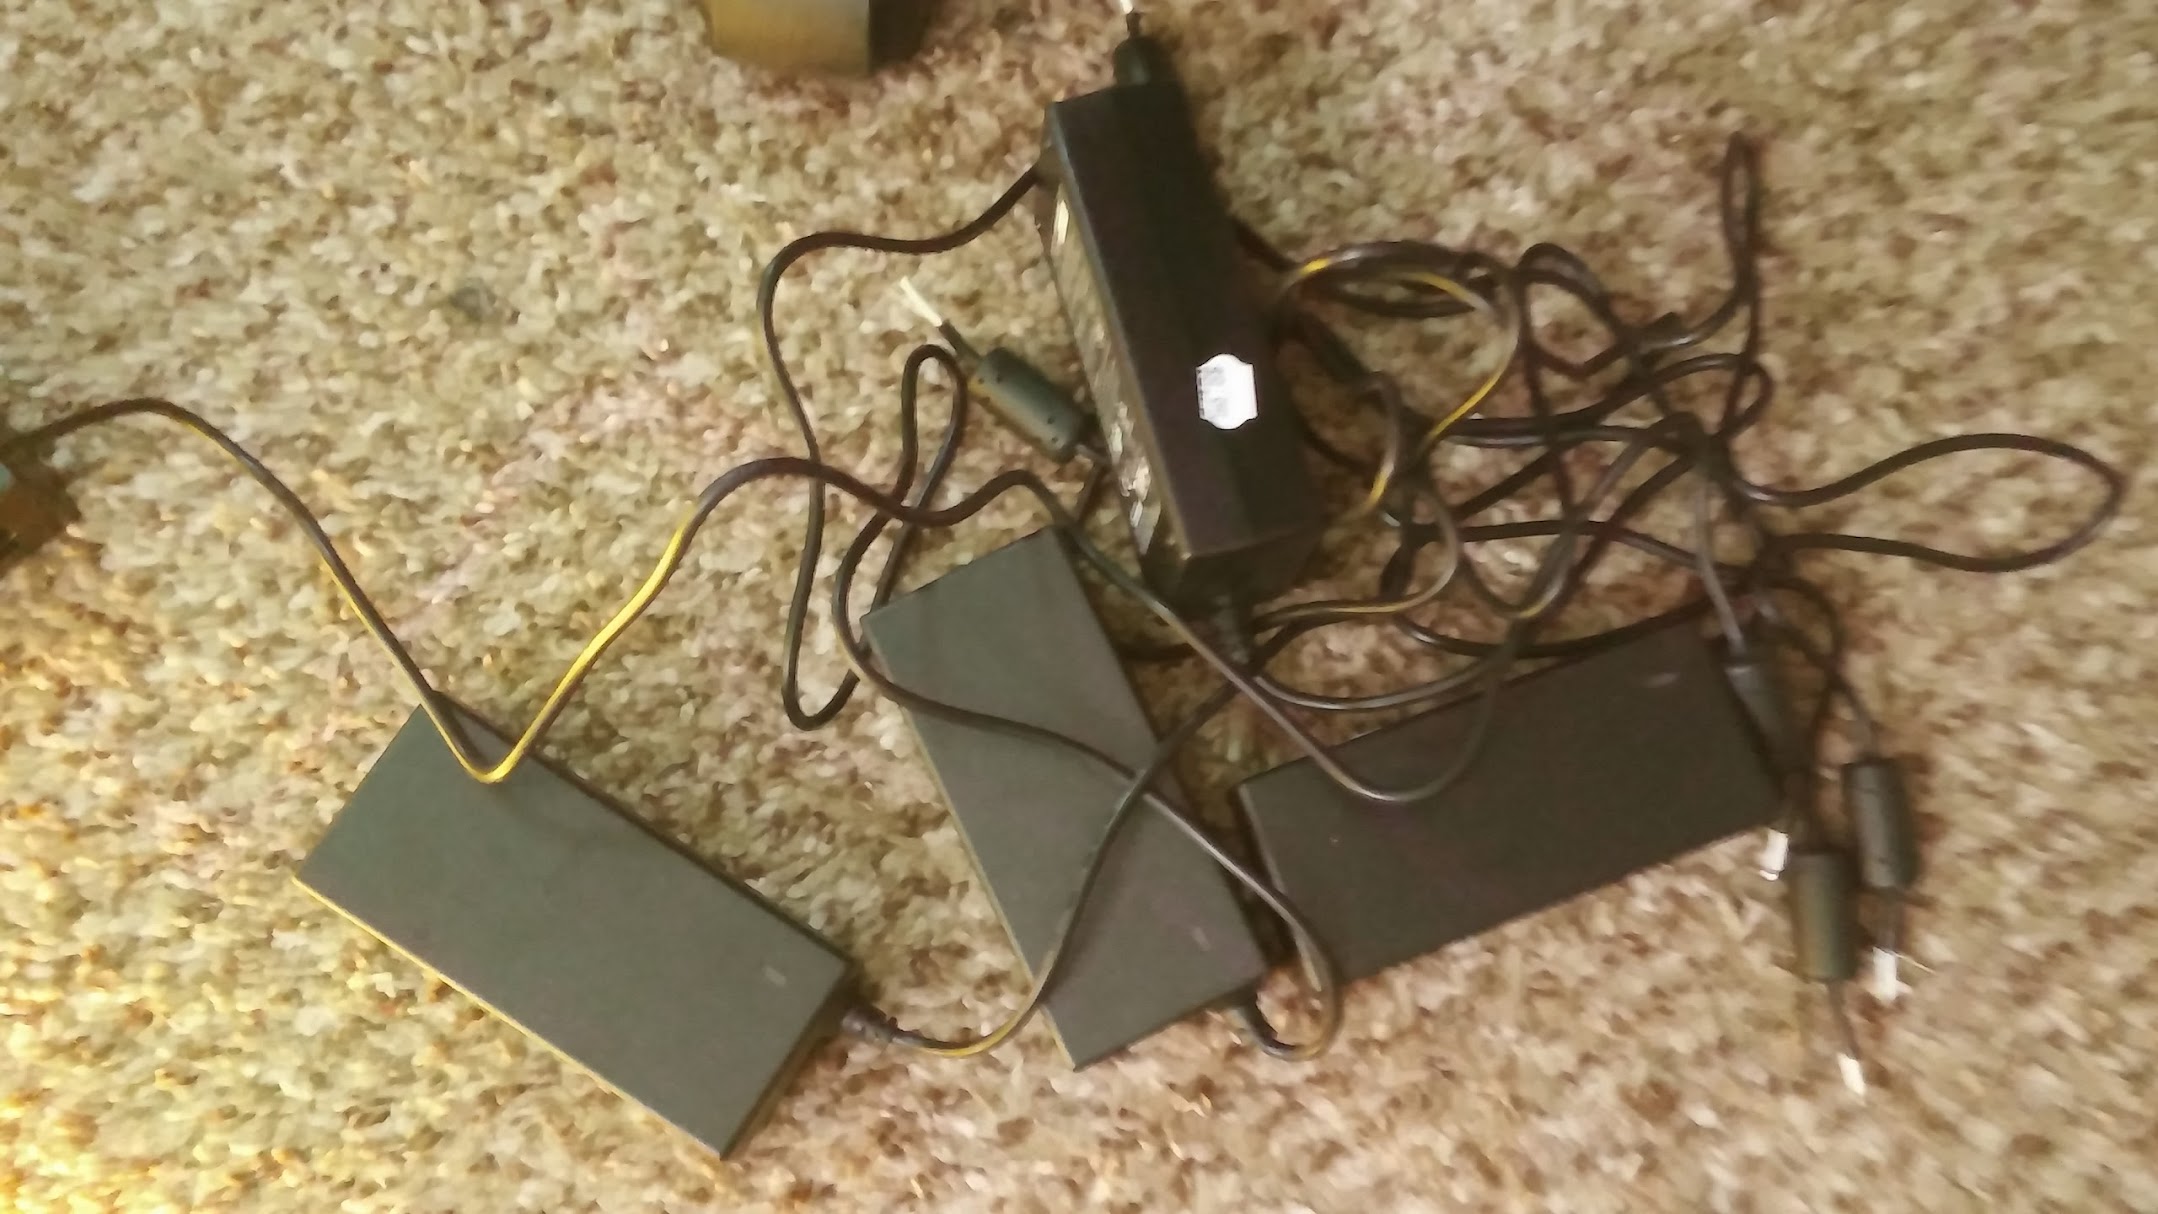
i have a bunch of PSU's from all electronics, $9 each. I have a large 5V power supply to power everything, but haven't put the base cabling in yet, so these are my cheat's and they've been working on a test load for about a month.
![]()
![]()
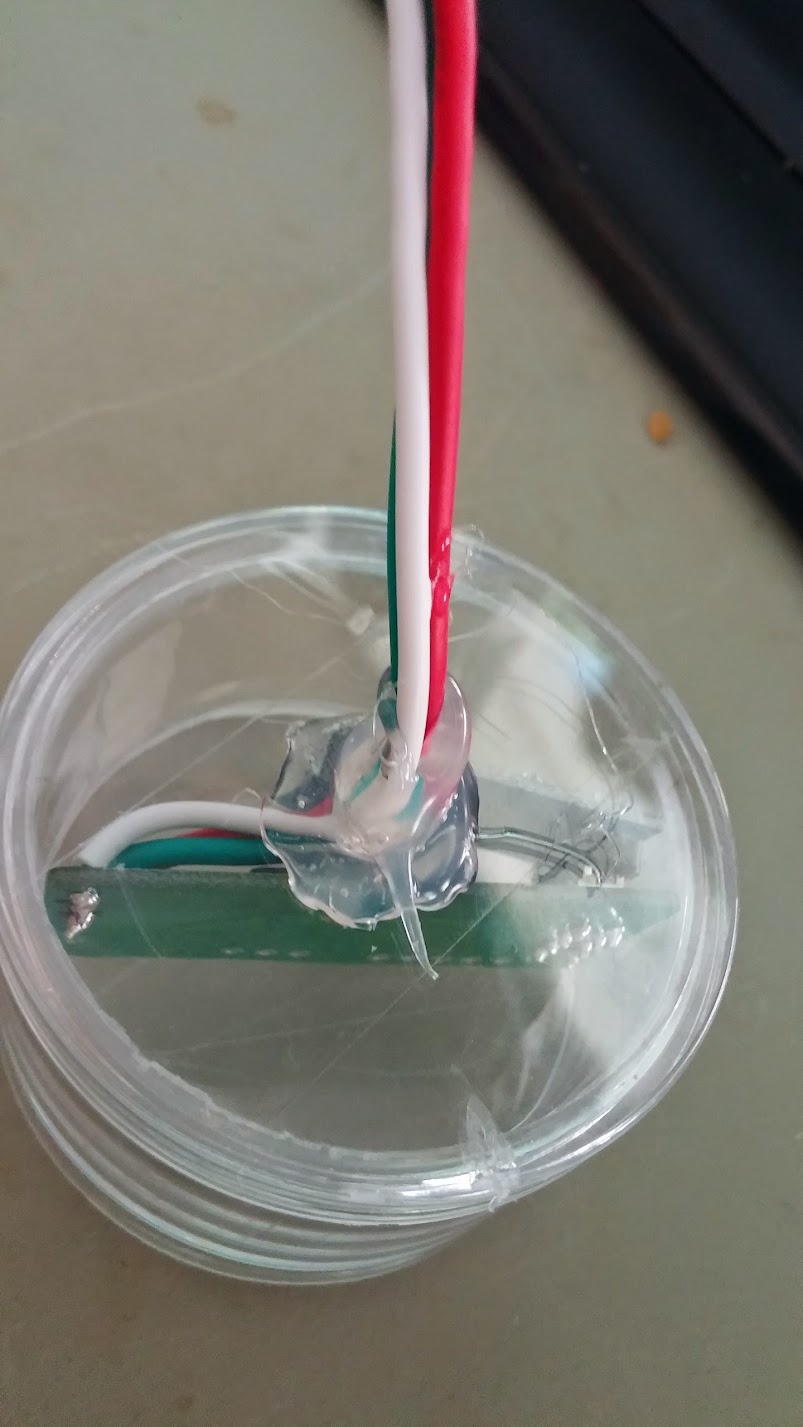
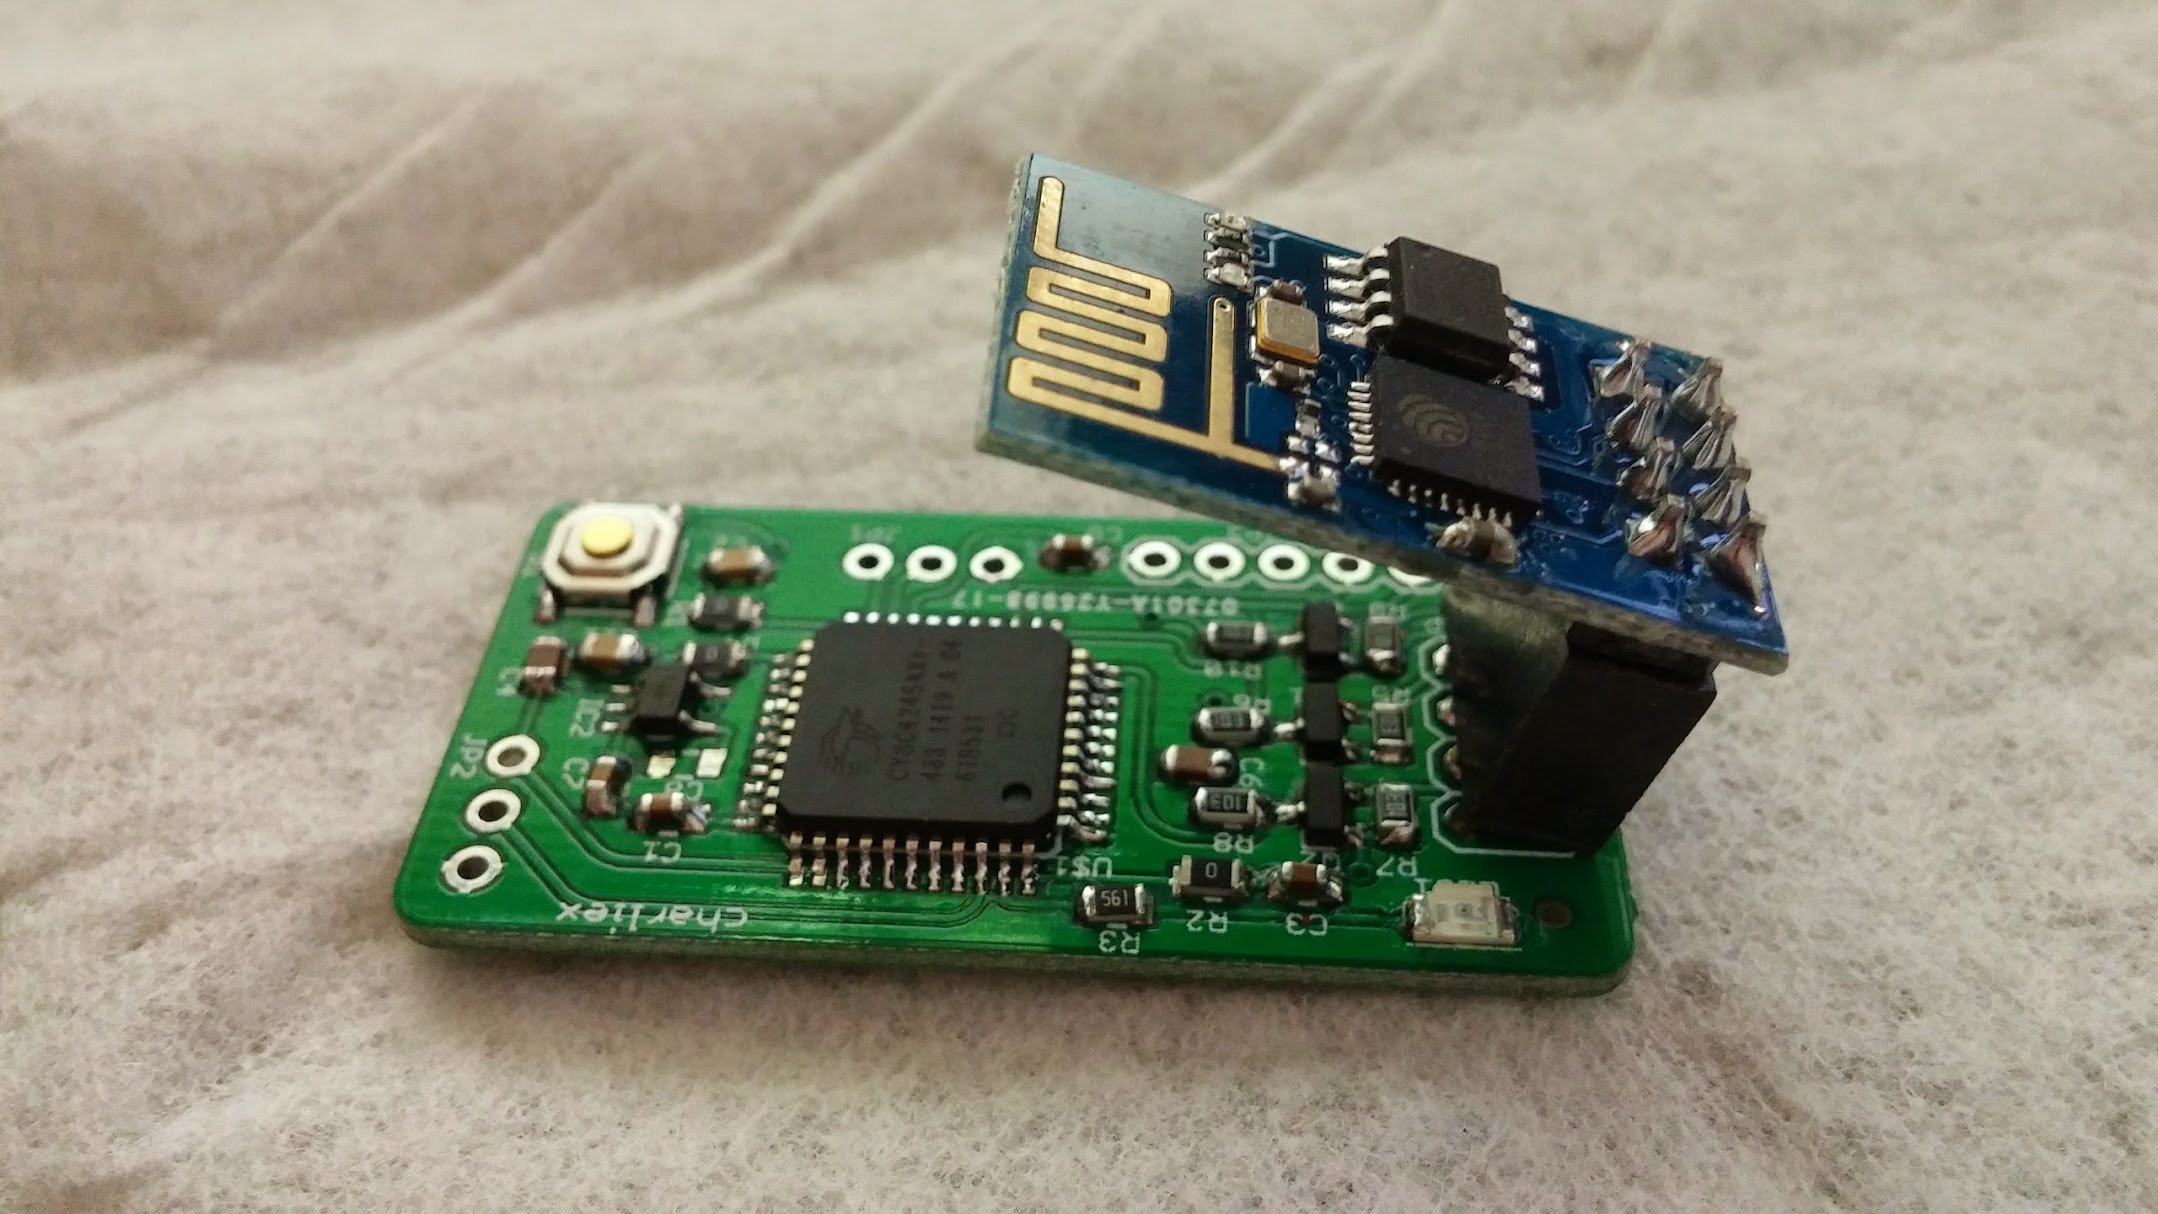
I mounted it at a slight offset, i did rotate this board design so the esp8266 adapter points away from the board, but range has been fine with this setup and it meant i can fit them into those small pots, i was going to do the usual PVC pipe plus endcaps, but i wanted to see the led's and the boards.
![]() Also from all electronics i had a bunch of these containers for holding SMD parts etc. I used the hot melt gun to seal off the ingress.
Also from all electronics i had a bunch of these containers for holding SMD parts etc. I used the hot melt gun to seal off the ingress.![]()
Side ingress was neater, but i realised it was easier to take them out for any reflashing or so on , i haven't finished the OTA PSOC reflash yet.
![]()
Started to get them all assembled. About half of them done.
![]()
![]()
GUI
-
Some pictures
12/03/2014 at 20:53 • 0 comments![]()
![]()
![]()
![]()
![]()
![]()
(On rev2 i flipped the connector so the wifi points away from the board.) but i like the compact design, and it doesn't seem to affect range.
One node streaming with mostly full data change per frame.
![]()
Cypress PSOC 4 + ESP8266 WS2812 RGB XMAS Lights
802.11 WIFI enabled RGB LED Strips, using the ESP8266 and $4 Psoc 4 dev board.
 charliex



 Also from all electronics i had a bunch of these containers for holding SMD parts etc. I used the hot melt gun to seal off the ingress.
