-
2 cell power bank
06/18/2017 at 11:43 • 6 comments[2018-10-03] Turns out my schematics were bad and basically shortened one battery when in "use" setting. The after math: one LiPo is trash, as well as the charger. Today I've rebuild the charger with normal TP4056 modules, no protection and strictly followed the tutorial.
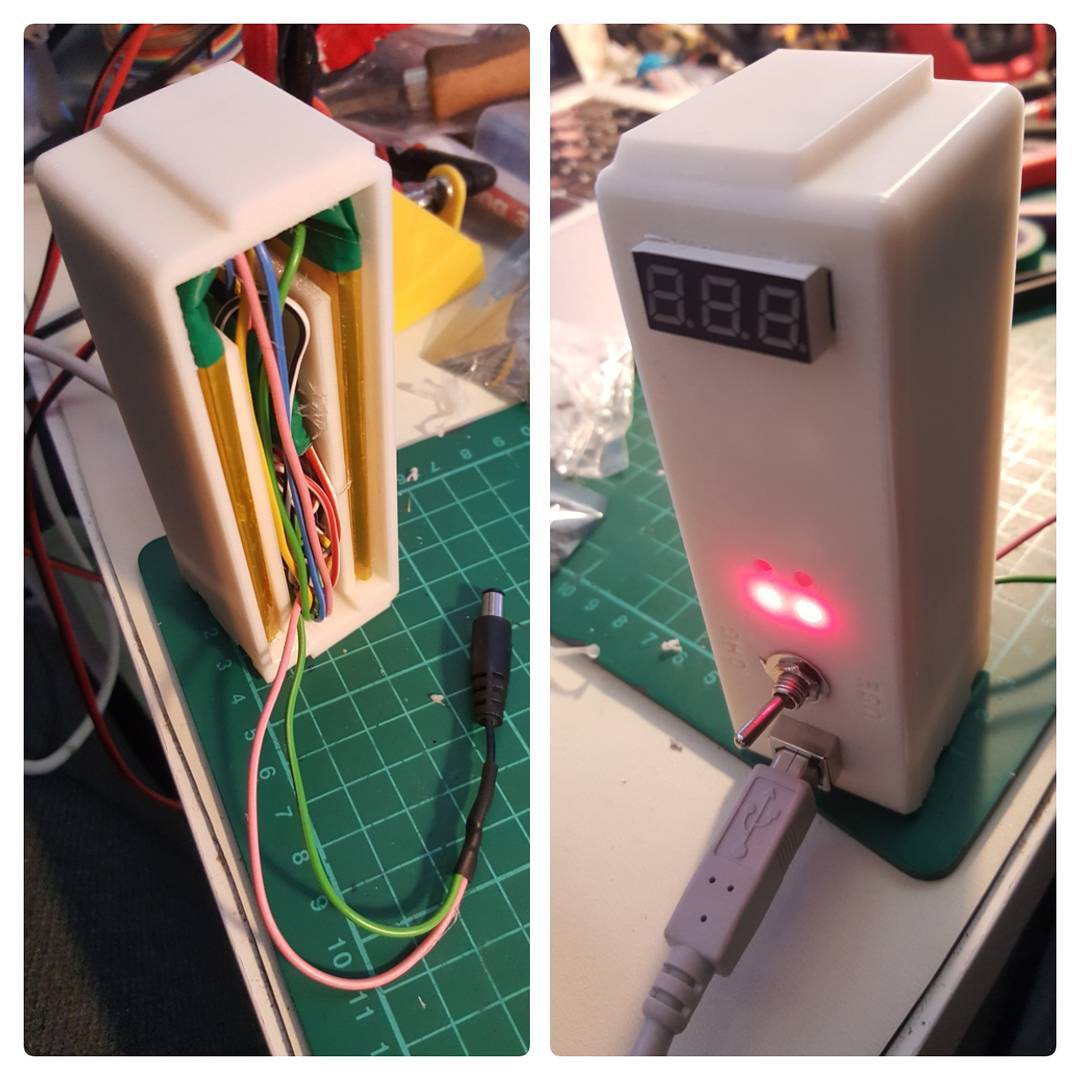
[2017-06-18] next maker faire this thing needs to roll around and move the head and stuff. SO I needed a power bank. I wanted it to be a 2 cell battery, that is also balance charged. https://learn.adafruit.com/multi-cell-lipo-charging/fast-multi-cell-charger my schematics are a bit different, but the general concept is the same. Micro USB is all the rage to charge stuff, but mounting can be quite a challenge, so I went with a USB B plug. I've used two classic TP4056 modules with onboard protection (TE420) and a voltmeter. Bye bye weekend, but totally worth it!![]()
-
LED projector
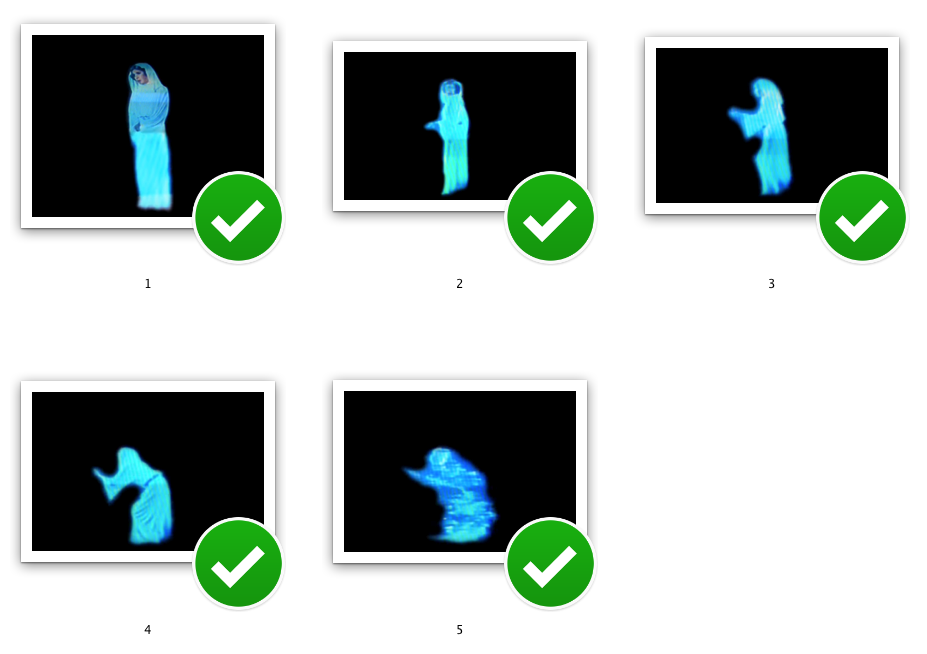
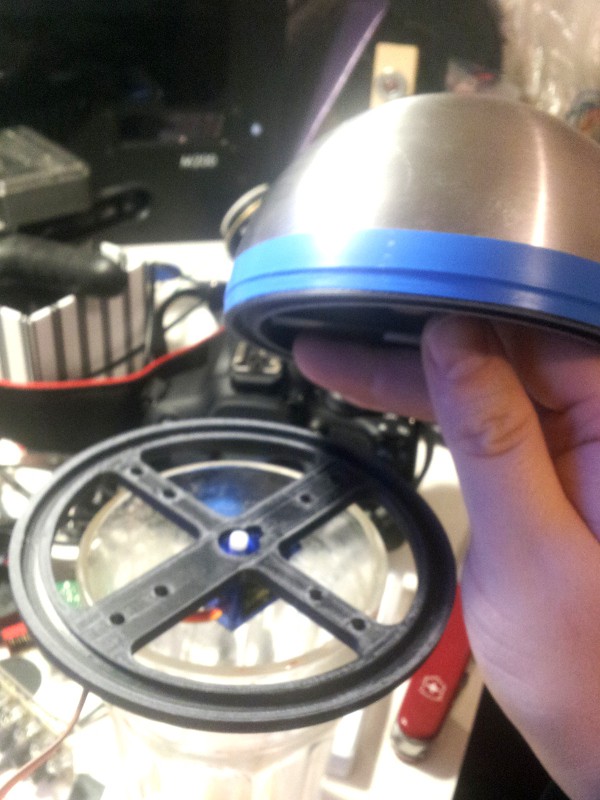
10/21/2015 at 11:14 • 4 commentsI'm thinking of using a servo that turns a wheel with little pictures in it and put a little LED behind it.
![]()
-
taking him for a test spin
05/23/2015 at 21:58 • 2 commentsSo 5V from one source seem to work just fine - a pcb might help correct loose wires an hot-glue mess ;)
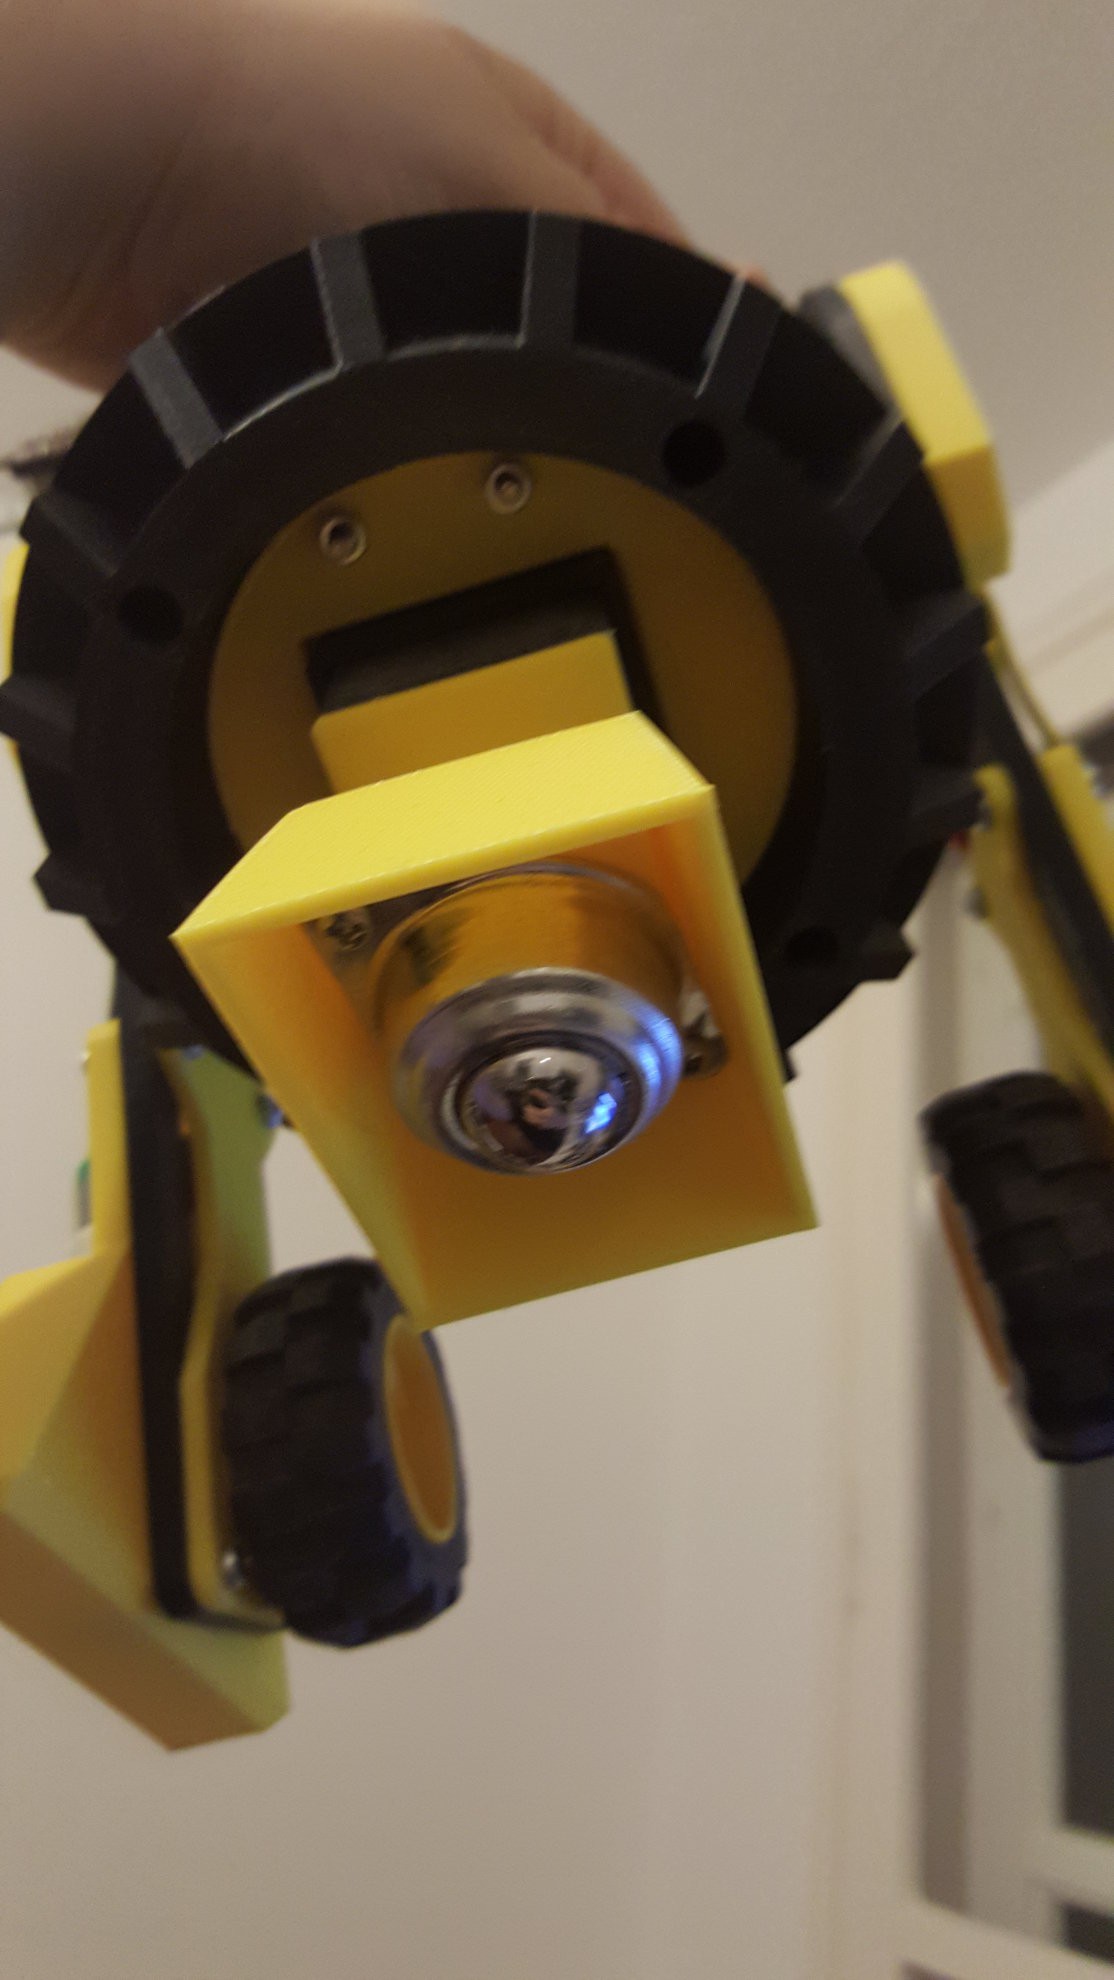
I designed 2 iterations of rolls for the front but finally bought one on eBay for 5 Euros.
![]()
-
some pictures of the misery
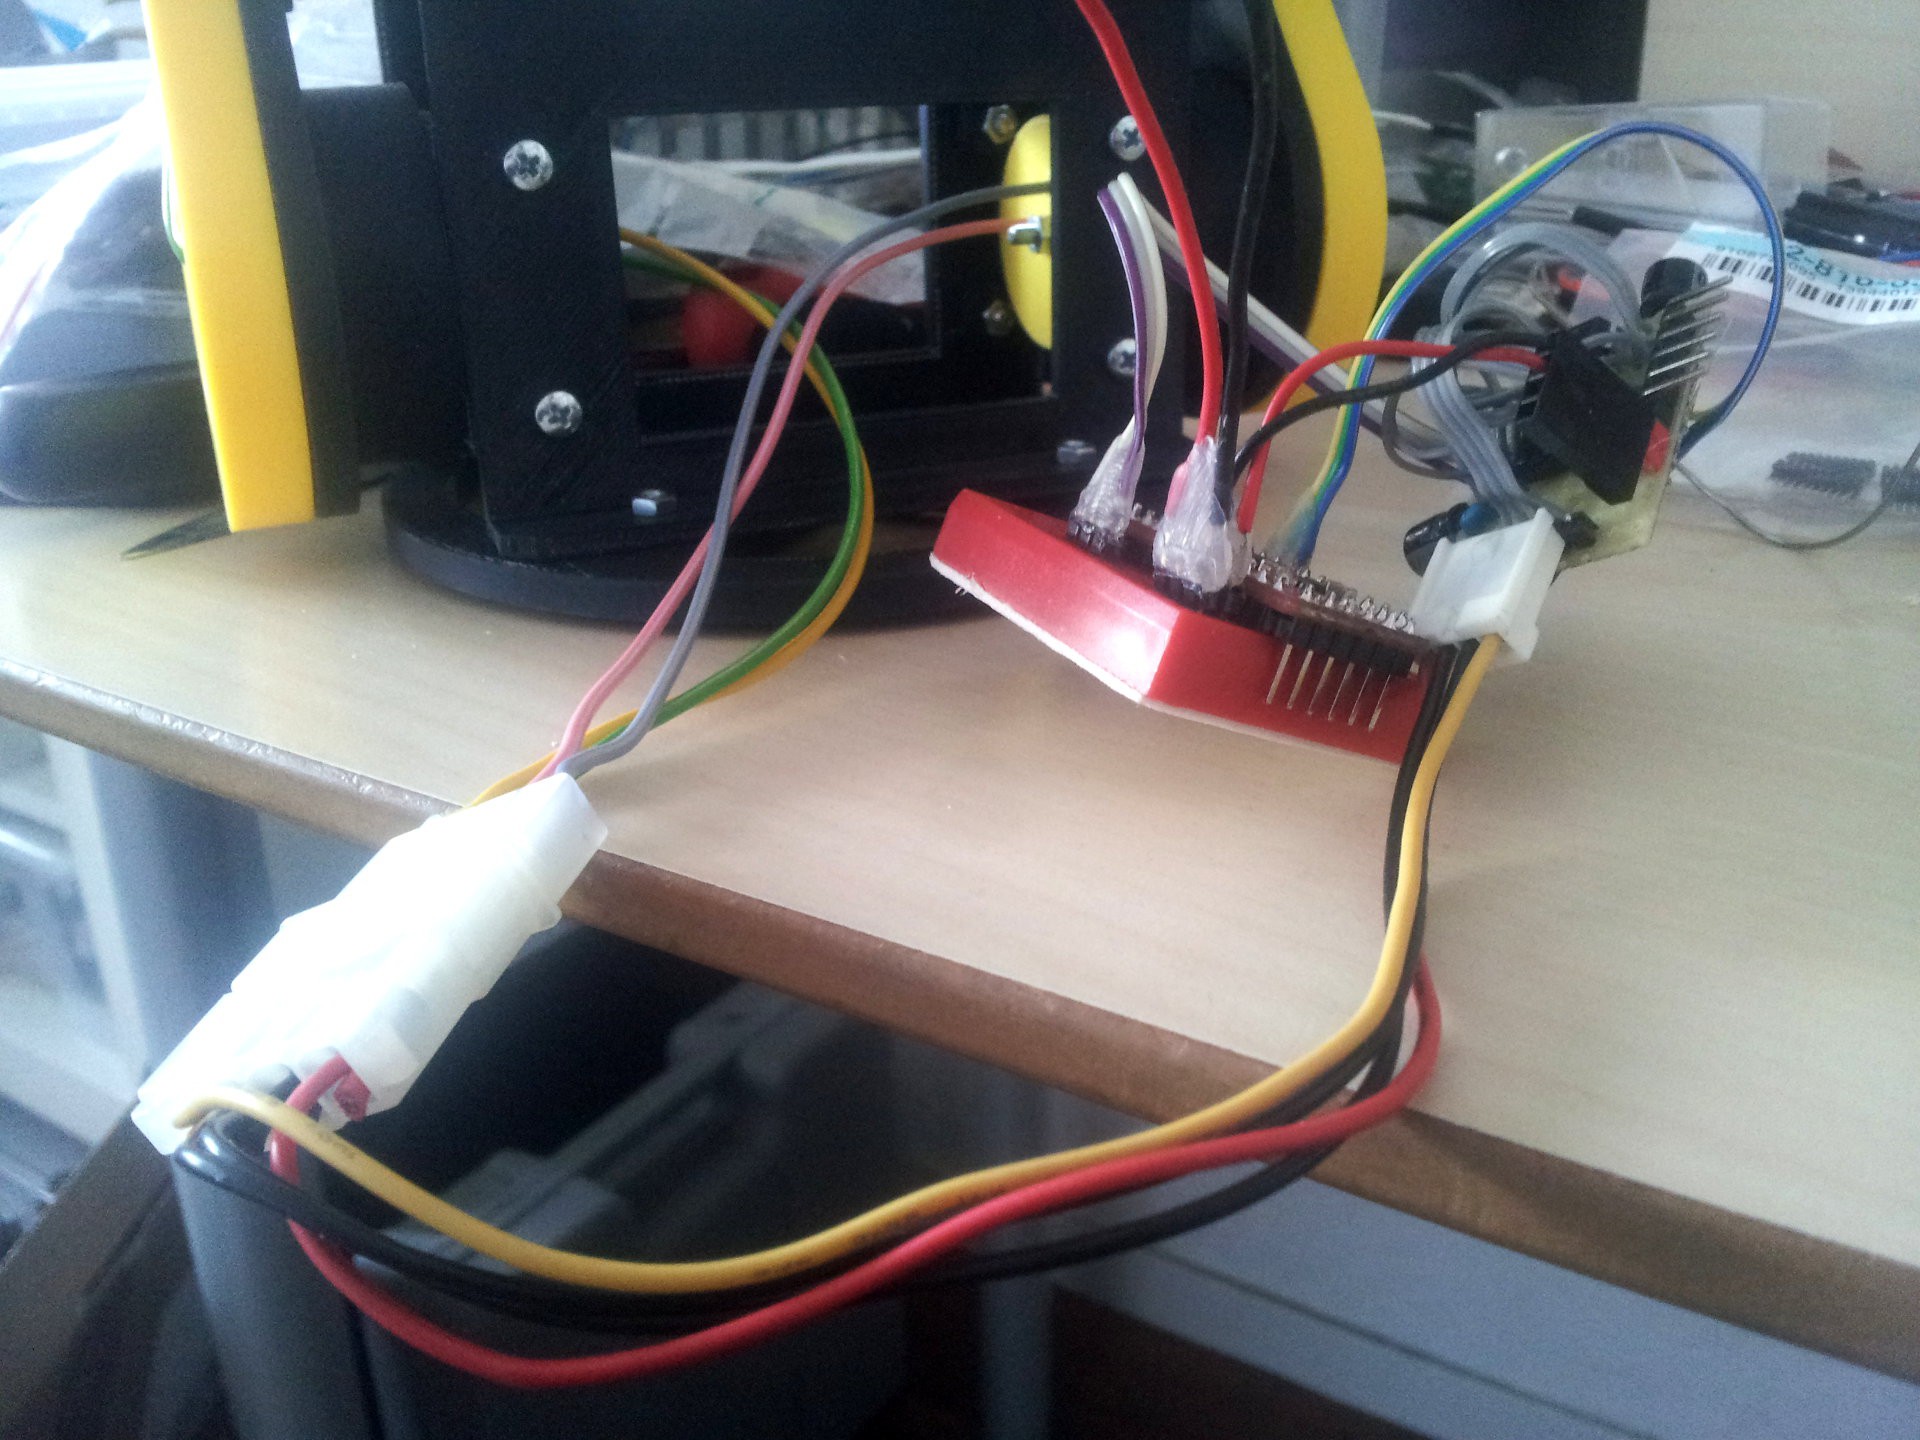
02/18/2015 at 12:18 • 0 commentsHere's R8 upside down on his neck, with the controller connected to the arduino and the motors over a Molex connector I harvested from my PSU build.
![]()
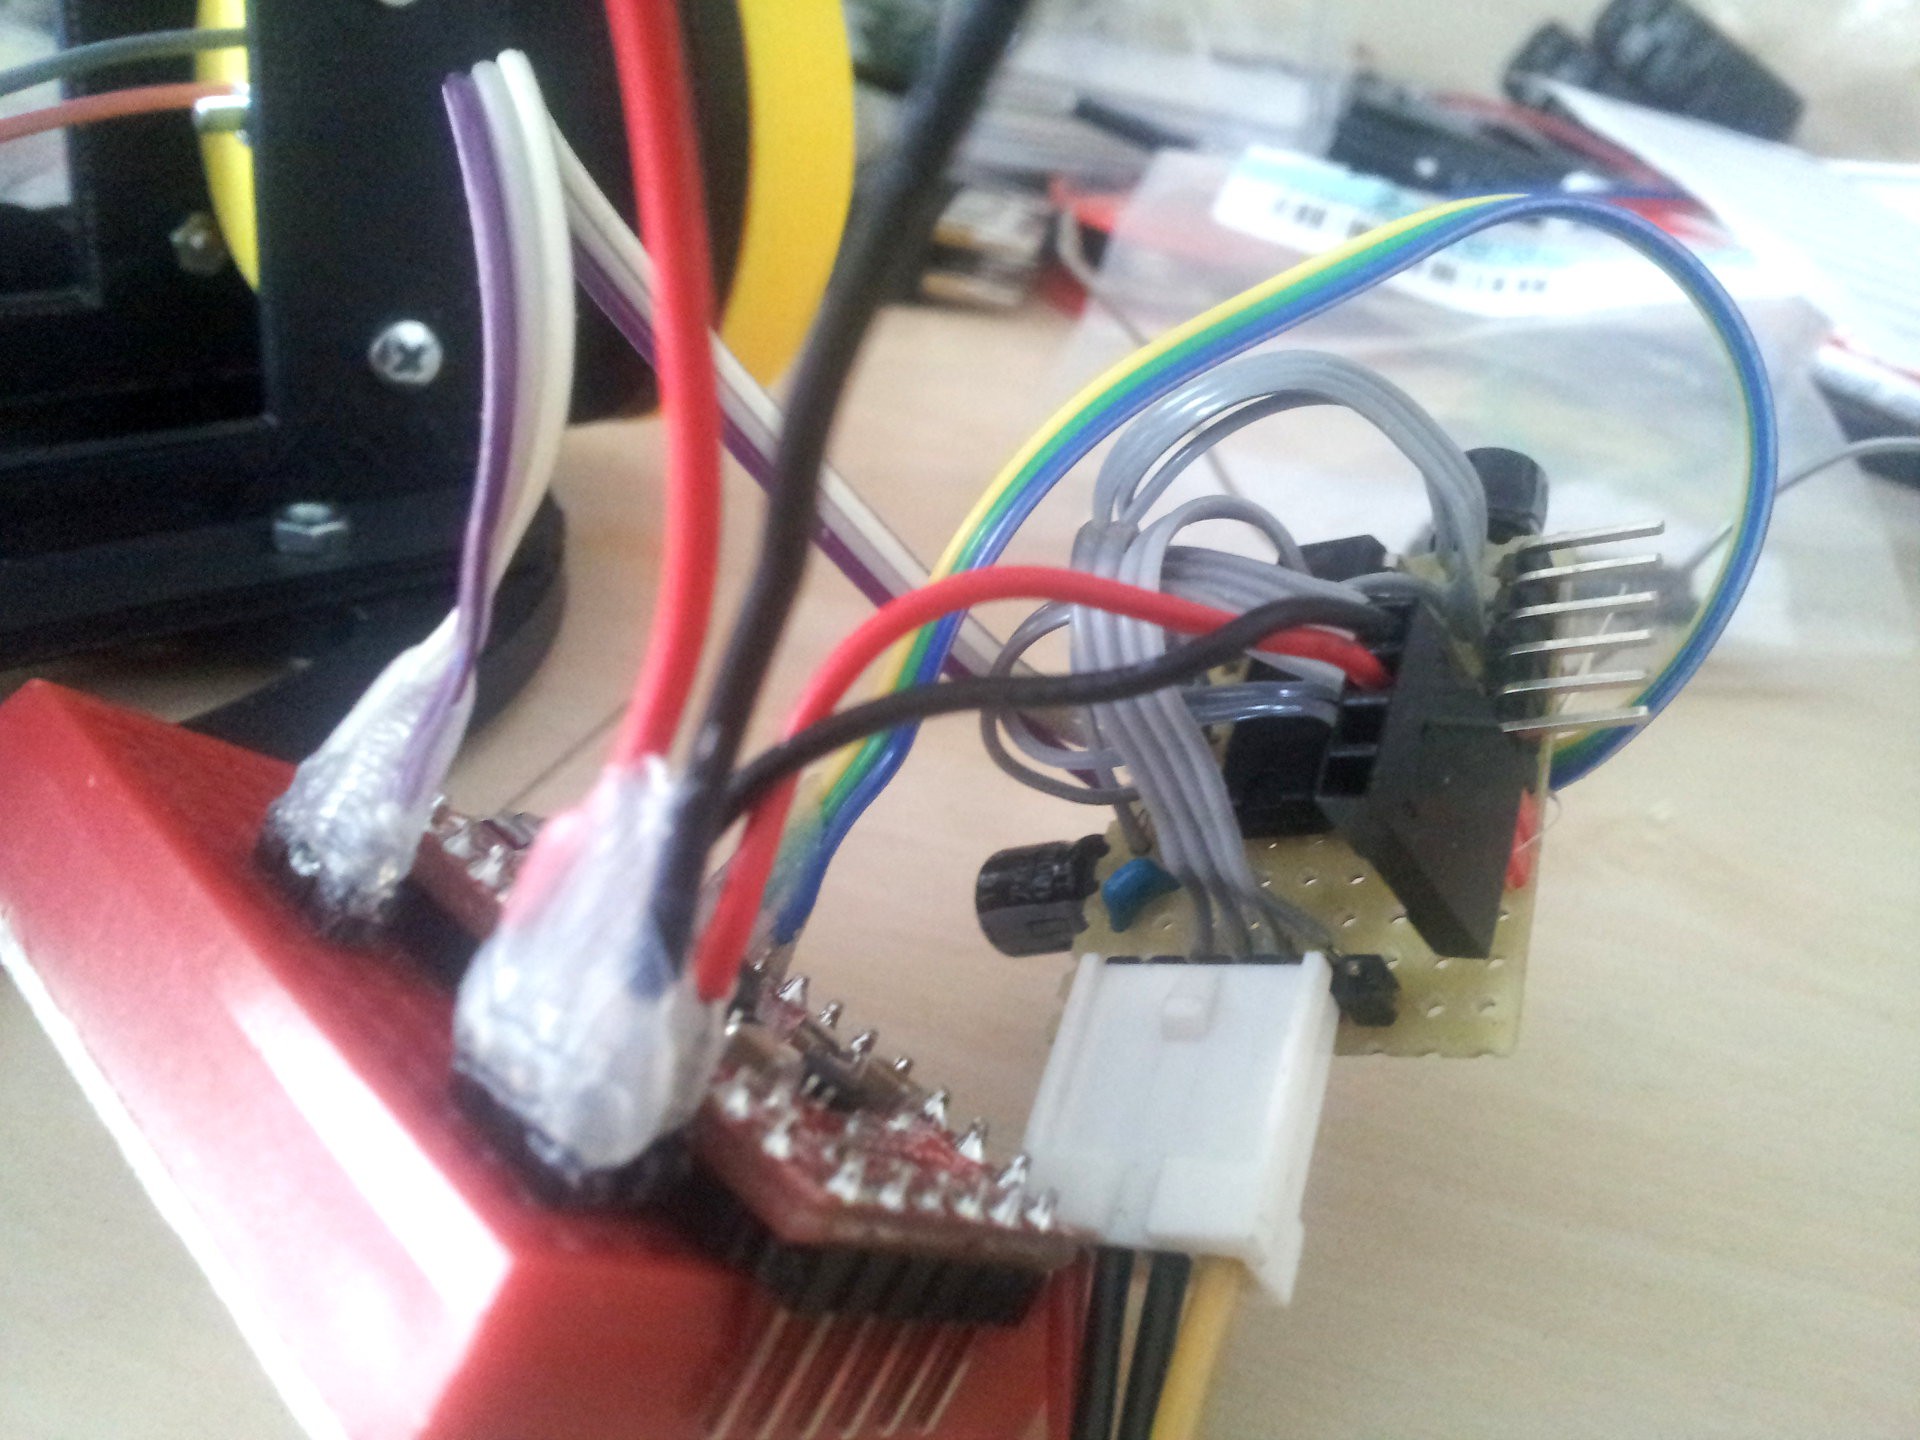
A close up of the "flying wire" perfboard hot-glue mess. Yes, the power cable is twisted, but only the colors, since GND is on the first pin of the pin header.
![]()
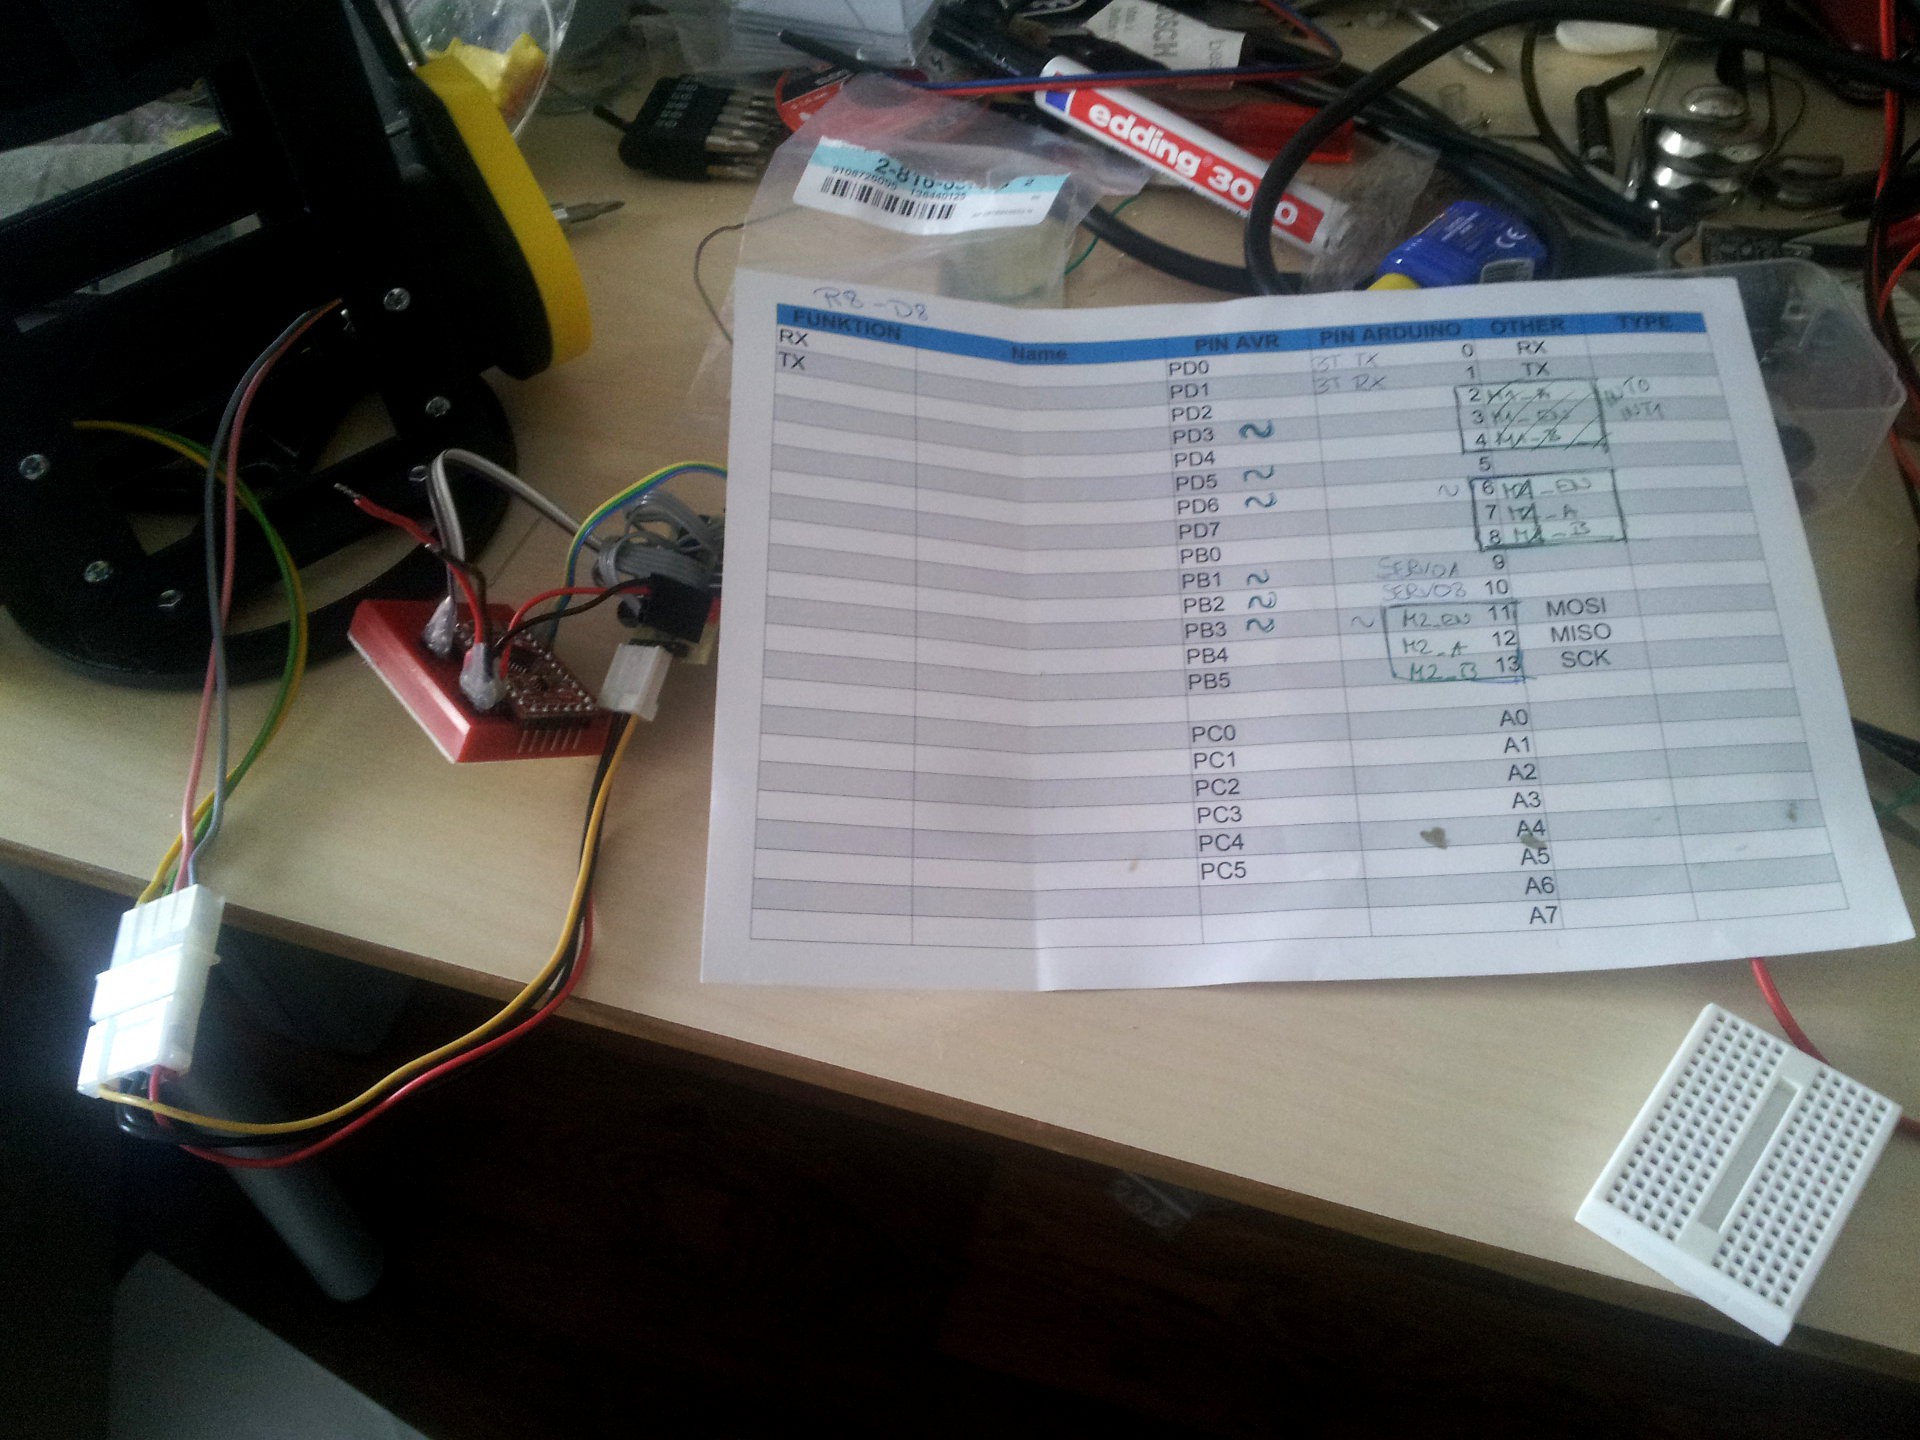
Quite helpful, a sheet of paper telling which pins from the arduino are connected to what or to what purpose.
![]()
-
It's not my month
02/10/2015 at 23:17 • 16 commentsSo I was motivated to work on the L293D perfboard, and the motors were running for a bit, but then came, what frustrated me on the #Locomatrix - 3D POV - a different approach so much - the arduino browned out when the motors moved, even on my supposed to be strong PSU. Without a scope I can hardly tell if it is not working because of the noise of the motors, I will have to throw in some capacitors and hope I can reduce all that. Maybe I'll add a 5V gold-cap and a diode to the arduino, so I have some power left over that can't be stolen from the motors. There isn't a front wheel on R8 yet, so it wasn't that spectacular to film.
-
Bye bye bluetooth
02/08/2015 at 19:29 • 0 commentsI accidentally killed my HC-05 module, I can't receive or send anything, but connecting works - weird. Shopping time! I also scored 1000 M3X16mm screws for 11 euros - I don't think I will ever run out of screws on R8 again :D Still a frustrating weekend in terms of soldering and getting things done on R8, got nothing working, broke something and bought too much stuff.
-
Arduino mini motor shield
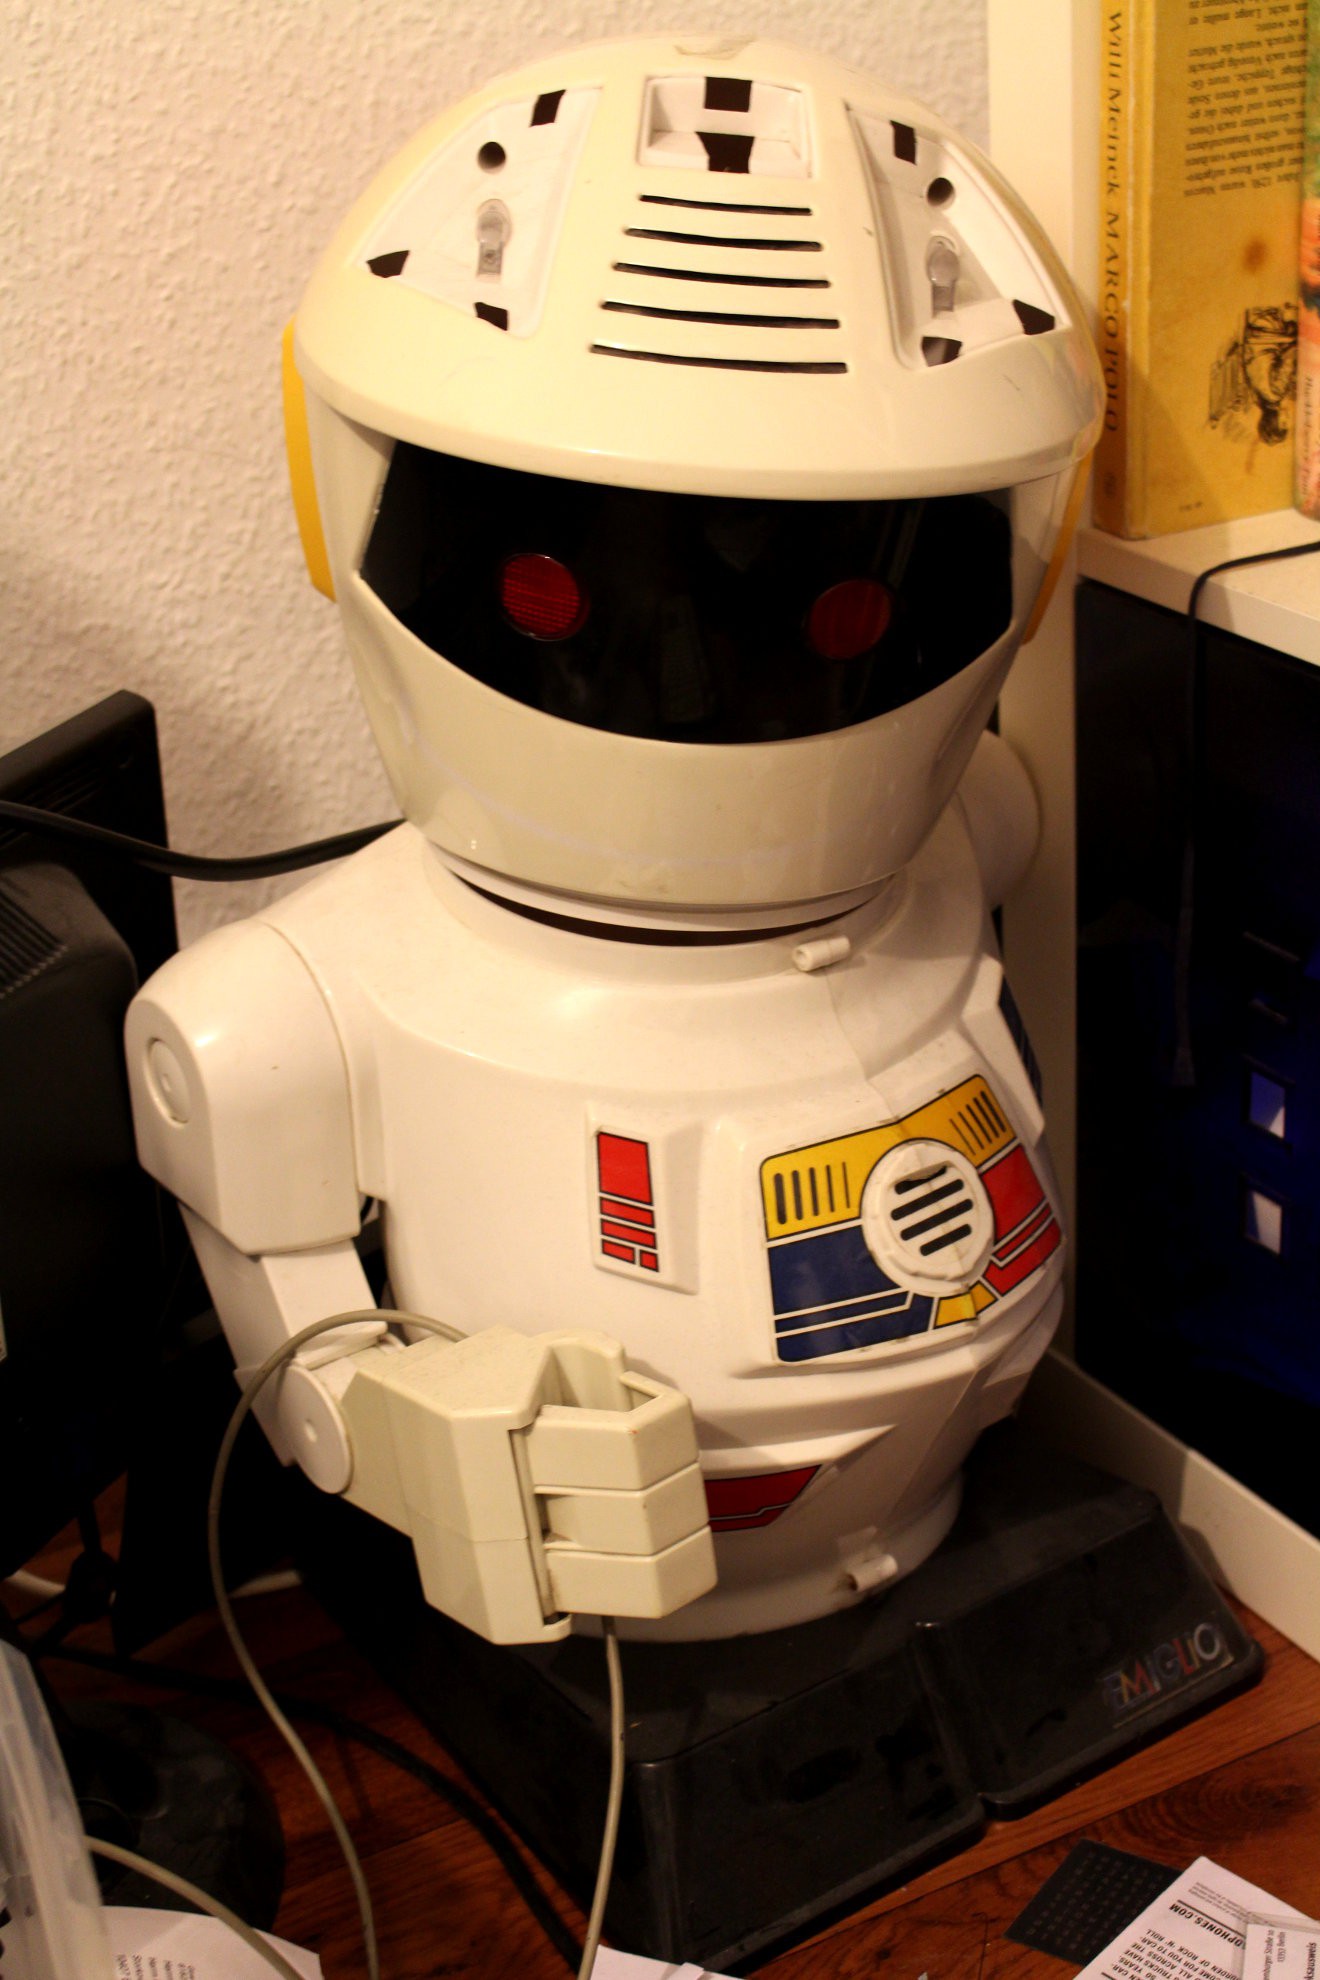
02/07/2015 at 01:07 • 5 commentsI started soldering the motor controller board for R8 today, and realized that I'm totally spoiled by designing and ordering boards from OSHPark. There are 2 other robotic projects I consider working on, that would also need a motor control at some point - the magical number 3 (boards) of ordering at OSHPark. There is the already infamous BB-8 / R0-T8, the rolling bot from the new star wars installment "Episode VII" for that I've ordered a 20cm plastic ball, matching the size of a 12cm dish. I can't believe that already know its both names. The third robot in need of a controller would be Emiglio, a not so little robot I scored on eBay. One gearbox is broken and pretty much all the electronics where not reusable.
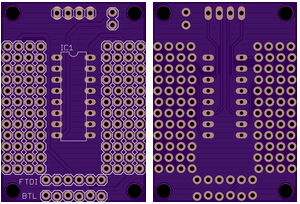
There are probably some open source robotic platforms I could try out, that work with arduinos, but I always end up doing my own stuff. I should at least push all my code, pcbs and 3D parts online. The shield I designed has the GVS feature that should allow for some easy servo installation and should be plug and play to the serial bluetooth dongle I bought at eBay. This makes it possible for some Android apps to control it.
I hope I manage to power R8 by one of four 2750mAh LiPo cells I harvested from a broken macbook with a boost converter to 5V, but I have to measure the current of the motors and the arduino + bluetooth module to figure out if the boost converter will be able to give enough power. If not, I would have to use a second one in series and separate the power supplies for the controller vs. the motors.
Is anyone of you using the rectifying diodes with the L293D? I've never seen them in a diagram/schematics before, so I was surprised checking the datasheet. Anyway, I've ordered those purple beauties. I know, I said I wouldn't order boards after midnight, but I've checked all the connections this time. A prototype is something I still have to solder though, since I want to see some progress with R8.
![]()
-
some updates
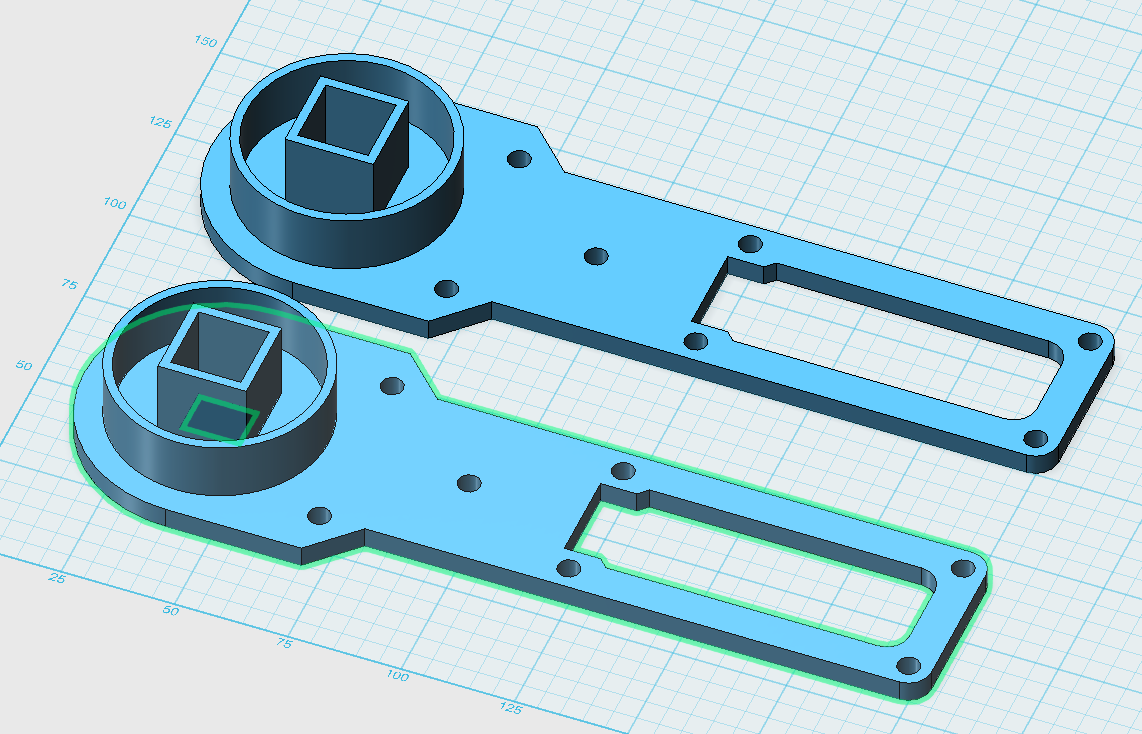
02/02/2015 at 15:04 • 11 commentsThe latest project picture shows the new parts I've printed in yellow - the motor mount parts and the shoulder parts. Now that the motors are almost fixed, I'm so close to making a test drive, but the shoulders aren't fixed to the body yet so the legs twist themselves out. I have to wait for the 40mm M3 bolts. The middle leg needs to be designed and I want to have a basic bluetooth / arduino / L293D controller setup done, too.
So hackaday.io stores pictures that were "deleted" - I "smell" a shitstorm coming up any day soon.
![]()
-
started with the legs today
01/23/2015 at 20:21 • 0 commentsNot sure how I will progress from there, but this is all a step by step, print small and go on theme. These parts are almost 20cms, so I print them one by one diagonally. The holes are for later stiffness by adding parts.
[update] 3hours later - first leg is printed and came out just fine, check the new project picture :) second one just started and I hope there is enough plastic on the spool to get at least this part done and then I go for yellow. No Idea why I didn't go with white and blue in the first place.
![]()
-
new part(s)
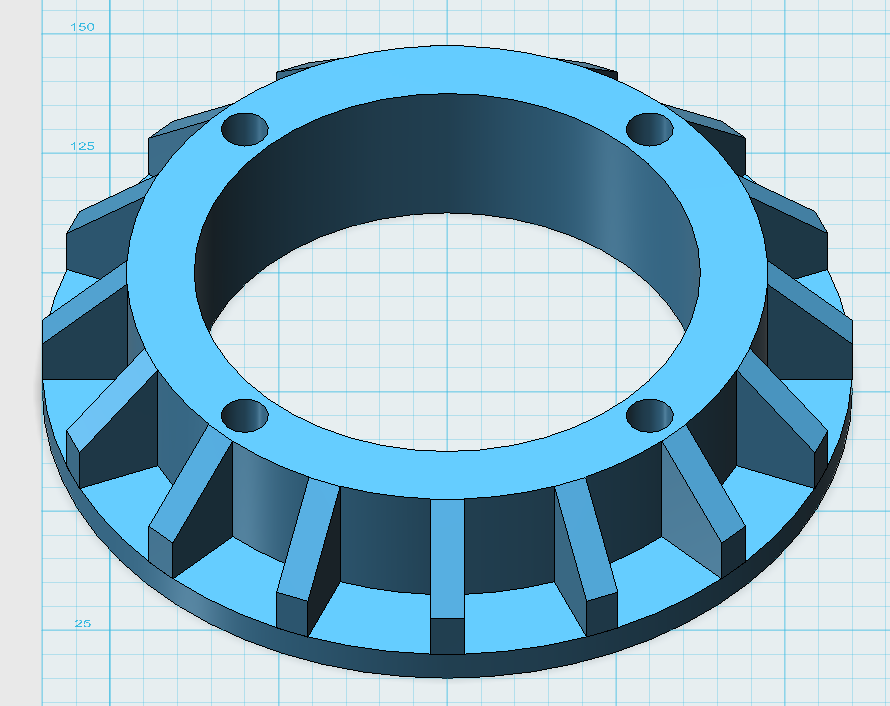
01/20/2015 at 21:17 • 0 commentsWith all the hassle with the firmware and recalibration of the zortrax done, I'm finally printing new parts. I had to reprint the 2nd wall again, that I was previously clamping down while printing. The leg holders where 2mm too short, so I had to tweak them and reprint them, too. In general I'm missing some connection points for future parts in my designs, I think I can work with acetone welding at one point but surely like screws and nuts more.
![]()
R8-D8 - a distant relative of R2-D2
a 12cm radius, 3d printed R2-D2 with some motors, servos and blinky stuff that follows lines, persons or just drives around via bluetooth
 davedarko