Close
0%
0%

RC Swampboat Repair

Broken/missing parts printed - make 'er seaworthy agin.

Similar projects worth following
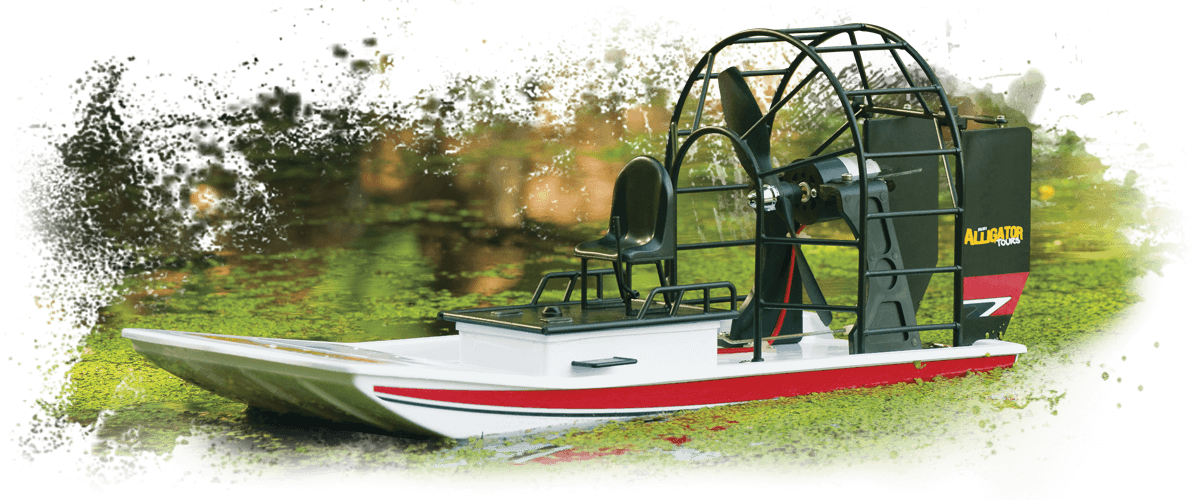
Mini Alligator Tours swamp boat came to me missing a brace and in want of an upgrade. I was glad to oblige...
The brace from the tower was recreated and printed (but better) in PLA
The motor and prop were missing.
An upgraded motor and battery made it badder too... :)

The replacement parts for this repair would have cost $38 plus international shipping. I don't think so... :P

'Like' this project if you want to see a video!!

Printed in PLA from Filaments.ca, the brace from the tower to the vanes was easy enough to fix... but why just repair? I made it betterer.

I also upgraded the stock BLDC to one about 20% more powerfuller (2212 2200kv) and put a triple blade (5x4) prop on it. The controller and radio were the suck, so they got upgraded too. The transmitter/receiver combo was the AX5S (still cheap, but better)

Let's just say that water is optional now. 

I added a bit of steampunk flair to the brace design cause thats how I roll.

  • I didn't even look to see

    ken.do02/17/2018 at 04:05 0 comments

    I didn't even look to see what the original model looked like until today.

    Apparently there was this elaborate propeller cage... I wonder what that was for?

    And there was a simple bracket that attached to it. Who knew?

    Safety, bah. Simplicity, double bah.

  • Next thing...

    ken.do02/05/2018 at 18:37 0 comments

    Next repair is that gaping hole in the front deck. Used to stash the battery, its a bit of an eyesore. Plus because of the massive torque of this motor, it is rolling (and therefore drag-steering) to one side.

    Counter-rotating motors is one option. What could be better than one hugely overpowered motor, except TWO hugely overpowered motors?

    Counter-weight is the other option and the one I will tackle in this project for now.

    I am planning a foam swampboat build that will be a bunch bigger than this one; I will try the counter-rotational coaxial build on it...

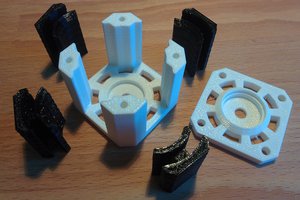
    A friend suggested a removable counterweight in which I could store the battery too. Maybe a 3D printed crate would work. Maybe something like

    with some built in attachment thingy...
  • Creation of the replacement brace

    ken.do02/05/2018 at 02:24 0 comments

    In order to build a replacement brace for this bad boy, I needed some measurements.

    The hypotenuse of the triangle made by the drop between the vane tops and the motor mount arch was the first angle to consider. Rather than using math, I made a coarse model in Sketchup modelling the vane height from the deck, the distance from the vane root to directly below the attachment point on the motor mount arch and the height of motor mount arch attachment point from the deck.

    Copy that, put it the appropriate distance away from the original and you have your basic framework upon which to design your replacement brace.

    I took a .bmp of a skull I had made many years ago and extruded a 3d model to throw on the bracing just for fun.

    Some of my angles were just a tad off. I gently heated the printed brace and bent the existing angles to perfection (heh). Screwed it down, slapped on the new EQ and blew away... well everything. First run blew all the papers and loose tools off my workbench.

    The worst thing about this fix and upgrade was finding a large enough body of water to get it up to full speed!! If I added ailerons, this would literally fly.

    This was fun enough to try to build my own from scratch, entirely 3d printed.

View all 3 project logs

Enjoy this project?

Share

Discussions

Similar Projects

Does this project spark your interest?

Become a member to follow this project and never miss any updates