rawe
rawe-
final assembly
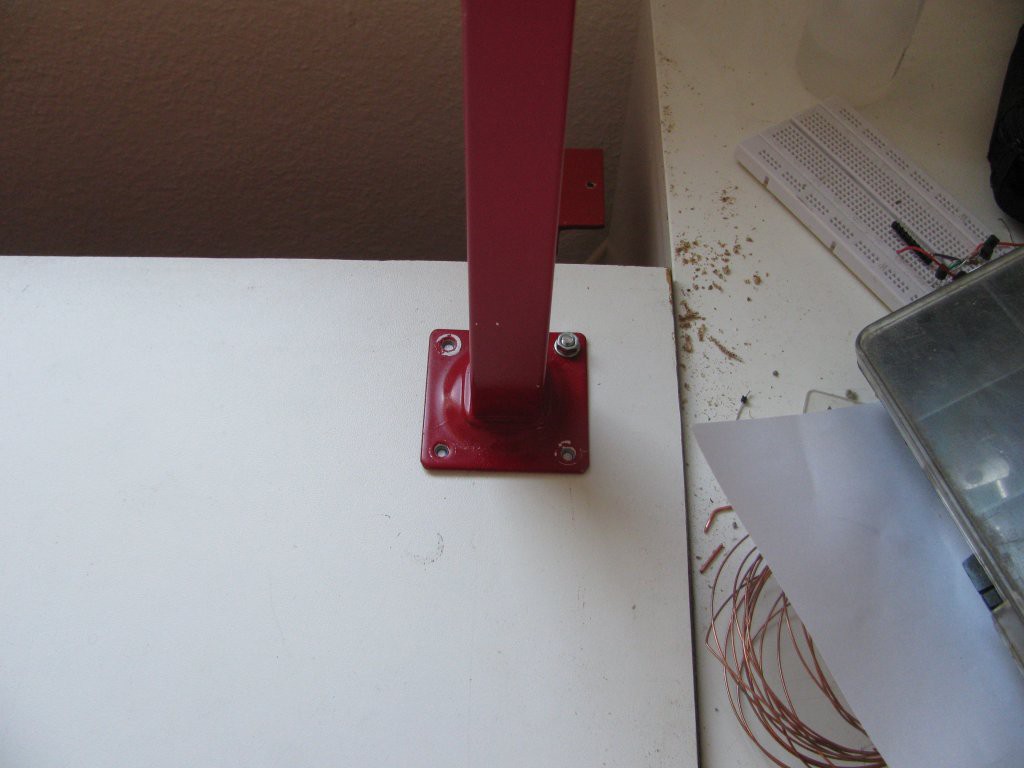
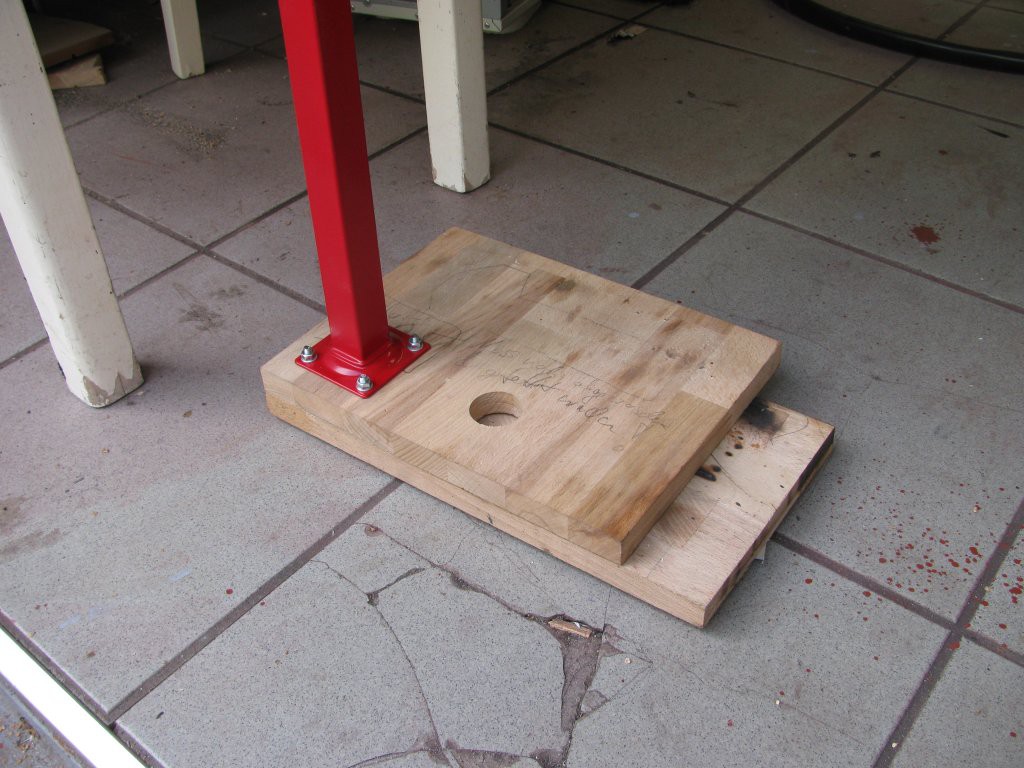
09/04/2015 at 22:07 • 0 commentsOne hole in the corner, 4.25mm from both edges, used to temp. mount the shelf and mark the locations of the other holes:
![]()
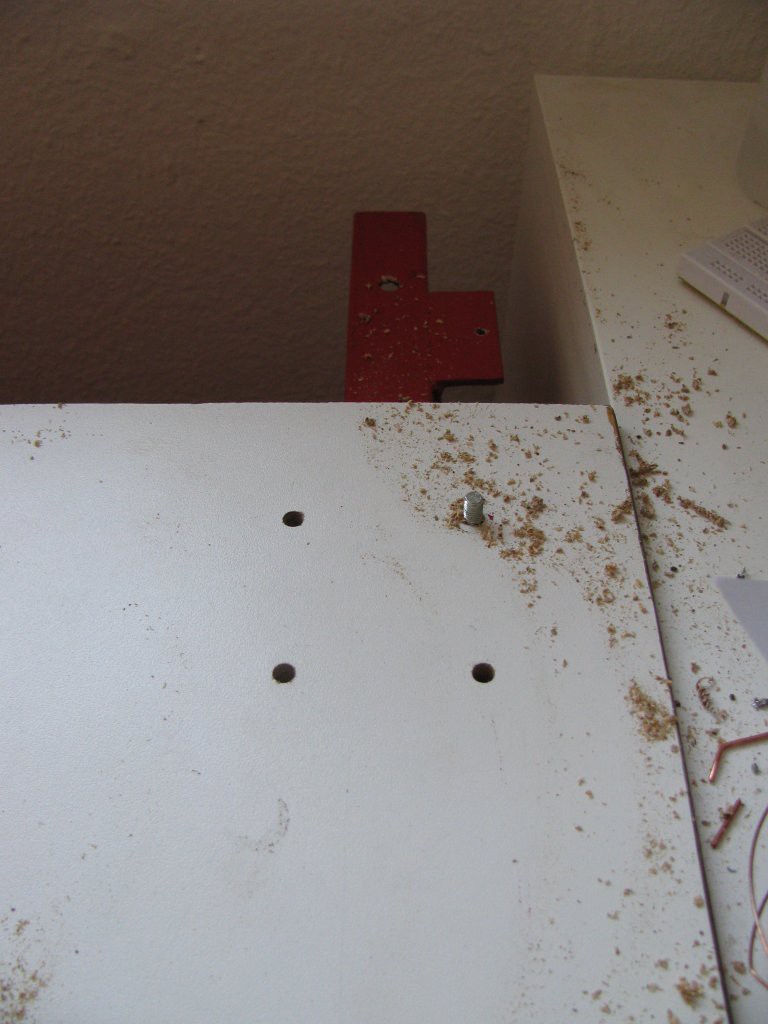
The holes are symmetrical to the bench leg, but the screw heads are too big:
![]()
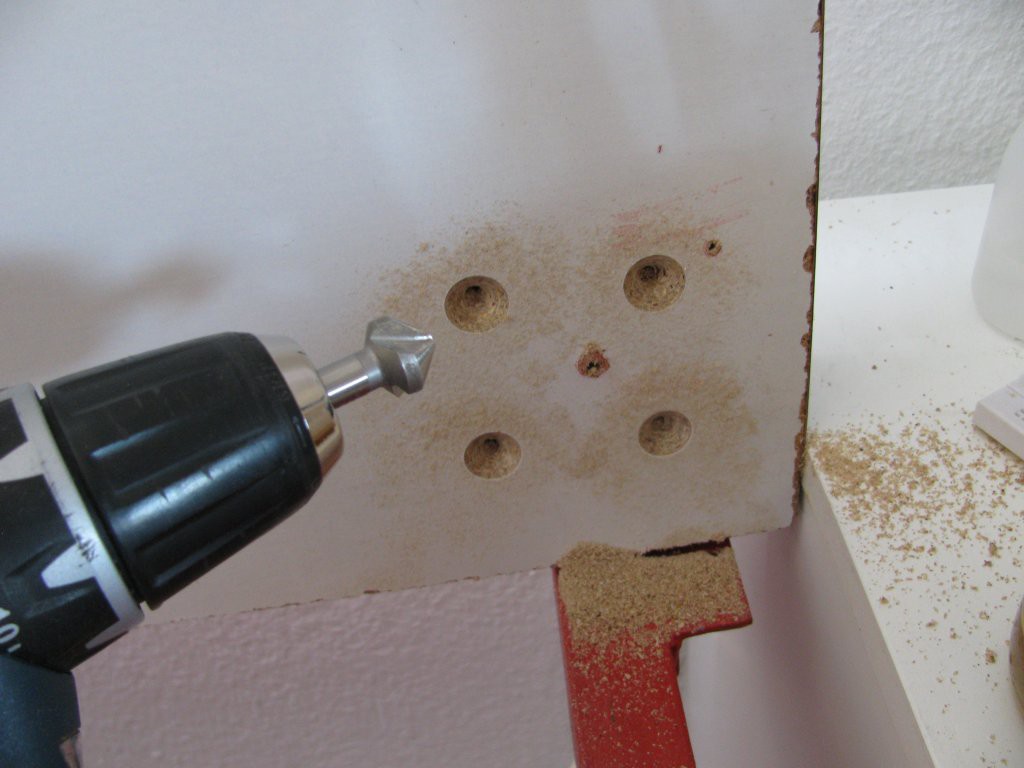
Countersink...
![]()
et voilà:
![]()
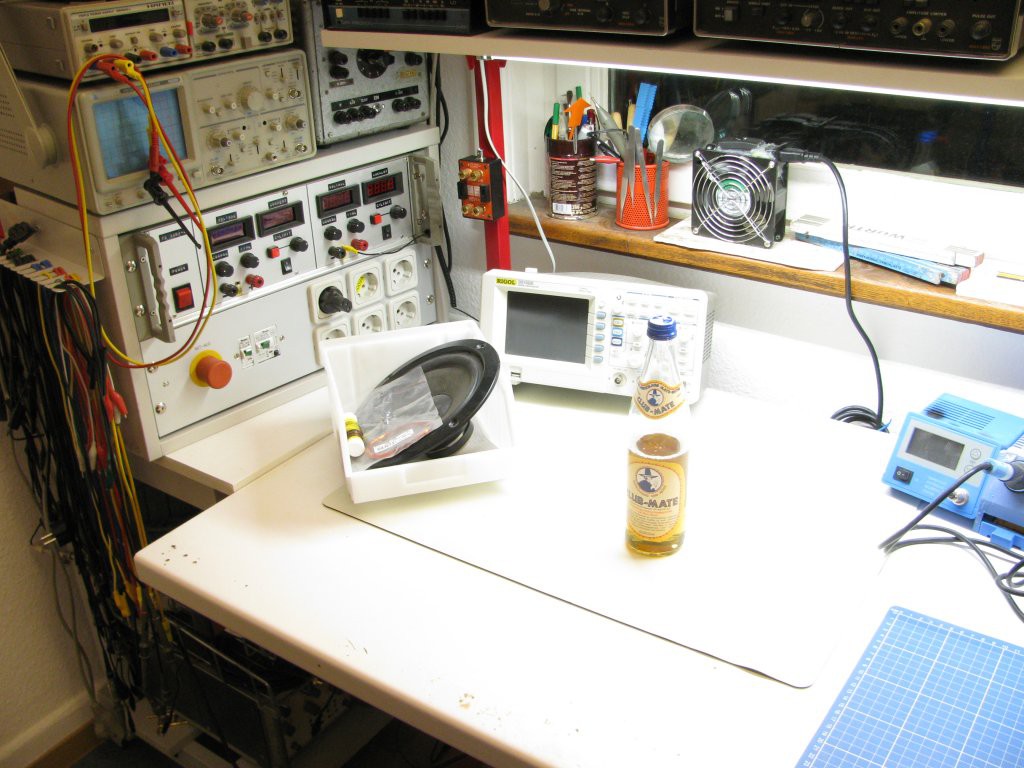
some bench cleanup /re-arrangement later:
![]()
![]()
![]()
-
paint & assembly
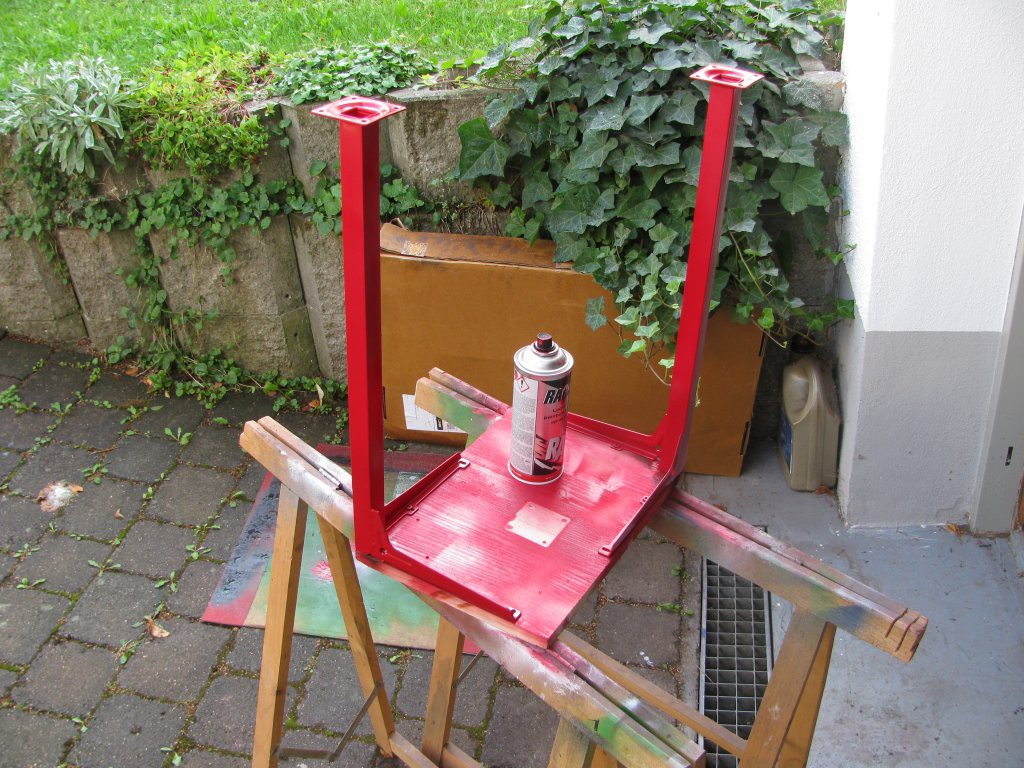
09/03/2015 at 17:44 • 0 commentsThe primer is dry. My lab bench legs are dark/wine red, so the shelf thingy will get red, too:
![]()
Daytime job time!:
![]()
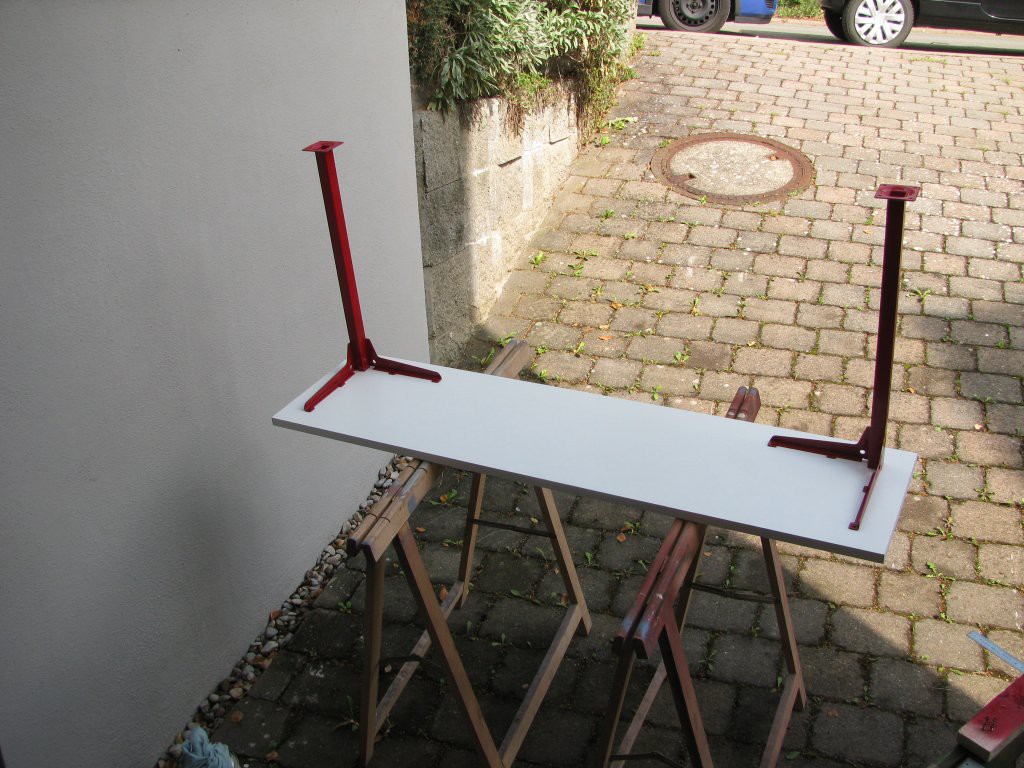
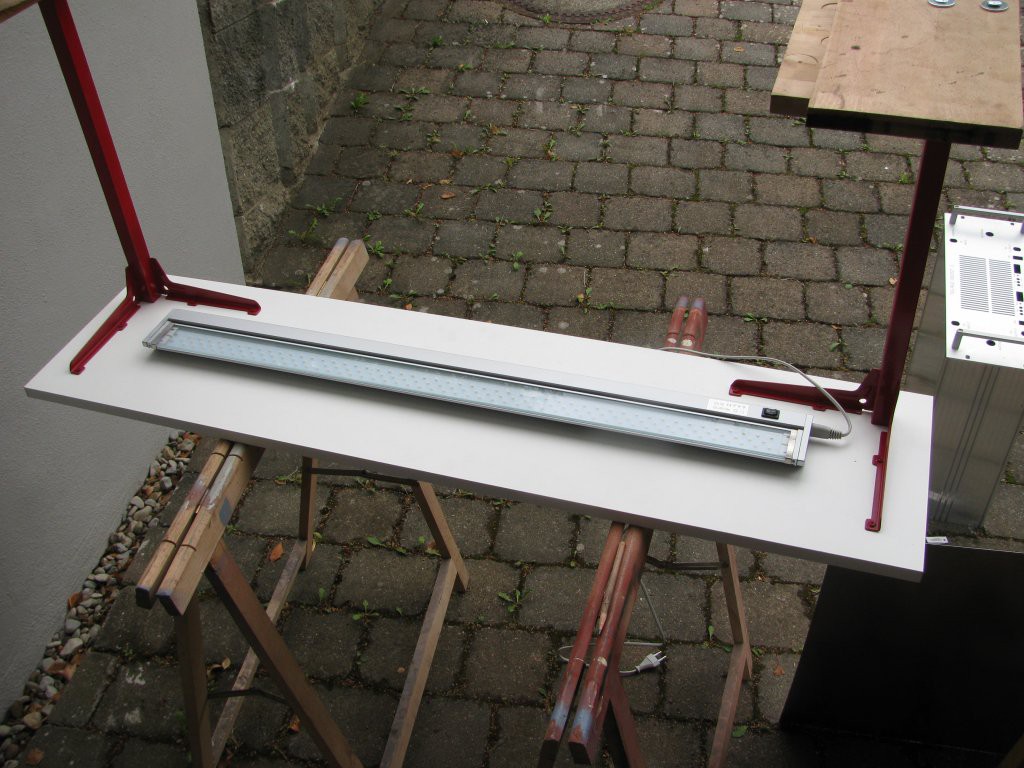
Mounted on the 1200 x 300 x 18 mm fake wood thing:
![]()
Four 5mm screws per leg mount the shelf thing on the table (fake table top used for test):
![]()
Time for a massive stablity/strength test. Choo-choo!
![]()
In the meantime the mailman delivered a special ingedient, originating from the far east, just in time:
www.amazon.de/gp/product/B00IIT39U8
![]()
Bright!
![]()
Todo:
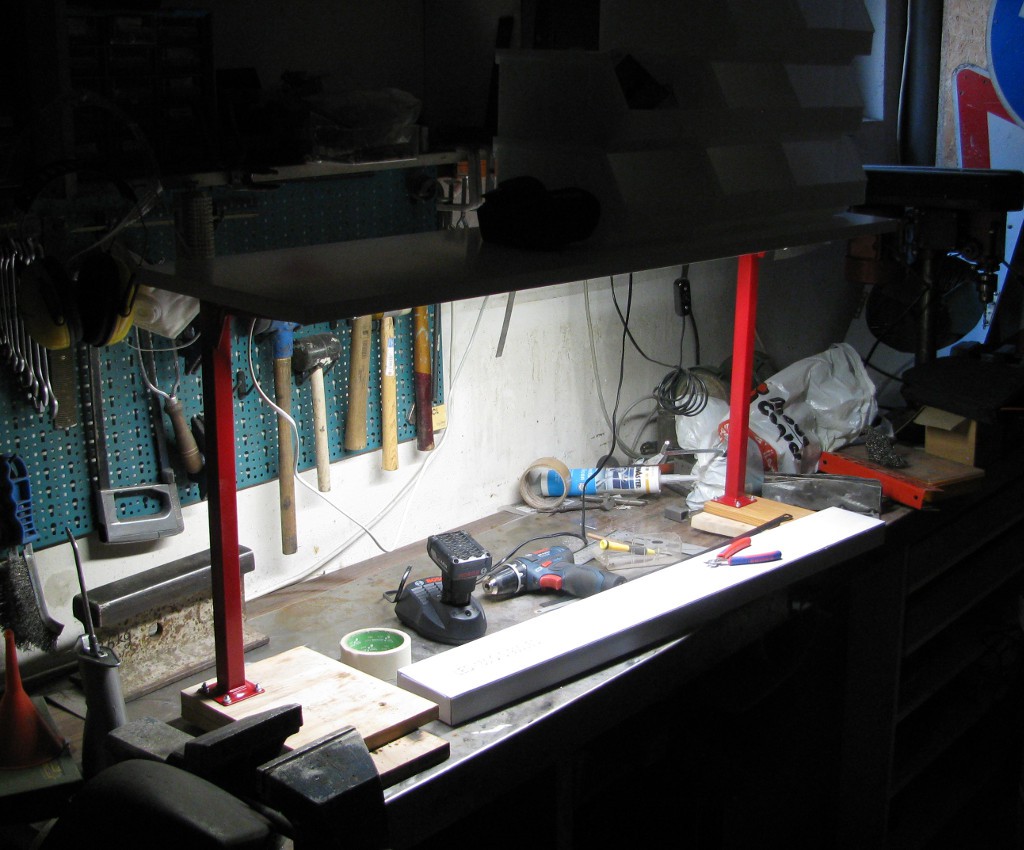
- clean up electronics lab bench (*sigh*...)
- mount shelf thing on electronics lab bench
- arrange electronics gadgets around
- take pretty pictures
- fix the motor control board with burn marks some insects liked to short out that waits for repair (= lab bench cleanup) for some time
I plan to put the usual test gear on the shelf. Stuff with too much/stiff wires or a digital scope (viewing angle) may still get on the bench itself. In addition, I'll add a linux driven thin client/barebone, TFT display, ... for datasheet/schematic/... lookup + music playback.
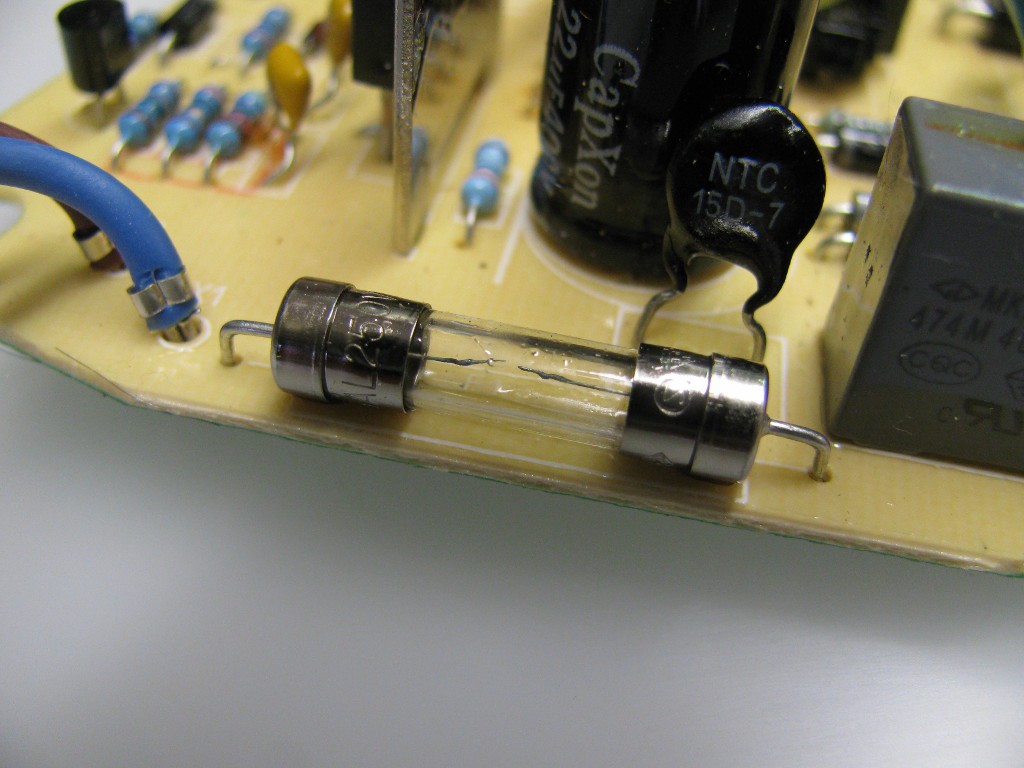
Btw. lesson learned: Don't place your trusty cordless drill battery charger that got air vent holes on the top near a source of metal chips...
![]()
Whoops -.- , warranty voided, metal chips removed, 10 cent fuse replaced, runs again.
-
legs
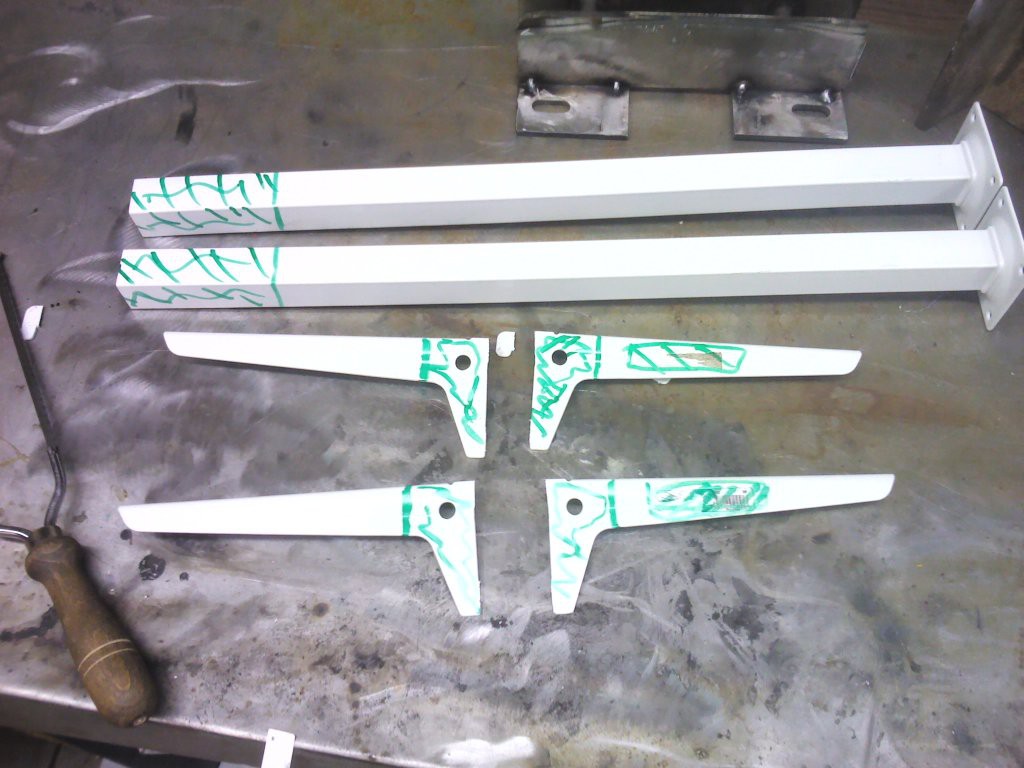
09/02/2015 at 22:52 • 0 commentsWe start with:
- 2x 50cm table legs
- 2x2 18cm shelf brackets
- 1x 1200x300x18mm board
- 8x screws to mount on table
- 8x screws for board mount
~20 Eur total
![]()
The end caps of the table legs are useable for other projects - remove:
![]()
cut clamps on shelf brackets:
![]()
Remove paint:
![]()
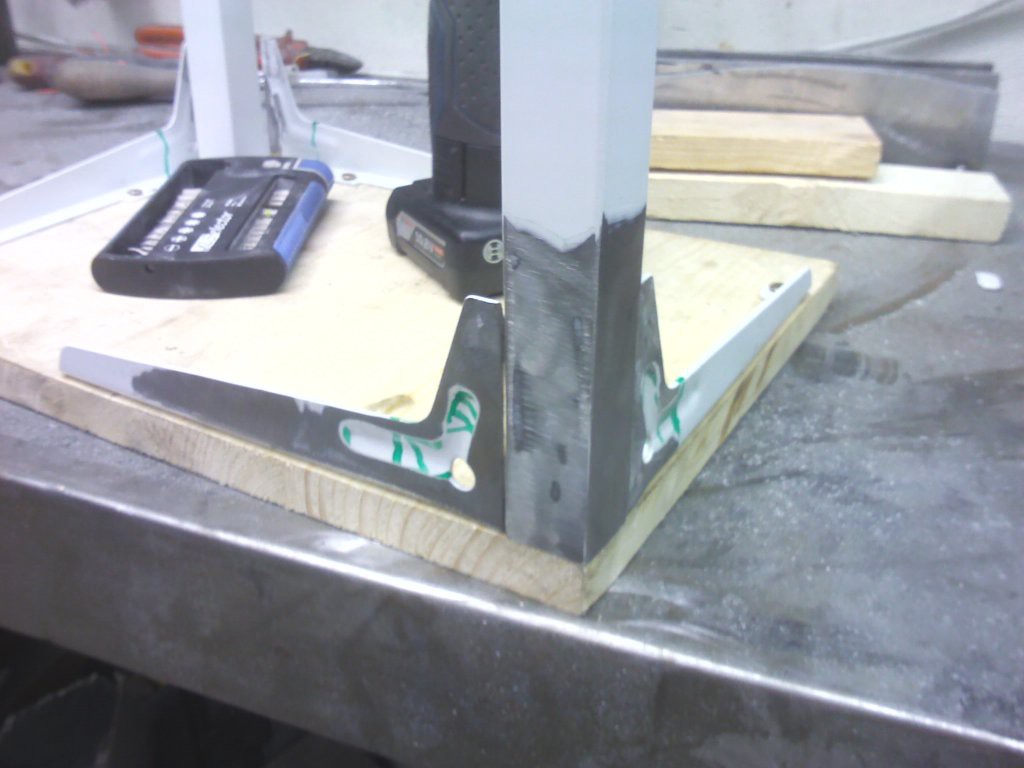
Mount on board for correct orientation (90 deg.):
![]()
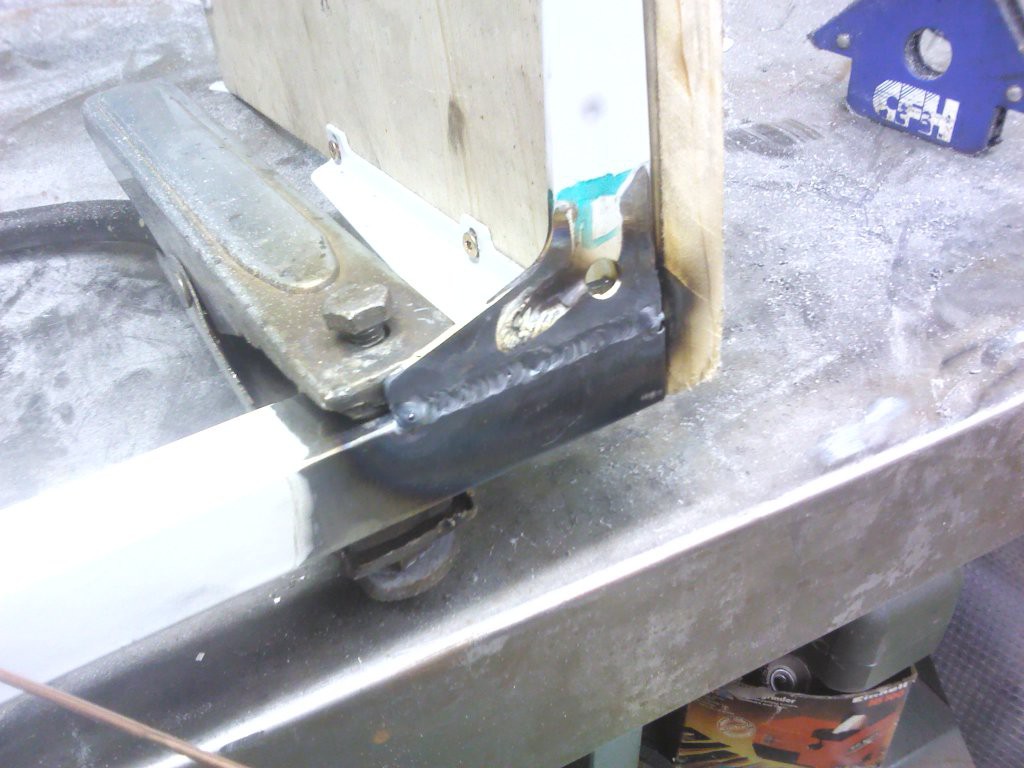
Weld:
![]()
![]()
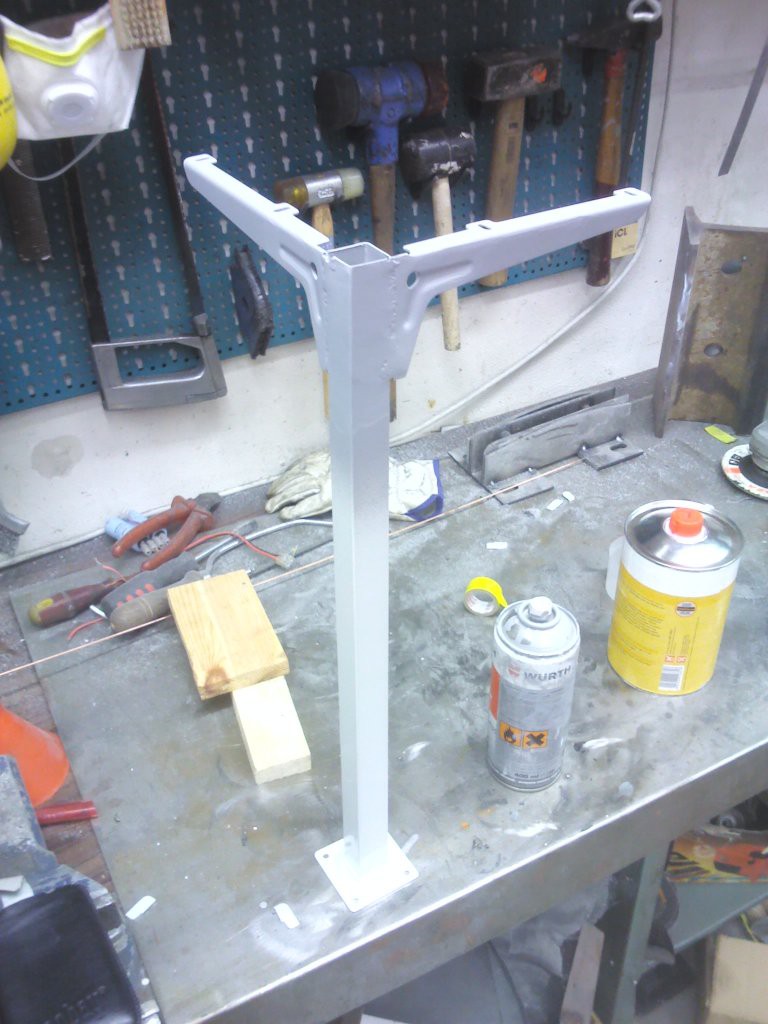
Clean up and paint with primer:
![]()
cheap lab bench shelf add-on
Got a free standing lab bench, but missing a shelf for test equipment?