Close
0%
0%

Single Layer Through Hole Arduino 328 & NRF24 PCB

Minimal, Long Range, Low Voltage, Long Life, with switchable RF Vcc

Similar projects worth following
** Im giving away spare used V1 PCB's that i had printed if anyone is interested ? **

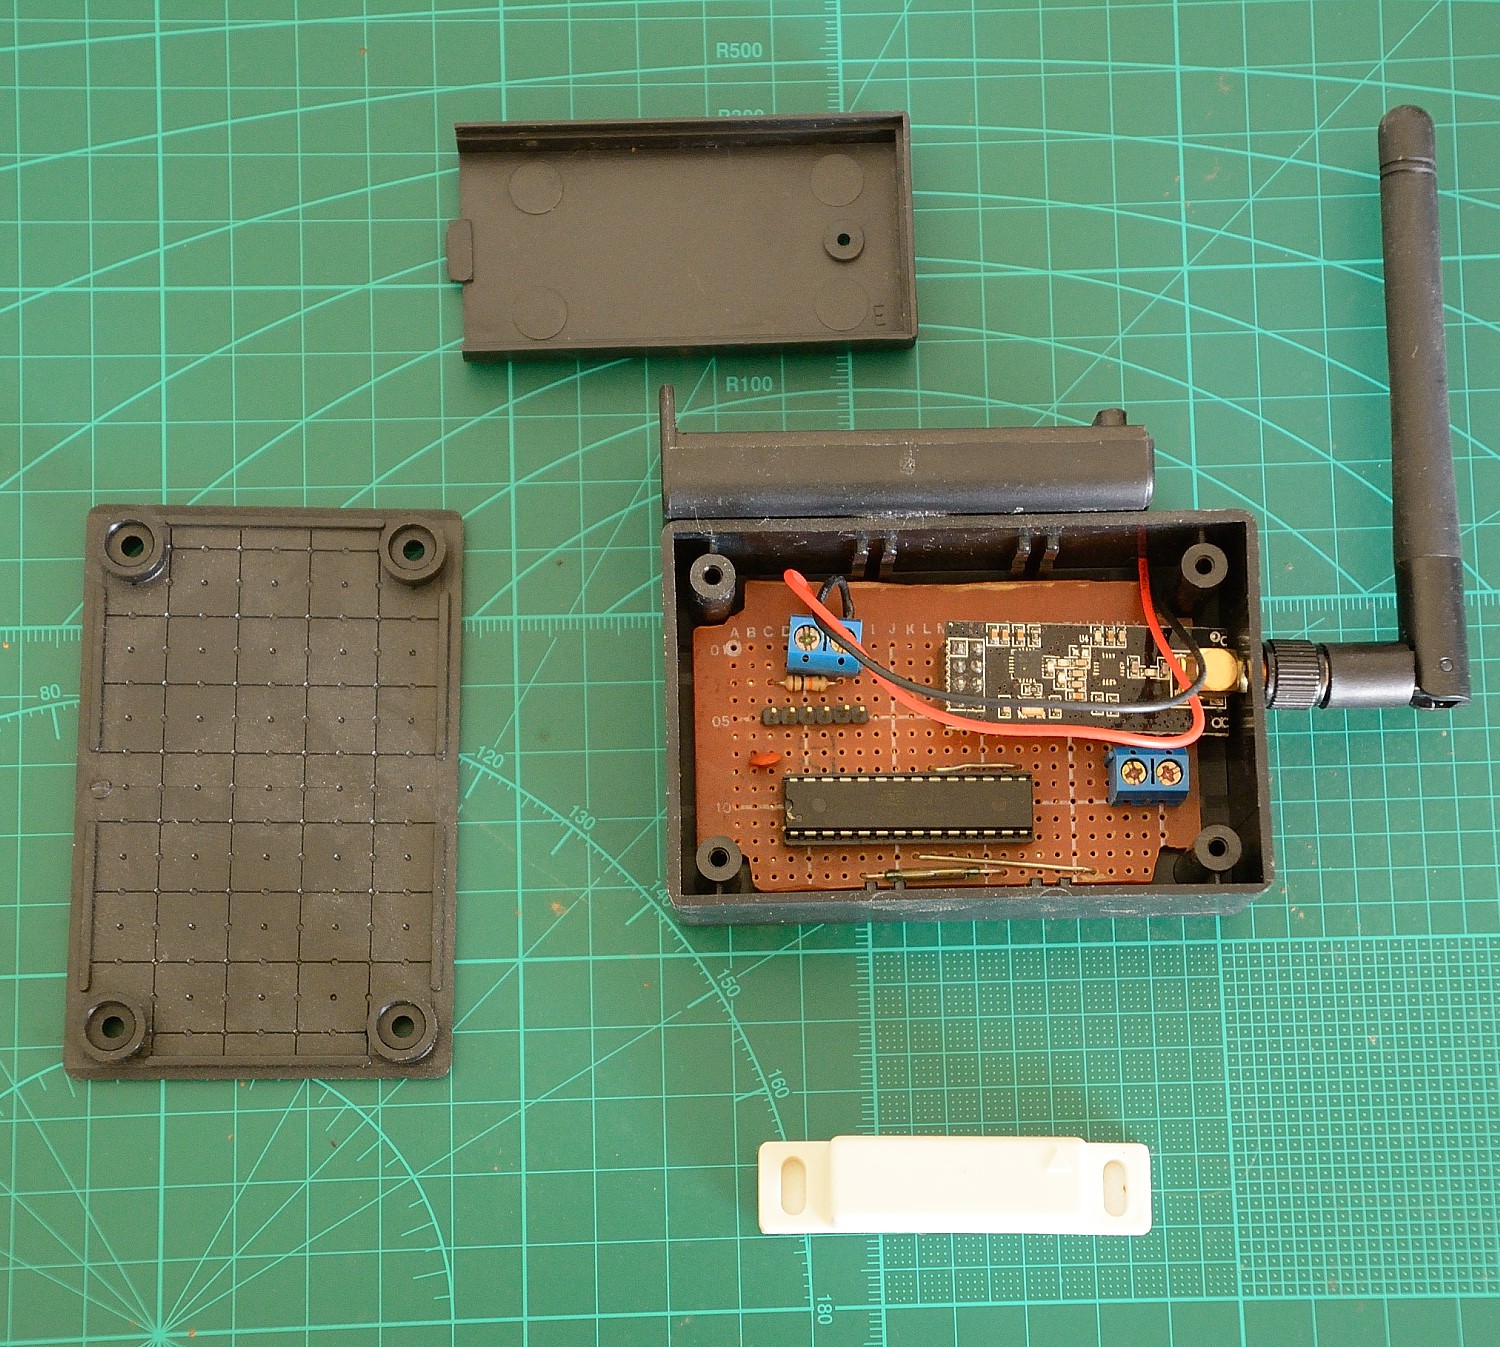
It can run off 2x AA batteries (though not to flat) featuring switchable power to the amplified version of the NRF24L01 module to get around its high idle current usage.

Has a very long range at highest power setting, good for wall penetration.

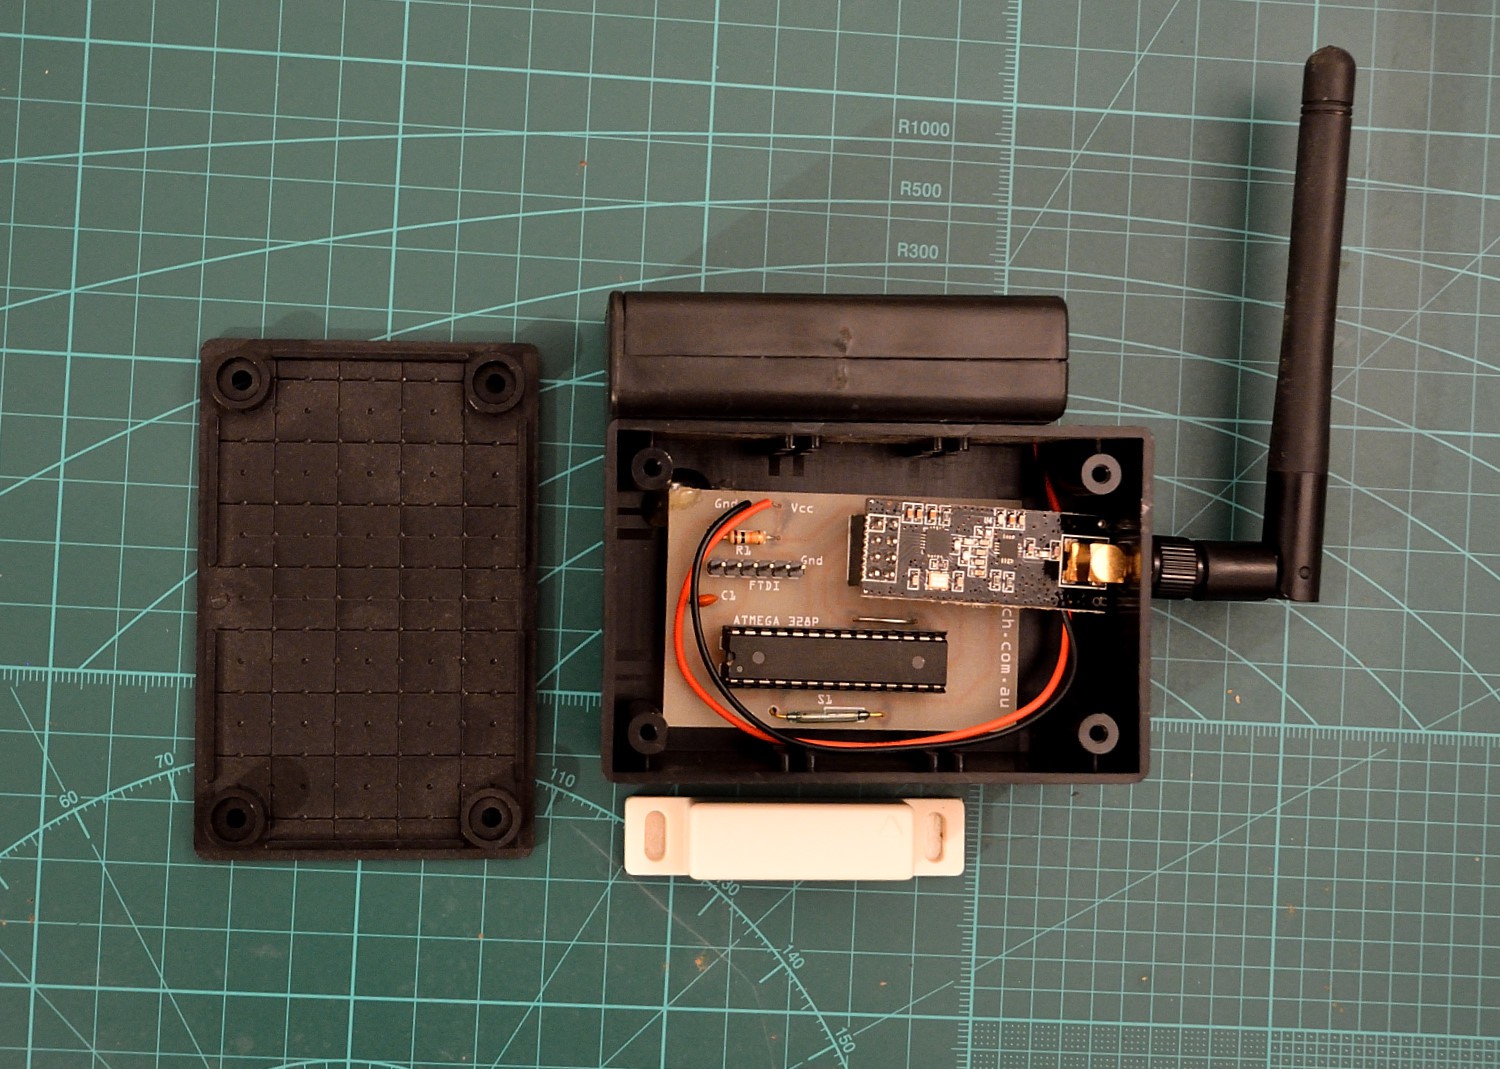
My use was to monitor a magnetic reed switch on a doorway, via interrupt while sleeping.

PCB v3 is now in Eagle Format rather than fritzing

Please try Version 3 PCB, Version 1 & 2 are just here for record keeping.

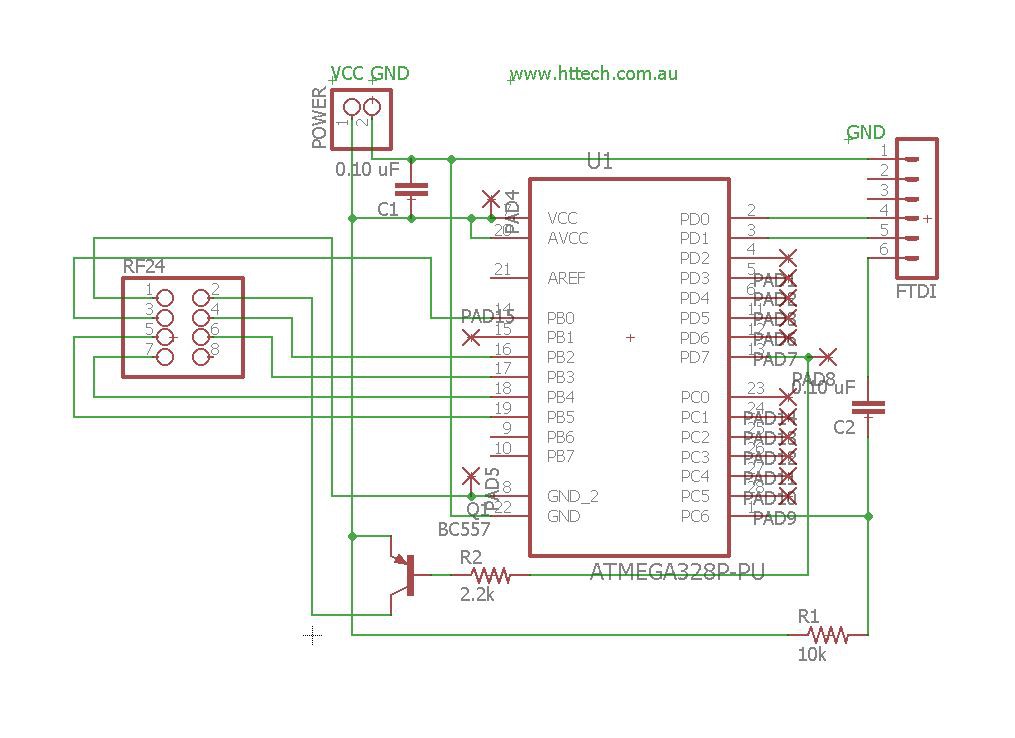
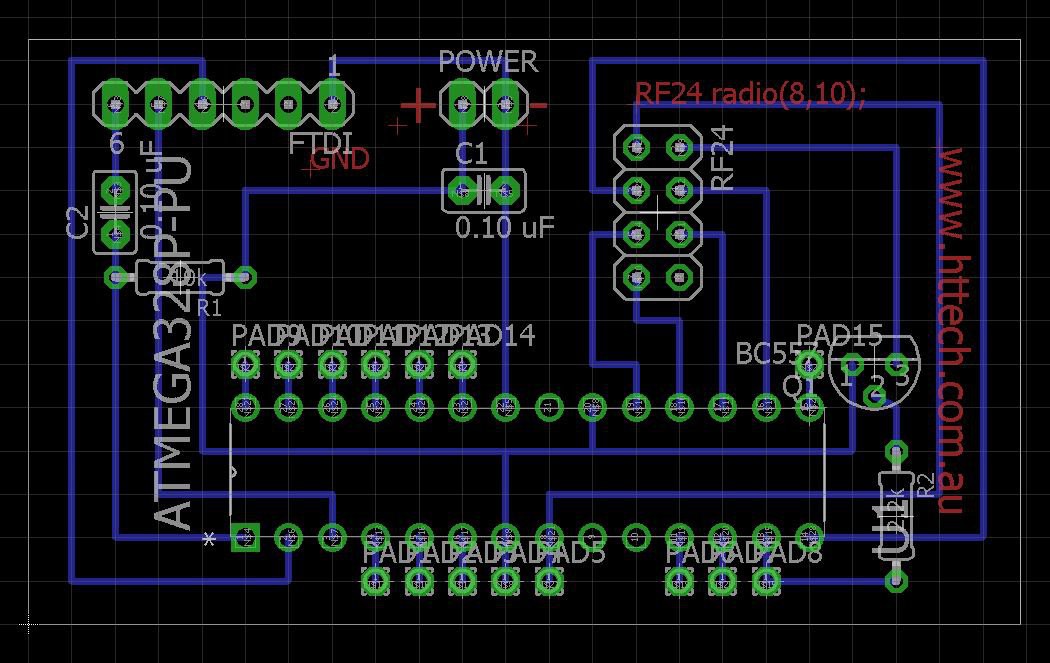
Version 3 has relocated the transistor, removed the jumper and reed switch.

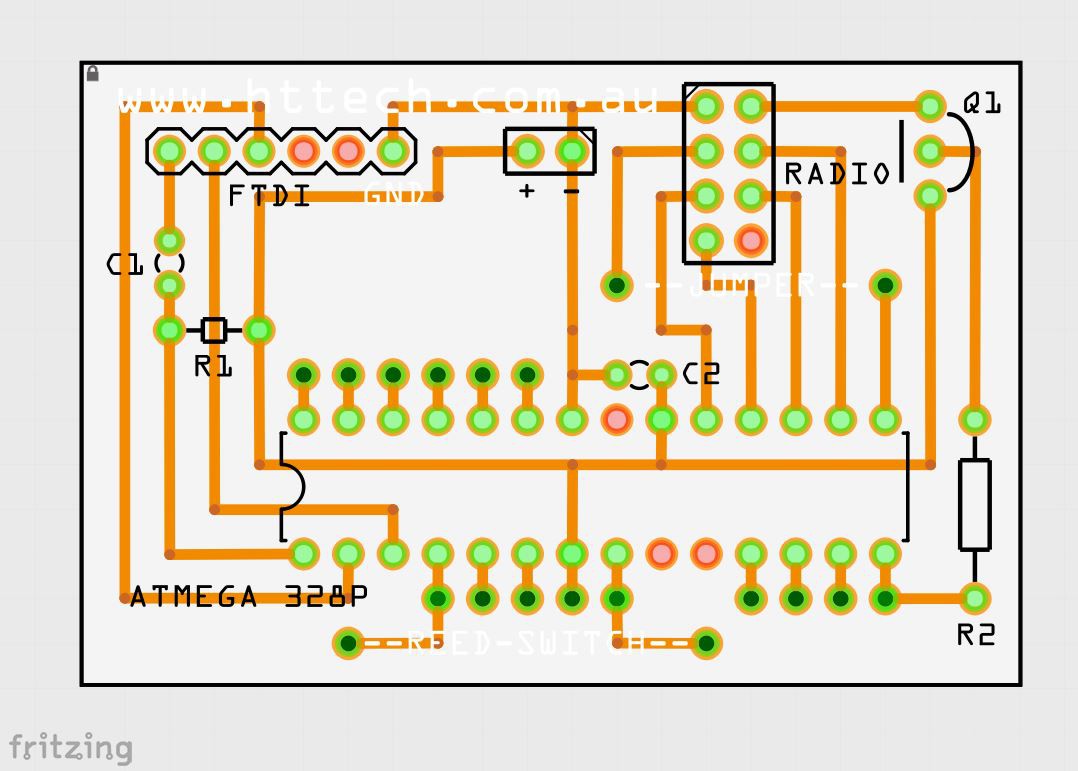
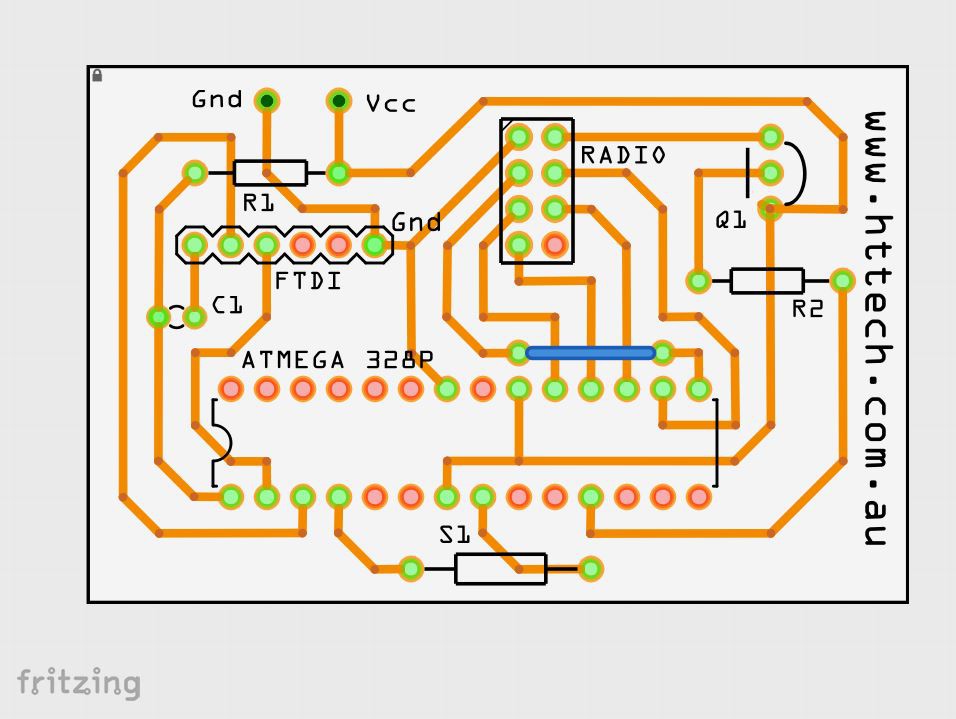
Version 2, has all IO pins brought out for easier use, a spot for the vcc/gnd smoothing capacitor (C2), and a wider spacing for the reed switch.

  • The Arduino 328 chip has boot loader for ftdi & fuse settings to set low voltage protection to 1.8v & run at 8Mhz via the internal oscilator (avr programmer reuired.)
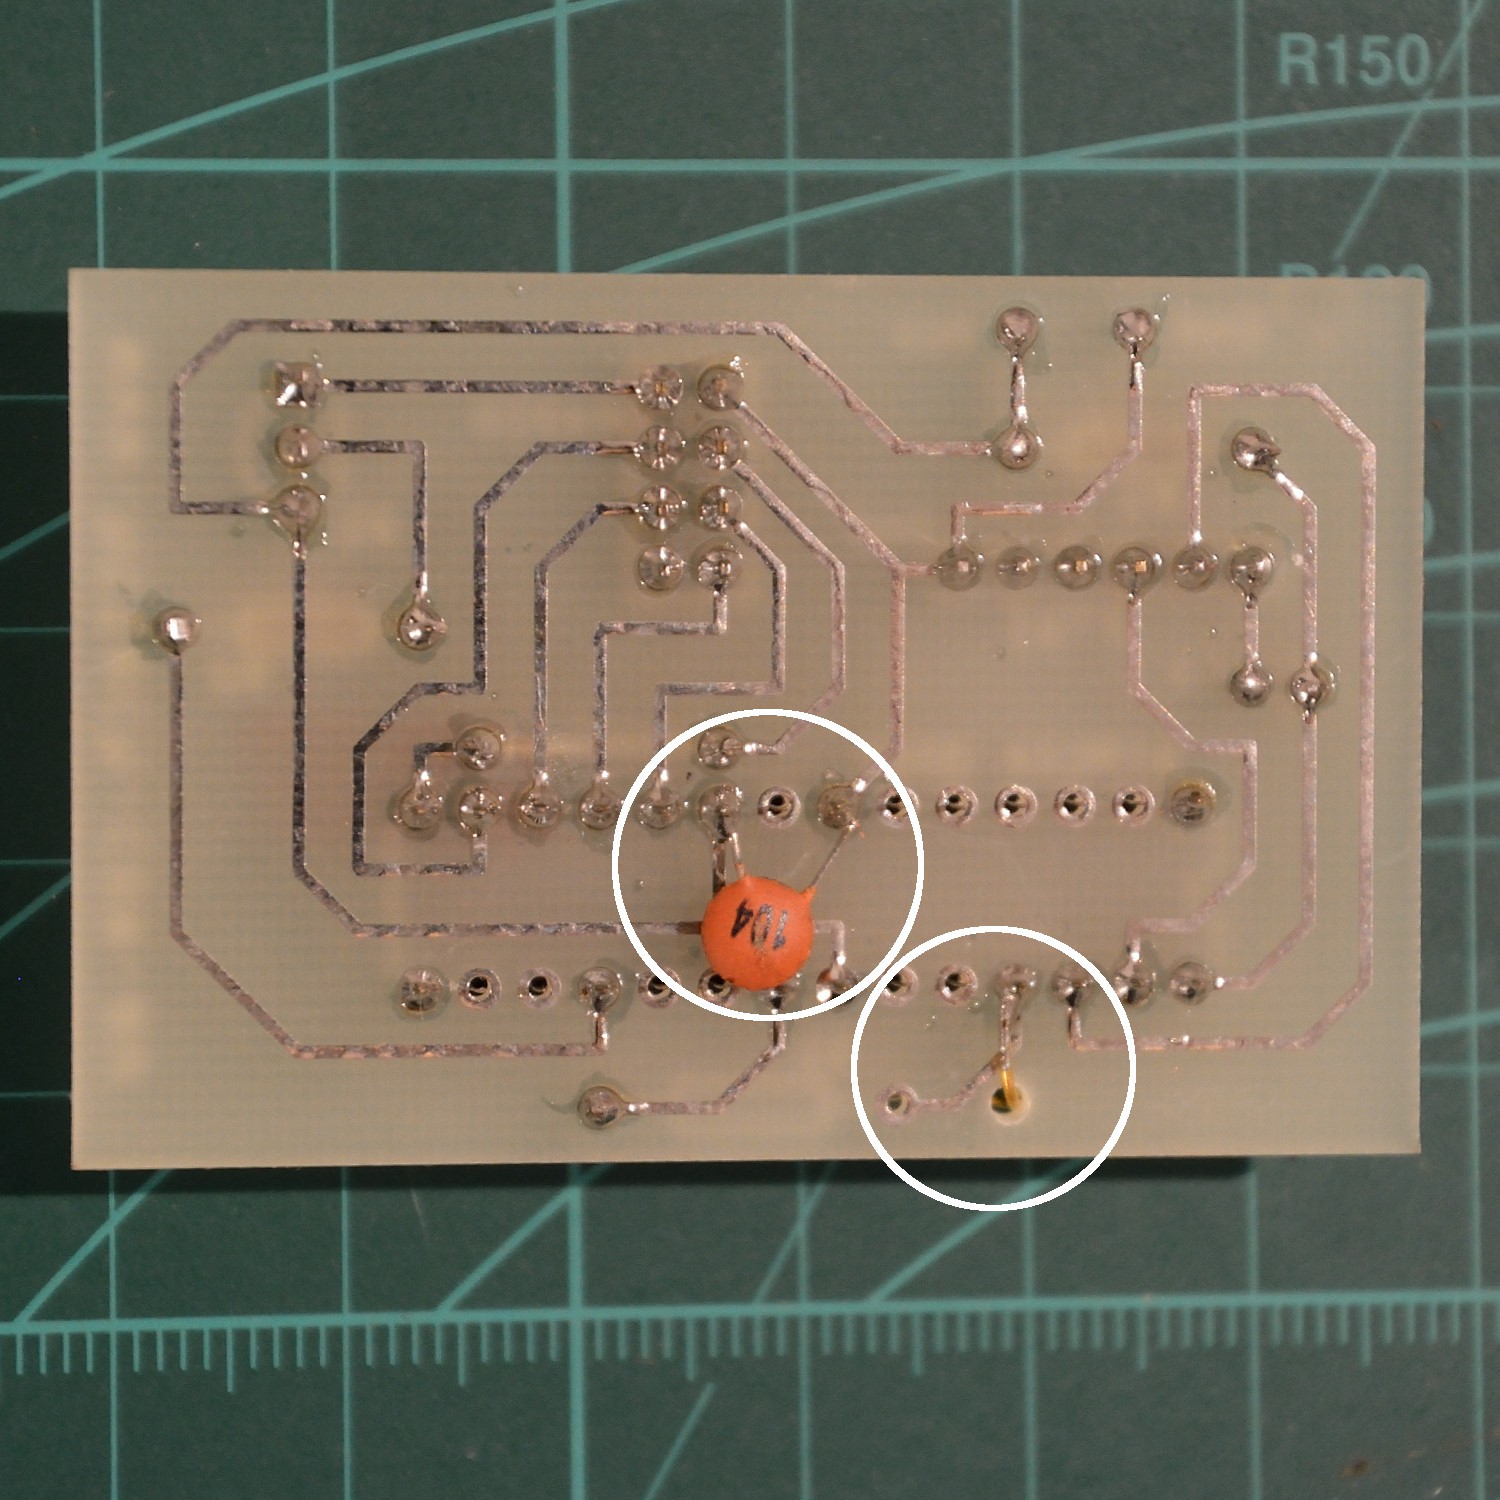
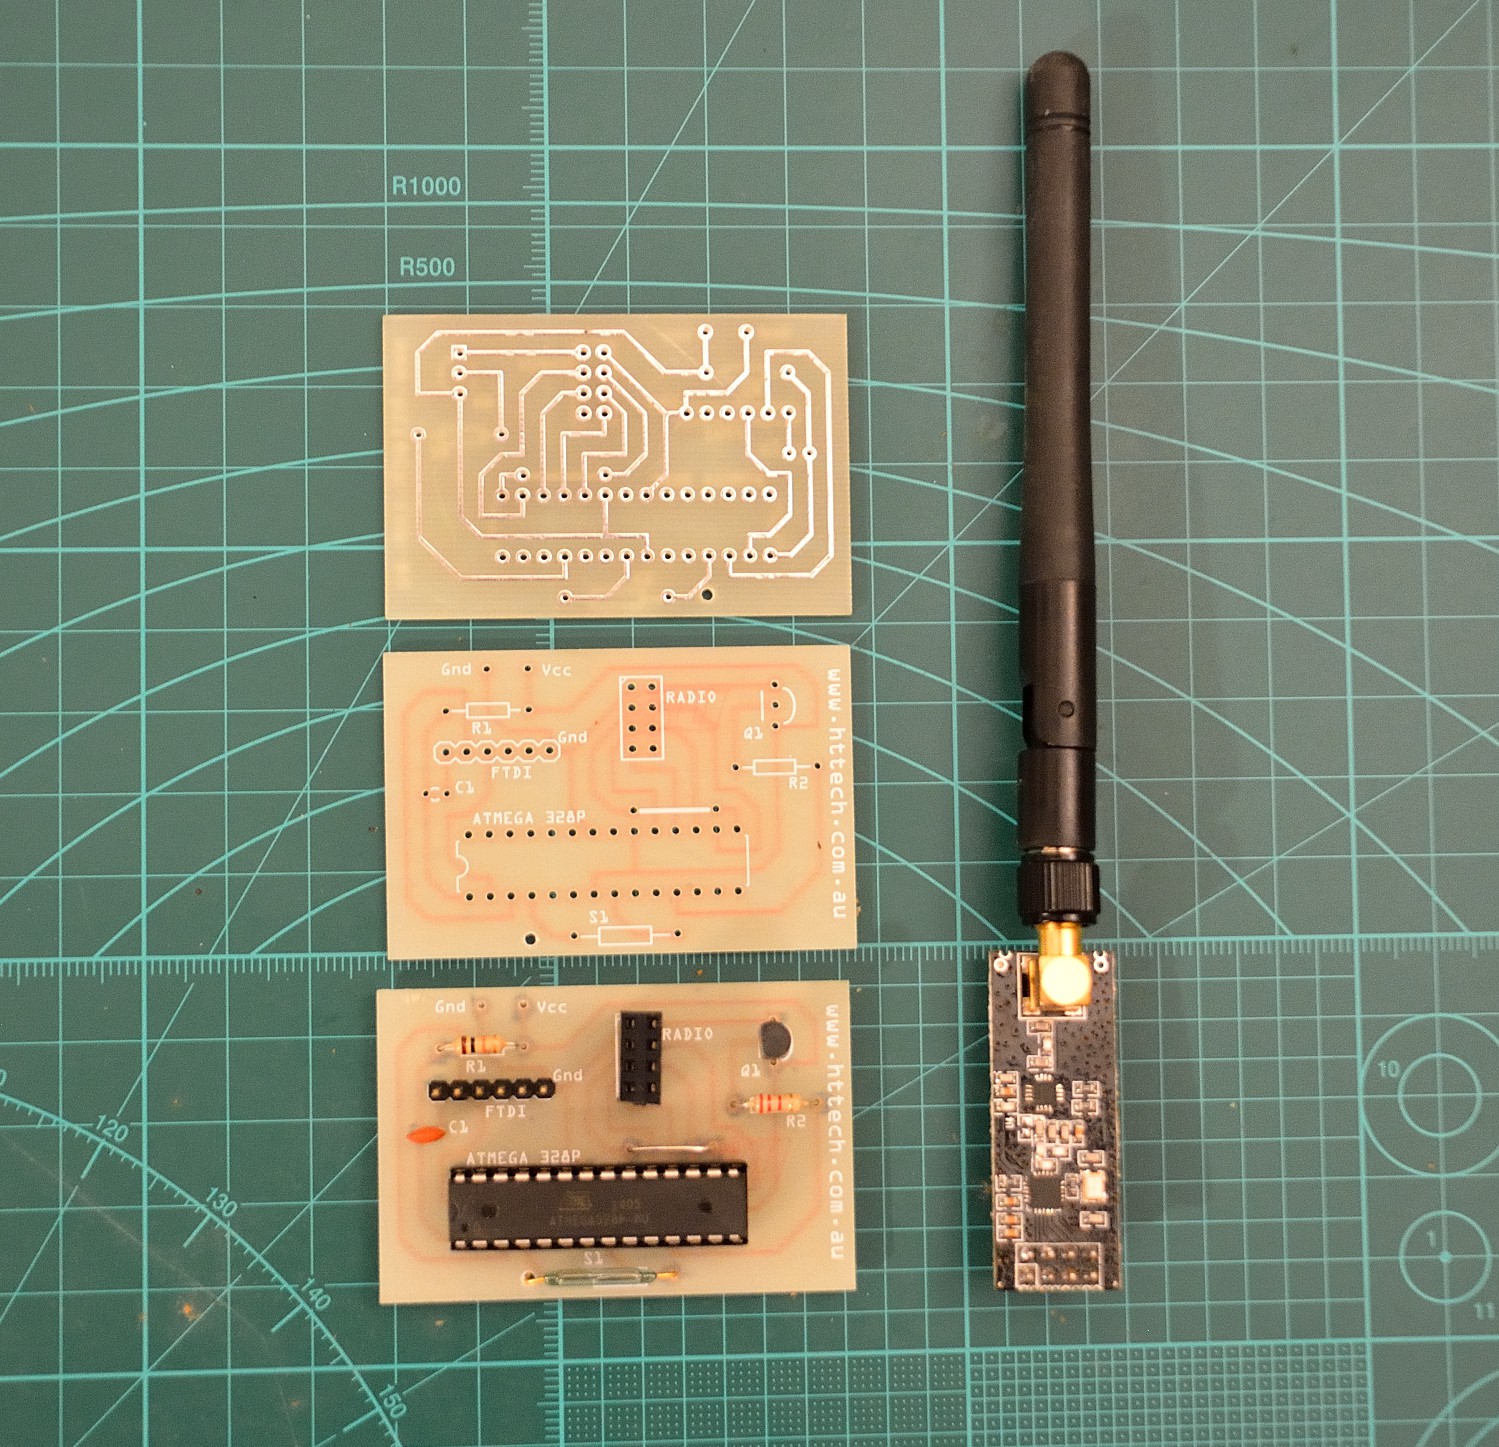
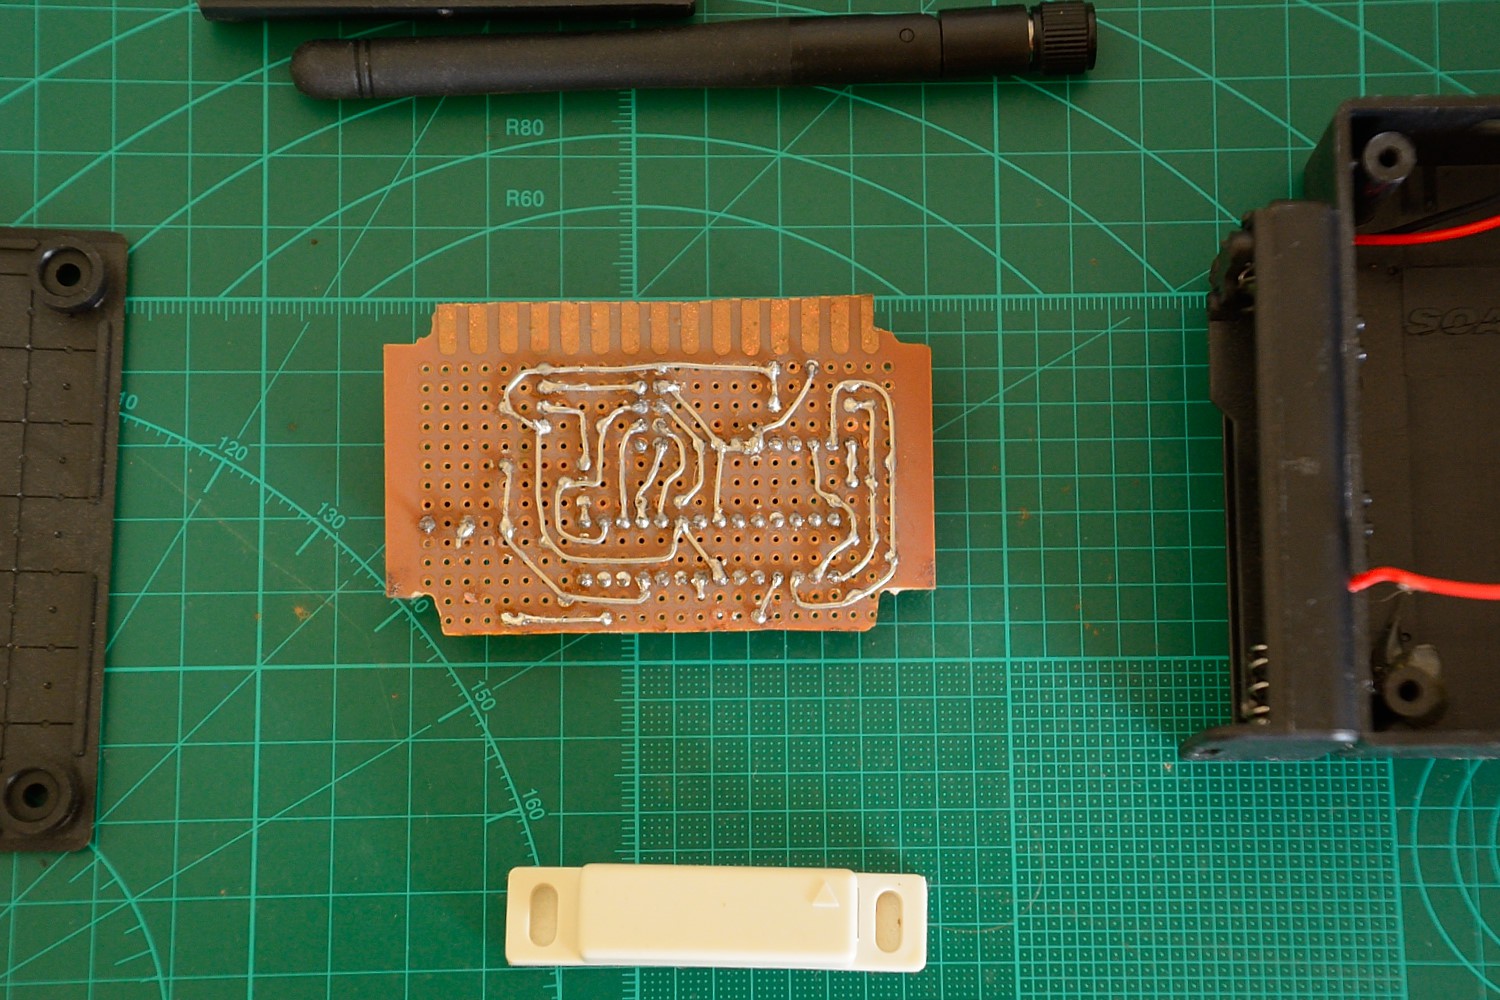
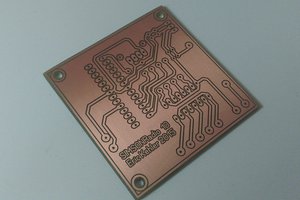
  • Version 1 i have had produced and you see in the photos, this was my first pcb run, and there where a couple of minor problems, my reed switch had a wider whole spacing, and i needed to add a 100nF ceramic capacitor across the 328's vcc/gnd to smooth its voltage.
  • Version 2 has some improvements, though i have not produced it.
  • Version 3 has been converted to Eagle, ive dropped the reed switch spot, relocated the rf24 switch transistor out from under the radio, and changed radio wires/routing to eliminate need for jumper.

328.rf24.sl.th.pcb.v3.zip

v3 eagle pcb/schematic project file

x-zip-compressed - 37.38 kB - 10/23/2016 at 21:10

Download

328.rf24.sl.th.pcb.v1.fzz

fritzing file for pcb v1, please look at using v2 instead, see project description.

fzz - 22.43 kB - 03/14/2016 at 21:49

Download

328.rf24.sl.th.pcb.v2.fzz

fritzing file for pcb v2, preferred version, see description for details.

fzz - 21.28 kB - 03/14/2016 at 21:49

Download

  • 1 × ATmega328P-PU Atmel AVR Microcontroller DIP Format fuses and bootloader set, see details
  • 1 × NRF24L01+ 2.4Ghz Transciever, Power Amplified alternatively the smaller non amplified version can is interchangeable
  • 1 × 28 Pin Dip Socket for 328, optional
  • 1 × 2x4 Header Socket for the rf24 module, optional
  • 1 × 6x1 Header Pins for ftdi connection

View all 12 components

  • v3 Now in Eagle format

    hayden10/23/2016 at 21:23 0 comments

    Updated layout and format

  • 2xAA RF Limits

    hayden04/09/2016 at 06:15 0 comments

    After using this in one of my other projects (wireless tank gauge) , ive come to find something i overlooked and did not notice in my initial use. While the 328p (1.8v-5.5v) will happily run off 2xAA (or AAA) batteries either Alkaline or NIMH the NRF24 is a little more fussy, and is rated for 3v3, apparently though it can handle 5v logic connections but the vcc must be 3v3. So as my 2xAA NIMH started to discharge it cut out at 2.6v, so its more suited to the upper charge states of 2 alkalines (2.6v-3v), or 3 nimh (2.8v-3.6v).

  • Free V1 PCB

    hayden03/26/2016 at 13:01 0 comments

    I have quite a few of the V1 PCB's printed that i did not use, as the project scope they where part of changed. If any one is interested in some for free let me know .

    At this point im marking this project complete. It was part of a larger project i may document here to one day as well as a coulpe of other older and new projects.

  • PCB Version 2

    hayden03/14/2016 at 21:53 0 comments

    Here is Version 2, all IO pins are brought out for easy re-purposing, the vcc ripple cap as a spot (C2) and the reed switch spacing is wider.

  • Version 1 Mods

    hayden03/14/2016 at 12:27 0 comments

    Here you can see the 2 changes i made to version one to use it, a 100nF ceramic capacitor between 328 vcc/gnd to smooth power ripple, and a new entry hole for the wider magnetic reed switch i was supplied.

  • Bootloader & Fuses

    hayden03/14/2016 at 11:49 0 comments

    This is the fuse & boot loader settings for arduino boards.txt :

    atmega328bb.name=ATmega328 8MHZ 1.8V BOD
    
    atmega328bb.upload.protocol=stk500
    atmega328bb.upload.maximum_size=30720
    atmega328bb.upload.speed=57600
    
    atmega328bb.bootloader.low_fuses=0xE2
    atmega328bb.bootloader.high_fuses=0xDA
    atmega328bb.bootloader.extended_fuses=0x06
    atmega328bb.bootloader.path=arduino:atmega
    atmega328bb.bootloader.file=ATmegaBOOT_168_atmega328_pro_8MHz.hex
    atmega328bb.bootloader.unlock_bits=0x3F
    atmega328bb.bootloader.lock_bits=0x0F
    
    atmega328bb.build.mcu=atmega328p
    atmega328bb.build.f_cpu=8000000L
    atmega328bb.build.core=arduino:arduino
    atmega328bb.build.variant=arduino:standard

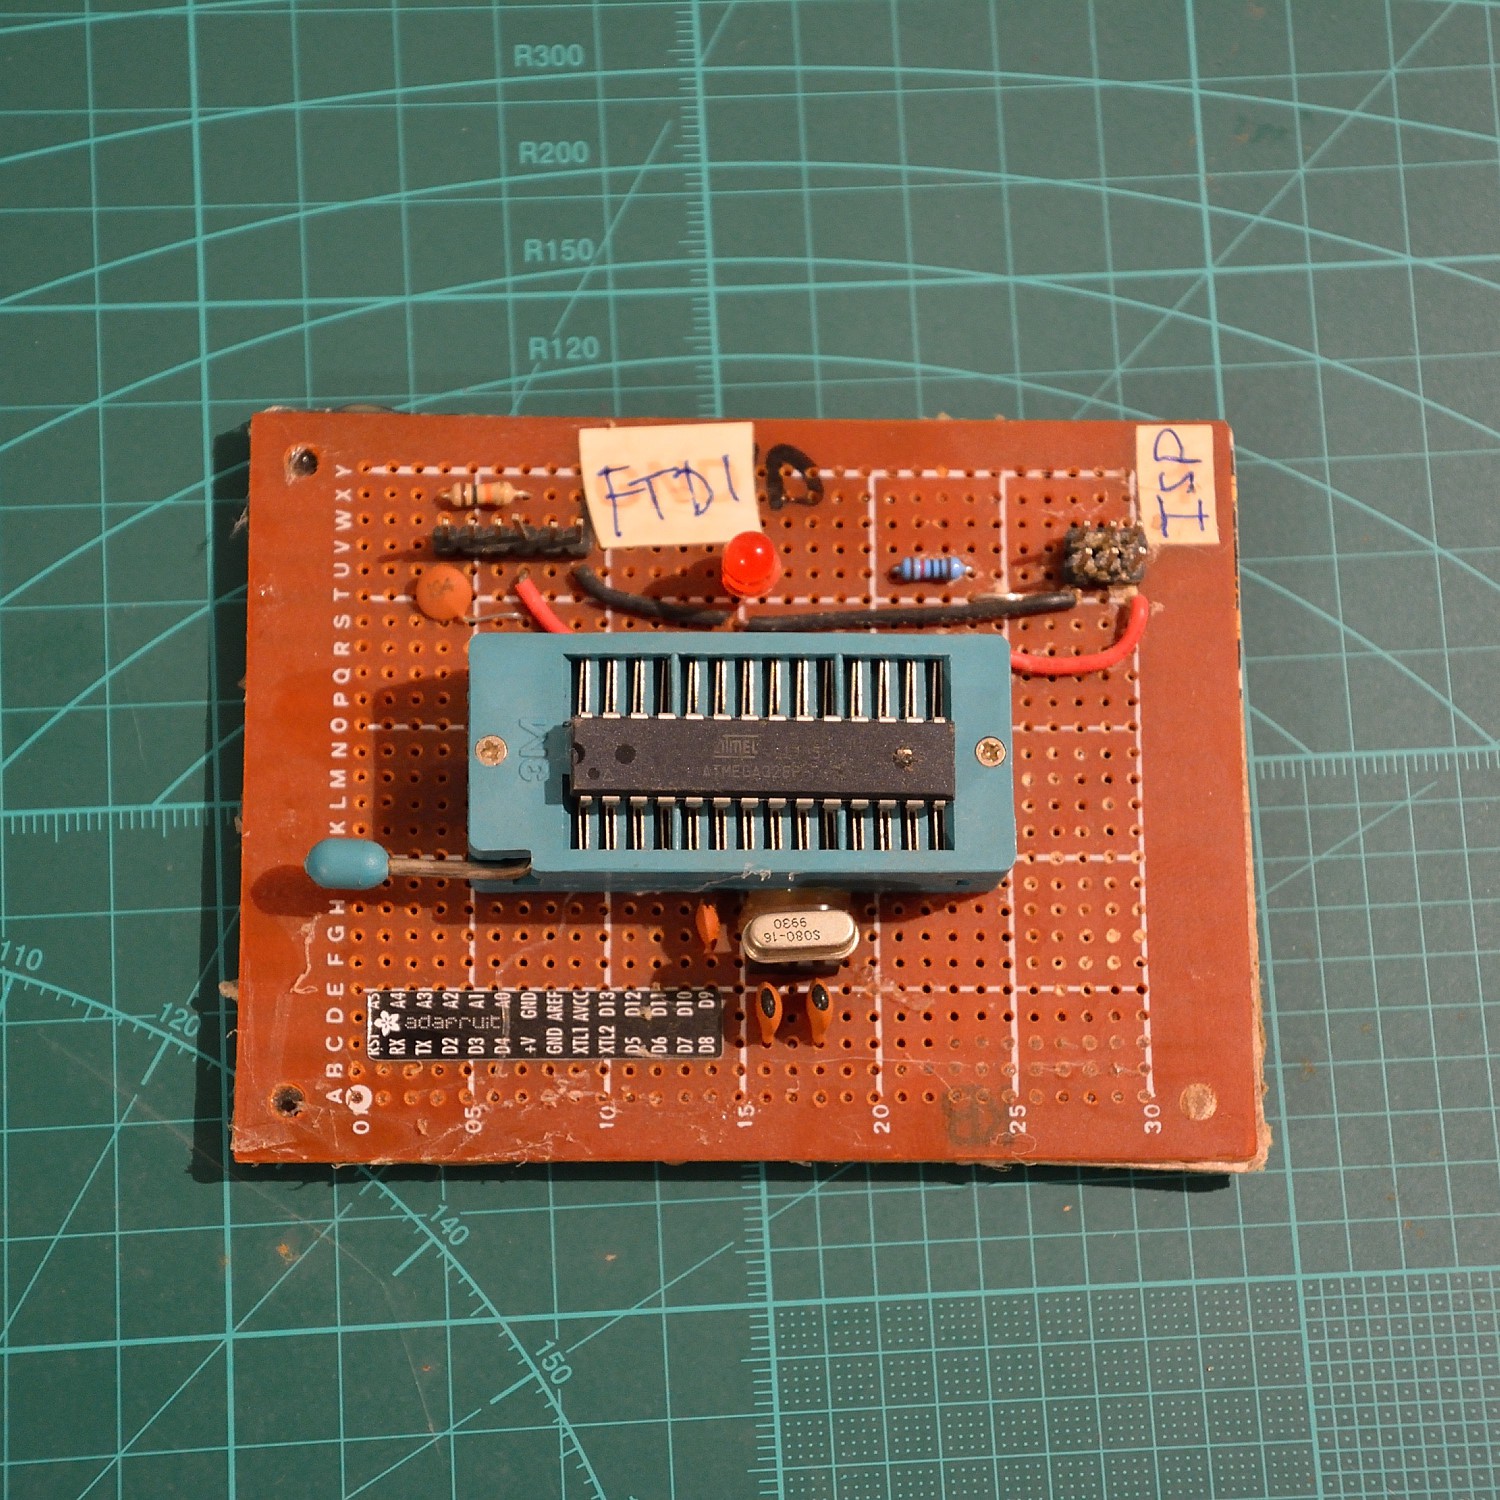
    And a photo of my home made ISP burner, with interchangeable crystal:

  • PCB Version 1

    hayden03/14/2016 at 11:29 0 comments

  • Prototype photos

    hayden03/13/2016 at 22:40 0 comments


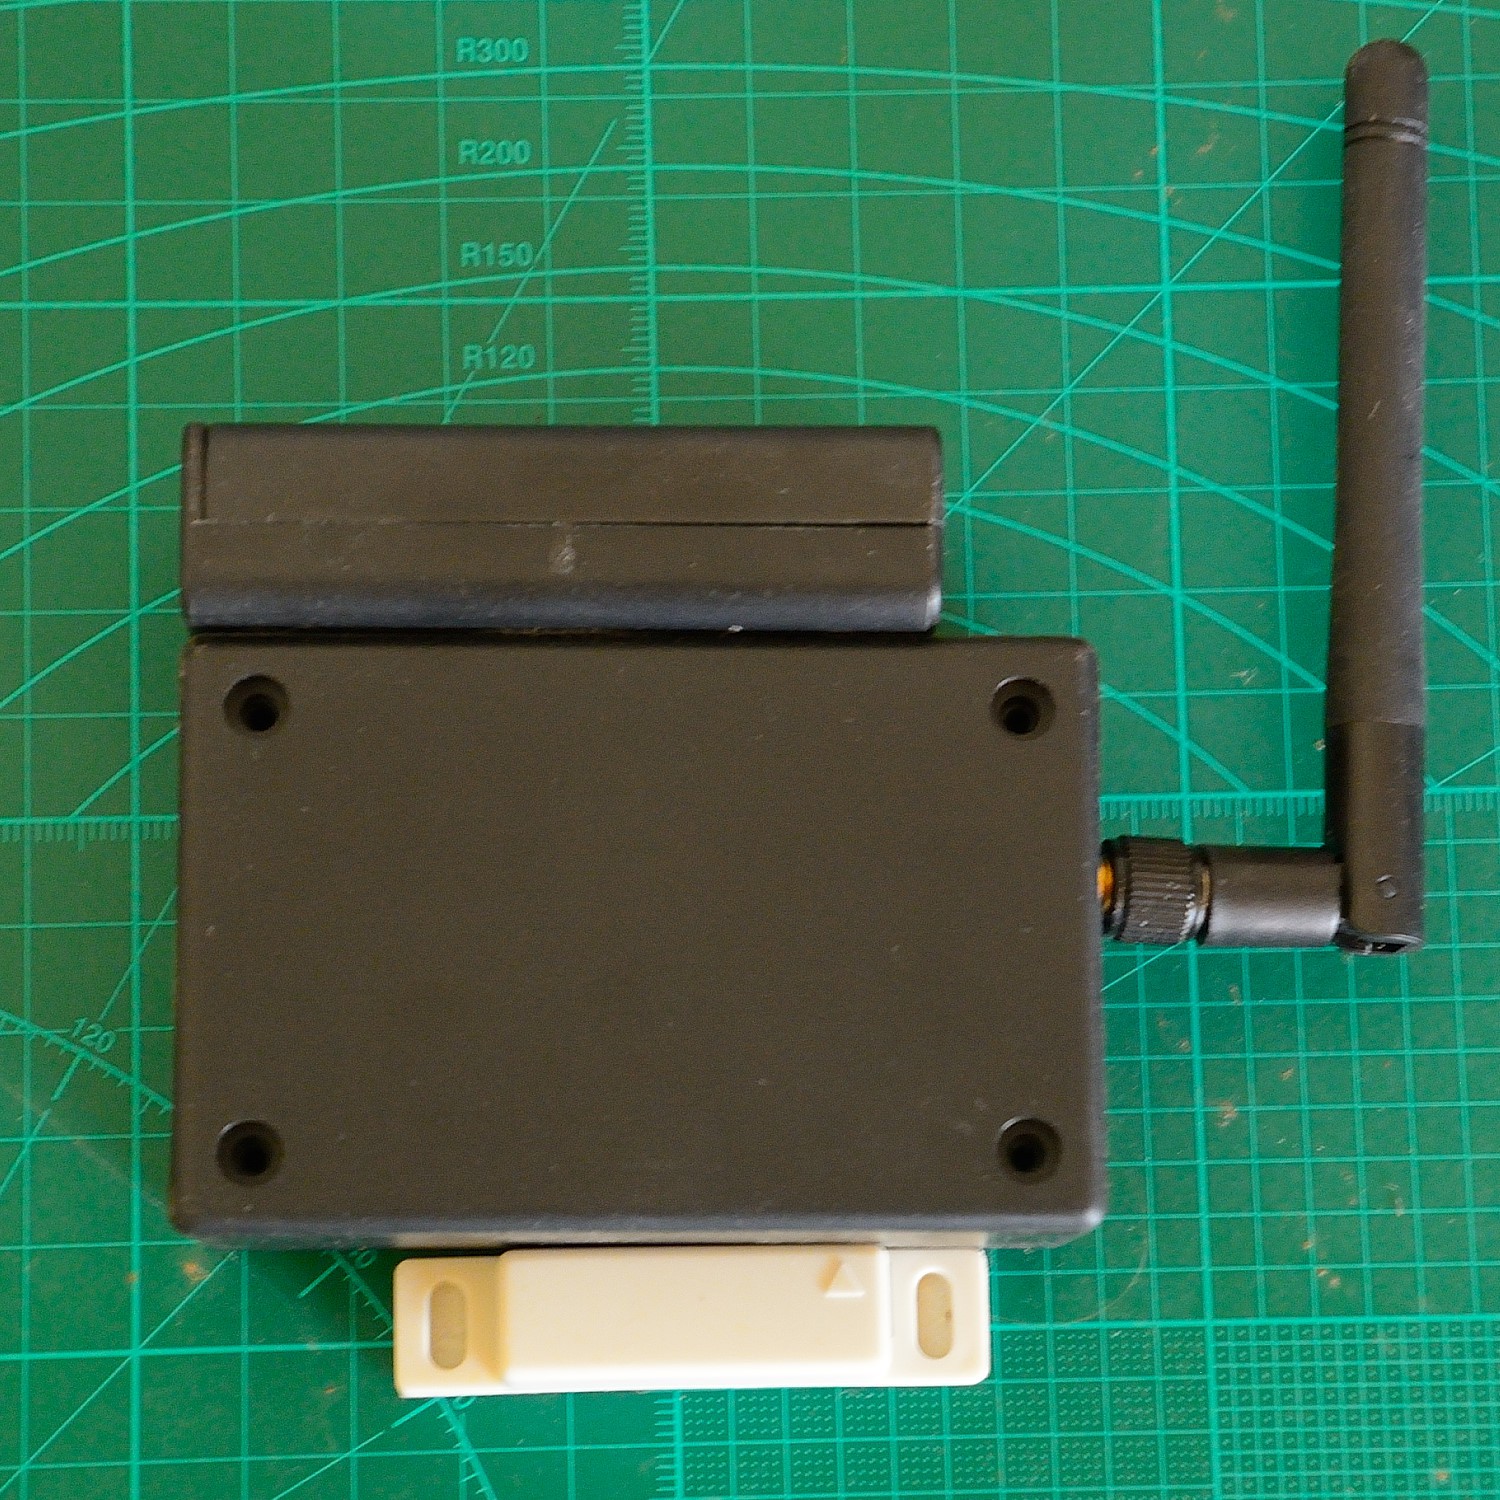
    Assembled with reed magnet


    Rear view of prototype


    Front View of prototype


    Front View of prototype with RF24 in place.

View all 8 project logs

Enjoy this project?

Share

Discussions

Michael wrote 03/14/2016 at 20:10 point

What method did you use to print the silk screen on PCB?

  Are you sure? yes | no

hayden wrote 03/14/2016 at 21:21 point

Hi ! My first comment ! Even though this is a very simple easy design
ideal for home production, i had it manufactured by a company. It was
however cheaper with them to make a board single layer, so that was my
motivation as well. They offer a silkscreen option. I have added the
cost breakdown above.

  Are you sure? yes | no

Similar Projects

Does this project spark your interest?

Become a member to follow this project and never miss any updates