-
The first steps: researching what already exists.
05/29/2024 at 22:22 • 0 commentsNaturally, we started by looking at what already existed.
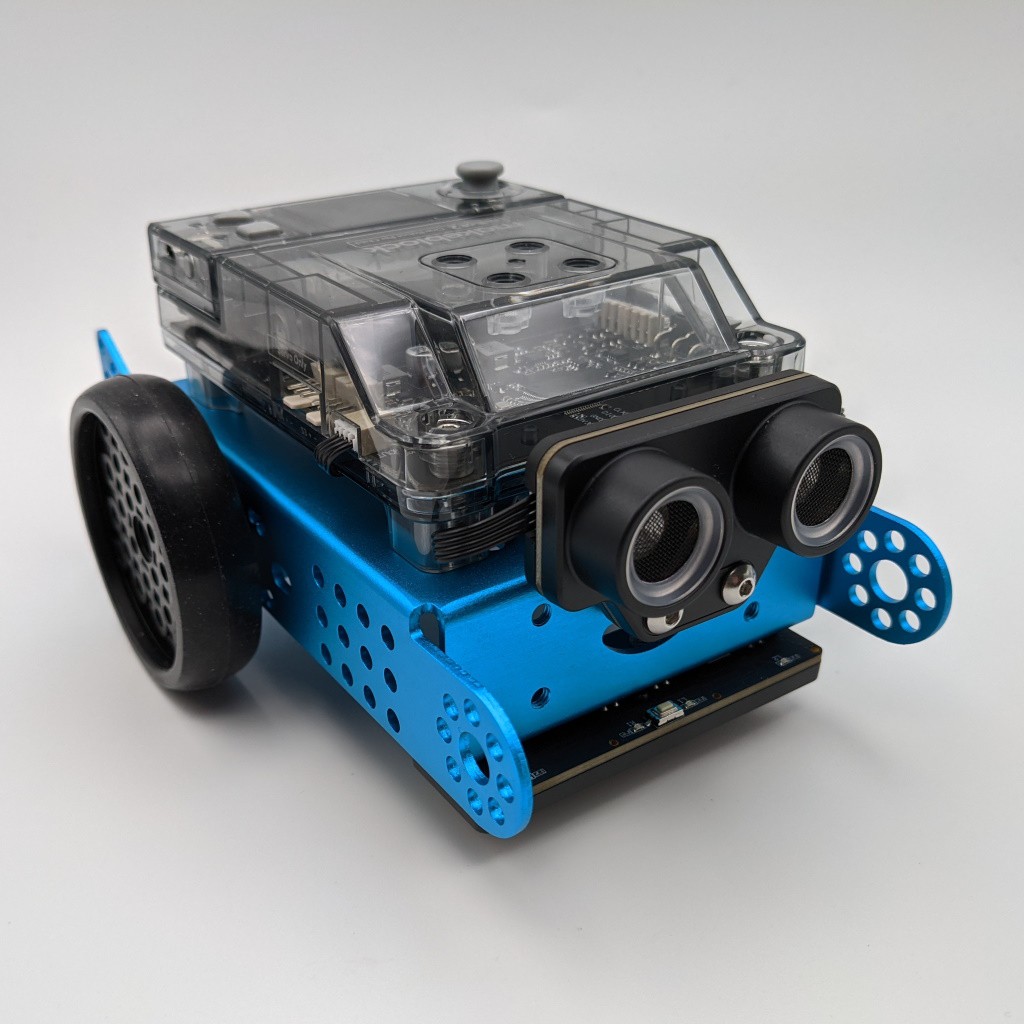
First, we found robots that were autonomous thanks to an ultrasonic sensor. We liked this idea straight away, because it would give us an R2D2 assistant who wouldn't bump into obstacles on his own, or even follow us around to help us if we needed it!
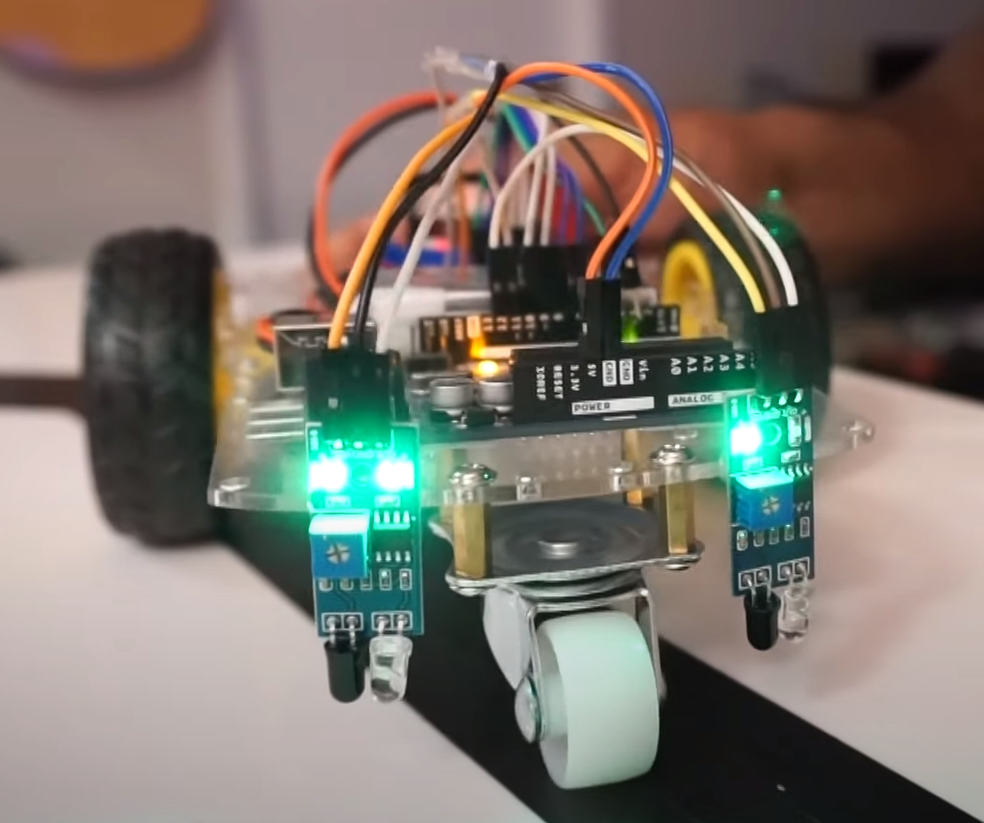
Secondly, we found some line-following robots. This option was less appealing to us, as our robot would be very limited in its movements and we'd lose the interactive aspect with the user.
The third option we found was to track the user via specific components, such as a Pixy camera or an arduino GPS module.
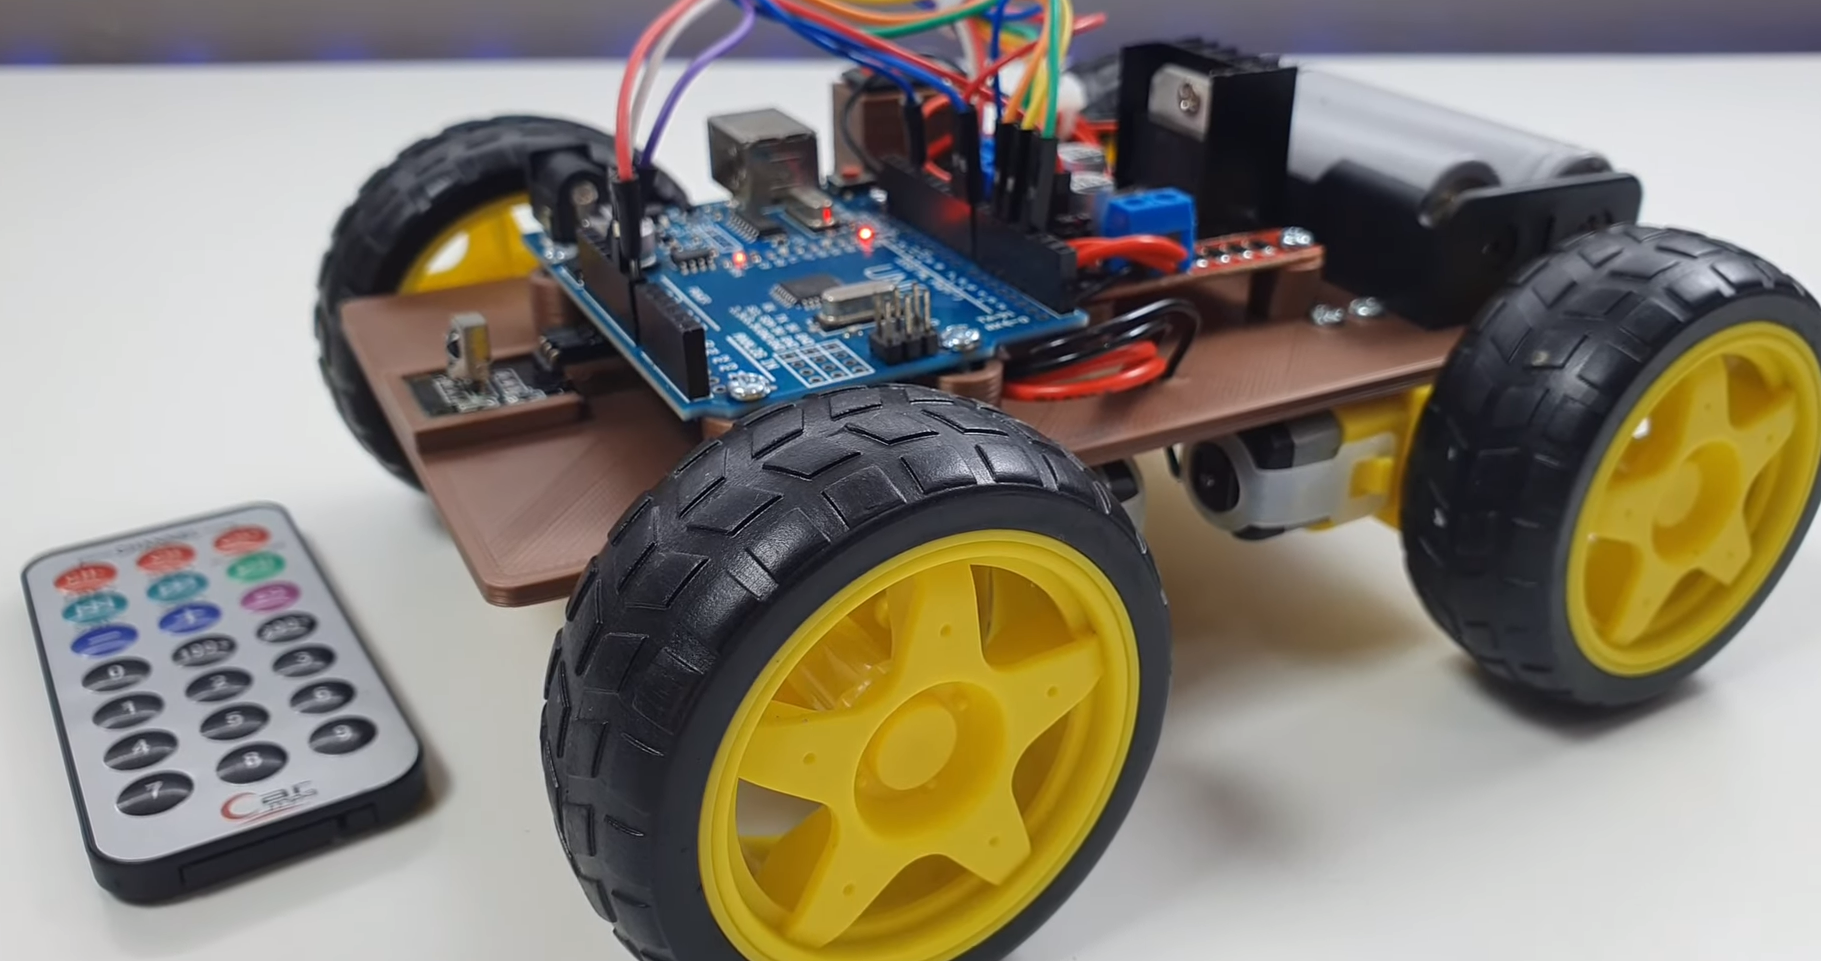
Finally, the fourth option we found was a radio-controlled robot. Here we found the interactive aspect with the user that we were looking for, while still having the freedom to move where he wanted.
Faced with these options, we decided to combine the autonomous aspect of ultrasound with the interactive aspect of the radio-controlled robot. We are therefore proposing a robot with two compatible modes of use that can be switched at any time while the robot is in use. Now all we have to do is get it up and running!
![]()
![]()
![]()
![]()
-
The key stage: the iconic sound of R2D2
05/29/2024 at 21:54 • 0 commentsAs announced in the introduction, our robot had to be a faithful replica of R2D2. To achieve this, it was essential to integrate his sound effect with our robot to bring them closer together.
En tombant sur la vidéo ci-dessous, nous avions enfin trouver une façon de ramener ce son à la vie:
Nous avons donc suivit son tutoriel dans son lien GitHub, nous les avons adapté à notre cas et notre objectif, et nous avons enfin pu entendre R2D2 parmi nous.
R2D2-Sound-Generator/r2d2_sound_generator.ino at main · marcelolarios/R2D2-Sound-Generator · GitHub
-
Automatic part 3
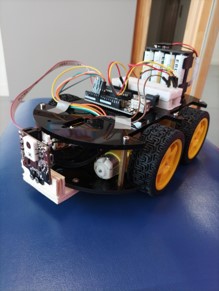
05/29/2024 at 21:48 • 1 commentWith the manual part becoming a reality, we though that using the radio transmitter that we use in the manual part that we could synchronize the differents ultrasound sensors. With a master radio transmitter and two receivers controling the pulse of ultrasound, and by hiding the transmitter of the sensor on the robot, the two sensors were aware of each other! One sensor on the beacon is sending a pulse to the receiver on the robot, by analazing the datas we can calculate a distance between the robot and the beacon.
That is how we made possible the automatic part.
-
Automatic part 2
05/29/2024 at 21:48 • 0 commentsWe thought about infrared, an emetter as a beacon that we couldnt see but the robot could. We wanted to use multiple IR receiver around the robot to understand from which way the signal came from. We used the receiver not to decode a message in IR as we can often see like with a TV and a remote, but to analyse the intensity of the light we received. with some tests this way worked but not as well as we wanted, it couldnt detect far enough or couldnt say if the signal came from one way or an other.
-
Automatic part
05/29/2024 at 21:43 • 0 commentsOur first goal was to make the robot appear like R2D2 with his mouvements and the way he comes close to Luke or Anakin. We started thinking about a emetter like a beacon that the robot will follow. So we thought about an ultrasound emitter.
The ultrasound part was long and we didnt know really were to start. We found one other project with the same idea with an arduino but it was an ultrasound emitter and receiver made specially for it. We found out that to make two ultrasound sensor aware of each other they need to be synchronized, so we put this idea aside and move on.
-
Step by step: implementing the motors.
05/29/2024 at 21:40 • 0 commentsWith a solid base in place, it was time to move our robot forward.
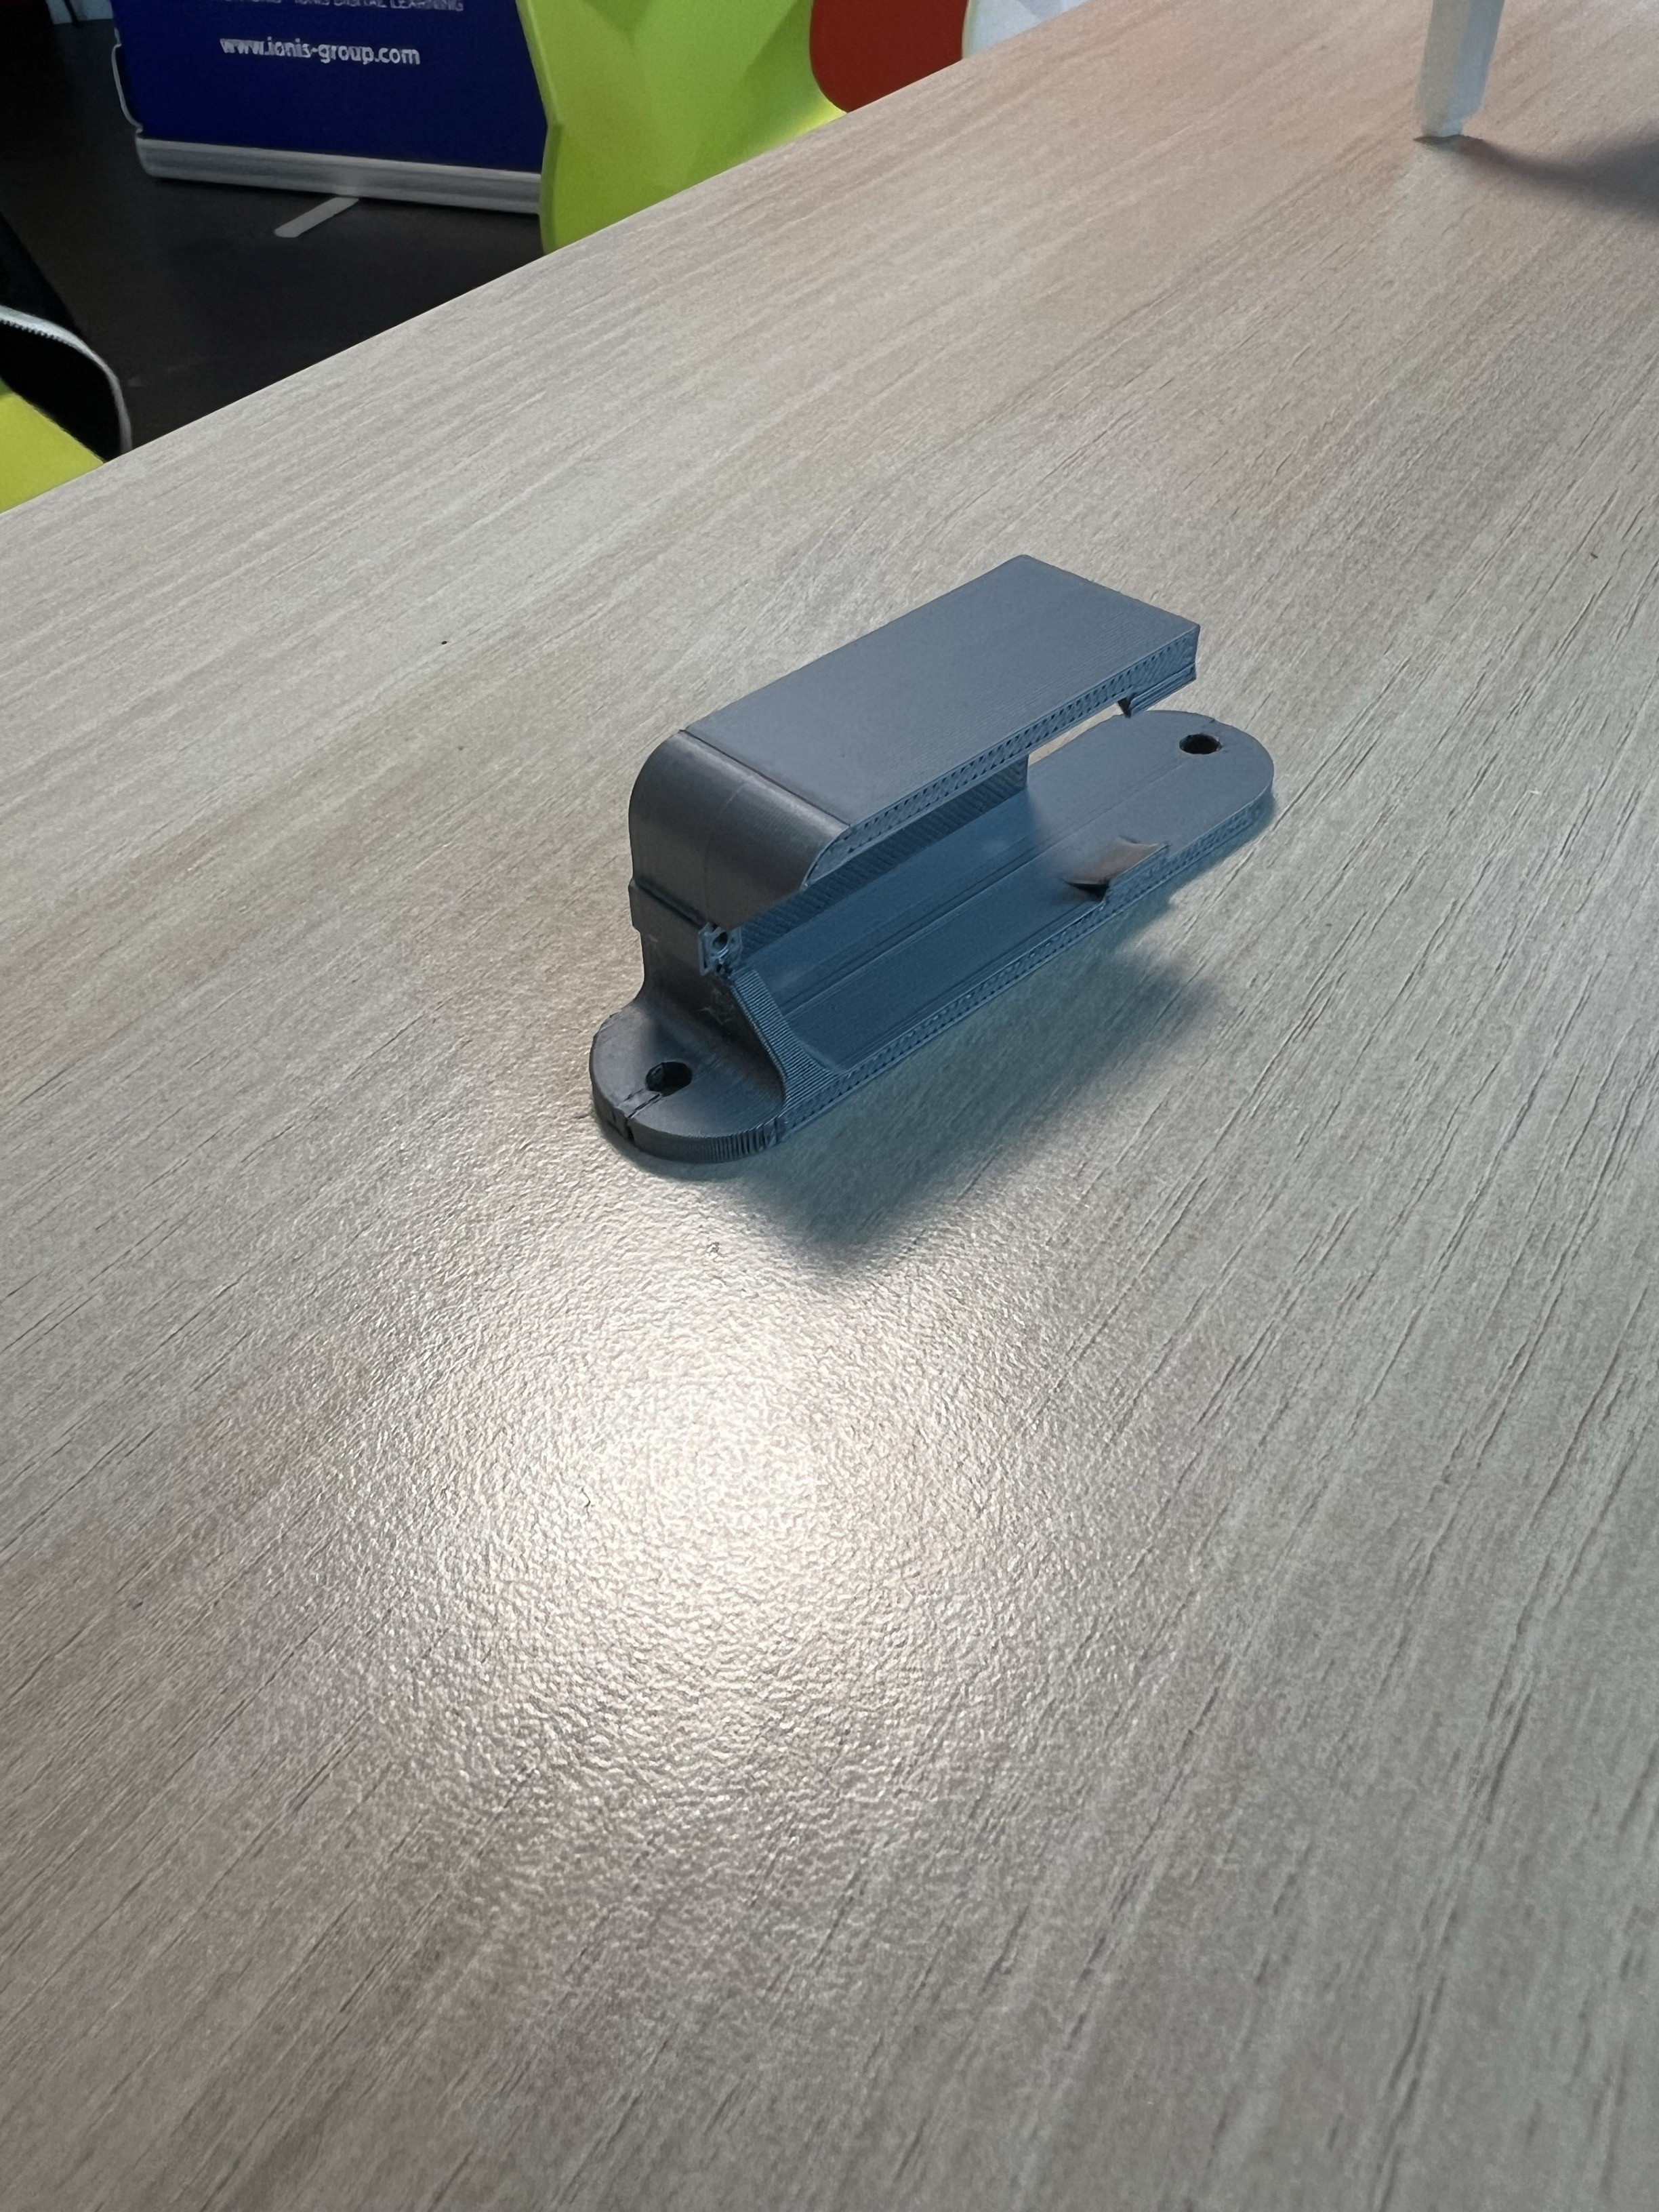
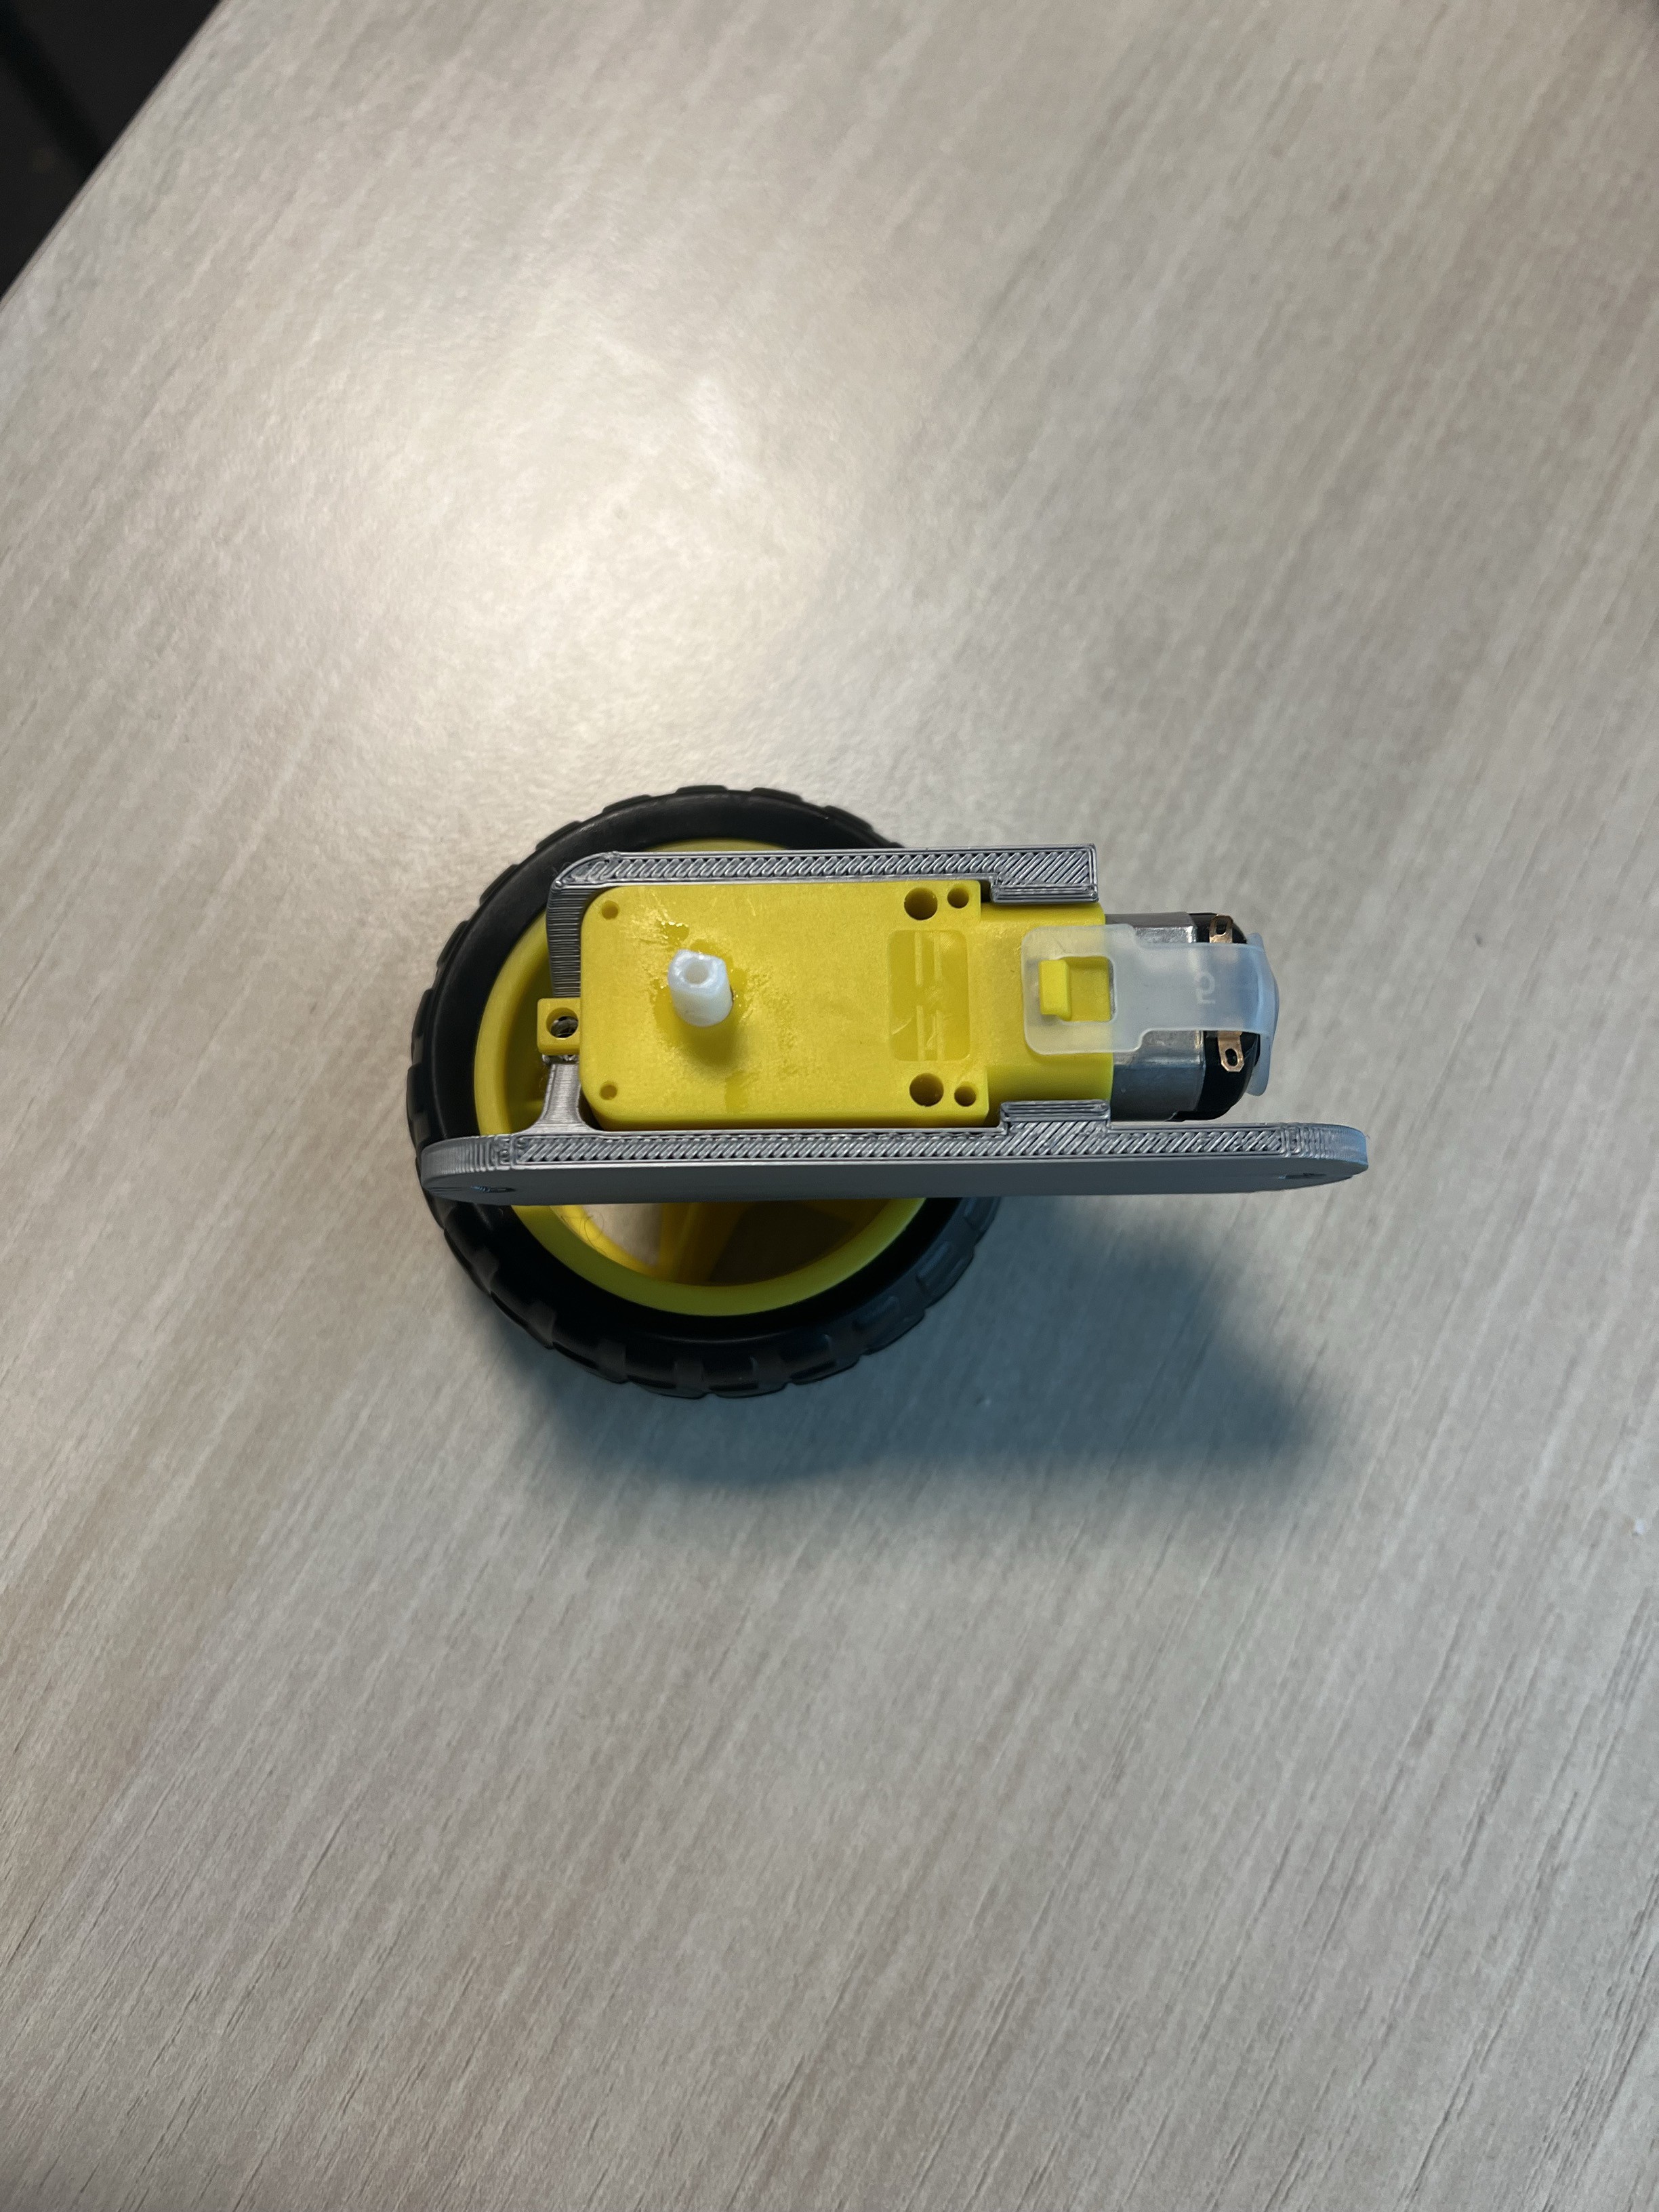
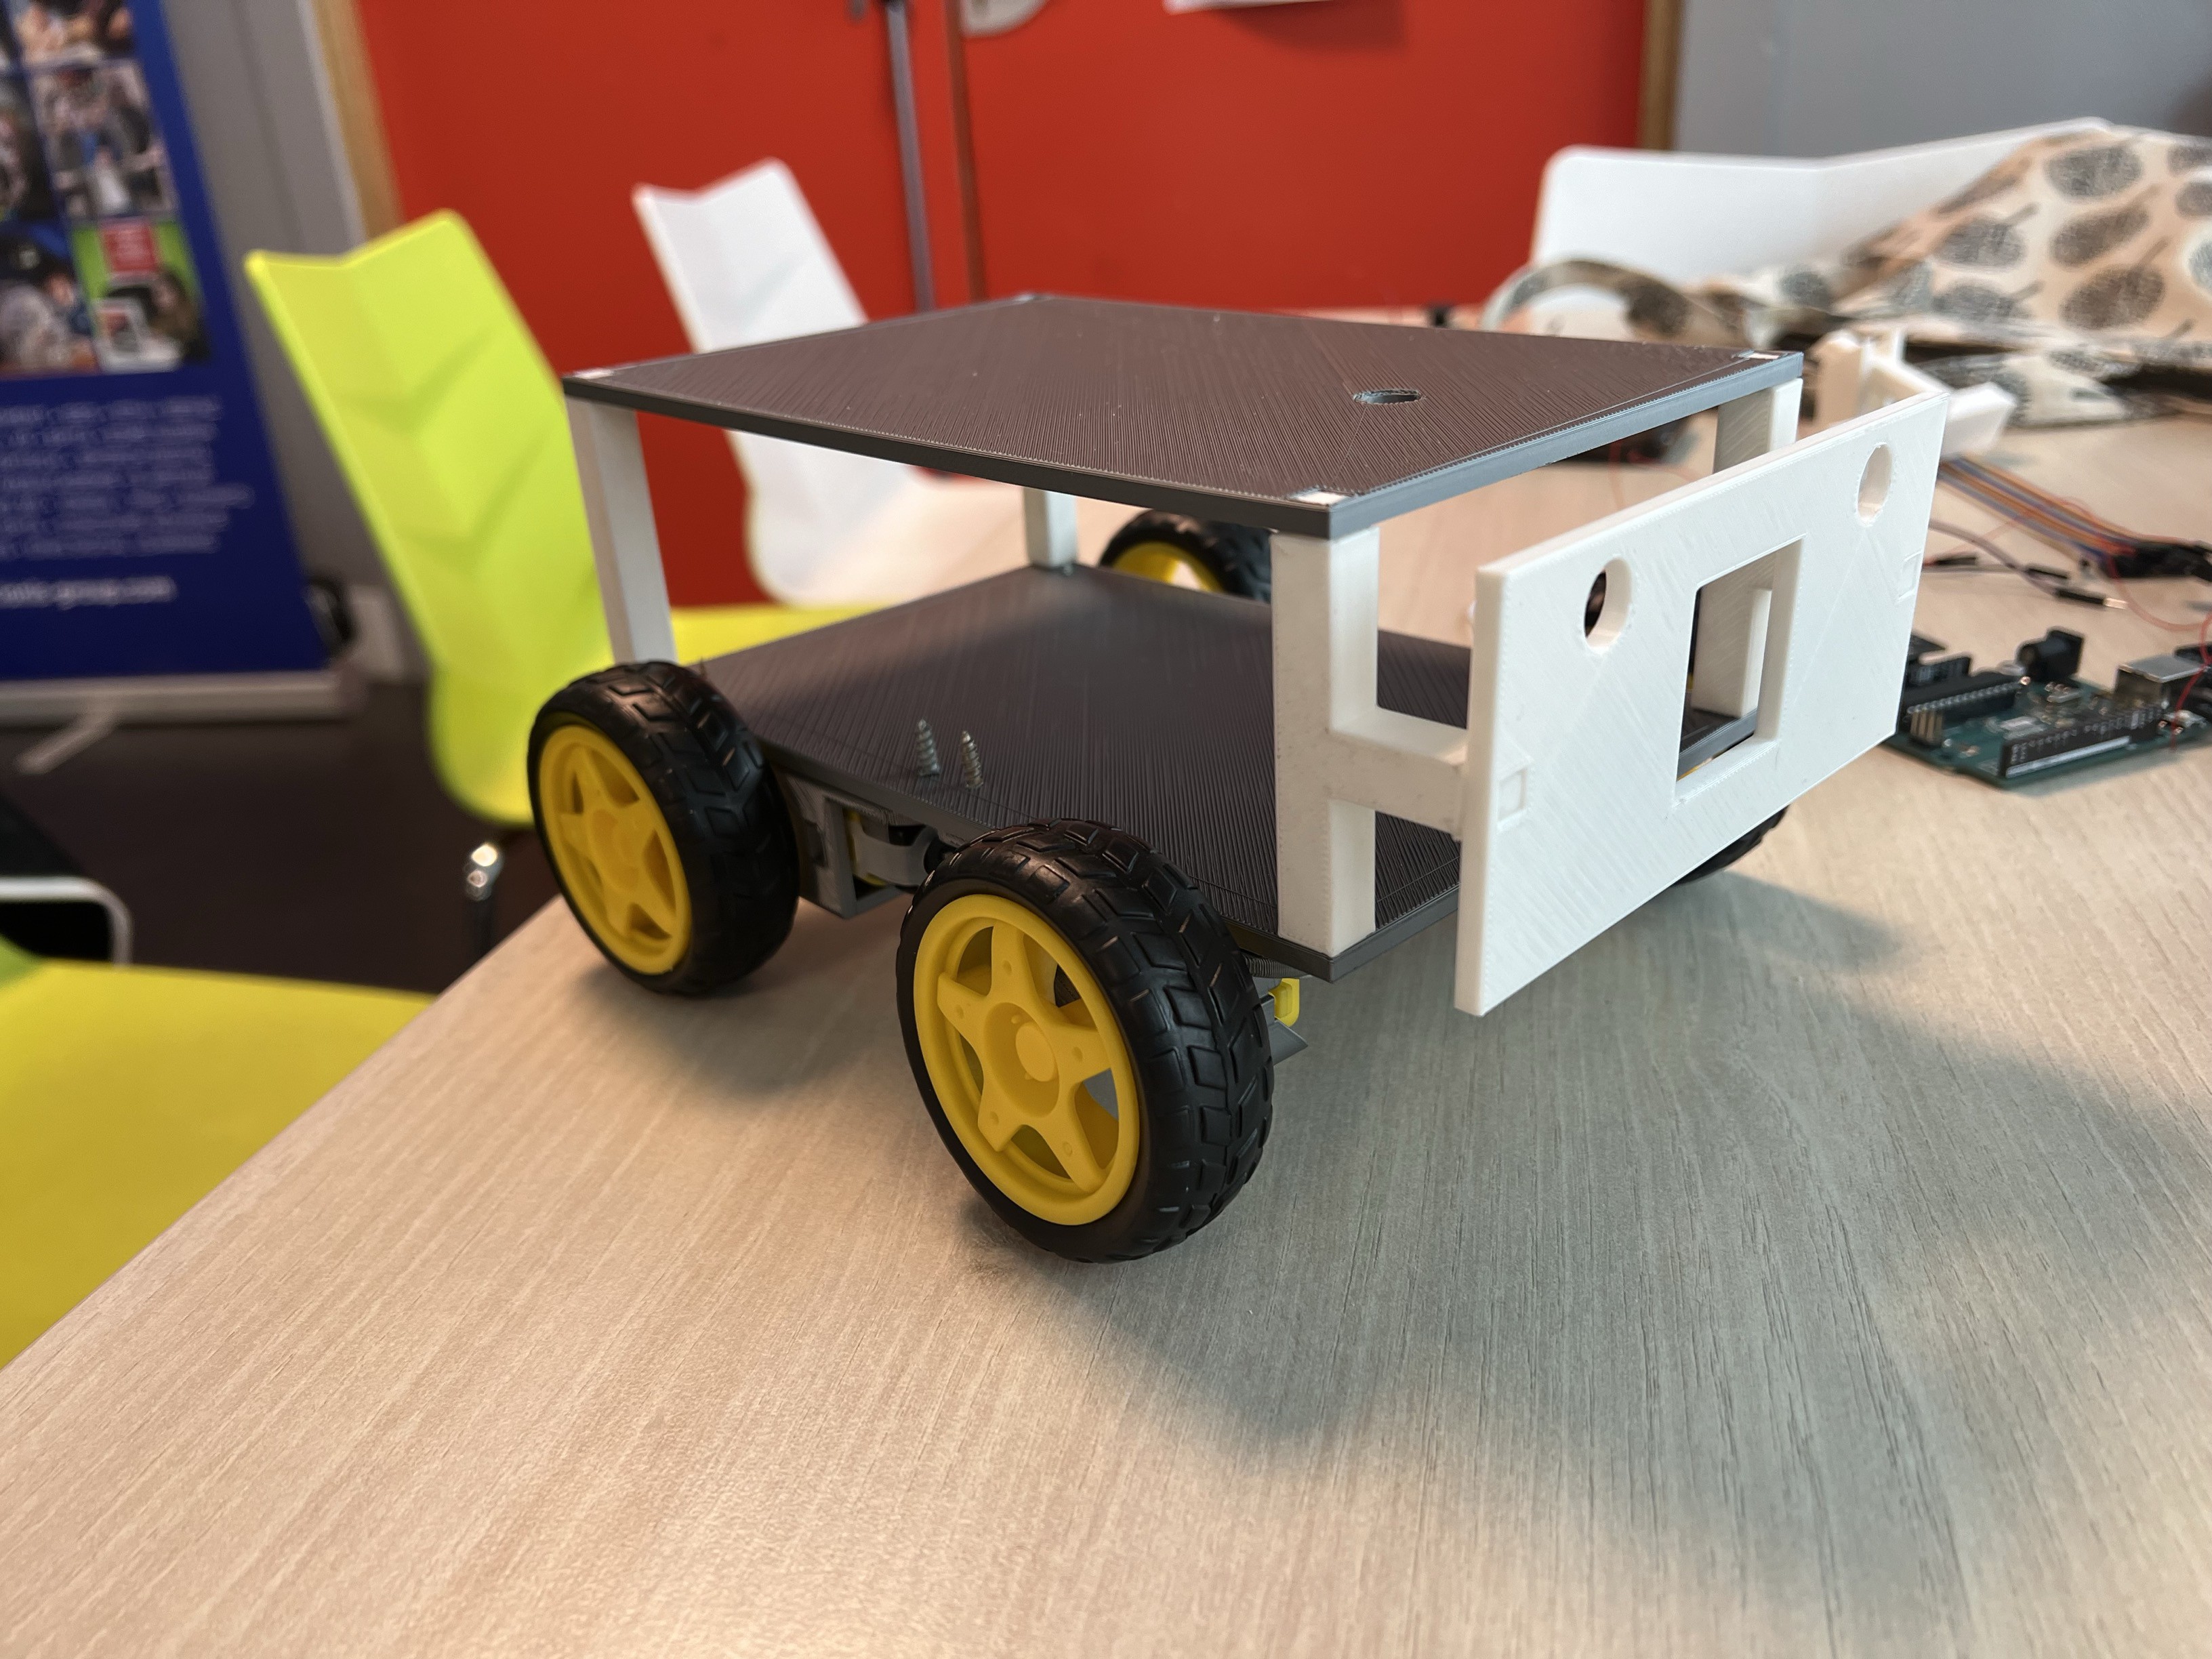
We modelled a support on Fusion 360 that would enclose the motors to ensure the robot's stability, while leaving a hole through which our wheel could connect to the motor to finally get it up and running.
Our robot is already starting to look good with the whole key structure assembled.
![]()
![]()
![]()
![]()
-
Bringing our models to life: the first assemblies.
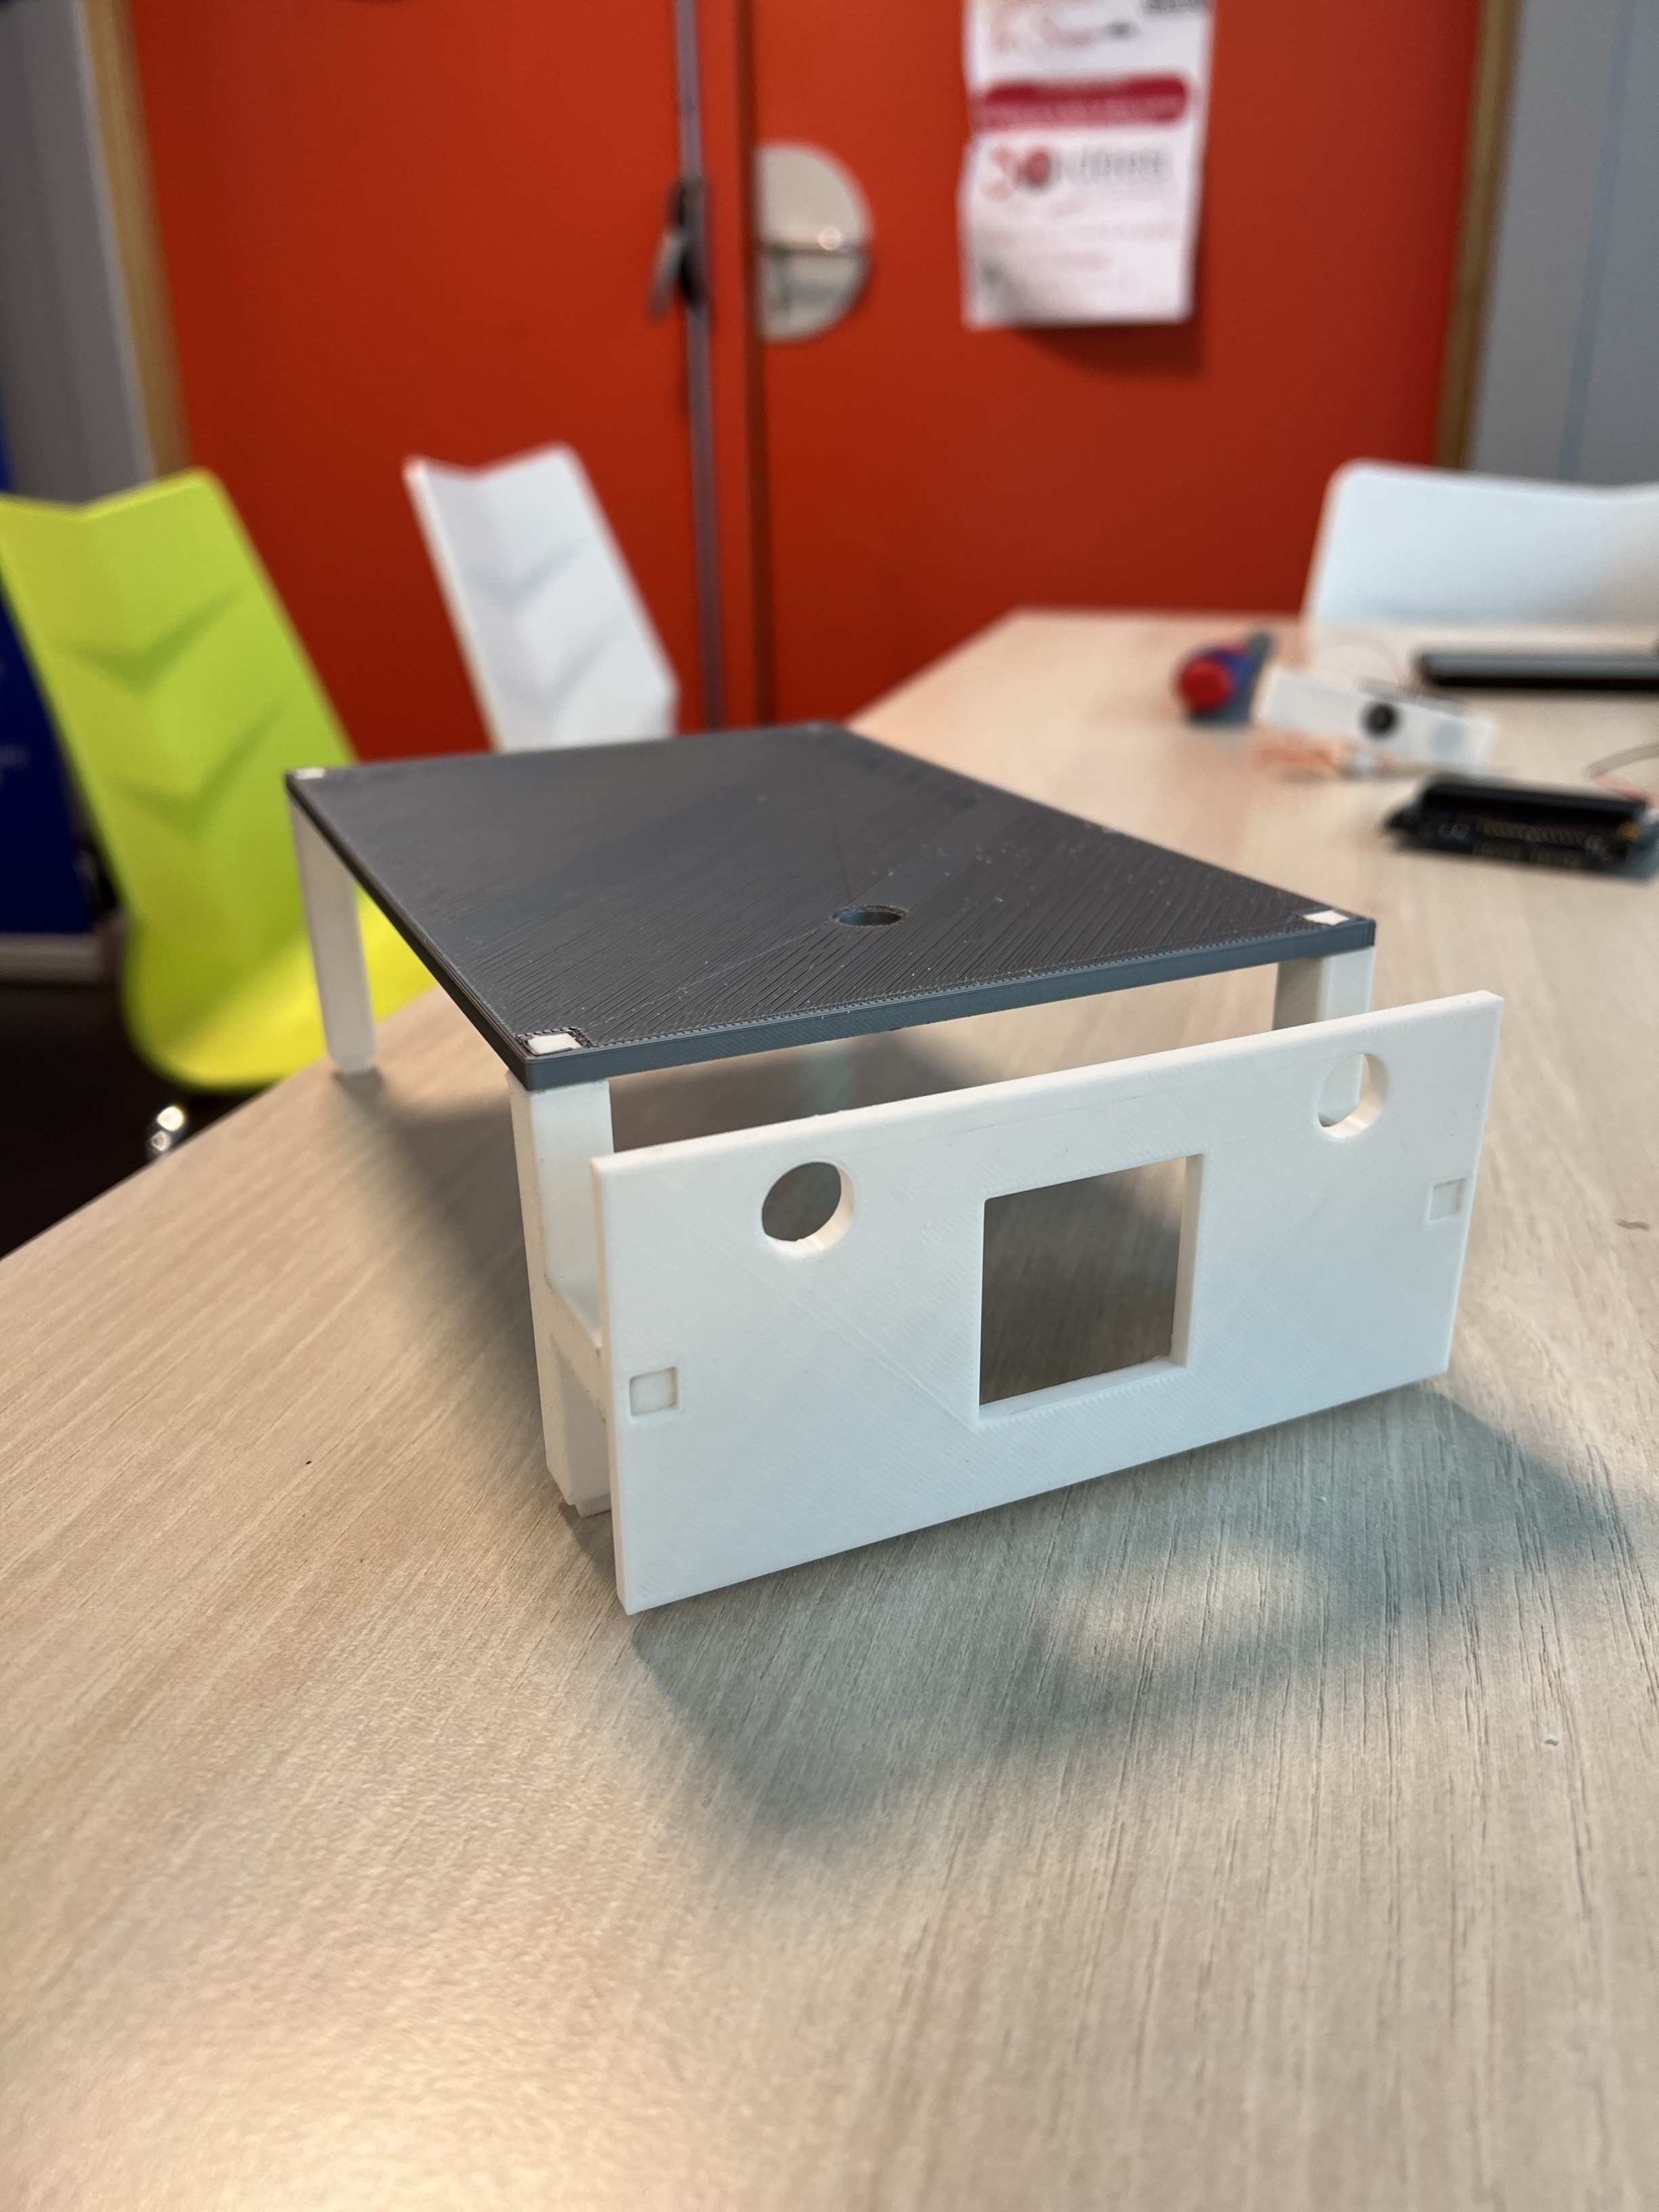
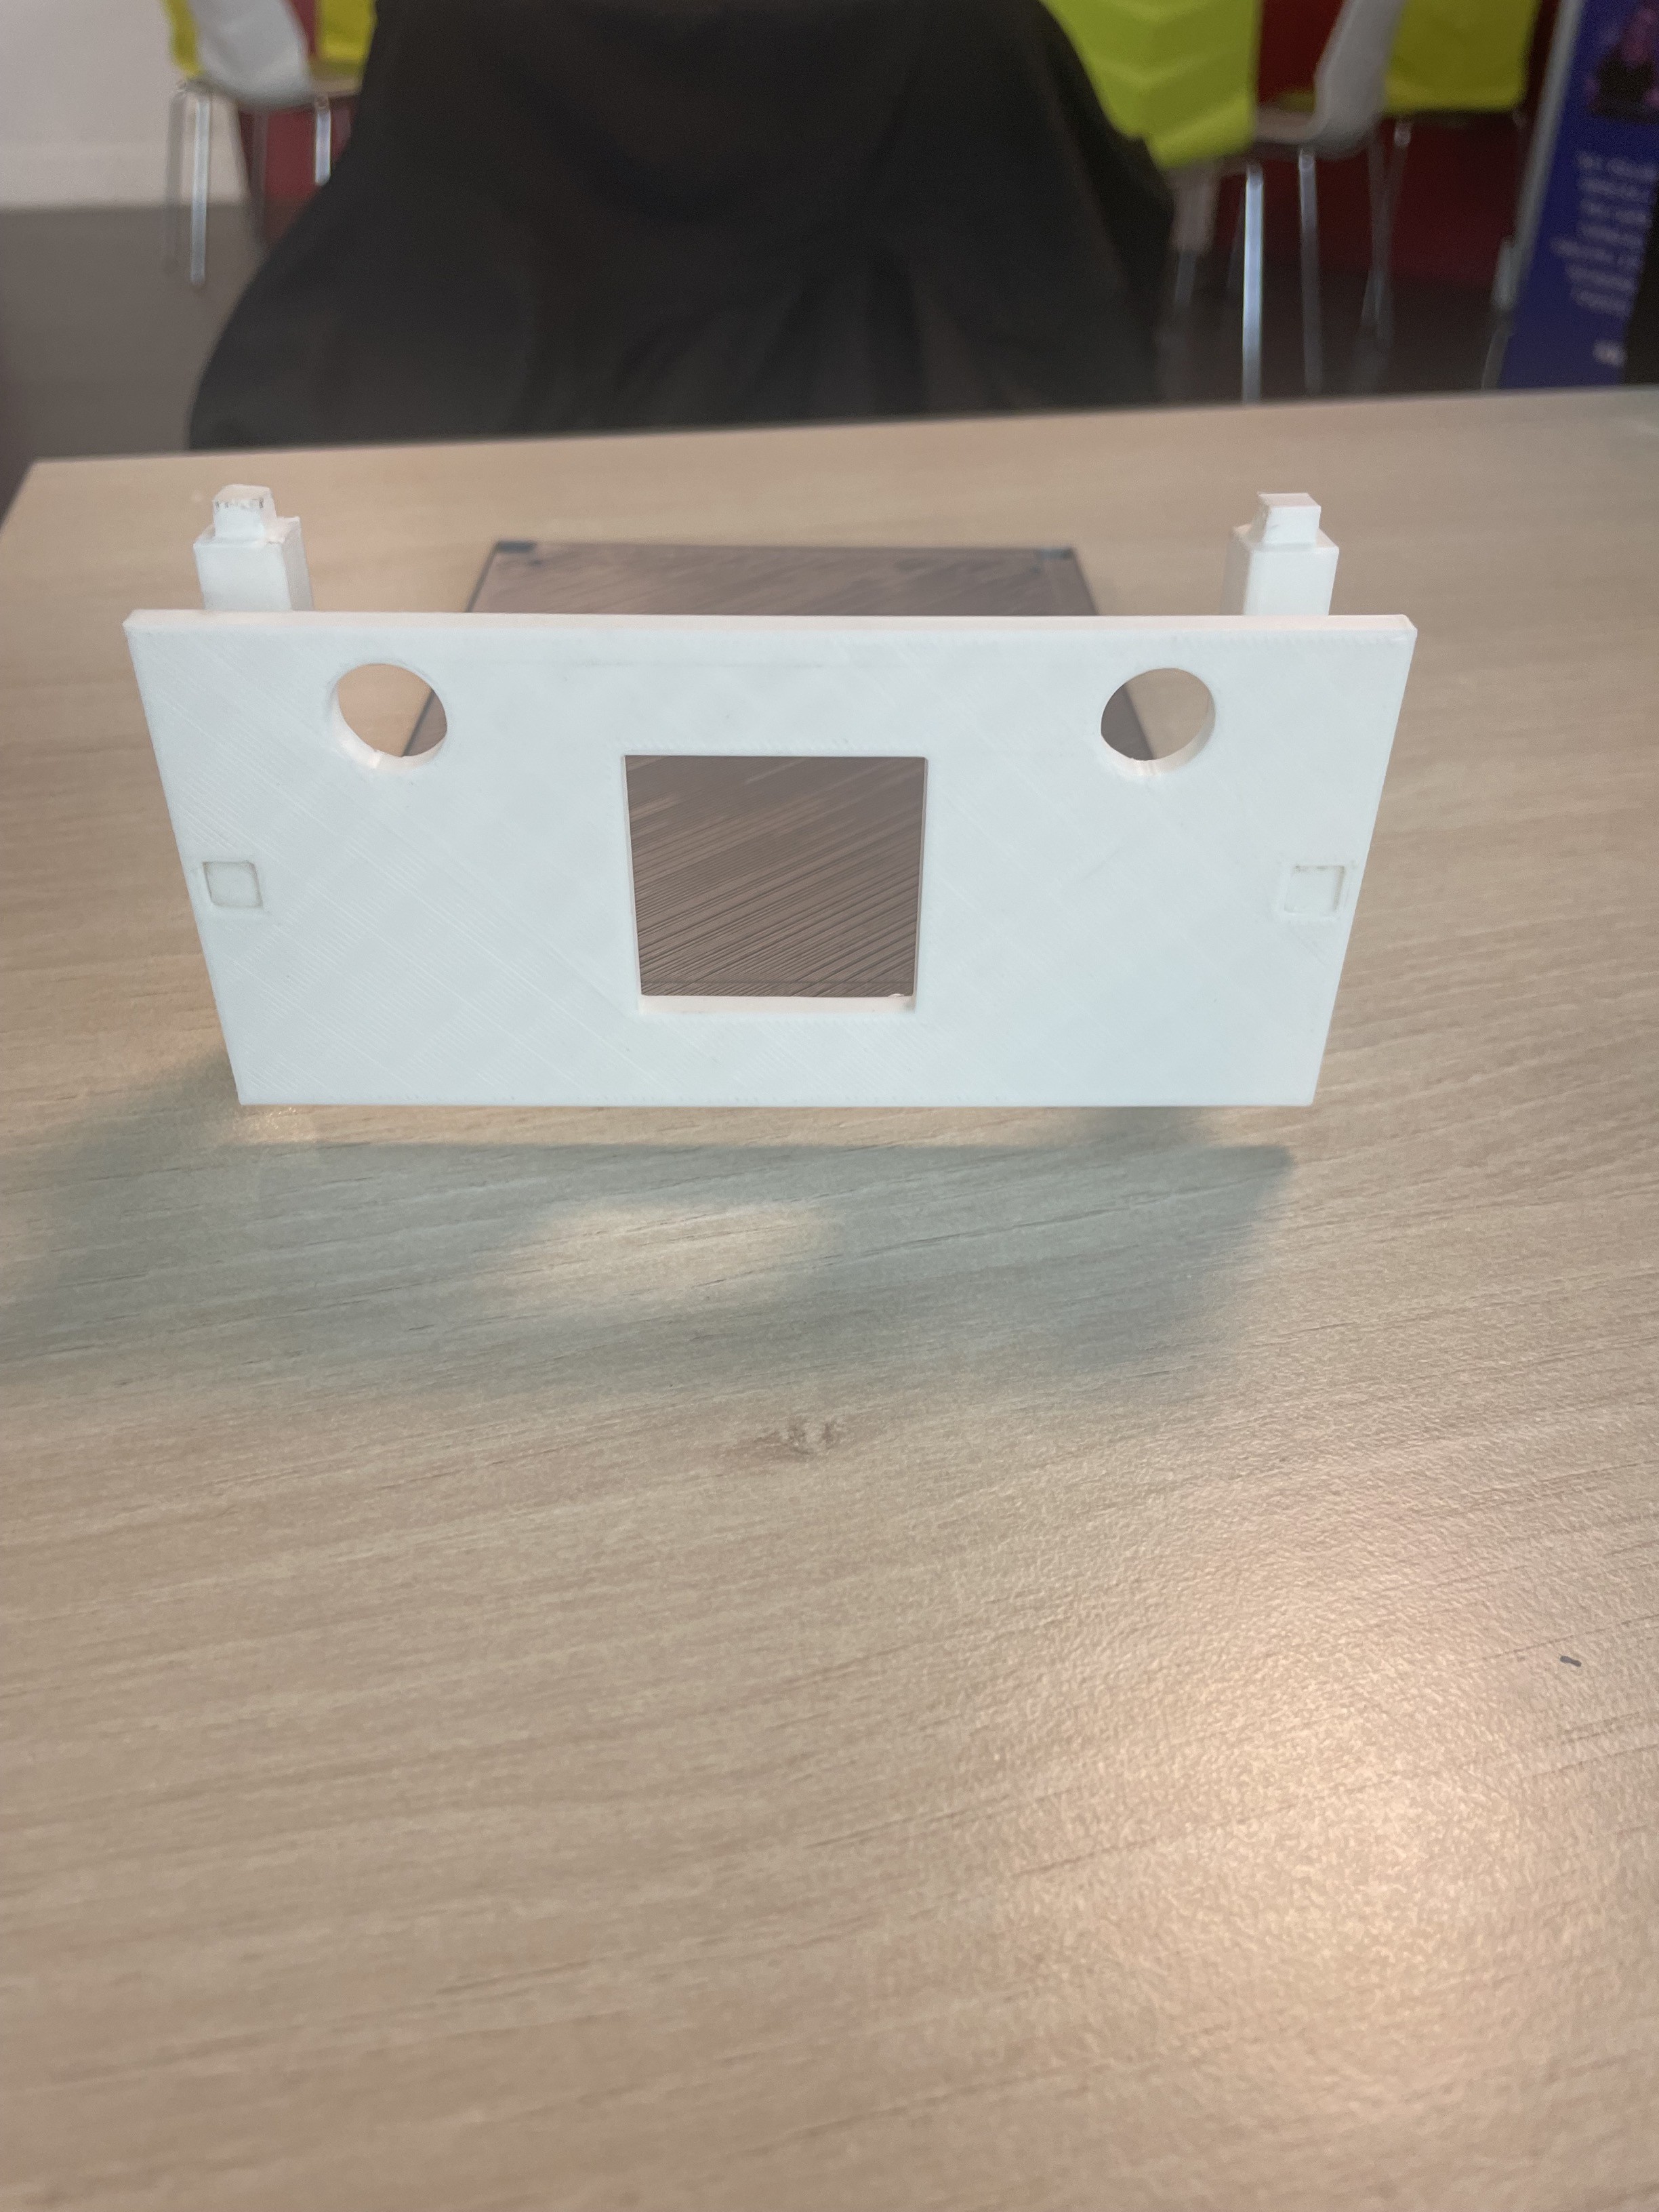
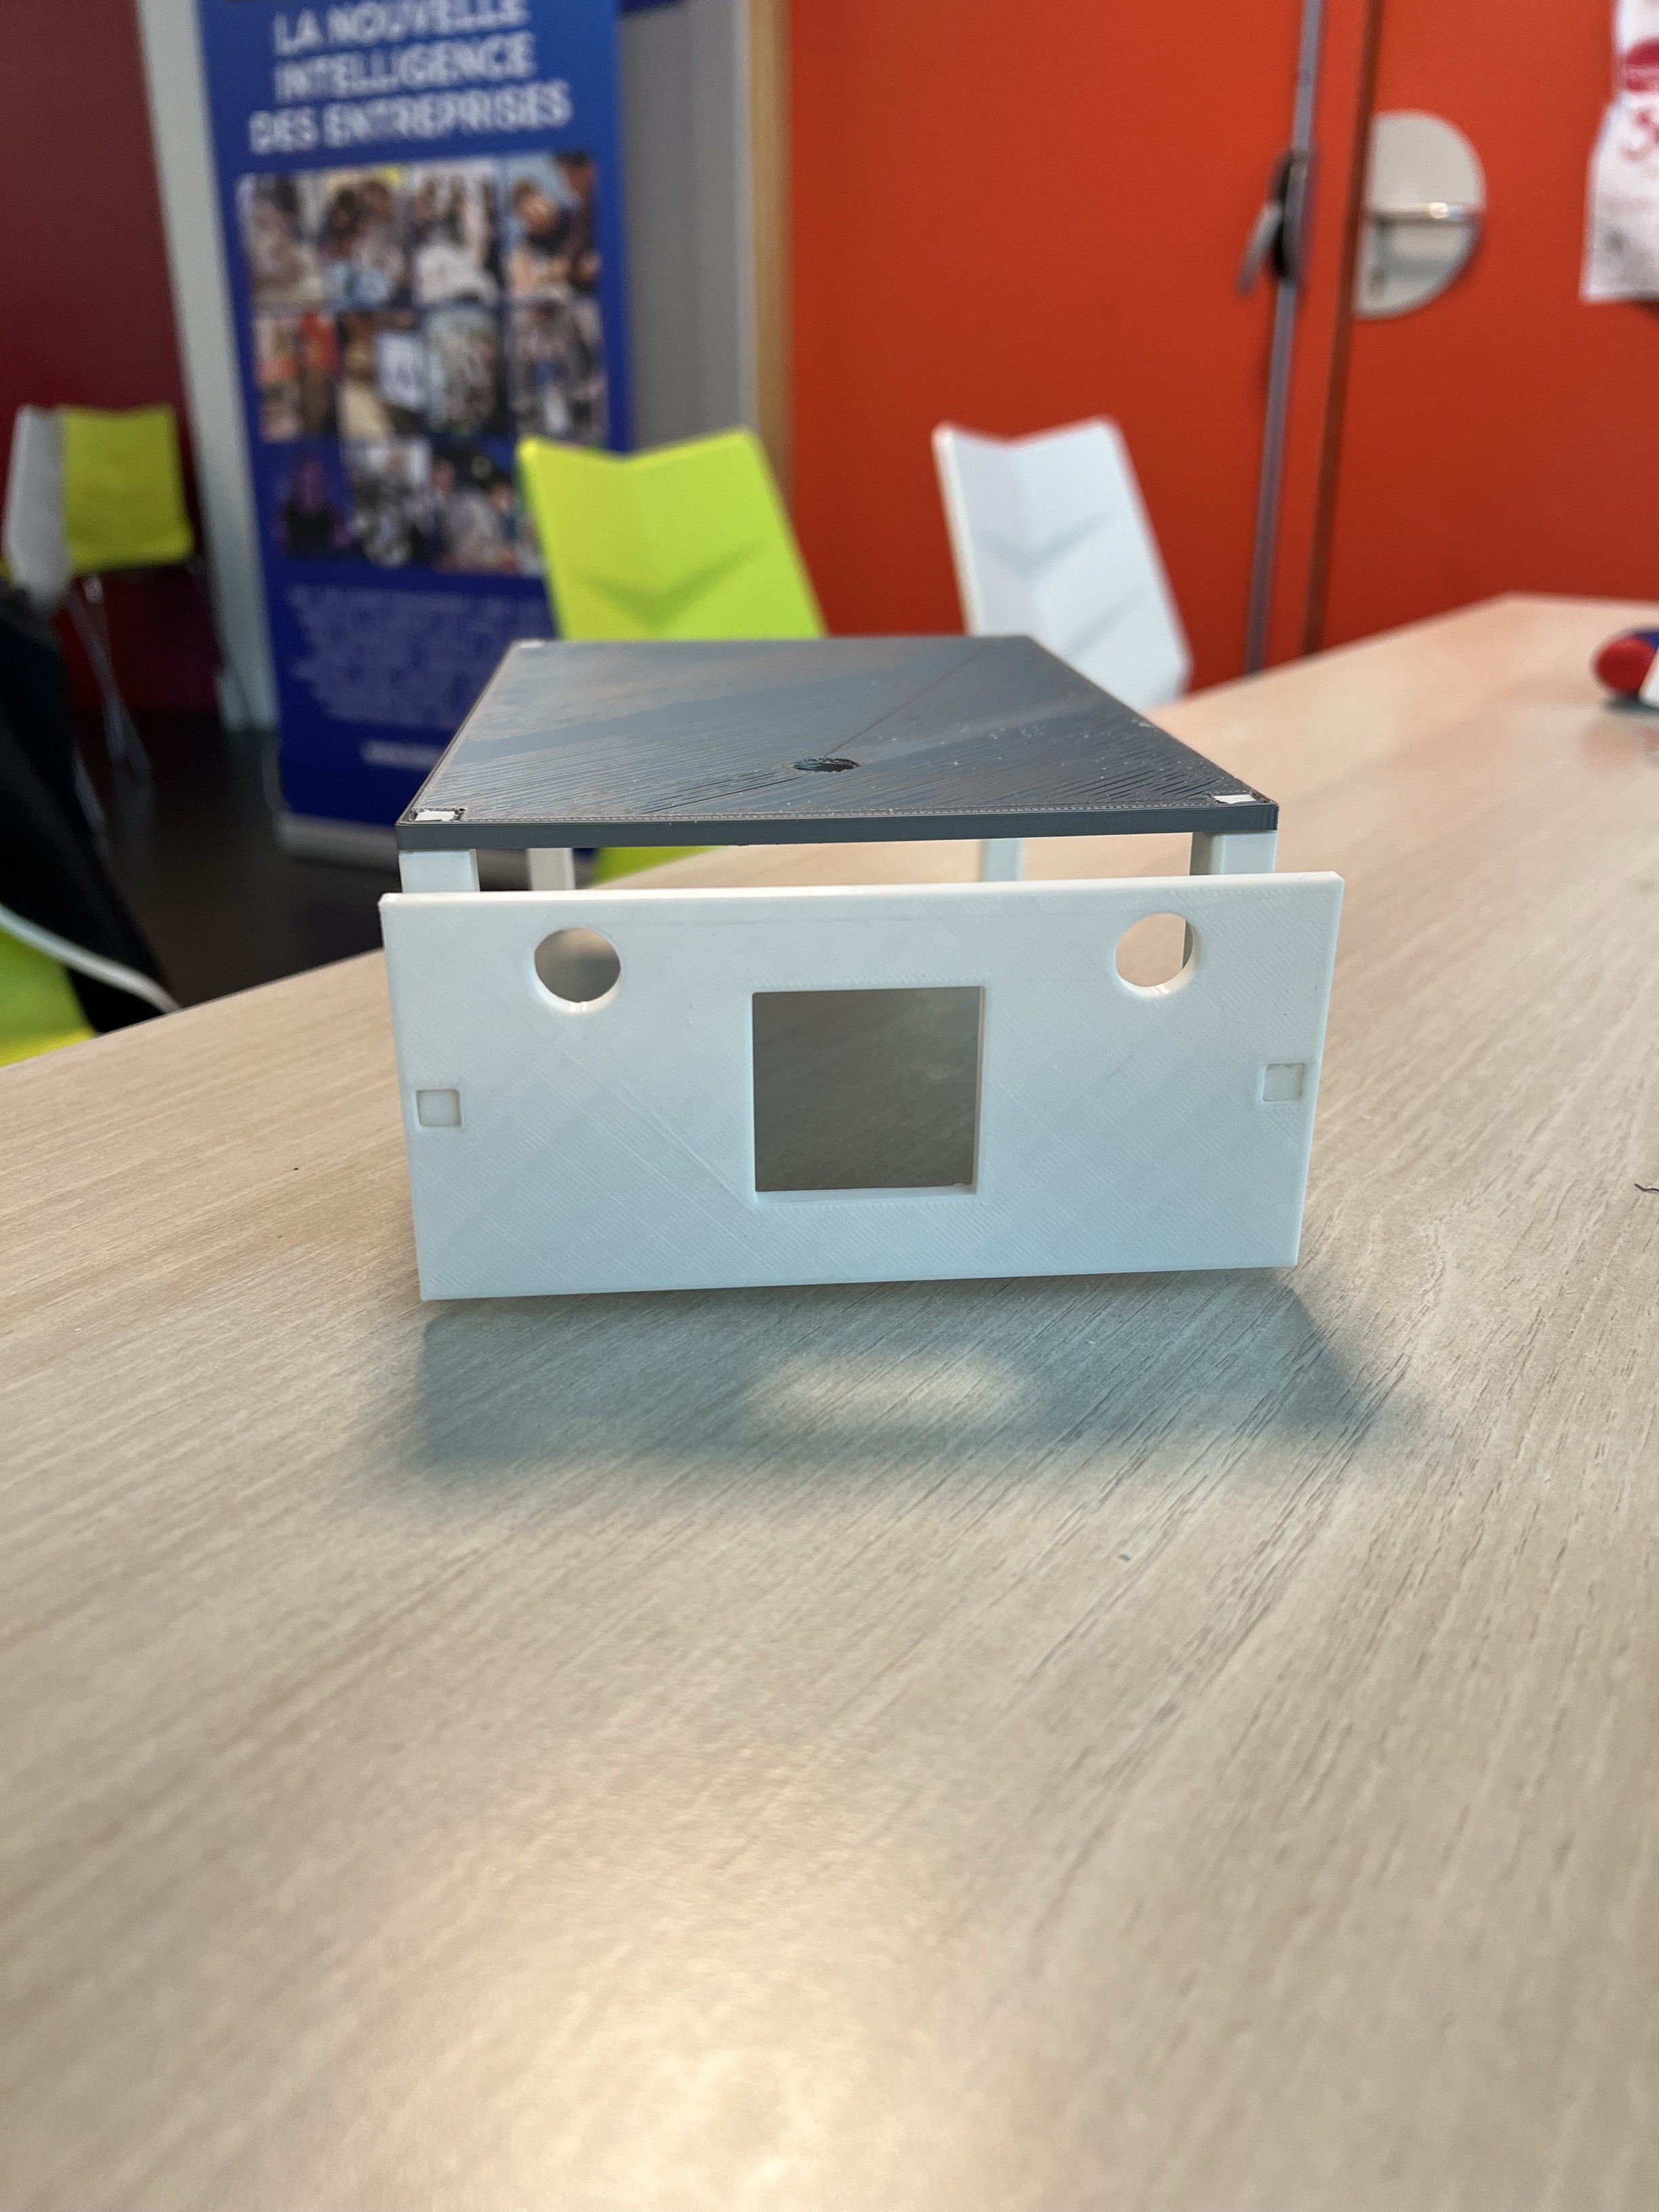
05/29/2024 at 21:12 • 0 commentsToday we've finished all the impressions of the initial structure, so we have an initial illustration of our project.
After a bit of sanding, we've been able to assemble all the parts to create the base in which we'll implement the motors and wheels and where we'll place the vast majority of the components we'll be using.
![]()
![]()
![]()
R2D2 & Mars Rover Robot
The ultimate robot with Arduino: a faithful replica that captures the magic of the movies, featuring both manual and automatic modes.