Close
0%
0%

Inexpensive 3D Printed Full Size Humanoid Robot

I'm designing a super cheap humanoid robot platform. It is going to be the same size as an adult person.

Similar projects worth following
An ambitious project to design and build a full scale humanoid robot - but within the cost range of the average person. Most full size humanoids are far beyond affordable. I aim to design a robot that can be bought for under £800. I am doing this by designing from the ground up with the cheapest components.
I am using Arduino mega 2560 clones for the main motor controllers. Each joint uses cheap plastic hobby gearboxes rather than servos or steppers. I have spent under £100 on the components for the legs so far.
I have programmed a basic P*I type control on the arduino. Arduino receives commands from a basic GUI that I programmed in Processing. I have the legs, waist and part of an arm built. I still need to design the upper body but I have a good idea of how it will work. I would love to work on this full time, but can't.

As with all of my work, I am designing this to be made from the cheapest components possible. The idea is that I would be able to create a full size humanoid platform that can be purchased for under £800.  

Update for 2018, New video of Mark II design:

Updated with extra video:

     All of the joints are made using cheap plastic gearboxes and position feedback is from potentiometers. I am only at the point of making the legs and programming the arduino to control them in a usable manner. I managed to get it to stand on one leg yesterday, but much more work is needed to get it balancing using any kind of responsive intelligence. It doesn't have any upper body weight so counterbalancing is quite difficult at the moment. I haven't actually designed the upper body yet, but I have a good idea of how I want it to work.

      I am planning to add gyro stabilisation and pressure sensors to the feet, although programming the responses to that data is going to be a real challenge and will probably take weeks.   

     All of the plastic parts are 3D printed and designed on sketchup. I am using L298 breakout boards you can get on ebay for the drivers, quite simply because of the time saving and cost factor. Each leg has 6 degrees of freedom and it can move in any way a human could conceivably move.

      I took some time to learn a bit of Processing which is helping with control of the legs. I wasted days and days learning how to send data between the arduino and PC using the serial bus. It was extremely painful! I had to break down 3 digit integers into individual characters to send in a String and then vice versa on the other end. I cracked that eventually.    

      I have programmed a simple GUI using Processing, which is designed to allow me to save positions down to a position array that can be played back when you click on the buttons. I just need to program a timed position sequencer and I will have the rudimentary basics of system that can control the legs into a basic walking movement.     Even when I have that, it still won't have any semblance of intelligent control. That could take months to program. I have some great ideas around programming control, but it seems that my programming skills may take some time to catch up with my ideas.   The only way I was able to make this progress is by taking time off work, but unfortunately I will be back at work on Monday, so progress will slow right down again.I would really love to be able to do this full time, I'm just not really sure how to get started.

  I am aiming to program everything through Processing on my laptop and then purchase a powerful 'on board' PC solution so that the processor can be located on the robot. I can then transfer the Processing files on to that.

   You can see some big gaps in the shins, this space is where I will house the batteries. I will use the high capacity hobby battery packs that are usually used for RC cars etc.

I am going to spend the next few days getting saved movements sequenced so that they play back in a way that will make the legs walk . I also going to install the giro and pressure sensors on the feet.

Please get in contact with me if you are a company interested in supporting this work. I have everything I need to carry on and make these units, but I just need time. For that I need to have some level of support.

Updates to follow.

IMG_0455C.jpg

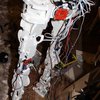
One leg from the 'mark II' design. Just standing around. No sensors or drivers on it yet.

JPEG Image - 1.77 MB - 05/07/2018 at 23:24

Preview

IMG_0455.JPG

One leg from the 'mark II' design. Just standing around. No sensors or drivers on it yet.

JPEG Image - 4.70 MB - 05/07/2018 at 23:11

Preview

IMG_0449.JPG

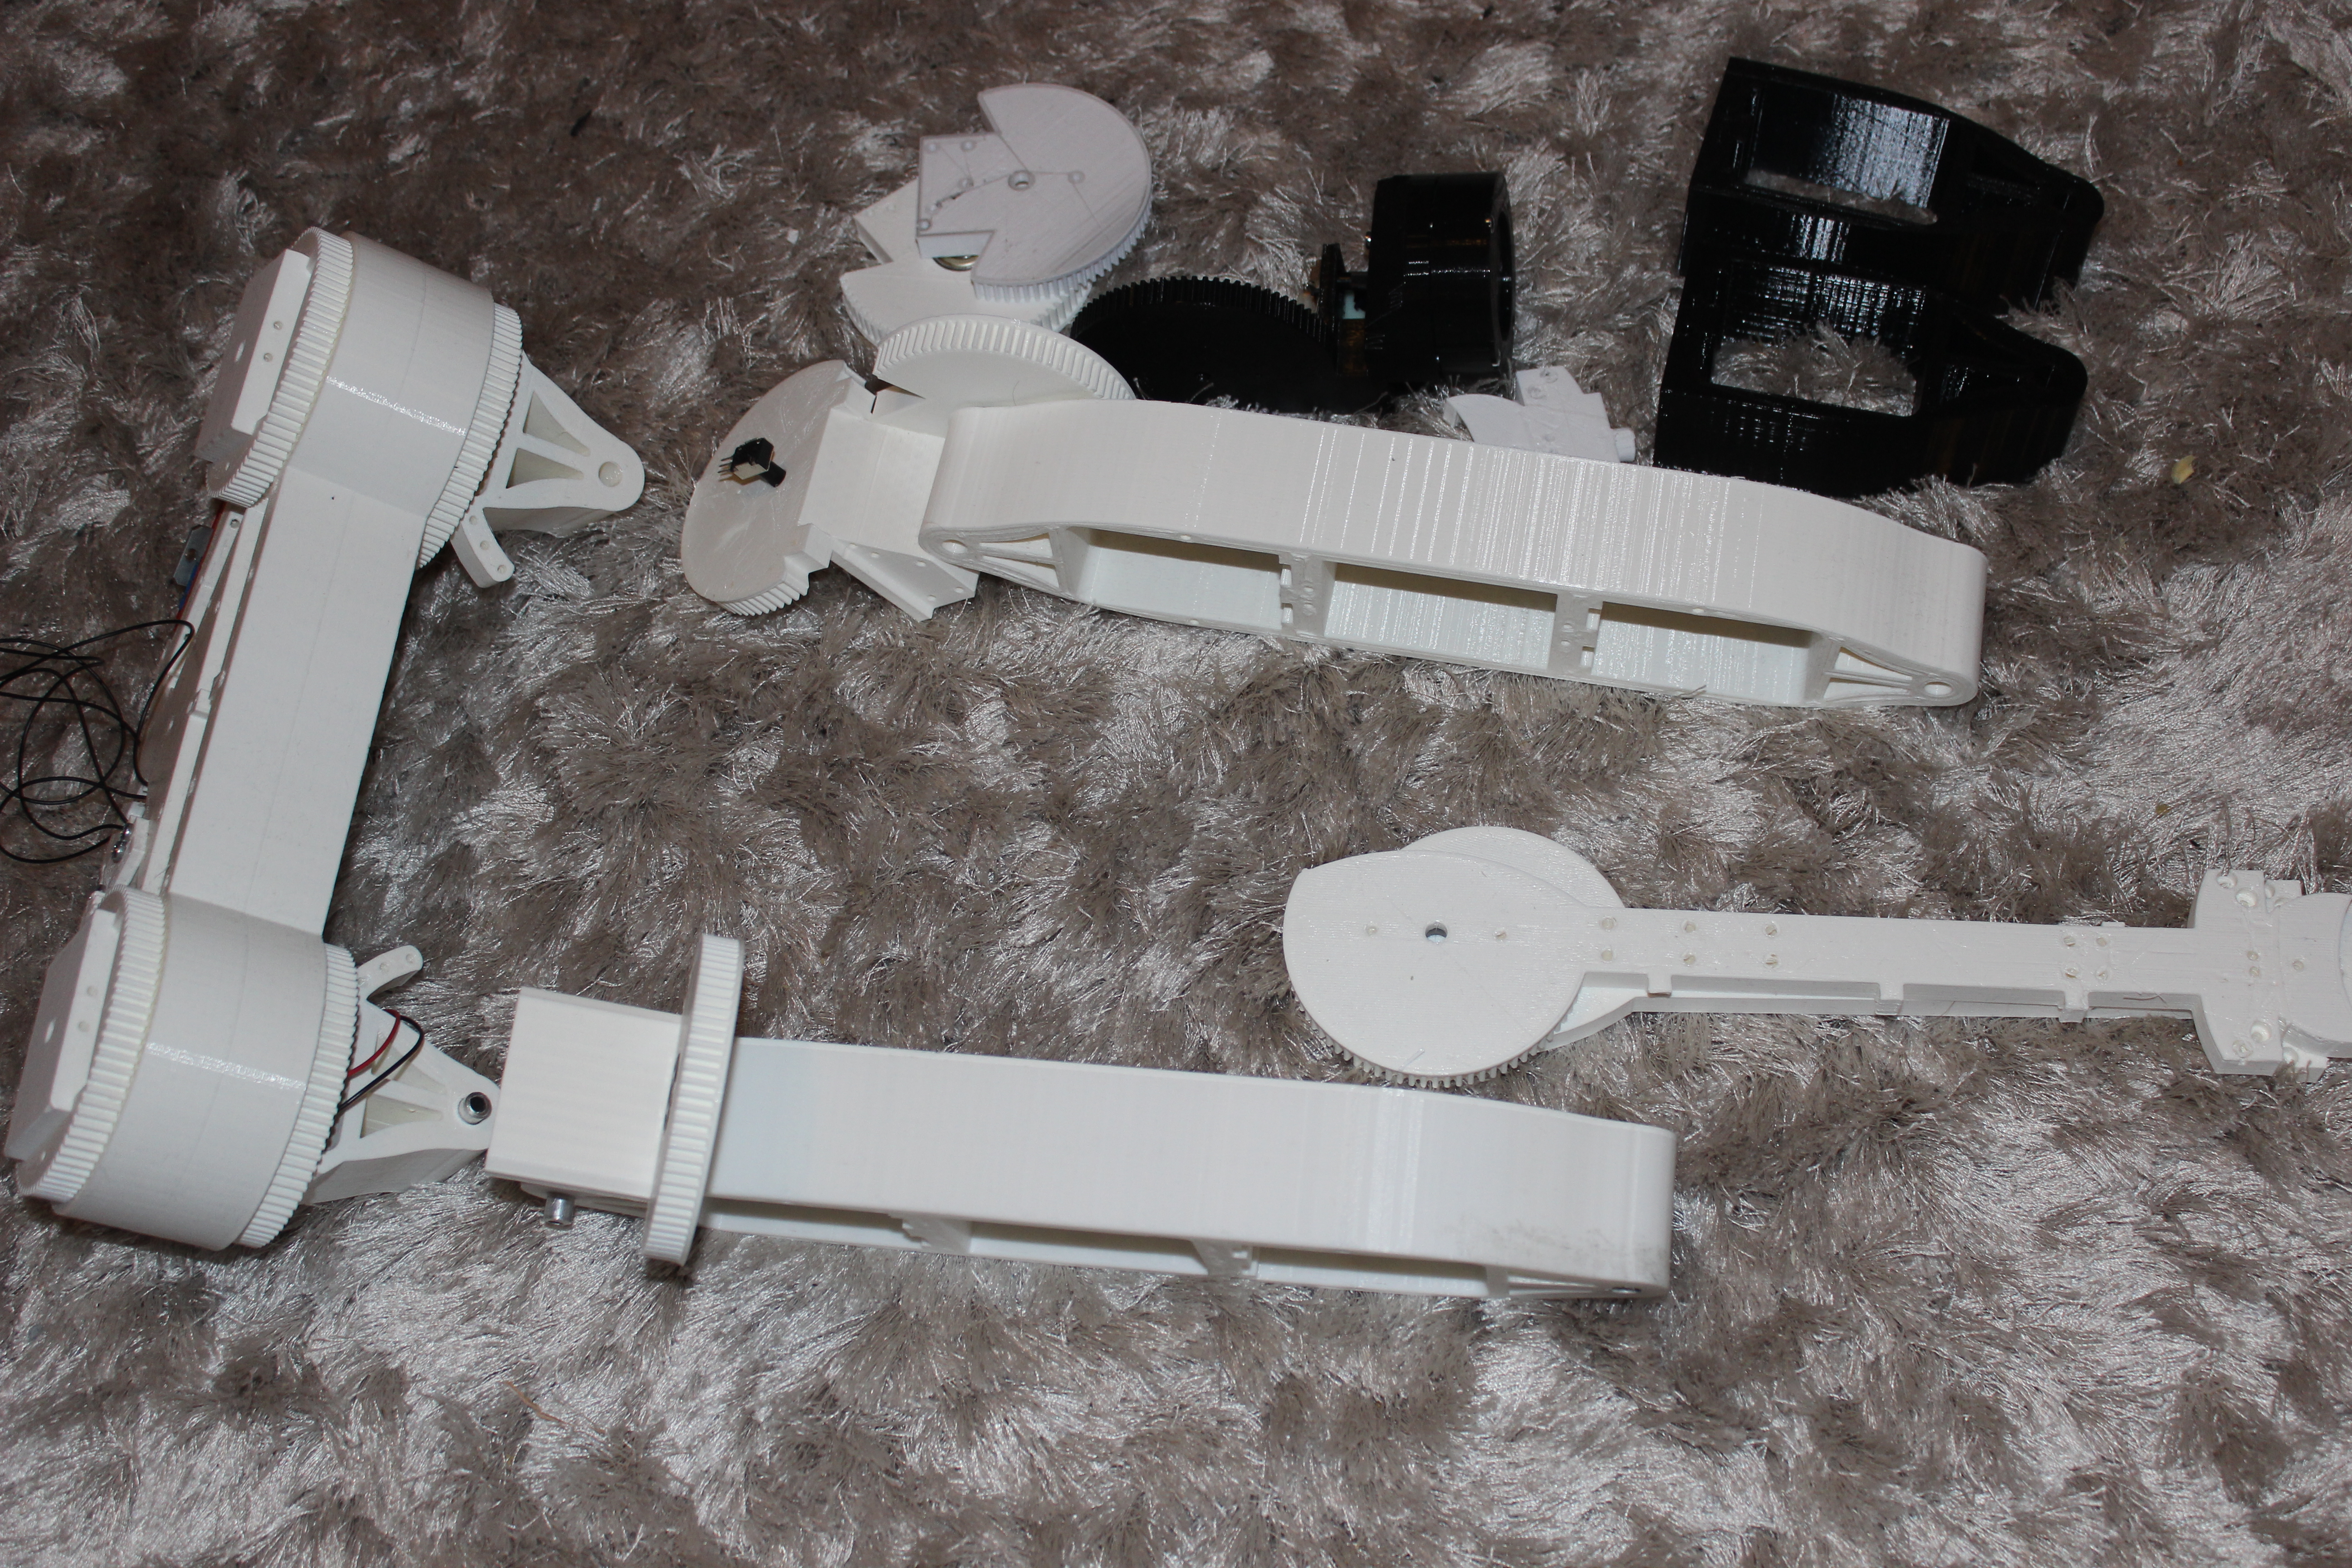
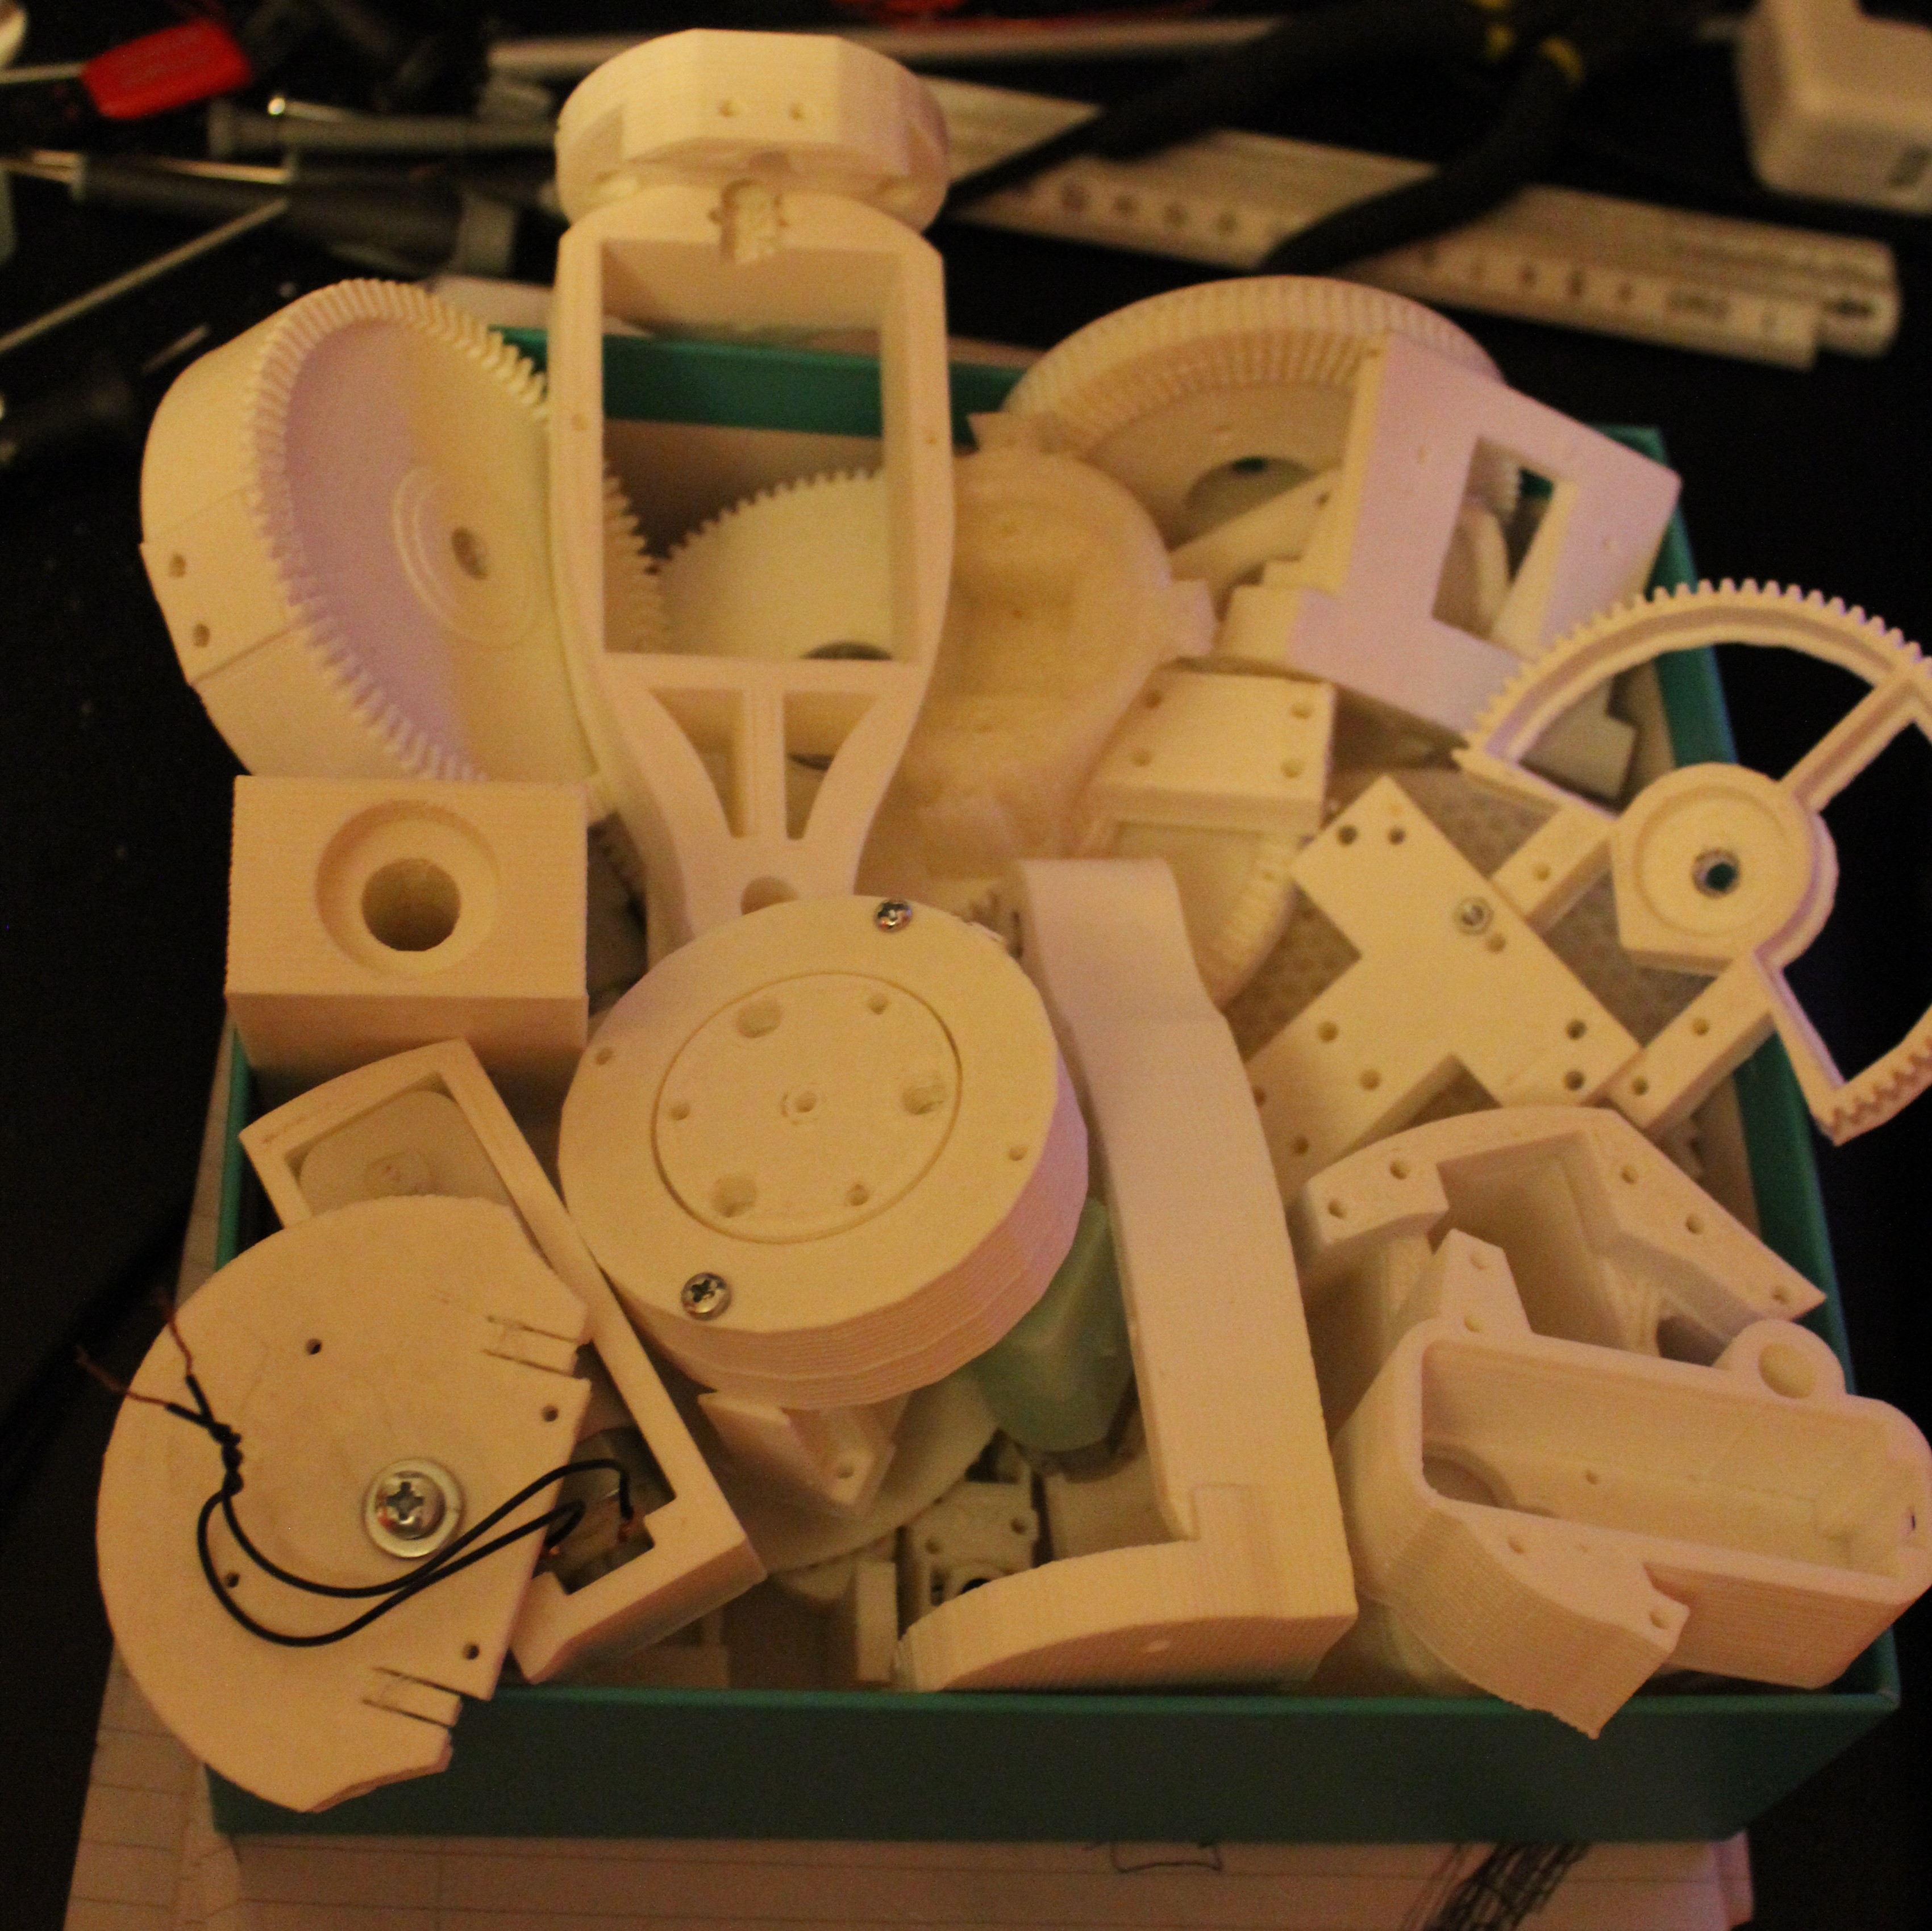
An assortment of massive parts that litter my bedroom currently. The 'femur' is printed in one, whereas before it was seperate parts bolted together. Hoping this will add stability to the legs where they were a bit wobbly before.

JPEG Image - 8.40 MB - 05/02/2018 at 21:22

Preview

IMG_0450.JPG

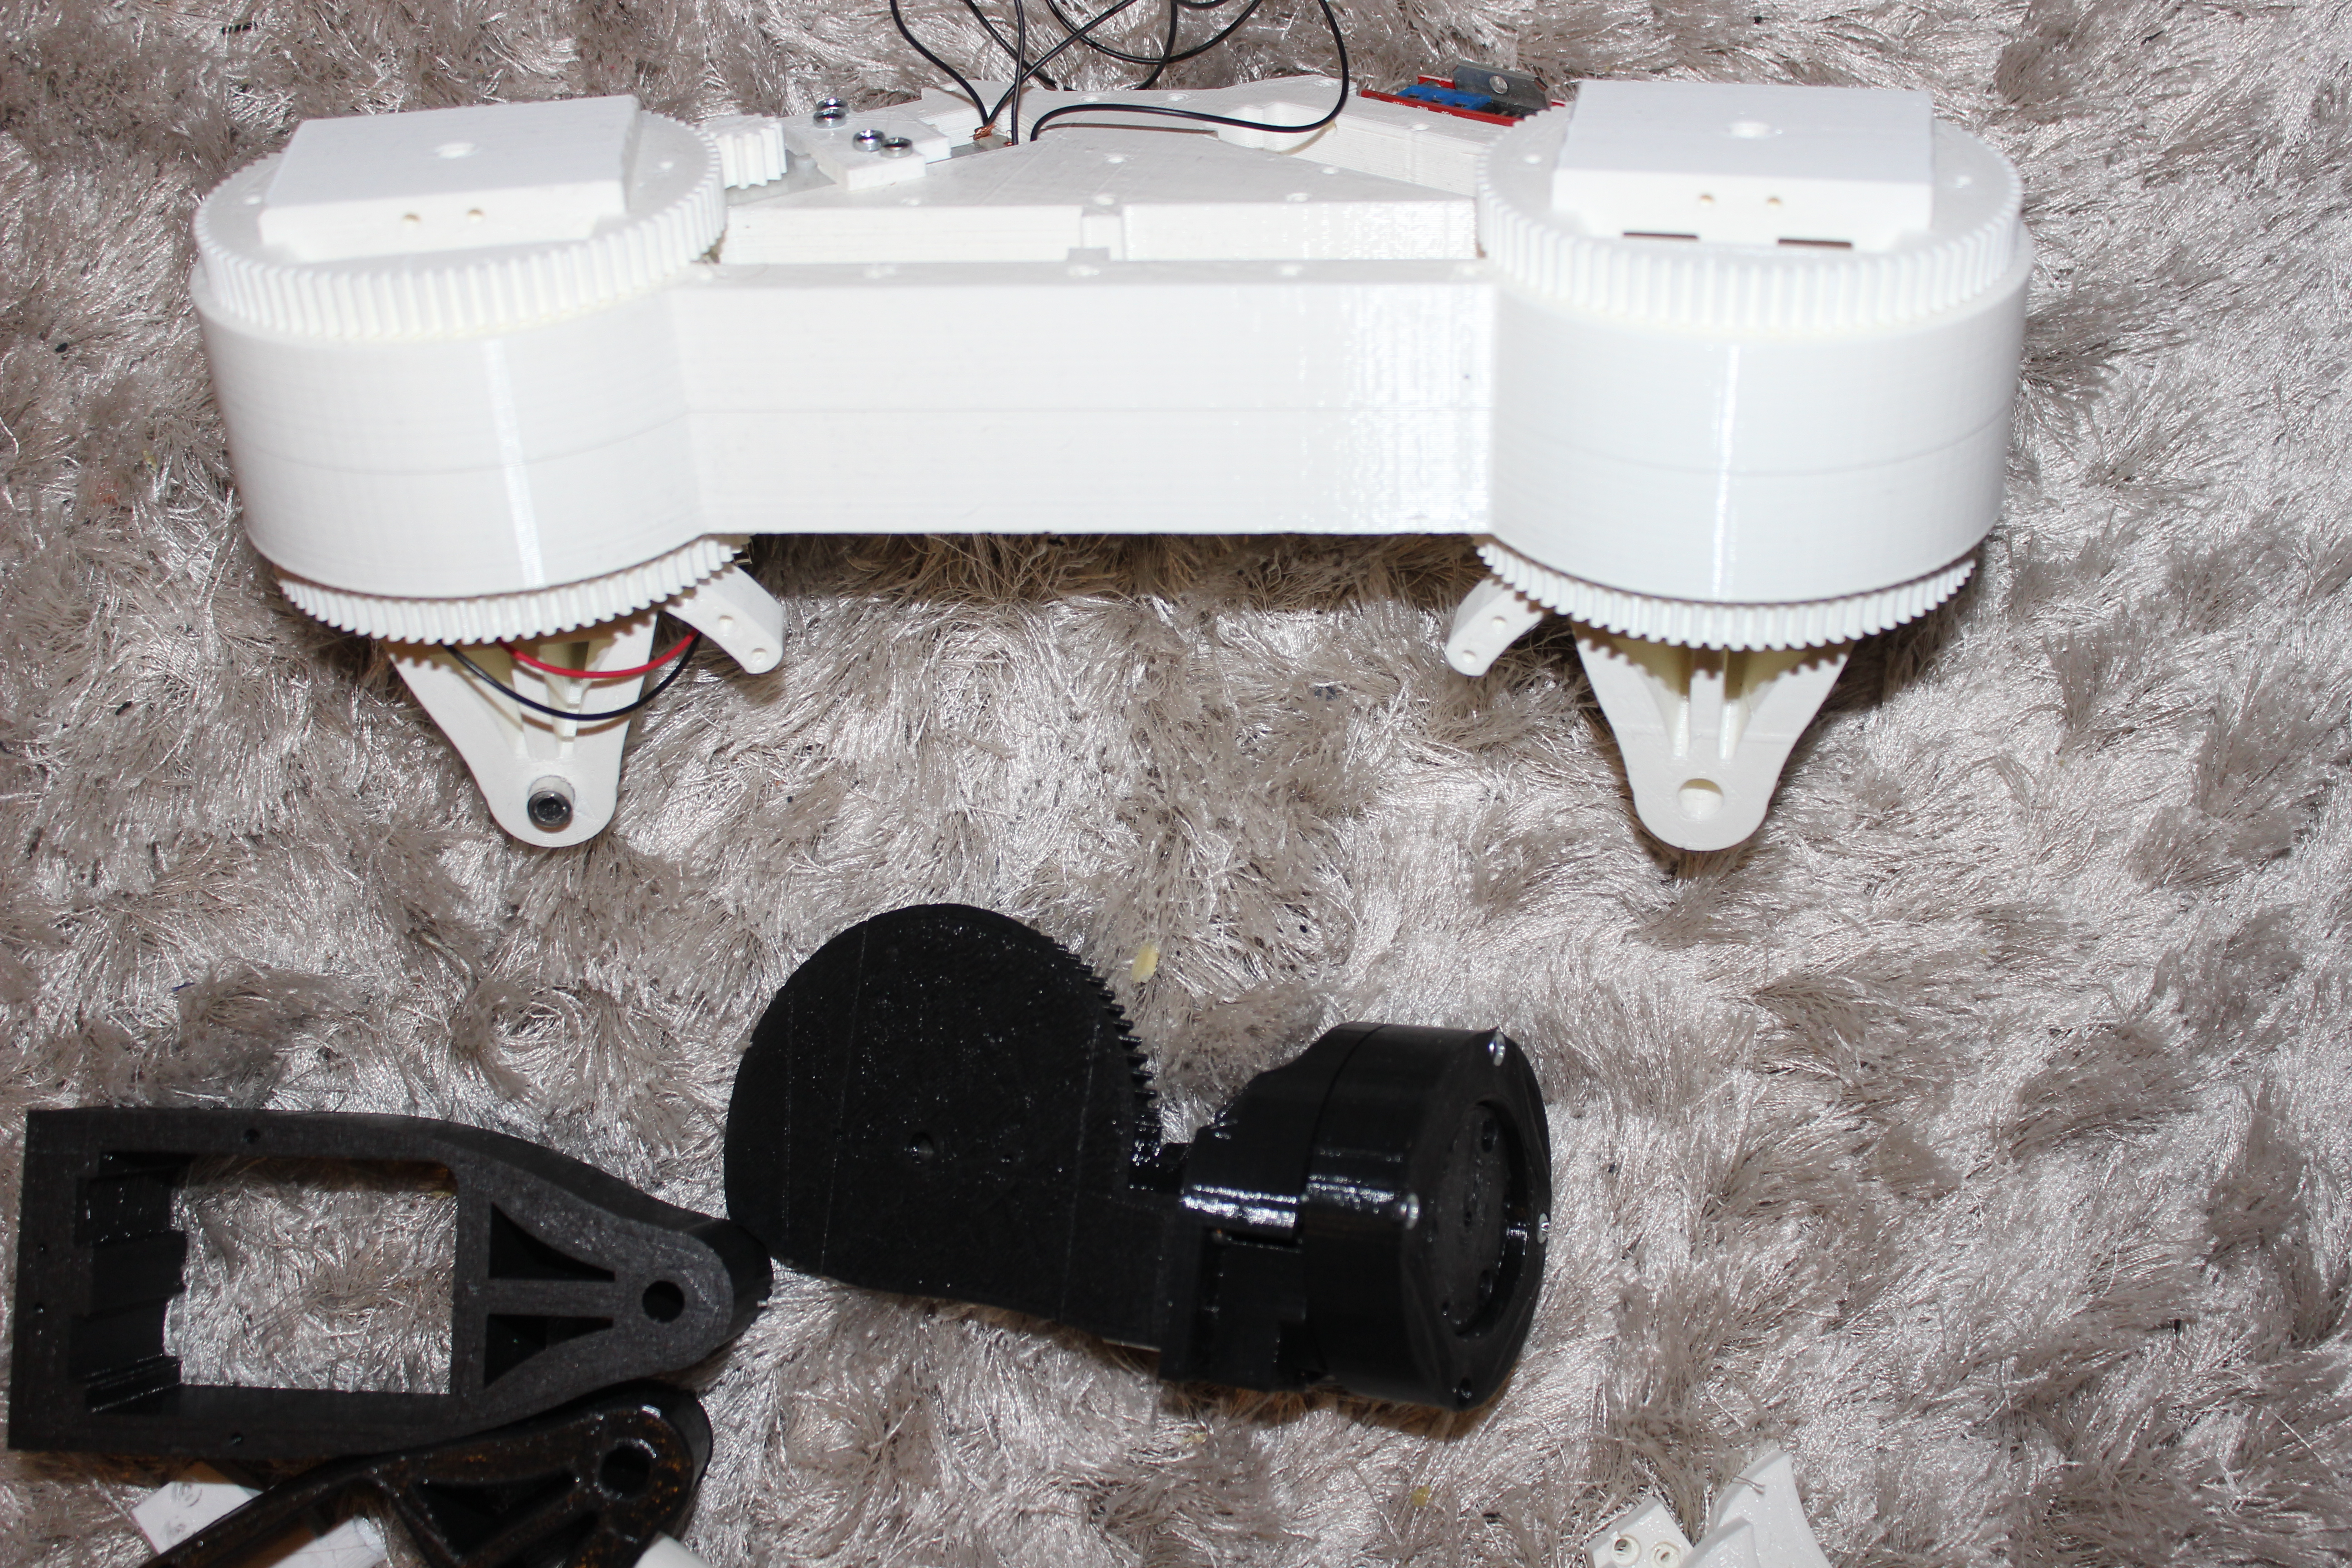
The new 'pelvis', containing hip joints. Incredibly sturdy compared to the previous design. The aim is to prevent any avoidable wobble in the legs.

JPEG Image - 8.73 MB - 05/02/2018 at 21:22

Preview

IMG_0447.JPG

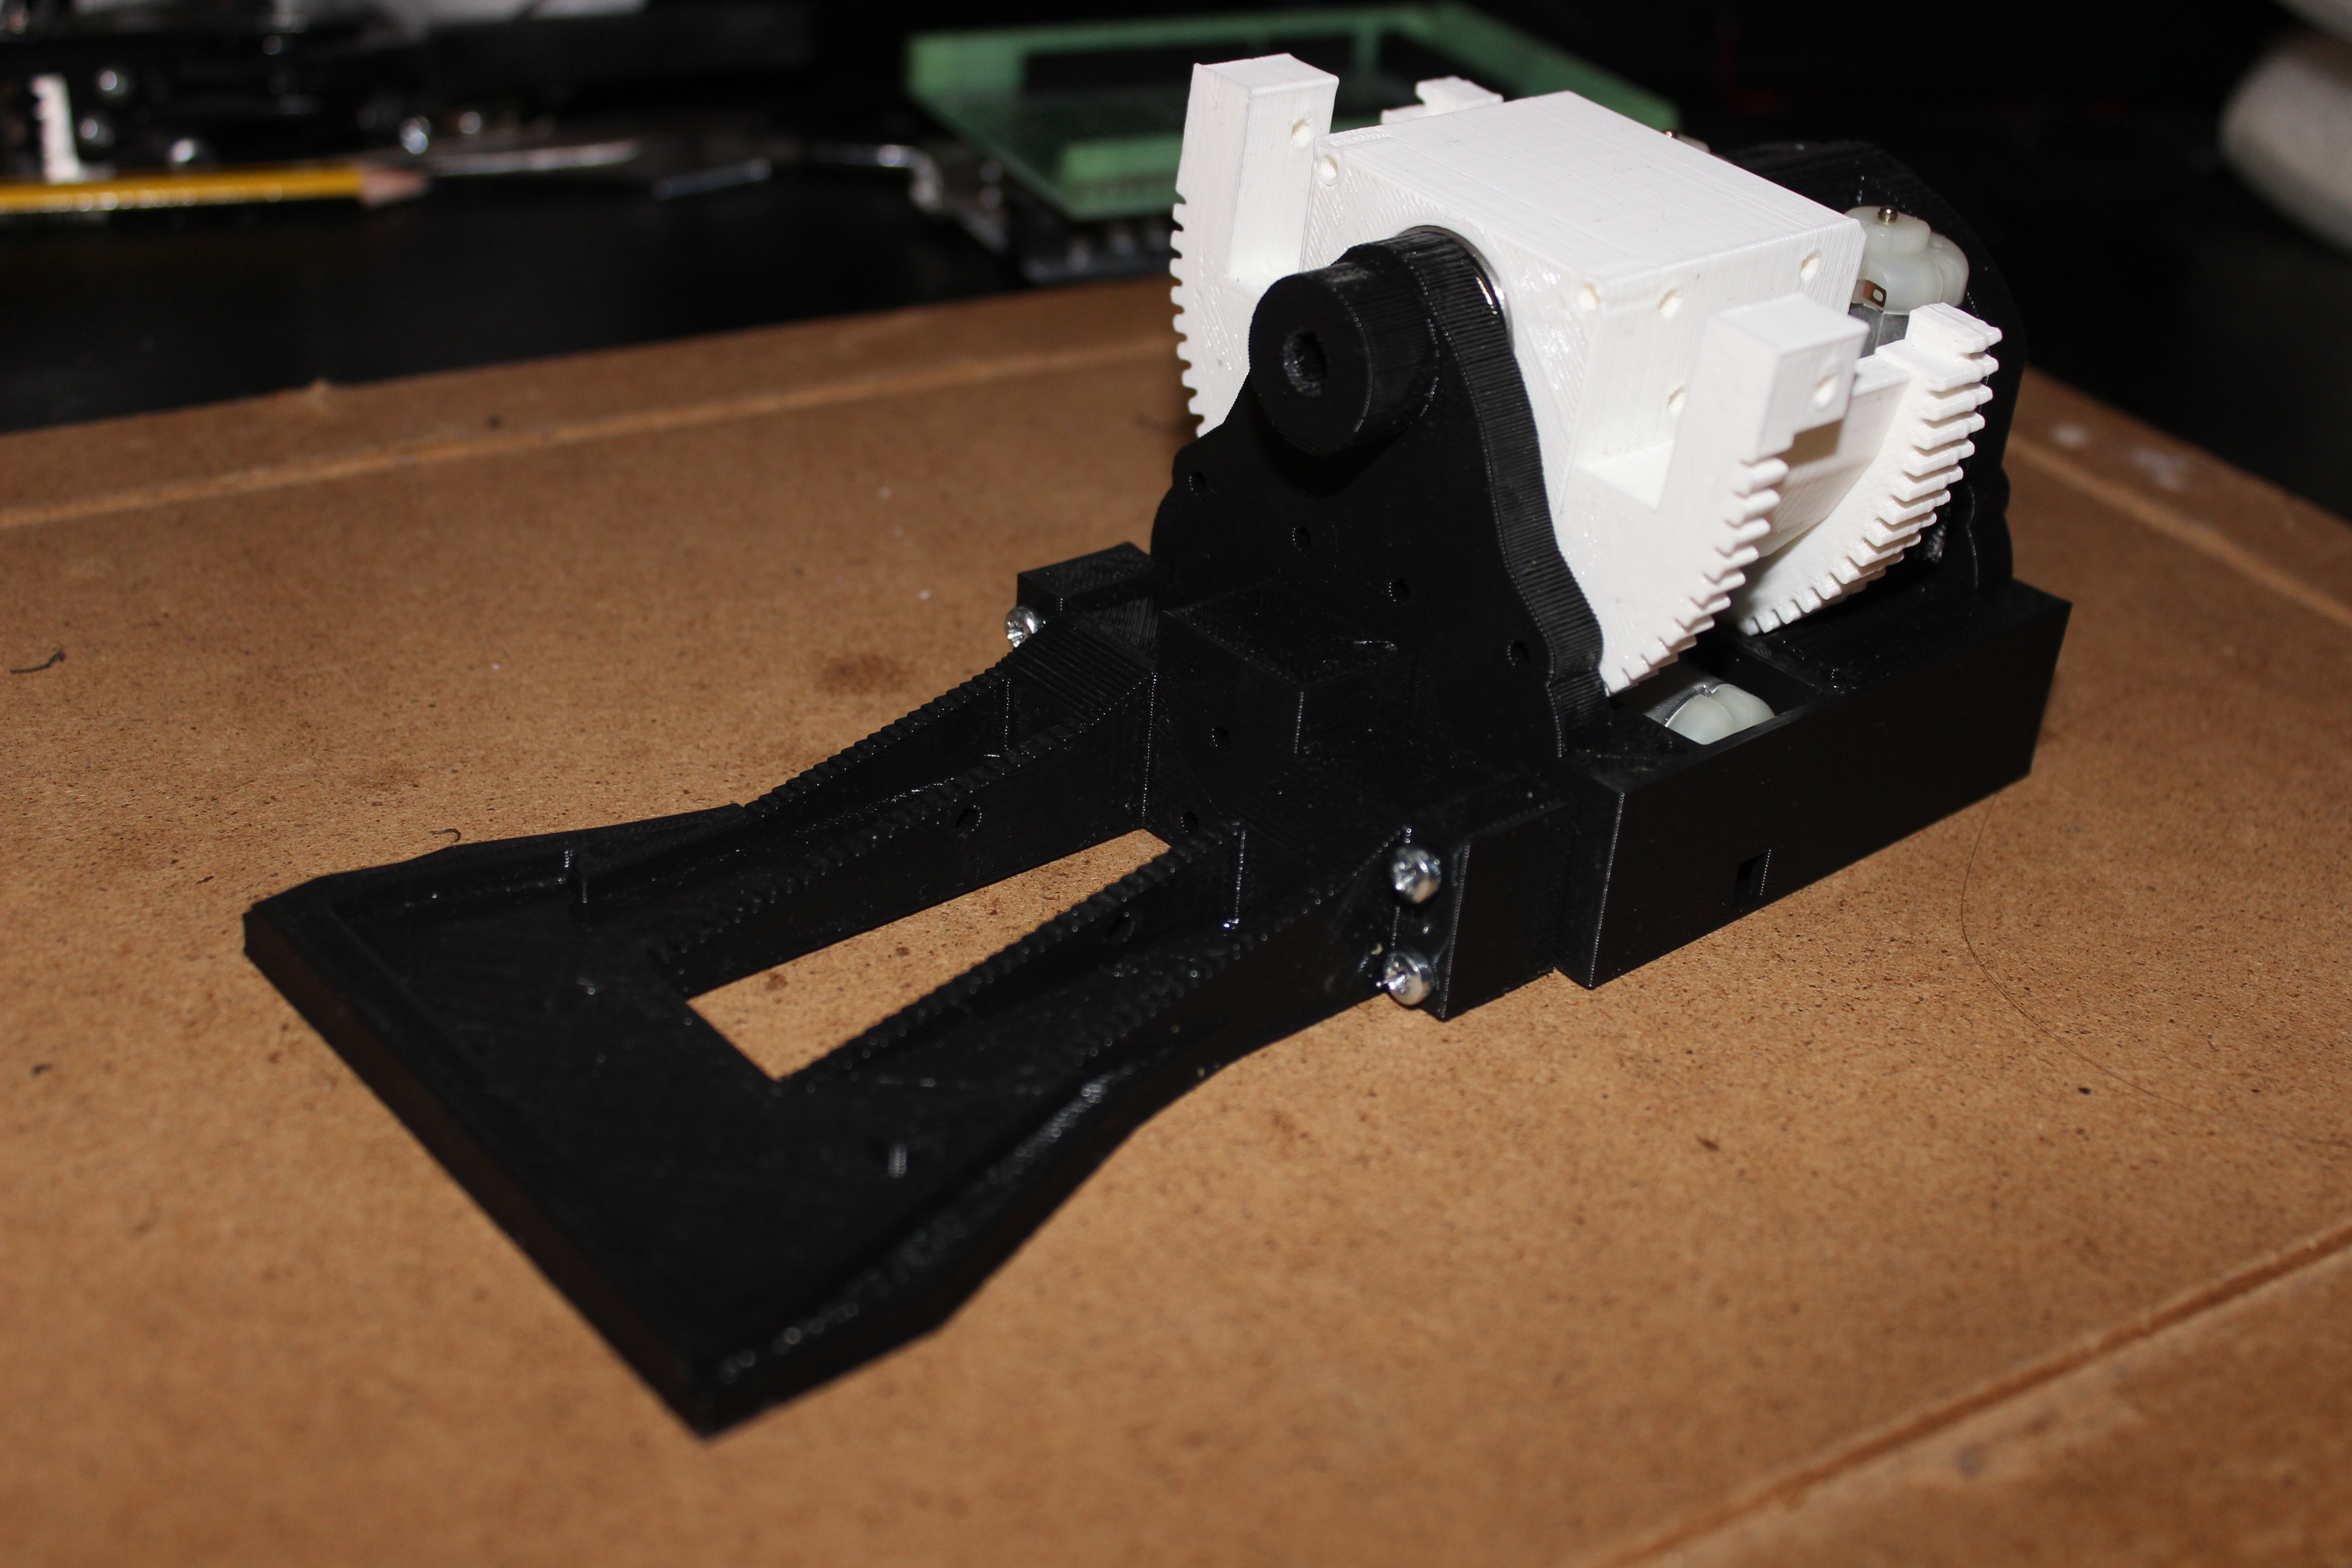
Foot, Mark II. This design is extremely sturdy and ankle mechanism is remarkably smooth.

JPEG Image - 5.92 MB - 05/02/2018 at 21:22

Preview

View all 11 files

  • 48 × Cheap 200:1 gearboxes
  • 12 × L298 Interface and IO ICs / Peripheral Drivers and Actuators
  • 1 × Mega 2560 Cloned Processor

  • Micro Log, Tappy Legs and GUI crouches

    Dan DWRobotics06/04/2018 at 21:42 0 comments

    Tonight's efforts have been centered around experimenting with different control methods.

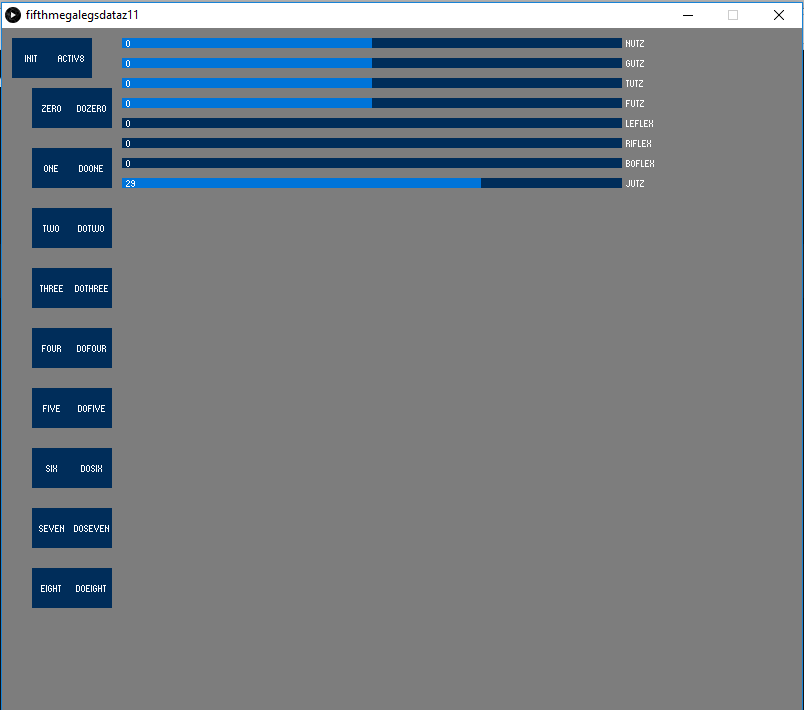
    My GUI is still pretty basic. But I have big plans for it. At present the sliders affect various sets of joints by adding or subtracting amounts to the leg positions. The slider labelled 'Boflex' is the one seen in the video above which makes the legs crouch and rise up. It's a long way from inverse kinematics, but it's the start point. The idea of these movements is to create a set of movements that can be used in conjunction with each other to make more complex movements. When I have found the best movements to combine, I will create a 'sequencer' on the GUI where I can pick various preset movements and play them back in a sequence to make my first 'walk'.


    The squares give me the option to remember a movement by pressing teh number and then replay that movement by pressing the button next to it.
     The slider labelled 'jutz' at the bottom controls how many steps there are between each movement. So if I select 10, the code will work out the difference between teh current movement  and the next one and then divide it into ten steps, which plays back quite fast. If I select a higher number the movement plays back much slower because there are more steps between each movement.
     Eventually I will program some buttons which can apply acceleration 'curves' to each movement so that I can make it speed up and slow down between two movements. This should help reduce the jerkiness of the movements and make them more lifelike. One of the issues of having a constant rate of movement is that sometimes the set point and current position oscillate around each other causing more jerkiness.
       The above video also demonstrates the very first and miniscule movements conducted while balancing on one leg. They are tiny, but showing that this is possible is extremely important if they are ever going to walk! It also demonstrates the power of the joints. Without a counter balance in the form of arms, the legs in the tappy motion are using a huge amount of force to keep the waist level.

  • Finally, back at the Programming Stage

    Dan DWRobotics06/04/2018 at 01:48 0 comments

    After an arduous and long process of completely redesigning my legs I am finally back to a stage of testing and programming.  I spent quite a large amount of time wiring everything up. I designed a new housing for the potentiometers which uses a pre-made dupont style pin header connectors to plug the potentiometer directly into. This design was to speed up the install of the pots, but also to address the limited lifespan of potentiometers. When they wear out they can simply be clipped out of the housing and a new one slotted in, without the need to solder.

    The new design is pretty sturdy. Still a few minor bugs I need to work on with the potentiometer feedback. Interestingly I wouldn't have dreamed of doing my first crouch tests on a carpet but the feet are now big enough to give some leeway when it comes to the thing balancing. A short video, but many more to come:

  • Mark II legs, Now standing around

    Dan DWRobotics05/07/2018 at 23:28 1 comment

    I just couldn't resist posting an update up to show the progress of the 'Mark II' legs design.

     Spent much of the weekend printing and designing. I also started prepping and soldering the electric motors for the legs. I was keen to see how rigid the structure is with the new pelvis and have not been disappointed. It is a long way from walking anywhere but the leg is very rigid, even with no power to the motors. Picture demonstrating standing up on one foot, so to speak:

    As expected, the new gear ratio is lovely and smooth when I drive them directly with a battery, but the leg will still be able to move fast enough to walk and do all the normal things a robot might want to do, such as gangnam style. Actually my robots will never be reduced to such buffoonery.

  • Big Parts and more re-designing....

    Dan DWRobotics05/02/2018 at 21:59 0 comments

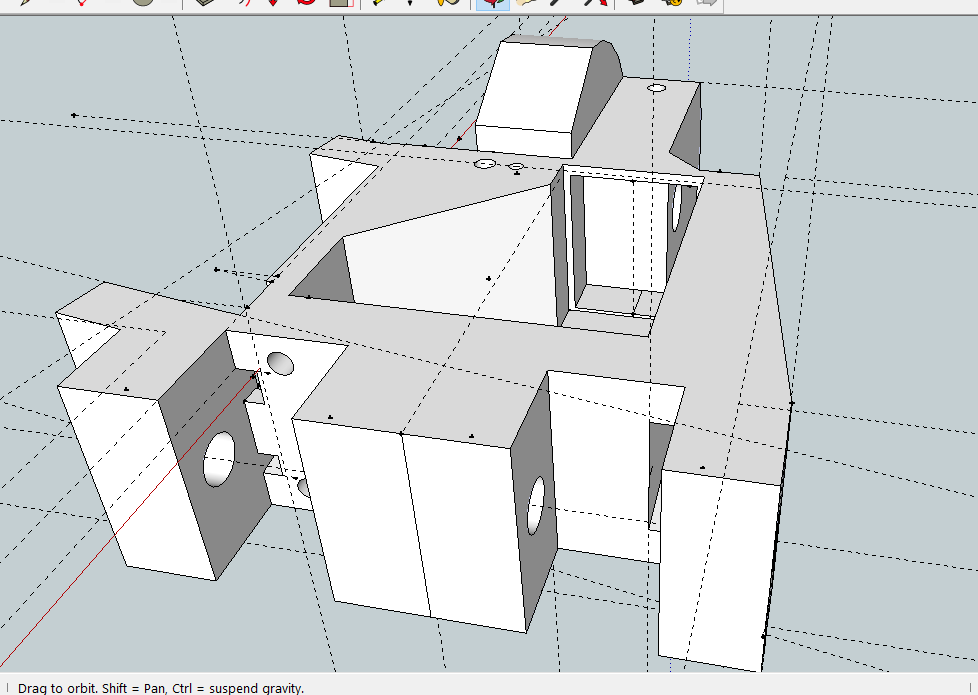
    I am now feverishly printing parts, big parts. The above picture shows the new pelvis and the new 'Femurs' which are all now printed in one piece where they had previously been multiple parts bolted together. This reduces the complexity of the build and should ultimately lead to more rigidity in teh frame.

       I've taken many of the drawbacks from the previous design and rectified them. The first thing that was annoying me about the previous design is that I tried to make human proportions to the joints, meaning I made the lower leg slightly shorter than the upper leg. This had the unintended consequence of making movements quite de-stablising to the whole structrue. My maths hasn't quite gotten to full body kinematics and so the new designs has these two parts of the leg as teh same length meaning moving between standing and crouching should be much smoother and less wobbly. 

     One of the other real key things I did was to redesign the cog ratios to give more torque and slower movements. This should have multiple benefits. Firstly, this machine is going to be STRONG. The extra torque is required as I am planning to add a torsoe, arms and a head. All will be fully motorised and so the extra weight will be substantial.  The second major benefit to the new cog ratio should be smoother and slightly slower movements. Whilst I did like the fast response of the previous model, it was slightly too jerky and weirdly I actually need more mechanical movement at this stage, rather than human-like fast movements. I've gotten to know my new CR-10 and the extra build plate size really allows me to design much bigger parts, which is simplifying the build. Previously I had made small parts and bolted them together but the large print size and the success rate of the CR-10 means that I am not afraid to do big parts such as the pelvis below.

    Above is the pelvis. Most of the parts don't have motors in yet. I am trying something totally bonkers and using the plastic on its own as a bearing. So the bearing is basically two massive printed barrels inside each other and the bearing relies on the plastic parts sliding against each other. This will work because the motors have a large amount of torque and the hip 'yaw' mechanism does not need a lot of torque. Previously I have inserted skateboard bearings into joints which is great for most applications, but for the hip 'yaw' or swivel mechanism this part needs to be very rigid as any 'give' in this joint is amplified along the length of the rest of the leg creating instability. Suffice to say, the joint is now incredibly rigid.

    Then this is 'foot' mark II. It doesn't look like much, but I wish I could demonstrate how smooth and powerful the 'Ankle Roll' mechanism is. It is ridiculously strong, but when it is operating it could potentially need to resist the whole weight of the body when making any movements where teh body sways left and right, i.e. during walking, shifting the centre of balance between left and right foot. The toes are minimalist at the moment but the whole front section screws off so if I want to update those later I can. I am planning to attach four flat Force Sensitive Resistors to the base of the feet with some kind of rubber cover. This should provide some shock absortion and give a more uniform amount of force onto the FSR's so they are not just sensitive in their own spot.


      I'm sure you all know, but I can't tell you how long it takes to design this many moving parts. Usually after a long day at work I will get home and start printing and work on the designs so it pretty tiring and I often need  to force myself to get something substantial done. I still have a large amount to design, arms, hands and upper body.

  • Miniscule Update

    Dan DWRobotics03/28/2018 at 21:05 2 comments

    Just wanted to add a very quick update. I took a break from working on this project for a number of reasons, but I have been preparing to ramp up progress on this over the last few months. I had a crushing realisation that I needed to completely redesign the legs if they are ever going to walk and the prospect of spending that much time on something I had already done was very disappointing. Basically the legs need to be mounted into the waist completely differently to prevent wobble as the structure was not rigid enough. Basically any YAW type movements on my machines have proven to be difficult to build at home, but i think I have overcome this with a very sturdy design. I also bought a CR-10 and had to get used to the settings. The parts I print can't be done at the usual pace because they are too large and each joint would take weeks. I now have some great settings and am currently redesigning the cogs for the large joints. This is to give them greater torque and a smoother more controlled motion. This should help with stability and make programming walking easier. I am also happy that the CR-10 can print larger parts which means I can combine parts in one print rather than bolting parts together. This will also lead to a greater rigidity as there will be less joins on the legs.

          I hope to post some real updates after the long weekend. Just wanted to make sure anyone who is following knows I am still designing and printing :)

  • Really need a hand...... Pt1

    Dan DWRobotics08/26/2017 at 13:59 2 comments

    Well, thought I would share the progress with the hand. Hadn't really predicted quiet how complex a task it is to design a hand from scratch. It is still in its early stages of conception, but the design is starting to look pretty badass, so I thought I would share. What you can't see from the snapshot is that there are a ton of internal tunnels which allow the cabling to be run for transmission of motion from the motors in the forearm. These tunnels and the points at which the cables have to change angle or need to bend needs to be very carefully thought out, otherwise when you move the wrist the fingers would change position for instance. Nothing new there, although there are two cables for each finger, so that instead of a spring action pulling the fingers back to extension the action will be actively driven. Lots of hand designs I've seen use a spring mechanism to open the fingers but I want the fingers to be stable in both directions in case an action requires it.

    I'm close to printing now, but I know that there will be lots and lots of design revisions until the final version is realised. The angles and mechanisms are all estimated, I actually have no idea if they will work out. But from the first print I can test and make decisions based on what works and what needs changing.

  • Goofy Drawings and failed parts...

    Dan DWRobotics08/22/2017 at 21:20 6 comments

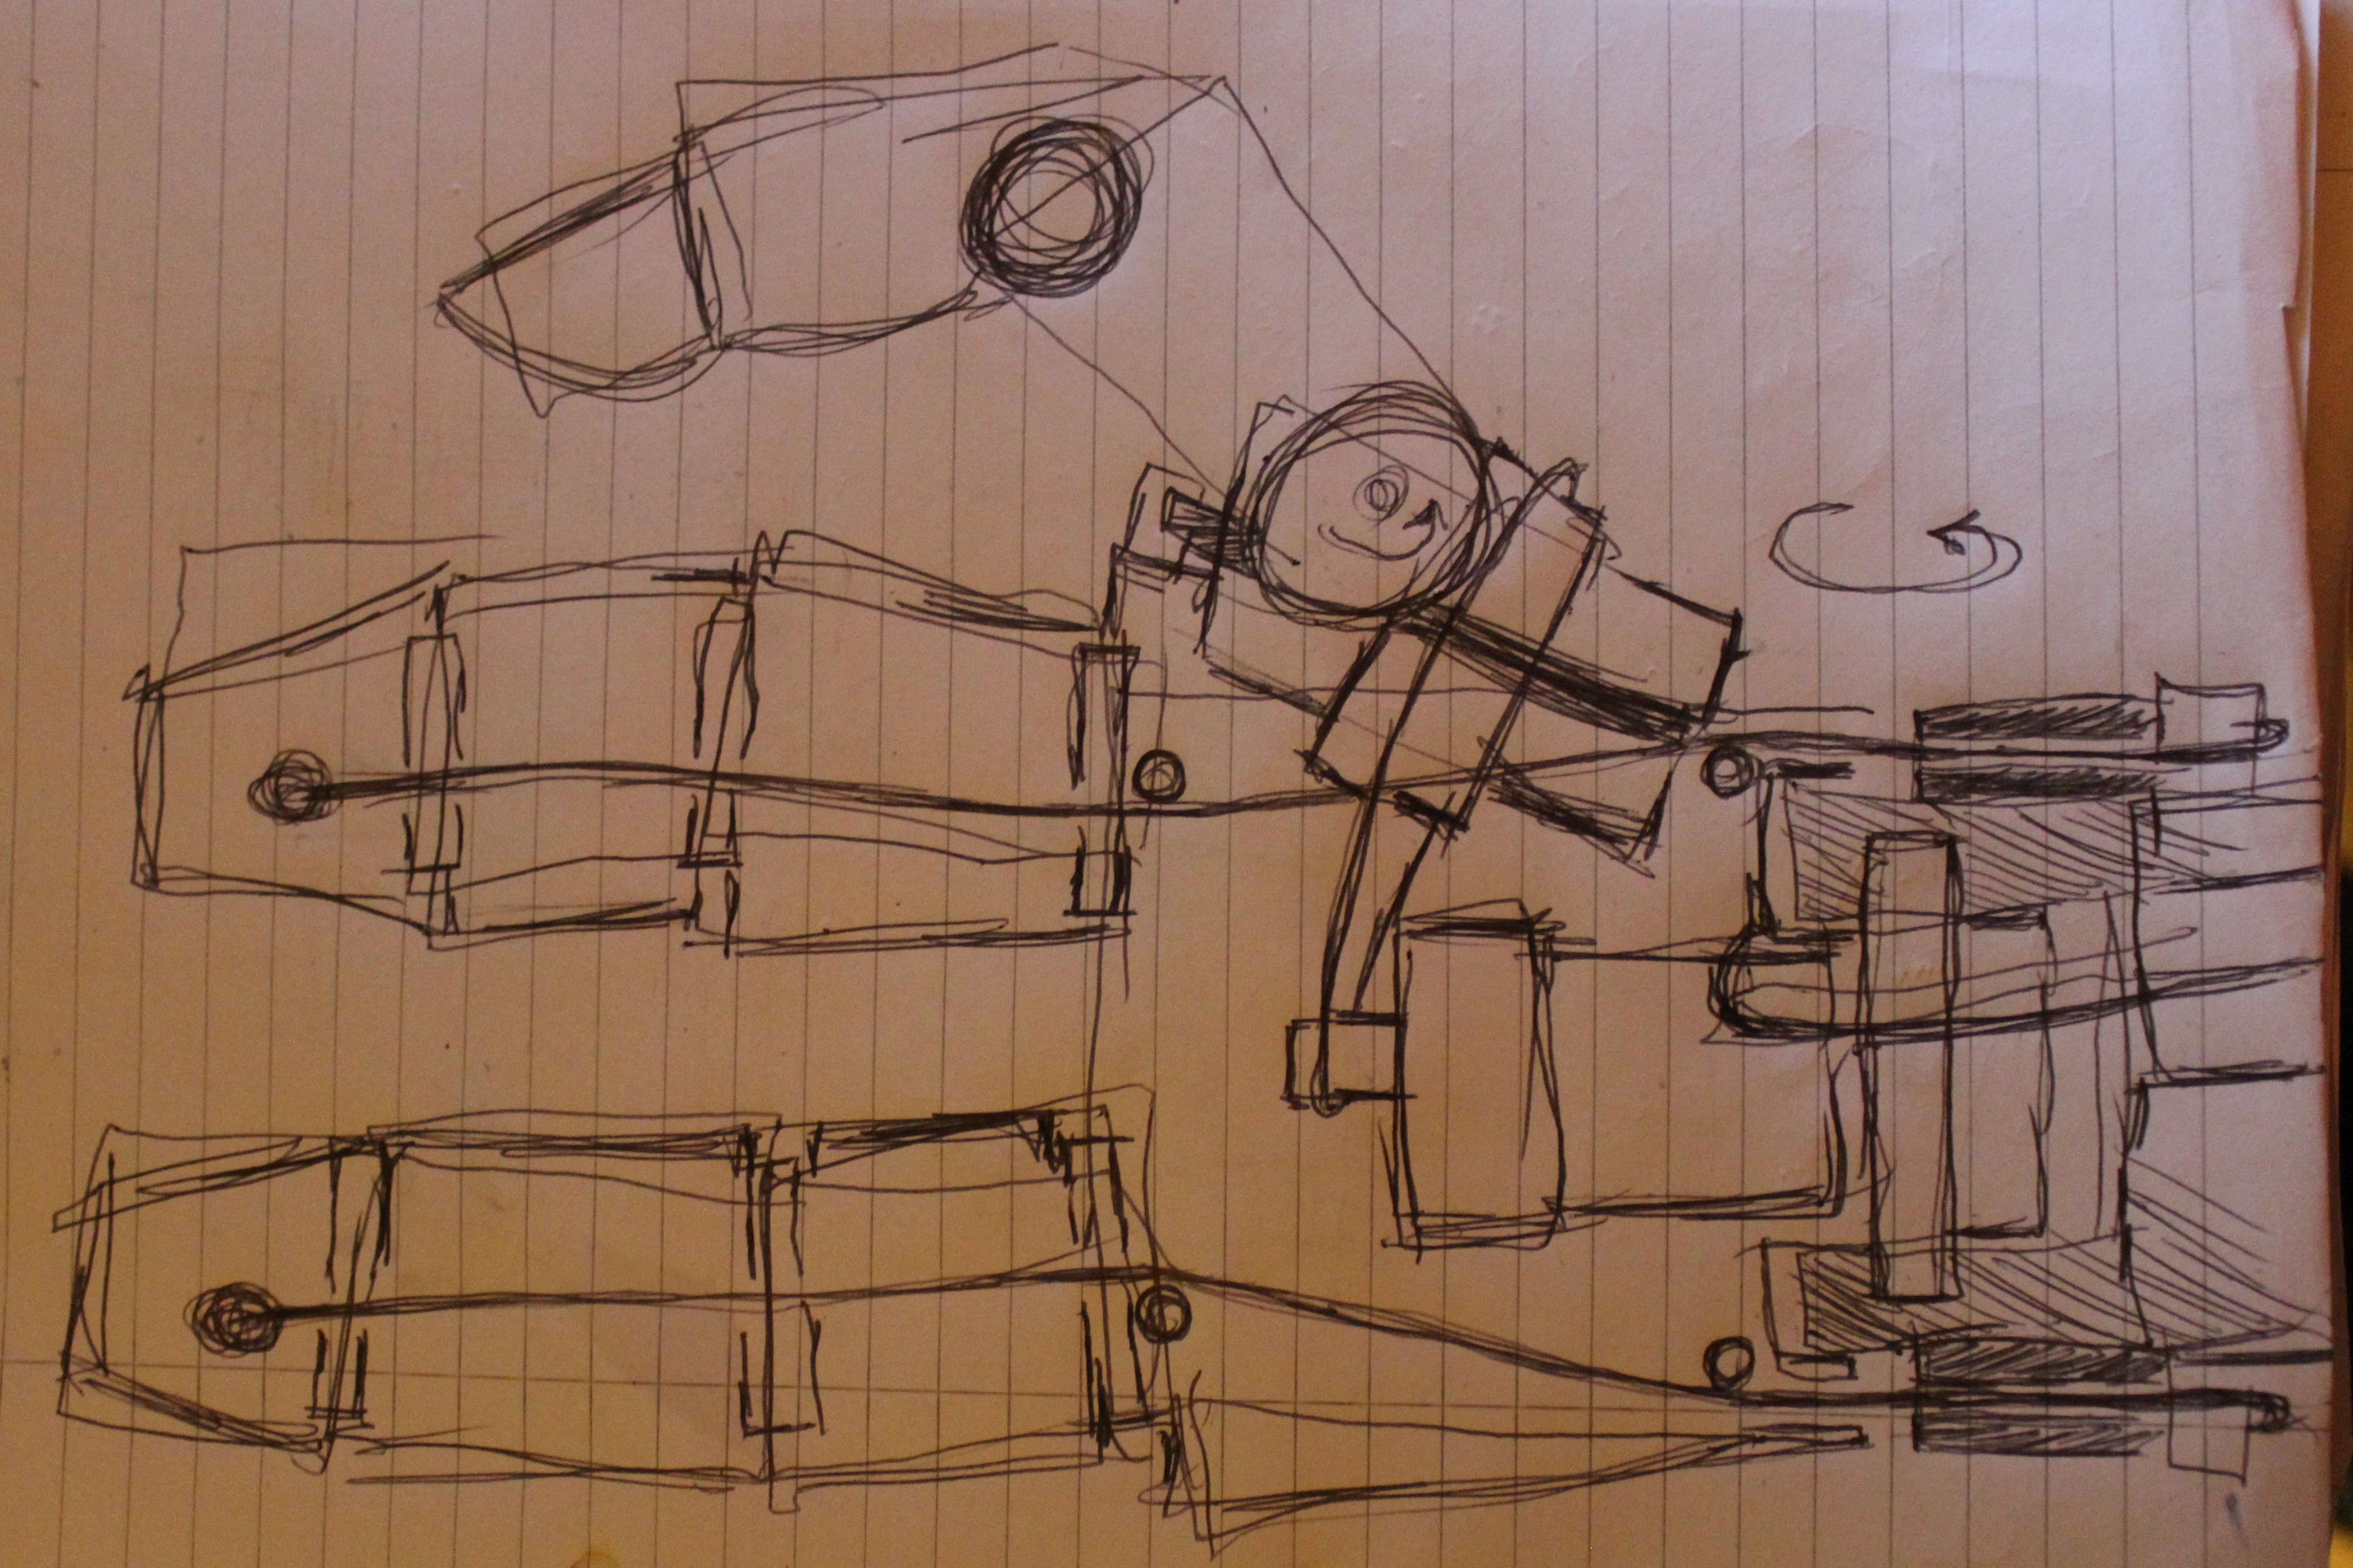
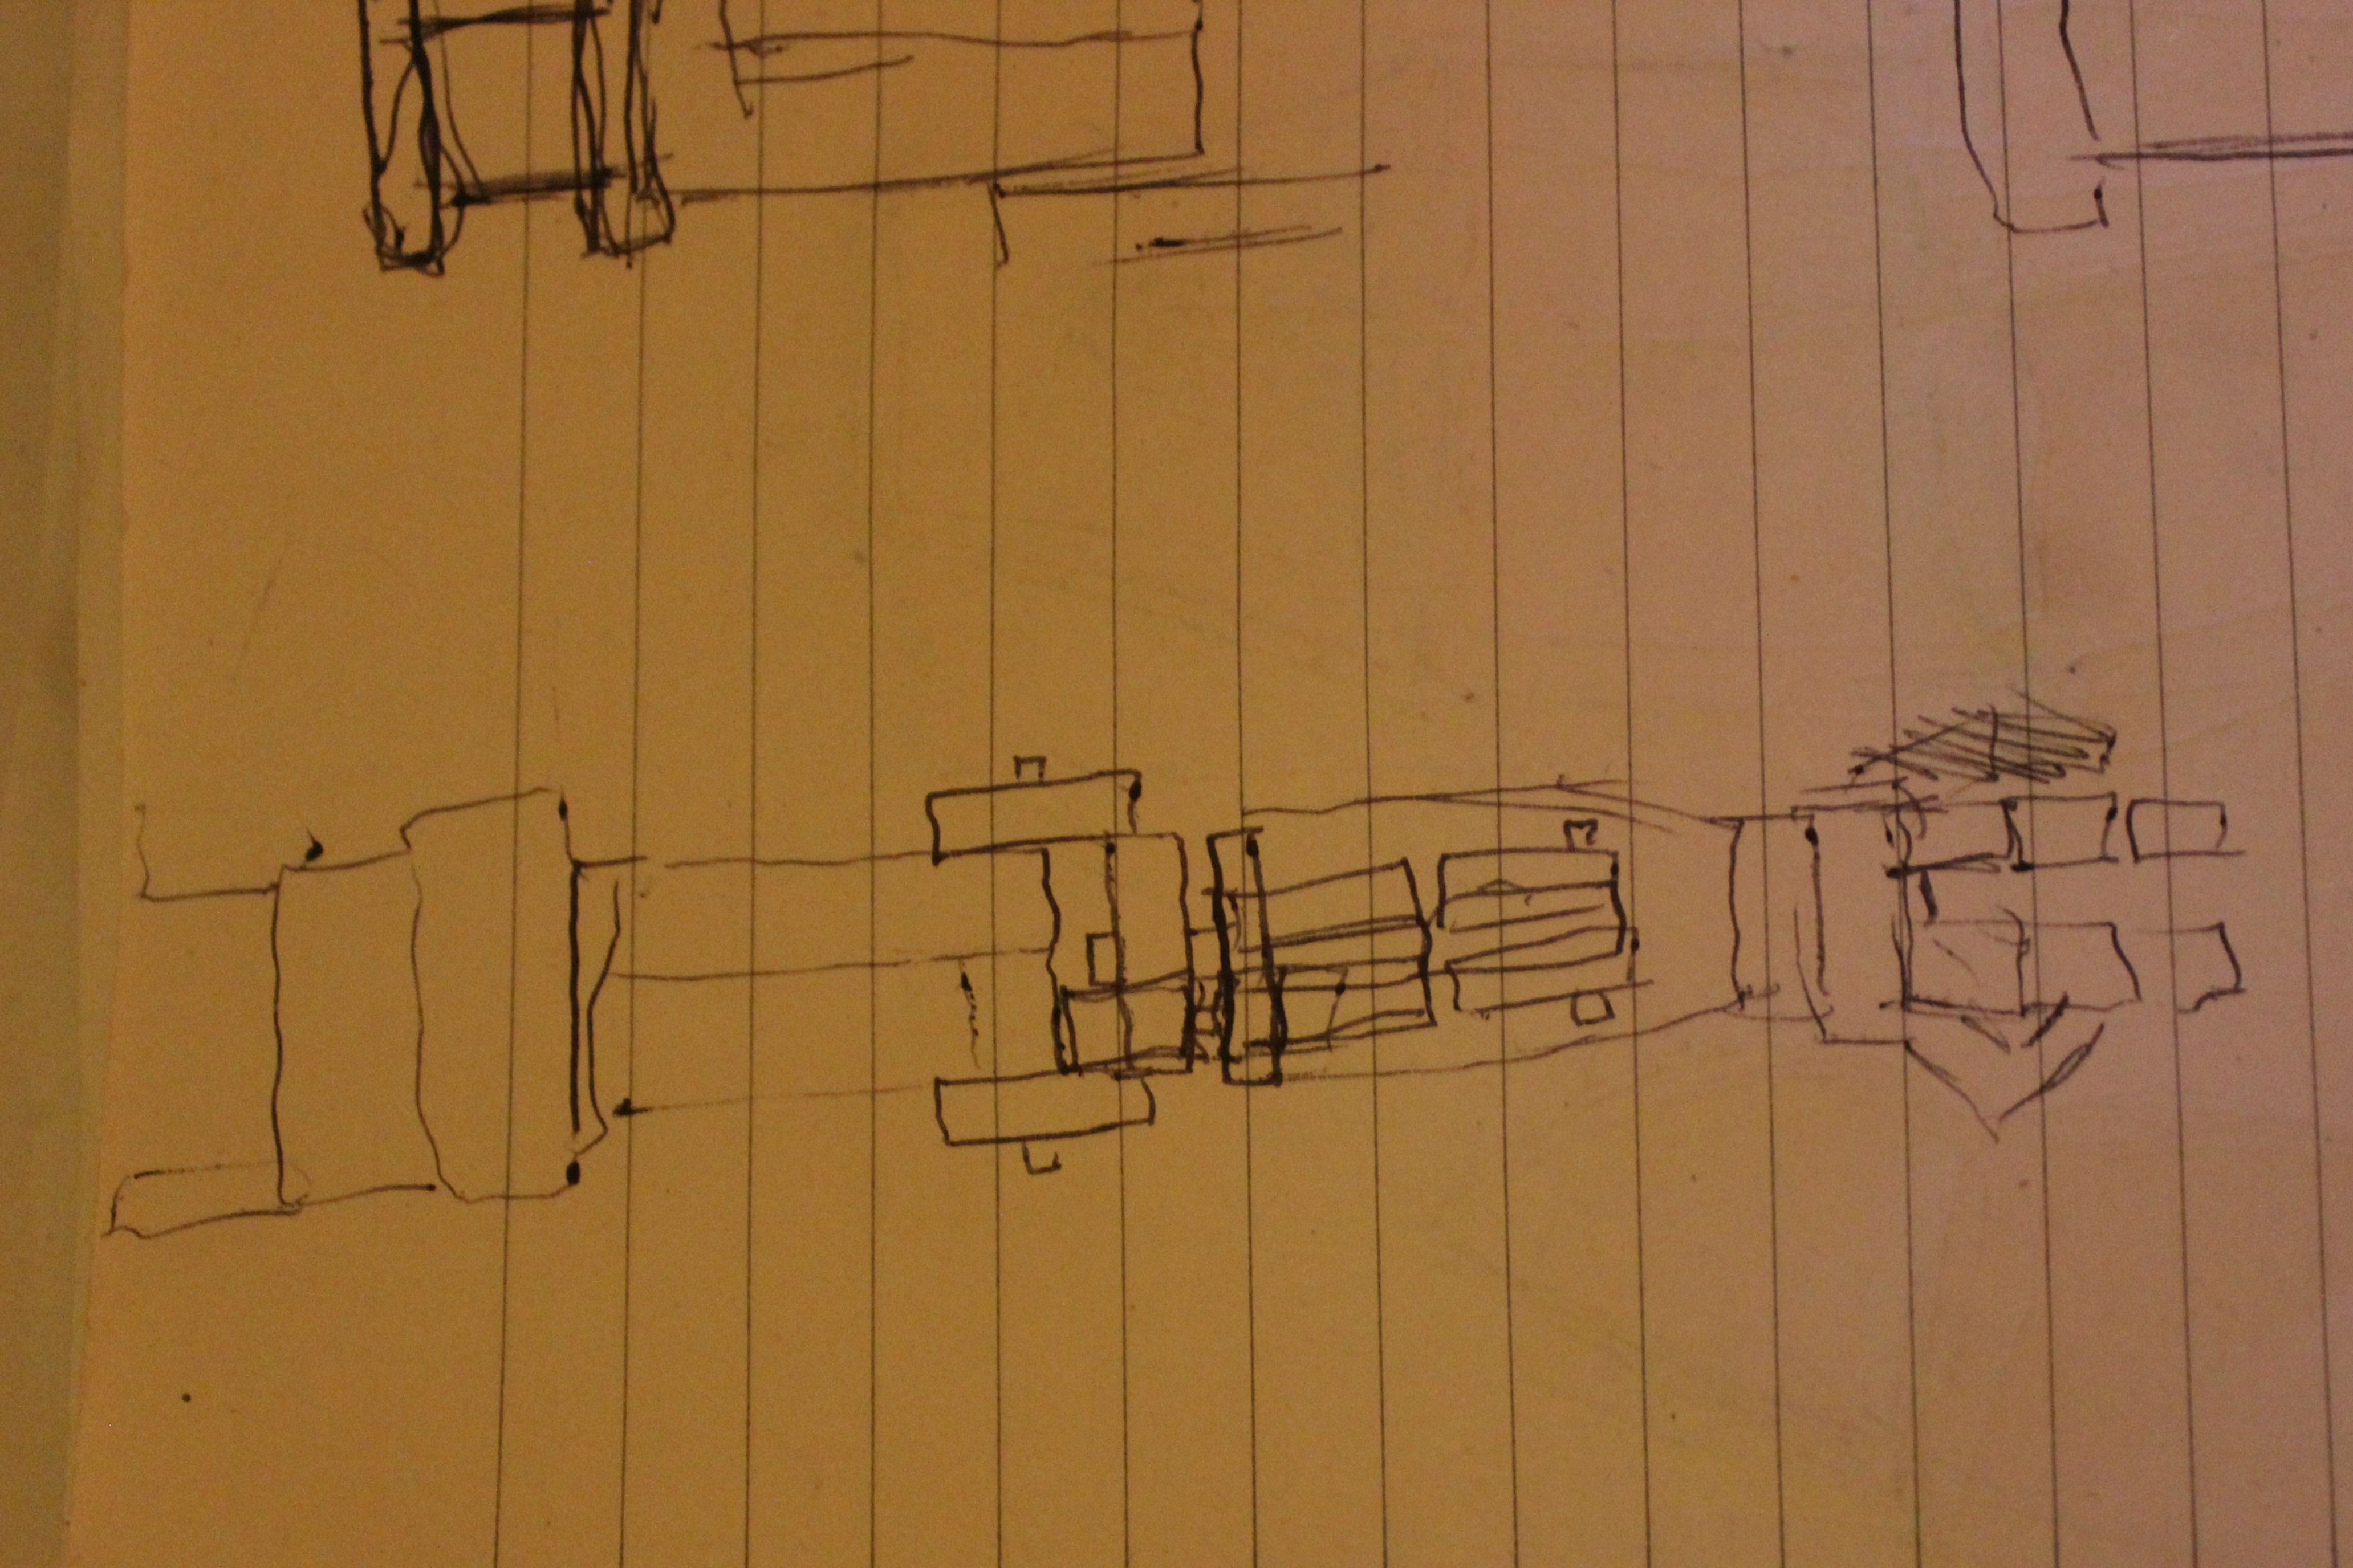
       I guess it is worth at least once showing the very basics of designing a completely new device. Often you can do this in your head. I do this, usually when I am supposed to be asleep but just can't get a particular problem out of my head. Or many times you can do this directly in your CAD program of choice. But sometimes, and in fact many times, the very starting point is

    ........................... the rubbish drawings.

          I have hundreds of these. Some I come back to again and again, to inform the later design process. Many times, there is no quicker way to decide which cables, cogs and axles are going where, than by just trying to draw it out on paper. So to break the monotony of actually designing the hand in sketchup, I thought I would take a break to share to the utterly ridiculous 'concept' drawings that eventually lead to solid printed items and the many rejected parts I have printed over the last couple of months.

  • Arm is starting to take shape

    Dan DWRobotics08/20/2017 at 20:04 0 comments

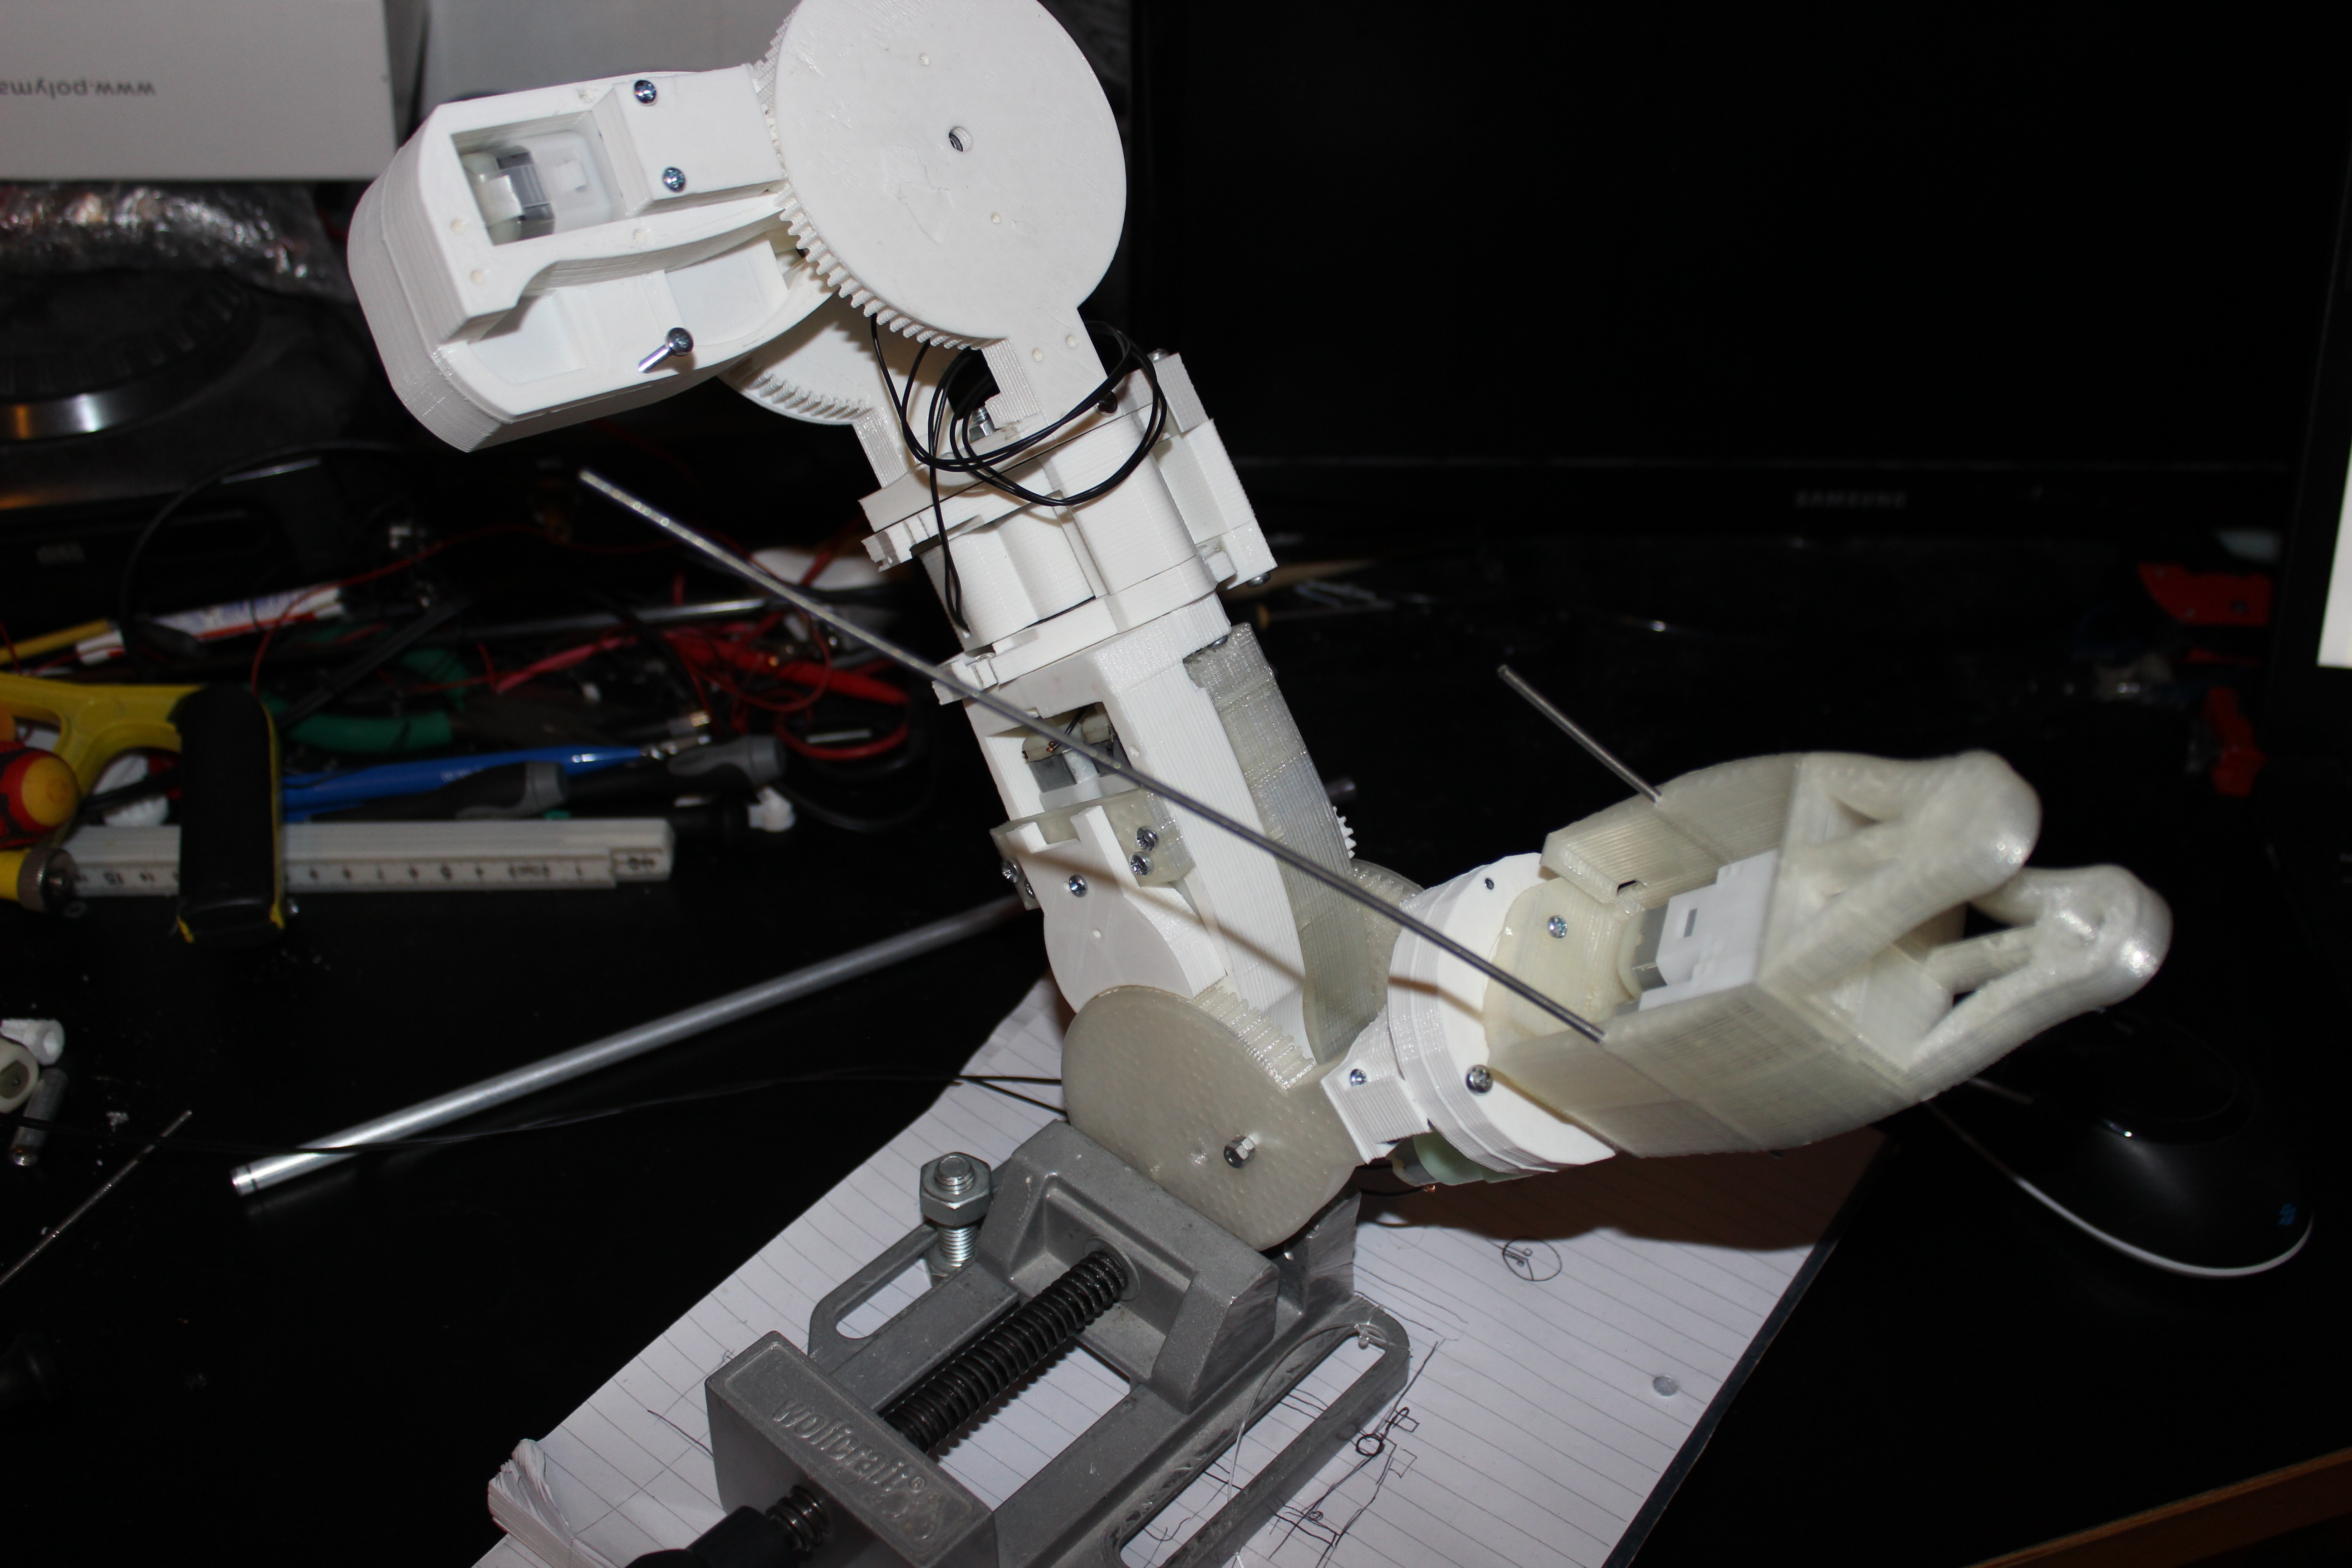
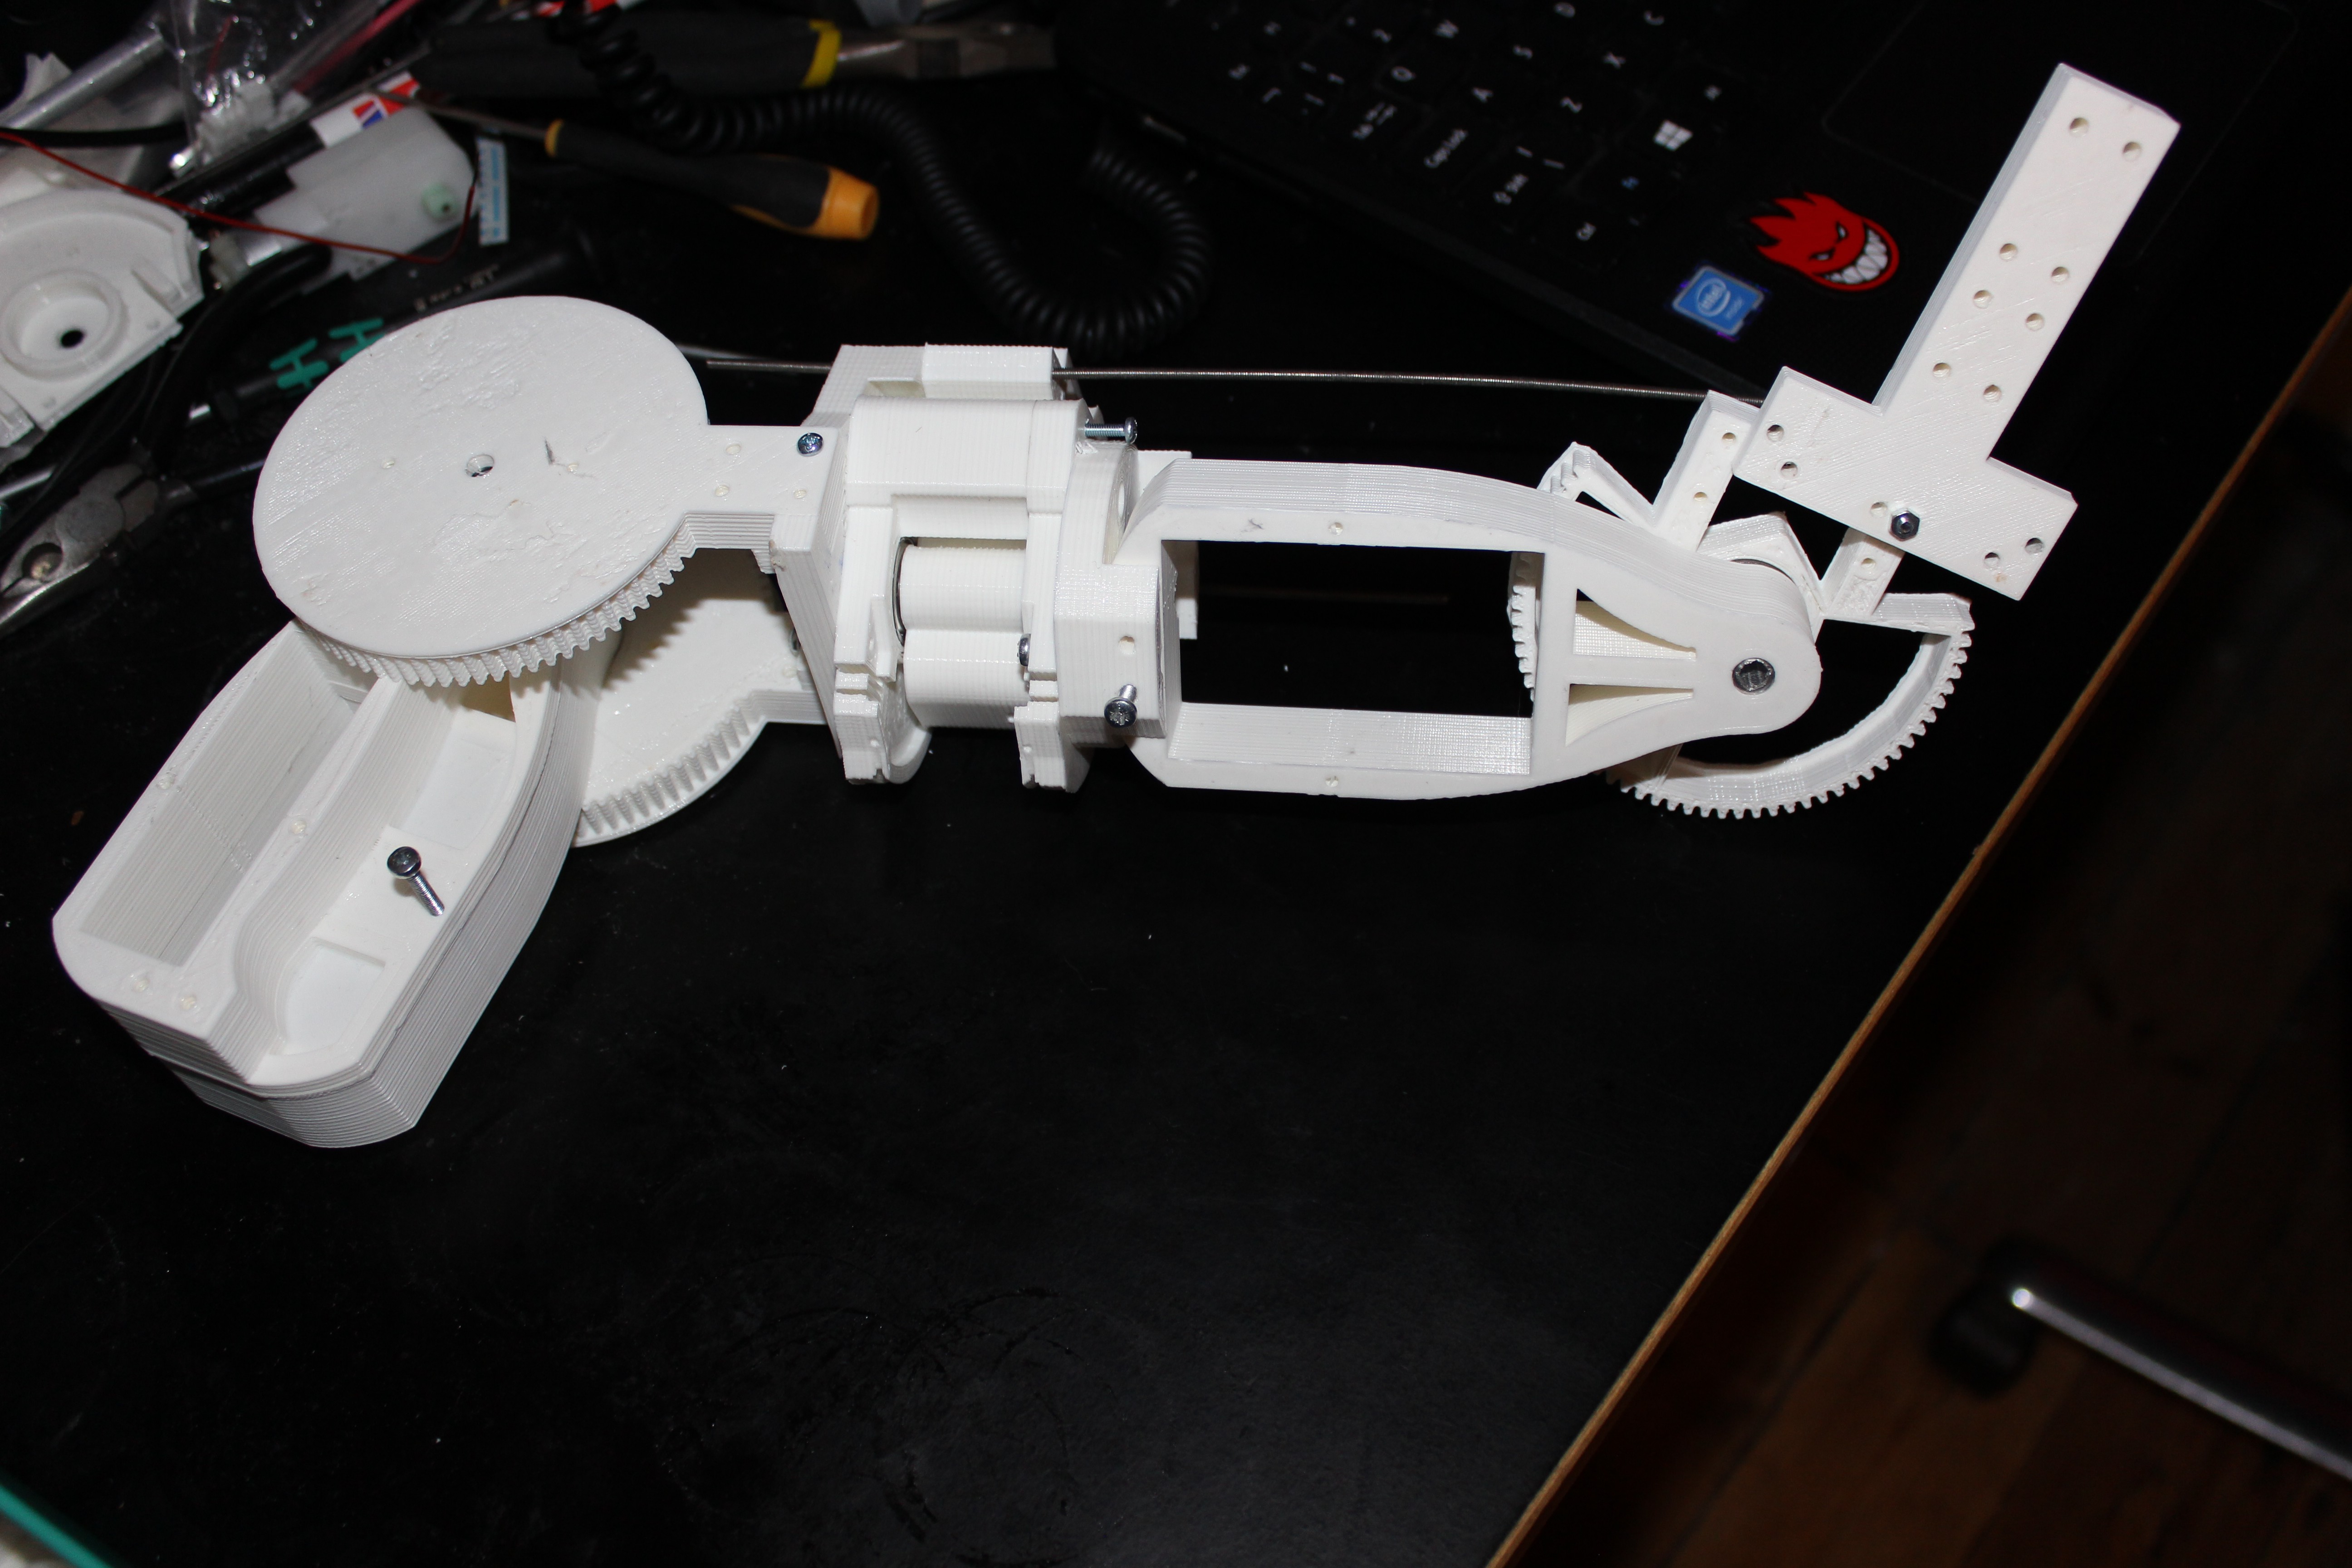
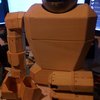
    So I have been working a huge amount on designing the arms.  I needed to make sure I get all of the articulation required but retaining some semblance of the human form factor. I decided I was not going to be able to have a five fingers but will have to go with two fingers and a thumb. My local print shop ran out of 3mm White PLA so I had to continue printing in 'natural' which I don't like as much, but never mind. Let me know if you can't see the video below, I forgot I had music on for this one so it is copywrited.

           The arm has a Yaw in both the upper arm and the lower arm. I had to design a new planetary gear for the lower arm yaw. I like it so much I will  probably redesign the upper arm to use this same yaw mechanism. I spent a lot of time debating whether I need a wrist 'pitch' and I have ultimately decided that I do need it as it is key to being able to pick things up and do other tasks in a human-like manner. So I now have a decent idea of how the hand will work and look but just need to design it. The hand is going to be designed to be strong enough to handle every day objects. I think if it can't crush a beer can, then it is not strong enough. Ultimately I want it to be able to pick up things like a drill or a shopping bag etc. It does look quite simplistic in design, but an incredible amount of thought has gone into the design to make this work.

    The fingers and wrist pitch will be 'cable pulled' like many other designs out there and I am planning to have one motor in the hand to pull the thumb inwards to the centre of the hand for grabbing. So the thumb will have two actuators to enable it to do what the human thumb does by either opposing  the fingers to pinch or keeping the thumb flat and making a kind of fist shape.

  • Humerus - Humourless more like.....

    Dan DWRobotics08/07/2017 at 21:58 4 comments

    So, no updates for a while. For a very good reason.

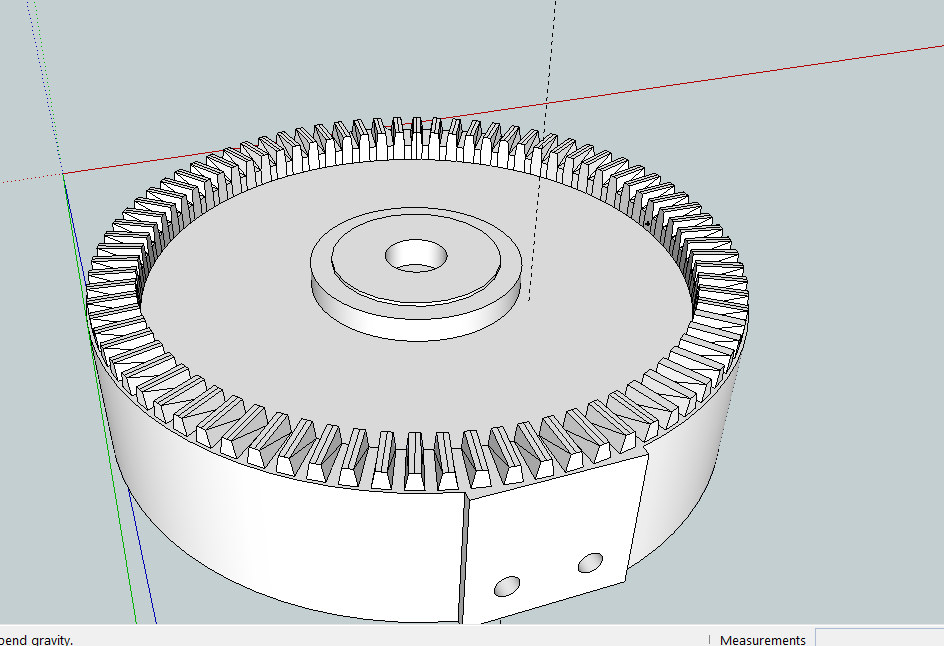
           I have been fighting with the design process. Really slogging away, forcing myself to endure days of staring at a screen making measurements and generally trying to animate the mechanics in my head. I had to create a whole new method of driving the joints, using cables instead of large cogs. This gives me the ability to make high ratio differences whilst maintaining the ability to make the parts printable. ( There is a minimum practical size to 3D printed gear teeth.)   

        This is specifically required for the upper arm Yaw mechanism which needs to be small form factor but high power and relatively low speed. I have gone through about 50 iterations of this mechanism, each time having to wait hours whilst my parts print.

       Each time I change the design I also need to redesign how I am going to get position feedback, which is actually quite difficult to design in pre-emptively.

       The first three large iterations of this joint required angles of the motors that made the upper arm far too large and heavy when using printed cogs, which is why I begrudgingly turn to cables.    

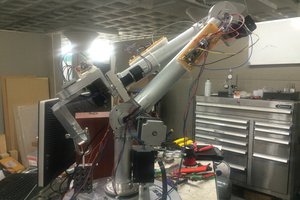
         I'm going to post here the final result. The skeleton. No drive motors as yet, or cables, but all the mechanisms are proven after painstaking testing. The test yaw I have here is surprisingly strong and uses heavy duty fishing line to transmit movement. The best part is that it almost looks like it could sit inside a persons arm. It also moves within a very similar set of angles, stopping very close to where our own arm yaw would stop in each direction. I can't wait to get the motors hooked up!!!


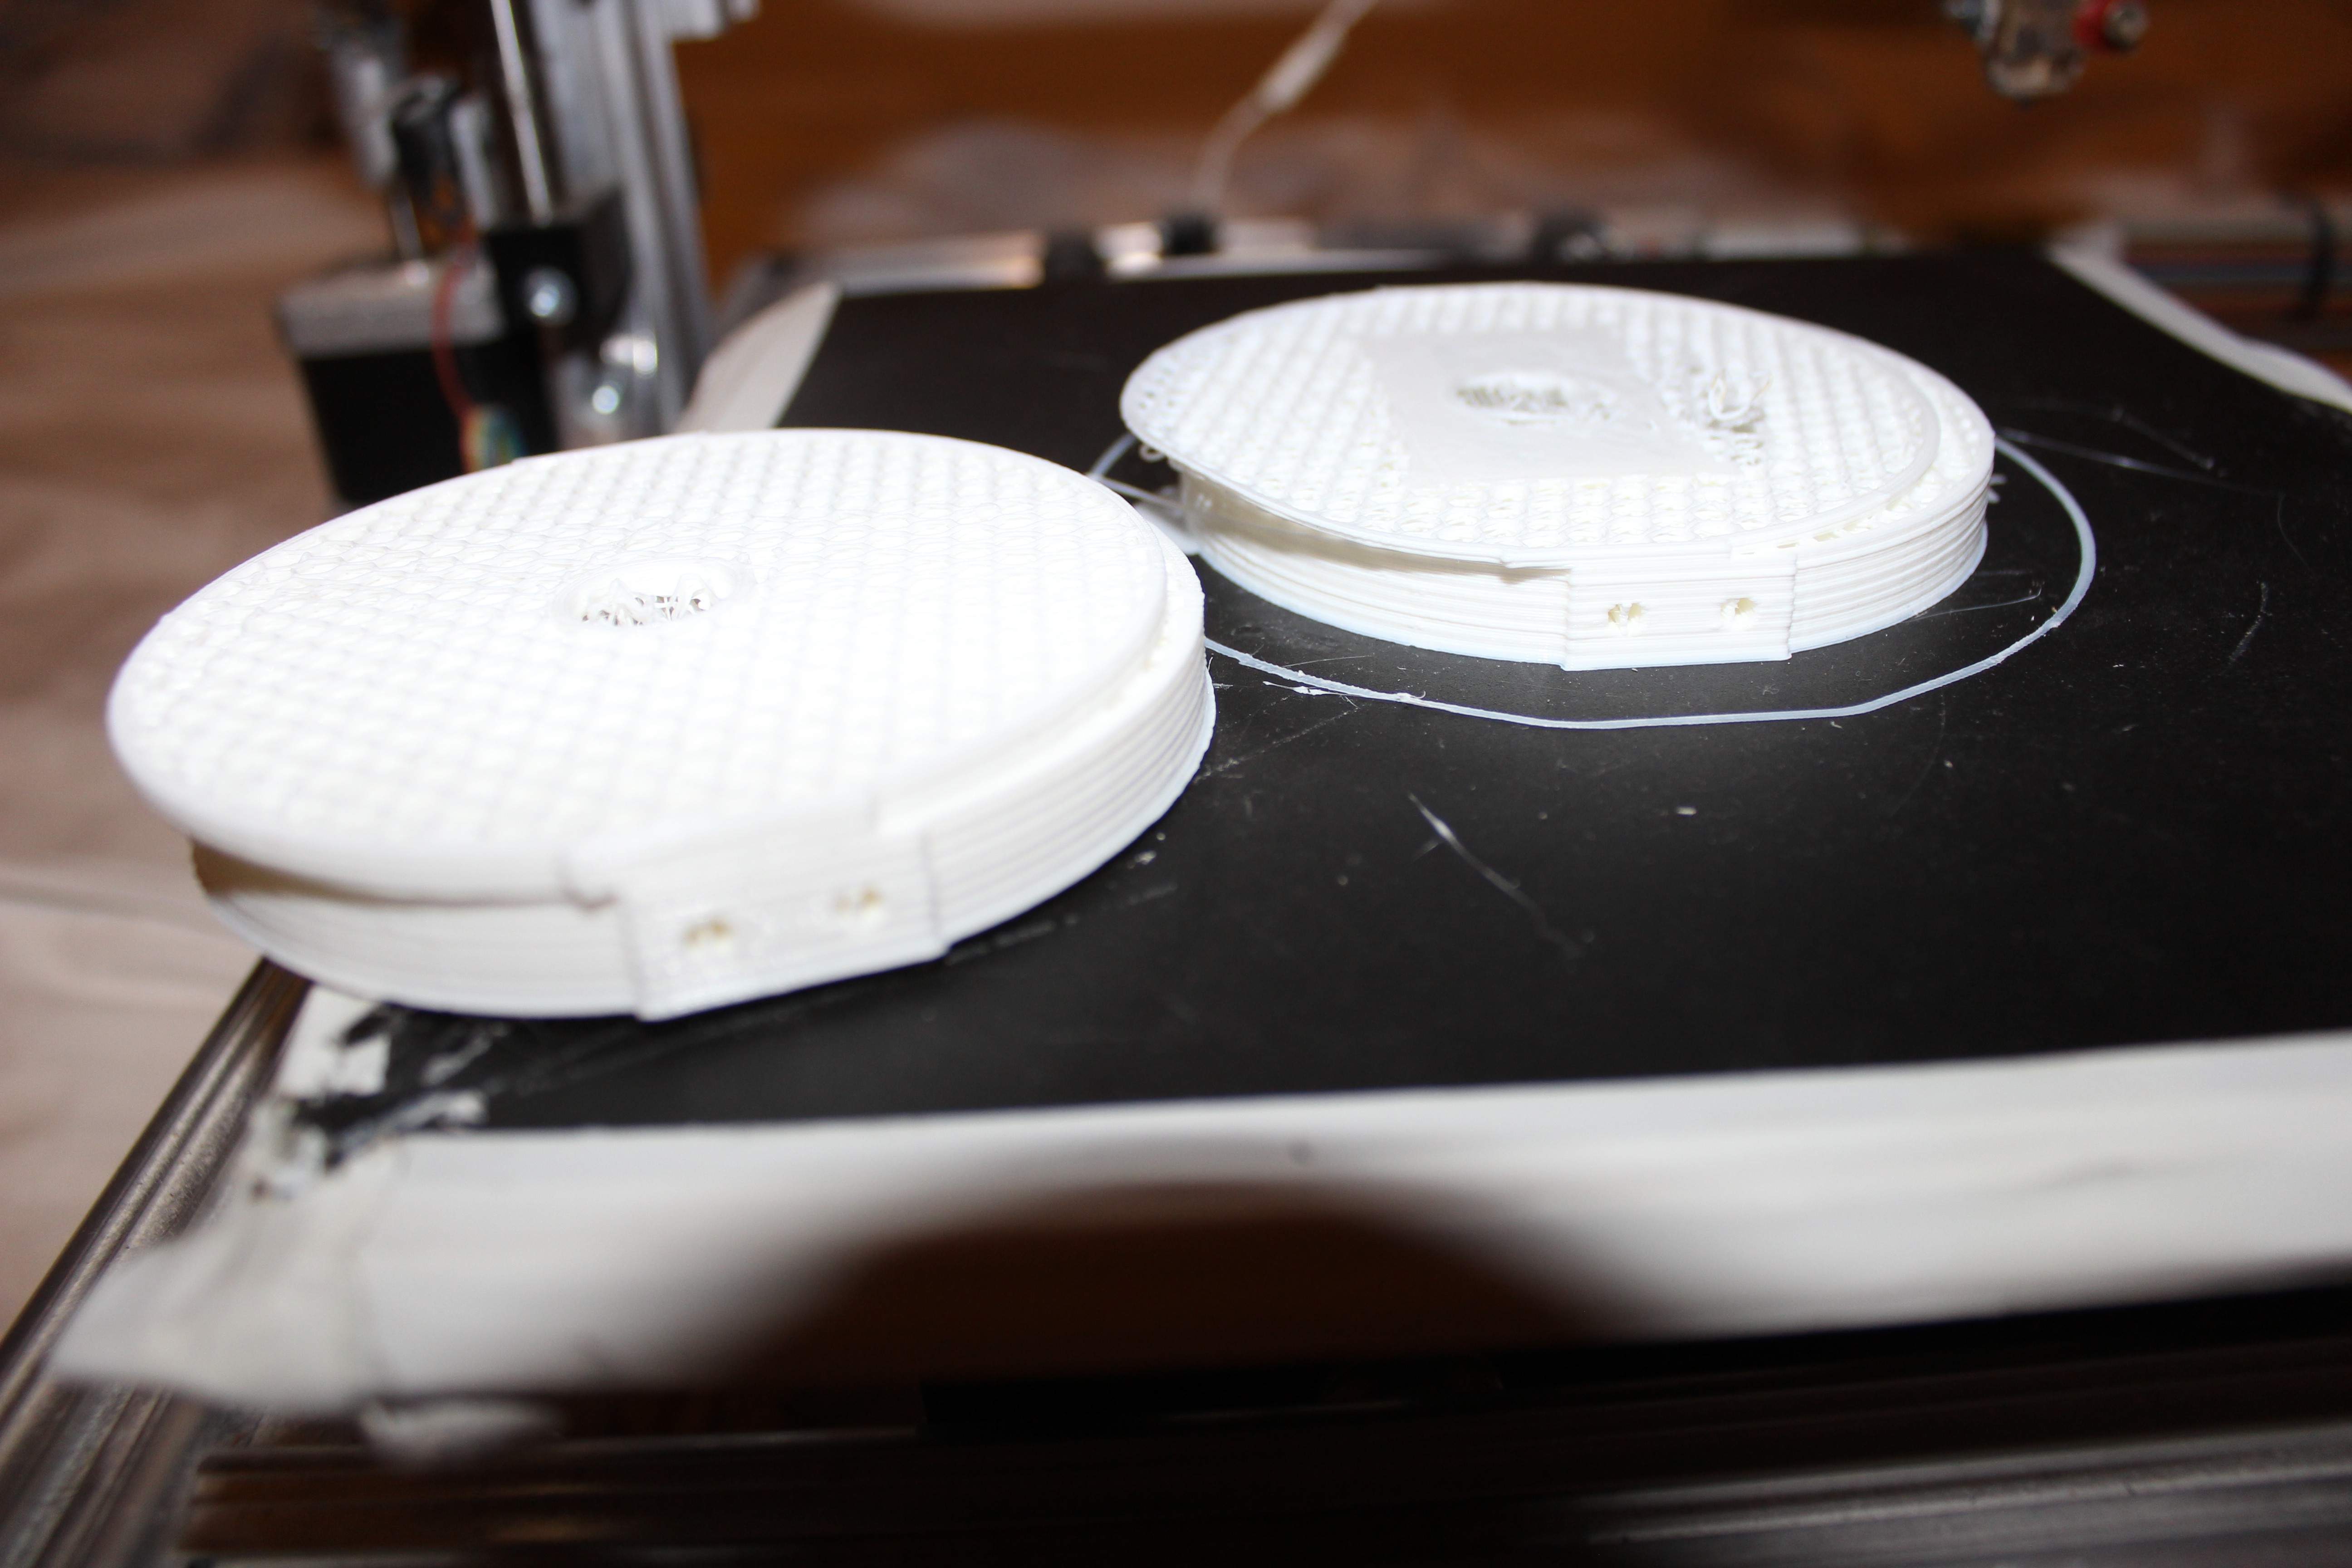
    I am going to now post a picture of what the first iteration of the upper arm yaw looked like next to the current version. You can't really see it from the angle but the first iteration at the bottom of the picture is 12cm wide and weighs a whole lot  more than the current version.

    I guess a final note, I should point out that each one of these joints is designed to hold a significant amount of weight. No-where near as strong as a person, or robot arm driven by dynamixels. But for the cost of each joint, these arms should hold an impressive amount of weight. Hopefully allowing them to interact with the world, carrying bottles, bags etc. If I get the fingers right ( I am thinking of having two sturdy fingers and a thumb) then I can easily see it holding an object of around 2 kilograms. The benefit of having a whole body is that many more motors can be brought into lifting movements, if enough control can be programmed in. I'm still struggling with IK of the legs, so I can certainly see these kinds of complex movements being an issue for me to program.

         Why design the arms before the abdomen? Because it is crucial to know how they will work before I design the bit that they sit in. My designs evolve rather than me sitting there and having exact measurements and angles drawn down. I have a rough idea, but nothing exact until I have been through a few iterations.

  • Disaster.......

    Dan DWRobotics08/01/2017 at 22:51 0 comments

    Really frustrating update!

       I've spent the last two night trying to make a strong yaw mechanism for the upper arm of the full size humanoid. I've refined the design and fought with sketchup to export an .stl that doesn't have any non manifold or self intersecting surfaces. I finally managed to refine the design to something that works and now the printer itself has decided it doesn't want to play ball.

       I just spent 6 hours on two prints that both failed half way into the print. As you can see they both skipped on a Y axis on both prints, but on different layers. This is suggesting a mechanical fault with the printer so I am going to get my WD-40 out and lubricate all of the guides. I'll clear any dust or particles out of the mechanism and make sure there is nothing messing with the cables of that sensor.

       I should have a pretty bad-ass upper arm to show by now but I am still at the printing stage after three days. Very frustrating!!! I will update this log when I have more success.

View all 16 project logs

  • 1
    Difficult to add full instructions but.........

    Whilst it's going to be very difficult for me to write a step by  step guide as to how I built the legs, I am going to start adding some very basic insructions on what I did to start the process of trial and error that governs how I am proceeding. I guess the very first thing I needed was to design and print some parts. I started with a 'Velleman' K8200. Mainly because it is cheap and was stocked in my local Maplins.

       This printer took 2 whole days to construct, so my first advice would be, maybe go with something else!!!!

       My next printer will be the Creality CR-10. It looks to have an amazing quality when printing and is almost as cheap. However the main benefits to this printer would be that it can print 30 x 30 x 40 , which is pretty big for that price range.

       I then had to learn some form of CAD. I chose Sketchup. Quite simply because at the time it was completely free and seemed like a very quick to learn design tool. If I could liken it to anything I would say it's like having MS Paint but with 3D!!

View all instructions

Enjoy this project?

Share

Discussions

SLAVKINGRED wrote 11/02/2023 at 00:25 point

awesomeI

  Are you sure? yes | no

scott nellis wrote 03/30/2021 at 18:35 point

Can i ask what motors you're using?

  Are you sure? yes | no

malvasio wrote 05/11/2018 at 07:49 point

hi Dan

i'm designing a printable motor, can you imagine to drop your "cheap motor" to use a printable motor (in the torso with mechanical transmissions) ???

  Are you sure? yes | no

Dan DWRobotics wrote 05/11/2018 at 17:29 point

Hi there. I am definitely open to altering my design in any way to make it better and cheaper. I have thought about 3D printing DC motors myself, however I am of the opinion that accuracy has a huge impact on the power of the motor. So, for a large radial motor like an E-bike or a wind turbine generator, the accuracy of 3D printing is fine, but for smaller motors that need to fit into limb joints, I am just not sure that modern 3D printers can provide enough accuracy to deal with those intricate nylon/metal gears. They would certainly work, but just not to the same efficiency and would have compromised power output. If you are thinking 3D printed steppers, accuracy is of even more importance and again I am wondering if it would provide enough power. If you've ever taken a stepper apart you will know there is such a fine margin between the stepper spinning and when it's axes are slightly off centre not spinning at all. Good luck though and I will definitely follow your projects. I certainly am of the opinion that people should always try to do the impossible things that everyone else tells them is impossible.

  Are you sure? yes | no

Dan DWRobotics wrote 05/11/2018 at 17:45 point

I should also add, since this is a big project, the 'time to assemble' factor is huge for me. I imagine that making motors from scratch is something that would take a lot of designing and testing. I really like the idea of it, but at my level of skill I can only focus on so many tasks and I am using the 'pre-made' gearboxes to reduce the overall time needed to ensure that the joints work. The reason I am not using pre-made servos is the cost and also that many servos are often not the right engineering choice for many limb joints.

  Are you sure? yes | no

malvasio wrote 05/14/2018 at 13:23 point

hi again Dan

i'm too handicapped to deal with coils for electric motors making myself

my project of 3d printable motor is only mechanic 

the old design is here :

https://hackaday.io/project/47138-pure-mechanic-motor

i want your robot to help me to hack everithing ;)

  Are you sure? yes | no

Old World Science wrote 03/18/2018 at 23:28 point

Nifty! I'd love to do something like this. I remember reading about some old Soviet robotics equation for biped robots - Zero Point Moment, or something like that. Maybe it could help your 'bot balance.

  Are you sure? yes | no

Dan DWRobotics wrote 05/11/2018 at 17:47 point

Thanks for the comments, sorry it took so long to answer. I will definitely look into Zero Point Movement. I haven't even started programming walking gaits yet, but I imagine that is going to be one of the toughest parts of the project..

  Are you sure? yes | no

gi85 wrote 02/27/2018 at 06:14 point

 I want to buy a whole set of hardware, can you sell me one? I am from China and my contact email is gi85@163.com.

  Are you sure? yes | no

Dan DWRobotics wrote 05/11/2018 at 17:55 point

Hey there, sorry it took so long to respond. Thanks for the interest. Unfortunately I can't even begin to imagine selling any of my designs yet. They are still very much in the experimental phase and the robot does not yet have a torsoe, arms and head. Also, unfortunately I am still a bit wary of releasing all of my designs as one day I might want to commercialise my projects and there are much better engineers and better funded people out there in the world that would easily eclipse any ambitions I had to continue working with the platform that I am now. I have spent a large proportion of my own personal time on the project. I am working on a plan to share the workload of this project and I fully welcome any new engineering and programming skills, although I really wanted to have a plan in place for what this would look like before I release everything to the world.

  Are you sure? yes | no

gi85 wrote 02/27/2018 at 06:11 point

I have seen DW Robotics on youtube video, and I would like to know if your 3D printing STL file can be Shared with me?

  Are you sure? yes | no

samern wrote 08/10/2017 at 12:06 point

Hi there.  I saw this and thought....hmmm...I printed all the parts for my Inmoov from the waist up, and you have a design from the waist down.  I wonder, could the two mechanical platforms be mated together and have a complete humanoid?

  Are you sure? yes | no

Dan DWRobotics wrote 08/10/2017 at 21:53 point

Hi Samern, thanks for looking. It would certainly be an interesting project to combine the two! I'm currently working on the torso and arms of my humanoid. It is going to take me an awful long time I think. I will need to have some form of torso and arms added to these legs before I can have any chance of it being able to walk. I also need to do a lot of redesigning of the foot before I can make it walk. The project and designs will evolve enormously over the next few months, so I certainly wouldn't be at a stage yet to be able to publish all of the files to work on a collaboration but it is my goal to make this a collaborative effort once it is at a stage where I am happy that it is functional. Inmoov is an awesome feat of design, but is still essentially a very complex mannequin. My goal with this project however is to make a humanoid that can perform tasks and stand upright without supports etc, so my design efforts are very much based around hands, arms, mechanisms that can pick things up and interact with objects. I'm currently designing hands and arms that look much different to inmoov, in that my hands will have two fingers and a thumb in order to make practical application possible. The other challenge is that my joints are made with cheap DC motors and potentiometers, with a control system that is designed to make that possible. If you put an inmoov torso on it, they would effectively be two separate systems working independently whereas my goal is to make one system from the same parts that act as a whole.

  I guess my main point is that I want to make the whole platform from the same cheap hobby motors rather than the more expensive hobby servos that inmoov uses, in order to make an entire humanoid from parts that cost less than £800. I deliberately avoid using servos because I want to demonstrate that not all robotics needs to start with the same hobby servos and libraries, despite their ubiquity and ease of use.

  Are you sure? yes | no

samern wrote 08/11/2017 at 02:02 point

Hi Dan.  I xan certainly understand.  Even the process of printing so many parts is in of itself expensive.  I plan to watch this project closely because I would love something like this puttering around the house.  If I could get it to freak out the kids on Halloween so much the better.  Have you considered controlling it uaing something like LeapMotion?

  Are you sure? yes | no

Nse Obot wrote 10/28/2017 at 02:20 point

Hi Dan, I am in the process of developing a semester project, with my robotics adviser, that mirrors your previous comment. I was planning to use InMoov, if we reached upper body development. However, I do really like your approach. I'm actually finalizing my schedule for next semester soon. So, I would love to get in touch as soon as you can. Also, awesome work! I'm thrilled to see other developers building affordable bipedal life size humanoid robots.

  Are you sure? yes | no

[deleted]

[this comment has been deleted]

Dan DWRobotics wrote 08/01/2017 at 20:49 point

Hi Mike, thanks very much for having a look! I'm really optimistic that this project will evolve into something pretty cool! I imagine that I might be able to start working on the first domestic robots. Ones that can cook and clean. Seems like a long shot, but the beginning is to have lots of people working towards that goal and refining the programming. But that can't happen until lots of people can afford a full size humanoid. They all seem to be way out of the price range of a tinkerer. The UXA-90 retails around £20000 from what I have heard. It doesn't even have hands!! Who could afford that? It's essentially a £20000 gangnam machine.

  Are you sure? yes | no

Dan DWRobotics wrote 07/28/2017 at 20:22 point

Hi Morning Star, thanks for taking a look. I need to re-write the description to give a bit more detail, but you raise an interesting point. I am aware of arduino/serial slowness. In fact, the arduino program is very simple. It starts with a preset set of positions and compares the current positions to an array of the 'move to' positions. So the arduino itself does not rely on any input from an external processor to compare current position to desired position. The arduino will repeat the comparisons thousands of times a second. The PID is on the arduino, but when there I need to merge between two preset sets of movements the calculations are made by my laptop. The laptop will send a new set of positions hundreds of times a second but the PID does not depend on feed back going to the laptop before it sends it's new set of positions, so there is no bottleneck through the serial. The arduino itself just acts like a centralised servo controller trying to get the joints to match the 'move to' set of positions that the laptop sends it. This leaves the arduino free to simply loop and compare the current positions to the 'move to' positions. The laptop , using Processing does the calculations on when to send new positions.

     When I need to send a choreographed movement where all joints move in unison merging between two preset set of positions, this is done from Processing on the laptop. The processing program divides the differences between each 12 degrees of freedom by 100 then feeds the arduino a sequence of different intermediate positions over a length of time to make sure that when there is a load on a joint, it gets to the expected position at the same time as the joints without the load.

   Quite a difficult system to explain, especially since I have now had a couple of beers, but I really appreciate the feedback. The great thing is, you reminded me of the term 'hysteresis' which I have been trying to remember for some time, because it really applies to what I am doing!!!

    I should add, the Processing program is not completely in the dark about the 'current' positions feedback. It does constantly receive the position feedback from the arduino, but the PID does not rely on the Processing program to speed up or slow down the motor, this is done by the simple arduino program I created. The feedback to the Processing program is currently used by Processing to 'save' a set of positions into a position array. Then processing can send a set of nicely timed intermediate updates to the arduino to get it to move in a seemingly controlled fashion.
   Where your observations will really come into effect, is when I start feeding back pressure sensor and accelerometer data to the processing program. That level of processing can't be done by the arduino. That data really is time sensitive to make the responses matter, so I am considering writing a system that will feed pressure sensor data to the laptop ahead of any position feed back. I will program the arduino to break the pressure sensor data ( between four pressure sensors on each foot) into a smaller number, such a three coordinates. I could even create a grid 0-255 whereby the centre of gravity for each foot is given.  Imagine a grid 15 x15. The centre of gravity would be calculate by the arduino and expressed as a dot on the grid of 15x15 so could be transmitted by the arduino extremely quickly for each foot as a value between 0-225. Just two bytes, hundreds of times a second may come close to what i need for the laptop to give an appropriate response.
 

  Are you sure? yes | no

Morning.Star wrote 07/27/2017 at 07:34 point

Thats a pretty impressive design feat already, and it looks like you know where you are going with it. This isnt a criticism, but you are probably going to have to reconsider your processor though. While a Pi is probably powerful enough, and the Mega has enough digital and analog ports both have serious communications issues; Every motor update and sensor response bottlenecks in the serial transport and throws synchronisation out of the window. The lag between reading sensors and addressing servos is large enough to cause hysteresis; averaging to avoid this will slow the system to a crawl.

I havent entirely solved this issue myself but I have ironed out a lot of the synchronisation issues by distributing processors into the limbs, making them responsible for themselves instead of a central processor doing it. We have a highly parallel communications bridge between our brain and muscles, and I threw a Mega1284 at the 12 servos and 4 pressure sensors at the quadruped I built without realising it didnt have enough compute capacity available to do the job, even by adding a Pi, and the motion was jerky. I'm redesigning the servo sequencer I made to run on multiple processors for this reason and that may be enough to get my (much smaller and servo powered) robot to balance. #DECAL 

I also had to redesign my feet to be nearly 3 times the area they were to allow me to take longer steps without risking balance; its all about fine-tuning with hundreds of tiny fast adjustments, or using a large stable base. I also went to a triangular pattern of force sensors so it didnt have to stand on a hard and completely flat surface. (Carpet kills sensor feedback, its like trying to walk on a mattress - all balance is done using upper body...)

@Radomir Dopieralski  manages smooth motion by using a much faster MCU with a lot more memory and placing his motion routines inside that, so they can address his servos in parallel... ;-)

  Are you sure? yes | no

deʃhipu wrote 07/27/2017 at 12:02 point

To be honest, I actually didn't achieve smooth motion in my robots yet.

  Are you sure? yes | no

Morning.Star wrote 07/27/2017 at 17:00 point

Heh, well the clips I've seen dont look like a case of the DT's and you're running quite a few at once. Lets say smoother then :-)

I think I was trying to point out there's other ways than mine to go about it, and yours is walking... I think I need to say though, MicroPython isnt the best use of processor cycles when it comes to precise timing. The processor may run 10x faster than an Atmega, but its doing a lot more ultimately to switch those ports on and off at the right moment, and thats what counts.

  Are you sure? yes | no

deʃhipu wrote 07/27/2017 at 17:57 point

It seems to be a good use of the programmer's time, though.

But them again, more than half of my robots are actually programmed in C++ on Arduino.

  Are you sure? yes | no

Similar Projects

Does this project spark your interest?

Become a member to follow this project and never miss any updates