Close
0%
0%

ESP8266 (ESP-07/12) Dev Board

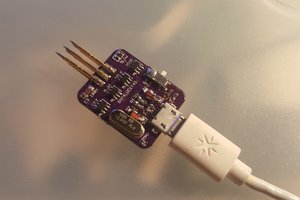
PCB for fast development with ESP-07 / ESP-12 with on board USB to Serial converter and on board lipo charge / protection circuit

Similar projects worth following
The ESP-07 and ESP-12 (as all other modules with the ESP8266) are quite powerful wifi modules. There is now also the possibility to program them via the Arduino IDE, which makes you get an wifi enabled Arduino like thing for only 3$! but the bare Module are not as handy as a Arduino. This project will fixed that (at least for me). During the Project I want to desing a PCB to mount these wifi modules on to get easy acces to all IOs. Further on the PCB will provide power supply and programming tools.

Introduction / Motivation

My experience with the ESP modules started with the ESP-01 module. First only with the simple AT-Commands over the serial interface. Later, when it was available, I started to use the Arduino IDE for ESP8266. For the ESP-01 I had developed an small #ESP-01 Breakout Board.

The board was on homebrew PCB and only uses the ESP-01. So the PCB and soldering was not good nor professional looking this way, but it works. But the IOs of the ESP-01 were quite limited. So I came up to design I new PCB for the "bigger" modules (they use all the same chip).

Some advantages of the modules with a custom PCB :

  • easy and ready to use
  • as simple as an Arduino, but:
    - faster CPU
    - wifi!
    - more memory
  • not much more expensive

Features

(I only writing here about the newer rev2 - rev1 was similar but in some aspects different. It has also fewer features)

Based on my experiments with my ESP-01 breakout board this board has the following features:

  • Pads for ESP-12 , ESP12E, ESP-07 and ESP-01 Modules
  • on Board power supply from:
    - USB (MINI)
    - external power source (2,1mm power jack and 2,54 mm pin header)
    - lipo battery (for off-grid operation)
  • on board programming via USB to serial converter
  • Headers for IOs
  • rest / programming switch
  • User LEDs: RX, TX, Power and GPIO2 LEdis available on the board
    RX, TX, and Power LEDs kan be en/disabled via a Jumper to save power
  • Jumper to connect IO16 and reset (need for deepsleep?!)

New with rev 2.2

  • optional compatibility to the NodeMCU boards
  • mini OR micro USB
  • polarity of power jack changed. now the centre pin is positive
  • nice three row pin headers for direct servo connection
  • now also FTDI-pinheader possible to connect external USB-Sertial board

Power supply

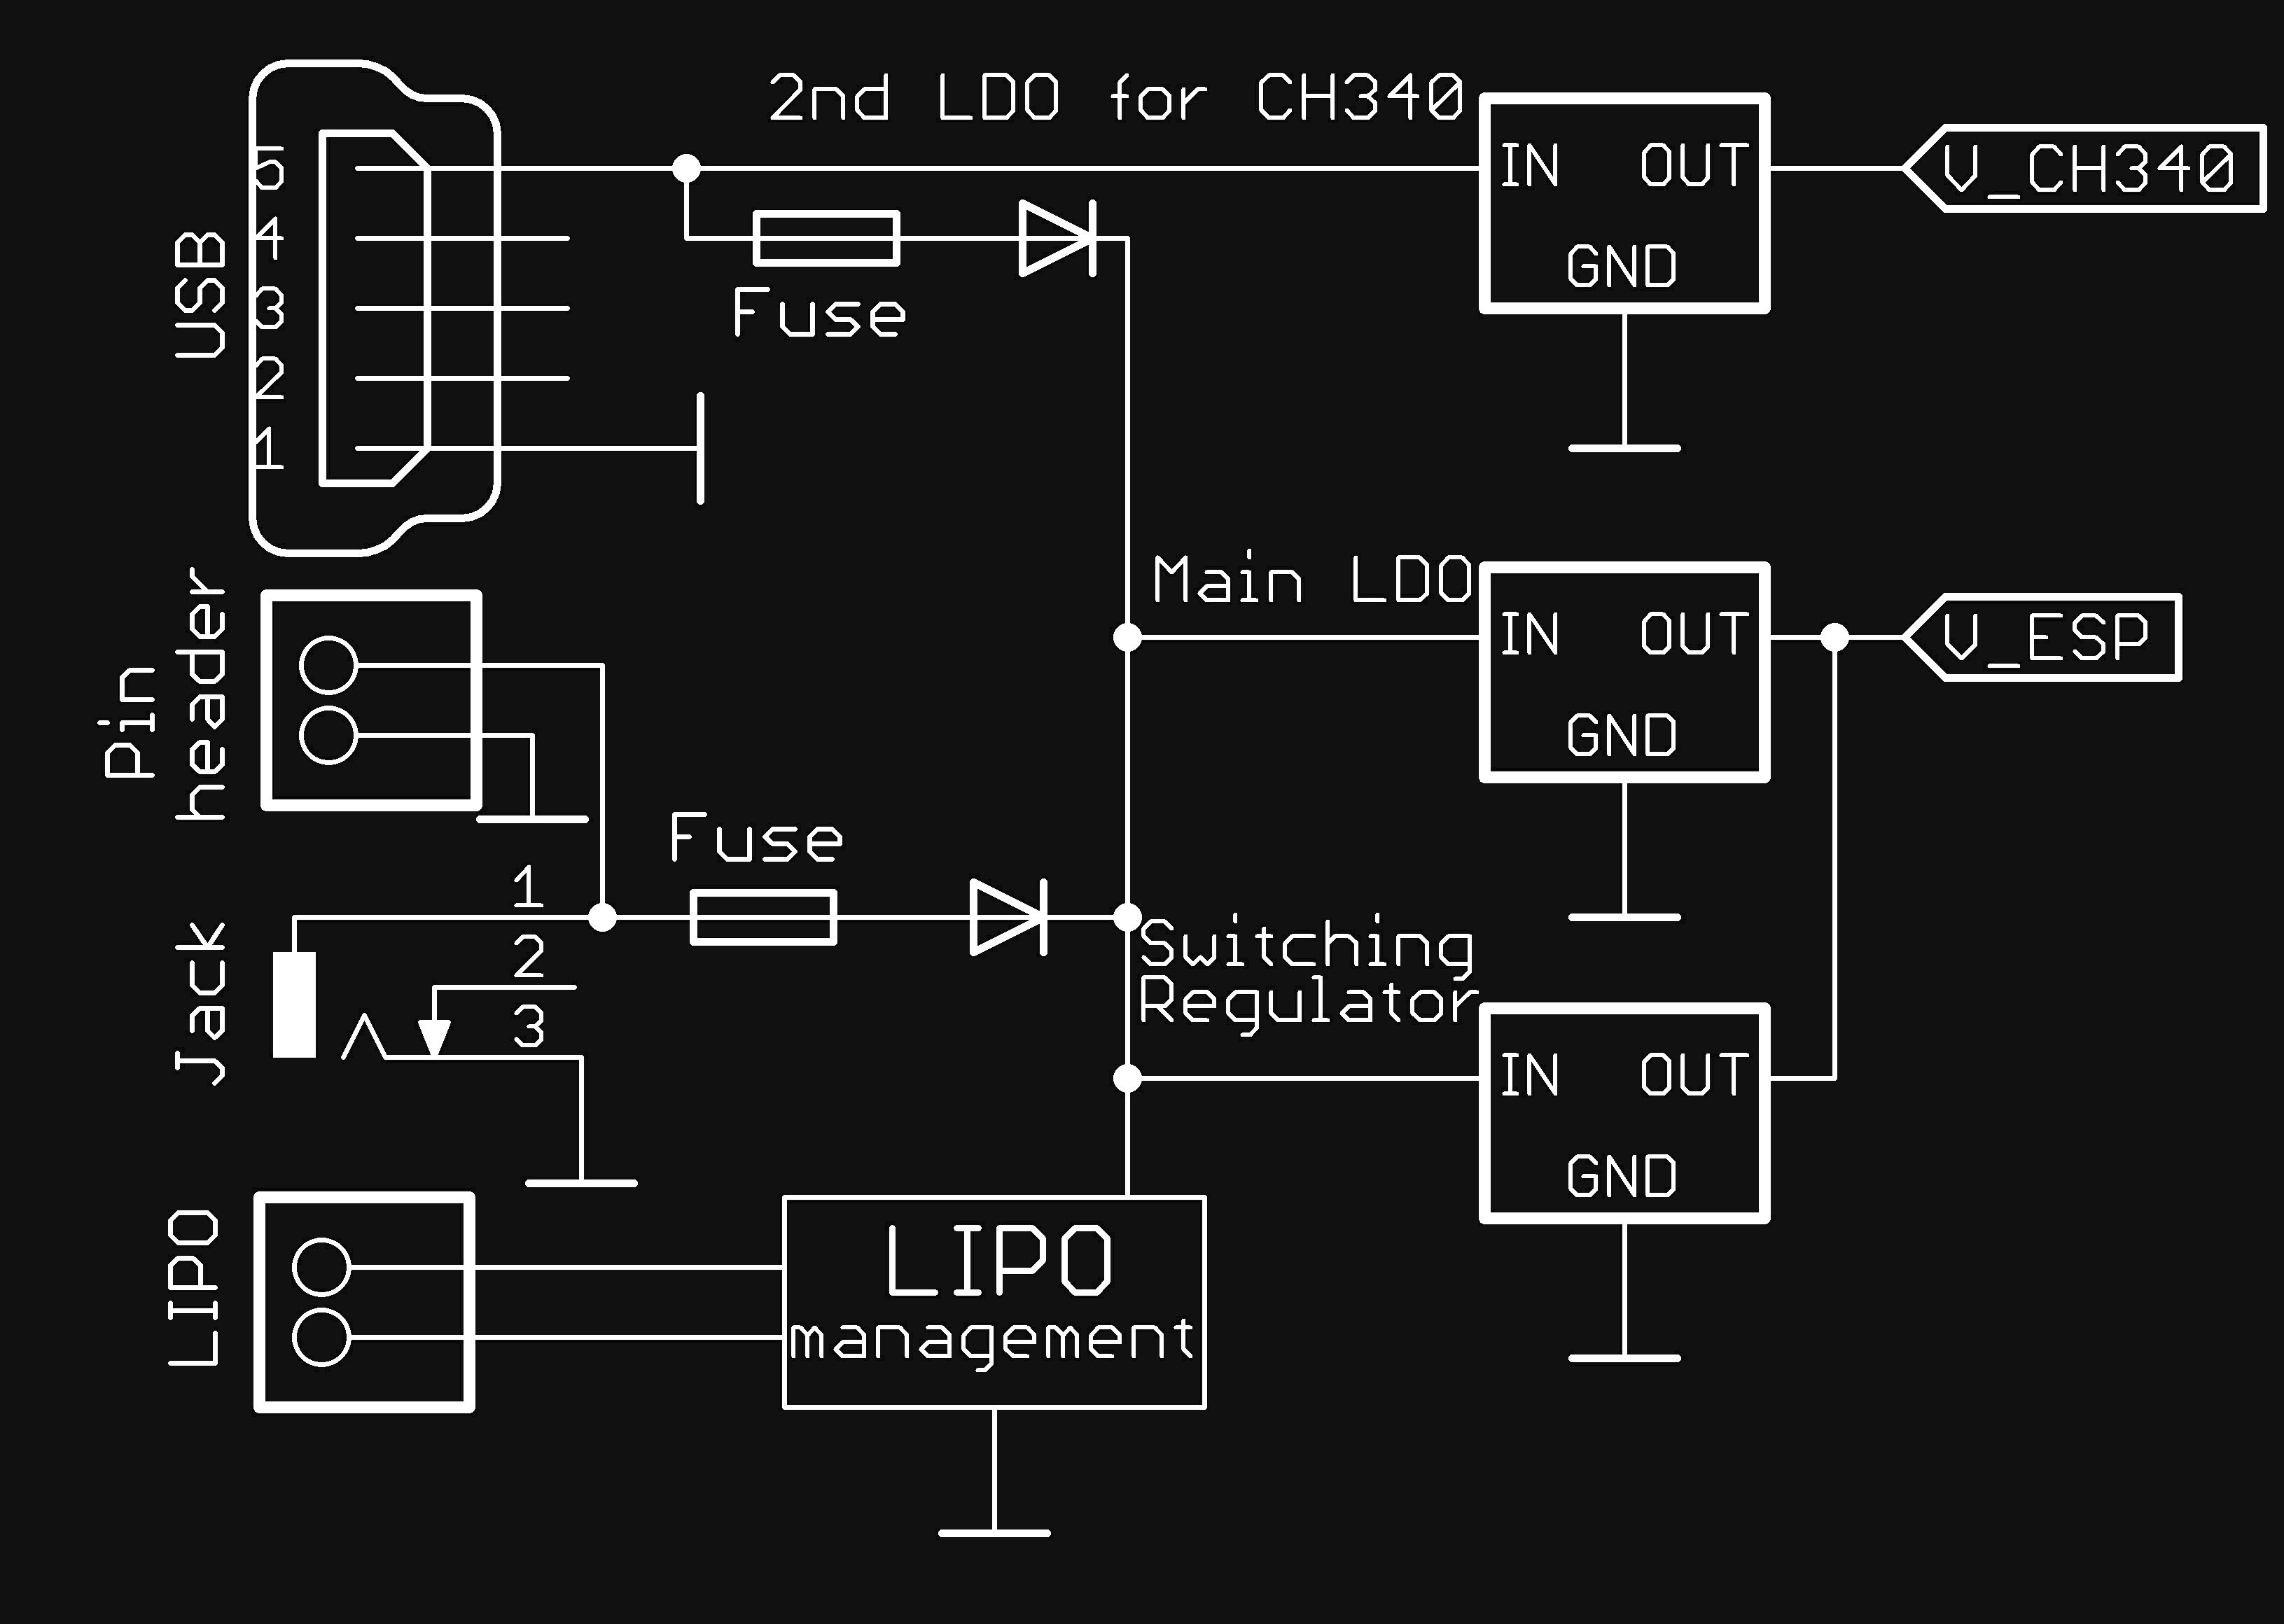
I wanted to make a very flexible power supply. Beside there different power sources, you can assemble two different regulator settings. As power source the USB-Power, an external DC-Voltage or a lipo battery can be used.

When connecting the Device via USB to a PC USB-Power can be used. You can also connect normal power to the Device via the USB connector.

For the lipo Battery there is some charge and protection circuit prepared on the PCB. For charging a MCP73831 is used. As lipo Protection a used a DW01-P. In rev2 there is now also a load sharing circuit (source) available. The battery must me connected to 100mil pin header on the PCB.

The third way to Power this device is the 2,1 mm power jack. The center is positive. (There is is mistake on Revision 2.1 or earlier: The Center Pin is negativ!!!) This is the same Jack used in most Arduinos. Beside the Power Jack there is alternative a 100mil pin header.

The power source is selected automatically via schottky diodes.

For the main voltage regulator there are two options:
1. Standard LDO (AMS1117-3.3 easy to use totally common regulator datasheet)
2. Switch mode regulator (LM3671MF-3.3 much more efficient datasheet)

There are SMD jumper onboard to select one of them. Additional there is another small LDO. It can be used optional to power only the USB to serial converter. But the USB to serial converter can be also powerd from the main voltage regulator.
Adjusting the battery charging current

To set or adjust the charging current to different batteries you must select an suitable value for R8. The equation for the current is (according to the data sheet):The units are kOhms for R8 and mA for the calculated current. [MCP73831/2 data sheet p. 15]

Case

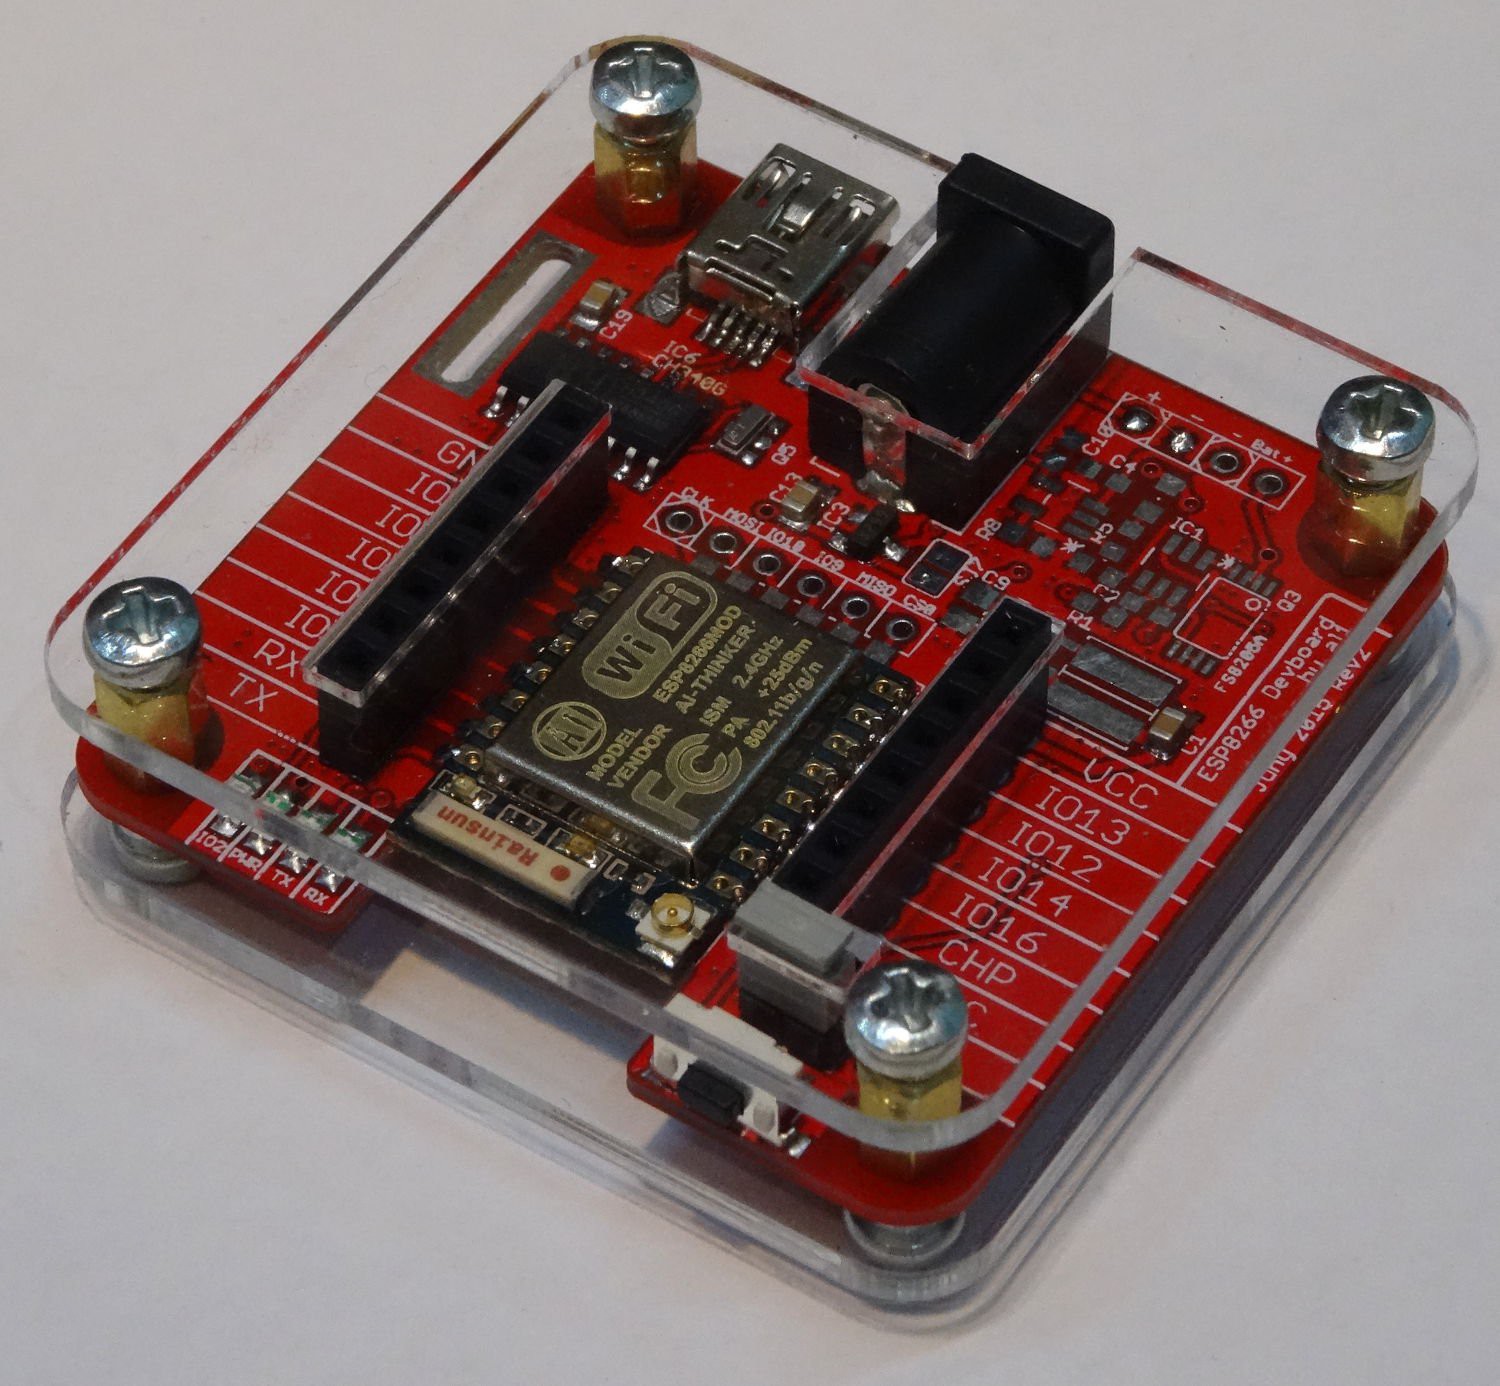
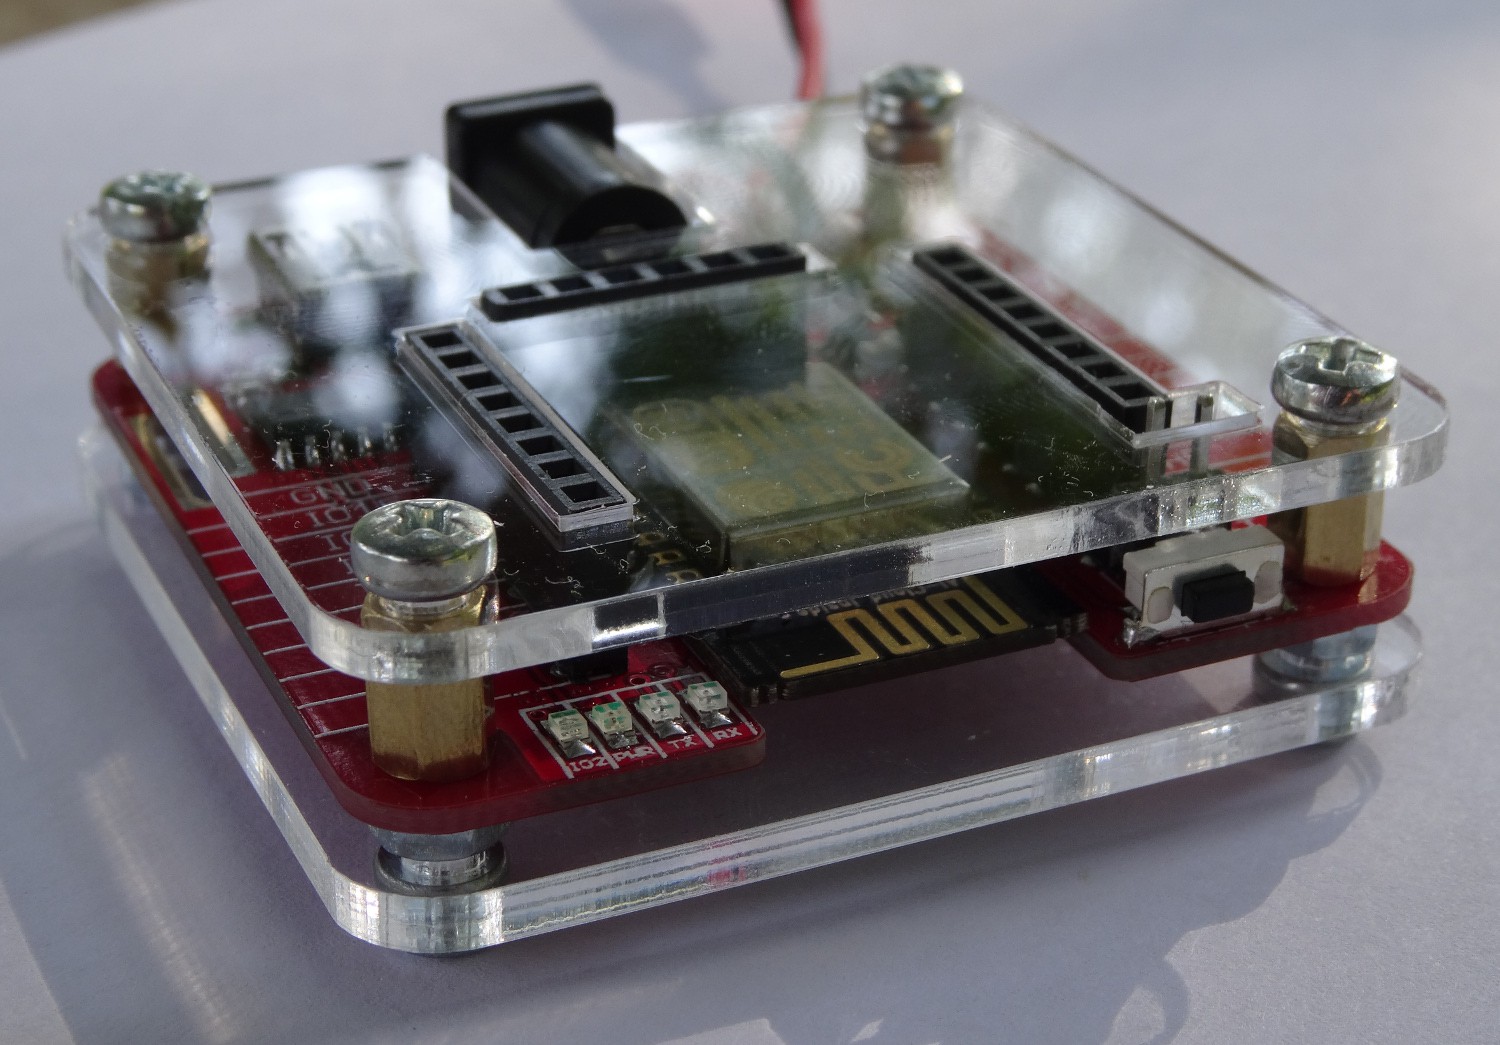
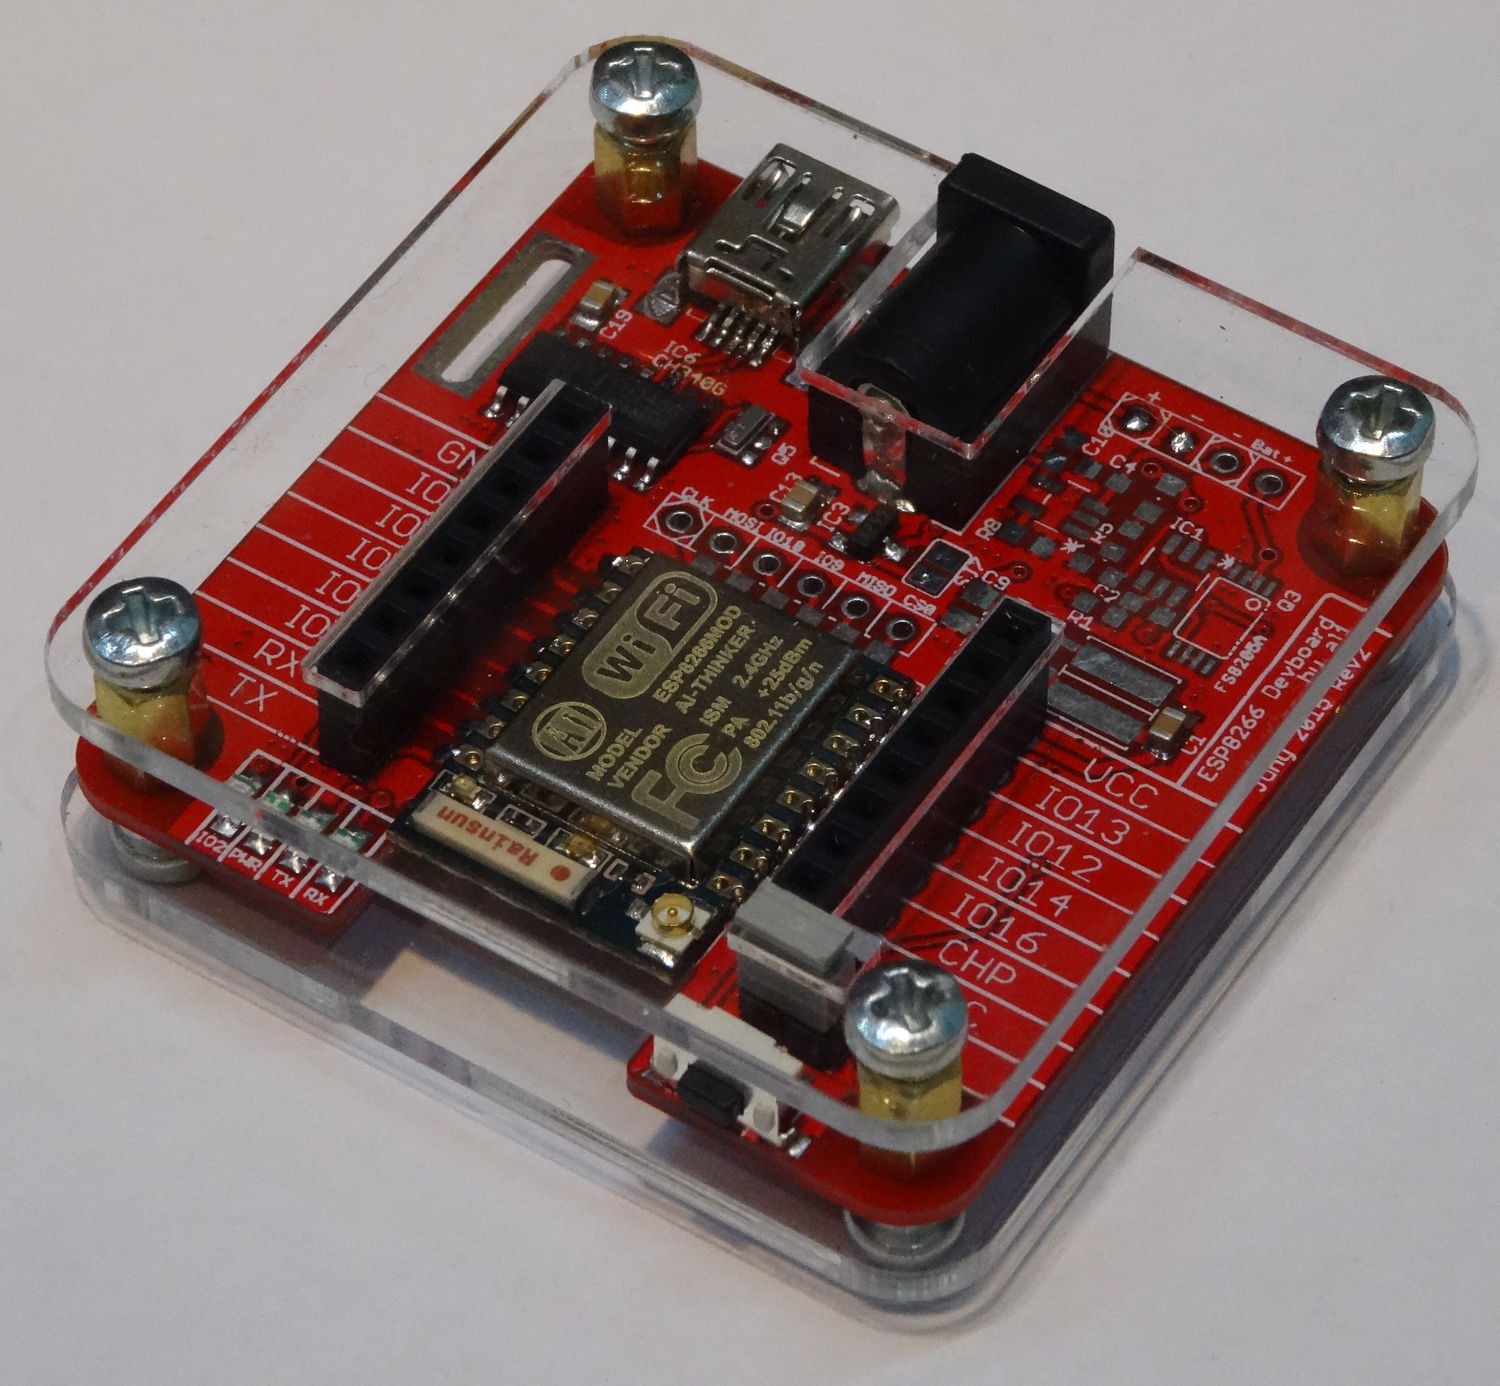
While the first revision has no case, only screw holes to mount the PCB somewhere (and these screw holes were to small) . I decided to make a case for the second revision. First I was thinking about a off the shelf case like this. But This was to small and I could not find one with is big enough but not to big. On the other hand most cases are non transparent and you will hide all your work. So I came up with the "Sick of Beige Cases" . This is nothing more than two transparent acrylic sheets screwed on both sides of your PCB. So I designed nice custom acrylic sheets for my modules....

Read more »

View all 25 components

  • new revison rev2.3 - perhaps final revision

    Alex05/14/2016 at 21:28 0 comments

    This project is quite old now. And at least for me it is some kind of finished now. I do have have enough board for myself. At least if I do not give away to much boards boards in the future. And they are working fine. I did made some small changes after the last revision (rev2.2). I think the biggest issue was a wrong pin-mapping on the UART header. I decided now to publish the (maybe final) version including eagle files under CC BY-NC-SA. So you can now, if needed, make adjustments yourself. Please post some pictures if you do so.

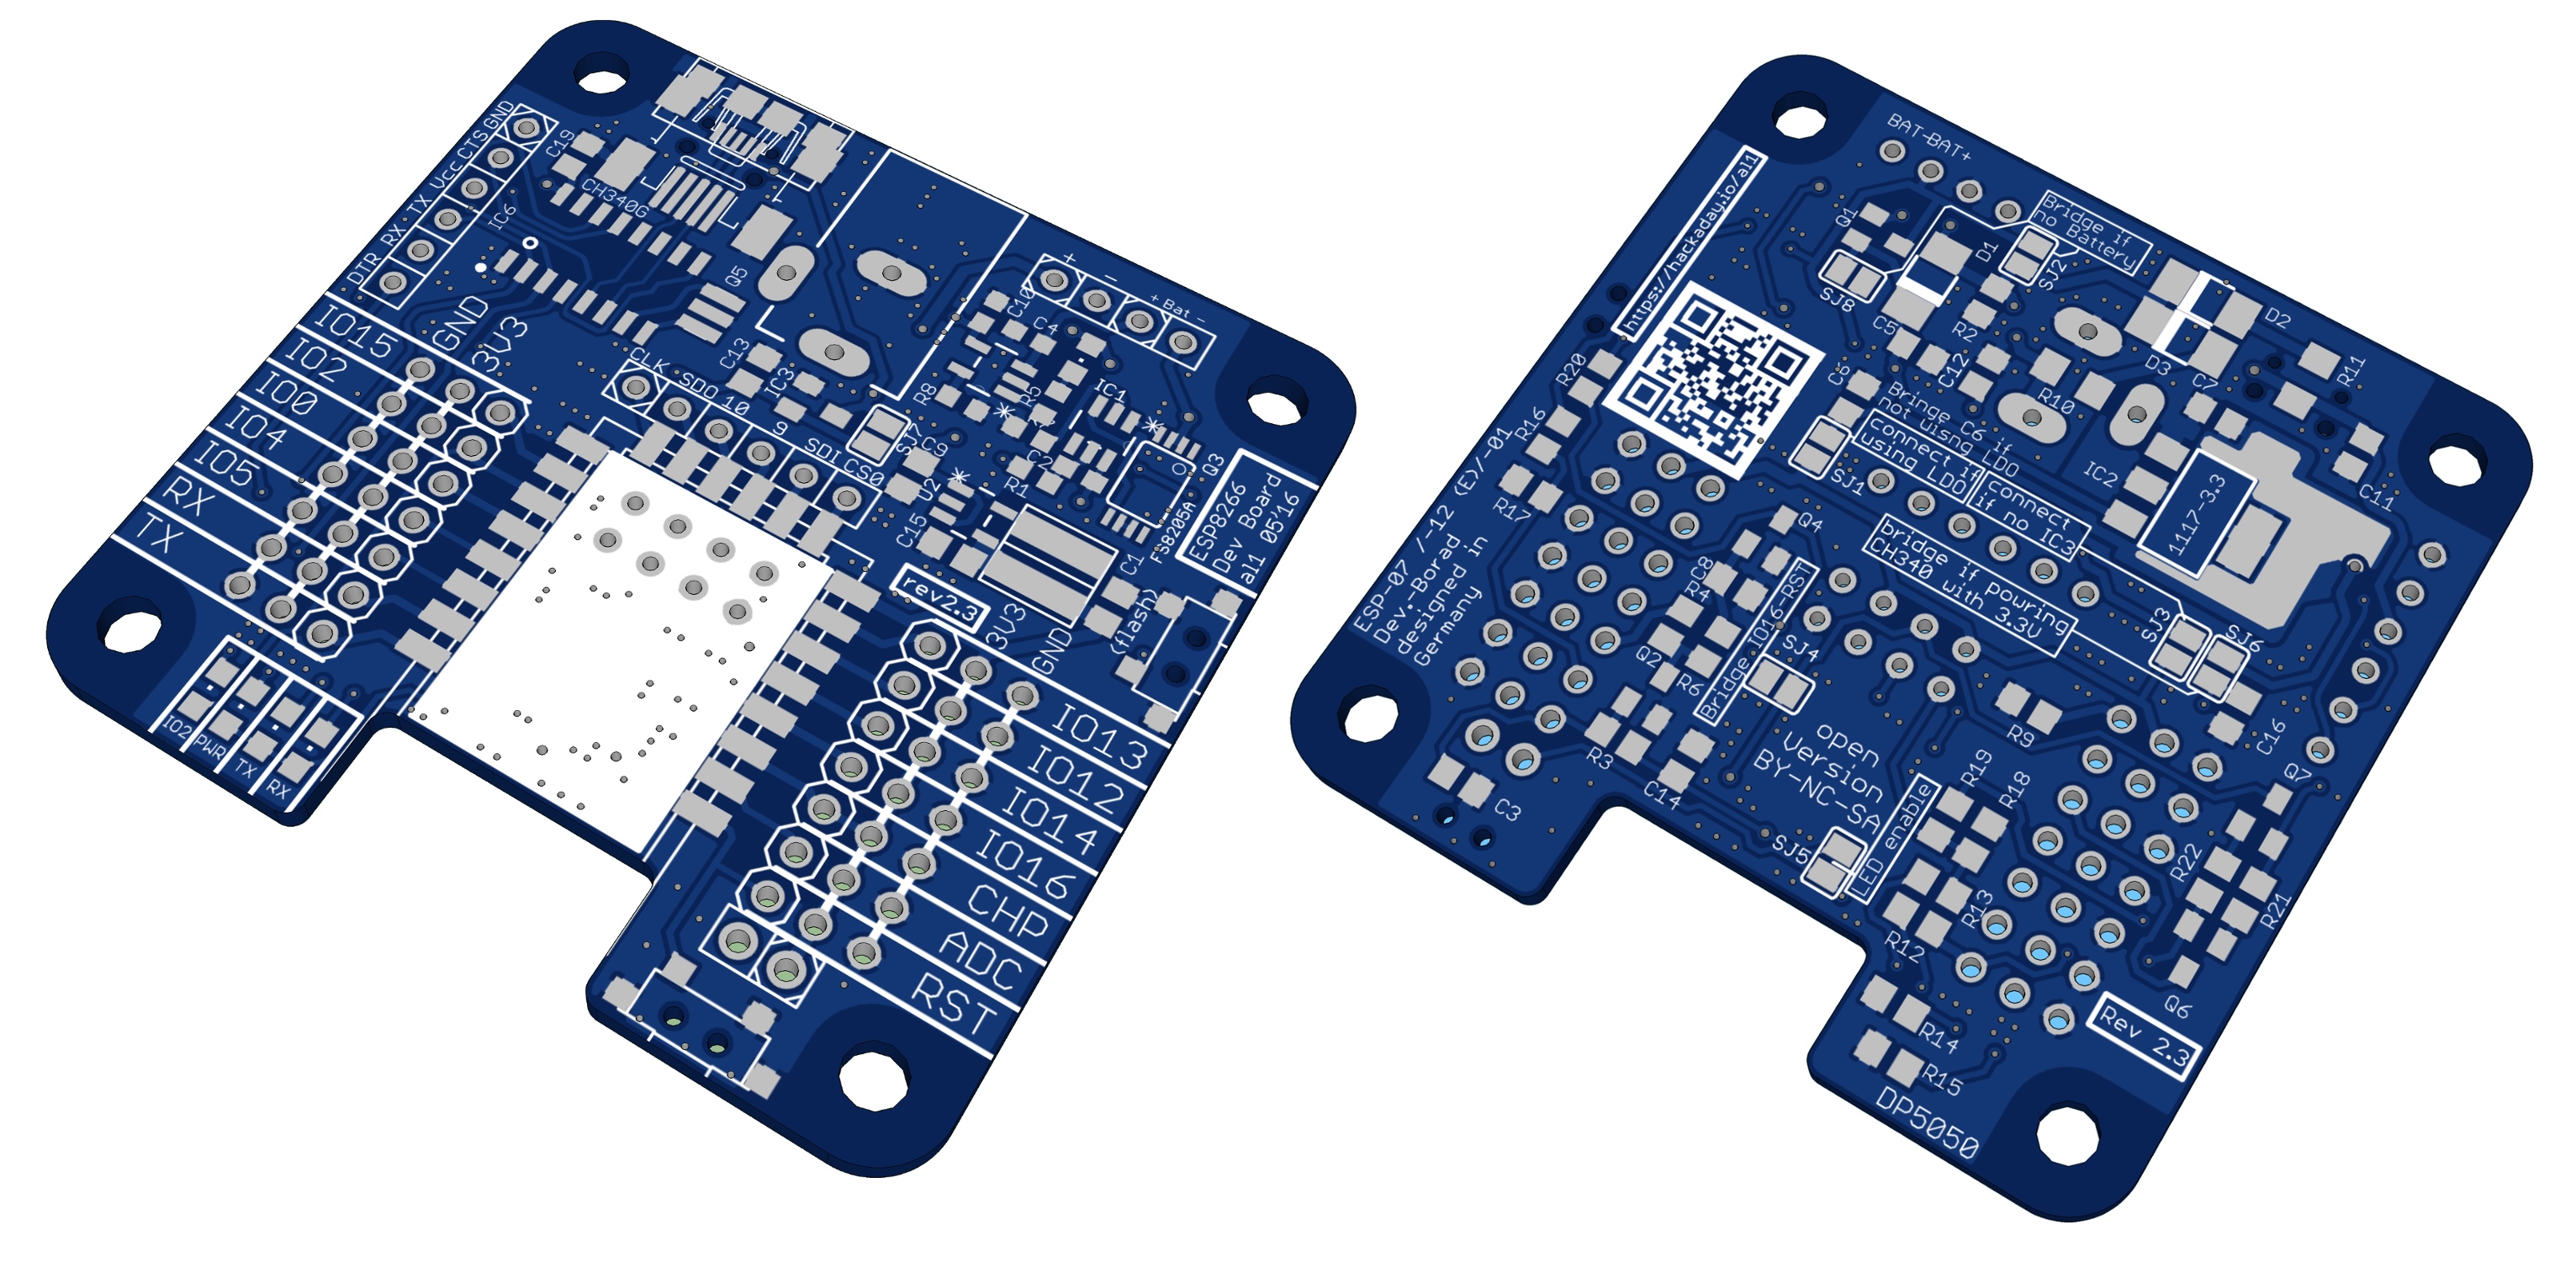
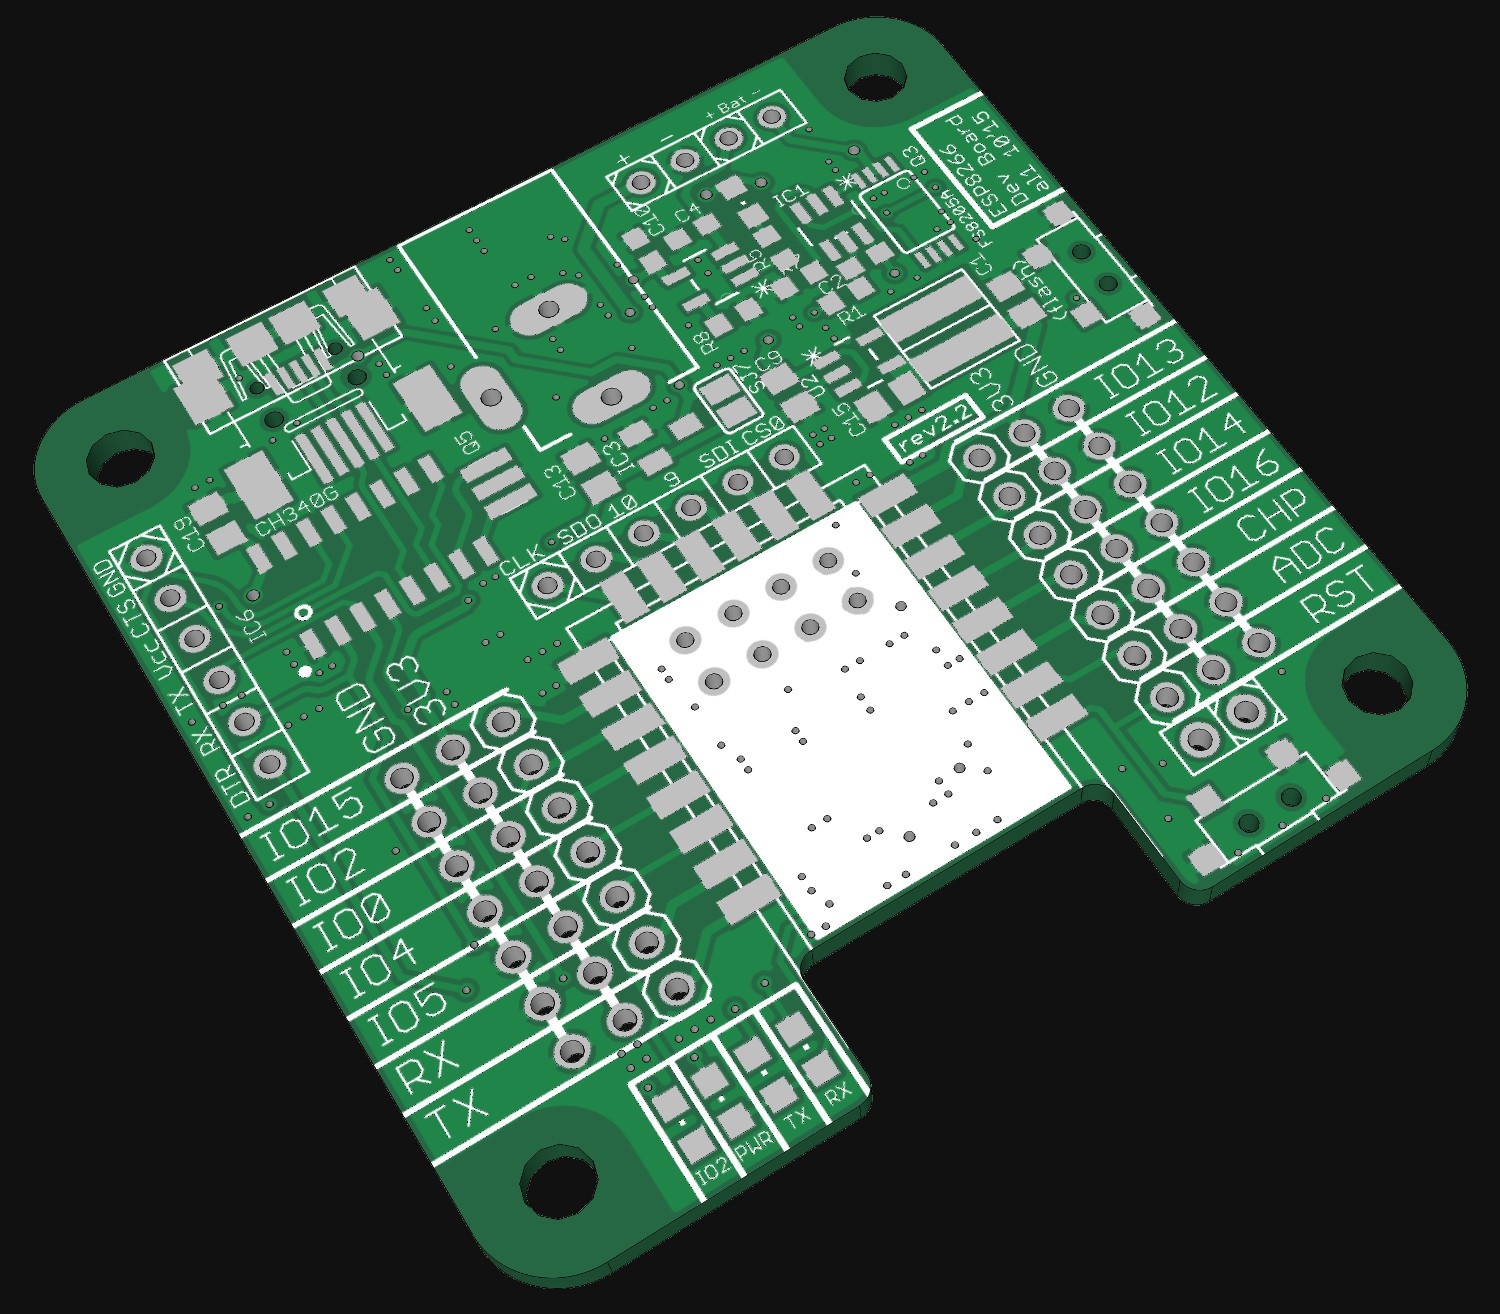
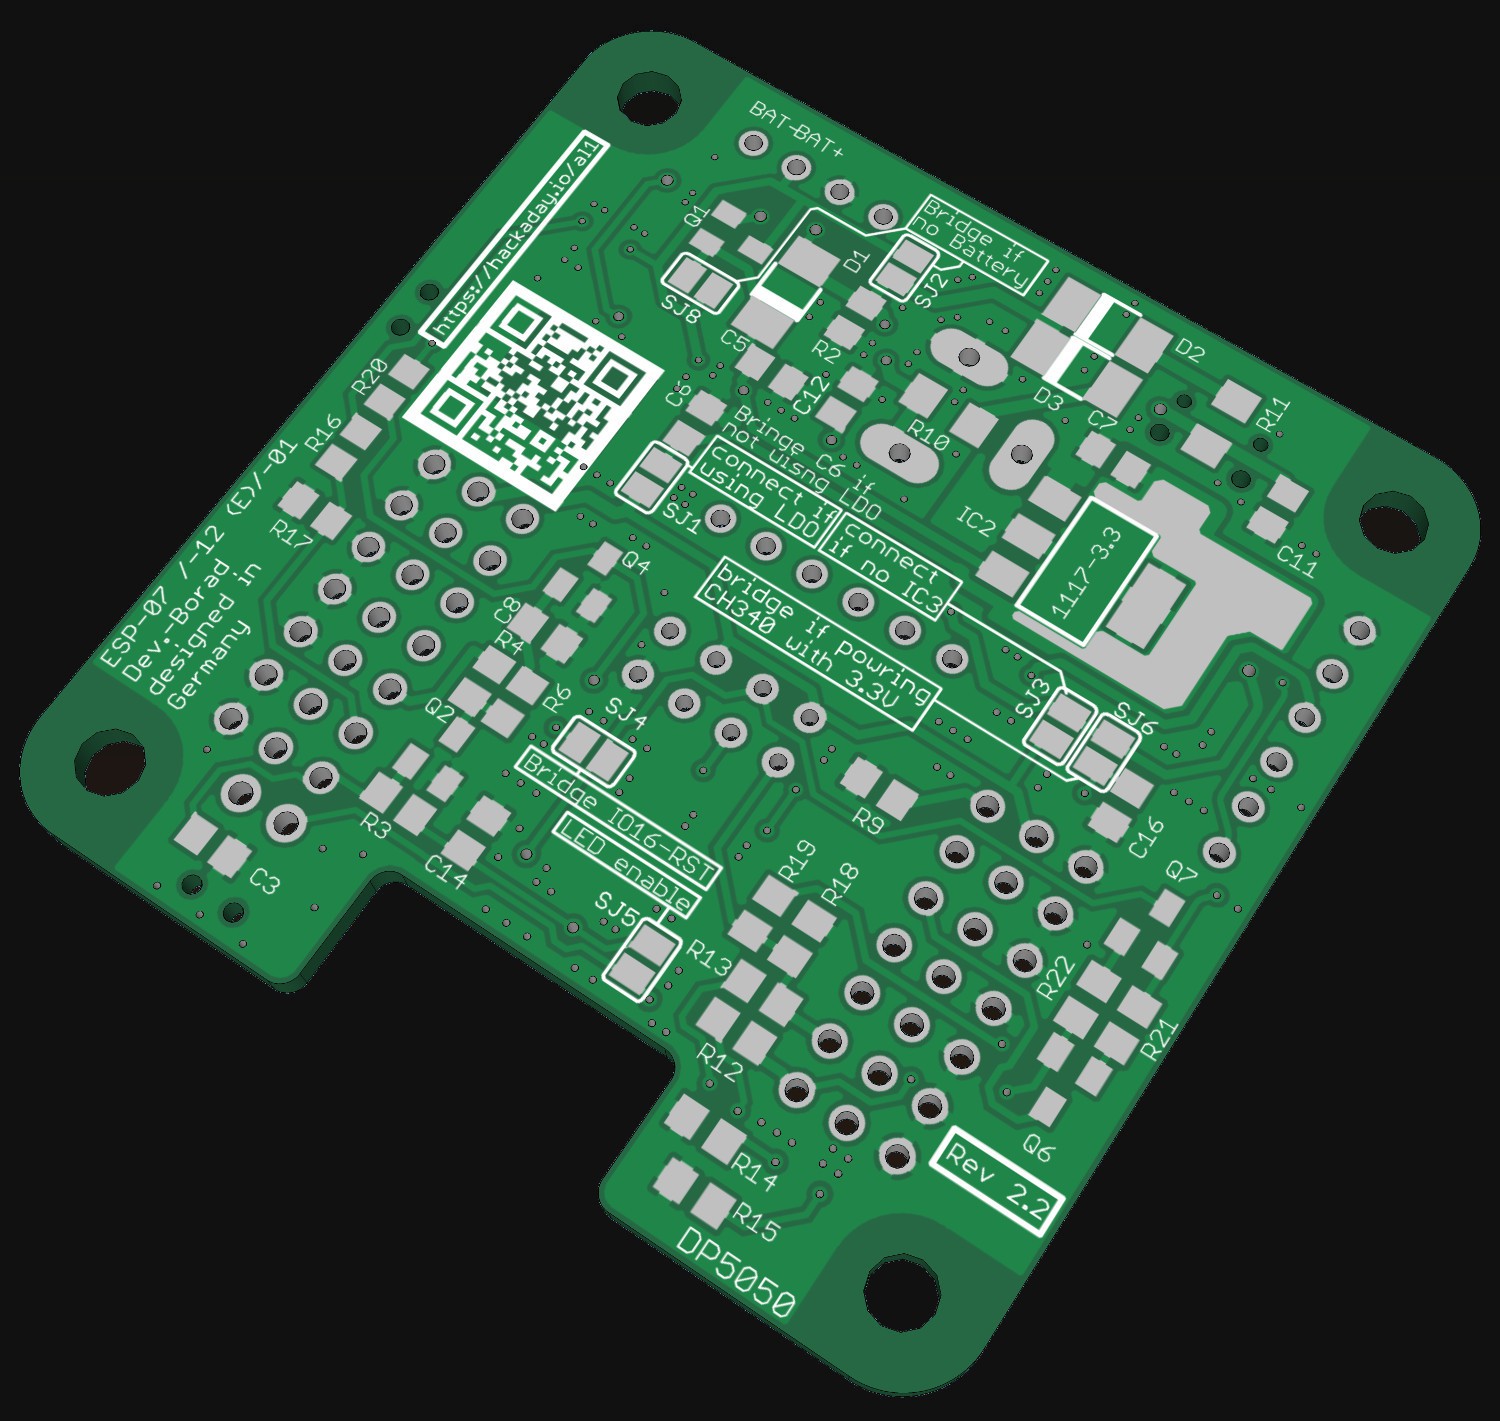
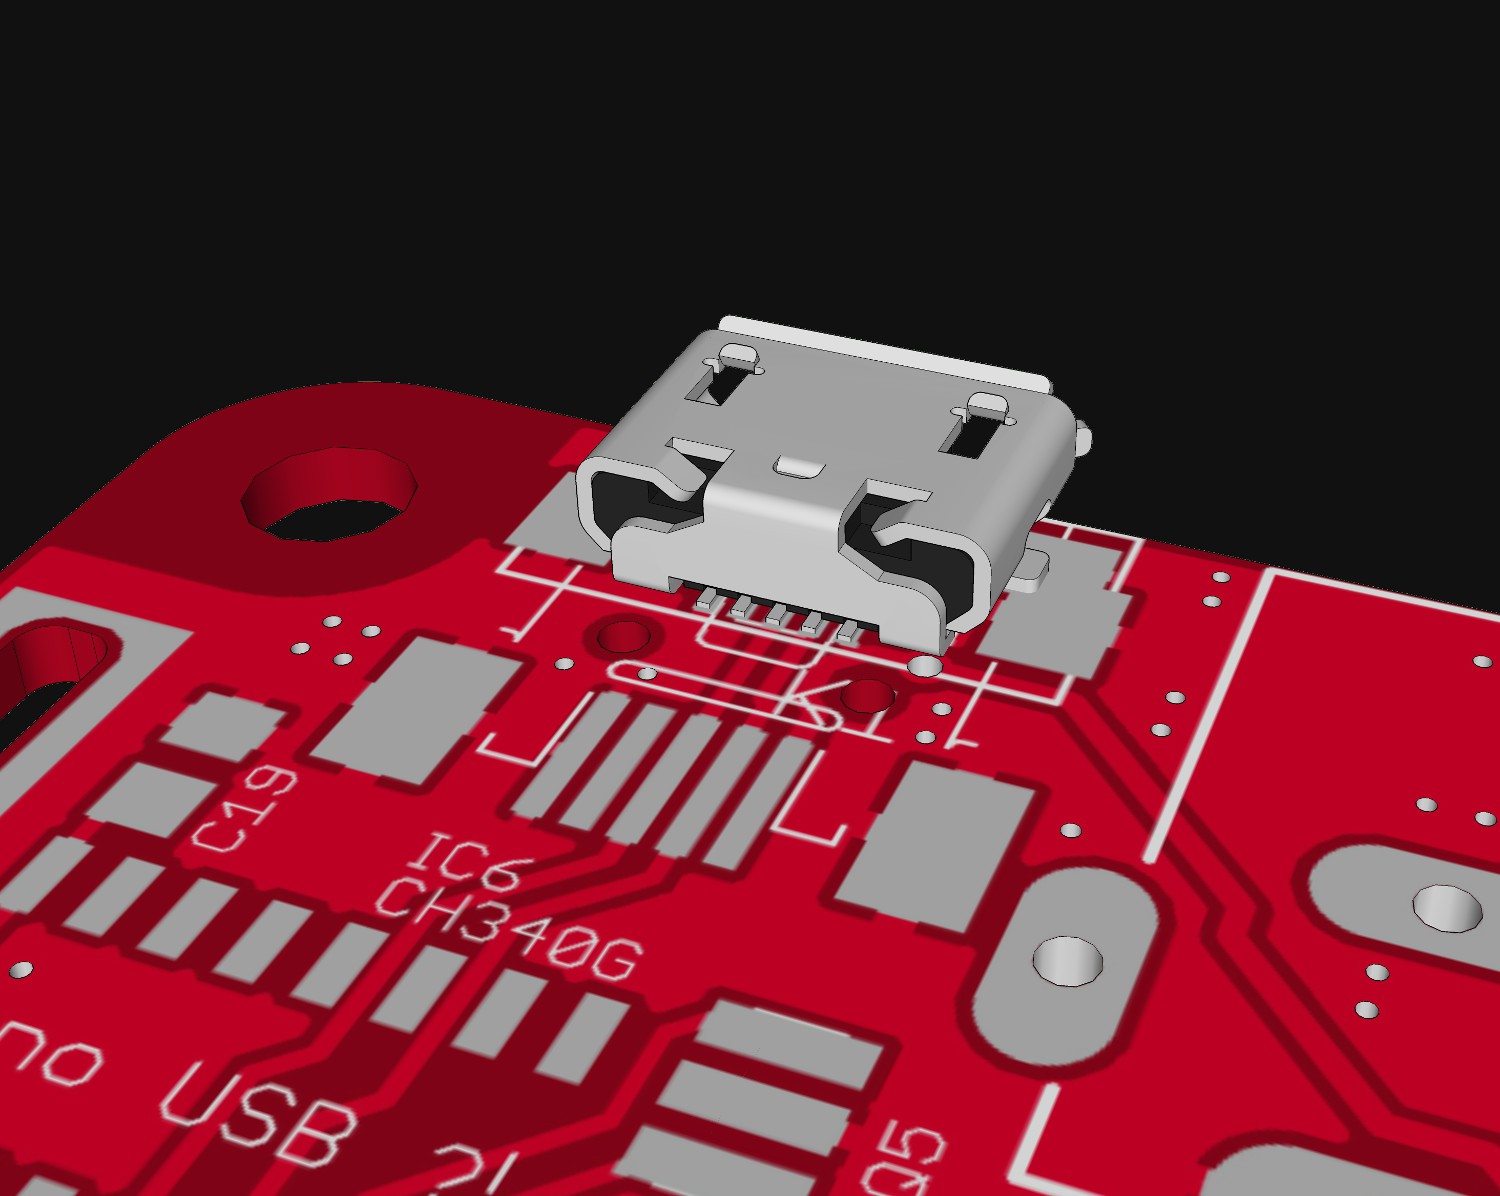
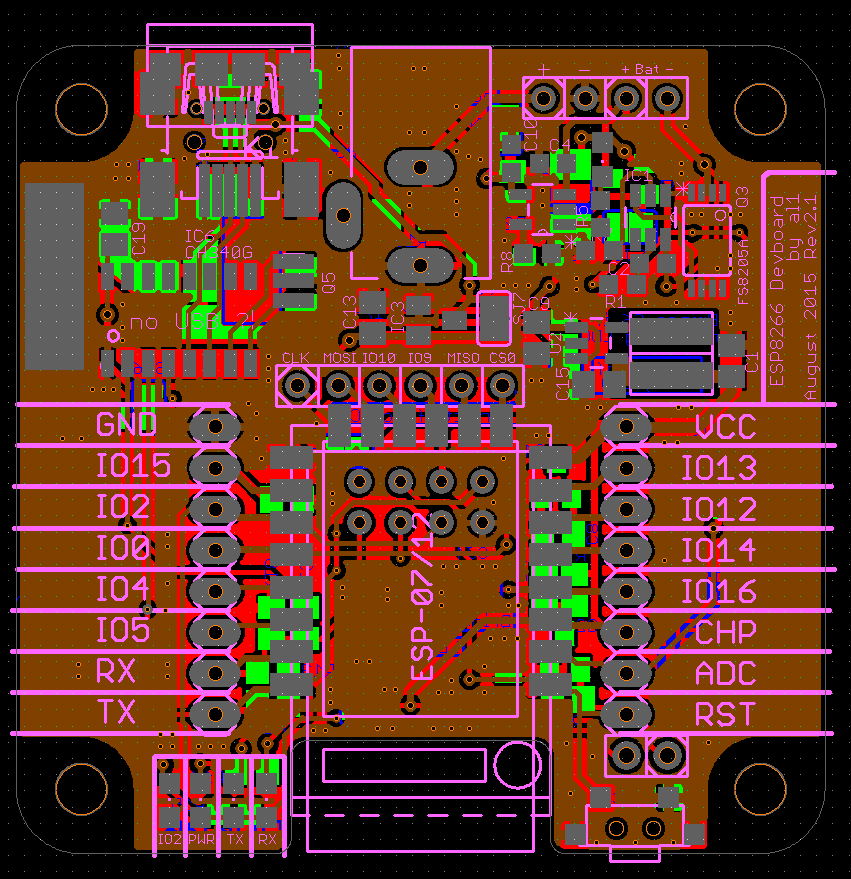
    Here are some renderings of the rev2.3 boards:

    I will not order this revision for myself now. So if you use the files please consider that they are "untested". You can find the files in the bitbucket repository.

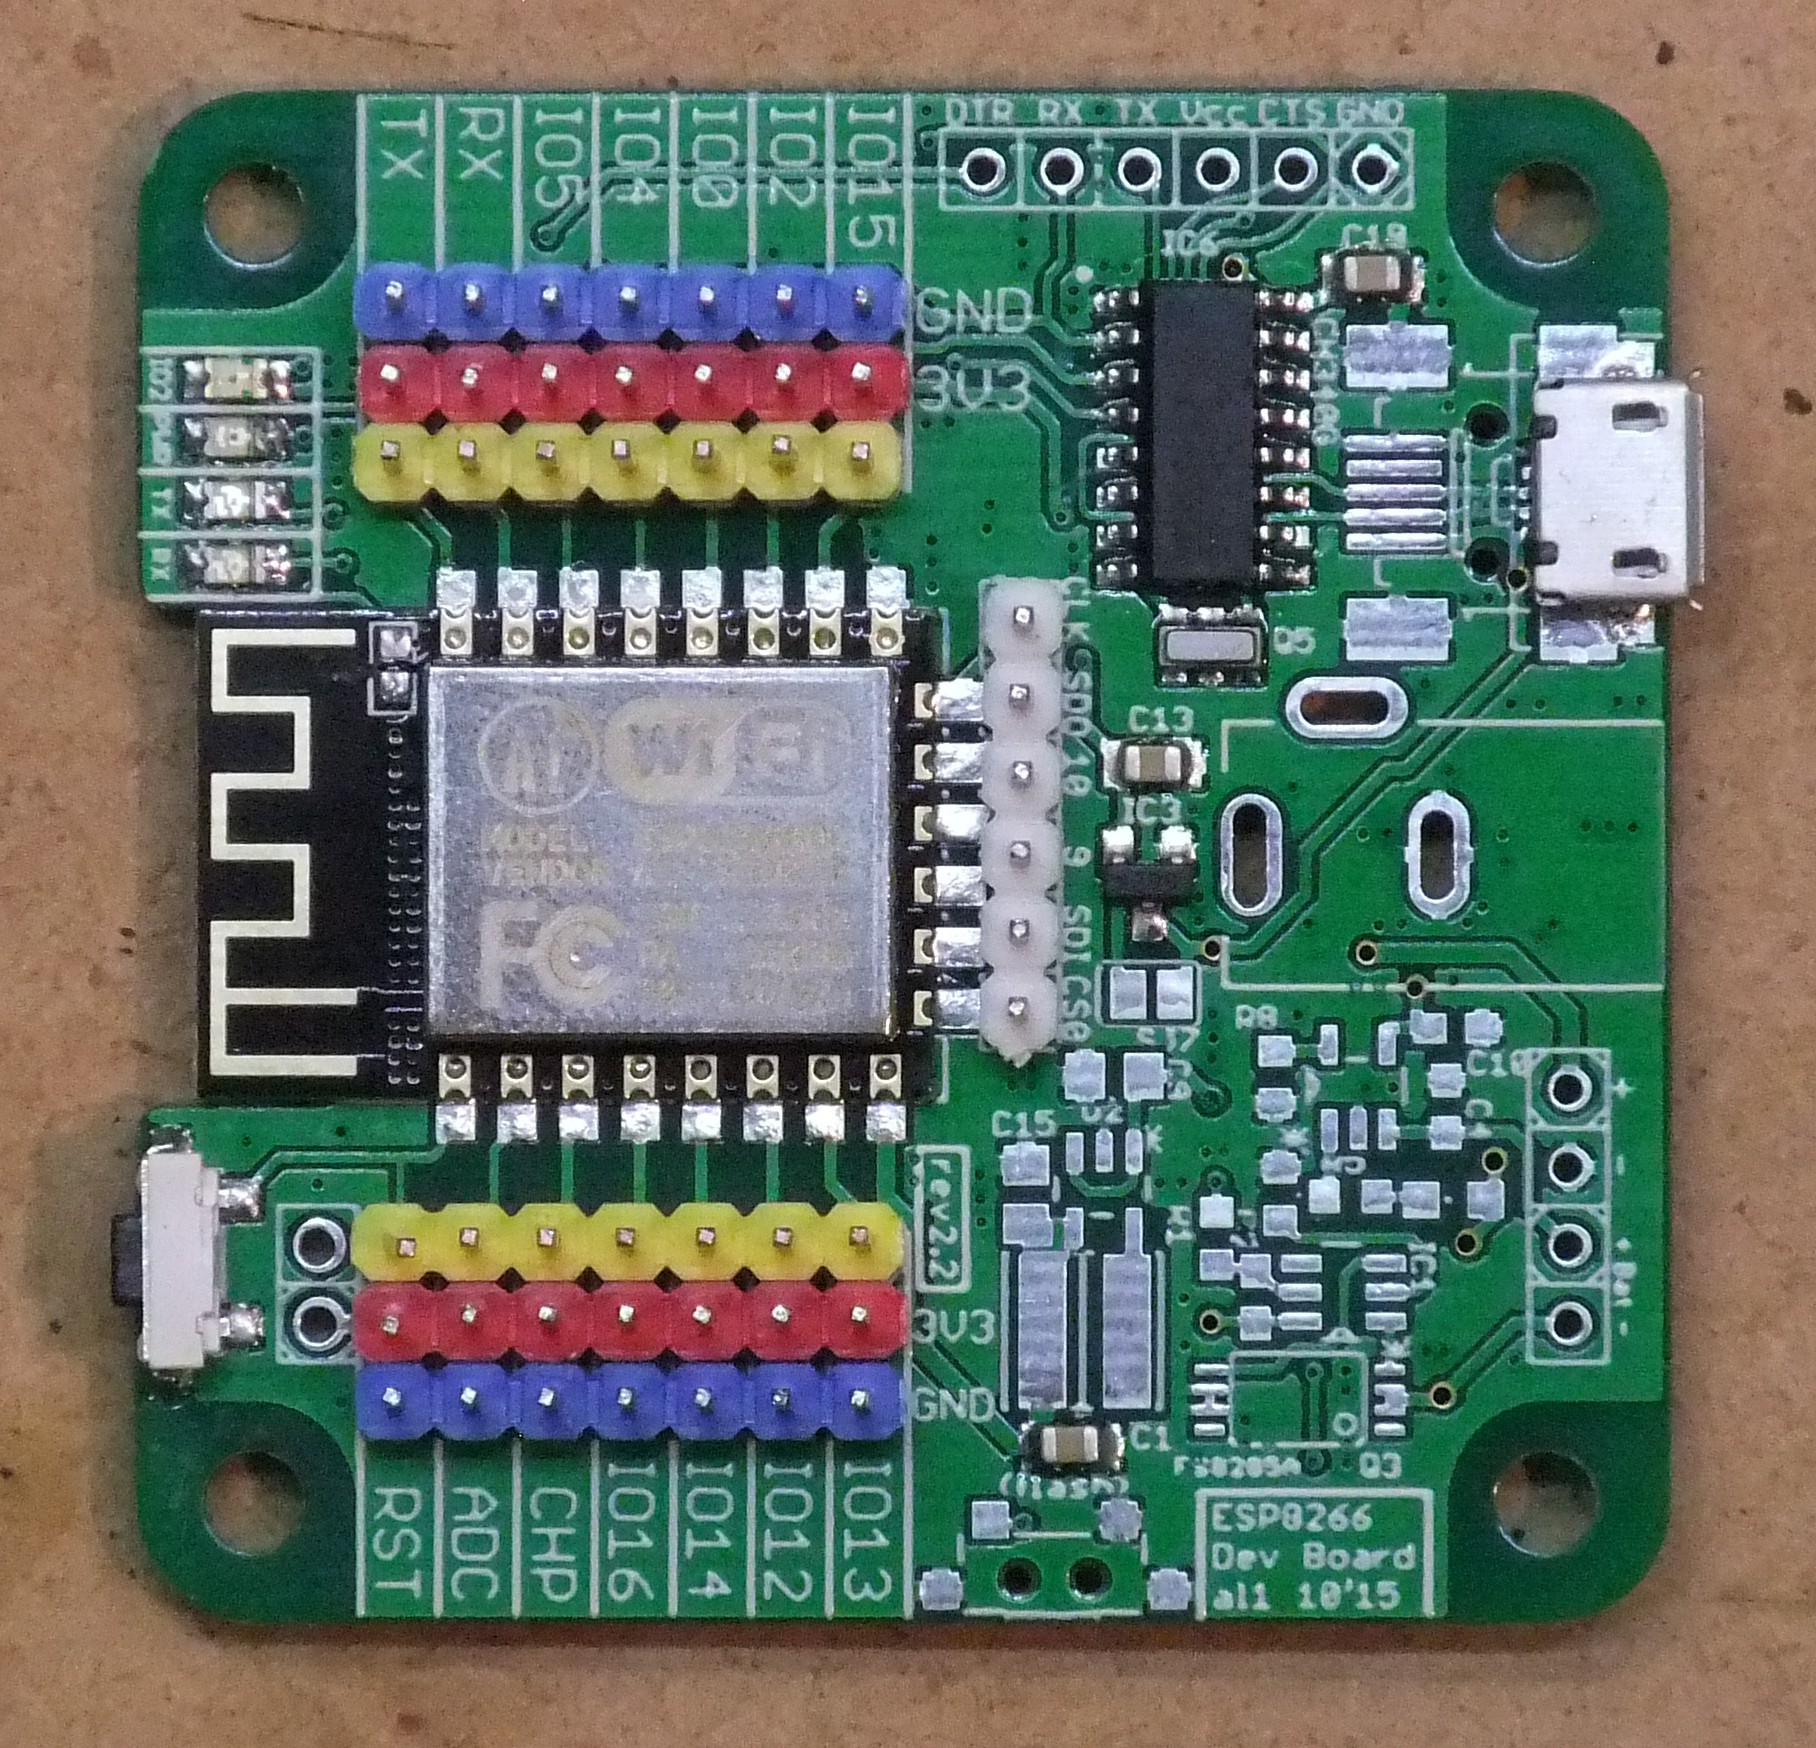
  • First rev 2.2 soldered (just a picture)

    Alex11/23/2015 at 19:38 2 comments

  • rev2.2 boards arrived

    Alex11/21/2015 at 14:20 2 comments

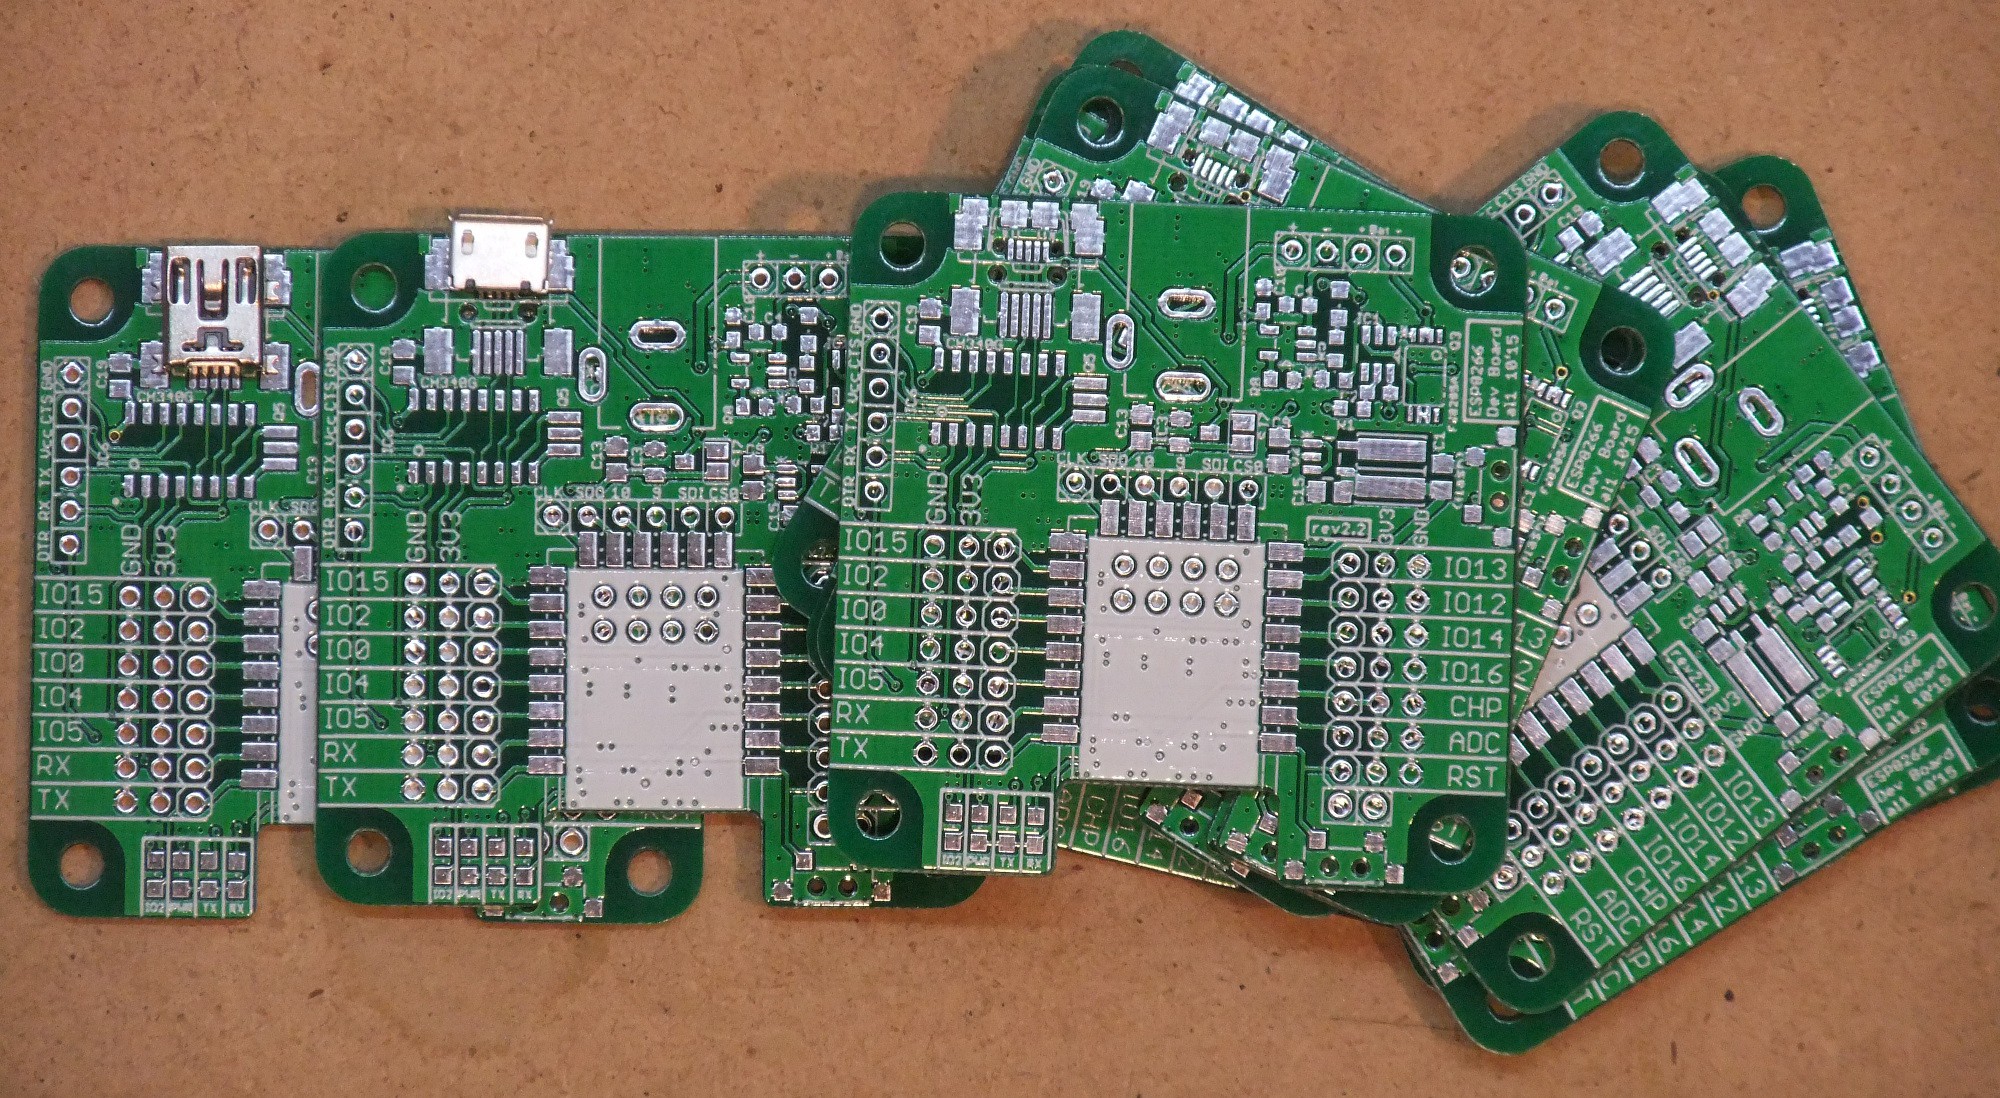
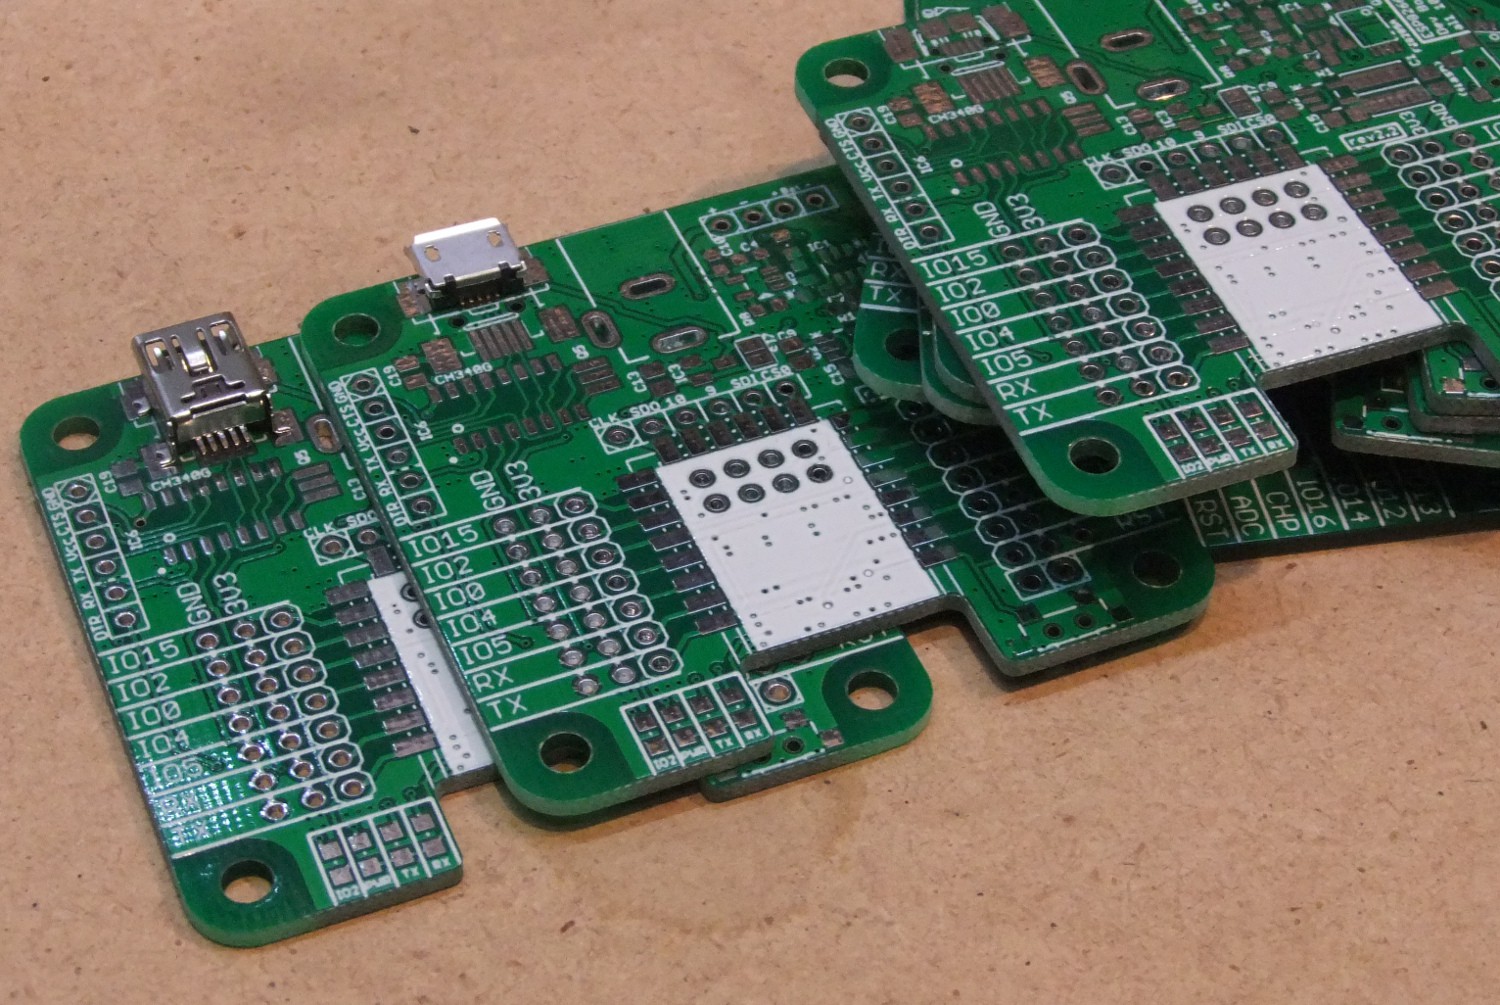
    The rev2.2 boards did arrived from china (this time I used seed studio to produce the boards). They do look good. The mini/micro USB combination footprint looks also like it would work.

  • rev2.2 layout ready

    Alex10/24/2015 at 20:03 0 comments

    I did finalize rev2.2. Because I'm nearly out of boards. I think I will also order this board soon. Main improvements over rev2.0:
    - header for external serial adapter
    - power rails
    - optional compatible to the node-mcu boards
    - mini or micro USB

    As soon as I ordered the boards you will also find the gerber files in the bitbucket. This time I will try some Chinese manufacturer outside of dirtypcbs. An the board will be green (like in the render).

  • Power Jack is 'wrong' - centre pin is negativ!

    Alex10/12/2015 at 17:11 0 comments

    As I did mentioned today I did made a mistake. The Centre pin of the power jack is negative. So the power Jack of boards of revision 2.1 or earlier (there is no completed newer revision yet) is not compatible with the power Jack used on the Arduino Uno. The documentation was also wrong on this. I did change the details section and added it to the errata of rev2 and rev2.1. A wrong power supply do not destroy the board because there are reverse polarity protection diodes.

  • working on rev2.2

    Alex08/31/2015 at 19:37 1 comment

    I made some further improvements on the layout:

    - header for external USB-serial converter
    - "power-rails"
    - micro or mini USB (as in rev 2.1)

    rev2.2 is not ready yet. I am planing to add components to get optional compatibility with the nodeMCU boards. And maybe I will call it rev3 than - I am not sure.

  • REV 2.1 PCB update and micro USB

    Alex08/25/2015 at 14:10 0 comments

    So with this I fix (I hop all) issues of rev2.0 . I also added support for micro USB. So an micro OR mini USB connector can be used now. Not both at the same tme, because they are mounted at the same place.

    You can fin the Gerber files in the Bitbucked repository. I will not order rev2.1 board fore myself yet. First I do have enough of rev2.0 and I will add other stuff before I do order a new revision.

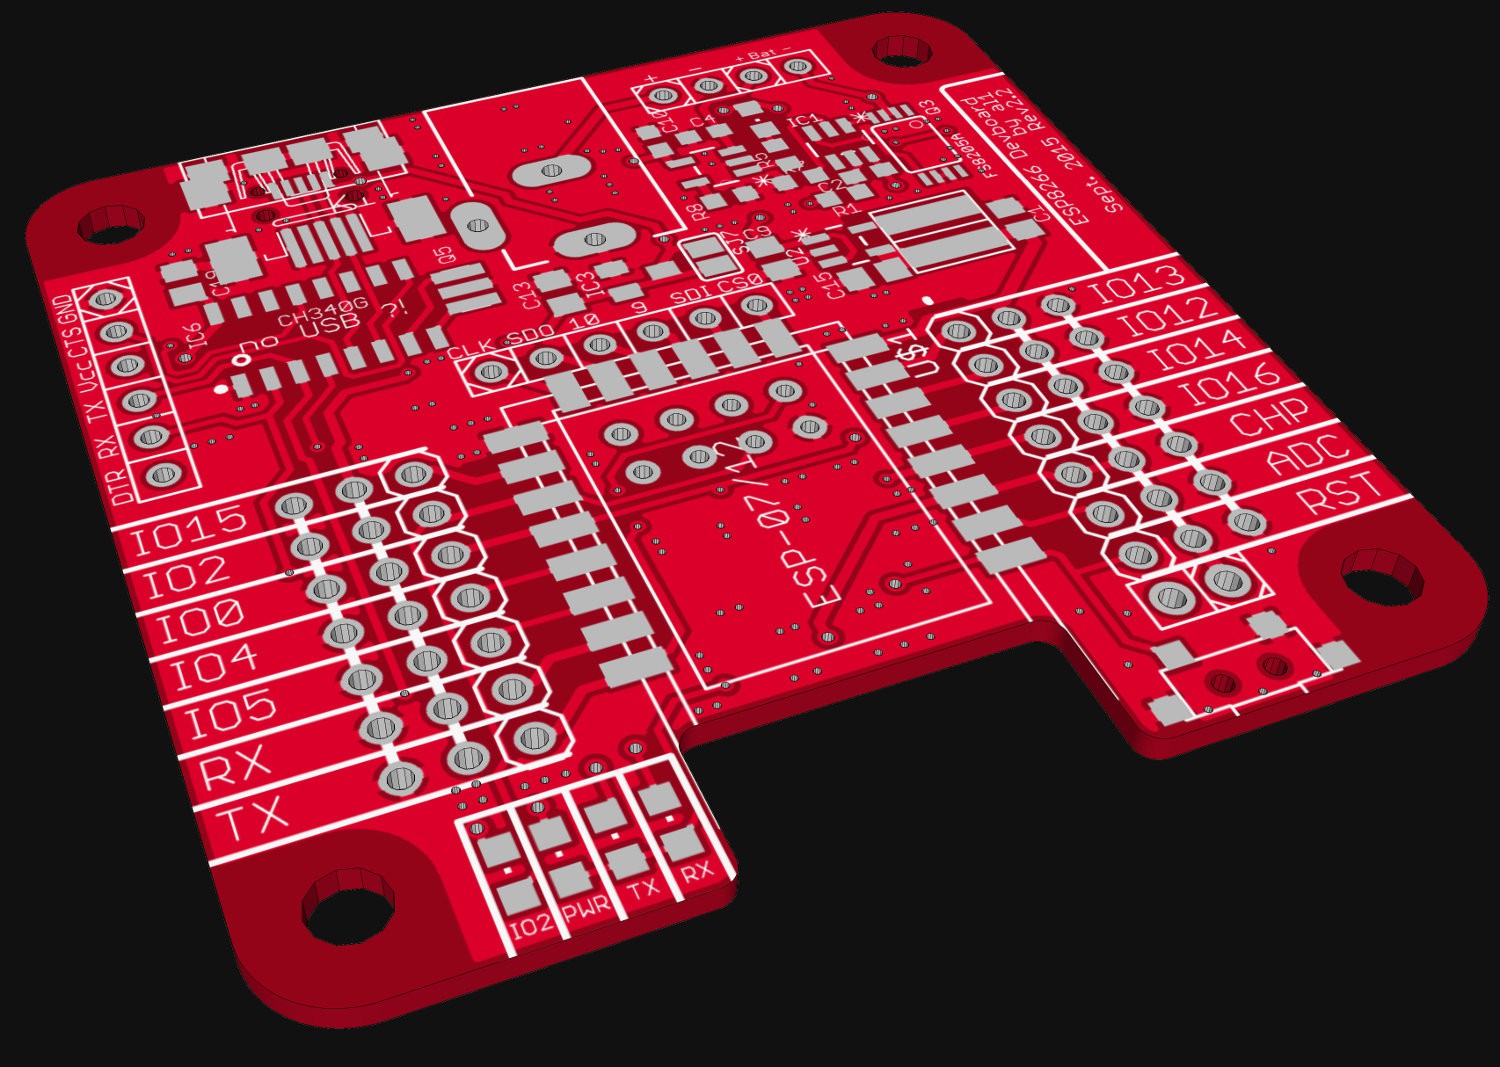
    [rendering of the Gerber files made with Viewplot 2.0]

  • Quarterfinals Video ready

    Alex08/10/2015 at 20:54 0 comments


  • Third soldered

    Alex08/01/2015 at 16:26 0 comments

    Today I soldered the first revision board with battery management. it works and now I can use this for of grid operation. This board is also soldered with the switching regulator. This is much more efficient so less battery power get wasted.

    On the last picture you can also see the stack up of the case quite good.

  • First two ready

    Alex07/26/2015 at 13:14 2 comments

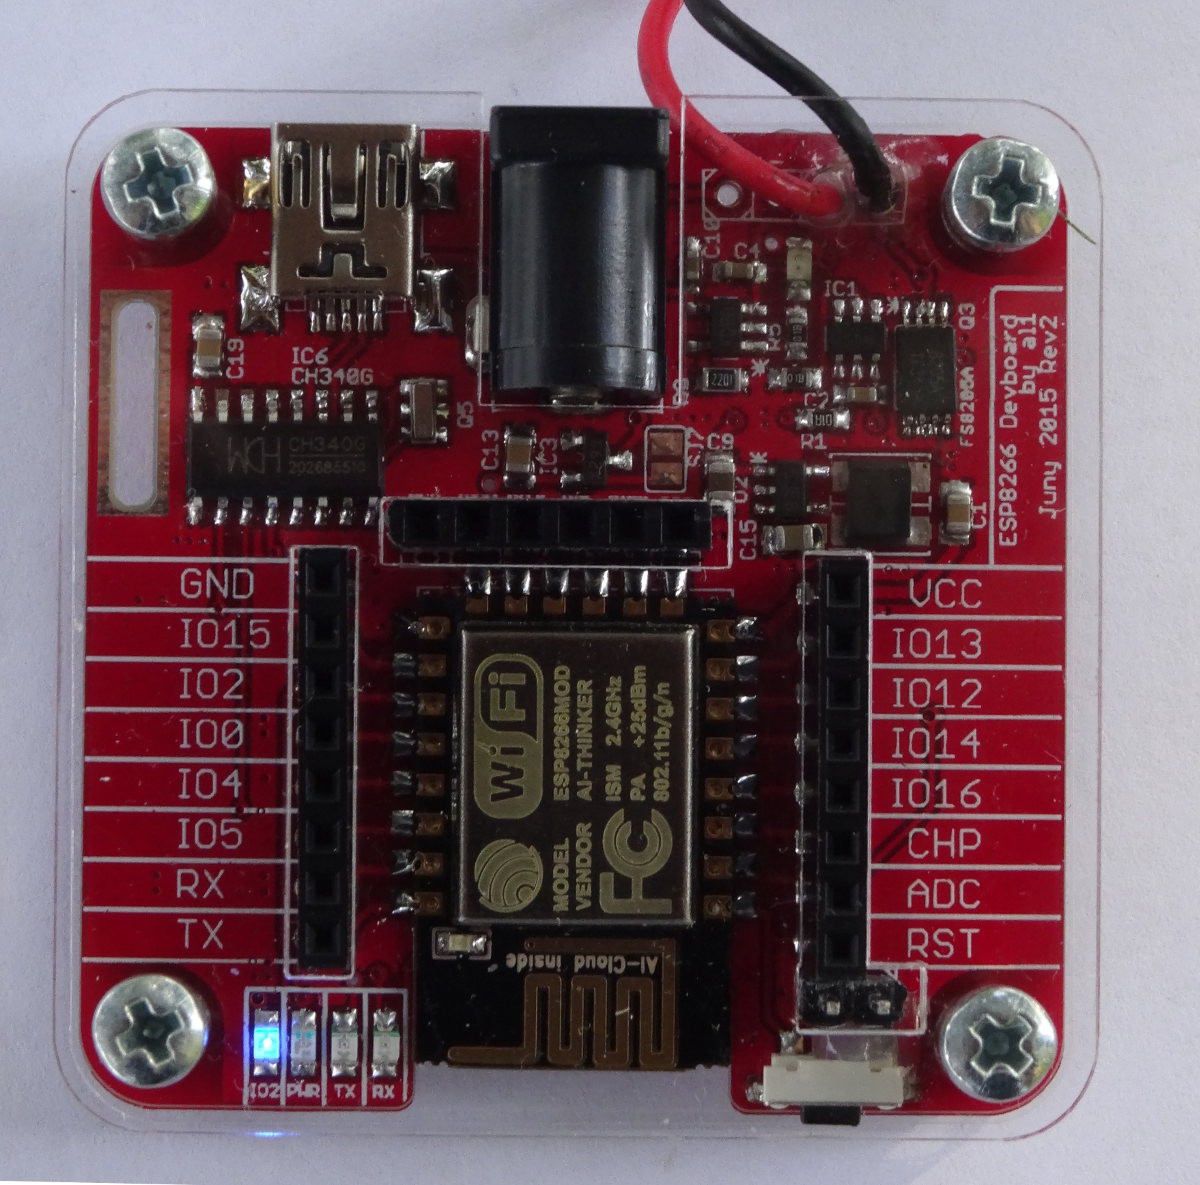
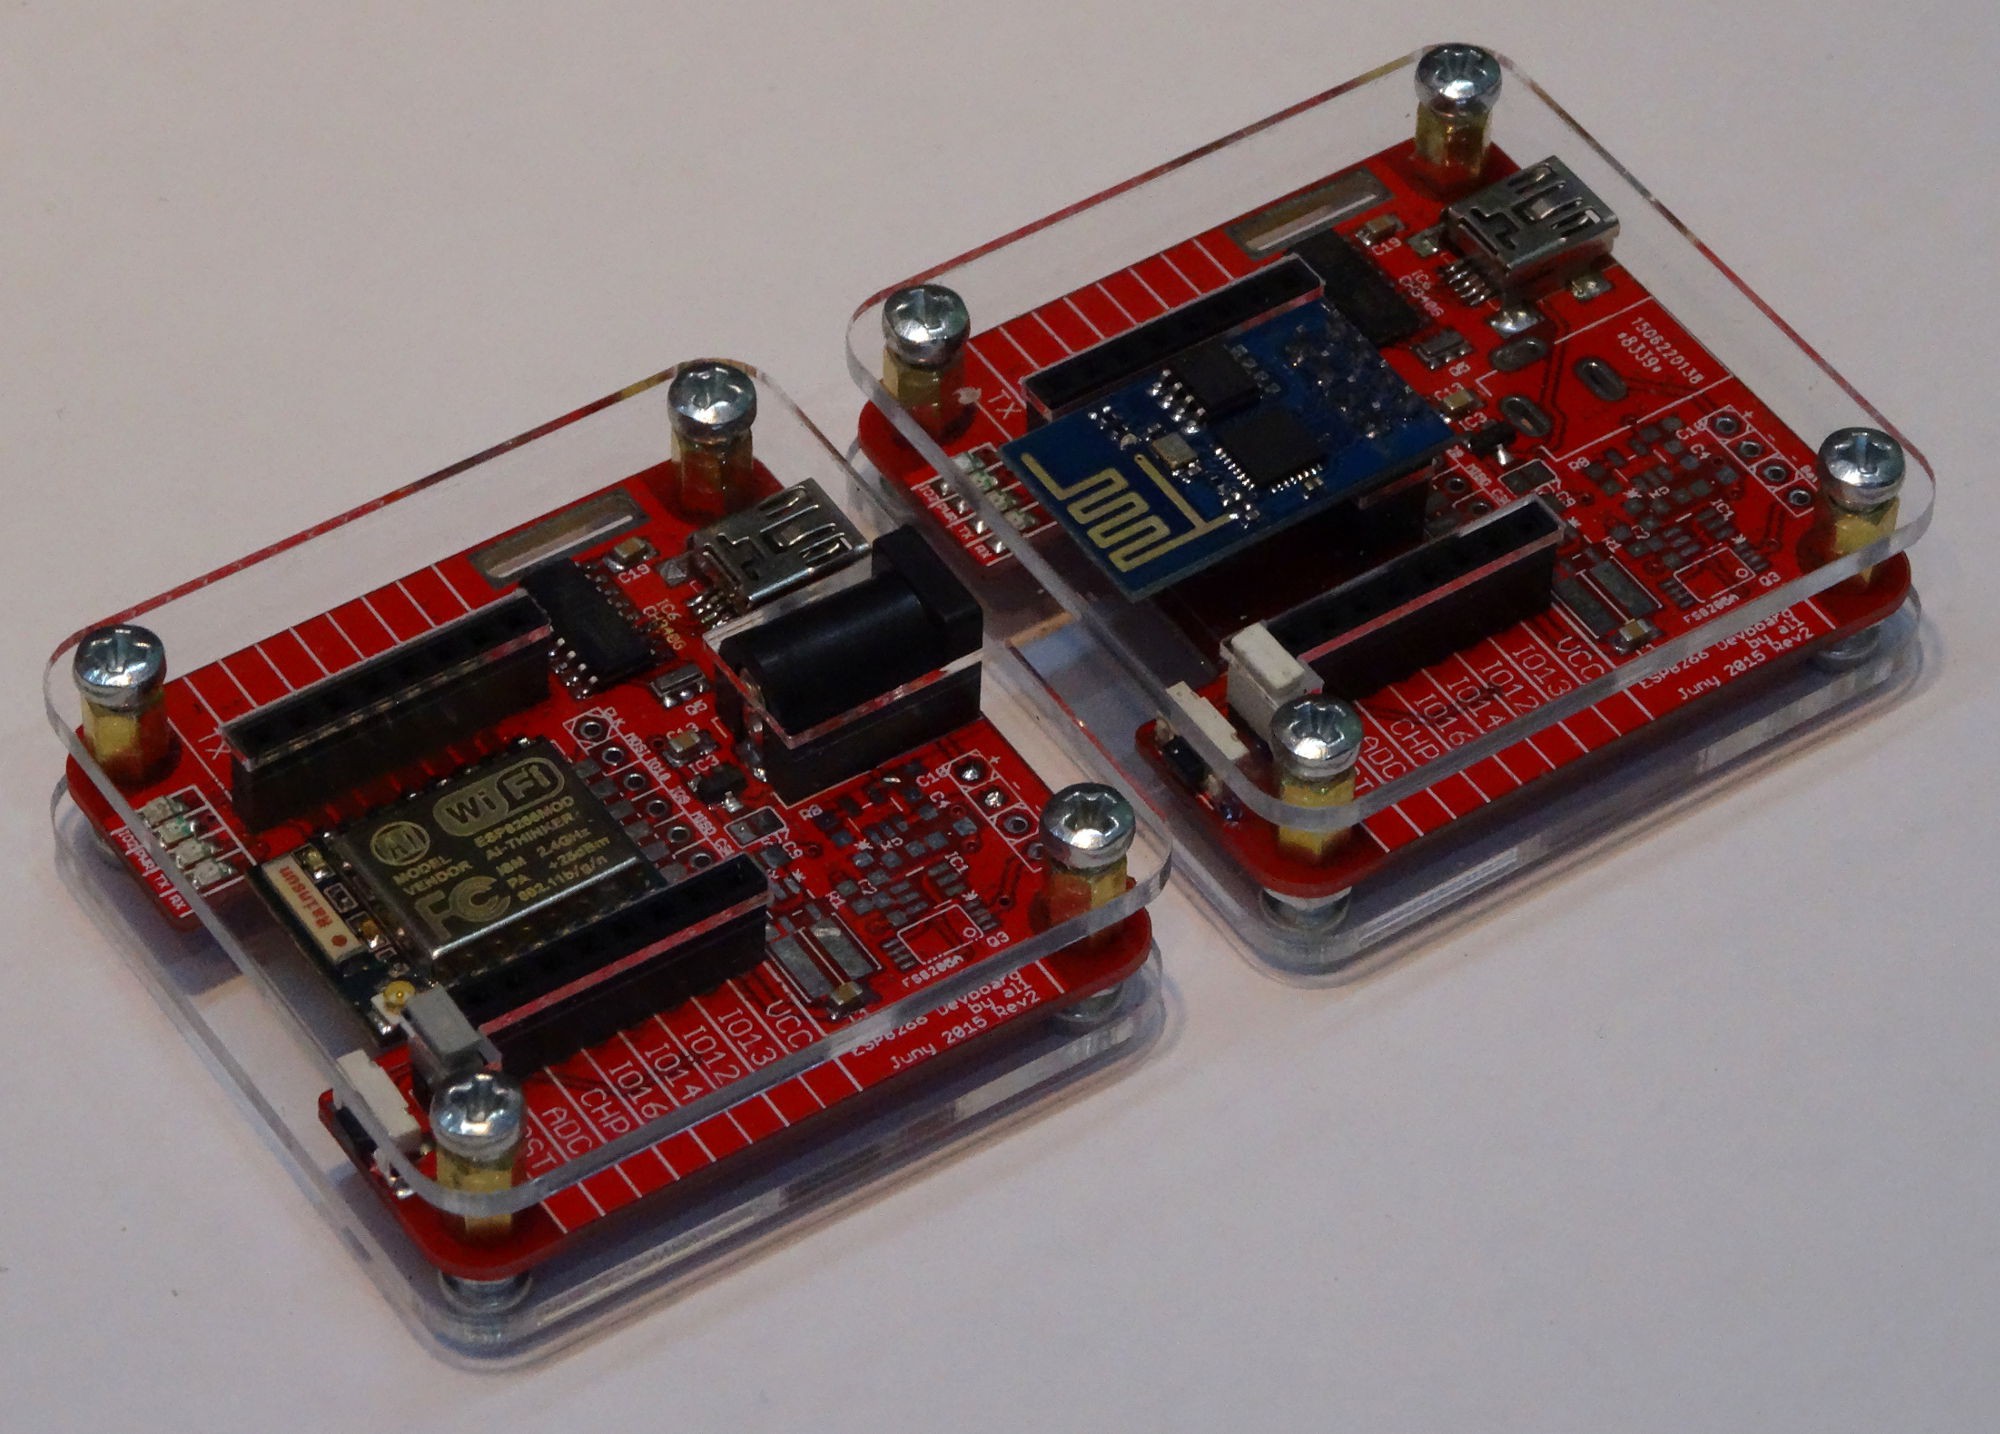
    So here are picture of the first two revion 2 PCBs soldered and in the case:

View all 30 project logs

Enjoy this project?

Share

Discussions

warhawk-avg wrote 08/30/2018 at 09:51 point

Care to share your design on OSHPark?

  Are you sure? yes | no

Alex wrote 09/03/2018 at 21:53 point

There is a link to a bitbucket repository above on the left (desktop PC). There you can fin Gerber of all revisions and partly also eagle-Files, both should work directly with OSH-Park. If this does not work for you,  I can also share it directly from OSH-Park. Just say which revision you would like. The tested 2.2 or the untested improved 2.3?

  Are you sure? yes | no

Aigerim.bang wrote 04/24/2018 at 06:37 point

Hello Alex, I'm very interested in your project because I am writing a master's thesis with a similar theme, so I would be very grateful if you could share pcb and board files (like in Eagle or something similar). 

I hope for your positive answer.

  Are you sure? yes | no

Alex wrote 09/03/2018 at 21:49 point

Sorry for my late answer, but maybe you also found it already: There is a link to a bitbucket repository above on the left (desktop PC). There you can fin PCB files. including eagle-Files

  Are you sure? yes | no

peels wrote 10/28/2017 at 22:20 point

Hi, I know nothing very much about electronics but was told that I would need a PIR, attached to a ESP8266, running off a battery to talk to a Pi server, which I could use to interface with Apple's HomeKit.

I do have a Pi server, so I don't need a separate Pi board (e.g. Zero) to have a PIR work, just the ESP8266 module and a battery basically.

I would like a case like you have and I've had a look at the link. If anything I could have them created from the downloadable SVG, but if I wanted to buy them in the UK I wonder if I could get hold of some?

I would like to know if your project would work in the same way as the following project that I am trying to achieve:

I am a beginner and so I don't know really what I am doing, but willing to learn. However, if it's going in my room then I want it to look nice and these cases are the best I've seen, I don't know why they're not more widely available like the official Pi cases?

Thanks!

  Are you sure? yes | no

Craig Hissett wrote 05/16/2017 at 19:48 point

I may have to get another one of these from you buddy. I carry mine with me all the time and its getting more and more use every day.

I could do with one for work and one for home ha ha

  Are you sure? yes | no

Alex wrote 05/18/2017 at 17:26 point

well, I should have enough parts left over, to make your version another time. I am travelling right now, so I can first check it on the 26th. 

  Are you sure? yes | no

Craig Hissett wrote 05/18/2017 at 17:39 point

and that, my friend, is why I love you :-)

  Are you sure? yes | no

[deleted]

[this comment has been deleted]

Alex wrote 05/30/2016 at 14:17 point

Reported. I do not like your advertising. And your prices are NOT cheap. 

  Are you sure? yes | no

Drasko DRASKOVIC wrote 02/23/2016 at 11:07 point

Hello,

what is the LICENSE of the project?

Also, where can we find Eagle (or KiCAD) files?

BR,

Drasko

  Are you sure? yes | no

Alex wrote 02/23/2016 at 13:09 point

Hello,

I did not thought about licensing so far. But, as I also added in the repository, the license is now BY-NC-ND 3.0. I will maybe change this to a more open license in the future (specially for old revisions). 

So far there are no eagle files public available. But you can find the gerber files. At least the gerber files of the latest revision are ok. I used the same for manufacturing. 

If you want to reuse this project or parts of it and need eagle files for that please contact me again.

  Are you sure? yes | no

lagrange wrote 12/01/2015 at 17:26 point

I love your project! It's not just well thought-through and flexible but also beautiful.

I've been working with the ESP modules for the past couple of months and soldering their 2mm pads seems to be my limit. How do you solder all the small parts like the micro usb connector to your board?

  Are you sure? yes | no

Jarrett wrote 12/01/2015 at 17:42 point

This is where youtube is super helpful. Watch a bunch of videos and practice on some scrap boards and SMD components. For the most part, the key is a lot of flux, use more solder than you think you need, and then use copper braid to take off the excess.

Practice is important.

  Are you sure? yes | no

Alex wrote 12/01/2015 at 20:09 point

Thanks!
As Jarrett also said there are a lot of videos on Youtube (I would recommend Dave Jones's one - channel: eevblog). With some practice and flux it not difficult. For boards like this it works with a classical soldering iron or hot air/ solder paste. I use normally the hot air station because it is much faster and you can easily solder even samller parts.

  Are you sure? yes | no

lagrange wrote 12/02/2015 at 16:34 point

Thanks for the tips, guys. Was wondering if this was possible to do this with an iron or if I had to explore the uncharted territory of hot air soldering. Looks like I'll have to give it a try.

  Are you sure? yes | no

Craig Hissett wrote 10/08/2015 at 11:11 point

This is simply beautiful.

Your dev board in that acrylic enclosure and the option of arduino-based coding make it ideal.

I need a few of these!

  Are you sure? yes | no

Alex wrote 10/08/2015 at 18:24 point

I you like I could sent you at least a PCB. There should be enough left from revision 2.

  Are you sure? yes | no

Craig Hissett wrote 10/08/2015 at 18:45 point

That would be amazing man - Im already excited!!

Whatever you need from me just let me know buddy!

  Are you sure? yes | no

Domingo wrote 09/17/2015 at 09:15 point

Hi!, how do you manage to power the ESP only with USB? Doing some testing on my bench when I power the ESP-12 with 5v directly from my PC usb port (using a 3.3 regulator), when I try to connect to a wifi network it drains around 200mA (that is normal according to the datasheet) and my PC fuses cut the power since it cannot handle that much. 

  Are you sure? yes | no

Alex wrote 09/17/2015 at 10:39 point

I had no problems with powering it via USB yet. Although I did no longtime test with powering it from an PC. But to my experience 200mA is OK for at least some USB-ports.
Most times I do power it from a lipo battery (charge/protection circuit is built in) or an external Power supply. On my board there is a additional power Jack to power the board from an external source. 

Did you add some capacitors to your setting to buffer the supply voltage a little bit?

  Are you sure? yes | no

[deleted]

[this comment has been deleted]

Alex wrote 08/05/2015 at 07:09 point

Well I do not have all parts (I soldered most for the prototypes). But for a version without battery support and the LDO as main voltage regulator, I do have all parts except the ESP module. I am on vacation till Monday, so my next reply will be after Monday.

  Are you sure? yes | no

Scottjfaulkner wrote 07/27/2015 at 11:51 point

my boards arrivwd today. They look beautiful. The missing track is easy to fix and I've already done so. Just waiting on the ch340g chips and crystals and I'll be ready to go. Thanks for your great design work.

  Are you sure? yes | no

Alex wrote 07/27/2015 at 12:22 point

Nice!

  Are you sure? yes | no

Scottjfaulkner wrote 07/03/2015 at 06:31 point

Hi,
Are you able to post a link to your 12e design on Dirty PCBS? Thanks, SJF

  Are you sure? yes | no

Alex wrote 07/03/2015 at 12:36 point

I added this to the links. But I can not say if they are working. My own boards are not arrived yet. 

  Are you sure? yes | no

Scottjfaulkner wrote 07/04/2015 at 05:29 point

Thanks mate, greatly appreciated :) It looks a great design. And for $14usd I'm happy to take the risk :)

  Are you sure? yes | no

davedarko wrote 05/15/2015 at 23:14 point

You could probably add some more pins to the GPIOs and add some ground and VCC rails next to it - this would make prototyping easier.

  Are you sure? yes | no

davedarko wrote 05/15/2015 at 23:25 point

And your antenna will may be rendered inactive because you have a ground plane below it (not really sure about it)

  Are you sure? yes | no

Alex wrote 05/16/2015 at 09:40 point

yes this could be good idea, if using the internal antenna. I will note that and and Power/GND rails for next rev. Thank you!

  Are you sure? yes | no

davedarko wrote 05/16/2015 at 13:03 point

totally overlooked the external antenna connector - good :) I've made a more reduced version yesterday, but was a bit overwhelmed when I saw that there is an http://esptool.py way to program it, an arduino way and a nodemcu way - I want to check if they work fine with each other. My board features the ESP-01 and ESP-12 footprint, because I want to use both kinds - and no on board serial, just an ftdi header. I want to recheck all that before I order 10 boards. So far any breakout board with an antenna I've seen has no ground/copper under the antenna or even takes the antenna outside the design. 

  Are you sure? yes | no

Chris Wagner wrote 04/27/2015 at 20:34 point

Very nice project. How is the name of software you use? It looks very nice.

  Are you sure? yes | no

Alex wrote 04/27/2015 at 20:51 point

Thank you!
The PCB layout is made with EAGLE. To get this nice 3d images I used egaleUp (https://eagleup.wordpress.com) and SketchUp.

  Are you sure? yes | no

Chris Wagner wrote 04/27/2015 at 22:00 point

Thank you, this is why i like this page, everybody can learn new things.
Have a nice day.

  Are you sure? yes | no

Similar Projects

Does this project spark your interest?

Become a member to follow this project and never miss any updates