-
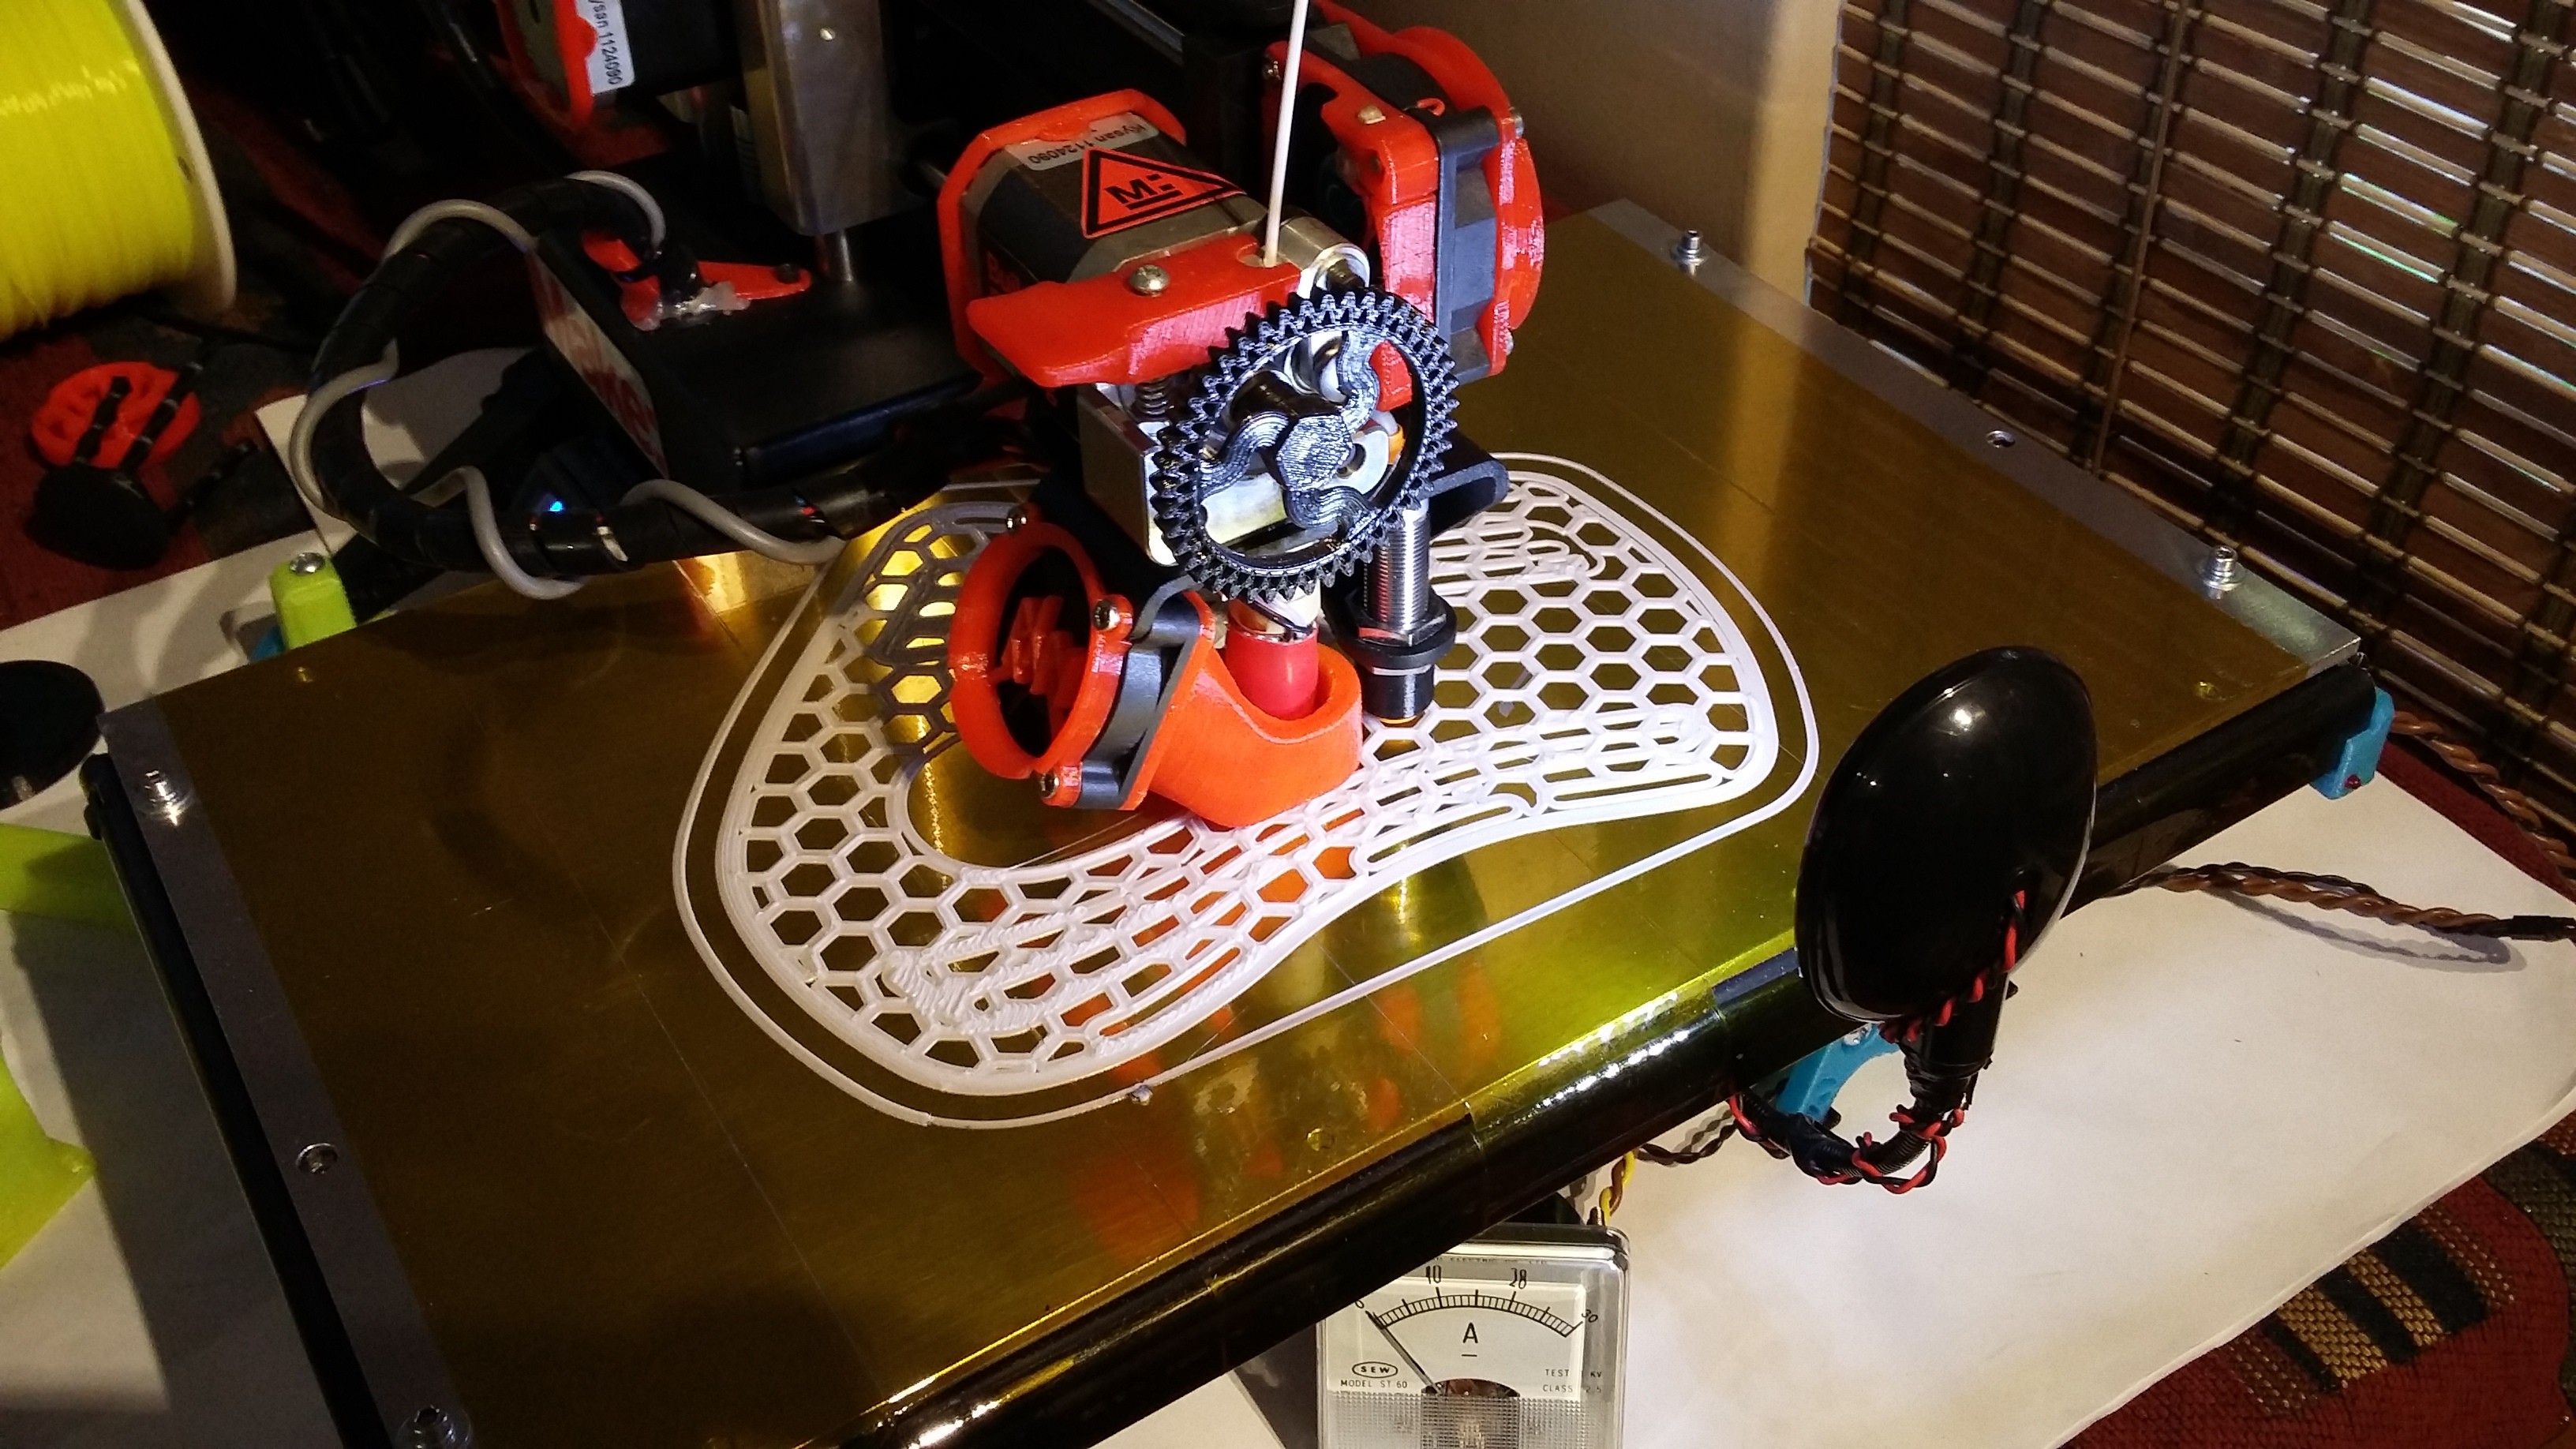
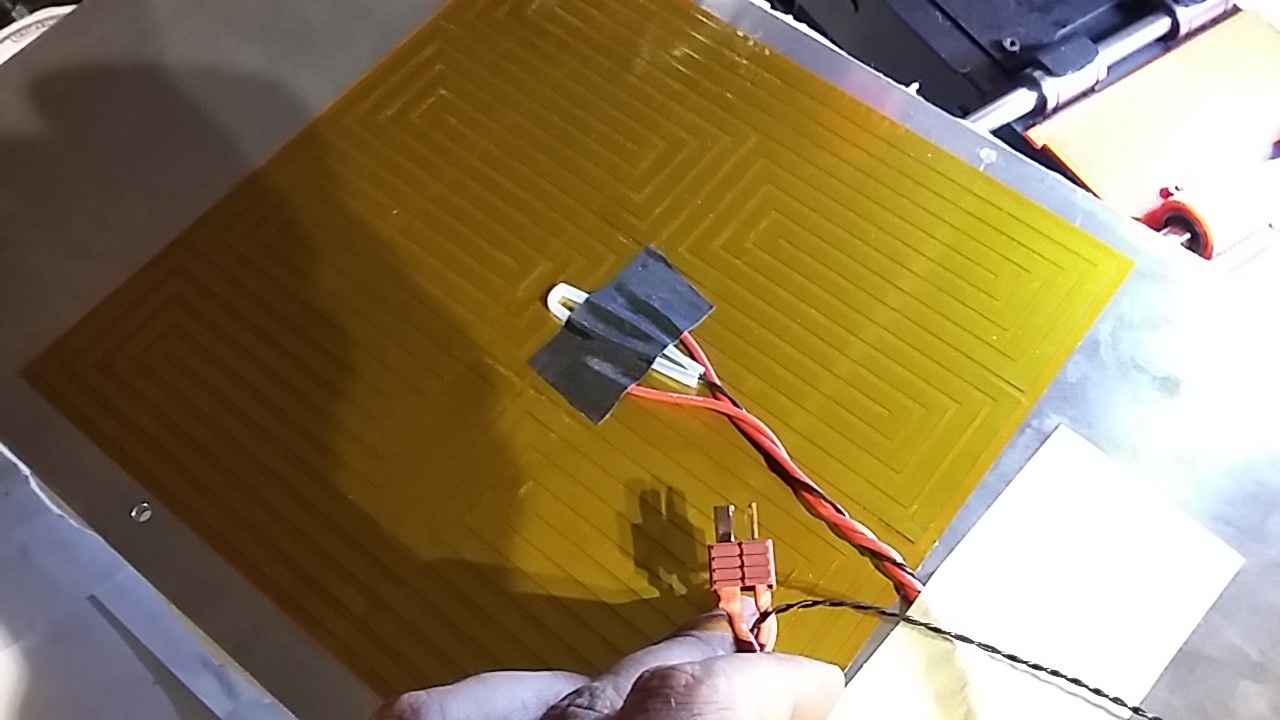
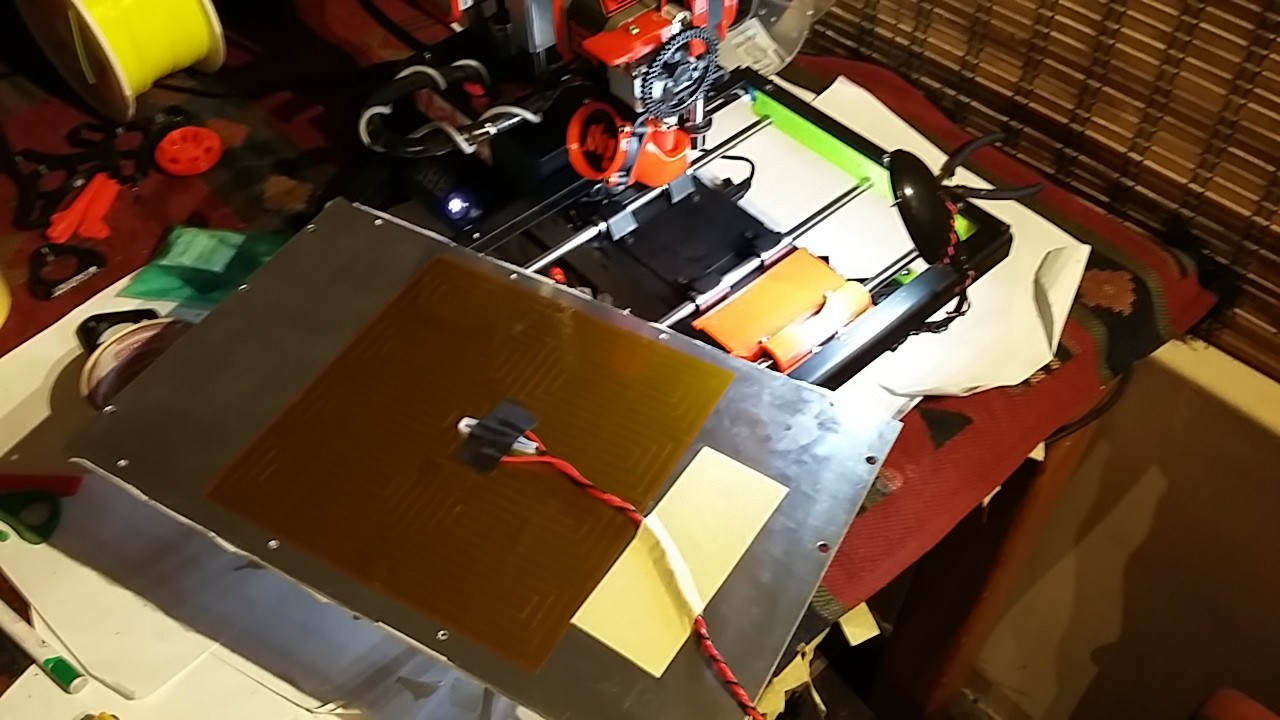
I love Kapton
10/05/2015 at 13:46 • 0 comments -
Heated Bed current draw
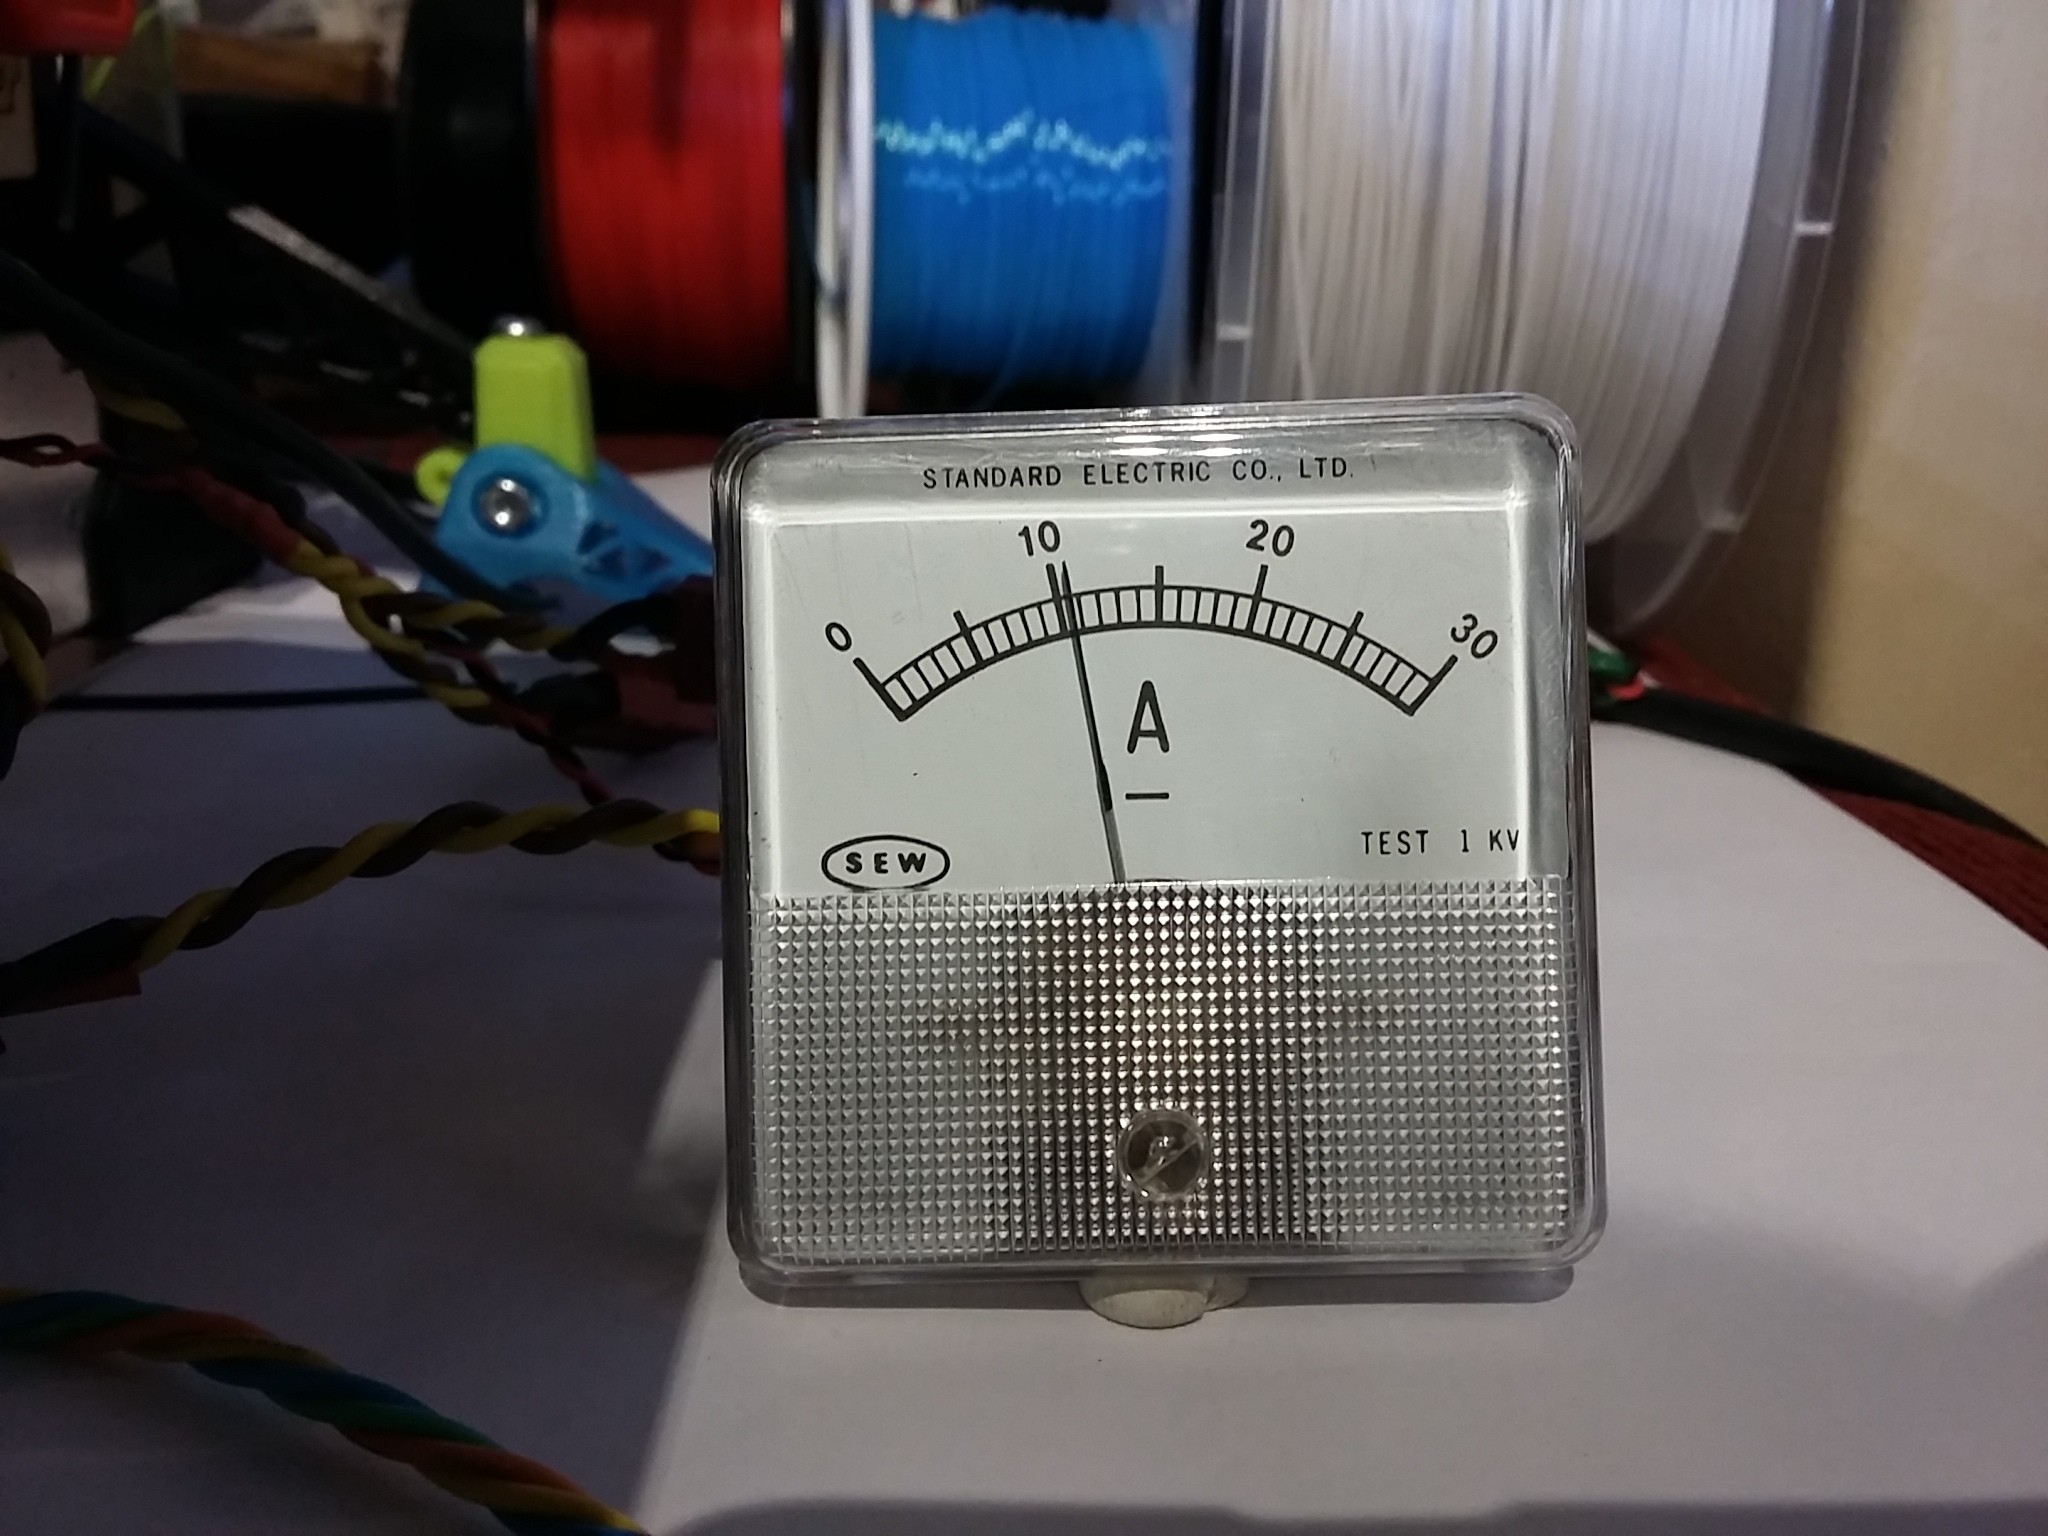
08/22/2015 at 12:06 • 0 commentsSo far I've measured just over 11A when both the Heated bed and the Hotend are both active.
MAKE SURE YOU ARE AT EXACTLY 12V, i had my Power Supply set at 12.1V and continuously had random disconnects when heating or cooling the heated bed, must have been over voltage protection doing its job :)
I've also added {M140 S0 ;} to the end G code section under "Printer Settings" in Slic3r.
this disables the heated bed after the print finishes.
**UPDATE: I think I've found the answer, http://help.printrbot.com/Answers/View/5242/Brown+out+reset:+Printrboard+or+PSU
Bill had a similar problem "Bad heated bed. The bed was sporadically pulling enough current to trip the PSU short-circuit protection. I replaced it with a RepRap MK2B heatbed dual power from Amazon and after 20+ hours of trouble-free printing it is clear that that was the problem."
It may be that the fancy Kapton Nichrome heater is causing a similar problem on my board.
At the moment the reset problem seems to be contained to the heat up process and just after a print. luckily whenever I get the print stared it runs through and only resets and hangs up after finishing so I'm OK with it for now until I find a solution, It also works much better since I added the indicator LED.
-
Thermal Insulation is a good idea!
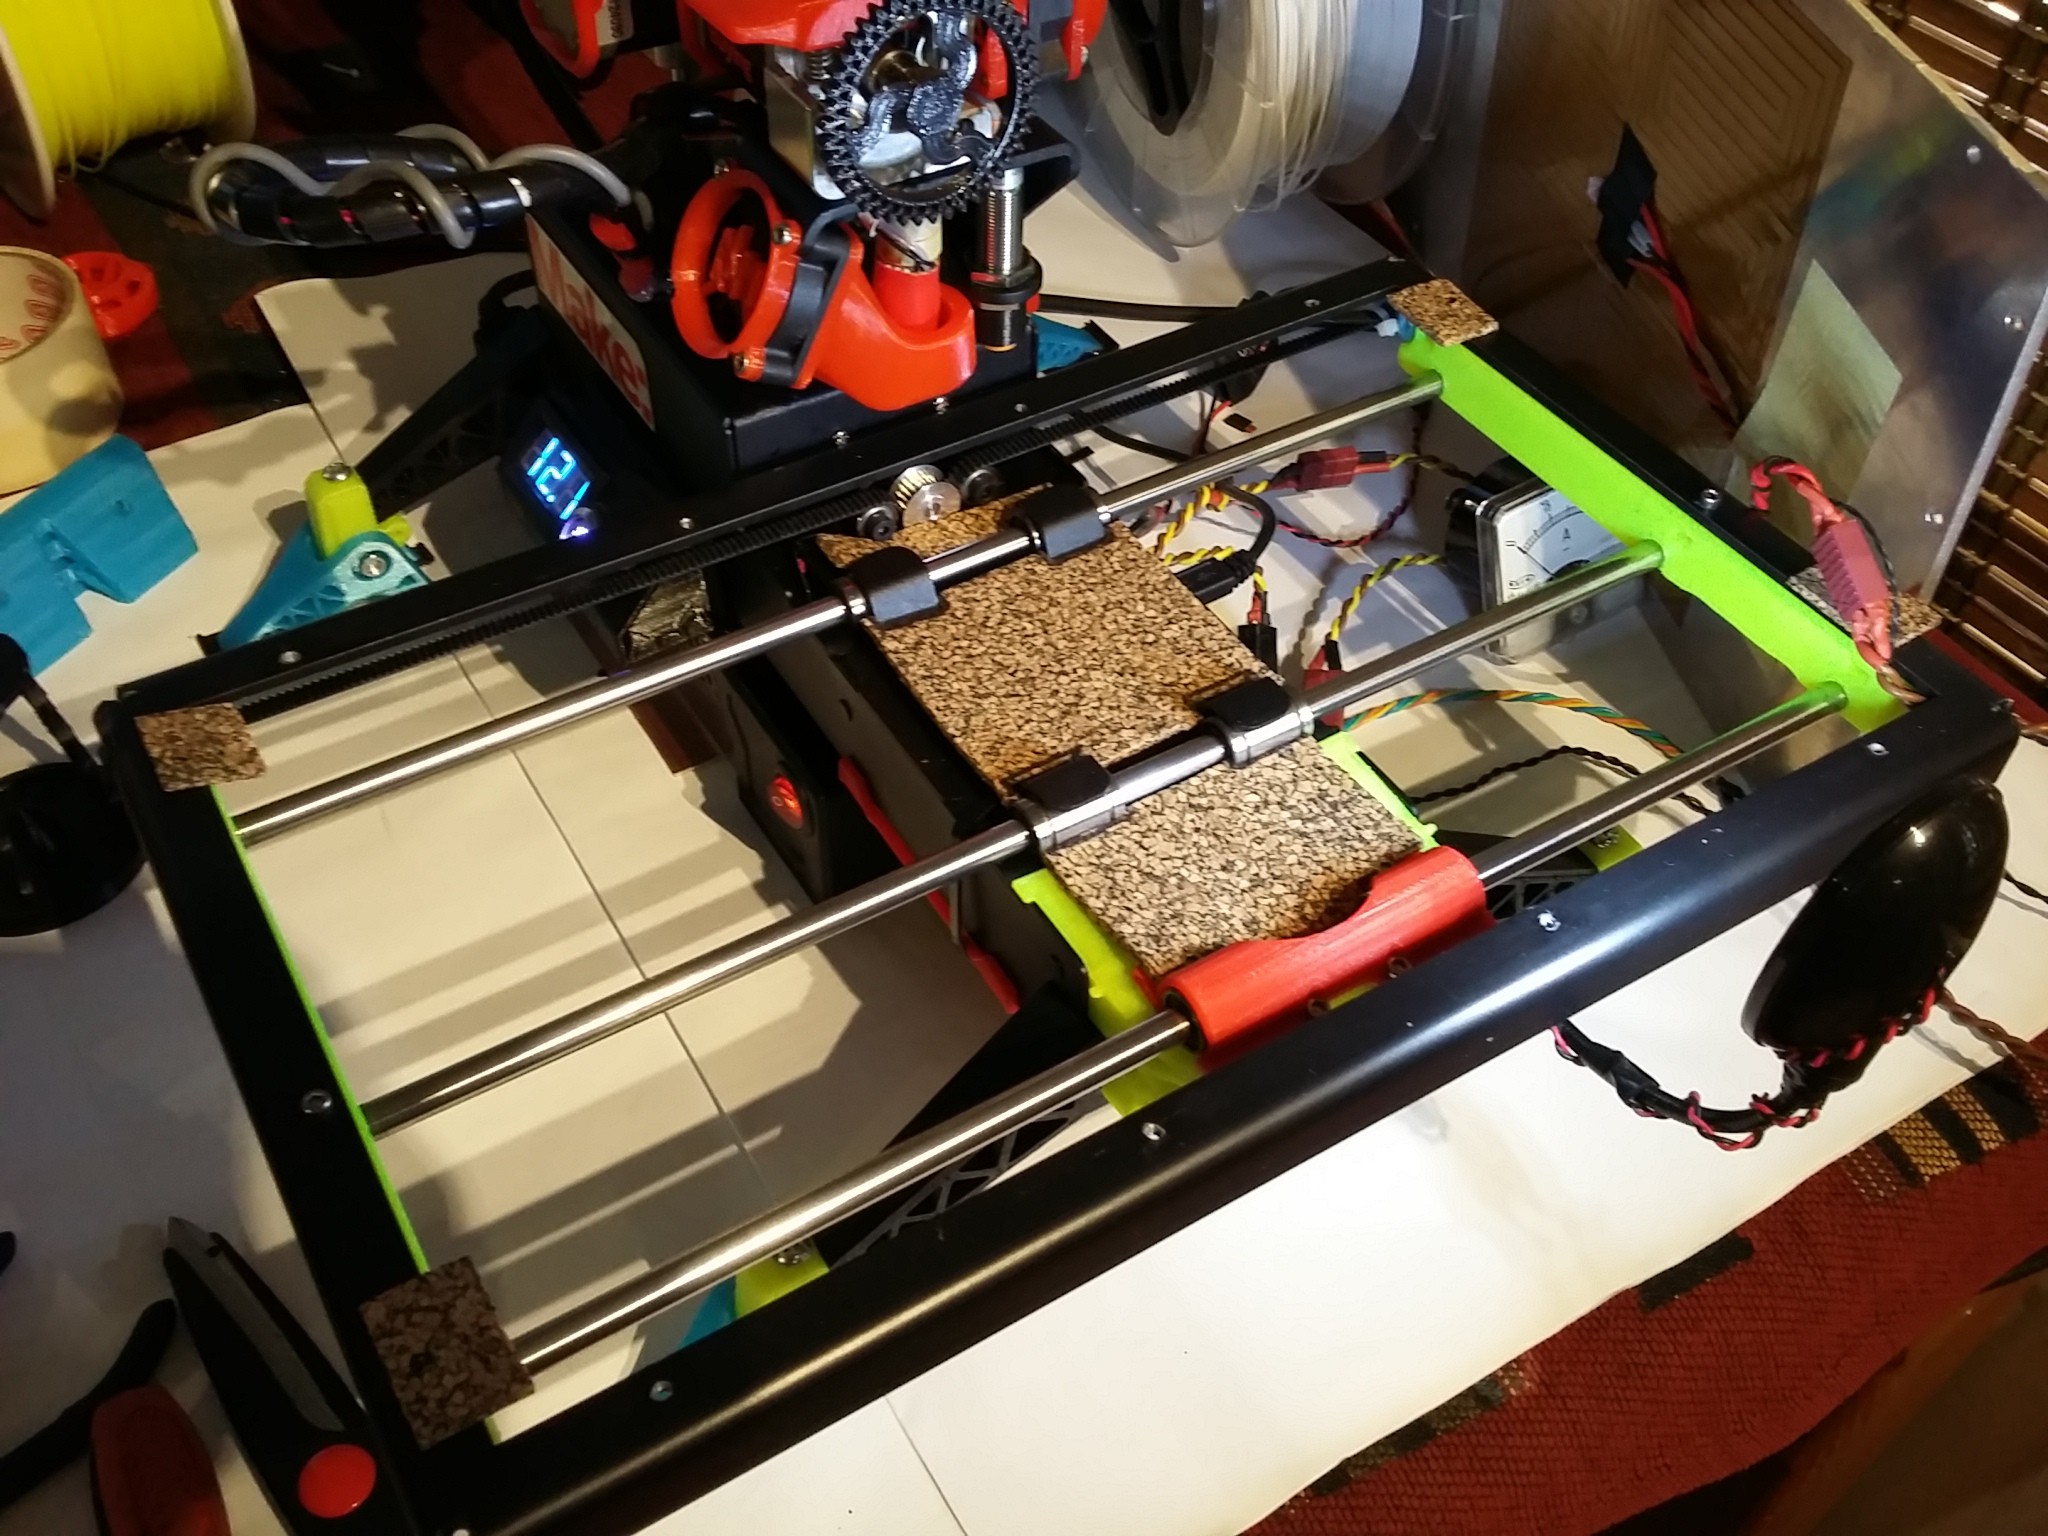
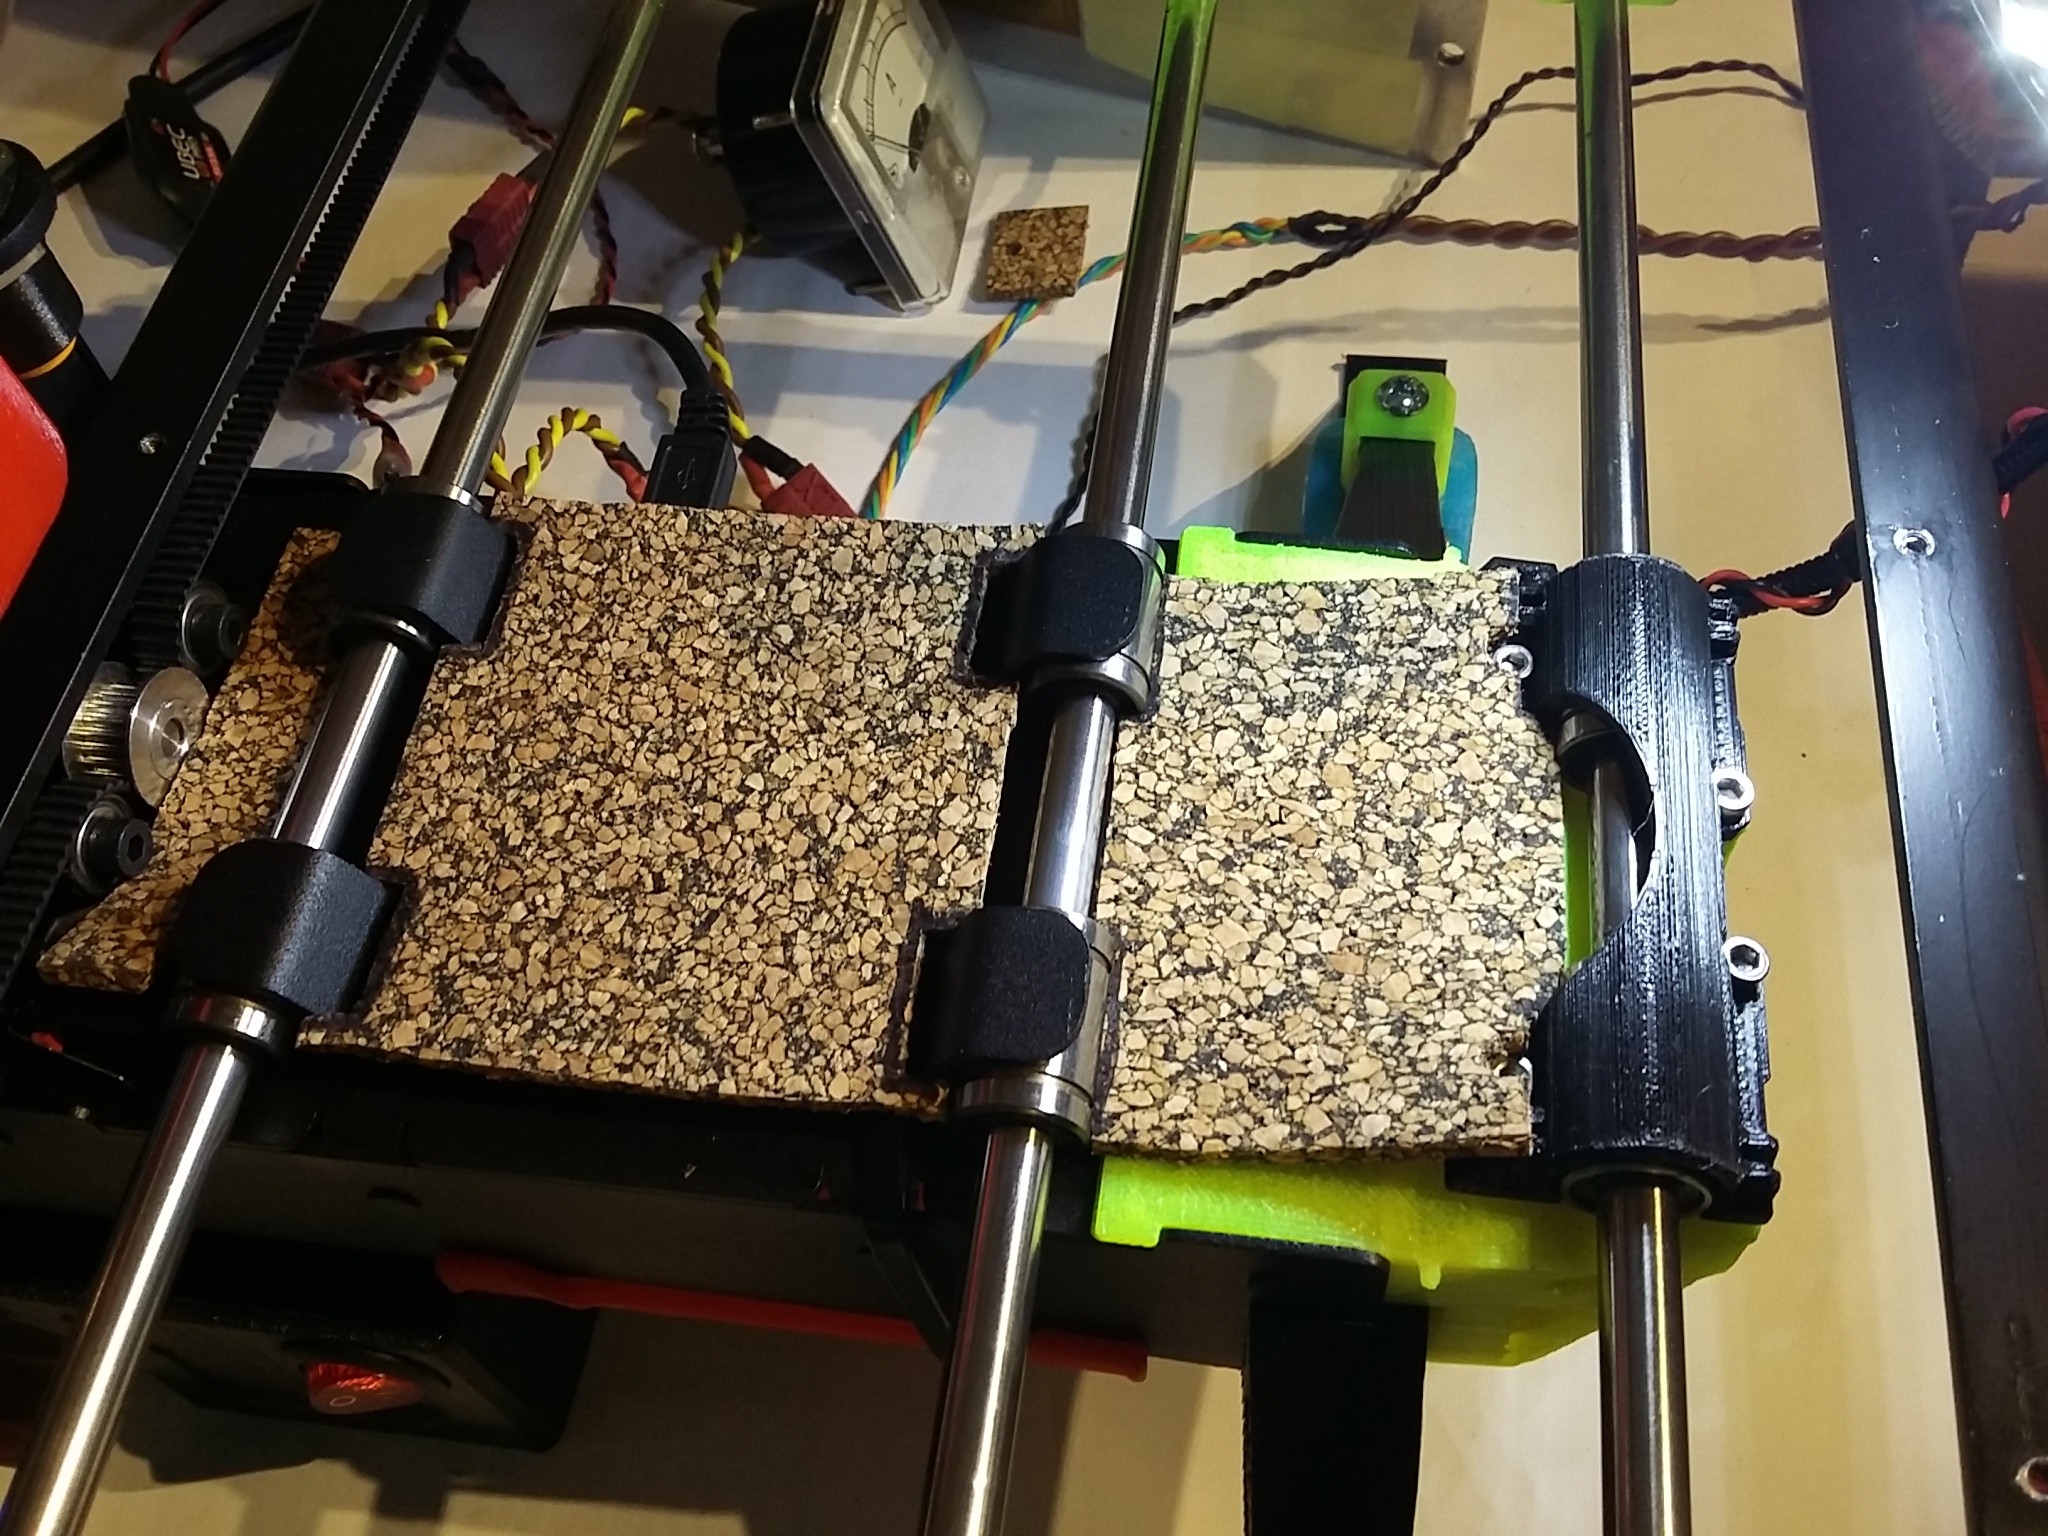
08/22/2015 at 11:59 • 0 commentsI found a 3.5mm sheet of cork at the hardware store, and after installation my entire setup works more efficiently.
The printbed doesn't lose heat as quickly as before when it was touching the printbed frame, much less heat loss due to conduction. I've also taped up the bottom of the bed to insulate it further.
-
It's finally working like it should
08/19/2015 at 20:20 • 0 commentsThe heated bed installation turned out to be more complicated, had huge overheating issues with the wiring and the Power supply.
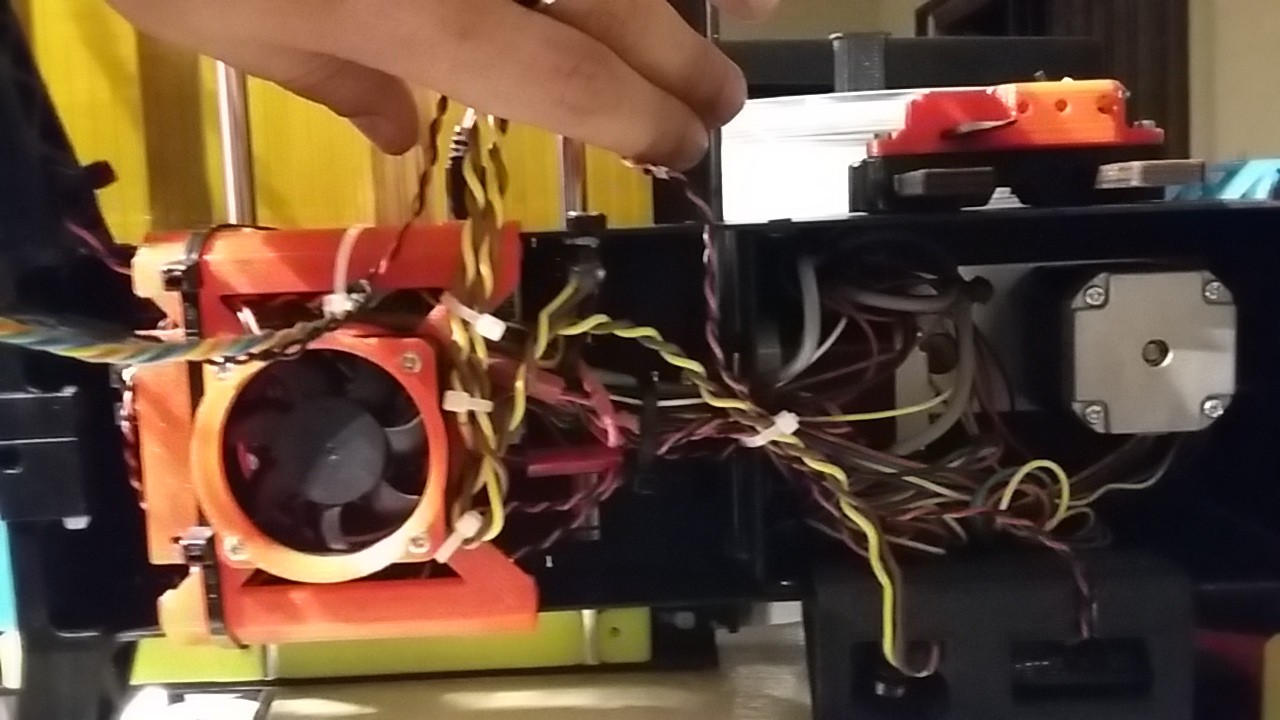
Rright after installation I had to add additional wiring to hadle the current as well as add a fan onto the Power supply and heatsinks to the MOSFET's on the Printrboard (rev D). I think that the MOSFET for the heated bed was overheating and may be what was causing the intermittent resets during prints since installation yesterday.
After fixing all of that it seems to be printing just fine.
-
Heated bed
08/19/2015 at 03:32 • 0 comments -
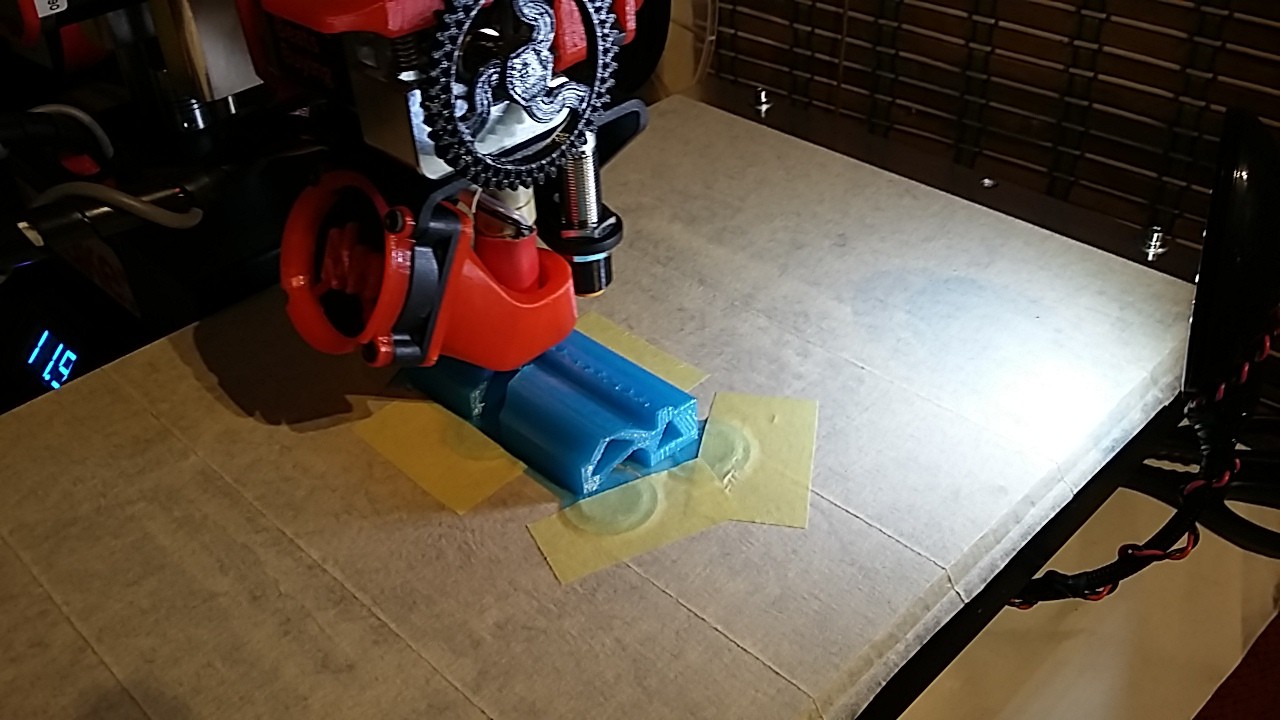
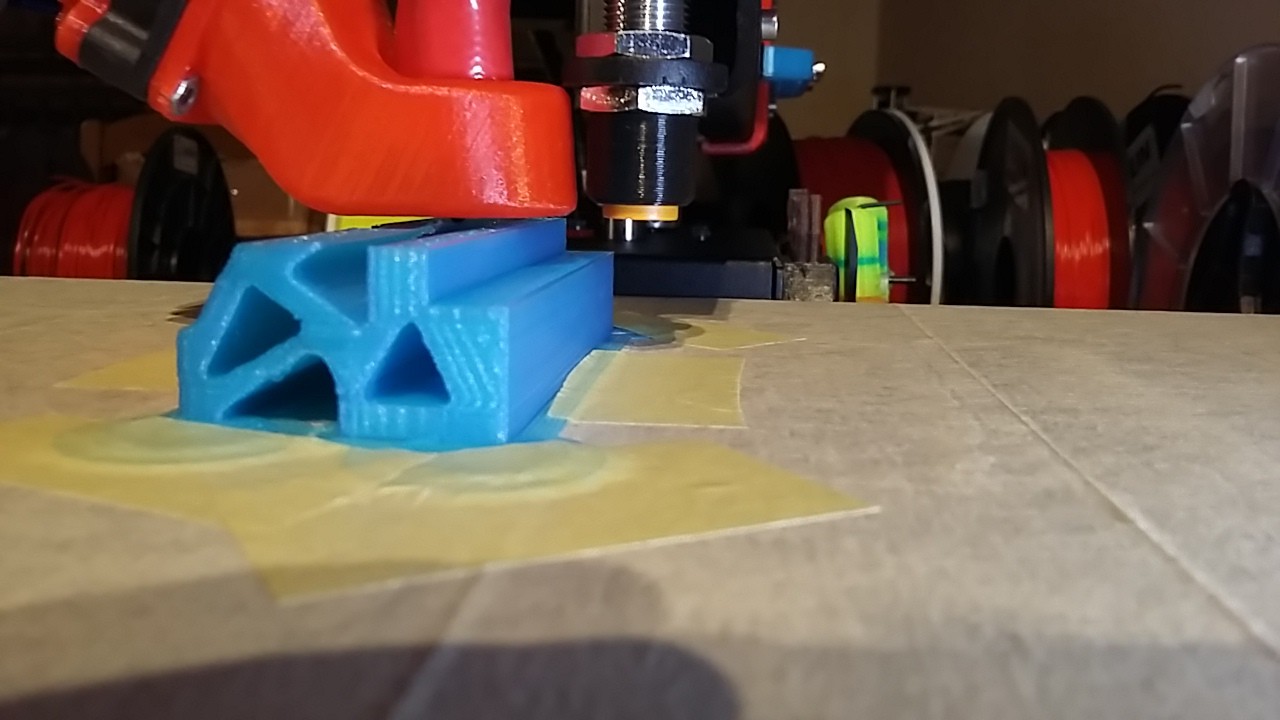
Stick the brim and the circular plates to the bed! (for cold printbed)
08/15/2015 at 16:25 • 0 comments -
Bright mild steel doesn't cut it...
08/15/2015 at 16:08 • 1 comment -
2nd and 3rd Prints
08/10/2015 at 11:23 • 0 commentsFinal bed print area is 270mm × 205mm × 140mm
There's a slight rattle on the X-axis that i want to sort out, it causes some minor printing artifacts whenever X-axis changes direction fast, but nothing serious. I will have to make a new part.
-
Assembly and First print
08/09/2015 at 20:03 • 0 commentsSo far so good, I managed to figure out how to manually set the X and Y Print area parameters.
Use the M208 (or in my case M211 X 260 Y205) and then set the desired values, hit M500 to save.
Important!
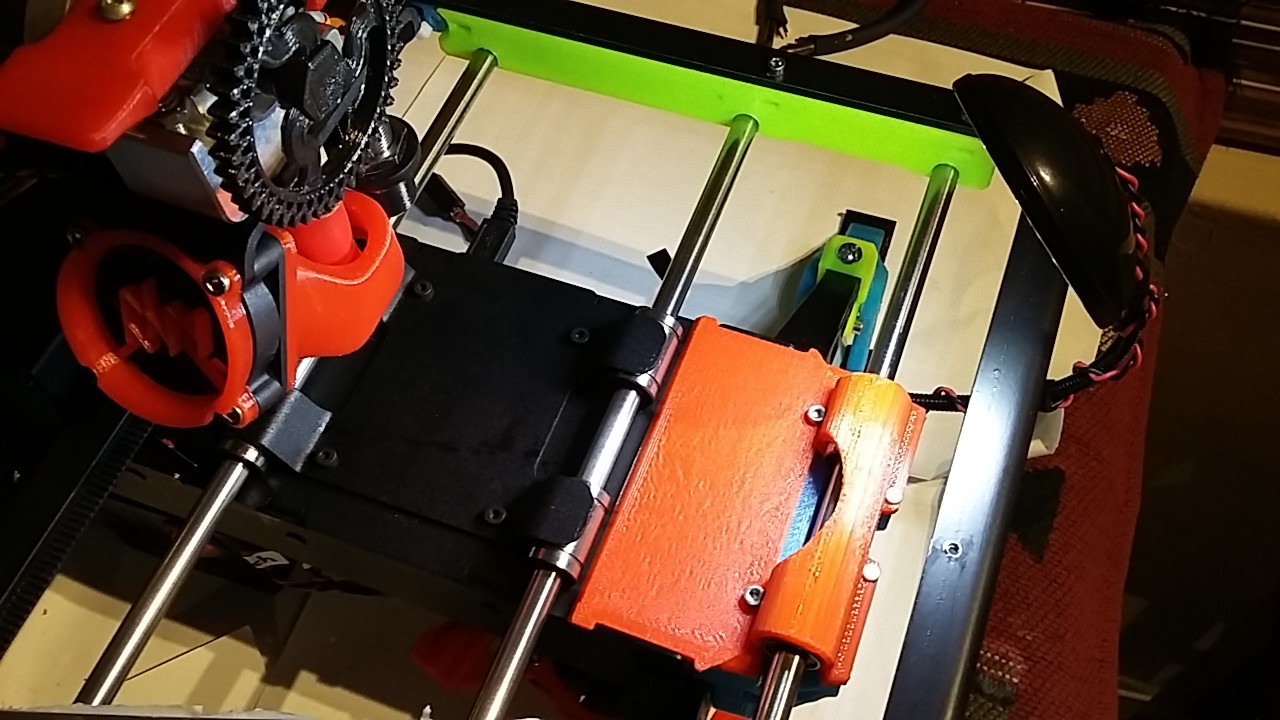
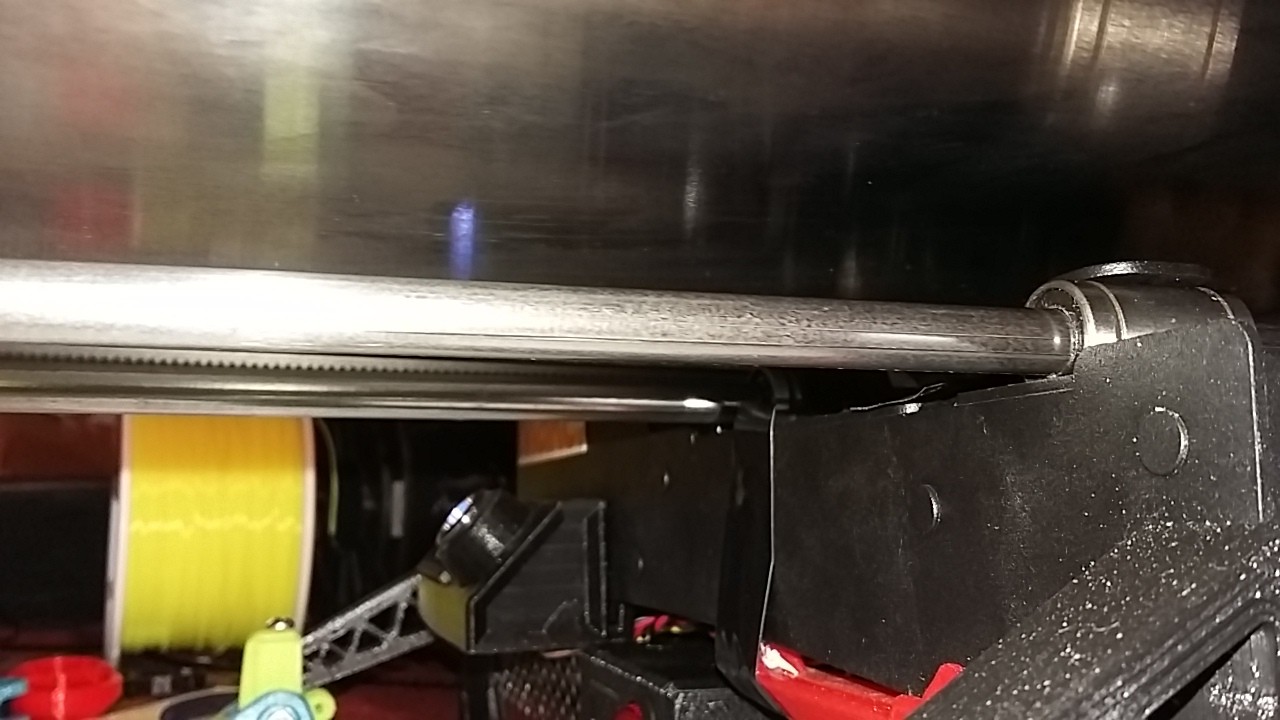
 You'll notice that right underneath the hotend, the new printbed seems to sit right up against the screw head that holds the X-axis motor to the frame. I didn't notice until after Itook the paint off of my printbed frame...
anyways, it is because i had planned my bending line of the material at 1/3rd the thickness of the material (used for steel) turns out Aluminium bends a little different. I temporarily fixed the problem by replacing the hex screws with smaller phillips screws.
Printrbot Simple Metal - Bed upgrade
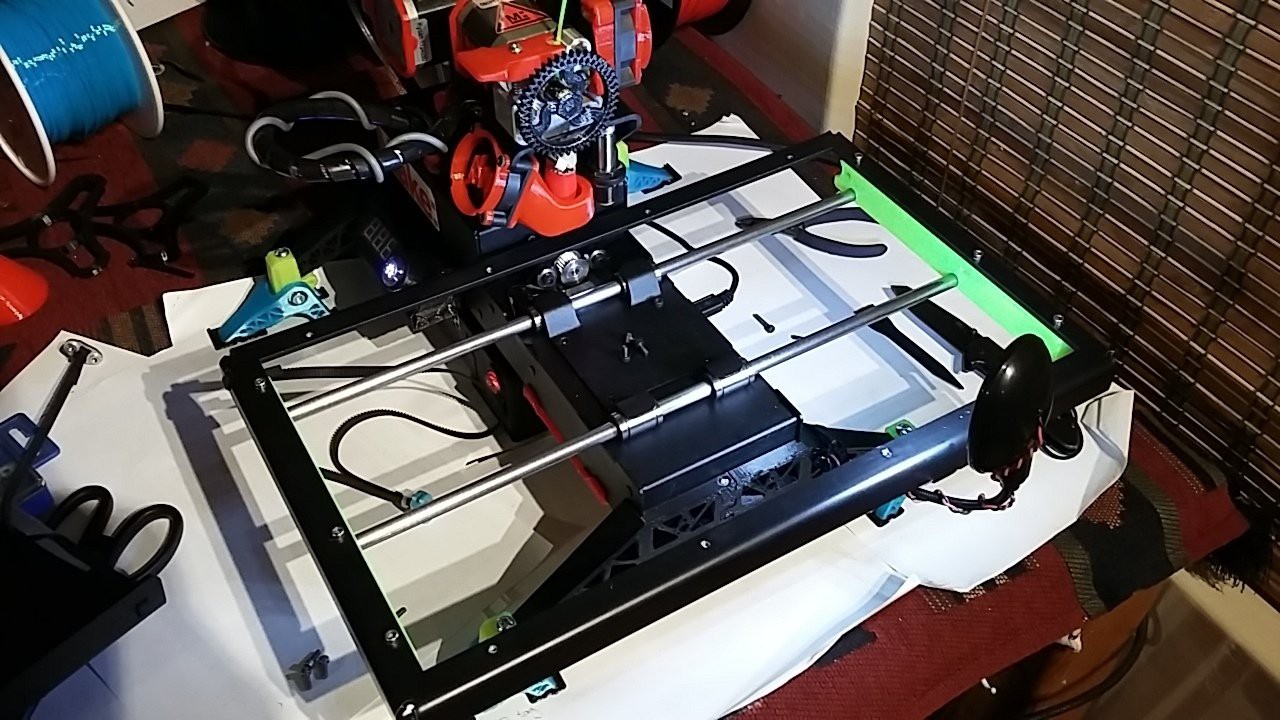
I need a larger print area in order to print a printer
 RenierM